| 
| 
| 
|
|
Old/New East Wall
|
Old/New South Wall
| ||
|
It doesn't look as nice but it works a lot better for me
| |||
|
|
|
|
|
|
Old/New East Wall
|
Old/New South Wall
| ||
|
It doesn't look as nice but it works a lot better for me
| |||
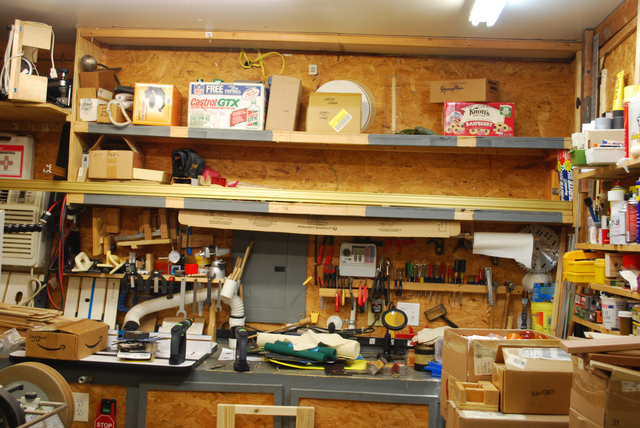
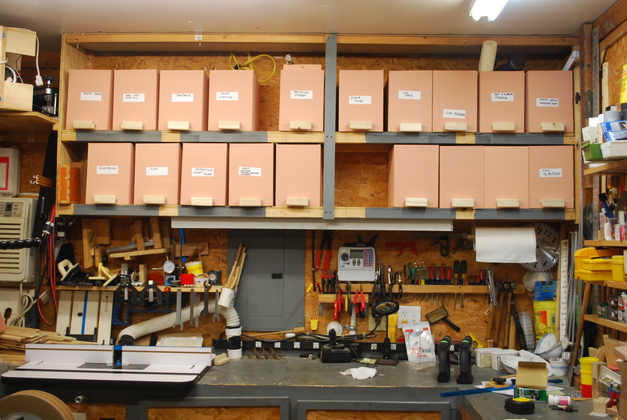
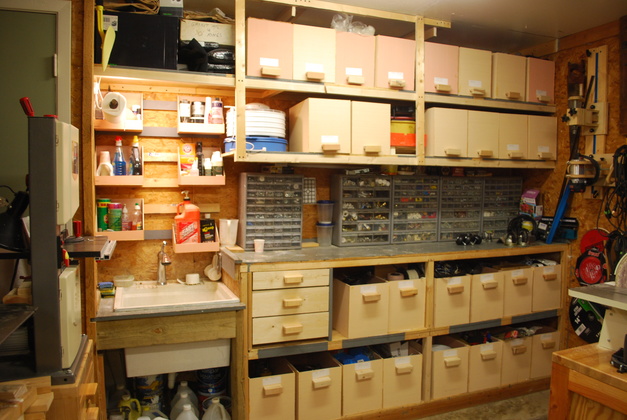
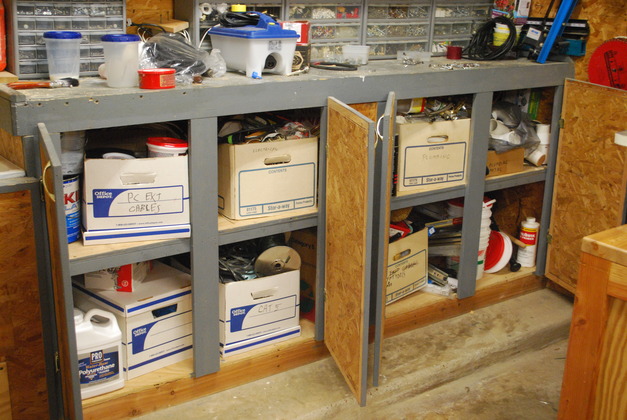
I have been looking at and struggling to use the old storage shelves above the East workbench and along the South wall, (built by the former owner) and finally got fed up. So I removed the doors and frame from the shelves and started making custom sized wooden bins, out of 5mm poplar underlayment, to store stuff in.
I decided to make wooden bins from 3/16" (5mm) plywood, with mitered joints.
The upper bins will have a low mounted handle in front, the lower bins a high mounted handle.
The upper bins would be 8" wide, 12" deep, and 11-1/4" high, the lower bins will be 24" deep, other wise same width & height.
I would glue the mitered corners using a form.
I know that 3/16" is thin plywood but it is much stronger than cardboard, and almost as light.
Plus I can make them exactly the shape and size I want with low handles to pull them off the shleves.
Have you ever struggled getting a cardboard box off a high shelf?
I also removed the South East wall shelves and put up french cleats. The french cleats were 6" apart. Then I made 10" wide boxes both 6" high and 8-3/4" high with french cleats on the upper back to hang them. This works great as a replacement for shelves, I can hange almost anything I can think of on french cleats.
I've finished now and it doesn't look quite as neat, but its a WHOLE LOT MORE EFFECIENT and easier to find things. I started out to make a few of these large bins for one shelf, but I liked them so much I made them for all the shelves. Now there are over 60 of these large bins in the shop plus parts bins, tool storage bins, etc.. Everything that was there before is there now and I have several empty boxes left over, hooray!
|
Note the original builder didn't drive the screws up into the ceiling joists. |
Please see my bin construction and tall caul page.
|
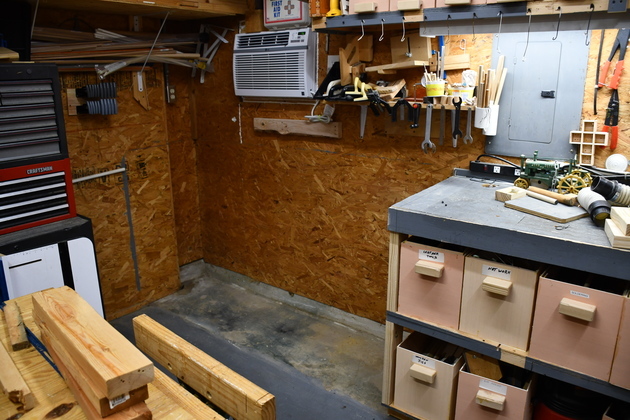
Here I've removed the doors and facings of the lower bench on the East Wall. Note the verticals, at the front, under the router bench, I had to add those when I removed the facing. |
|
Every thing removed from shelves on east wall. You can see the rectangular hole where the router table was, and the cut white PVC airline on the far wall, left. |
|
Now the bench is removed and some of the pink storage boxes on whats left of theright shelves. Also notethe cut white PVC airline on the far left wall. |
|
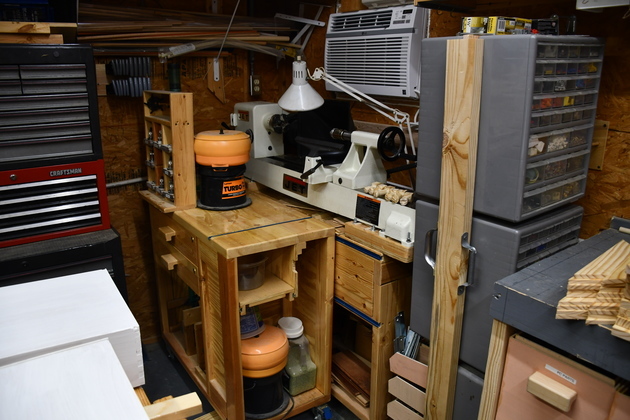
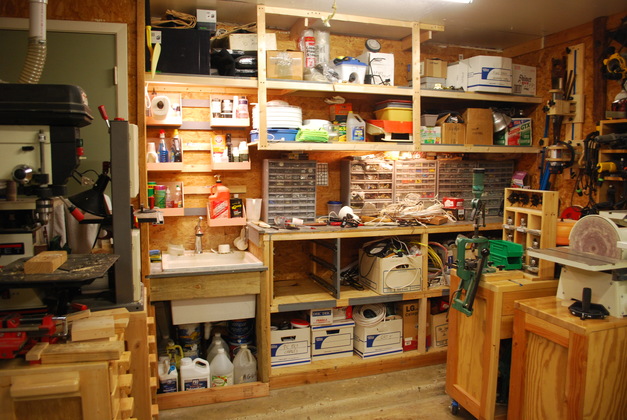
The North East corner with loading bench, lathe, and parts rack. You can see the old window AC, It'll be replaced in 2020 with a mini-split. |
|
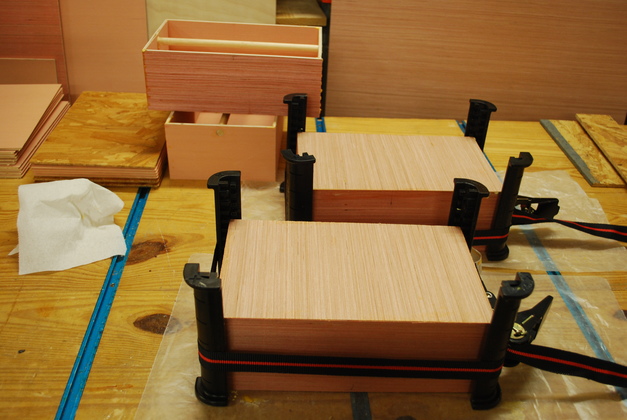
I also made some caddys (shallow boxes) with 1/2" dowel handles to fit inside the bins for storage of small parts. These are the small boxes being glued. |
|
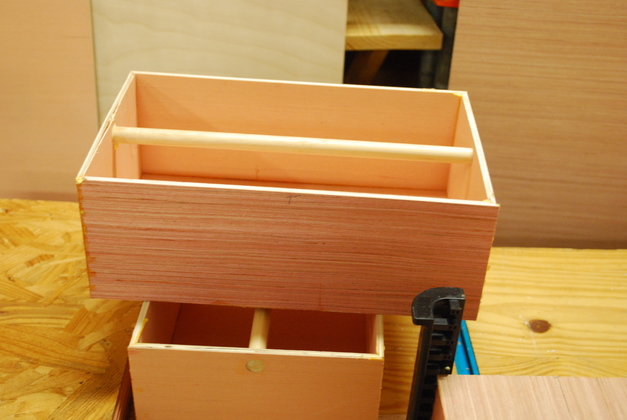
Closer look at the caddys with dowel handle, kind of like a tool caddy. |
|
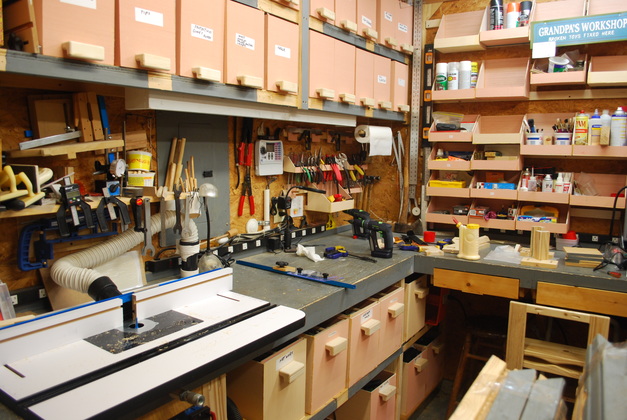
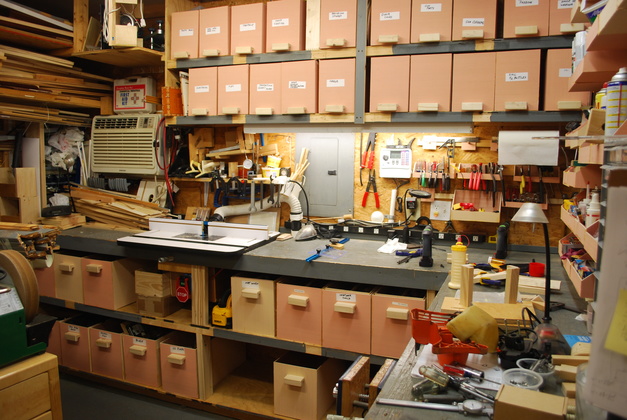
East and South East walls with all bins and cleats in place. |
|
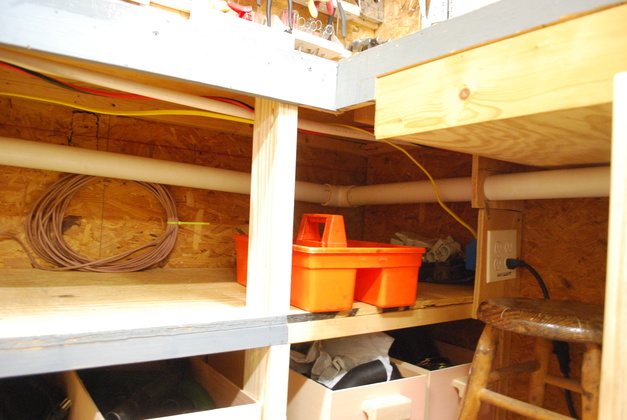
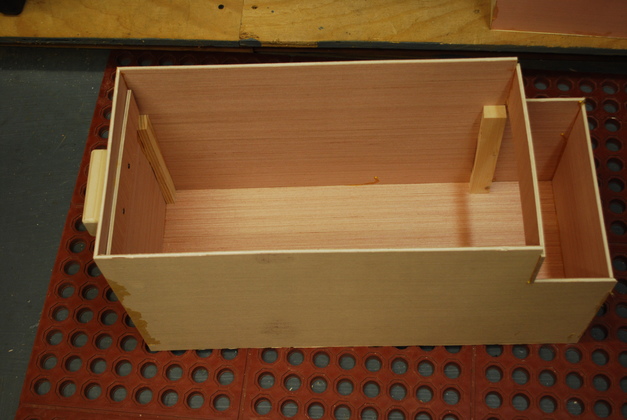
One of the 24" deep bins (notch in back was for the vacuum line to the router table) with supports for a caddy. |
|
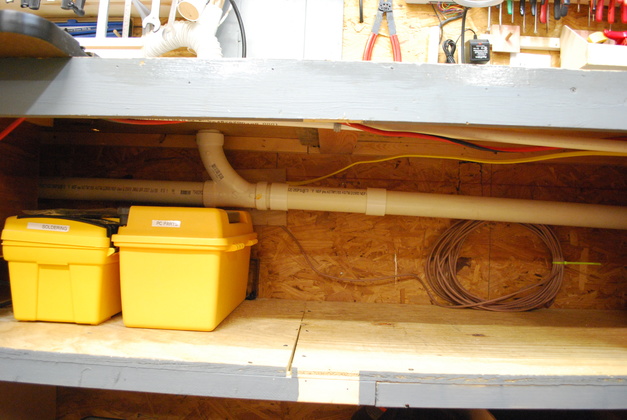
Shot under the East Wall bench showing the vacuum line to the router table. You'll note the short piece of 2" PVC just to the right of the sweep Y, thas where the blast gate was before I made the 2" dust plenum and valves. |
|
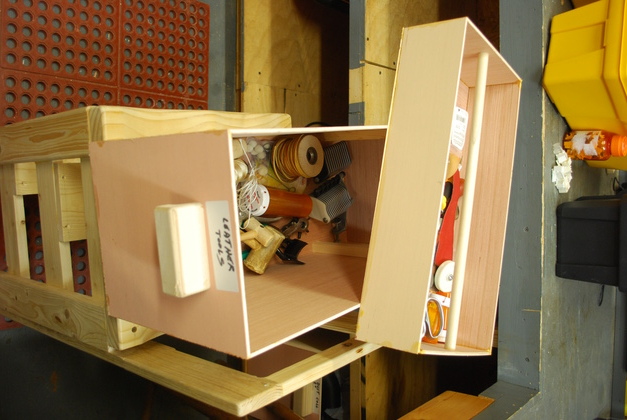
Tool caddy on top of leather working bin. |

|
With tool caddy in place. |
|
East wall with almost all the bins in place. |
|
Looking South East. Notice the bins in the corner area that was hard to use before. |
|
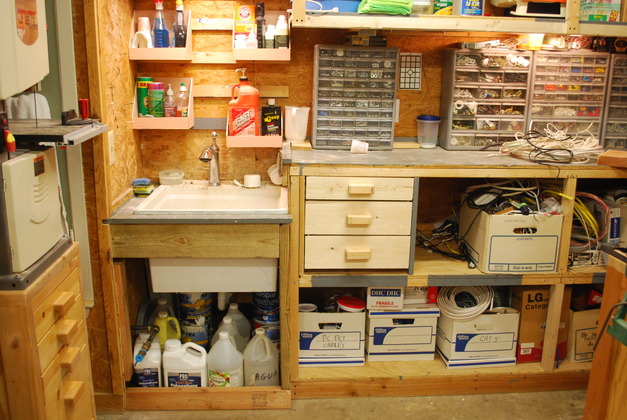
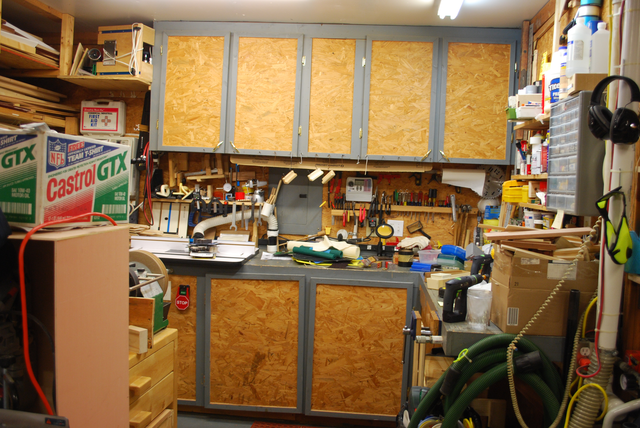
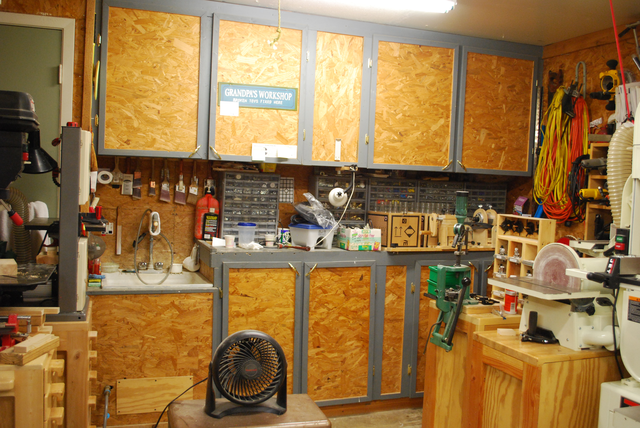
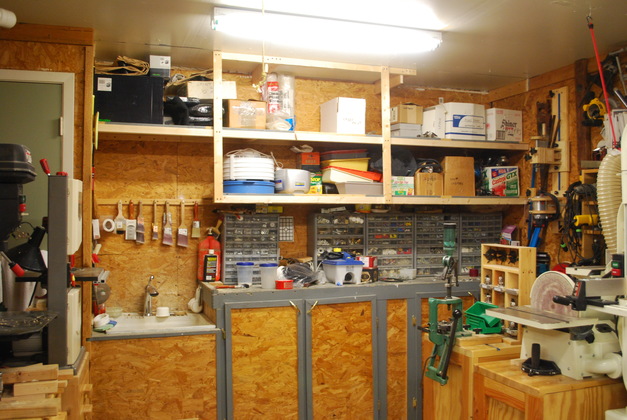
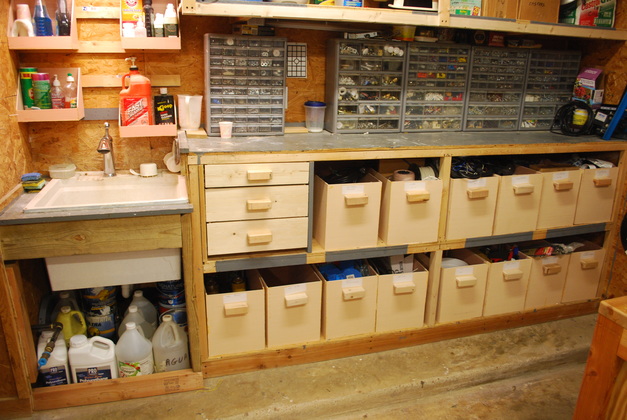
Removed the doors and facing from the South wall's upper cabinet, also replaced the frame with 2x2 (it was 1x2 and sagged badly), also I added the two verticals to support the two shelves from above. You can see a piece of original frame, above the sink, with the paint brushes hanging from it. I cut out a cabinet section above the sink so I don't have to hunch over anymore. Heres what the South wall looks like now. |
|
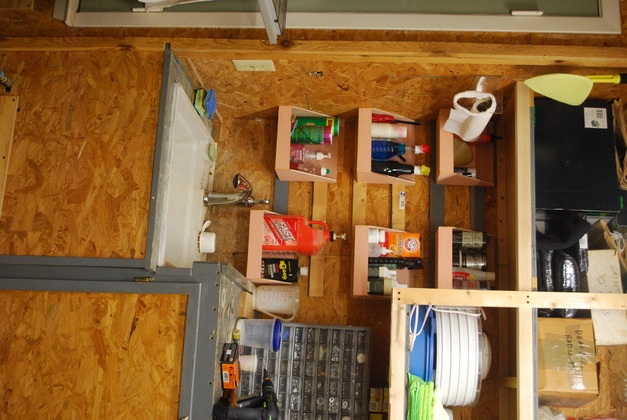
I put french cleats and some boxes on the wall above the sink. |
|
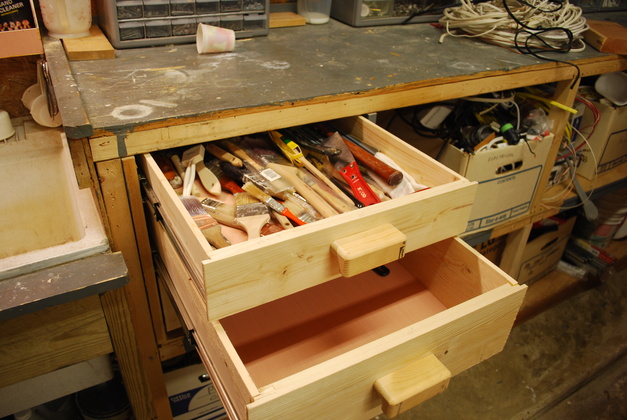
More junk in the lower cabinet. This kind of storage makes me dig when I'm looking for something. |
|
Next I removed the doors and facing from under the bench. I also opened up the space under the sink, good place to store paint and gallon bottles. |
|
24" deep bins on the lower shelves and everything tucked away. Now it looks neater and I can find stuff when I need it. |
|
|
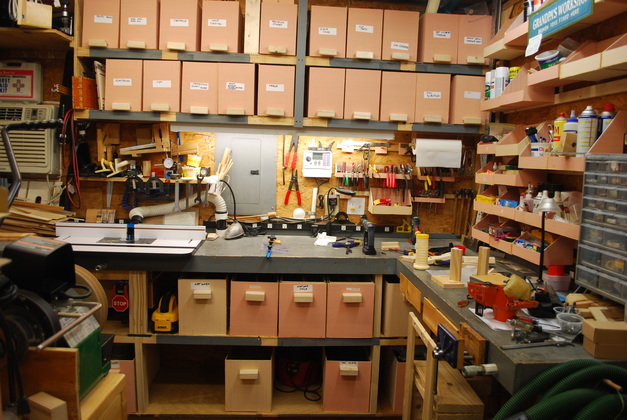
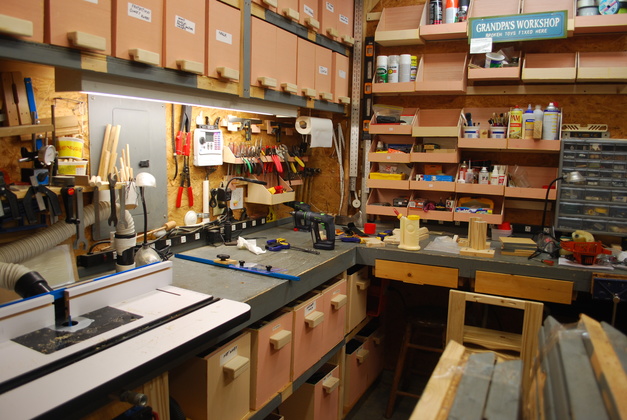
16" deep bins all in place on upper shelves and 24" bins on the lower shelves.
The whole thing is neat and very usable.
|
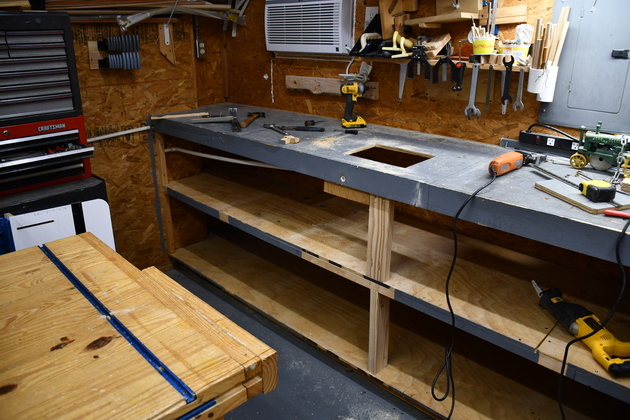
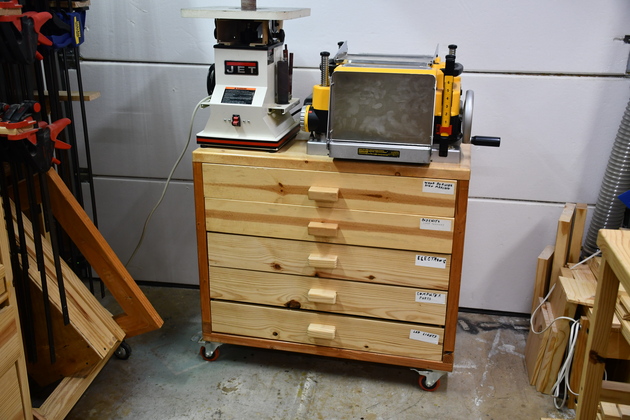
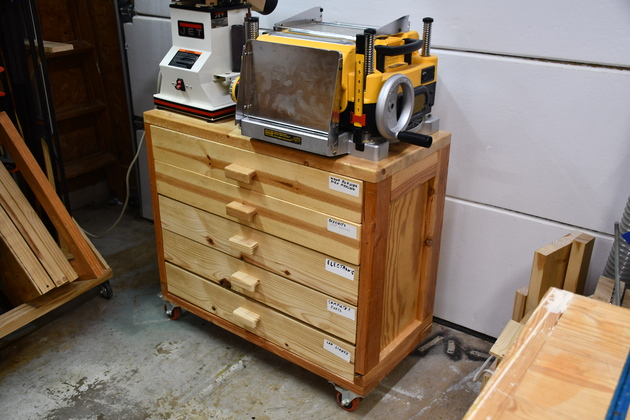
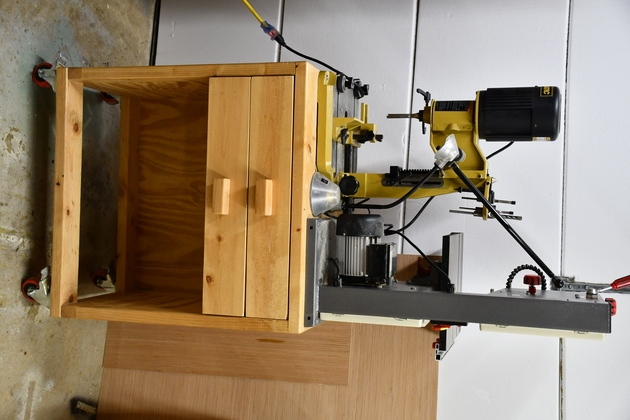
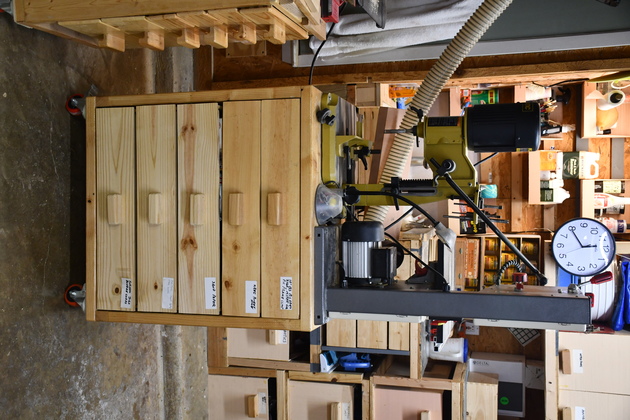
In my never ending search for more storage, and my love of drawers, heres what I did next. When I built these two benches, I only built 2 drawers each. Now that I'm in need of more storage I added the extra 3 drawers.
|
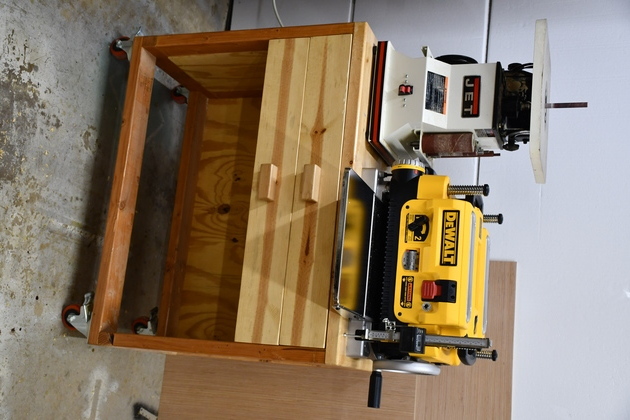
Planer / spindle sander bench as originally built. |
|
The planer/spindel sander bench with it's 3 more drawers. You notice, I have begun labeling drawers with their contents. |
|
A little different angle on the planer bench. |
|
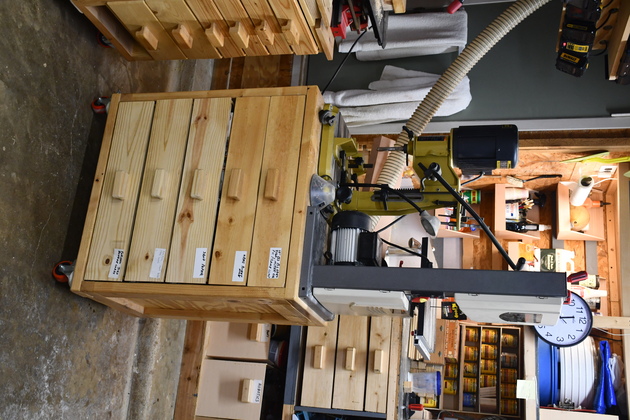
10" bandsaw & mortiser bench, as originally built. At the time, I didn't know what I was going to use the extra space for, now, I do. |
|
The 10" bandsaw bench with it's 3 extra drawers. |
|
10" bandsaw/mortiser bench, again note the labels. |

|
|