| 
| |
|
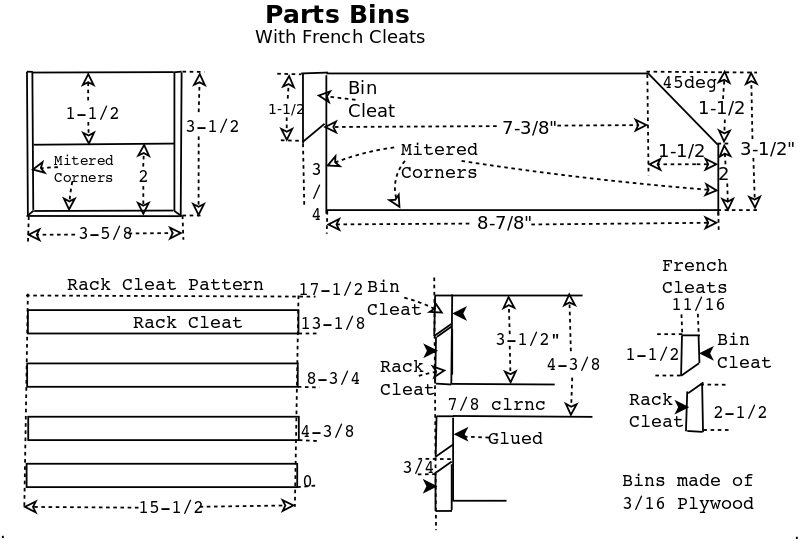
Parts Bins
| ||
|
|
| |
|
Parts Bins
| ||
| Parts Rack | Parts Bin Const. | French Cleats | Other Bins | Old Bolt Bins |
| Diagram | Tool Storage | Cut Outs | Gluing | French Cleats |
Shop re-organization is in full flight, now I'm looking at my old bolt bins and thinking about building new ones. These bins will be placed on a lower section of the roll around parts rack. This frist batch is very long due to bolt storage, addional batches will be 6" long.
The bins will be made like the other storage bins and tool storage, 3/16" (5mm) thick poplar plywood, with mitered glued joints. I have found this to make a very strong storage box. In fact, these appear to be much stronger and waste less space that plastic bins. I won't be able to use my clamping cauls, these boxes are too narrow, so I'll cut out a 2x block to fit the inside (8-1/2" X 3-1/4") and clamp the sides and ends to it while gluing.
I'll use french cleats like the tool storage, to hang the bins on the roll around rack.
|
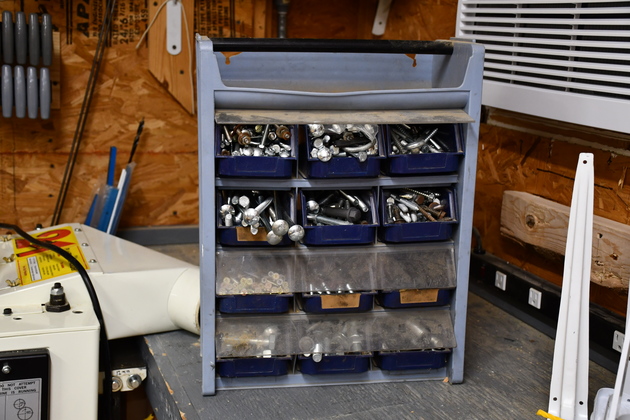
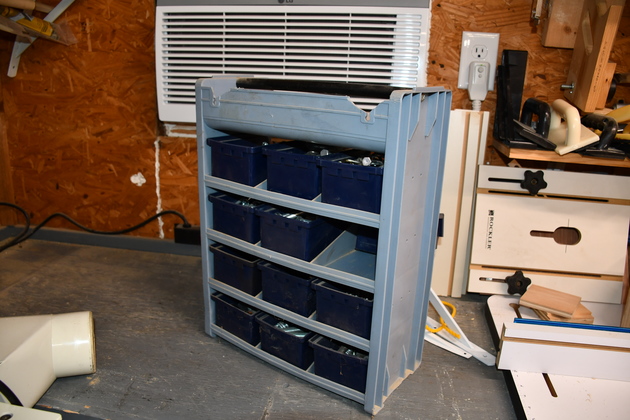
This is the old plastic bolt bin rack on the North end of the East bench under the AC. Note how lots of the bins have bolts sticking out the front. |
|
Example of bolts too long for these bins. |
|
Back side of plastic bolt bins, note the broken plastic above the old support holes and the sagging shelves. |
|
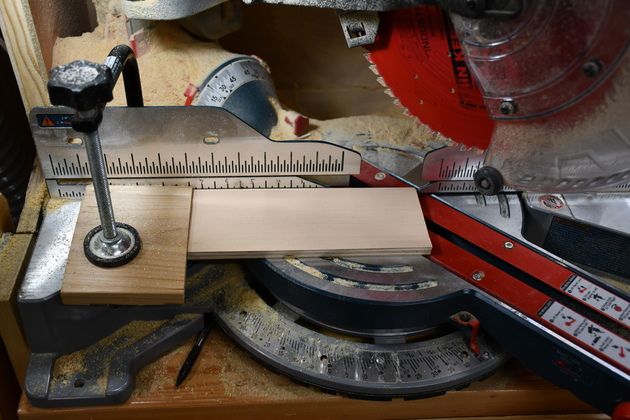
Here I'm cutting off the corner of the side pieces two at a time. These bins are made from 3/16" (5mm) poplar plywood, the pink stuff. I've used this a lot and it is very strong. |
|
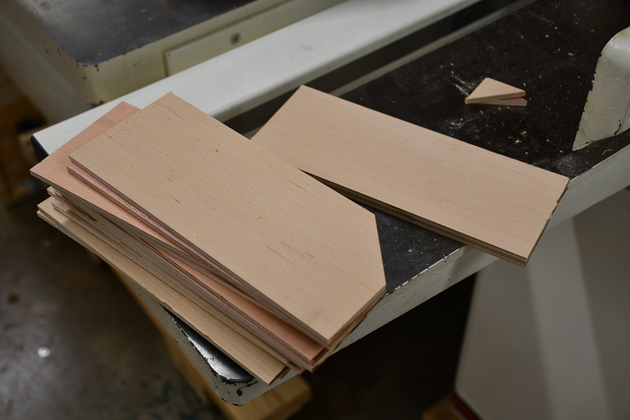
Sides with cutoff corners. |
|
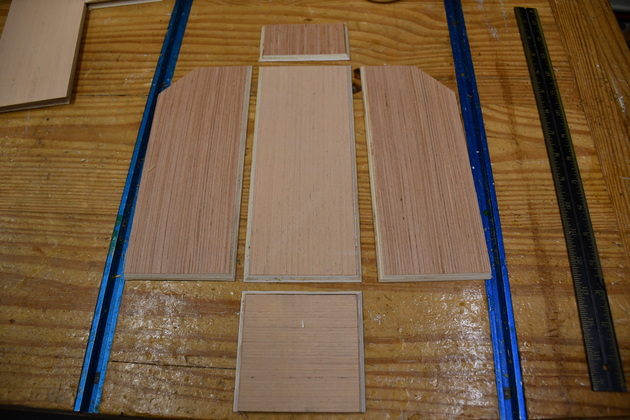
All pieces cut to size for making 16 bins. Next, miter the edges. I'll mark a letter 'T' (for top) on the up side of each piece except the bottom, and miter the non-marked sides. The bottom gets all four sides mitered. |
|
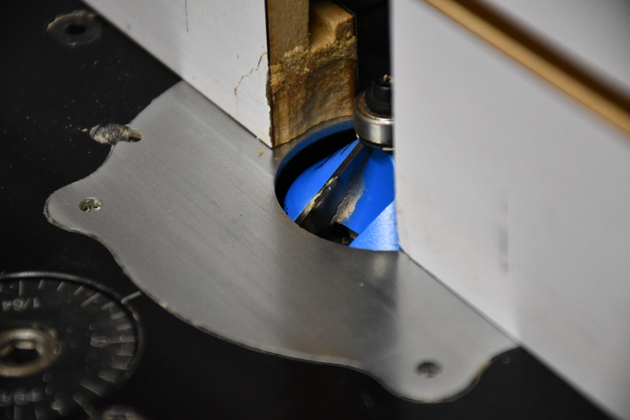
45° bevel bit in router table, ready to miter edges of bin pieces. Adust the height so the bit doesn't change the width of the 3/16 plywood. |
|
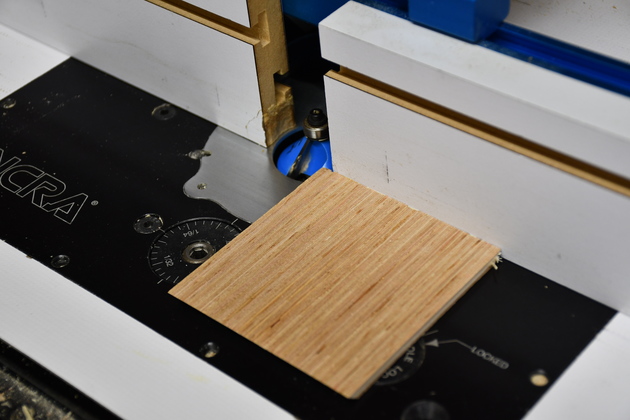
Back piece having it's edges mitered. Note the top is toward us, it will not be mitered. |
|
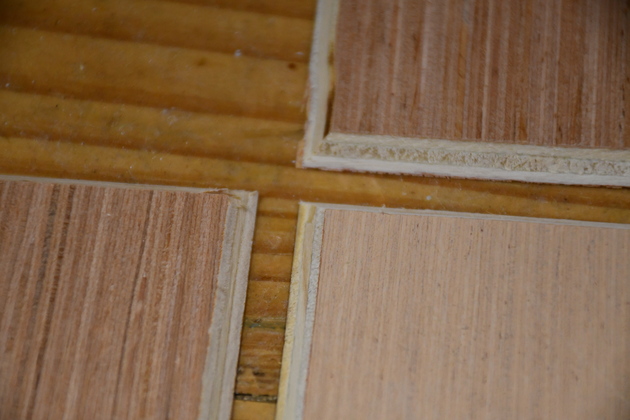
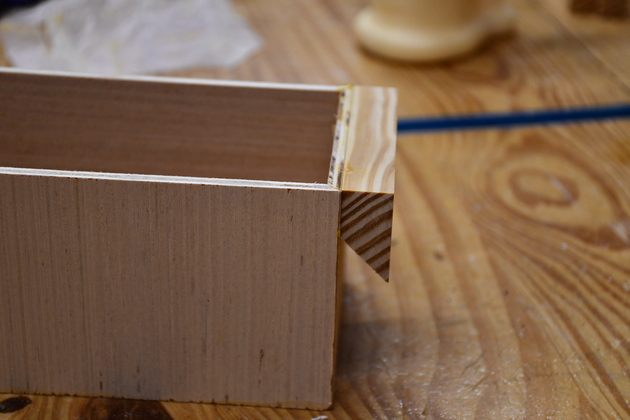
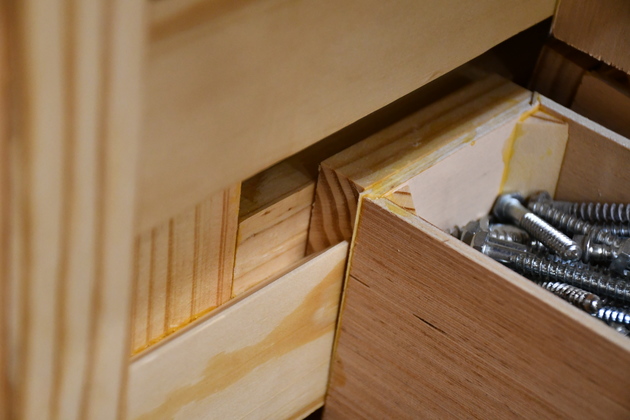
All pieces of a bin showing mitered edges. I've discovered that when you glue these mitered edges, the resulting box is very strong due to the increased gluing surface, and of course Tite Bond glue. |
|
Closer look at mitered edges. |
|
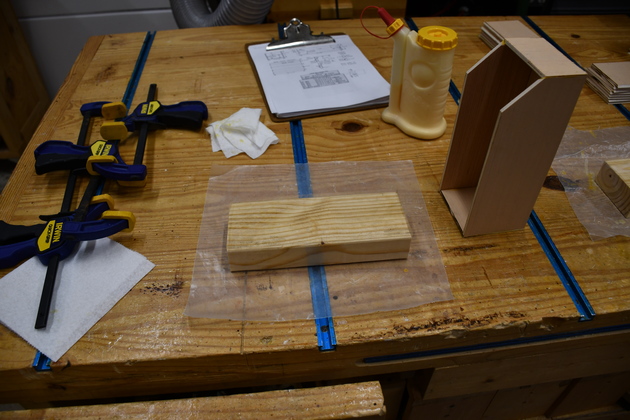
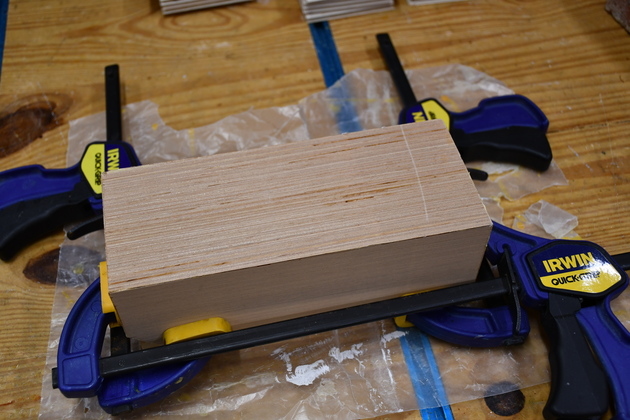
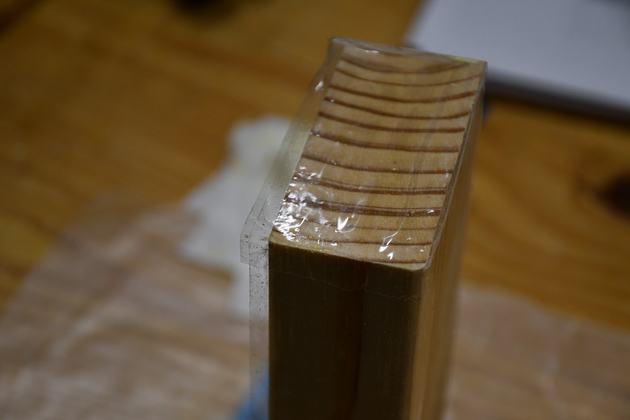
I cut out this 2x block to exactly fit the inside of a bin (8-1/2" X 3-1/4"), then wrap it's outer edge with 2" wide clear shipping tape to keep glue from sticking. |
|
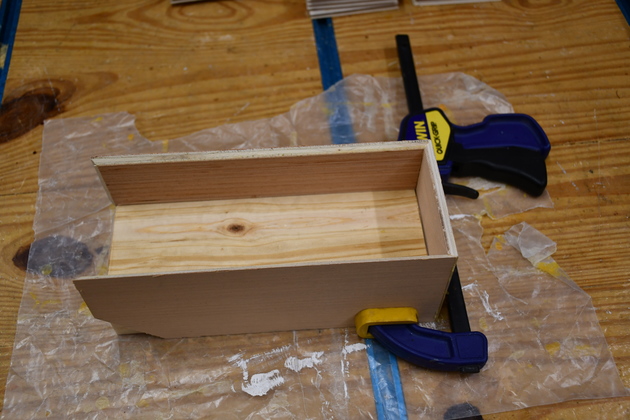
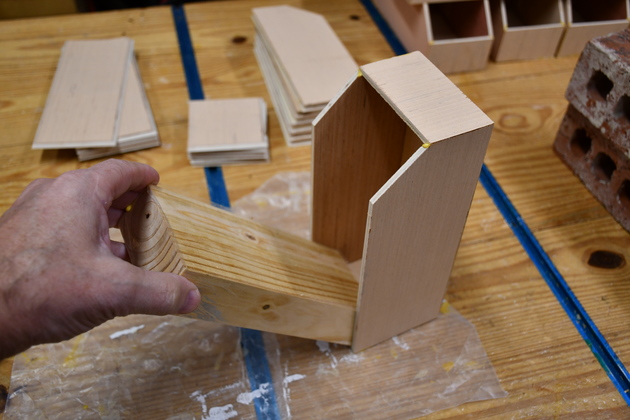
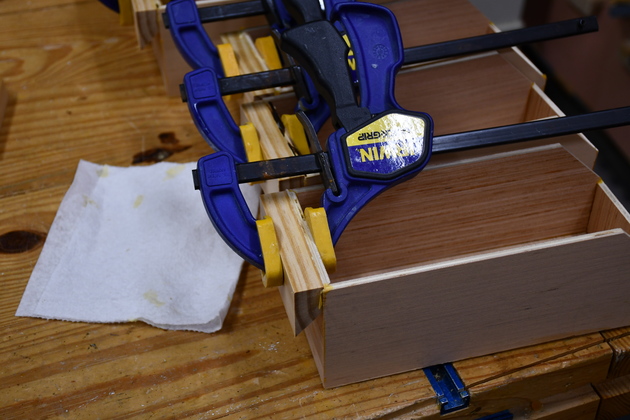
Clamp the two sides to the block, making sure the inside of the miter lines up with the corners. Note the sides are upside down and the bottom miters are up. |
|
Put glue on the mitered edge of a back and position it atainst the block. |
|
Making sure the sides line up. |
|
Put another clamp at the front of the box. |
|
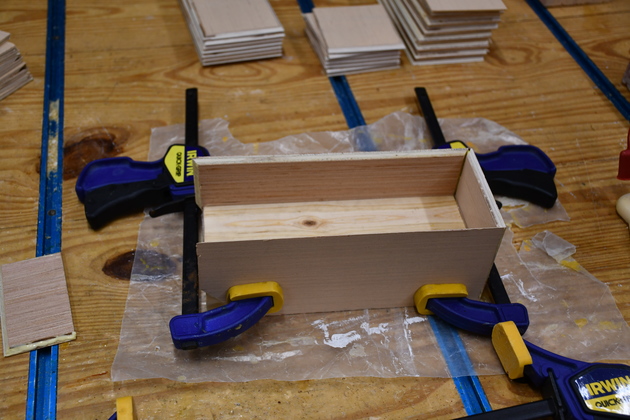
Put glue on the sides of a bin front piece and apply it to the bin sides. Only a little pressure is needed on these clamps, and make sure the front to back clamp is straight so the front corners match up. |
|
Put glue on all four sides of a bottom piece. |
|
Lay the bin bottom on the sides, back, and front. If your form block was square the corners should all line up. |
|
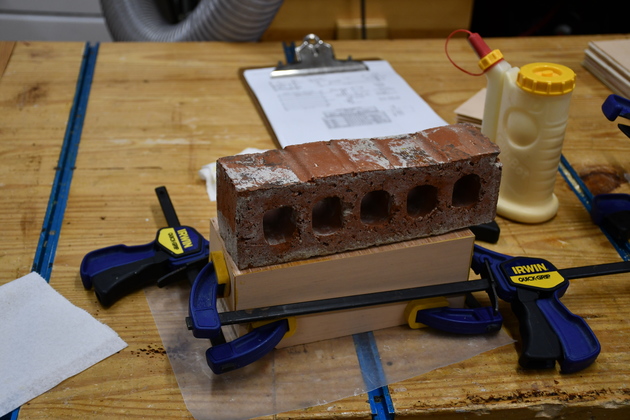
Finally a brick to keep the bottom flat. |

|
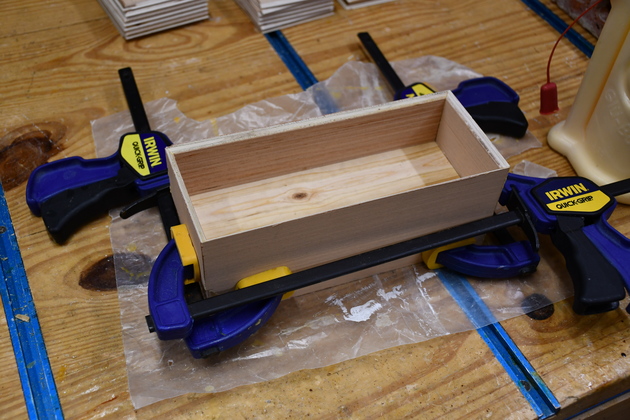
Since I only made two blocks, two bins make a glue set. Note the pile of glued bins at the right rear of the workbench, and extra clamps on the right. |
|
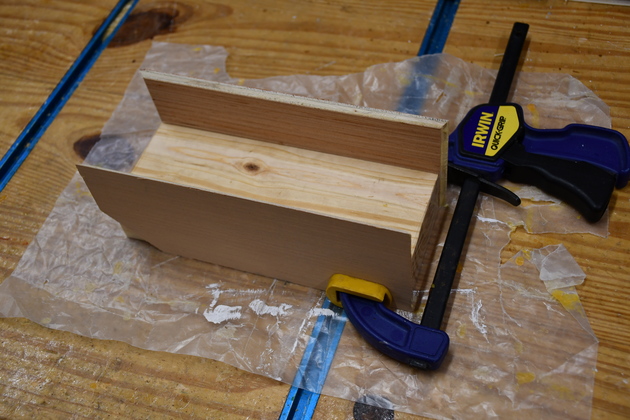
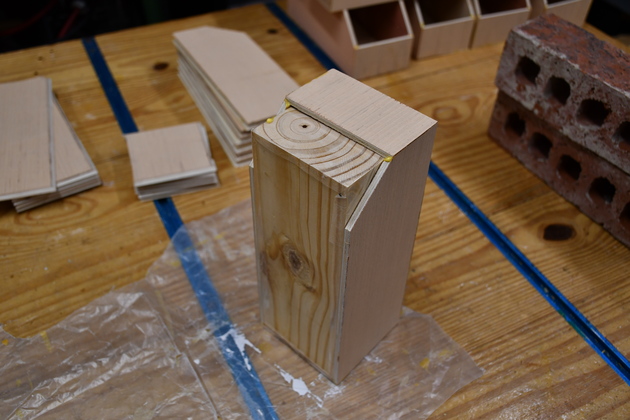
Glued bin with form block inside. |
|
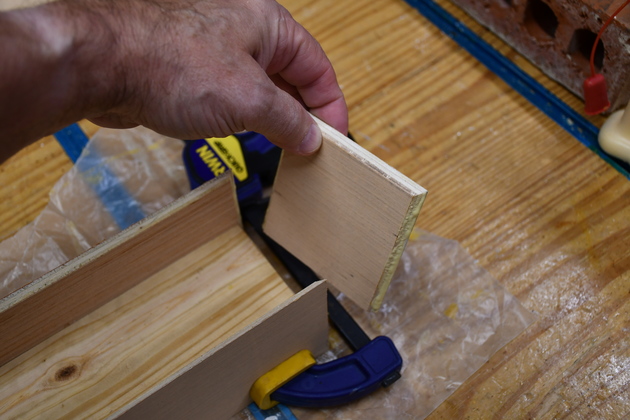
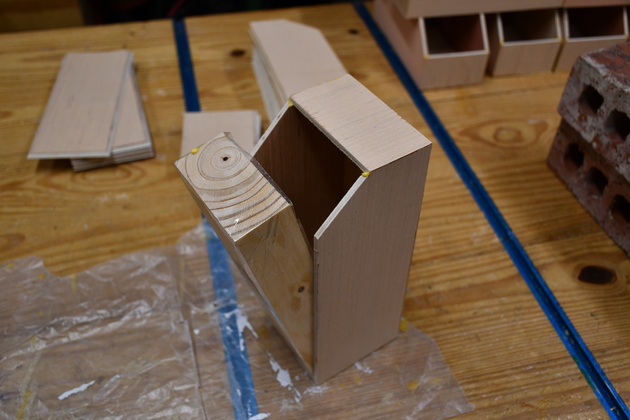
Removing form block. |
|
It just lifts out due to the packing tape. |
|
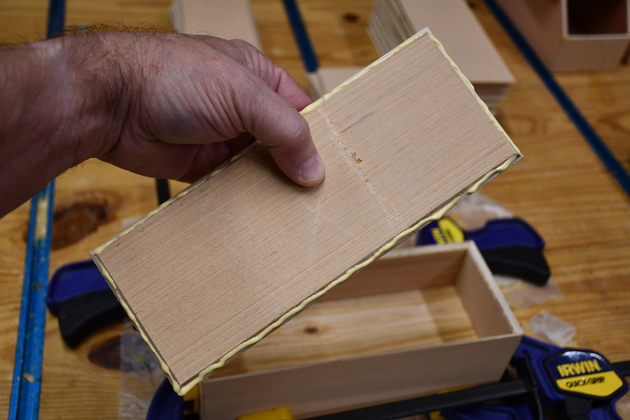
Close up of the form block, you can see the packing tape wrapped around it. |
|
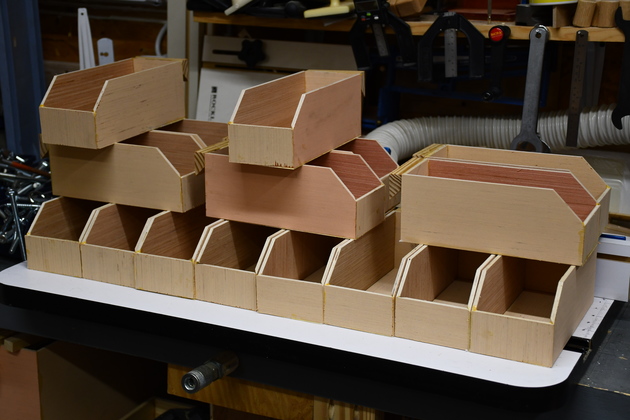
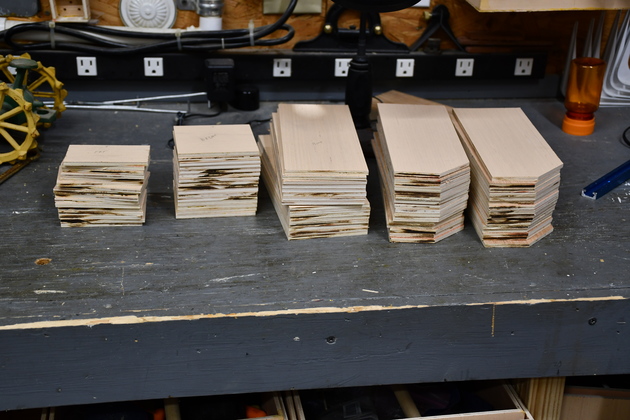
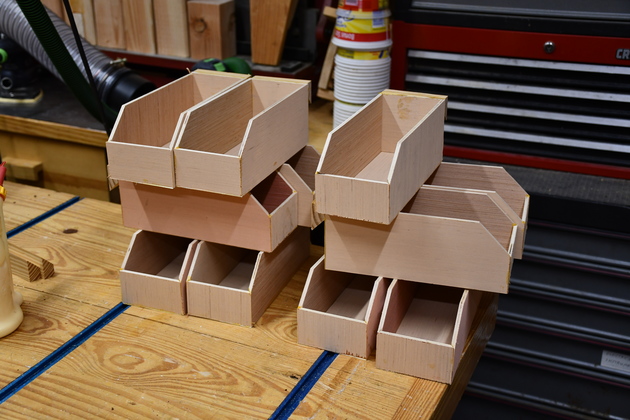
Stack of bins. |
|
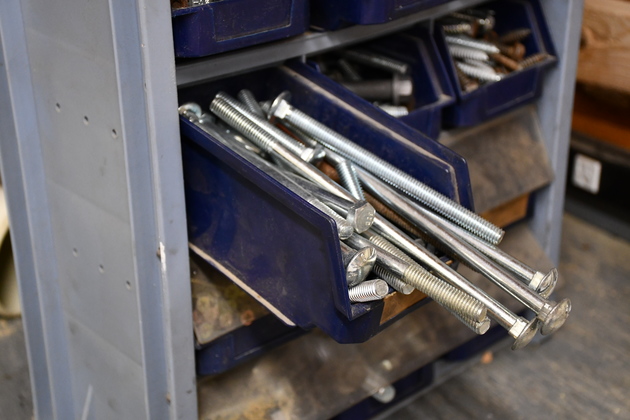
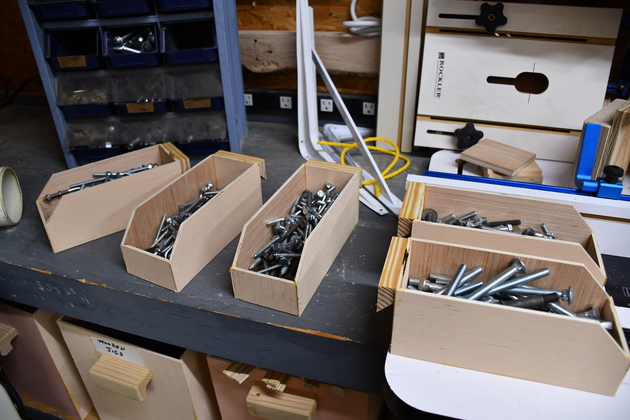
See how well the bolts fit into the new bins. |
|
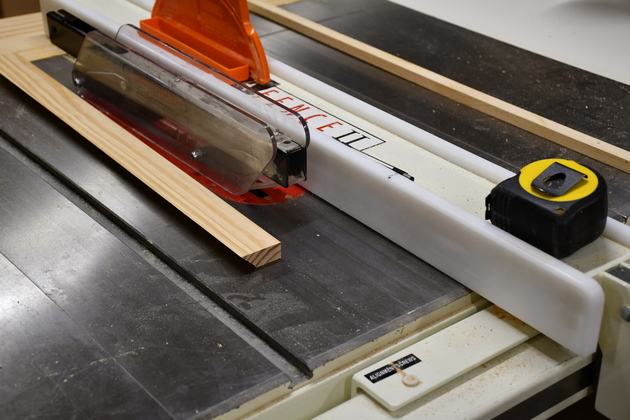
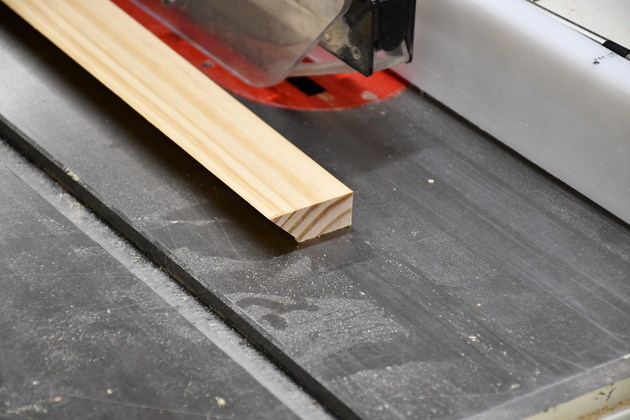
Ripping a strip of bin cleats, 1-1/2"across the wide side. |
|
Closer look at the cross section of the bin cleat strip. |
|
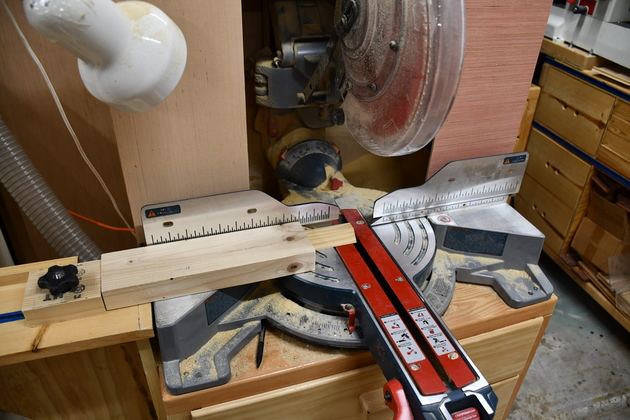
Cutting the strip into 3-1/2" long cleats. |

|
Close look at a bin cleat. |
|
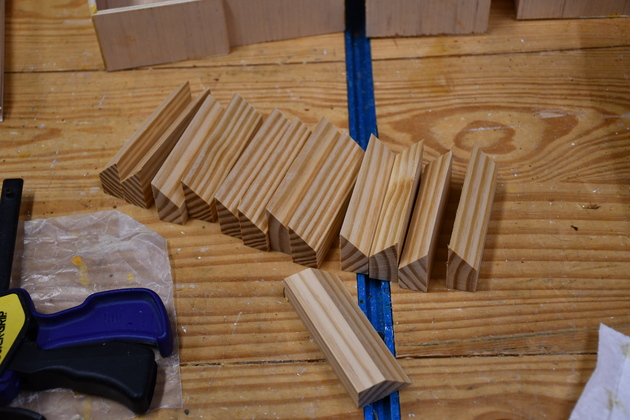
Pile of bin cleats. |
|
Gluing the cleats to the bins. |
|
Complete bin with french cleat. |
|
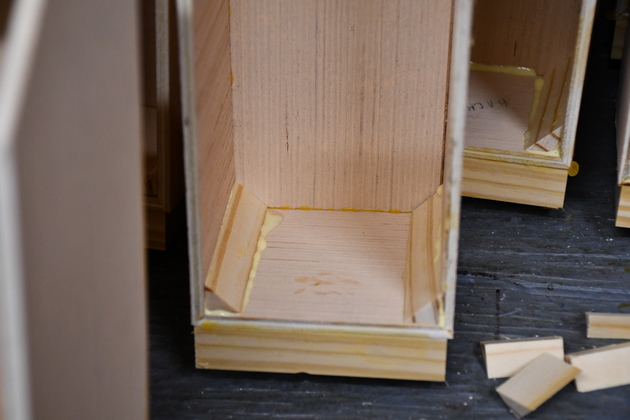
Since some of these bins will be holding a lot of weight I am gluing in corner glue blocks to make the back to side joint stronger. |
|
|
Completed stack of bins. |
|
|
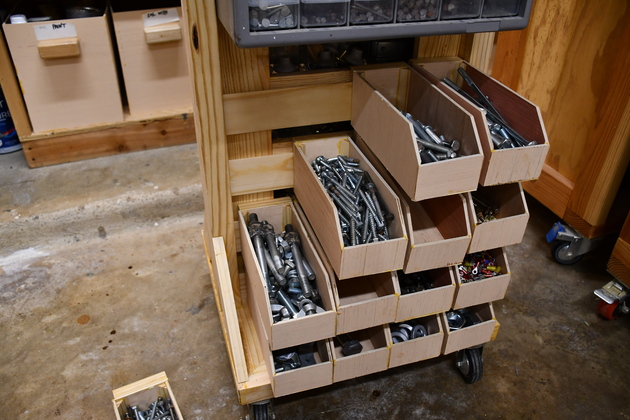
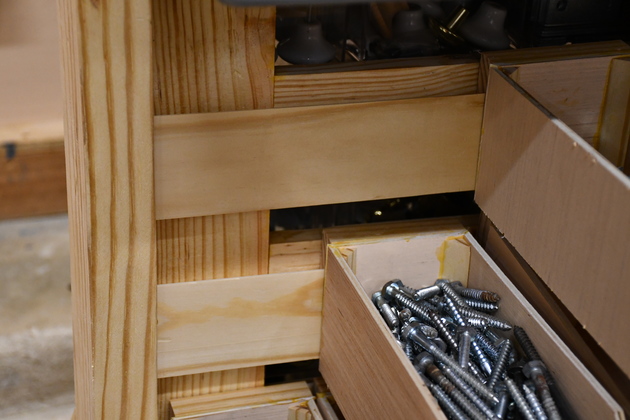
Bins being installed on the Parts Rack. |
|
Little better look at bins on the cleats. |
|
Close up of the bin's cleat engaging the rack's cleat. |

|
|