| |
|
| 
|
| 2" Old Plenum and Slide Valves
| New 4 valve plenum
|
|
2" Plenum & Valves
|
08/18/16: Page Oringin.
Originally I used commercial 2" blast gates but, due to the solid slider, they were constantly getting packed with sawdust so they didn't close completely, thus leaking.
This was a maintenace problem and general headache!
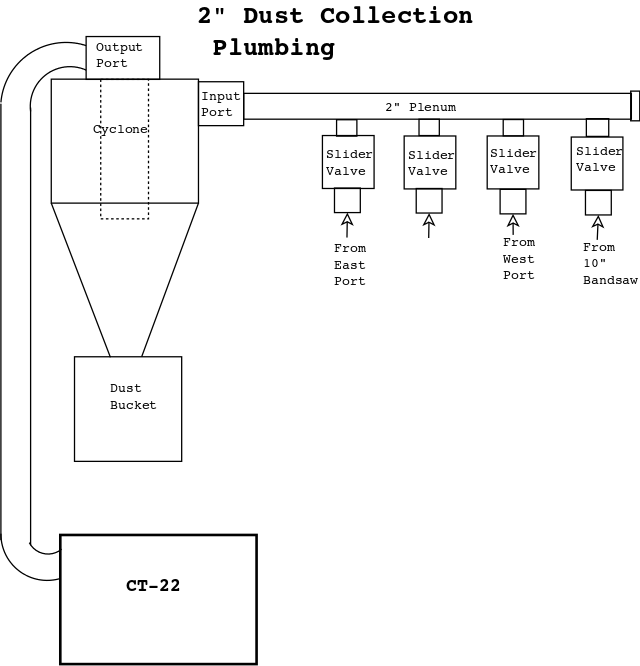
Some time ago I built a plenum and updraft valves for my 4" DC.
I recently I tried the same thing for my 2" DC but, after time, fine dust built up on the flappers until they wouldn't seat correctly and I lost vacuum pressure at my tools.
I decided to try slide valves and a 2" PVC plenum, mounted to the ceiling just as the earlier plenum had been.
Originally, I had 3 tool positions that needed 2" vacuum, the router table, West (above workbench), and the 10" bandsaw / oscillating sander.
More recently (2018) I moved the workbench to the small East bay which required a 4th 2" port in the East bay.
I also converted the router table to a roll around table with 4" vacuum port (which works way better than the 2"), leaving one slide valve unused.
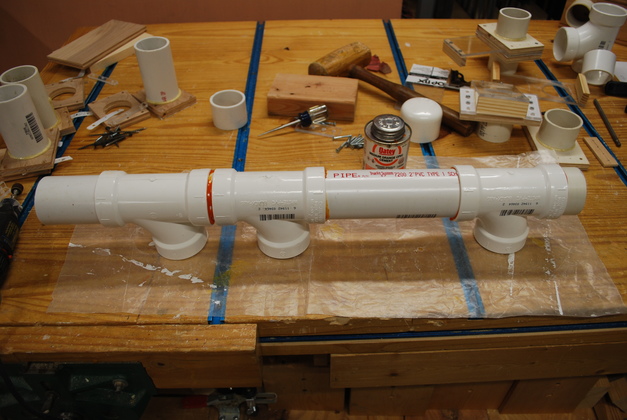
Plenum
|
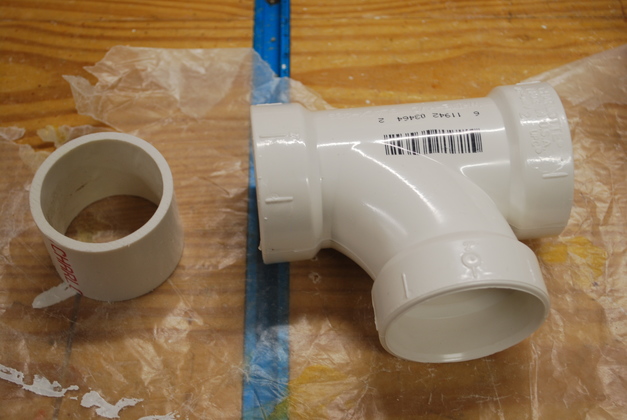
PVC 2" waste tee and a short nipple sawed from 2" PVC.
These are what I made the new plenum from, the only alignment problems are from slider valve assembly.
|
|
The original plenum glued together.
The left end goes to the cylone's input, the right end will be capped (no glue).
Later I added a 4th valve on the left end.
|
Please see the Slide Valve page.
Install
|
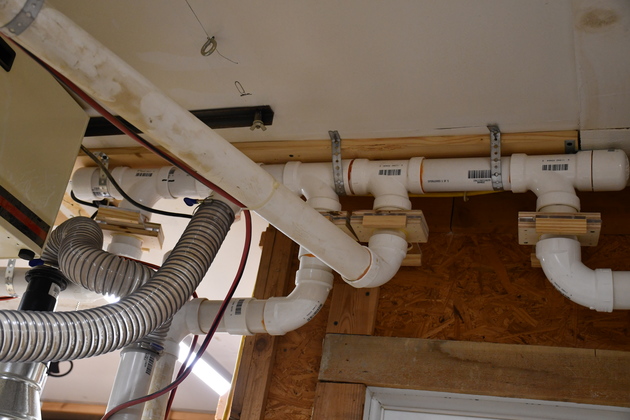
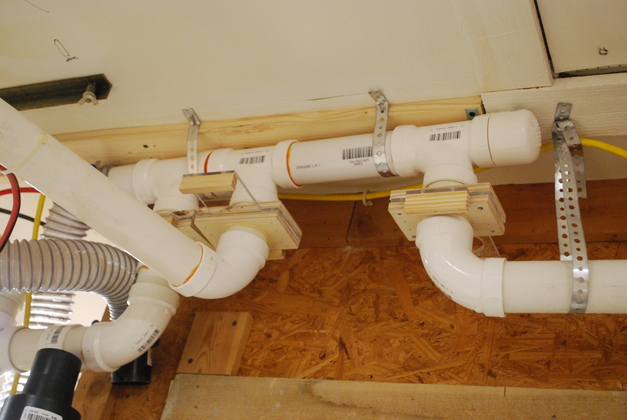
The plenum is strapped to the ceiling and the valves are inserted into the 3 ports (no glue).
You can see the center valve is open, the others are closed.
I use a small stick to open and close them.
|
|
|
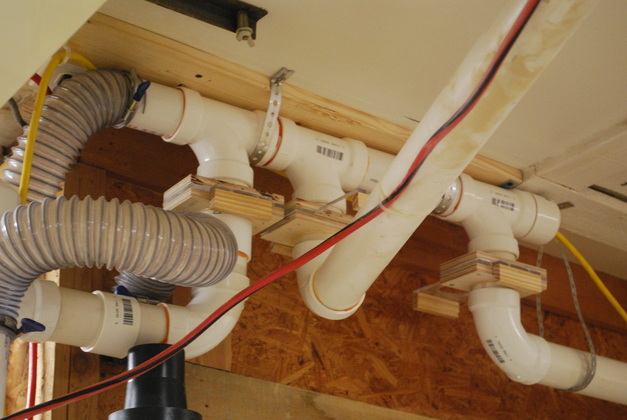
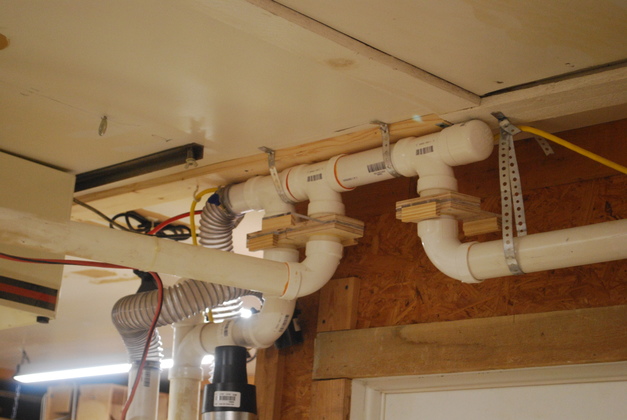
A little different angle.
The flex pipe on the left connects the 2" manifold to the cyclone.
The cyclone's output is disconnected for a little better view of the valves and plenum.
|
|
The suction is very much improved.
|
|
|
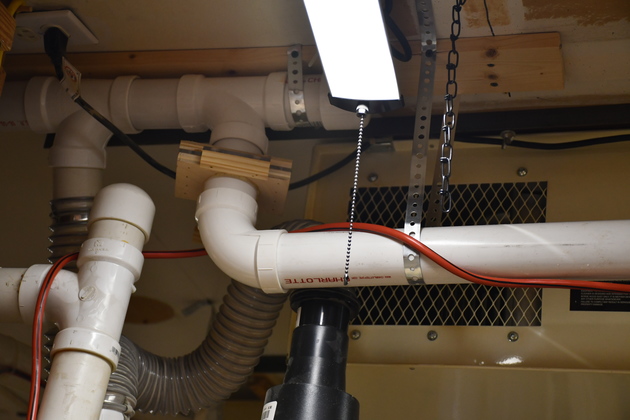
Showing the 4th valve on the left.
|
|
Back side of the 4th valve and 2" duct over the workbench in the small bay.
|