08/14/17: Page Origin.
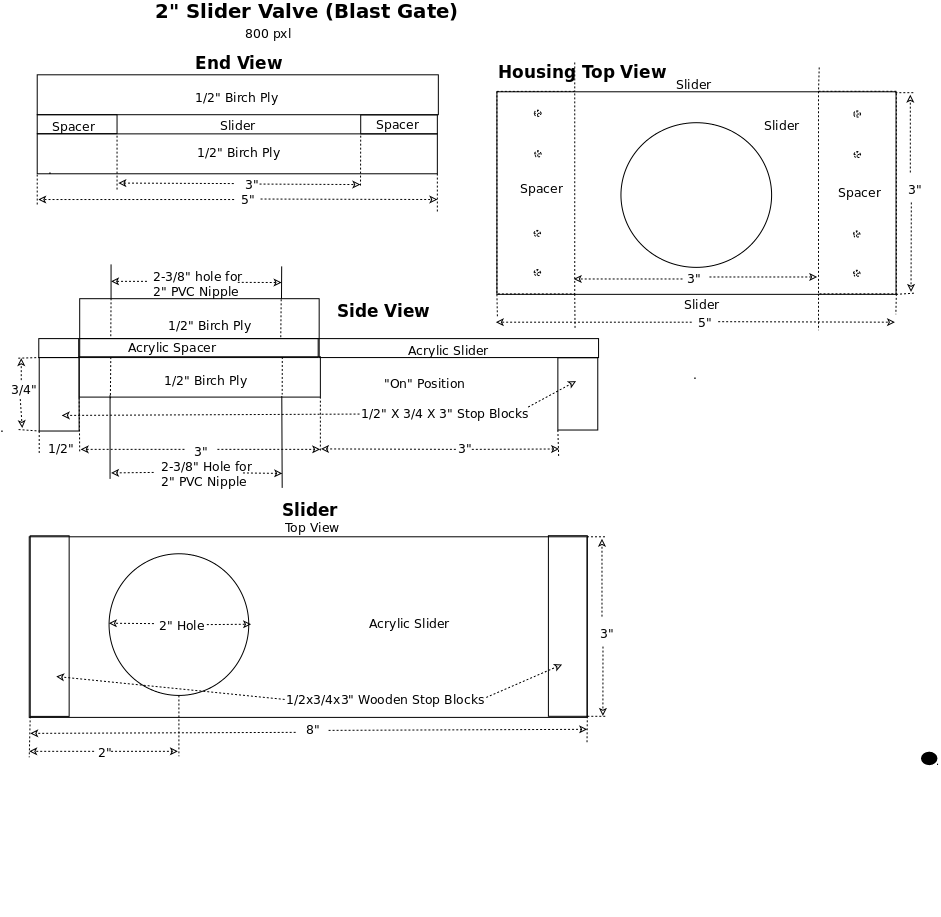
2" Slider Valves
For years I used commercial blast gates, near the machine, which use a solid plastic or metal slider, like a dull knife, to cutoff the flow of air.
The flat cutoff edge accumulates and packs sawdust against the back of the gate channel every time its closed.
This continues until it finally doesn't close completely, allowing vacuum to leak.
These cutoff gates require frequent maintenance to clear the packed in sawdust so they will close completely and reduce leakage.
Also the gates are at the point of use so its sometimes difficult to quickly see which gates are open or closed.
After my success with the 4" updraft valves and plenum, I built a 2" plenum, cyclone, and updraft valves.
The cyclone works great (once I got it sealed) but the plenum and updraft valves are hard to align and seat correctly and increasingly leak as fine sanding dust accumulates on their surface (prevents complete closure).
I decided to try to make slider type blast gates that would work with my ceiling plenum.
I wanted something with a very smooth surface for the slider so I got some acrylic from Lowes (18 x 24 x .22") and used hardwood plywood for the housing.
The shims on either side of the slider are made of the same acrylic material with and extra .003 on top of each (Printer paper), this should allow the slider to move easily with very little air leakage.
Click for larger Pic
Construction
|
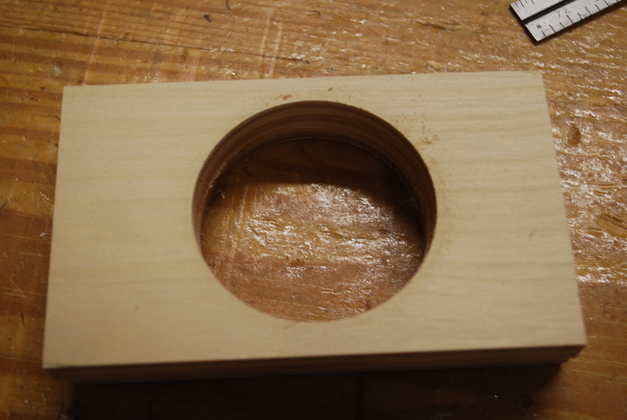
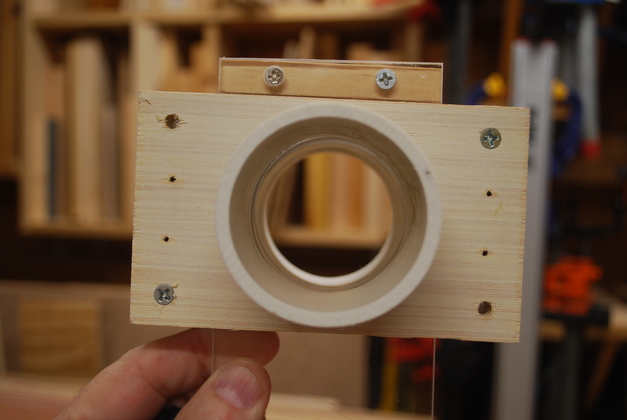
1/2" birch plywood valve body piece with 2-3/8" hole bored in the center.
The valve body pieces are 5" wide and 3" high.
|
|
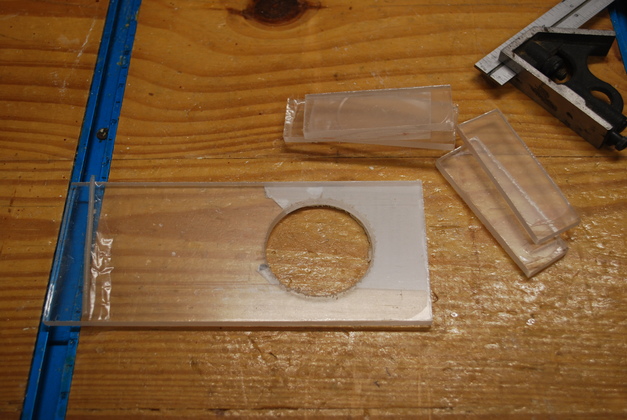
Acrylic slider with 2" hole and acrylic shims.
The slider and shims are made from the same material so they are exactly the same thickness.
I'll add a .003" thick paper shim on top of the acrylic shim to make sure the slider will move and still not have a big air leak.
The shims are 1" wide and 3" long.
|
|
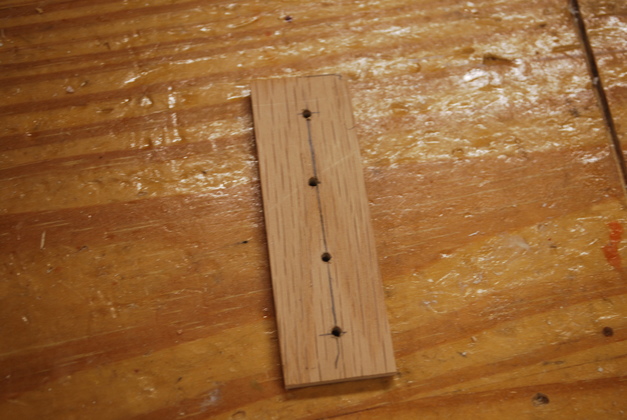
I made this little guide for marking the edge pilot holes.
|

|
Guide being used to mark a plywood body piece.
You can see the marks on the left side.
The same guide is used for marking the acrylic shim holes.
|

|
Acrylic shim marked for drilling.
|

|
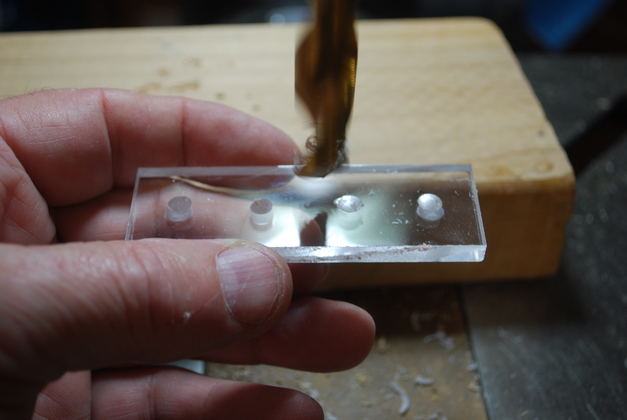
Drilling pilot holes, you can actually see the drill bit inside the acrylic.
|
|
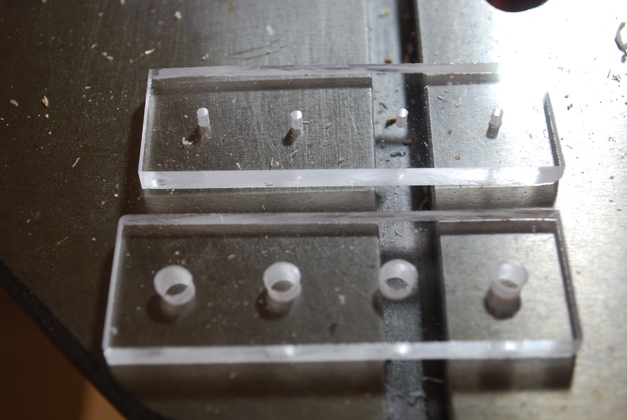
Shim with pilot holes and another drilled with 3/16" clearance holes for mounting screws.
I found that pilot point drill bits worked well on acrylic.
|
|
I used a larger bit (1/2") to chamfer the holes in acrylic.
This bit is a standard metal drilling bit, no pilot point.
|

|
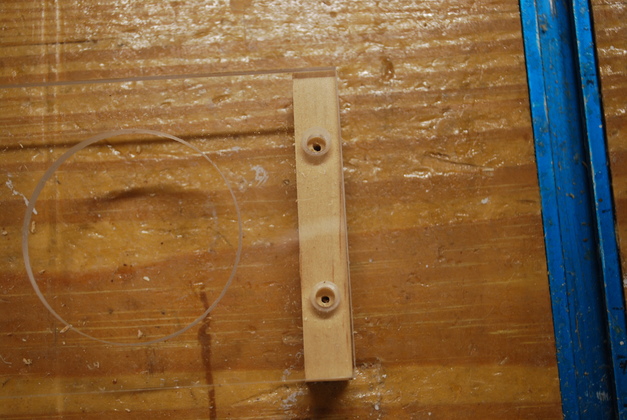
End of acrylic slider with mounting holes for stop block and stop block with pilots holes drilled.
|
|
Using the guide on both pays off, notice alignment.
|
|
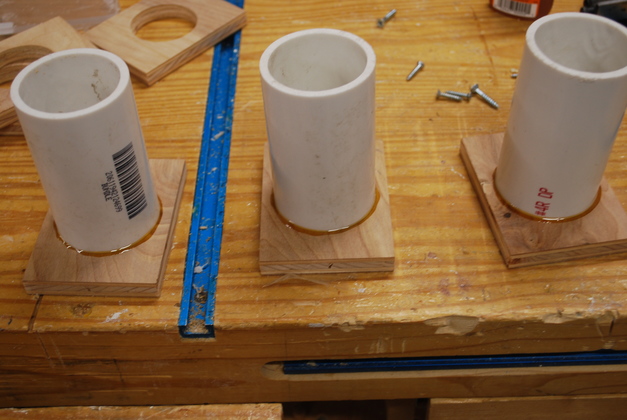
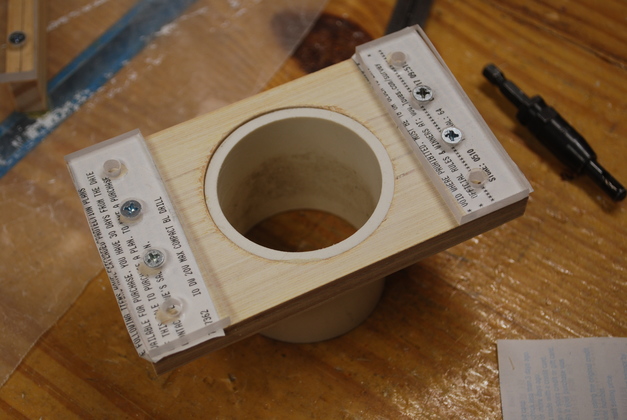
2" PVC connector nipples being glued into valve housings.
The 2" PVC pipe fits snugly into a 2-3/8" hole, then I use polyurethane Gorilla Glue which foams up sealing as it cures.
|
|
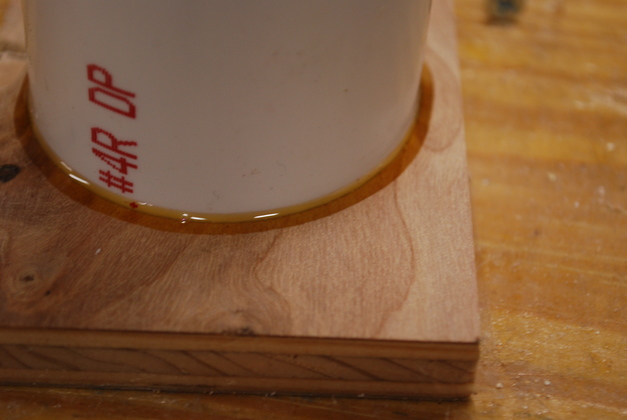
Close look as Gorilla glue starts to set up (foam).
|
|
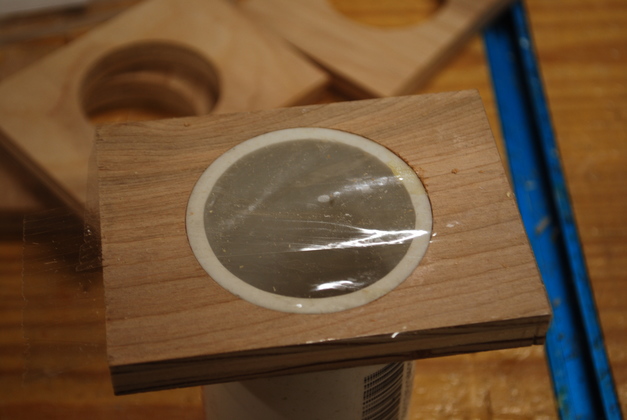
When I glue in the PVC nipple I put 2" packing tape across the bottom so no Gorilla glue gets into interior of valve.
Note how the 2" nipple isn't quite flush with the surface of the valve body so I doesn't interfear with the slider.
|
|
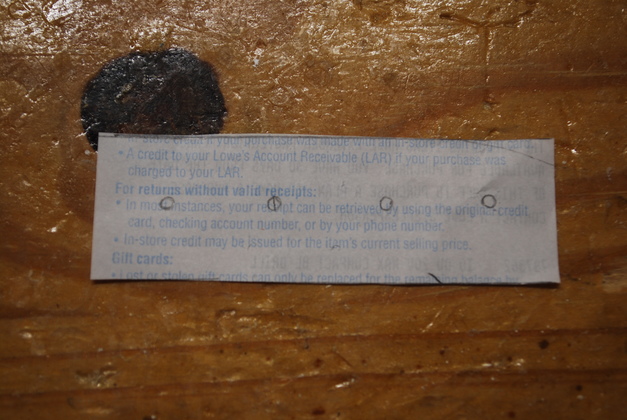
Paper shim marked for punching holes.
I used a regular paper punch to make clearance holes.
|
|
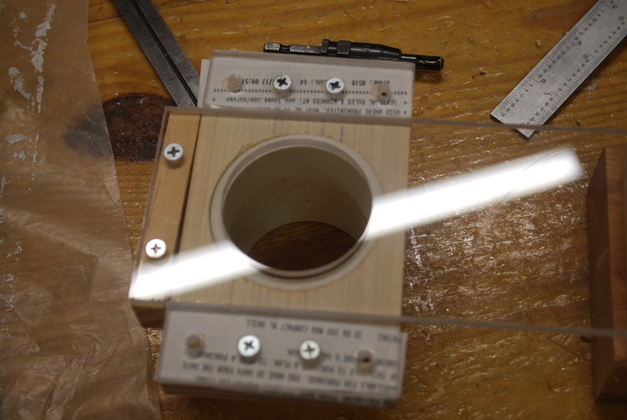
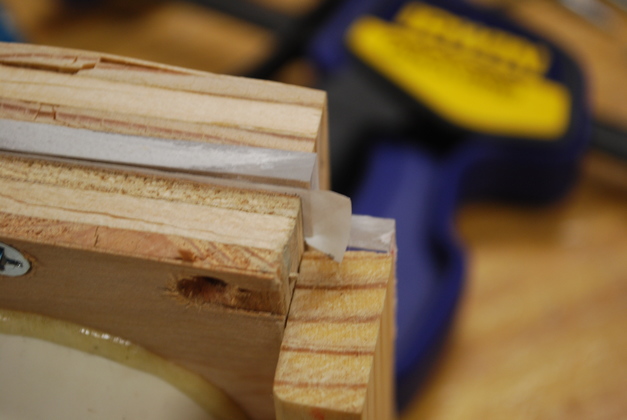
Acrylic shims mounted on sides of body piece with .003" paper shims under them.
|
|
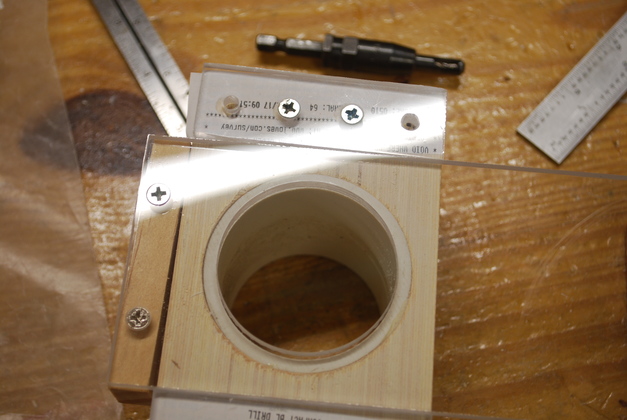
With shims mounted.
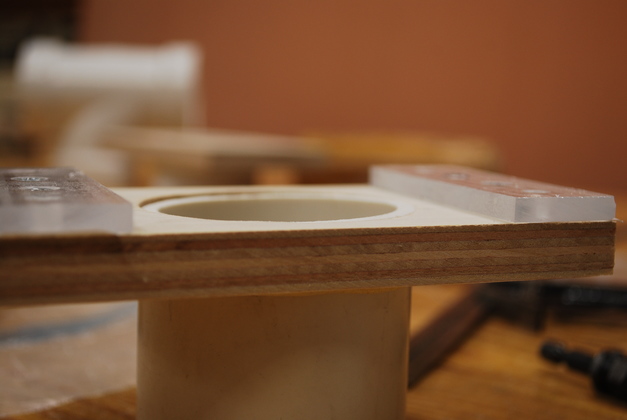
When you glue in the 2" PVC nipple, be sure it is below the surface of the inside of the valve body so it doesn't obstruct the slider's movement.
You can see just a little lip above it here.
|
|
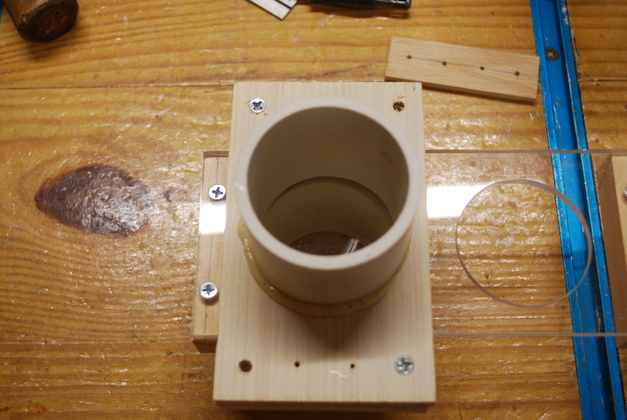
Slider in position, ready for top body piece.
|
|
Note stop block on left against the body and alignment of hole with PVC nipple.
|
|
With the top body piece mounted you can see the alignment of slider hole and PVC nipple.
|
|
End of paper shim sticking out above the acrylic shim.
|
|
Valve in closed position.
|
|
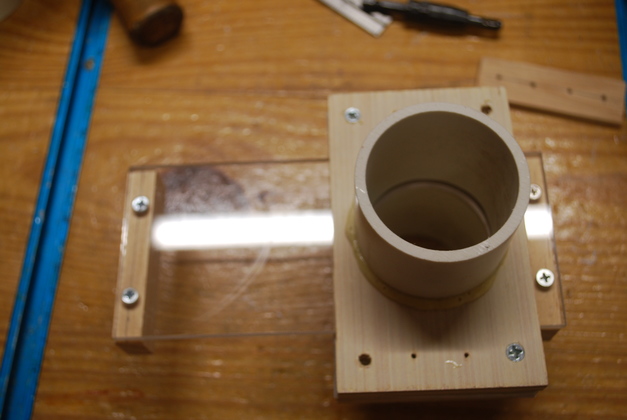
Valve in open position.
|
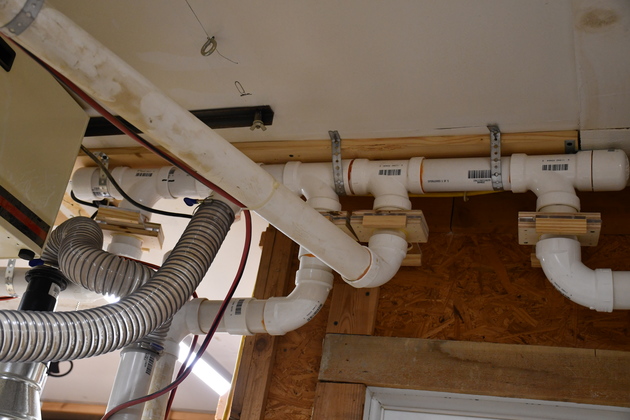
Installed
|
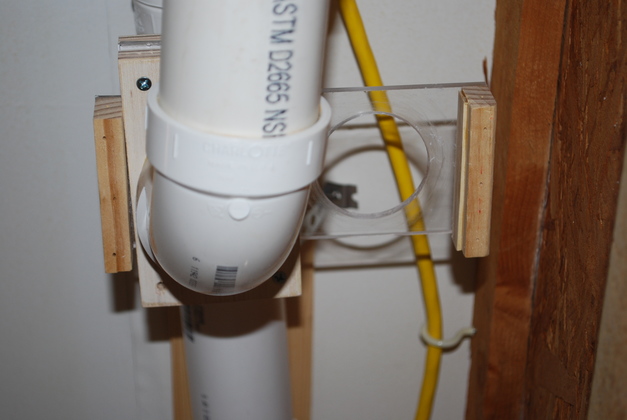
Installed valve in "closed" position.
Note the yellow 12ga extension is for the 10" bandsaw so it starts the dust collector when the bandsaw is switched on.
|
|
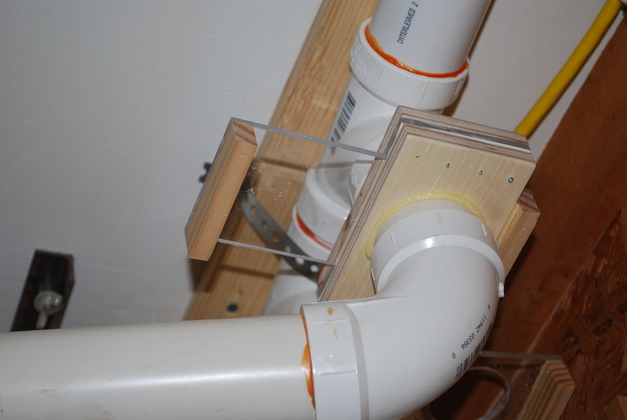
Installed valve in "open" position.
|
|
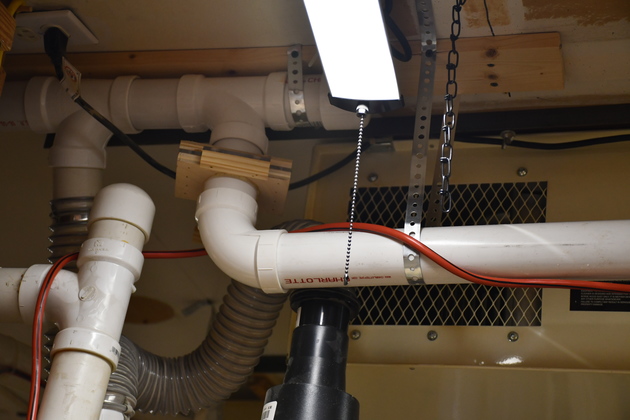
Back side of the 4th valve leading over the workbench in the small bay.
|