|
|
|
|
|
|
|
|
|
| Diagram | Construction Info | 4" Revamp | Old System Pics |
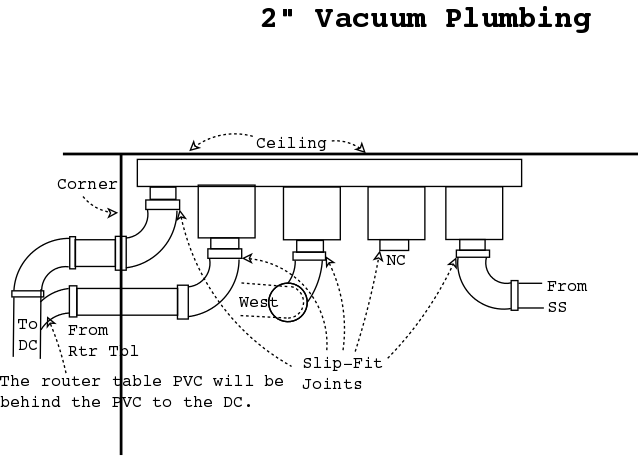
| 2" Plumbing | Plenum | Valves | Install |
| ShopVac Cyclone | 2" Slider Valves |
2" Slider Valves
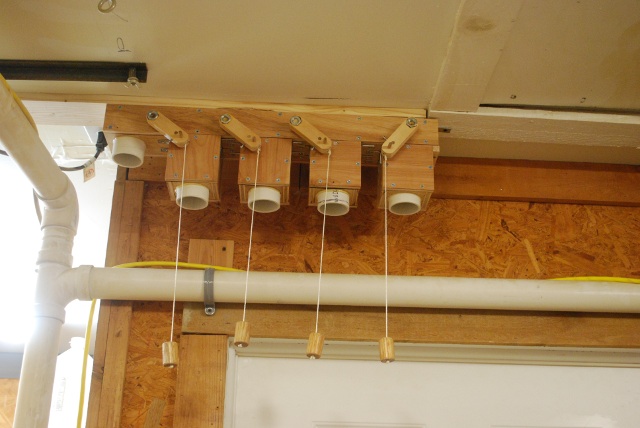
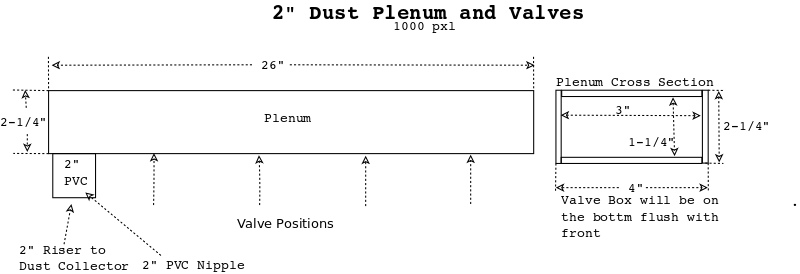
I built a plenum, cyclone, and updraft valves for my 2" dust collection system.
The plenum and cyclone work great but the updraft valves leak a little so its time to try something else.
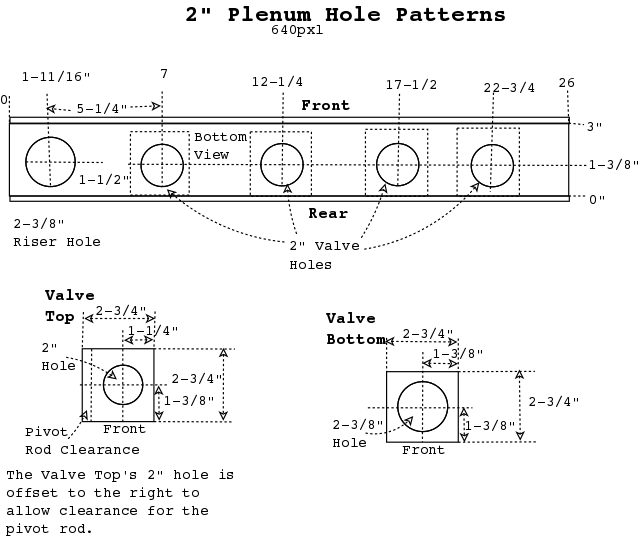
I decided to try to make slider type blast gates that would work with my ceiling plenum.
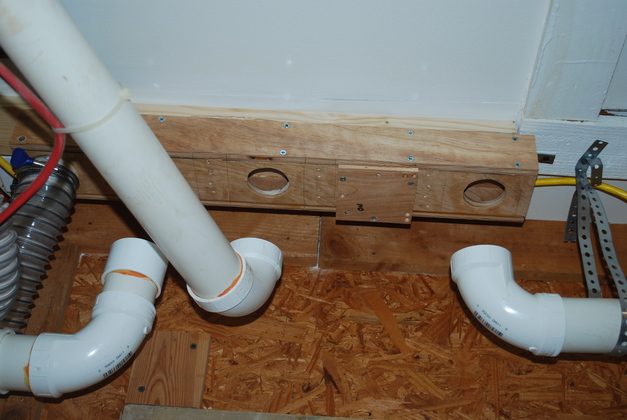
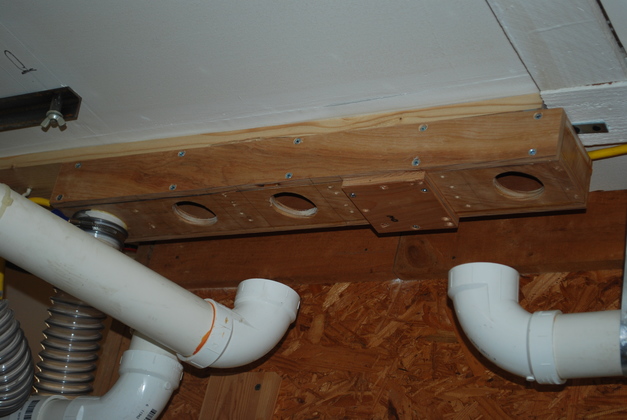
In the past I had comercial blast gates but dust collects behind the gate slider when its open, then compresses when the valve is closed which finally prevent the valve form closing, thus a leak that gets worse.
This is a real nuisance.
|
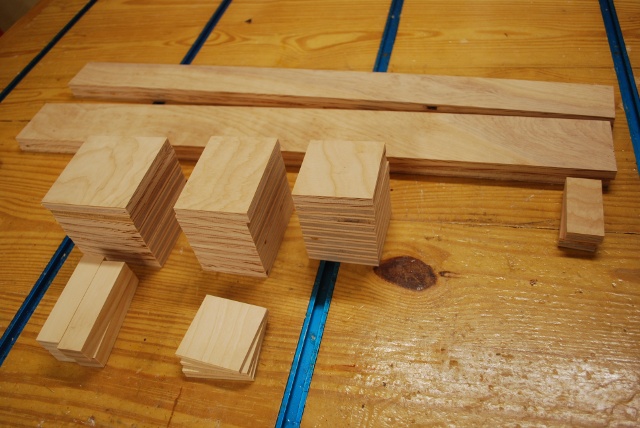
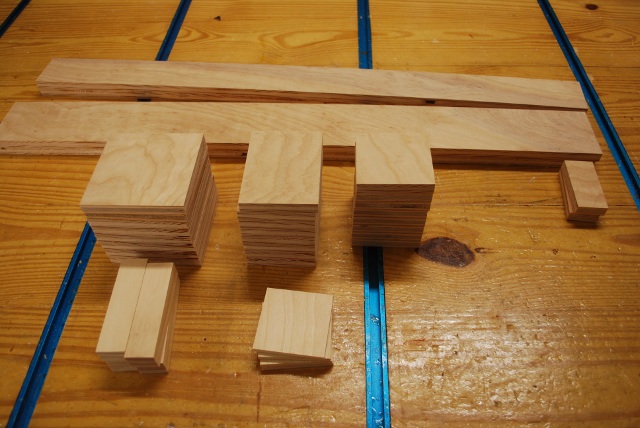
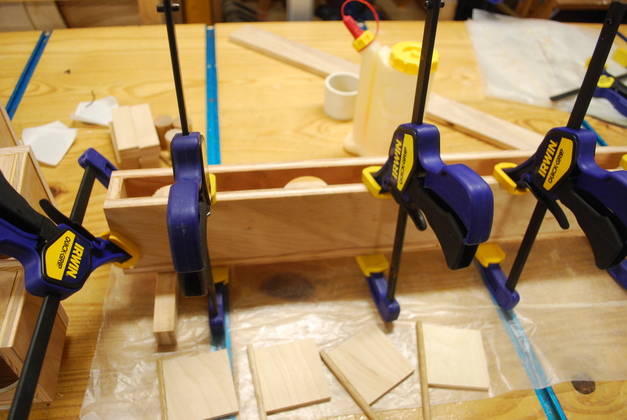
Wood sawed:
Top and far right: plenum pieces, front/back, top/bottom, ends. Middle valve pieces, front/back, sides, top/bottom. Bottom: white wood control bars and 3/16" valve flappers. |
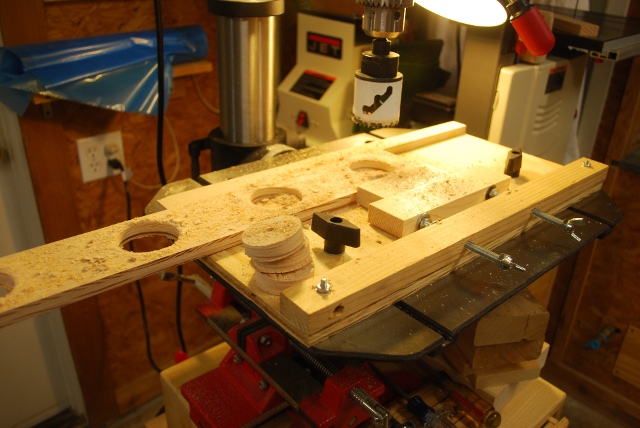
| Plenum (and valve) parts cut out in rear. |
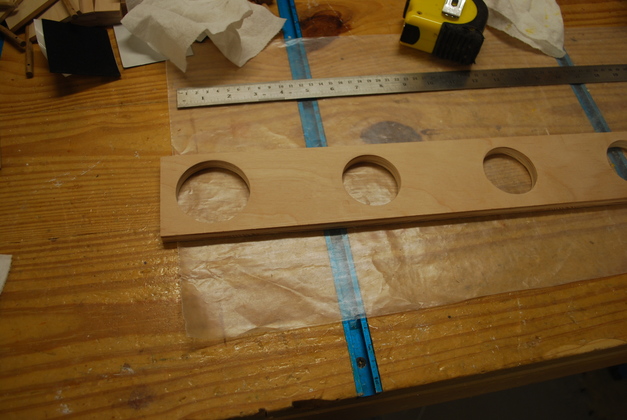
| Holes sawed in the plenum bottom. |
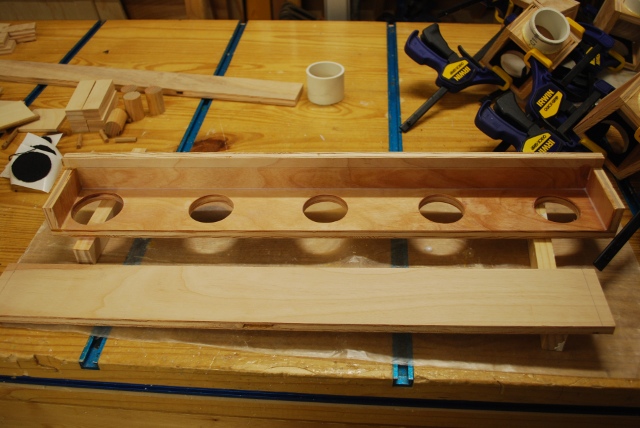
| Plenum bottom plate ready to paint and glue. |

| Plenum back being glued to bottom plate. |
| Now the ends are glued and inside painted. |
| And the plenum top being glued. |
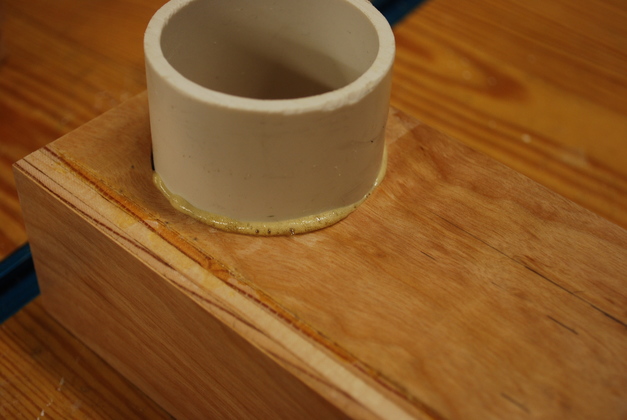
| The short nipple vacuum riser from DC Gorilla Glue'd to plenum bottom. See how the Gorilla Glue foams to seal any voids. You can see the back glued to this side of the plenum. |
| Plenum's front cover gasket has been stuck on the plenum box. The front cover is in the fore ground. |
| Plenum front cover screwed on. |

| Flat head 1" screws, countersunk, holding on the plenum's front cover. Remember the front has to be flat to allow the valve control bars to move side to side. This is also the way the valve box cover is attached. |
|
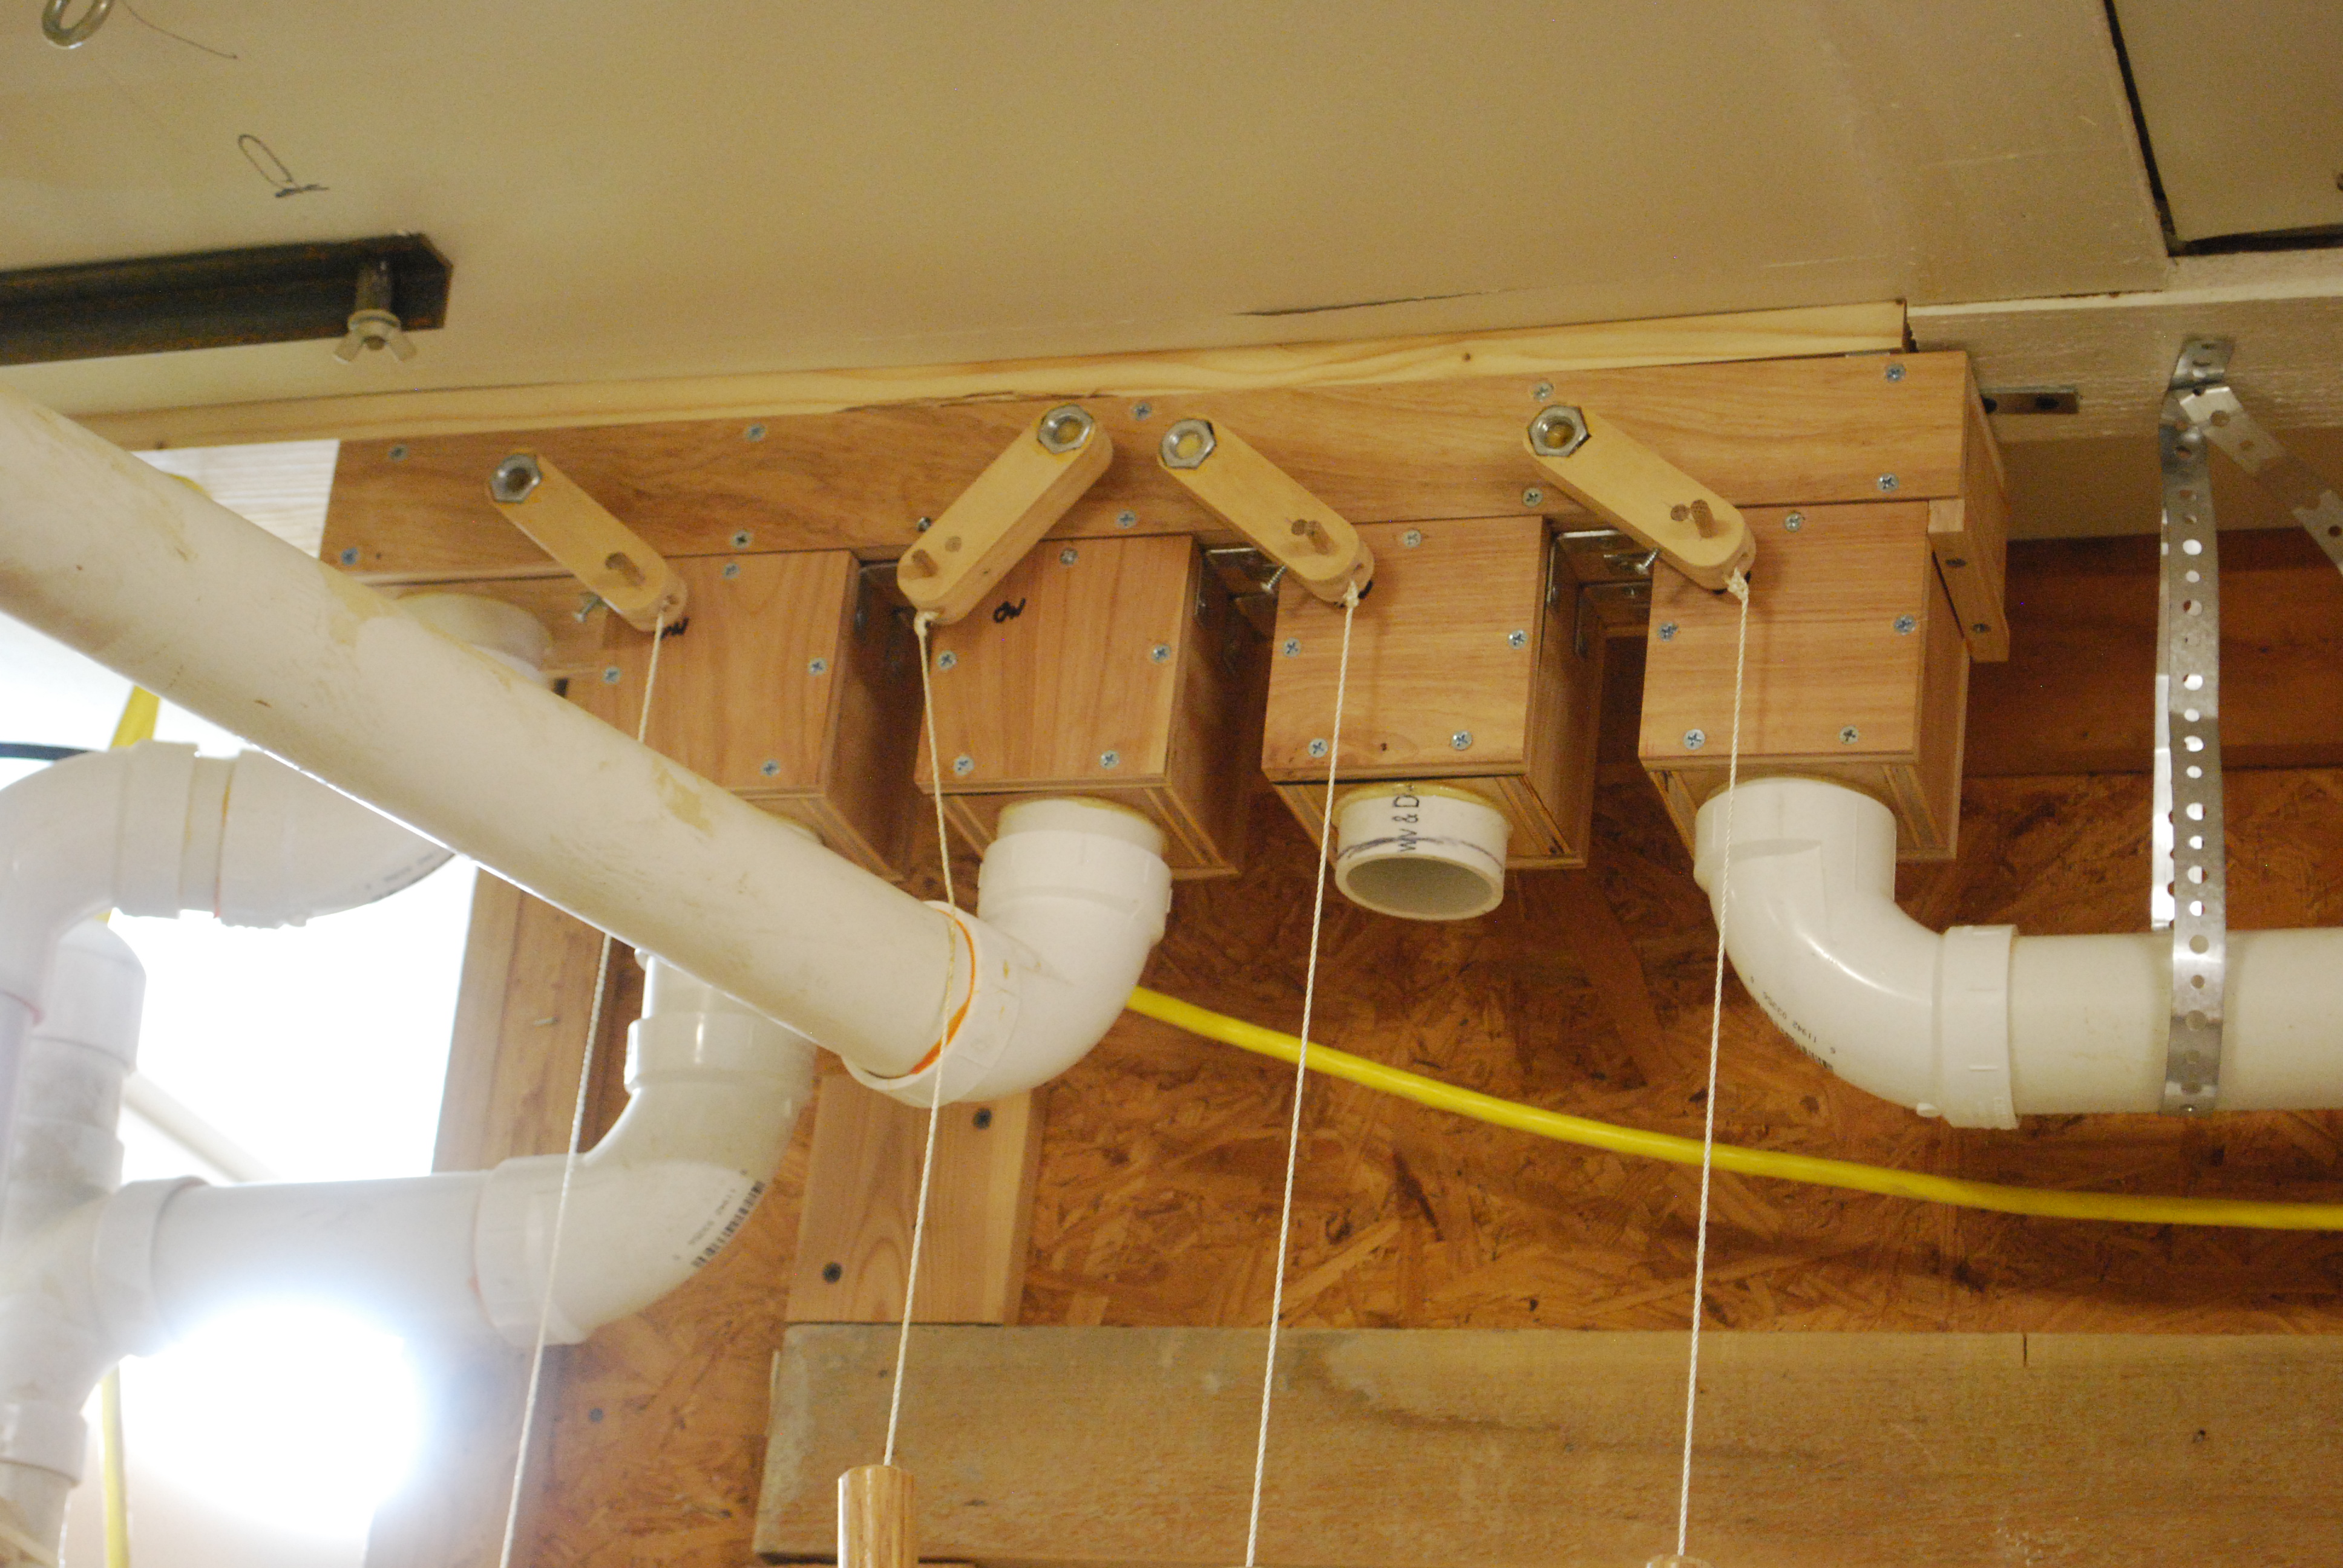
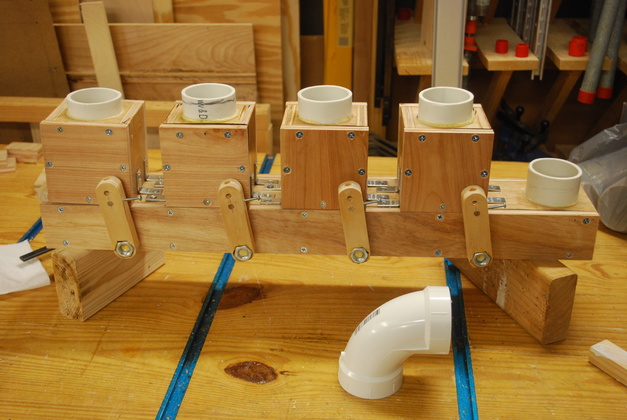
Plenum with original updraft valves mounted.
Since the valves are upside down they're not open or closed hence the control bars aren't at a 45° angle.
Thats a 2" PVC ell in the foreground. |

|
|