|
|
|
|
|
|
| |
|
Mitering Plywood
| |||
|
|
|
|
|
|
|
|
| |
|
Mitering Plywood
| |||
| Clamping Cauls | Range Box | Tilt Out Bins | Parts Bins |
| French Cleats | Storage Bins |
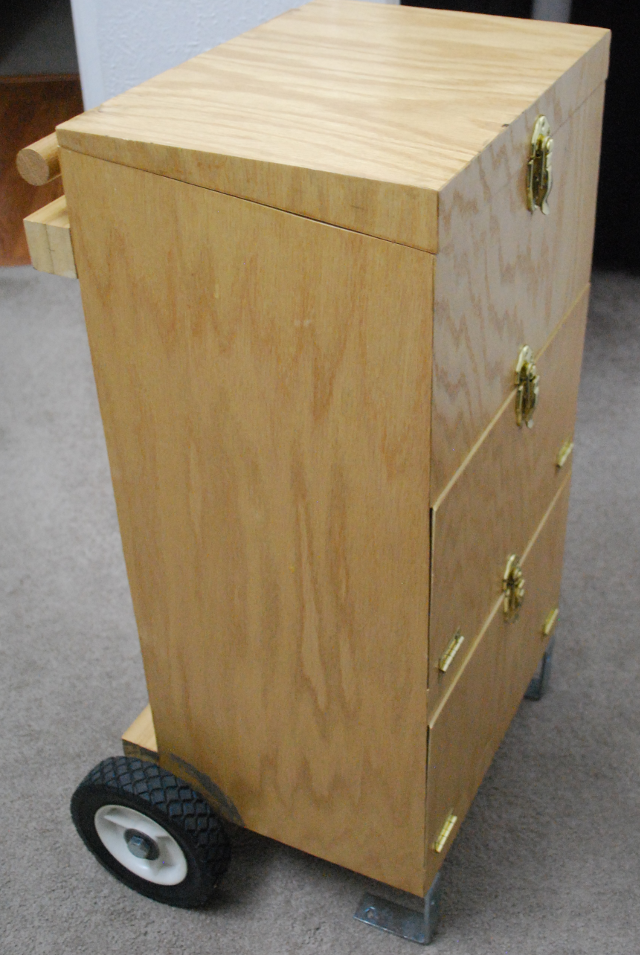
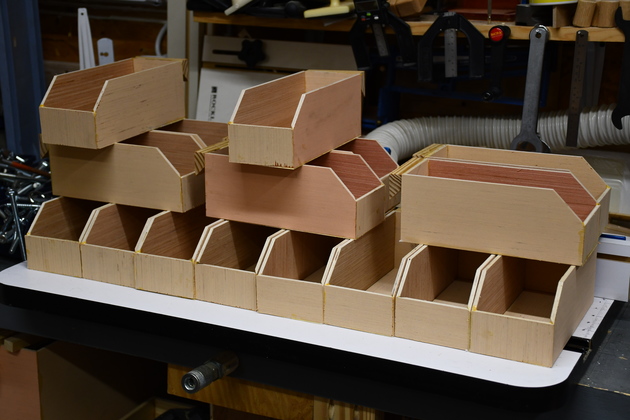
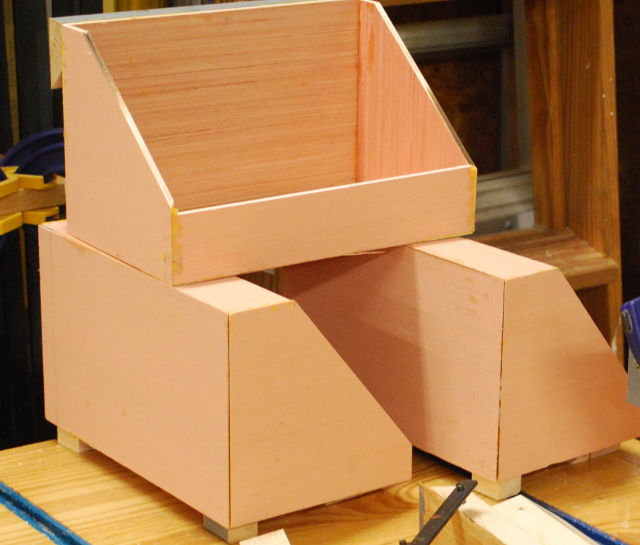
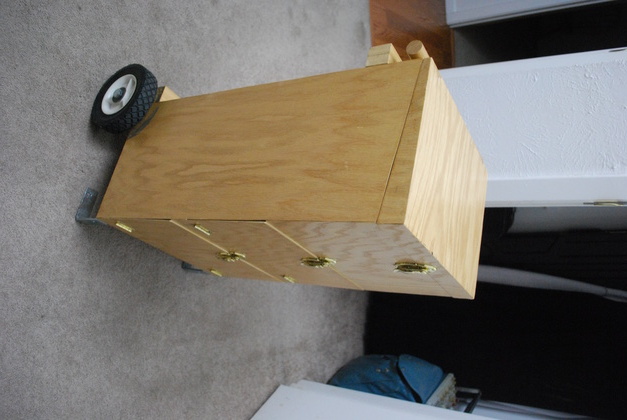
When I made the range box, I made a large plywood box from 3/16" Oak vernier plywood, by mitering the corners and gluing them directly together without a frame. Since then I have done many projects using the same technique, however, sometime I do use glue blocks in the corners on large boxes or boxes holding very heavy stuff. I have discovered that this is a good way to make a very strong, light, and durable container from thin plywood.
I use my clamping cauls on most of these
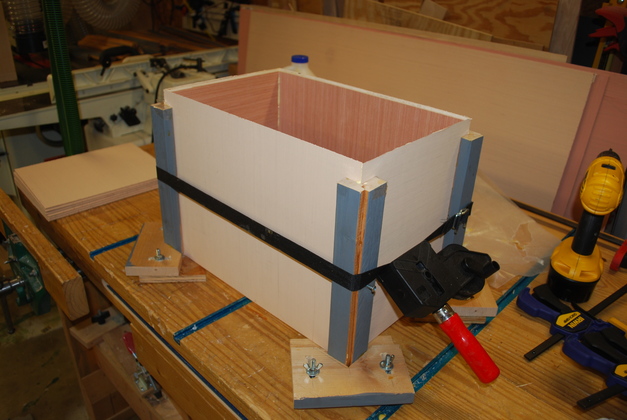
A strap clamp work well to keep pressure on the mitered corners while the glue sets.
The primary problem with building thin plywood boxes with mitered corners is holding them in place while you assemble and put glue on the edges.
I had tried using the Rockler cauls for box joint boxes but they were too small for this size box and the little interdigitated fingers really didn't work well for this size project.
The Rockler cauls on the outside corners still didn't hold the box sides in place (cauls too light to hold the larger panel) while I assembled and put glue on the miters, the panels keep falling down.
I built forms for the inside which helped a lot but I had to have a different size for each different size box.
So I came up with cauls with a built in clamp. I made the caul's vertical 11 " high with a 6" long 1x4 base on top of a 5/8" plywood base the same size (3-1/2 x 6"). The cauls are made from 1x2 with one 45° mitered corner.
I decided to build some short cauls with clamps for shallower boxes, the vertical is only 6" high, but everything else is the same.
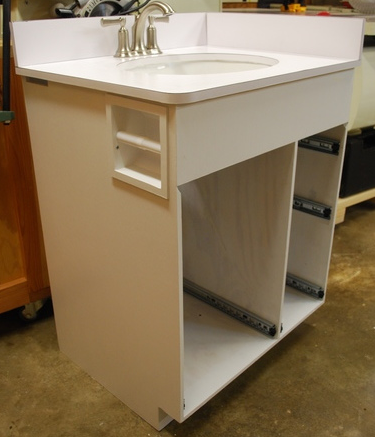
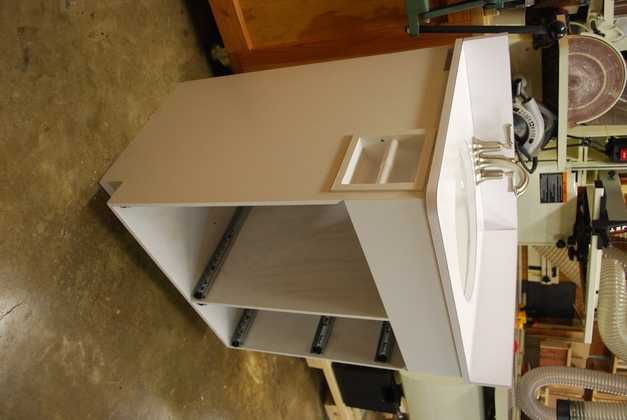
I have also built several other projects, some with thicker plywood, using this technique. Here is a link to the back bath vanity.
|
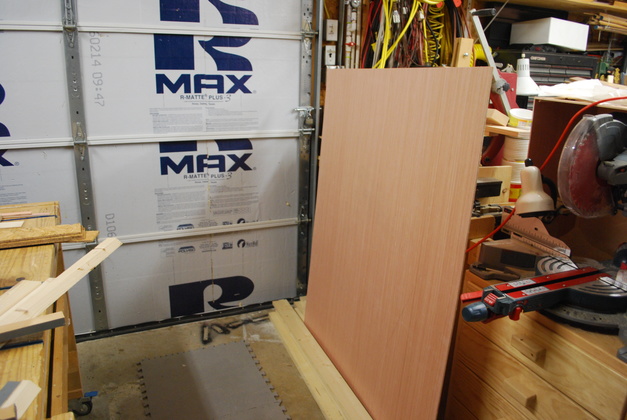
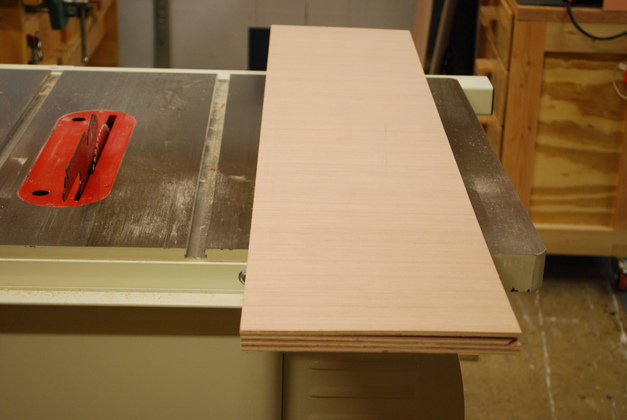
1/2 sheet of 5mm plywood underlayment. I have to cut these in half as I unload the pickup, my shop is too small to handle a full 8 foot long piece of plywood. |
|
Plywood panels cut to size, ready to chamfer. These are 24" long and 12" wide side panels for 10" wide bins. Actually, 11-15/16" high, that way I can get 4 across a sheet of plywood. |
|
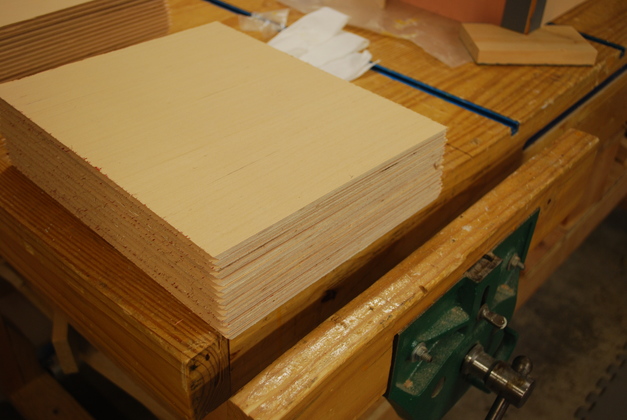
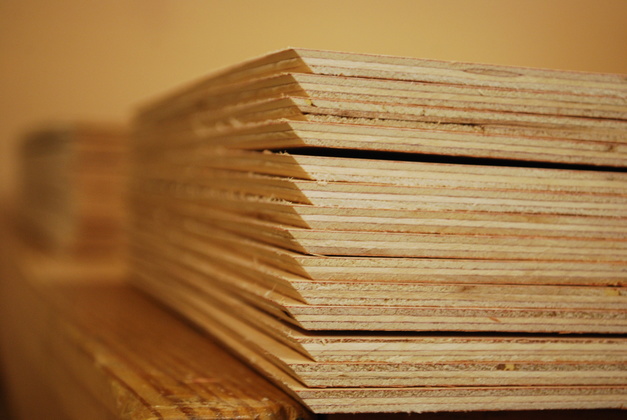
Stack of front/back panels cut to size. Another benefit of mitered corners it the lengths are the same as the outside dimenstions of the final box. |
|
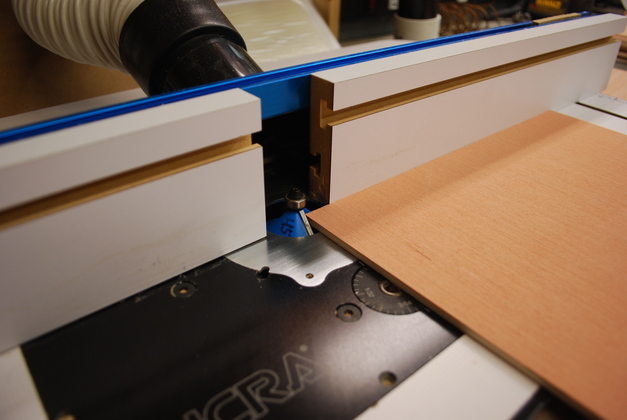
The router table setup to cut the 45° chamfers for the mitered edges. |
|
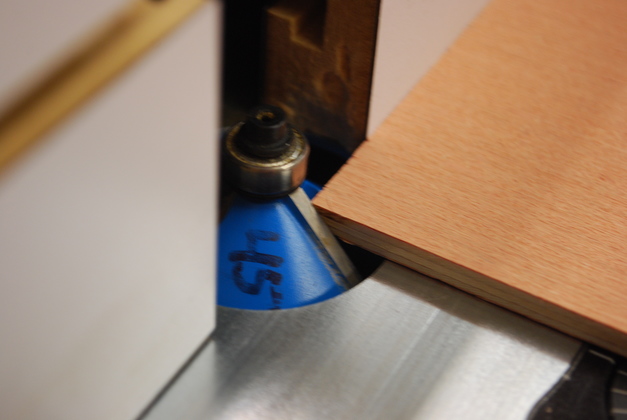
Closer look at router table setup to cut the 45° chamfers for the mitered edges. |
|
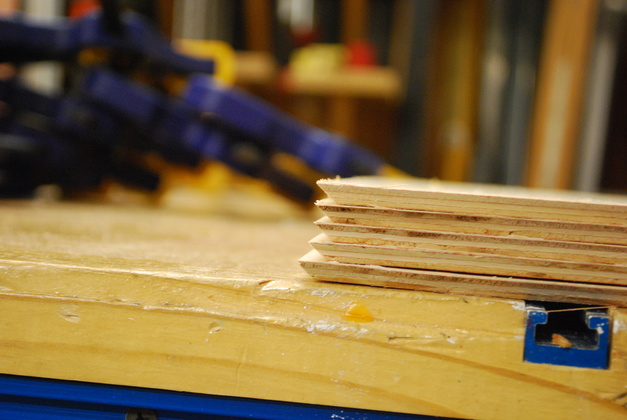
Stack of front/backs with 3 edges mitered. Your looking at the top edge and one side of a box. |
|
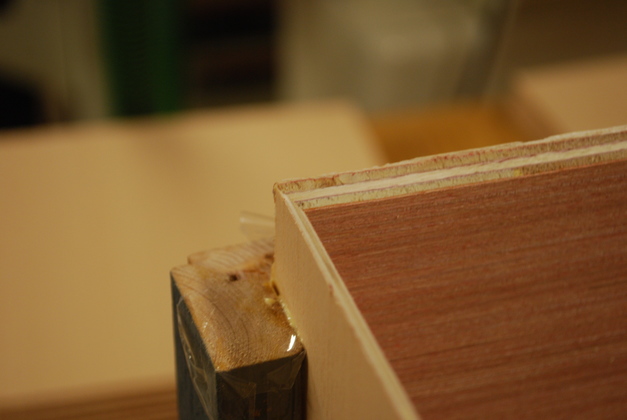
Two mitered edges at a corner. |
|
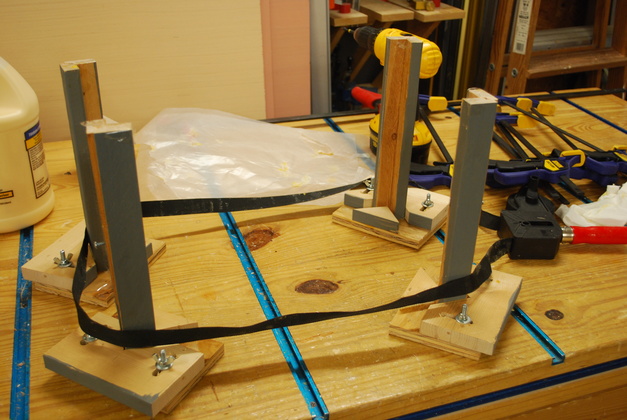
Tall cauls ready to use. |

|
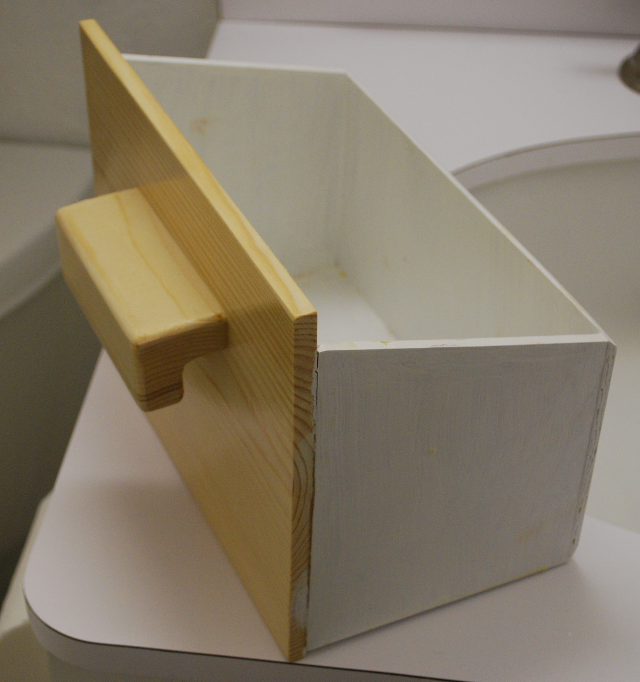
Tool caddy in short cauls. |
|
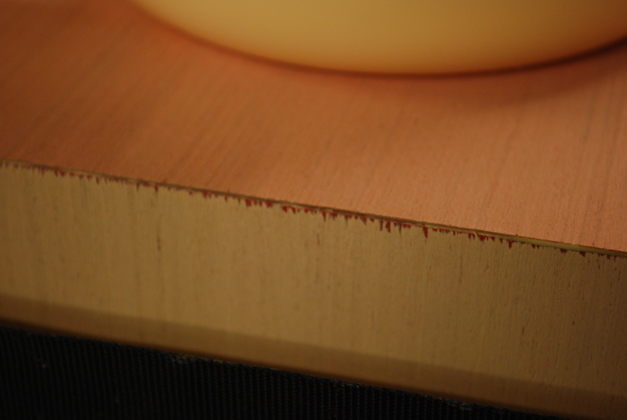
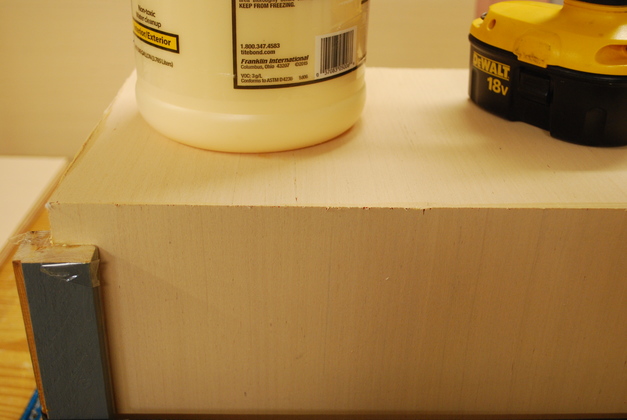
See the nice edges, with these cauls, mitering plywood is easy. There was a little splintering when I sawed the plywood. |
|
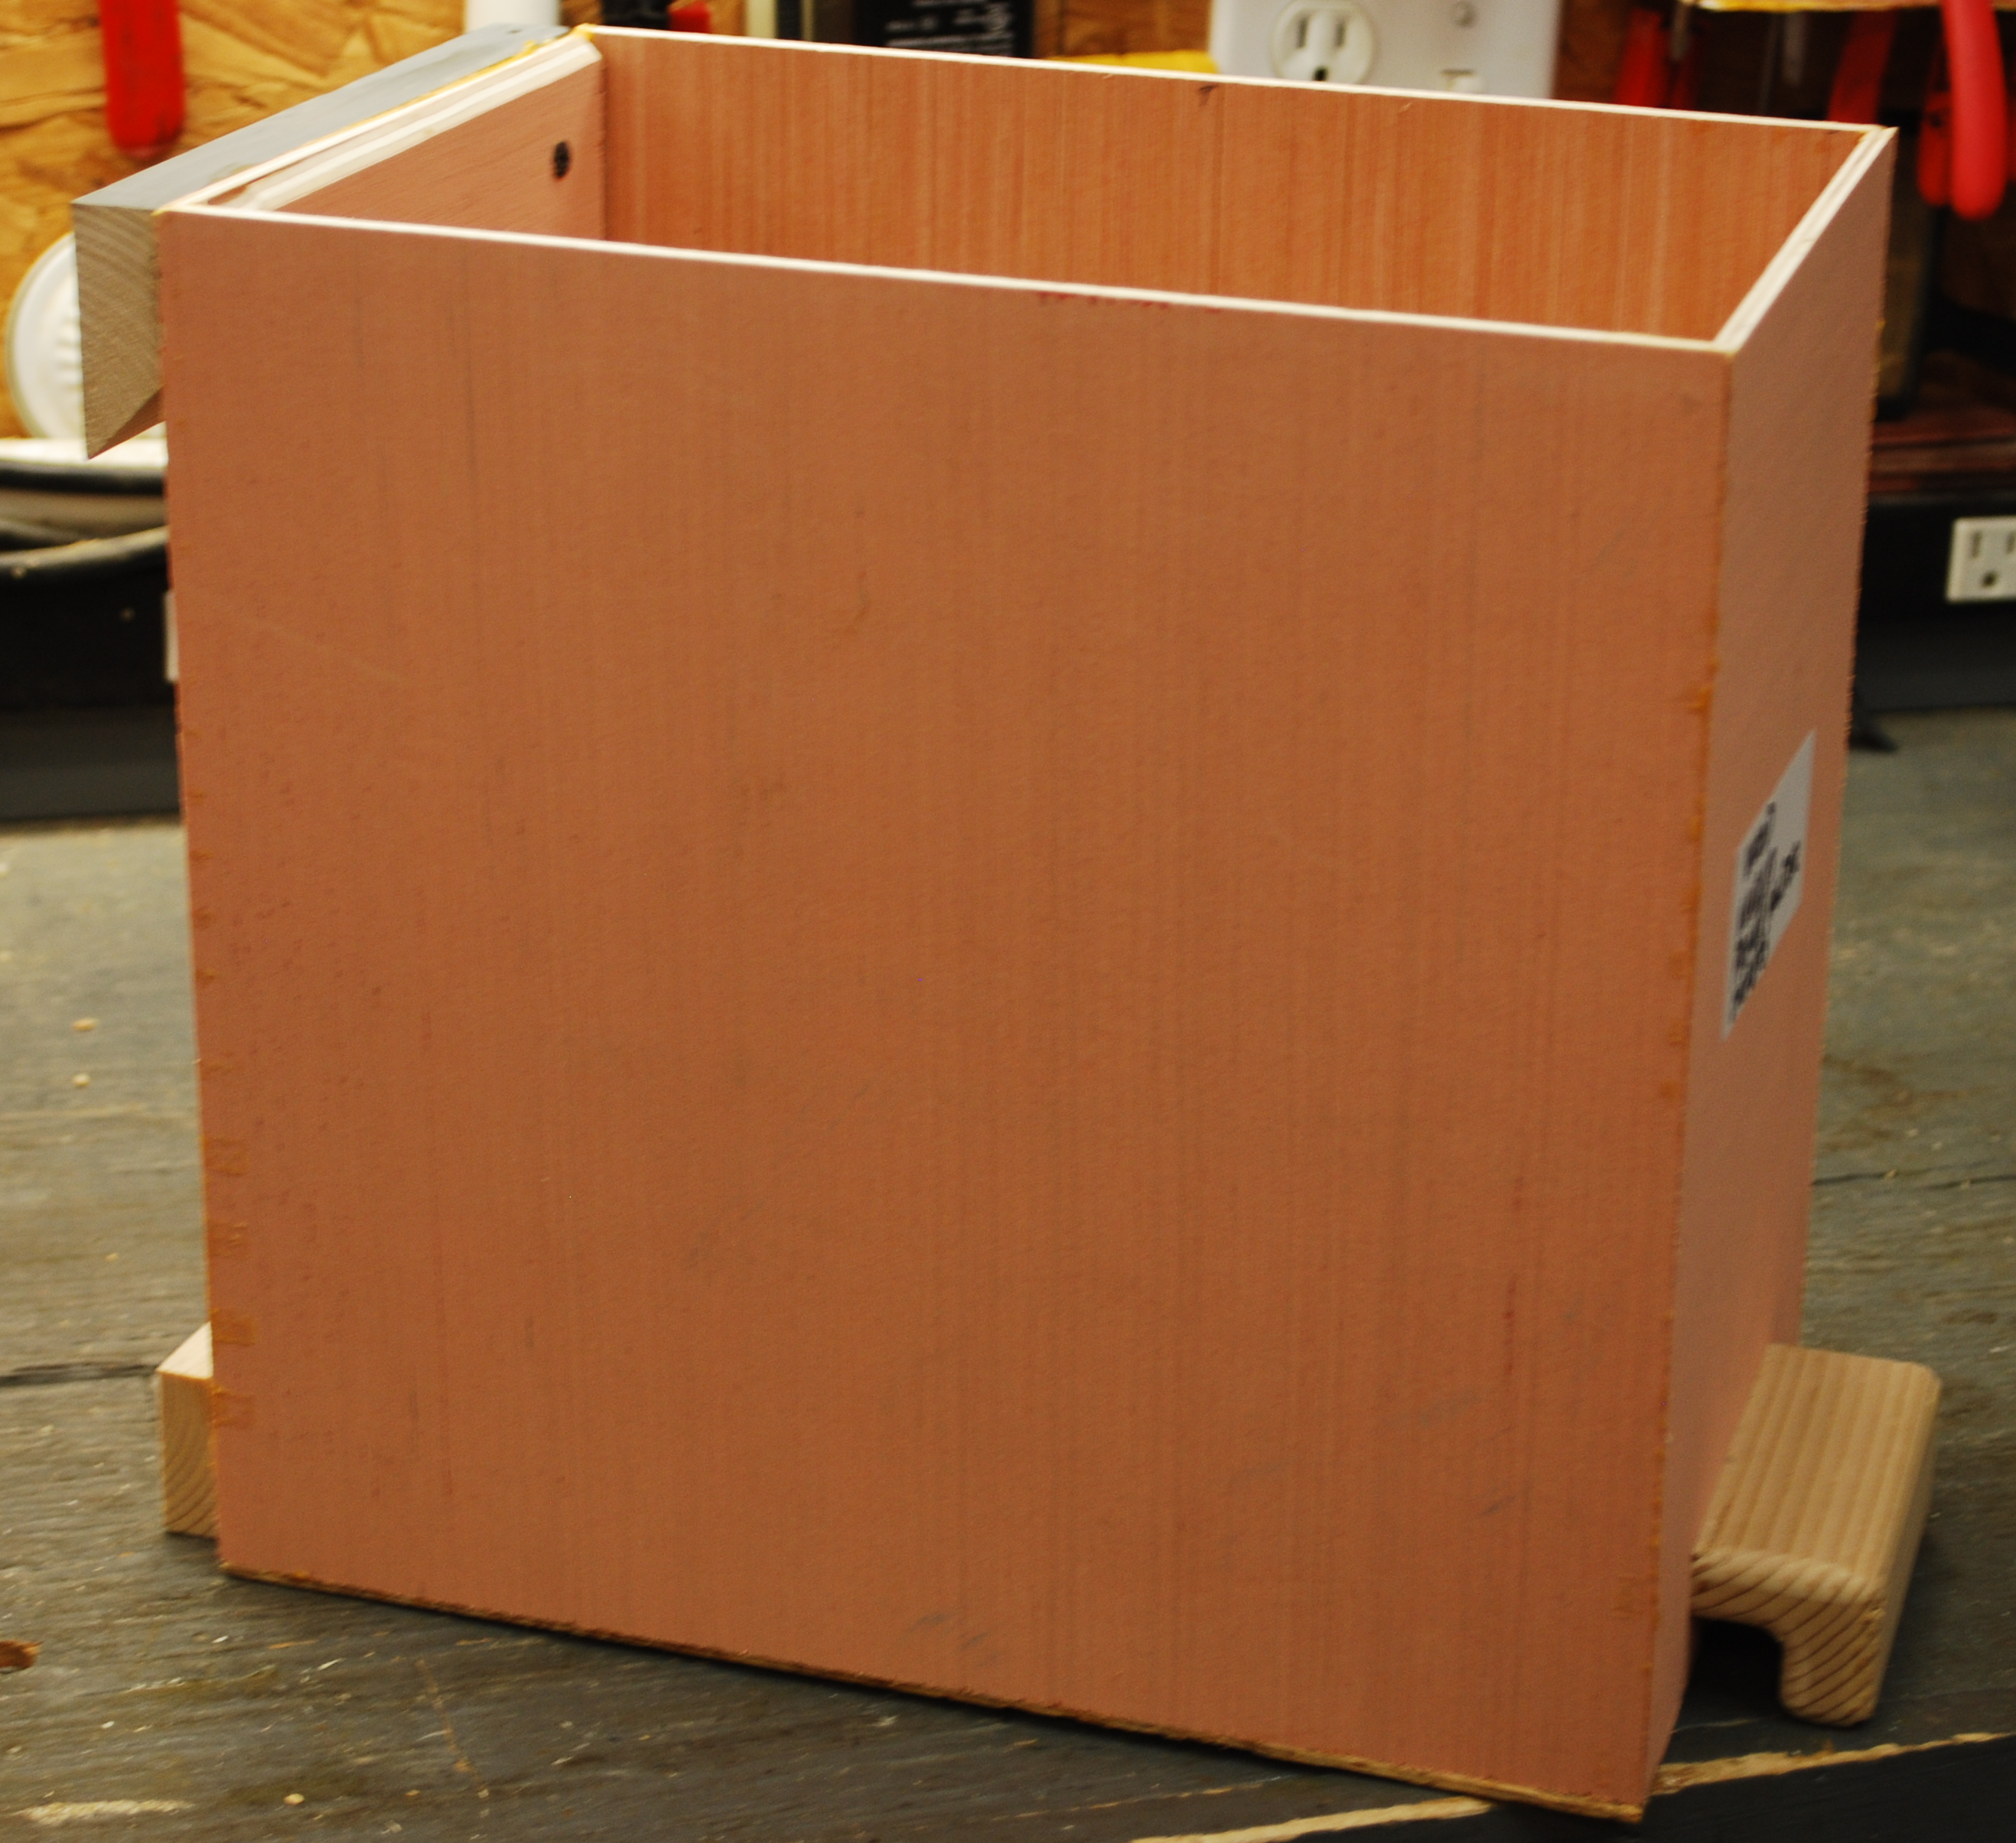
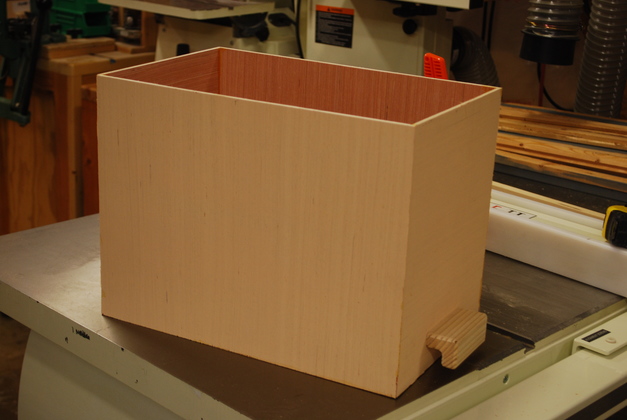
Box clamped in tall cauls, ready to put a bead of glue around the top edge for the box bottom. |
|
Mitered top corner perfectly aligned in the tall cauls. |
|
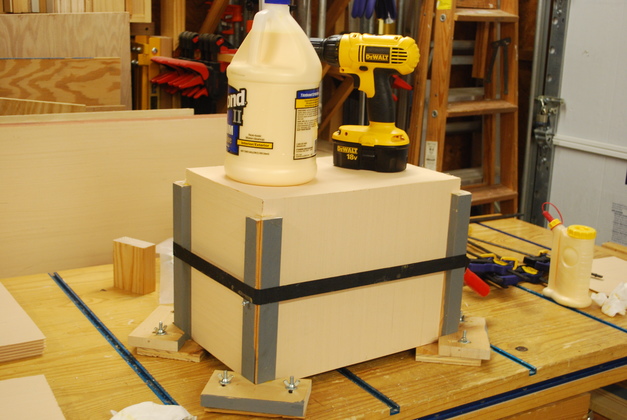
Box, upside down in the tall caul clamps. The weights on top keep a little pressure on the box's bottom as the glue sets. |
|
A look at the long mitered corner while the glue sets. |
|
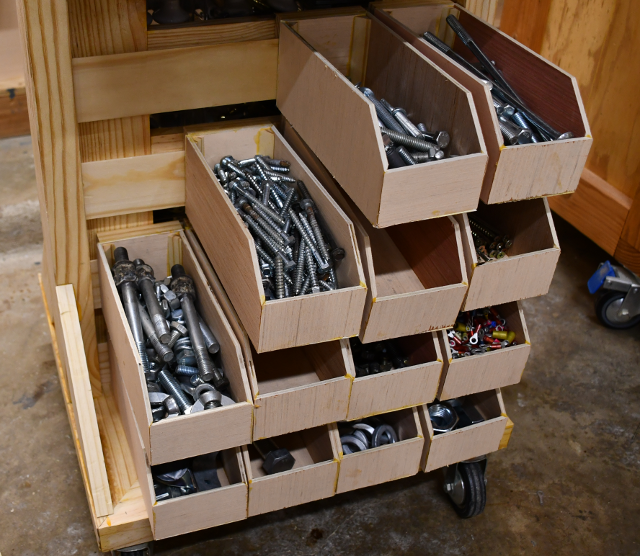
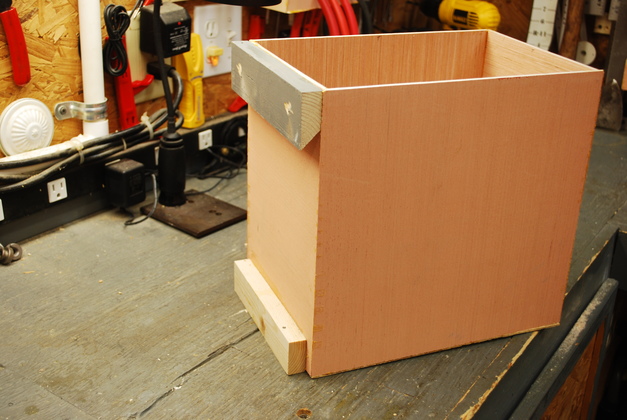
A storage bin for the shelves in the shop. This is a 12" long X 12" high bin, I have also made 24" long bins. |
|
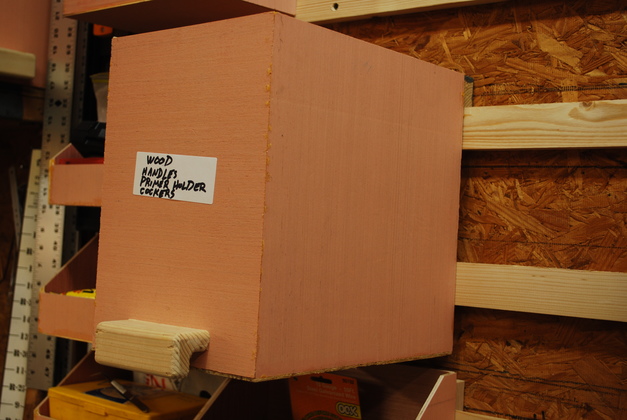
A smaller box with french cleat. |
|
Hung on the wall. |
|
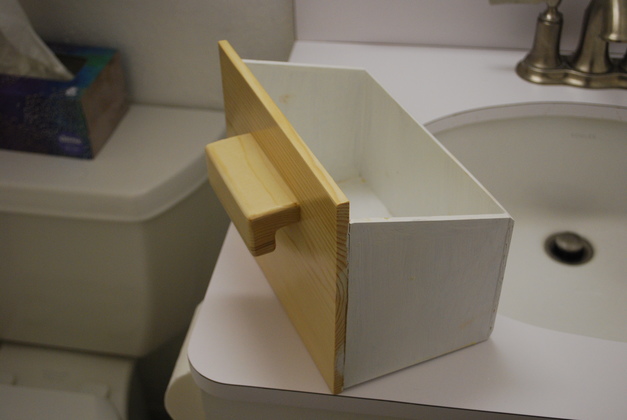
Tilt out bin in the bathroom. |
|
|
Back bath vanity. This is made with 1/2" plywood, mitered at the corners. |