We have discovered a really neat way to keep a bathroom neat.
In order to keep a bathroom neat you need lots of storage.
After seeing some tilt bins at Lowes (for their door hardware etc) I decided to build some, but I didn't like the little plastic guide tracks on each side of the bin, they took up space.
The Lowes bins are also not removable, and I thought that would be a better idea for bathroom storage.
Having removable bins in the bathroom allows us a lot of freedom.
I keep my shaving stuff in one and my meds in another, etc.
When I need a med, I move the bin to the vanity top, select what I need and place it back in the towel bar when I'm finished.
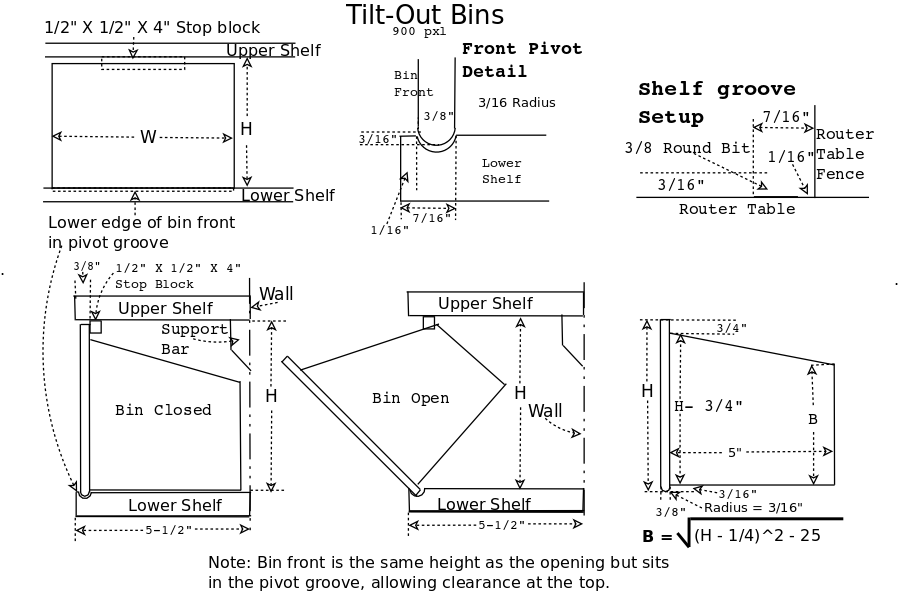
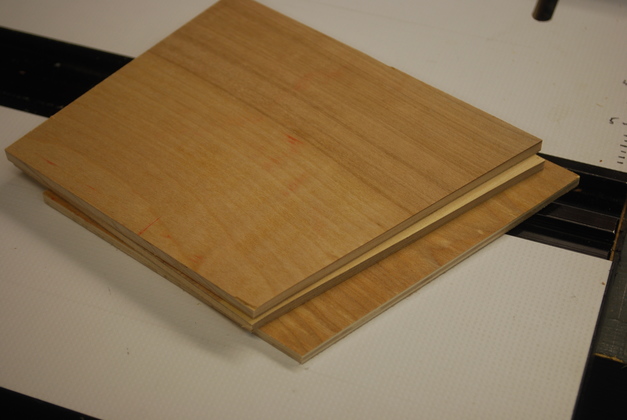
I make the box (sides, bottom and back) from 3/16" plywood and the front panel from 3/8" thick pine.
The bottom edge of the front panel is rounded and protrudes about 3/16" below the bottom of the bin box for a pivot point.
The bins are enclosed, top and bottom, with two 1x6 shelves.
The bottom shelf has a 3/8" groove near the front edge for the bottom of the bin to pivot and the upper shelf has stop blocks glued at the center of each bin position.
The bins are different widths, depending on the width of their enclosure.
|
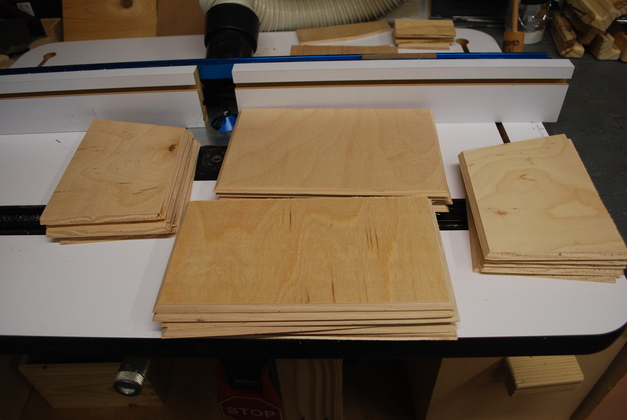
Bin sides cut out.
|
|
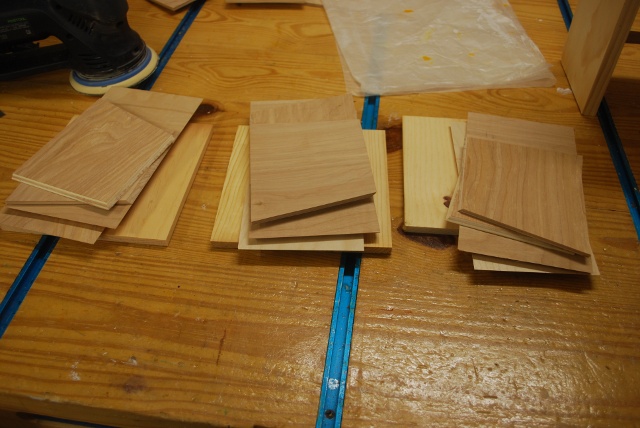
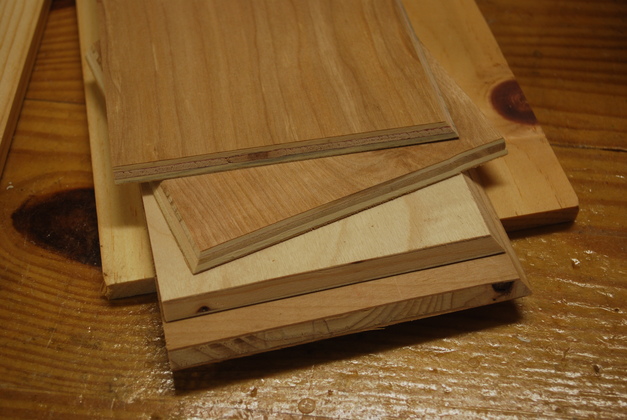
3 sets of fronts, sides, backs, and bottoms ready to glue.
|
|
Closer look at mitered edges.
|
|
Bin sides, backs, and both sides, cut out.
|

|
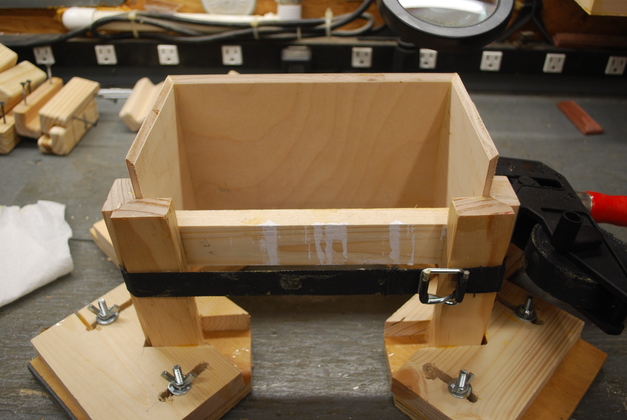
Preparing to glue bin sides and a back (bin box) in the short cauls.
|
|
Bin sides and back (shown upside down) gluing.
The 1x2 in front, is not glued, holds the sides at the correct spacing for the final bin.
|
|
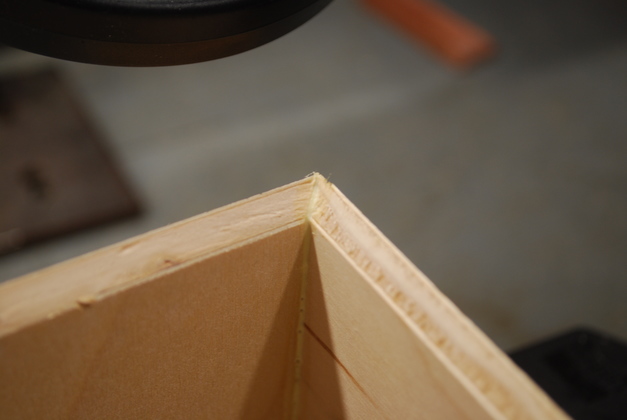
Bin side and back bottom joint showing the mitered edges.
This is where the bottom gets glued.
|
|
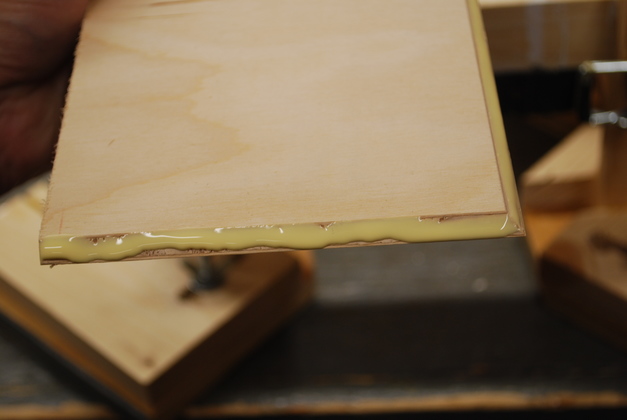
Glue on the mitered edges of the bottom.
You are looking at the side and back edges of a bottom.
|
|
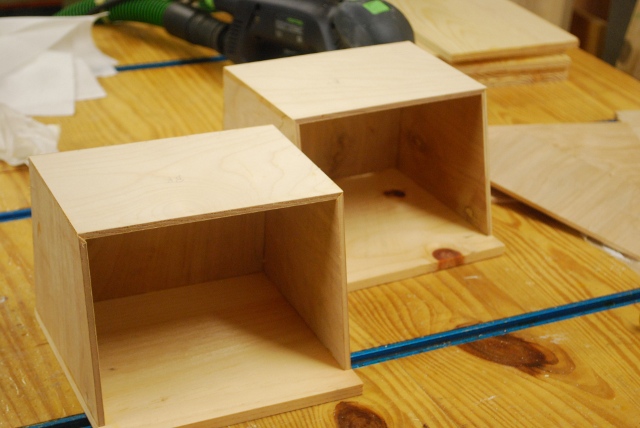
Two bins with fronts glued.
|
|
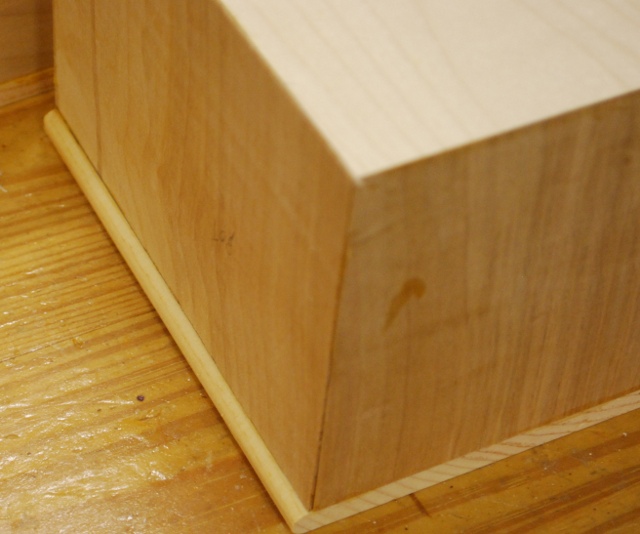
Close look at mitered lower back corner joints after gluing.
Note the lower edge of the front panel protruding below the bottom of the bin box for pivoting.
|
|
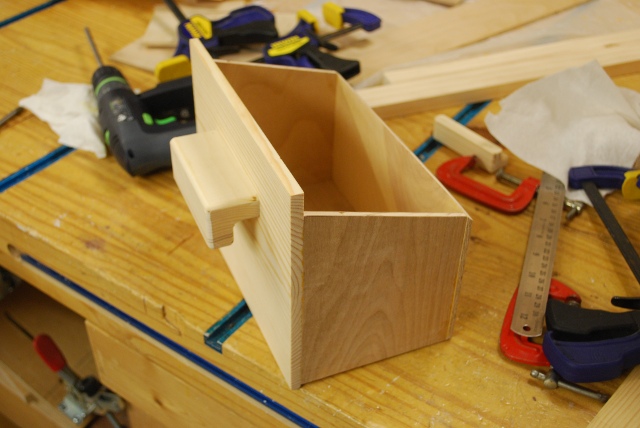
Glued bin.
|
|
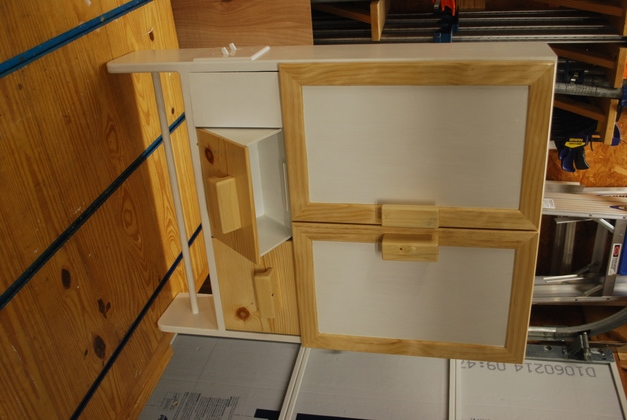
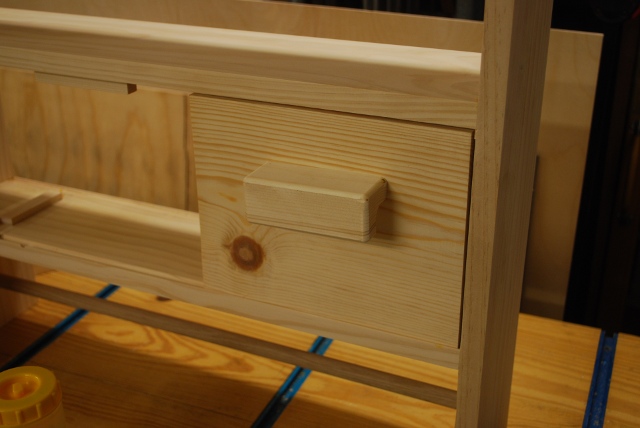
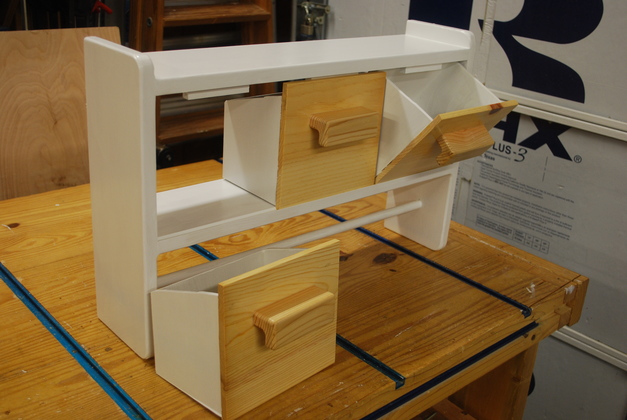
Bin test fit into frame.
|
|
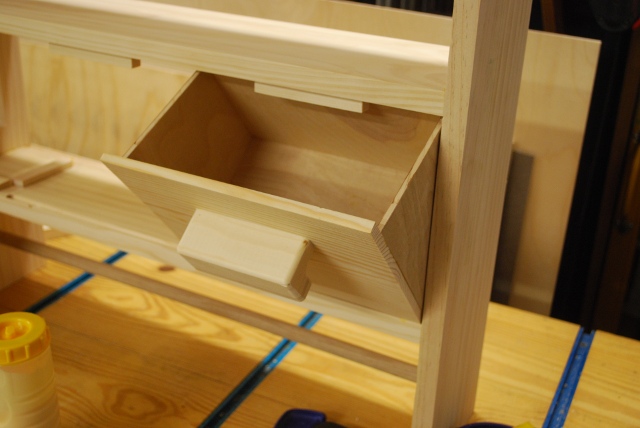
Tilt out test, OK.
|
Handles
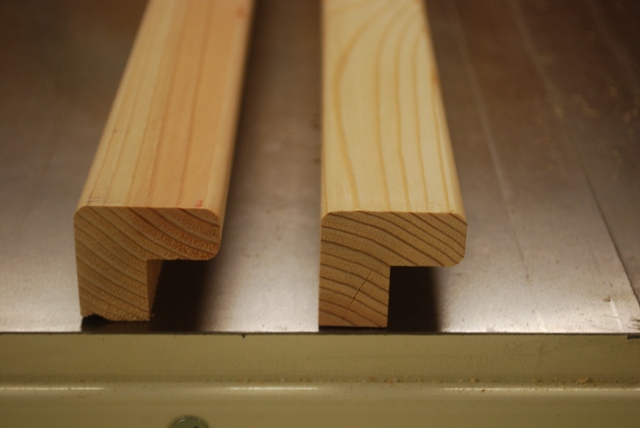
|
A 2x4 has been ripped into 1-1/;2" X 1-1/2", then a 3/4 x 3/4" rabbet machined into an edge and the edges rounded all on the router table.
For more pics please see my Handles and Pulls Page.
|
Finish

|
Bins and frame being painted.
|

|
From the other side.
|

|
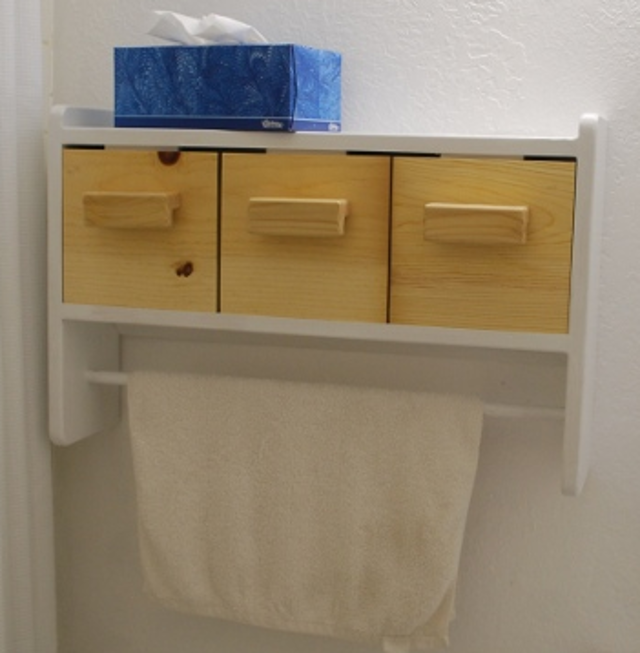
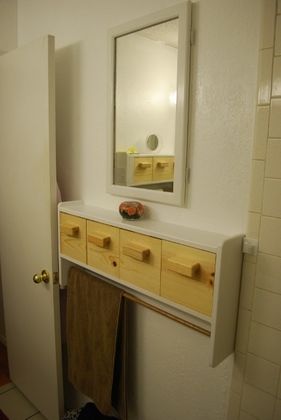
Finished towel bar with Tilt-out Bins.
|
|
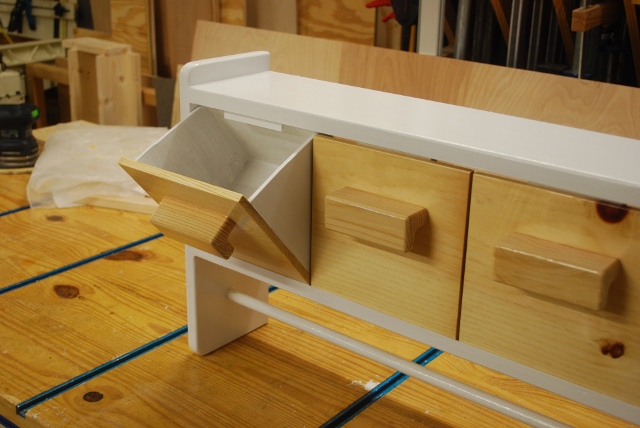
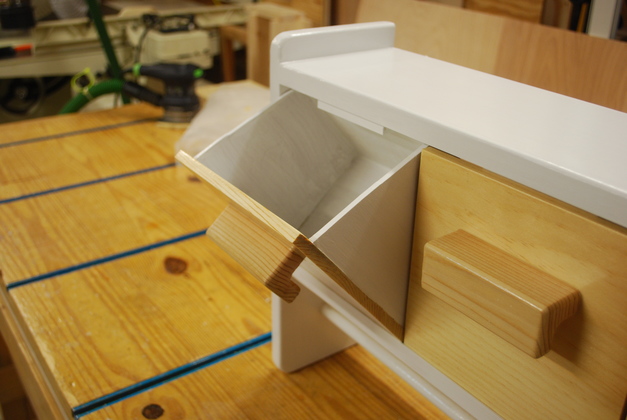
With bin tilted out.
|
|
Closer look at bin tilted out.
|
|
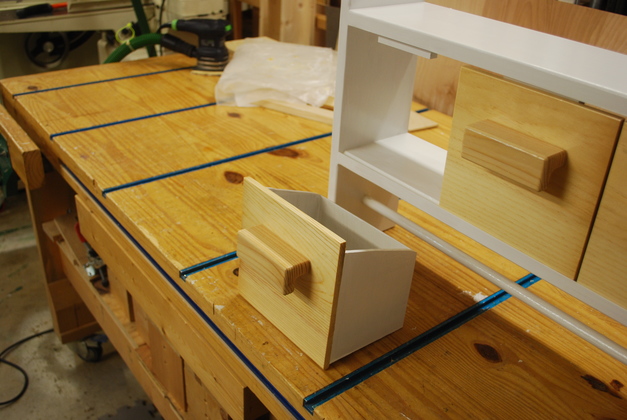
Or you can pull them out and take it to where the contents are needed.
|
|
With multiple bins in use.
|