12/19/12: Spun off of main drawer page.
I see these things called "handles" or "pulls", so I'm gonna call them handles.
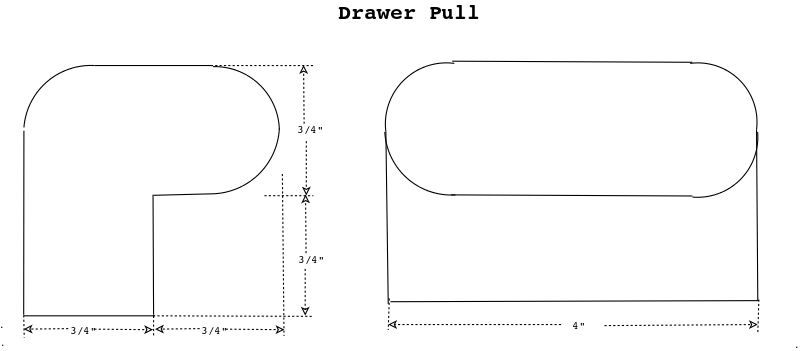
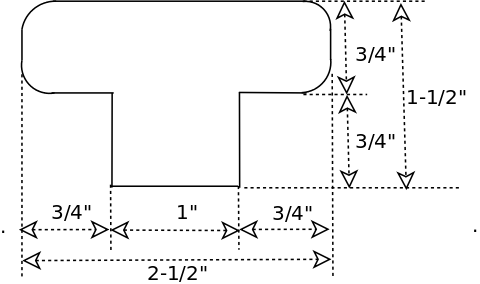
I cut 1-1/2" X 1-1/2" square strips from 2x material, cut a 3/4" rabbet down one corner, then round 3 of the outside corners.
Next I cut the strips into 4" lengths, and round each end using a jig I made for the purpose.
I have also made them shorter for other applications but the width is always been 4", so far.
Handle Construction
|
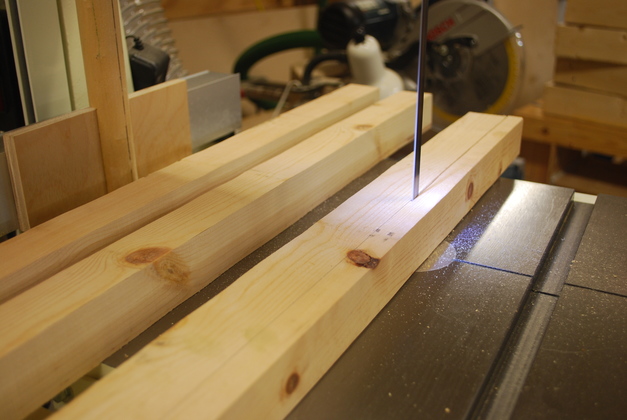
Sawing 1-1/2" strips out of 2x6 for making a batch of handles.
This is an old pic, now I use the table saw to rip these.
I just got a scrap piece of 2X6 about 29" long and it made over twenty handles.
First I ran it across the jointer to get nice square corners and smooth surfaces, then I ripped it into 1-1/2" wide strips, seen here.
A 2x6 (1-1/2" x 5-1/2") yields 3 1-1/2" strips.
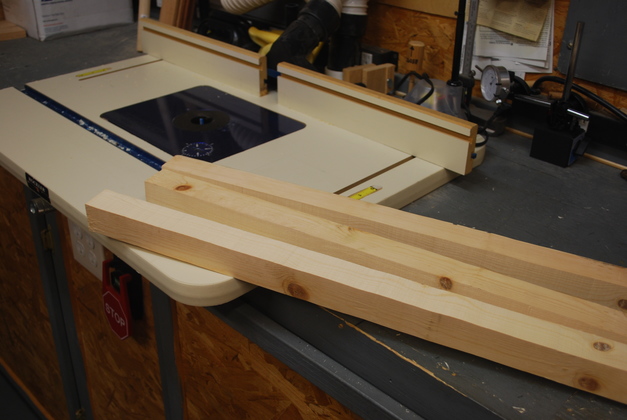
This is a little larger batch of handles than normal since I needed a dozen.
|
|
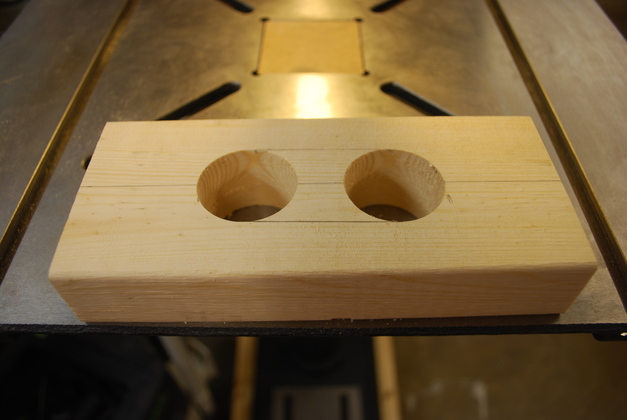
Here are the 1-1/2" square strips ready to cut the 3/4" rabbet on the router table.
|
|
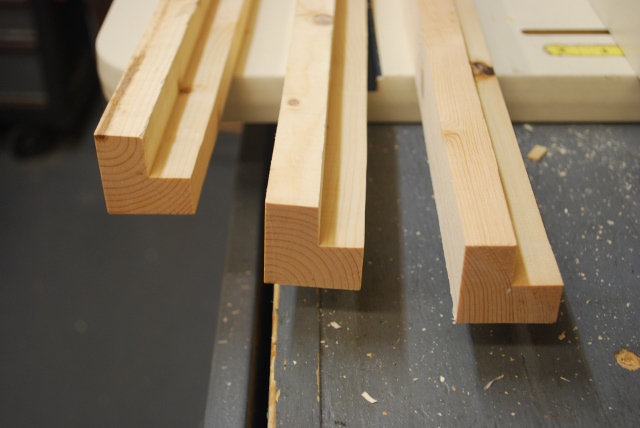
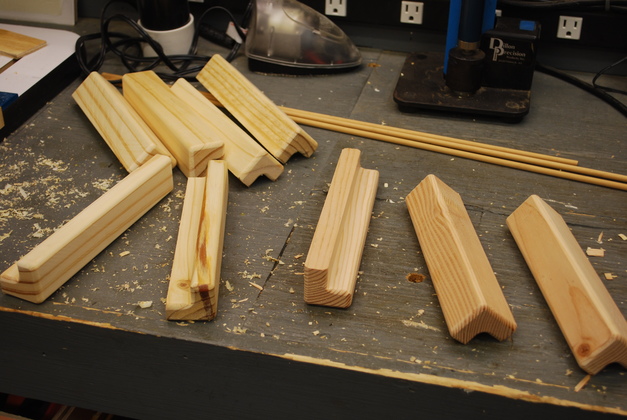
The 1-1/2" by 1-1/2" strips have had the finger tip rabbet (3/4" X 3/4").
You'll note a bad knot in the right hand strip, it'll be discarded when I start cutting into 4" lengths.
|
|
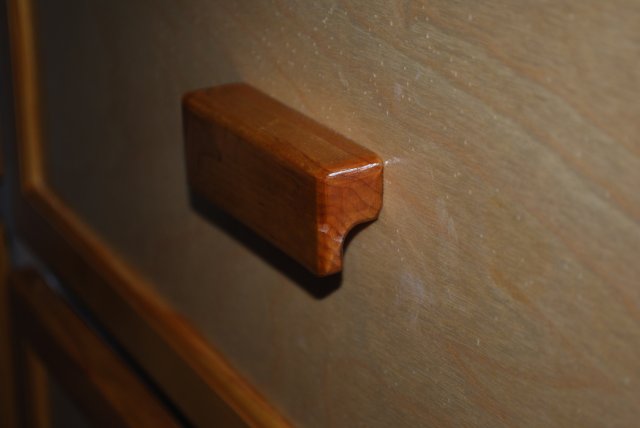
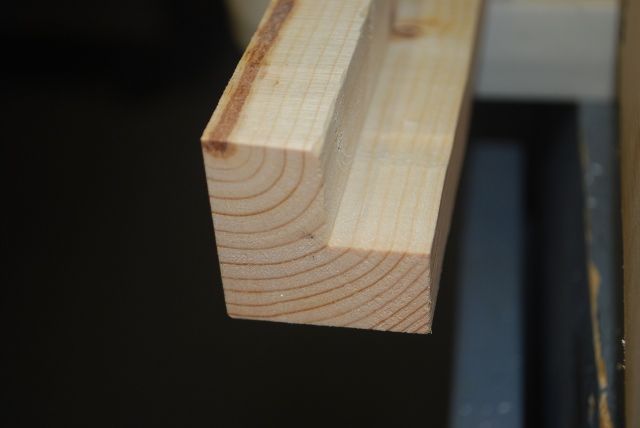
Close up of the end of a rabbeted strip.
Since the strips are 1-1/2" square, a 3/4" rabet leaves a 3/4" base and a 3/4" pull.
|

|
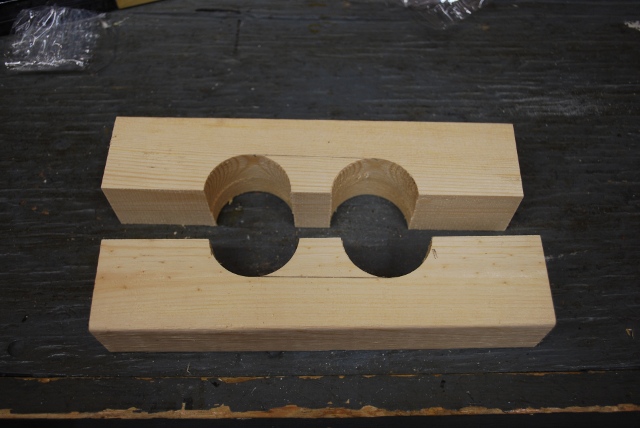
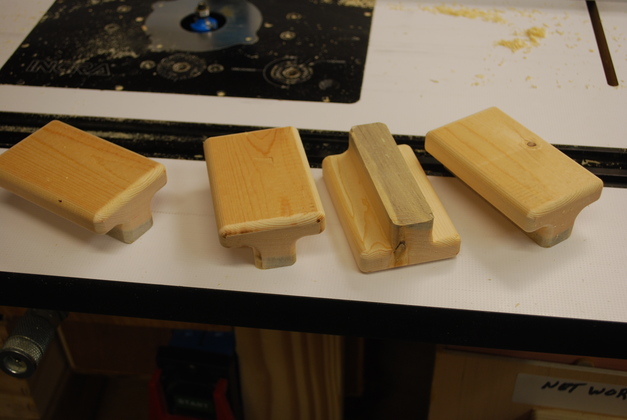
After rounding the strips on 3 corners leaving the final bottom flat, next cut the strips into 4" handle lengths, and round the corners on the ends.
Notice, I leave one side flat (bottom side in pic) this side will be against the drawer front.
You can choose either side to leave flat, pick the best looking for show.
|
|
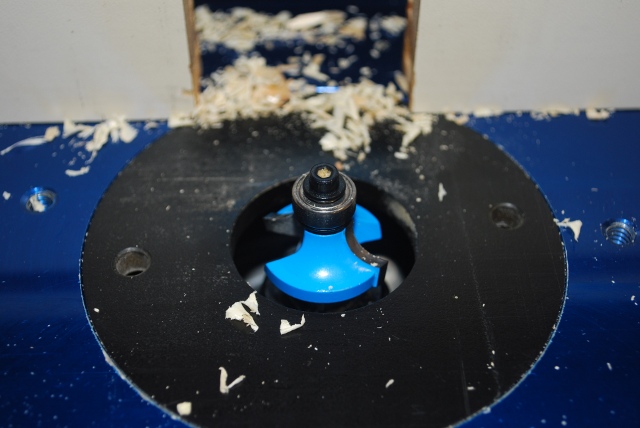
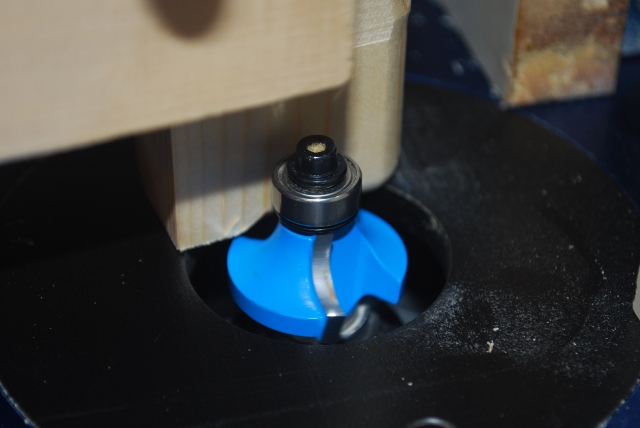
Roundoff router bit setup, just a 5/16" round over with a bearing.
I use the same bit for rounding the strip corners as the ends, naturally.
|
|
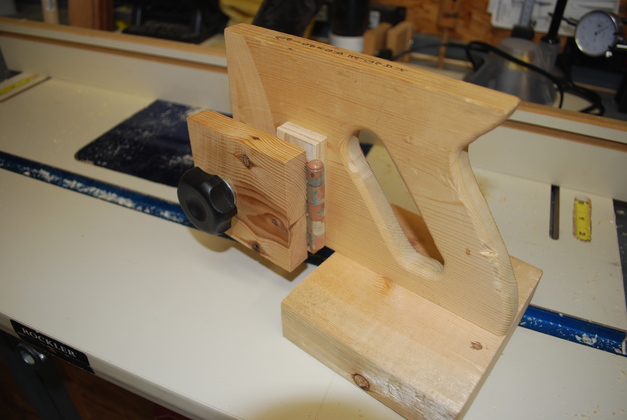
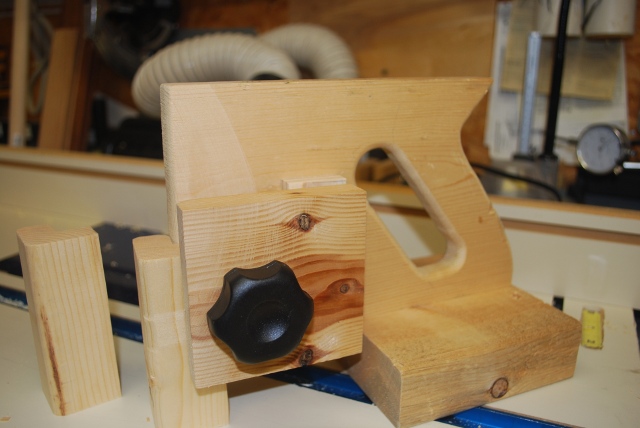
End rounding jig, I have made a lot of these handles, so the jig was really worth while.
Its just a 1x8 vertical, a 2x8 base, a 1x4 clamp block, a 1/2" plywood spacer, and a cabinet hinge.
I cut out the handle, then rounded it with the same roundover bit.
I could have used a 1x6 for the vertical.
Can you tell, I was thinking about handsaws when I drew this out.
|
|
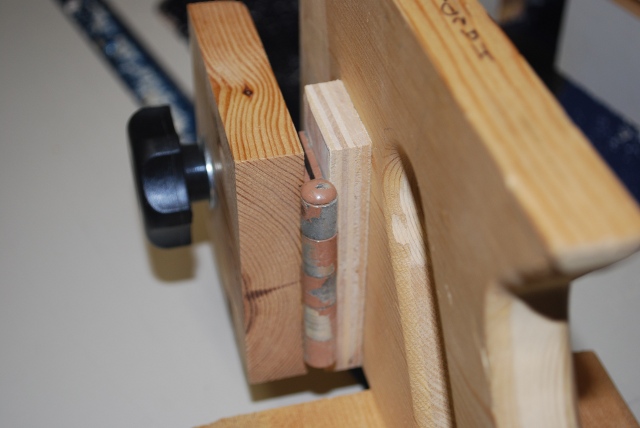
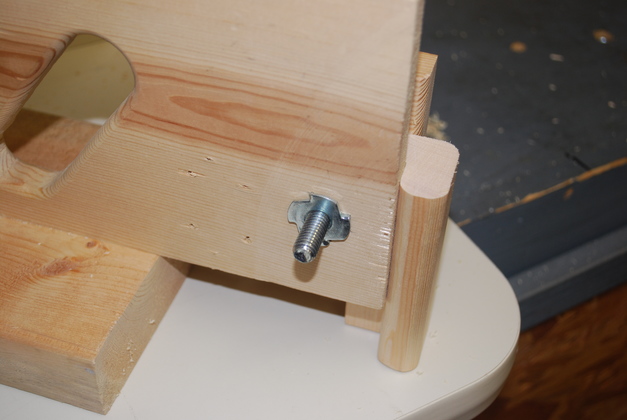
Close look at hinged clamp block.
The clamp block is attached to the spacer block with a cabinet hinge.
The knob and 3/8" bolt go through the clamp block and main body to a tee nut on the opposite side (second pic below).
|
|
The end rounding jig side view with a handle clamped and ready to round.
|
|
Other side of end rounding jig, showing the tee nut and end of the 3/8" bolt.
A handle is clamped into place ready to round the end.
You can just see the edge of the clamp block peeking around the other side of the vertical, note is has been rounded off to give a little more clamp surface.
|
|
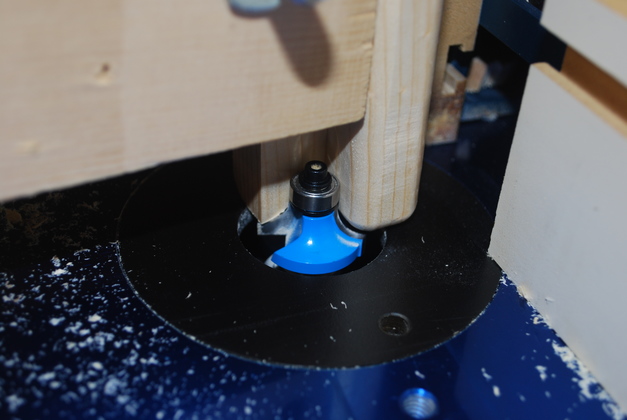
End rounding operation.
You can see the square part of the corner on the left, the bit hasn't gotten there yet.
Yes that bit is truning at 20,000 RPM, the flash stops it.
|
|
Another look at end rounding up under the finger pull.
|
|
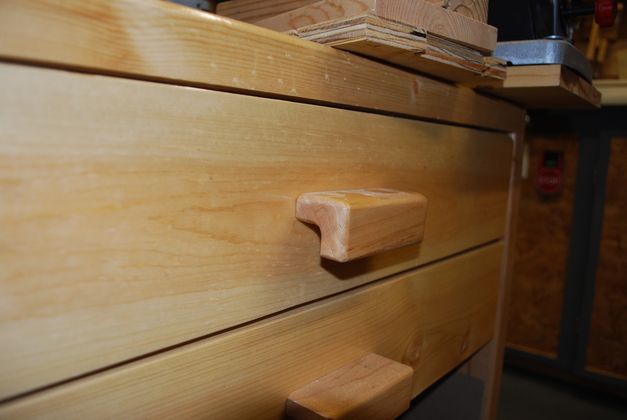
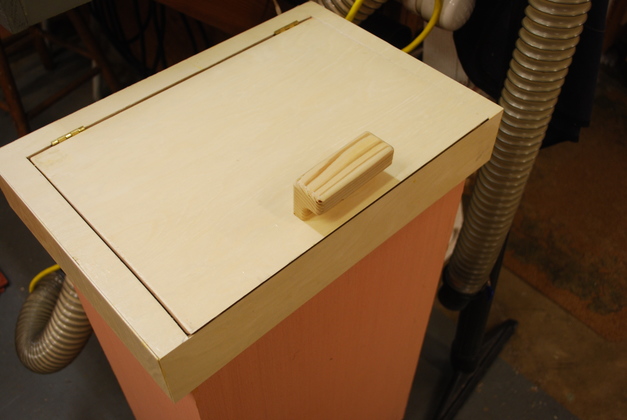
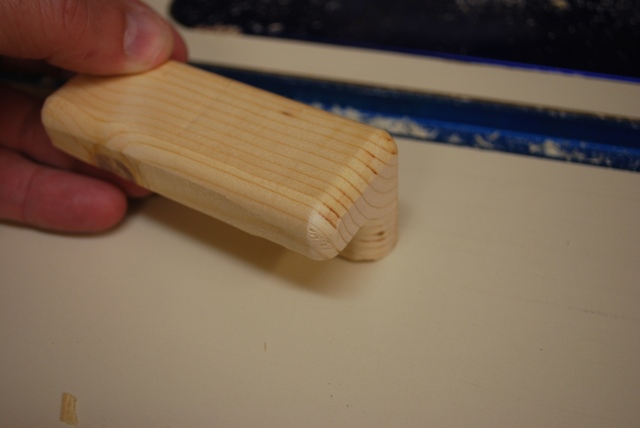
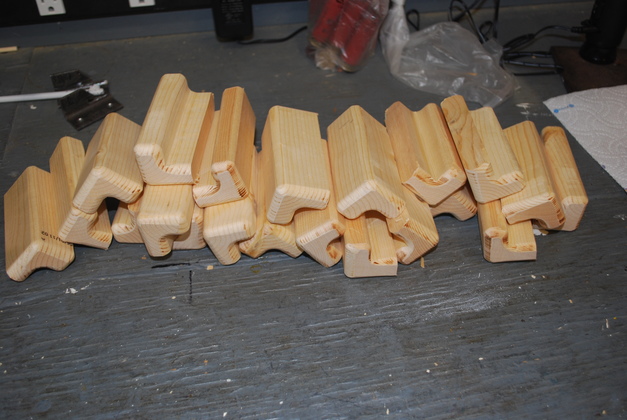
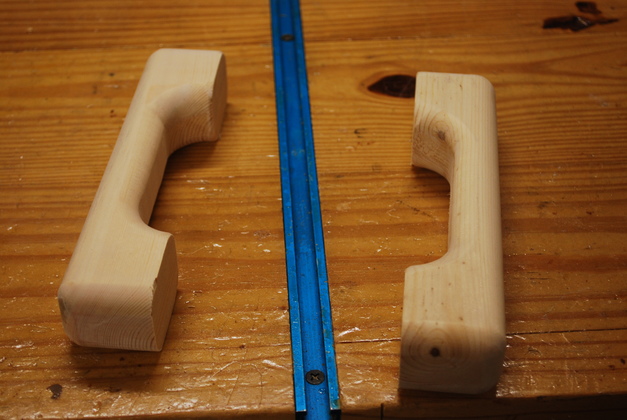
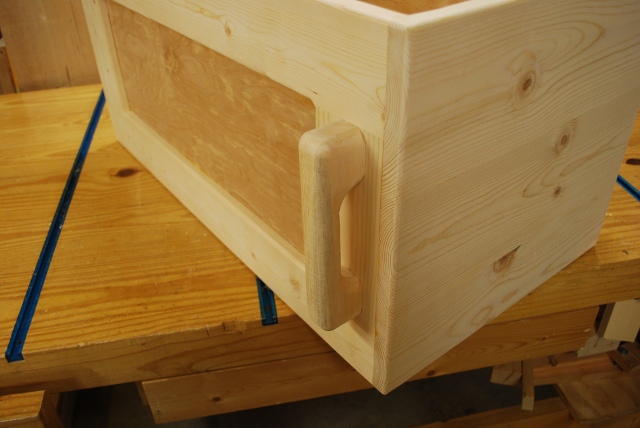
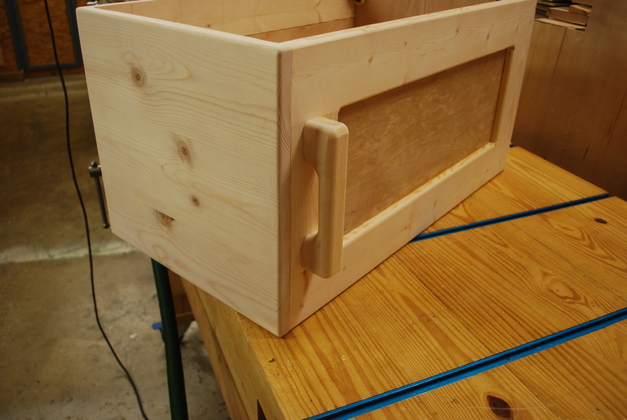
Handle with the ends rounded, it makes a nice drawer pull for shop drawers.
They take a pounding in the shop and so far none have broken.
|
|
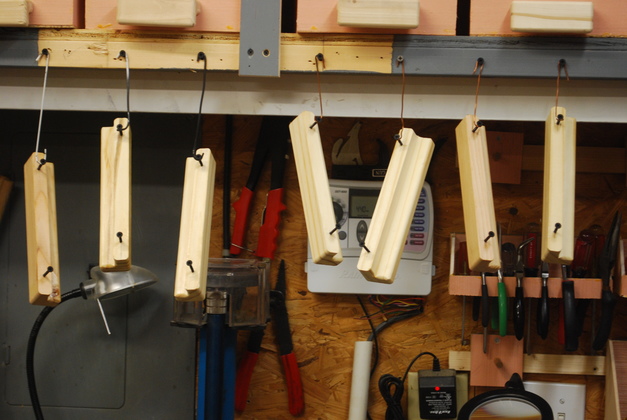
Pile of handles made in a couple of hours and ready to screw on to drawers and paint.
I make a batch of these at a time so I have a few ready when a new drawer is needed.
|

|
Marking the handles, I drill pilot holes in the handle, 2-1/2" apart, with the drill press then mark and drill the drawer when I'm ready to mount.
I use 1-5/8" coarse wall board screws to mount these handles to a 3/4" thick drawer front.
|

|
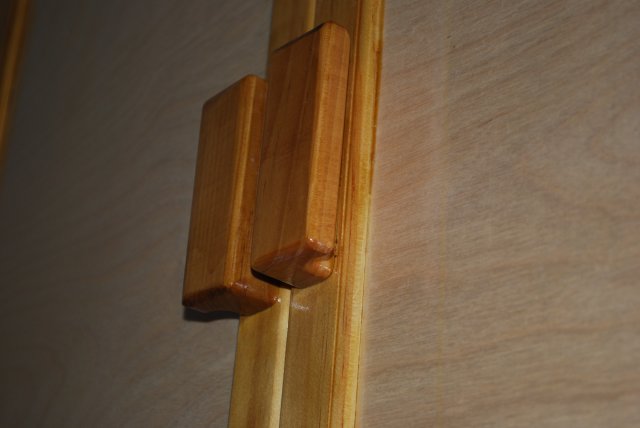
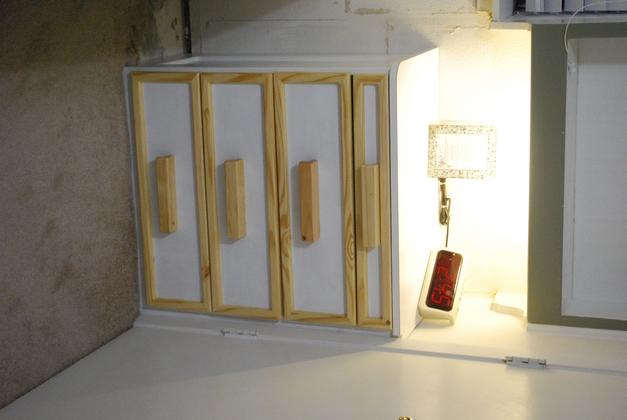
Drawer handle installed on heavy duty drawer ready to paint.
I attach these handles with two 1-5/8" coarse, wall board screws on 2-1/2" spaces.
You should also note I placed these handles below center to allow room for a label above them.
|
|
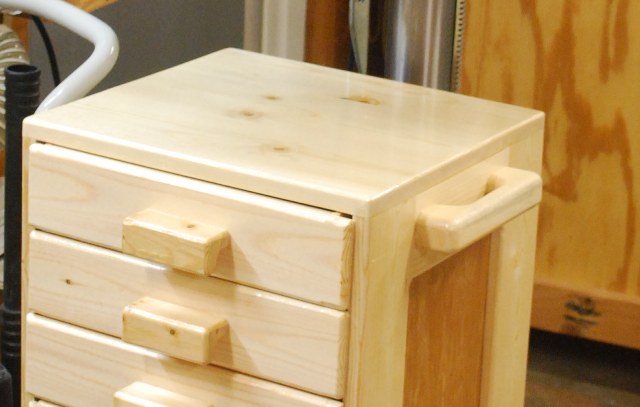
Same handle on doors.
|
Wide Handles
|
Wide handles made specially for night stand drawers.
These are 8" inches wide, makes it easier to open the drawer from the bed.
|
|
Wide handles being painted.
|
|
Wide handles on drawers.
|
Lift Handles
I needed a handle to lift a small storage cabinet so I came up with this.
|
I took an 8" length of 2x4 and marked a center line, then I drilled two 1-5/8" holes so I had 2" of wood left at each end.
I drew lines from the top of each hole to the top of the next hole (see pic).
|
|
I sawed down the center line, then down the lines at the top of the holes.
|
|
I rounded all edges with a 1/2" roundover bit.
|
|
Then screwed them to the top side of the storage cabinet.
|
|
The other side.
|
Tee Handles
|
Initial batch of tee handles.
These were created to put on top of trash bins
|
|
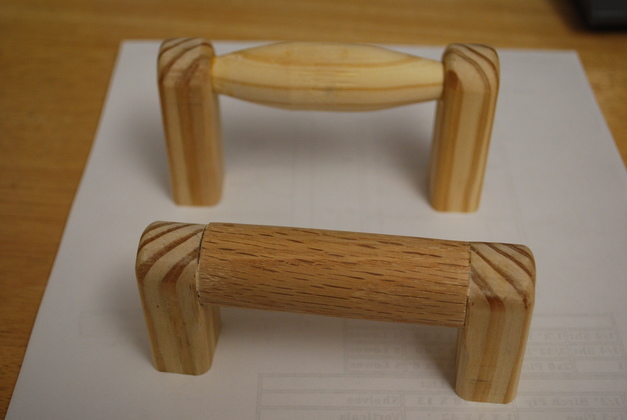
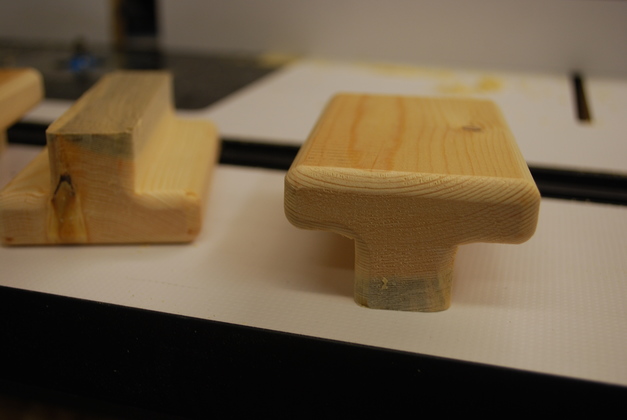
Closer look at a tee handle.
These are made just like one of my other handles, only the wood is 2-1/2" wide and you cut a 3/4" rabbet on each side, then round all the edges.
|
|
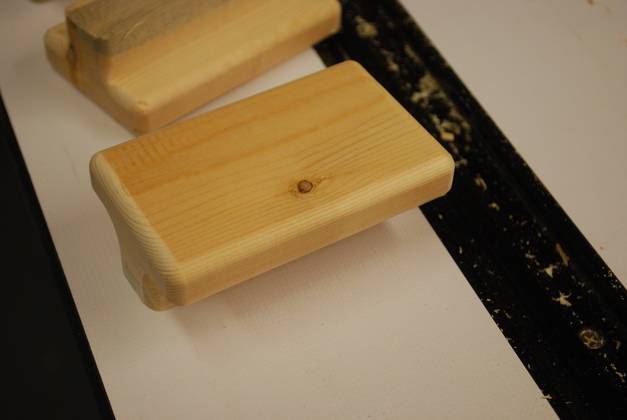
Close look at one.
|
|
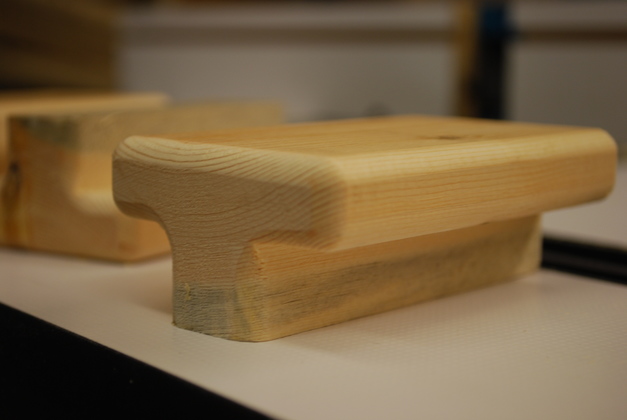
Side view.
|
|
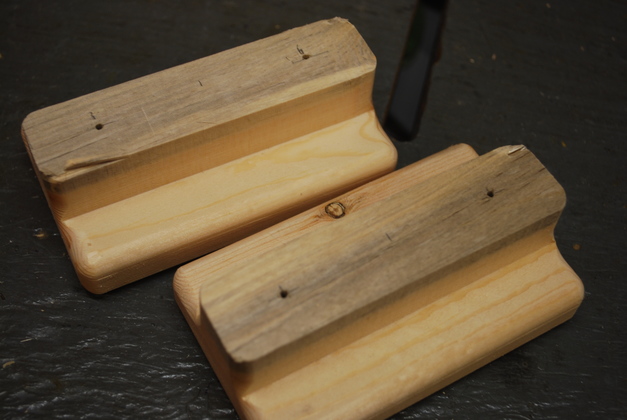
Bottom with mounting holes drilled at 2-1/2" apart.
|