03/12/18: Spun off of main Handle page.
Decorative Handles
I decided to make some decorative (less rustic) handles for furniture and here is what I came up with.
These are a little less rustic than the handles I have been making, Betty is suggesting we might retorfit some of our drawers etc.
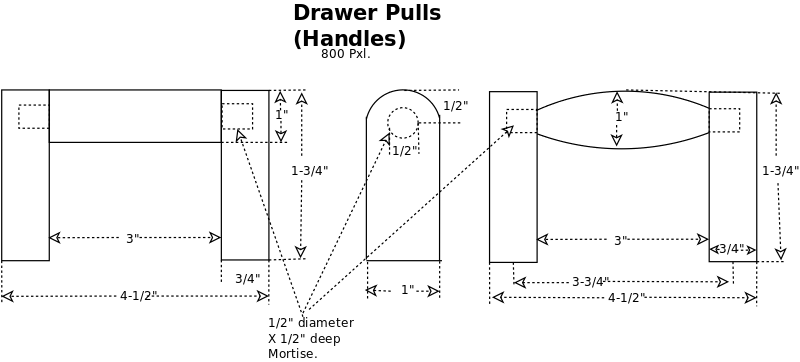
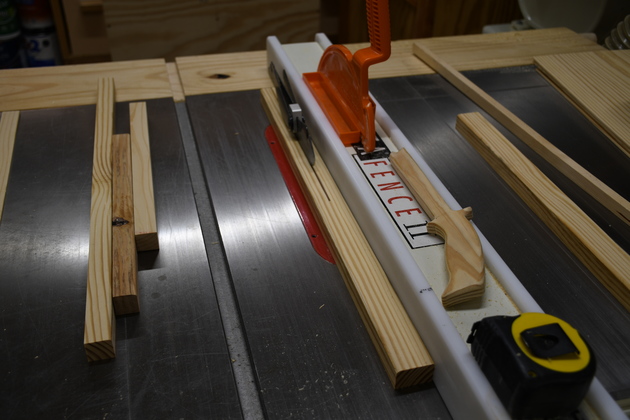
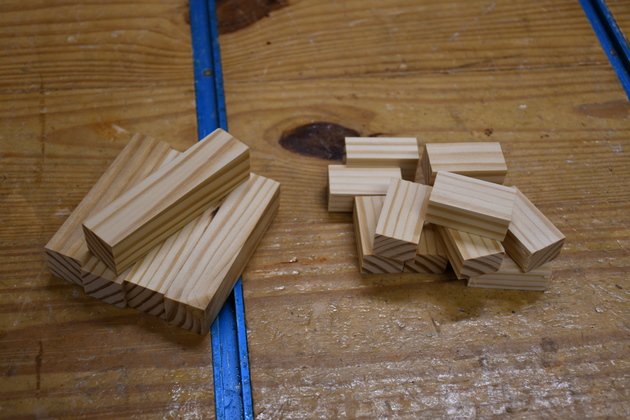
I ripped 1x1 strips from yellow pine, then cut them into 4" lengths for the handle horizontal.
Next I ripped 3/4 X 1 strips from yellow pine and cut them into 1-3/4" lengths for the verticals.
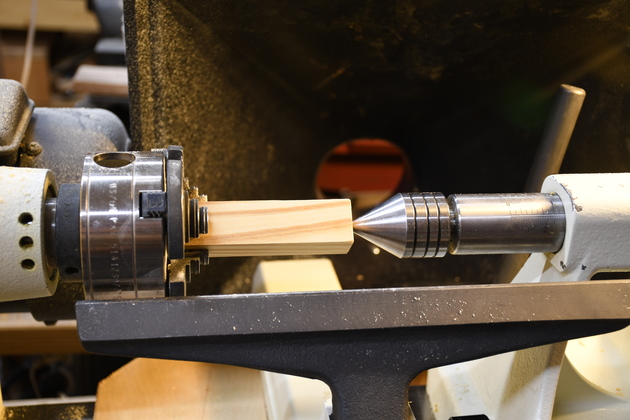
I put each of the horizontals on the lathe and turned a 1/2" diameter tenon on each end.
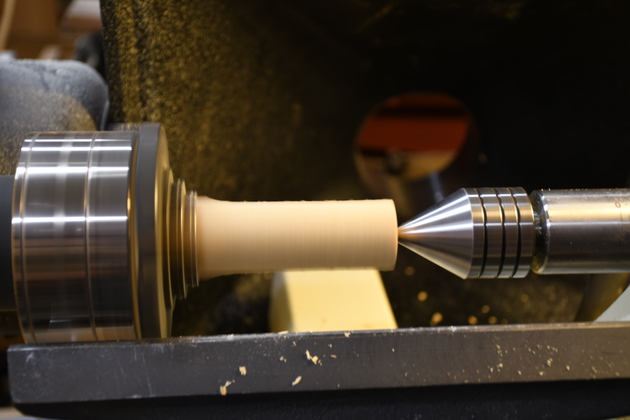
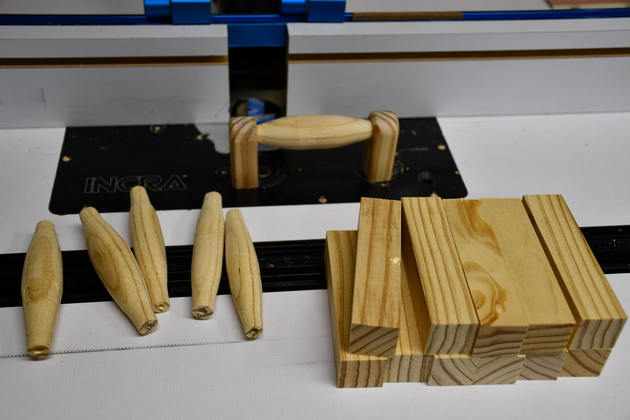
Half of the horizontals were round tapered from the center to the tenon on each end.
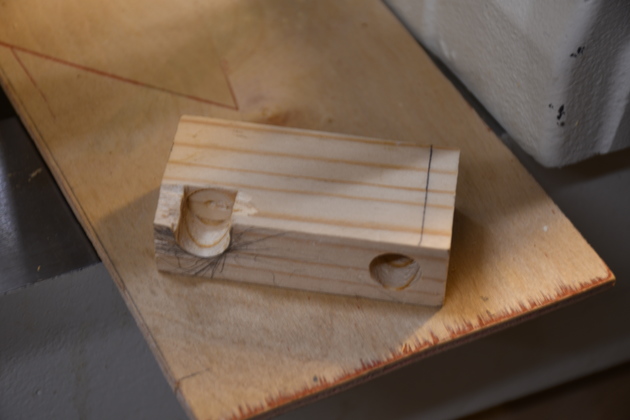
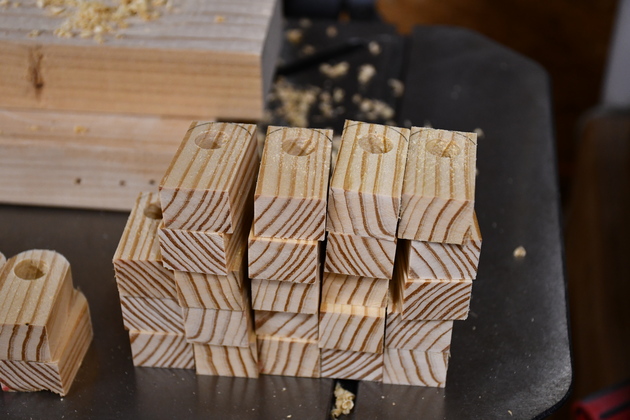
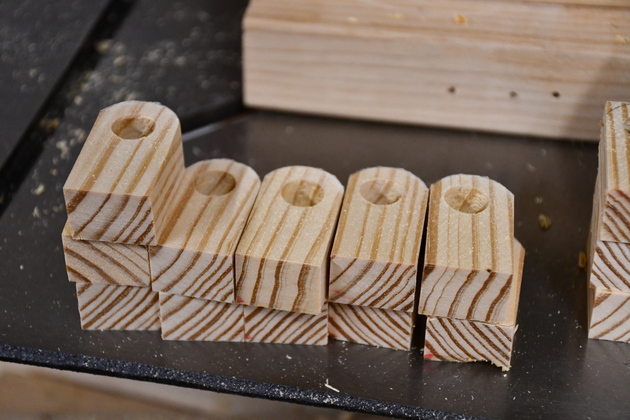
The verticals I rounded one end and drilled a blind 1/2" mortise in each.
Next, with the router table, I rounded off the edges on the verticals leaving the bottom edges unrounded.
|
Ripping 1x1s from 2x material.
These will be handle horizontals.
|
|
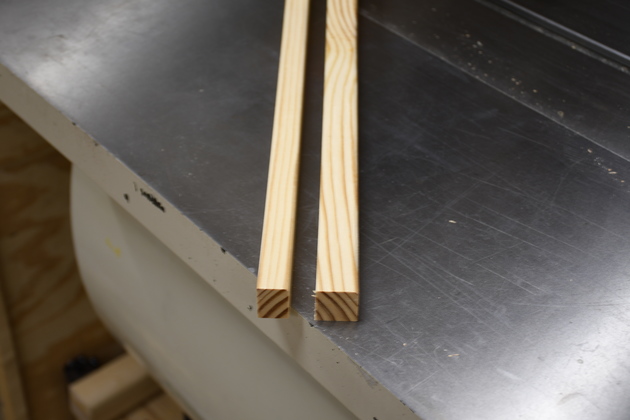
3/4 x 1 and 1 x 1s after ripping.
|
Horizontals
|
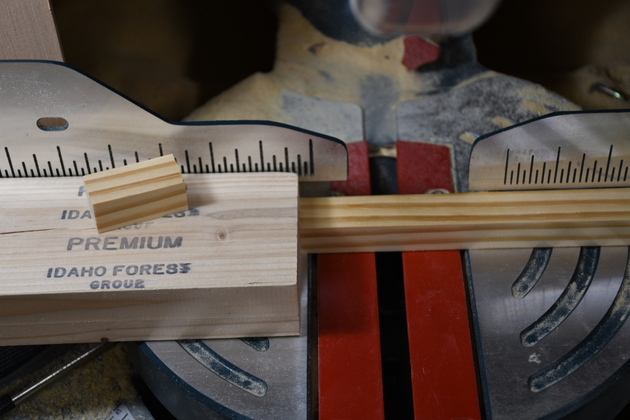
Cutting the horizontals to length (4").
|
|
Stacks of each.
|
|
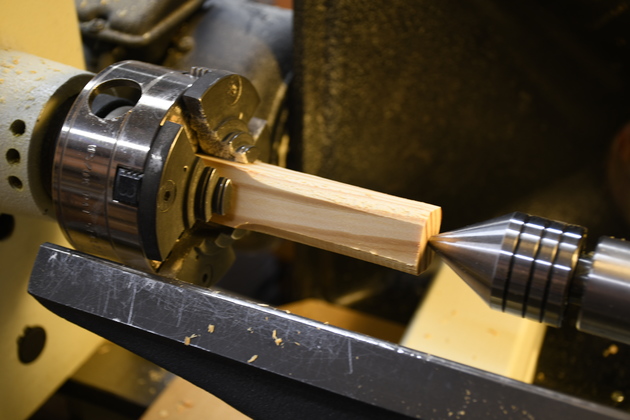
Handle horizontal 1x1 chucked up in the lathe.
|
|
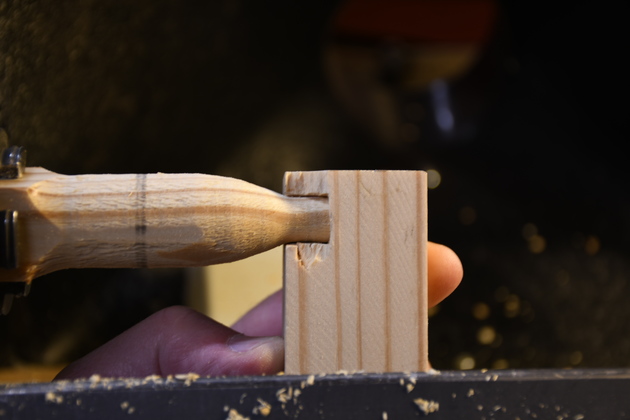
This is my key, I turn the end of the horizontal until it will fit all the way to the bottom of the hole on the left.
|
|
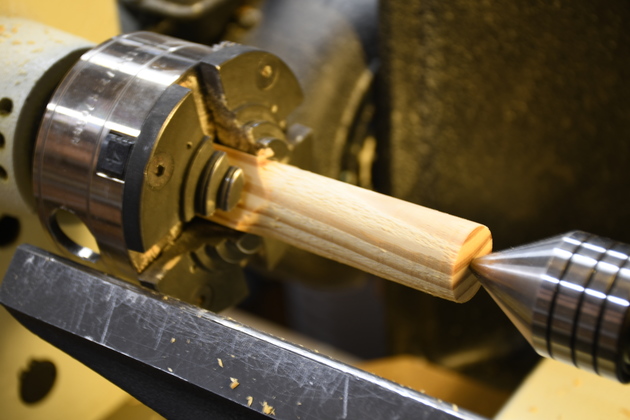
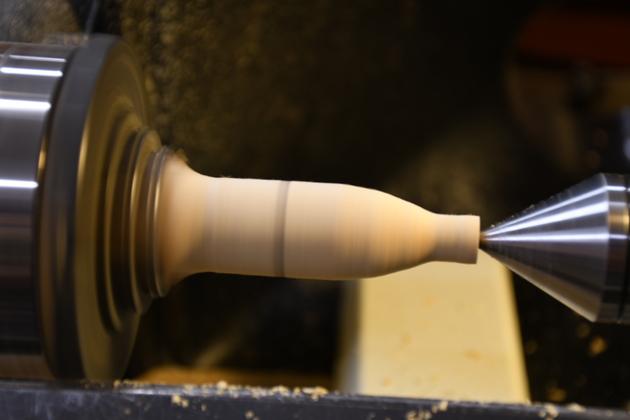
Roughing.
This trims off the corners to make a round.
|
|
I stopped the lathe so you can see how I'm removing the corners.
|
|
Took off a little more and again stopped the lathe.
Now the horizontal is round so the center section is done.
|
|
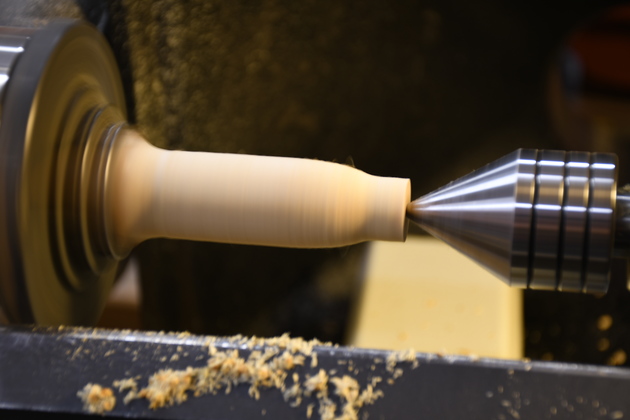
Begin turning down the end.
|
|
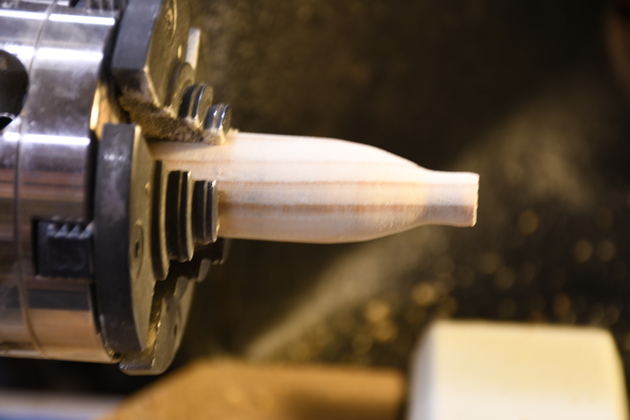
Now the end is about the right diameter and length.
But there is stll a shoulder that must be reduced.
|
|
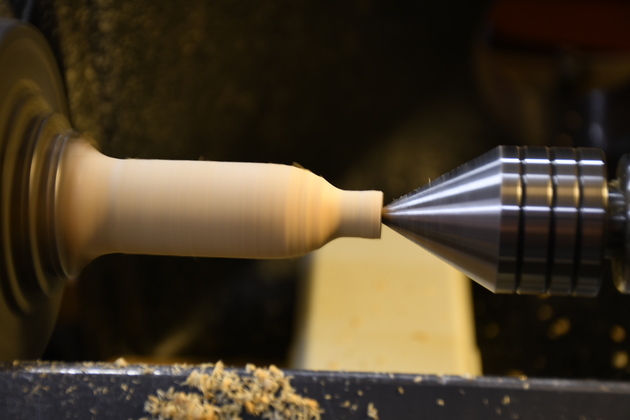
The shoulder is taking shape.
This end is almost done.
|
|
See, it bottoms in the key.
Note the pencil mark, it is in the center (2").
|
|
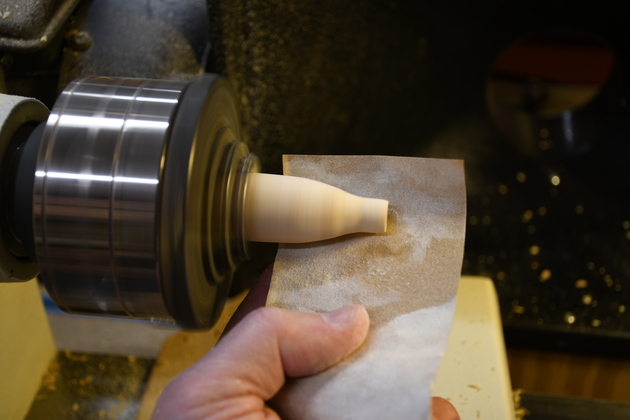
Now I have turned down both ends and I'm sanding the final end.
|
|
And here is a finished handle horizontal.
|
|
Turned and blank horizontals.
|
Verticals
|
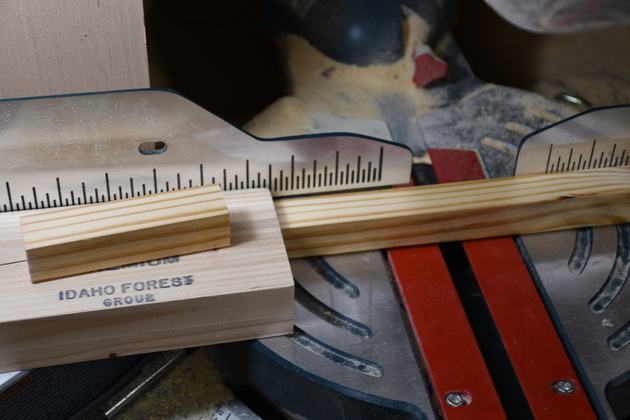
Cutting the verticals to length (1-3/4").
|
|
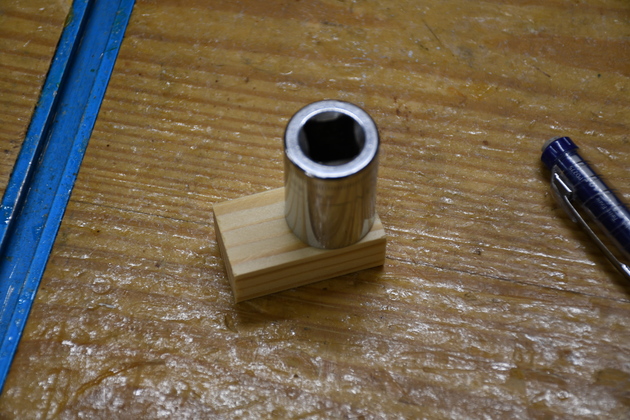
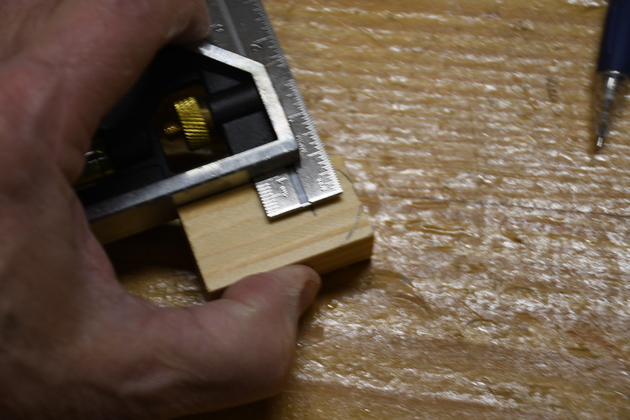
Marking a vertical.
Thats a 1/2" X 19mm socket, it is almost exactly 1" in diameter.
I frequently use sockets to mark small round shapes like this.
|
|
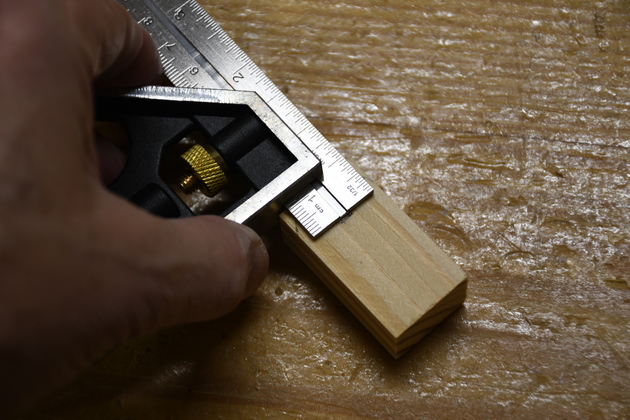
Now I'm marking where the mortise will go, 1/2" from the top.
|
|
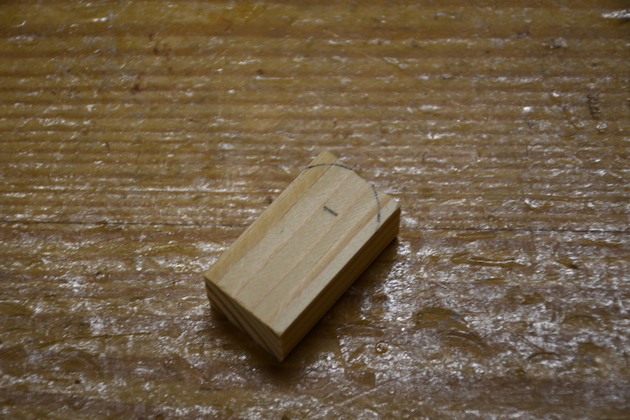
The mark.
|
|
And 3/8" from the side (in the center of a 3/4" wide vertical).
|
|
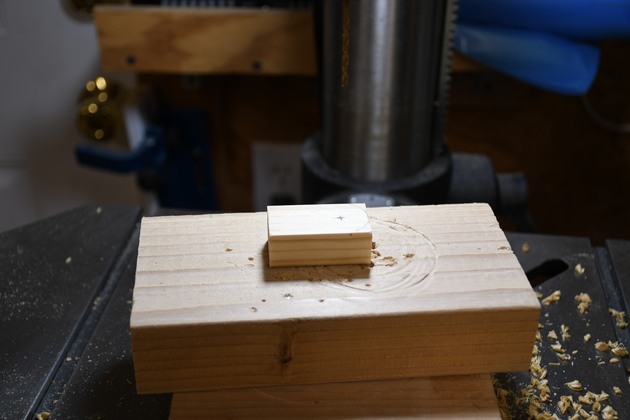
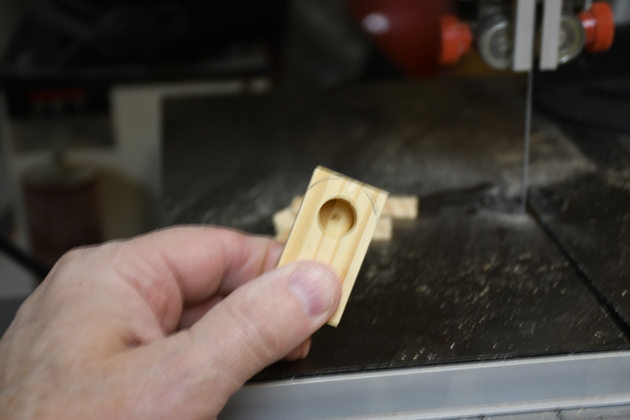
I'm about to drill the mortise.
You can see the center punched dent.
|
|
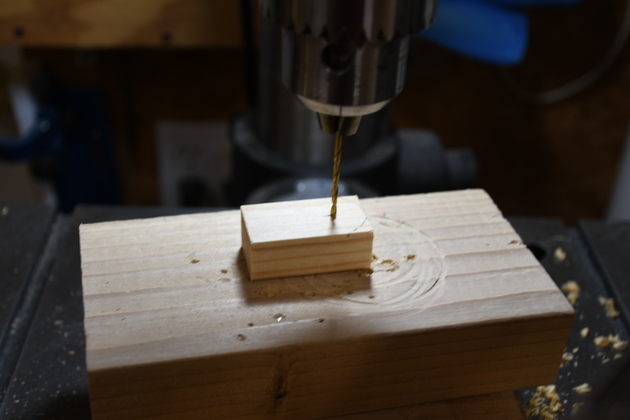
Drilling the pilot hole.
|
|
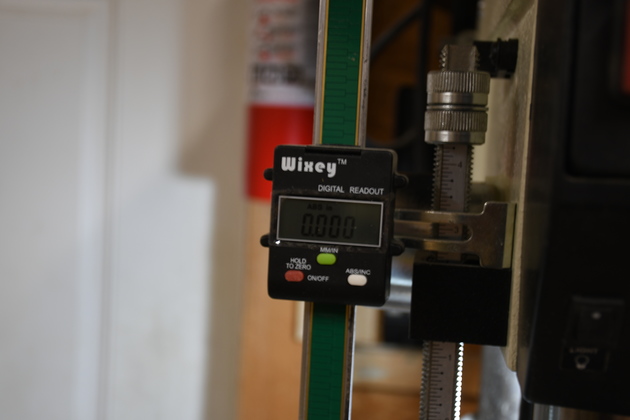
I use this to measure exactly how deep I'm drilling.
Here the bit is sitting on the top of the wood.
|
|
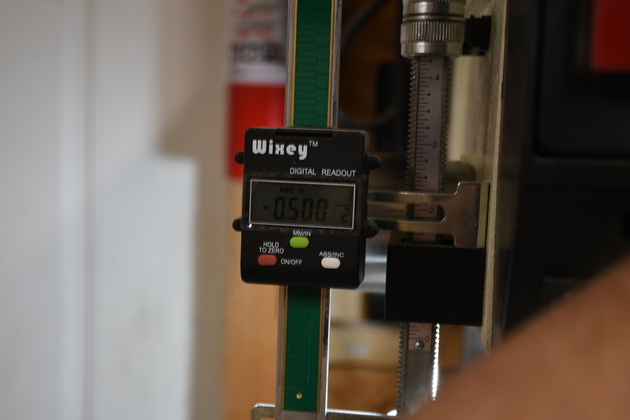
Now the hole is exactly 1/2" deep.
|
|
The resultant 1/2" wide x 1/2" deep mortise.
|
|
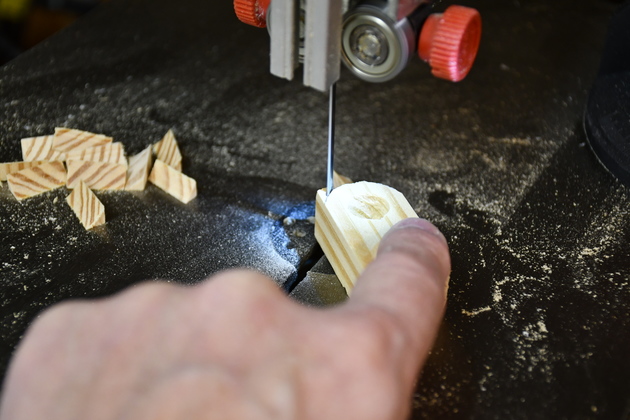
Sawing off the corners to round the top.
|
|
Stacks of handle verticals in process of rounding their tops.
|
|
Tops rounded.
|
|
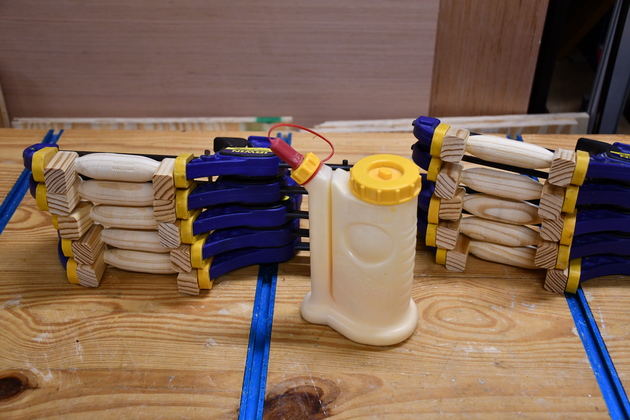
Gluing the handles together.
|
|
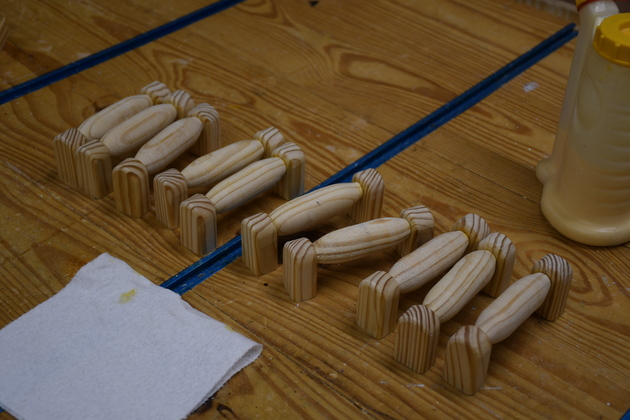
Bunch of finished tapered handles.
|
Finished
|
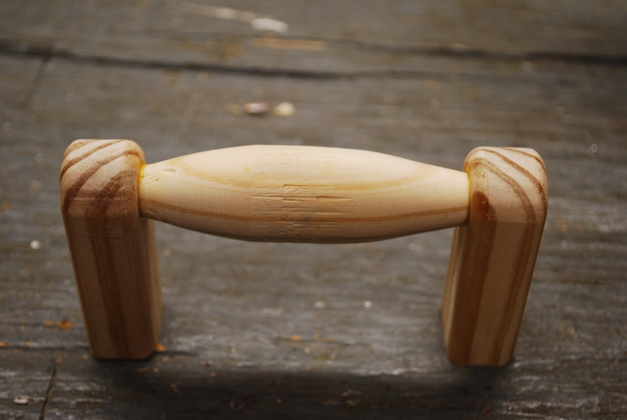
The tapered decorative handle.
|

| Tapered handle from 45°.
|
|
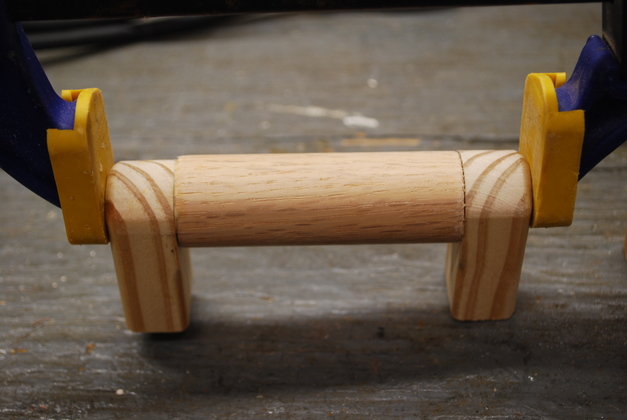
Cylendrical (untapered) handle in the glue clamp.
|
|
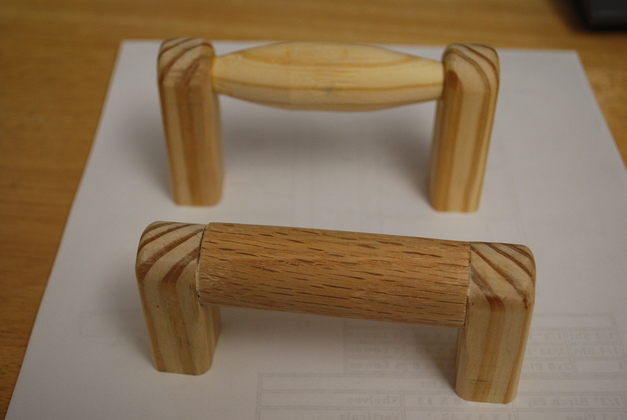
Both, the tapered handle is a little taller than it should be, when I make the next batch that will be corrected.
|

|
End view showing the rounding of the top, the cylendrical handle is flush with the end pieces.
Both have a 1/2" horizontal tenon into a mortise in the upright.
|
|
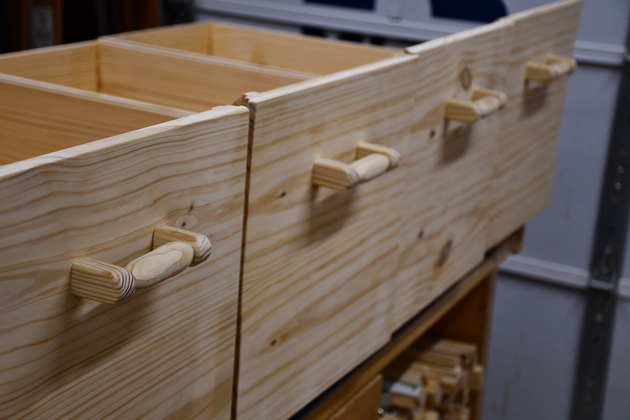
Handles mounted on drawers, ready to stain.
These are the 28" deep drawers for Susan's Storage Bed
|
|
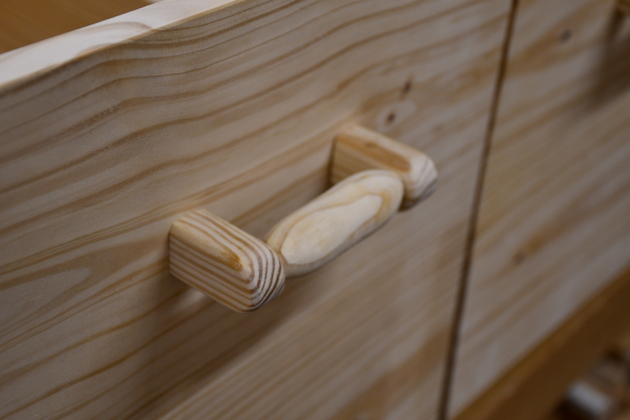
Closer look at a mounted tapered handle.
The drawer front is the same material (yellow pine) as the handle.
|
|
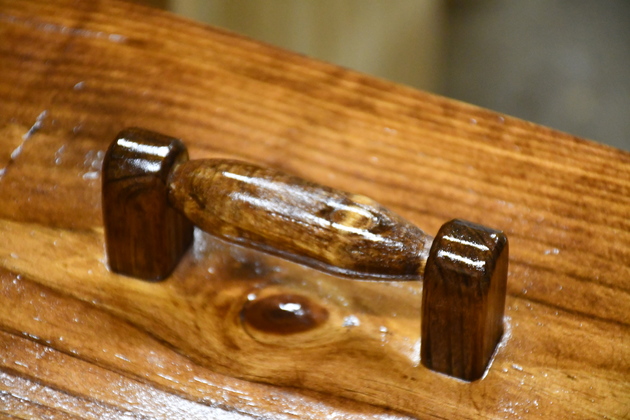
Close look at a decorative handle stained and painted.
|