| 
| 
|
|
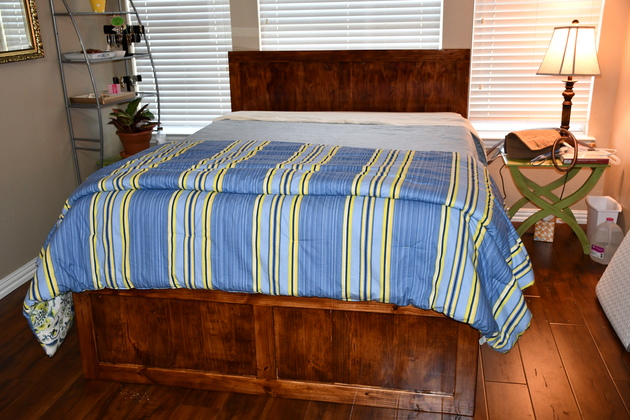
Susan's Queen
| ||
|
|
|
|
|
Susan's Queen
| ||
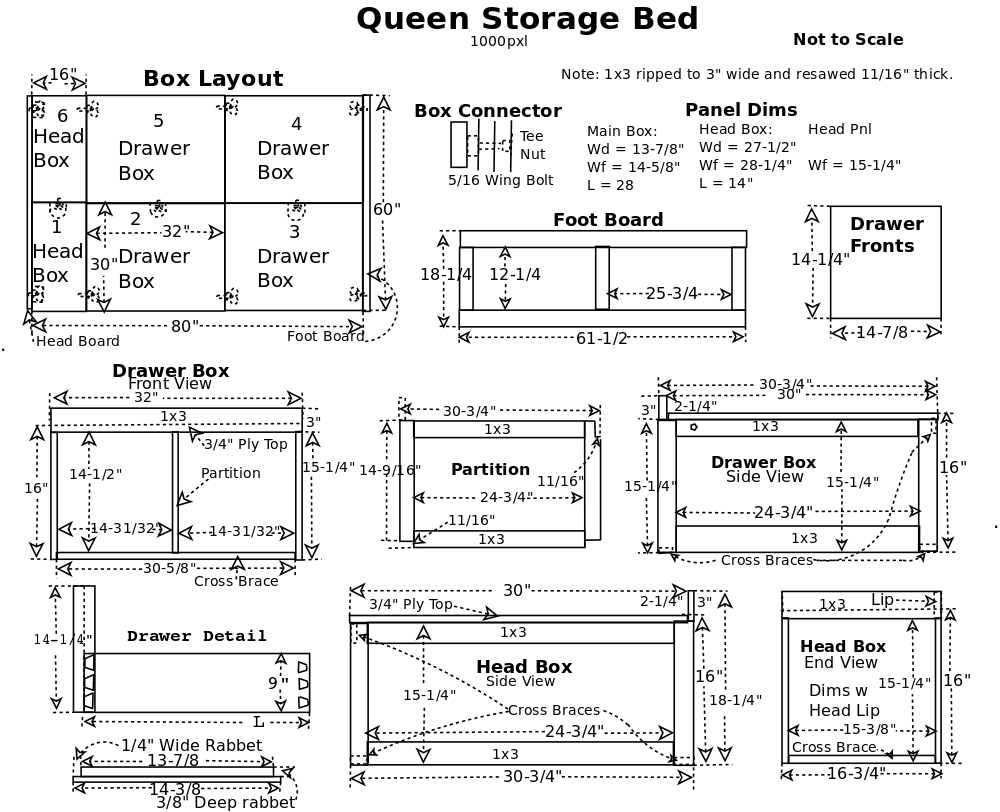
| Storage Beds | Lumber Prep | Main Box | Head Box |
| Staining/Painting | Making Decorative handles | Head/Foot Board |
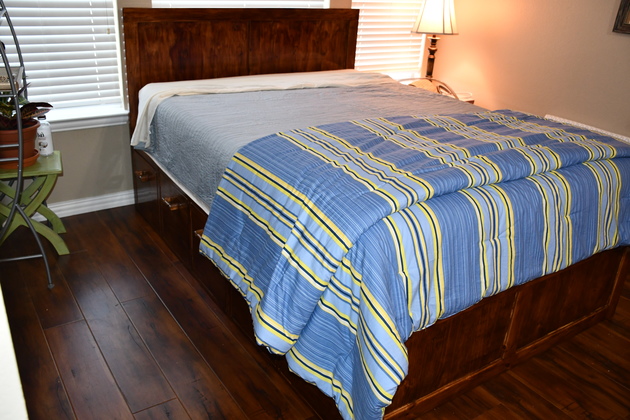
After hearing Cindy's improved back stories, Susan decided she wanted a platform bed (with storage). This bed will be made like the king: all 1x3 frame.
Susan wants her bed stained (like Cindy's but not as dark) rather than natural so I made some chips and she selected a color we call "Susan Gold" (50/50 mix of Minwax Honey and Golden Pecan stains).
She also wanted tapered decorative handles rather than the more rustic handles I have used in the past, so. Click to see how I made decorative handles.
Please see Lumber Prep on the main storage bed page.
|
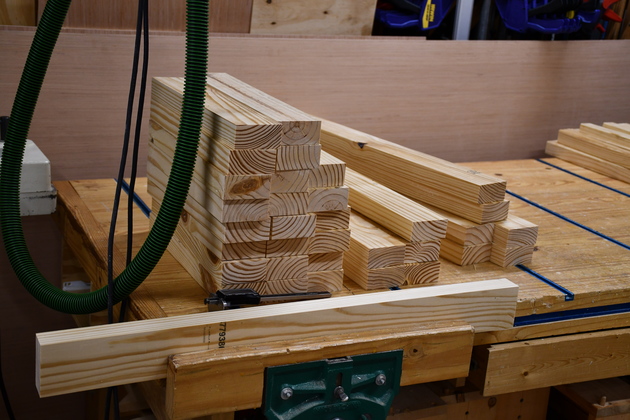
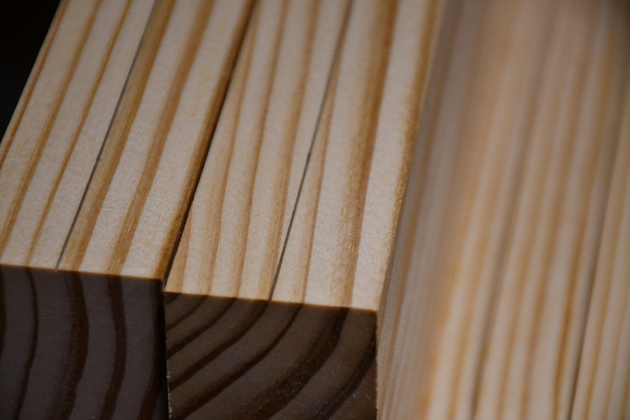
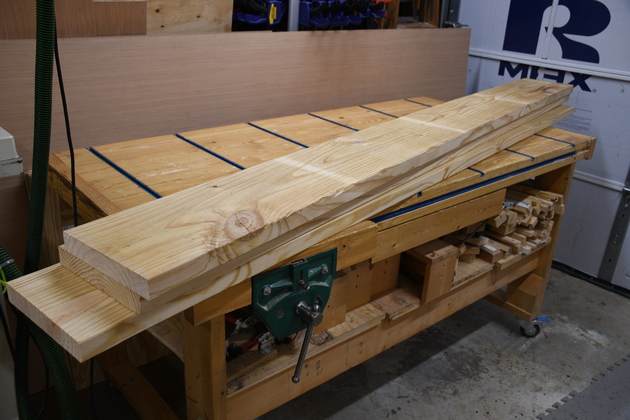
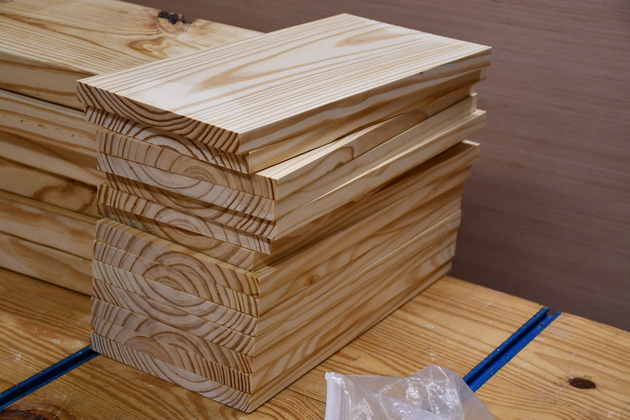
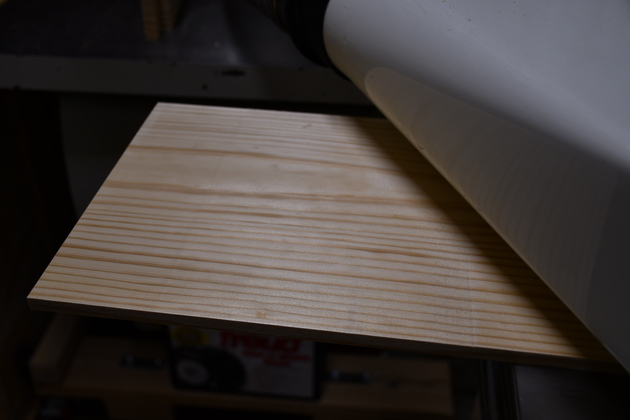
2x8s have been cut to length (sized) then ripped to 2x3s. |
|
A little closer look at some of the 2x3s. |
|
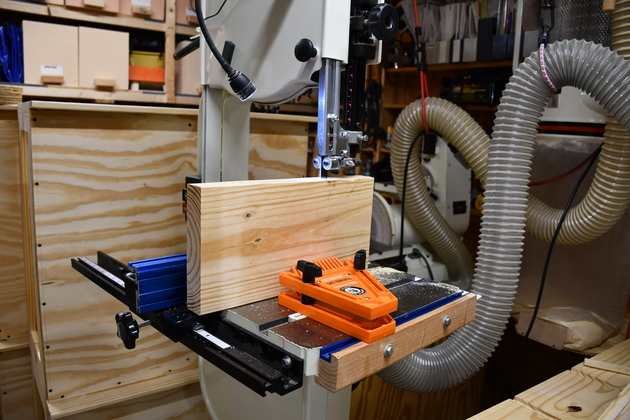
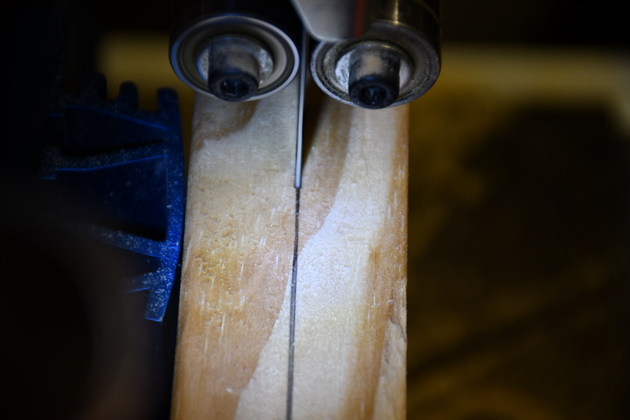
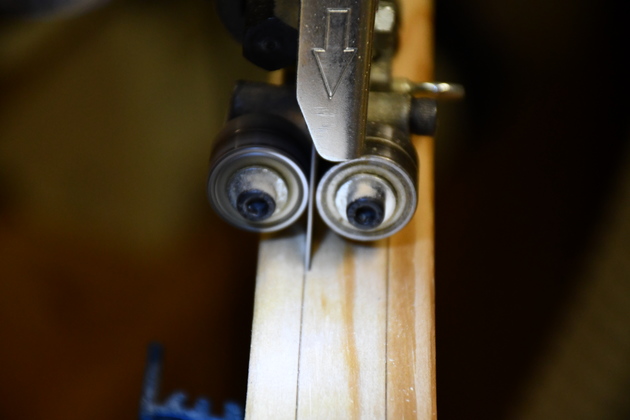
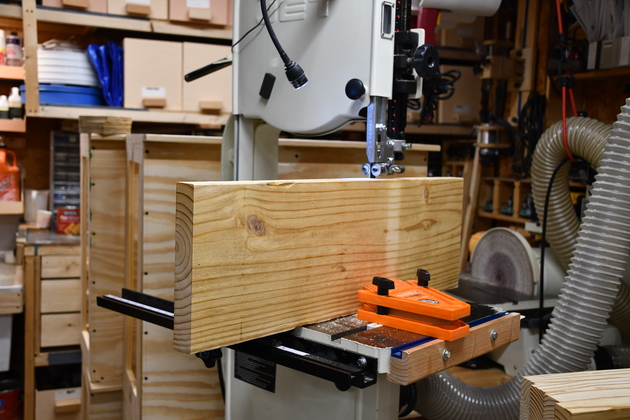
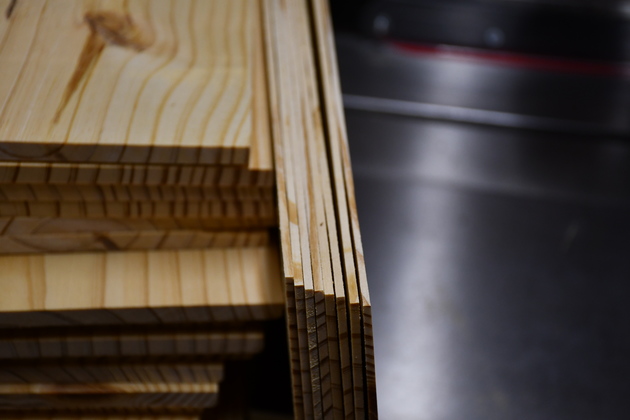
Here I have marked the centerline of each 2x3 in preperation of resawing. Here is a look at resawing 2x into 1x. |
|
Planing 1x3s after resawing. |
|
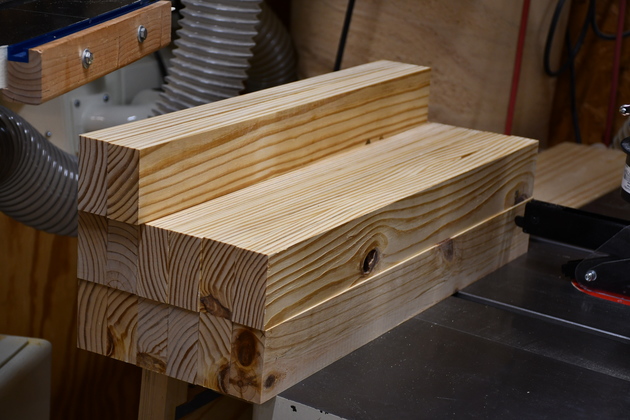
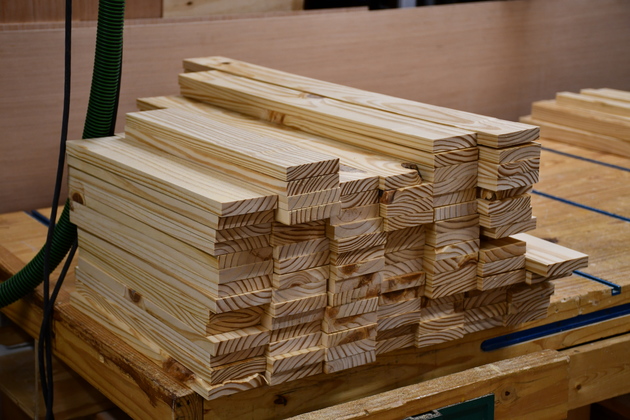
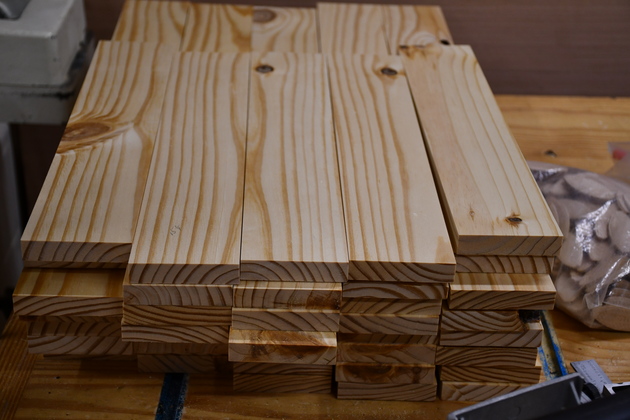
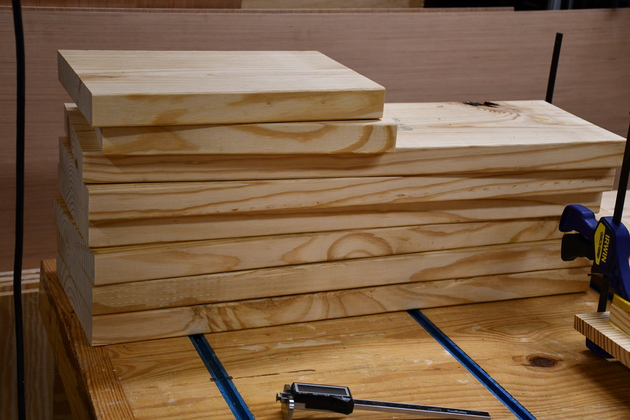
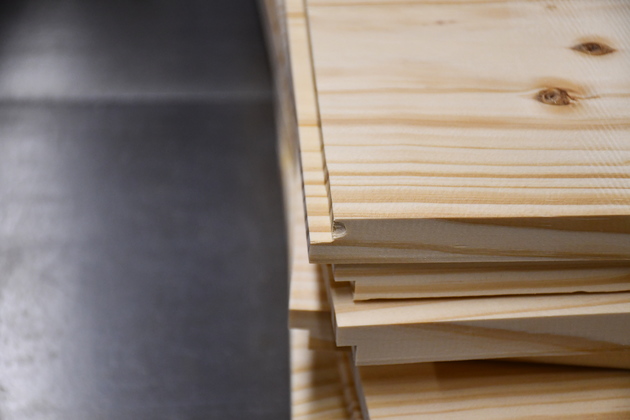
All frame pieces for the 6 boxes resawn and planed into 1x3s. |
|
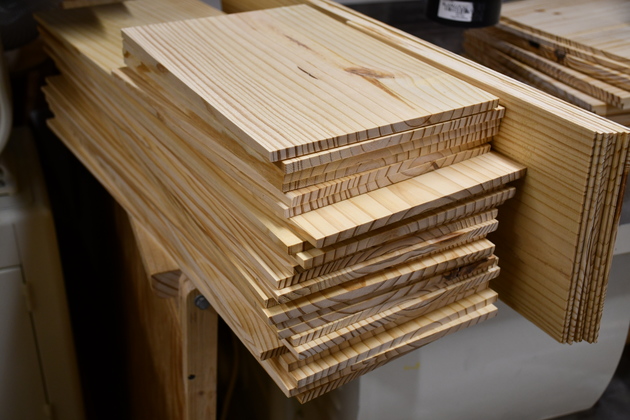
1x3s sorted into lengths, ready to make frame sets. I'll pick two verts and two horizontals to make one side of a box (frame set). |
|
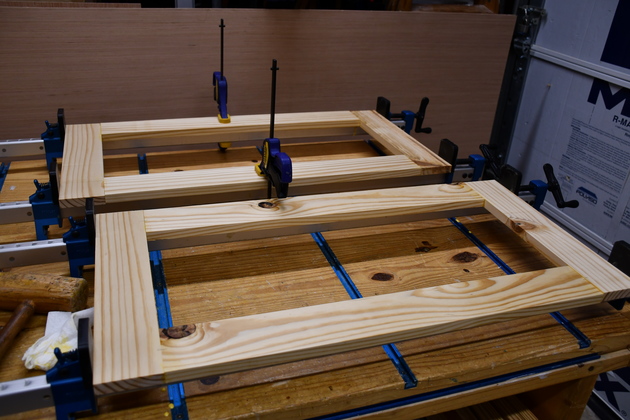
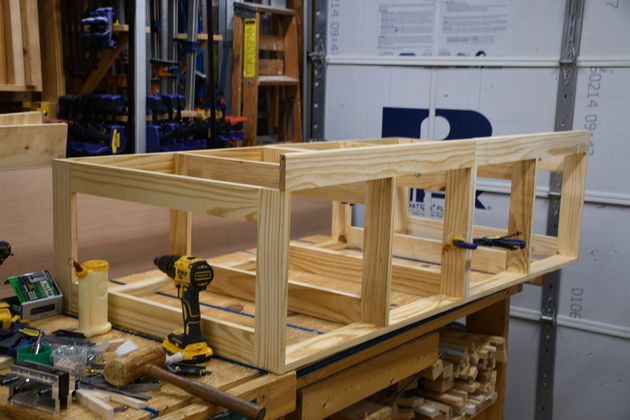
Here are all 10 of the box side (frame) sets, ready for biscuit marking, slotting and gluing. The main boxes and head boxes have the same size sides. |
|
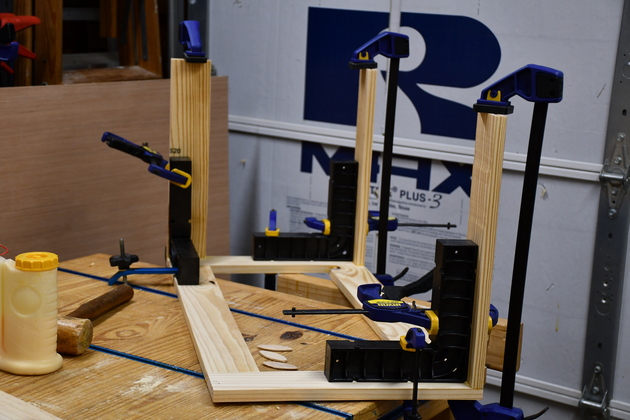
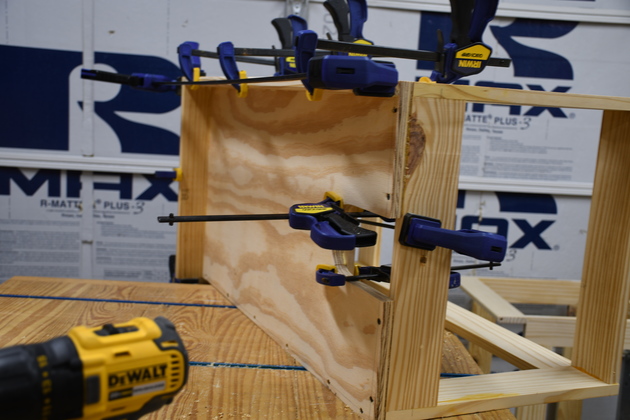
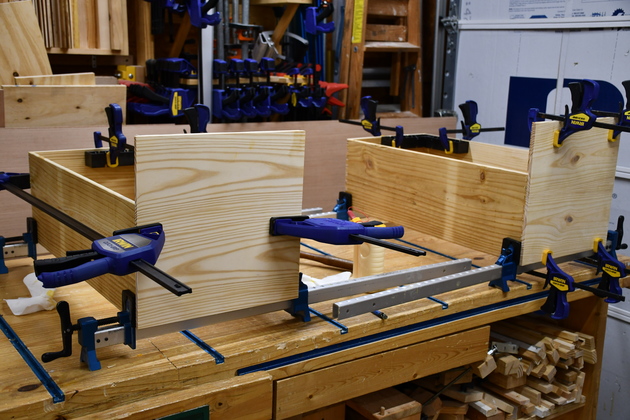
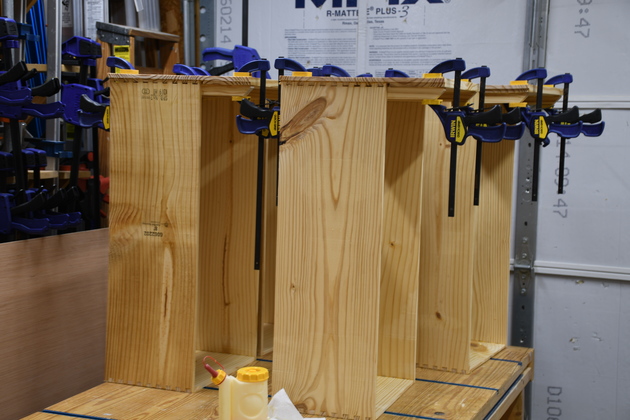
Two box sides in glue clamps. |
|
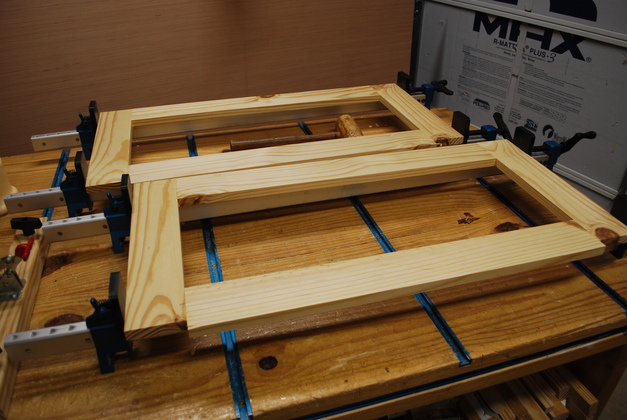
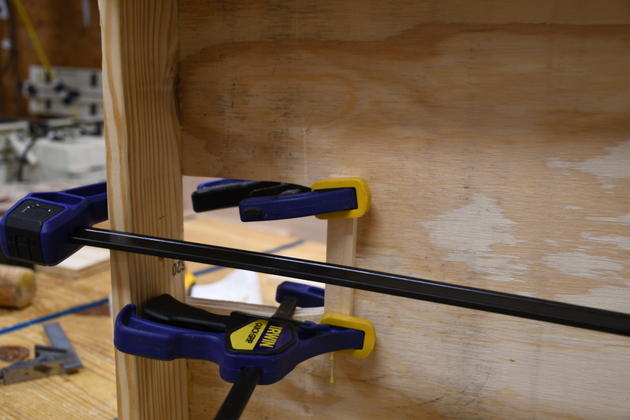
Two partitions in glue clamps. |
|
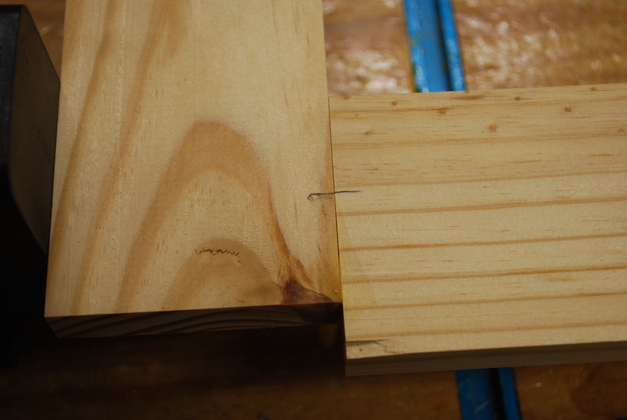
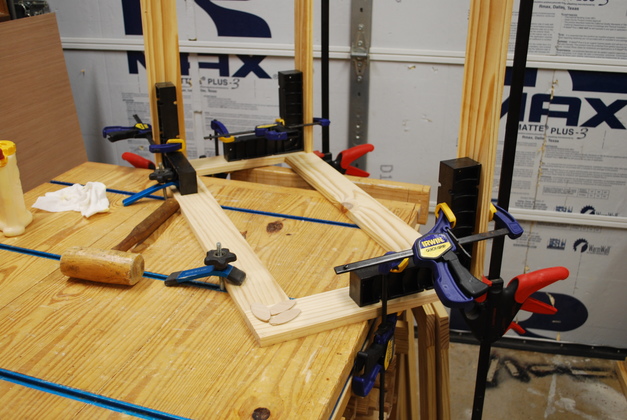
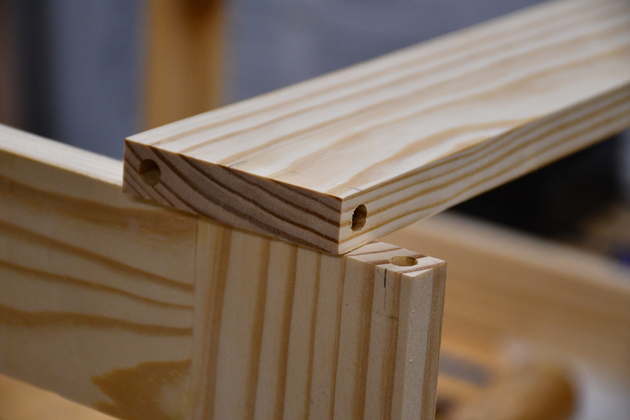
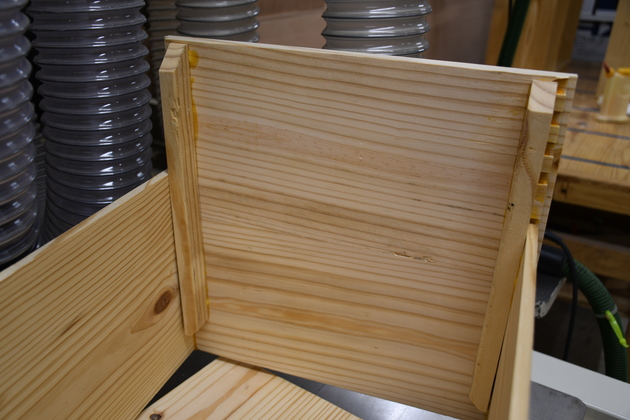
Closer look at the partition bottom vert and horiz juntion, note the offset for the cross brace. Also note the alignment mark, and where the biscuit is. |

|
Cross braces being glued to left side. |
|
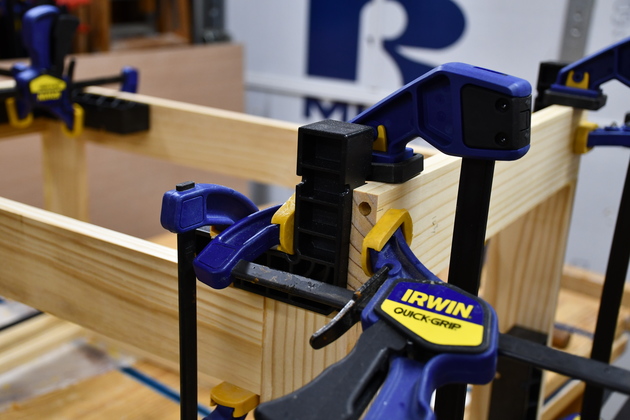
Note the ClampIts keeping the joints square. |
|
The right side being glued to the cross braces. Again note the ClampIts. |

|
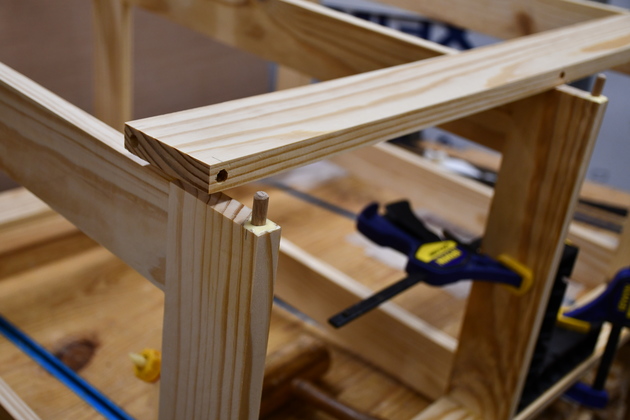
Dowel in center hole of lower front cross brace, this centers the partition. More on doweling the partition. |
|
Top view of dowel hole in lower front cross brace, you can see the end of the dowel down in the hole. I'll put some glue on the joint area and a little in the dowel hole then align the partition, drive up the dowel and clamp, same for both rear cross braces. |
|
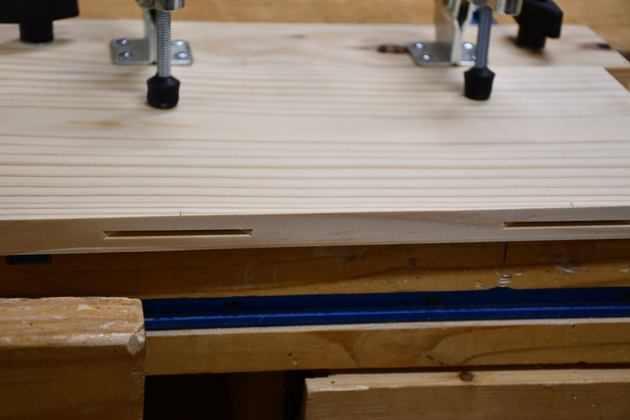
Top cross piece with dowel holes drilled. |
|
Closer look at end dowel holes. The hole in the end (on left) will be used to align the "Lips" along the edge of the platform, one will have a 5/16" dowel, glued, and the mating hole will be drilled out 1/64th larger. |
|
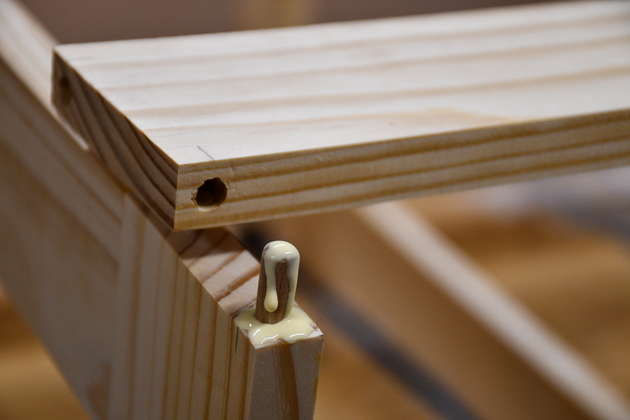
Glue applied and dowel driven half way in (I mmade a little pencil mark at the halfway point). You'll note the center partition has been glued in. |
|
Glue on top of dowel. |
|
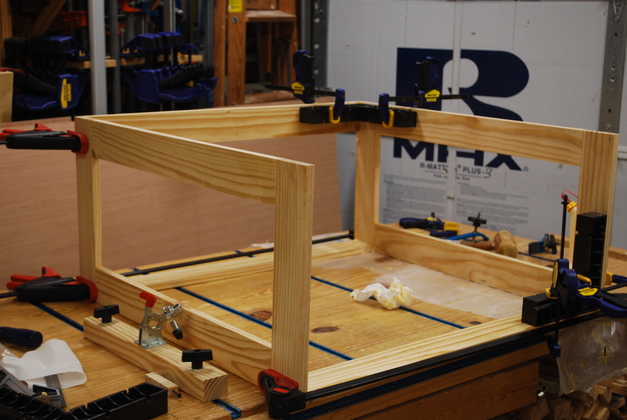
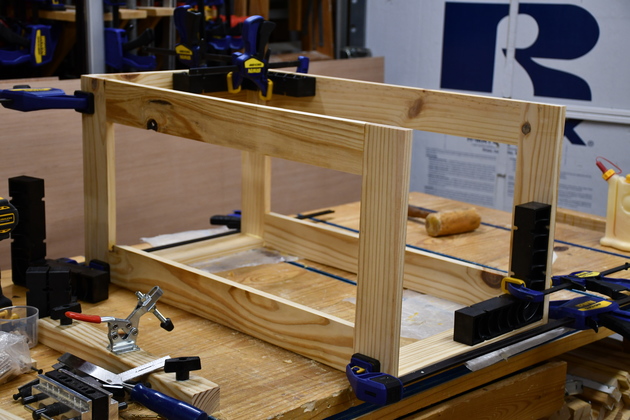
Box with partition and top cross piece with glue clamps. Note small ClampIts, they keep upper cross brace exactly vertical while under clamp pressure. |
|
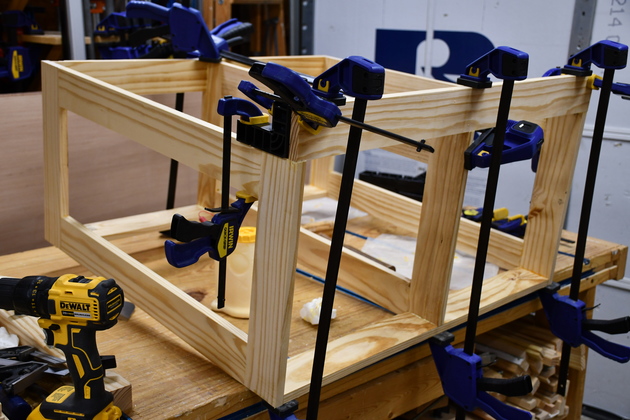
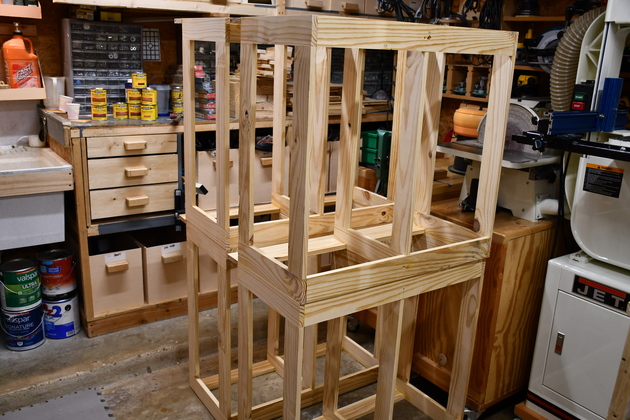
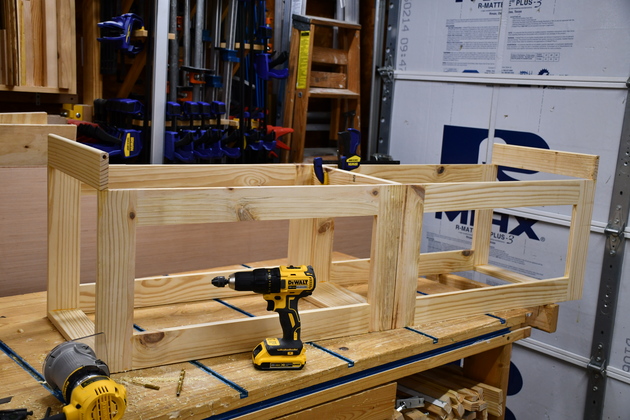
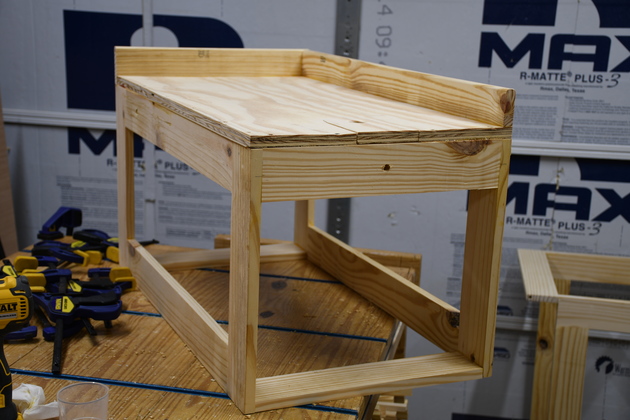
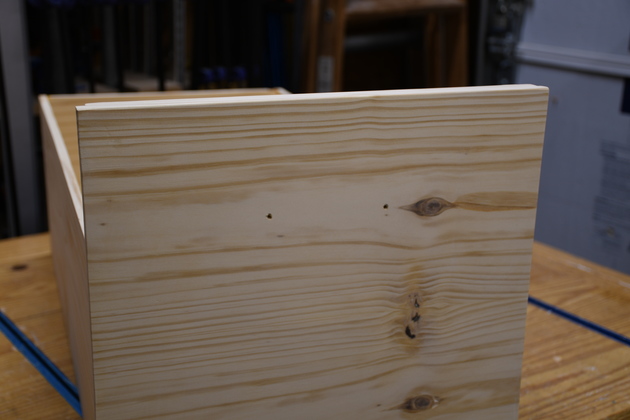
Stack of main box frames, ready to sand, join and have their tops glued. |
|
Left side of head box having cross frames glued. |
|
Head box having right side glued to cross frame pieces. |
|
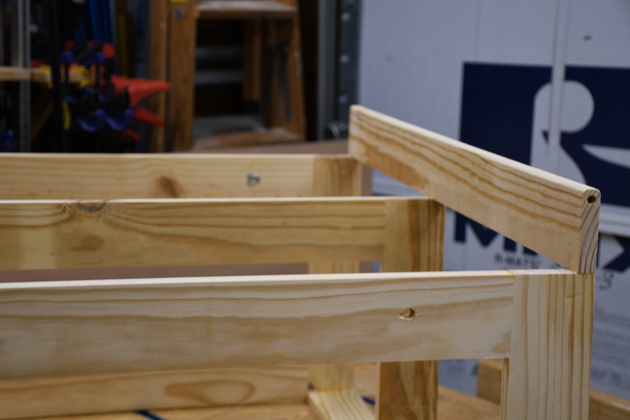
Top cross frame (lip) being glued, note the ClampIts holding the lip vertical while under pressure. |
|
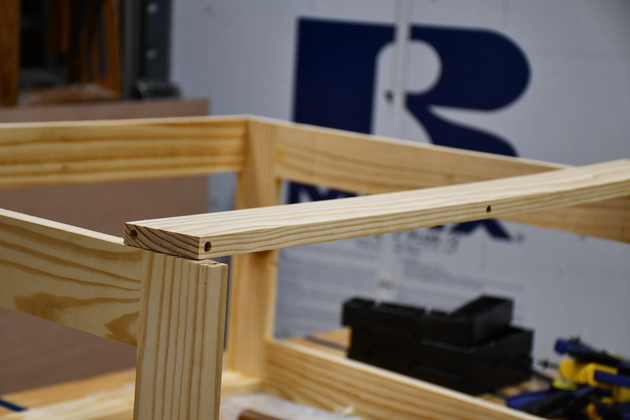
Close up of ClampIt on upper front cross frame piece. You can also see the hole in the upper edge of the lip for the alignment pin. |
|
The two head boxes (box #1 and box #6) being mated for wing bolt. |

|
I clamp the two head boxes together, in correct alignment, then mark the center. |
|
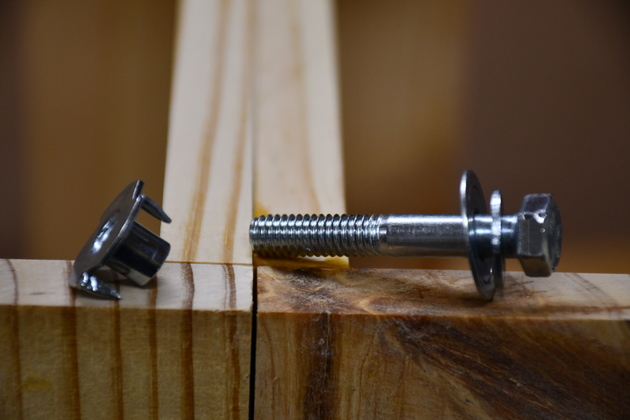
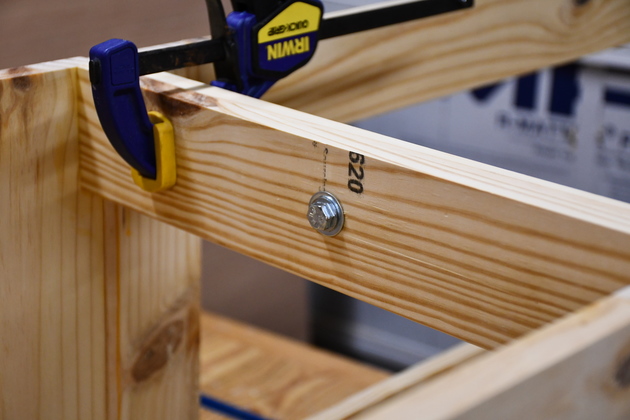
Here is a 5/16" tee nut and the bolt and washer I use to set them. |
|
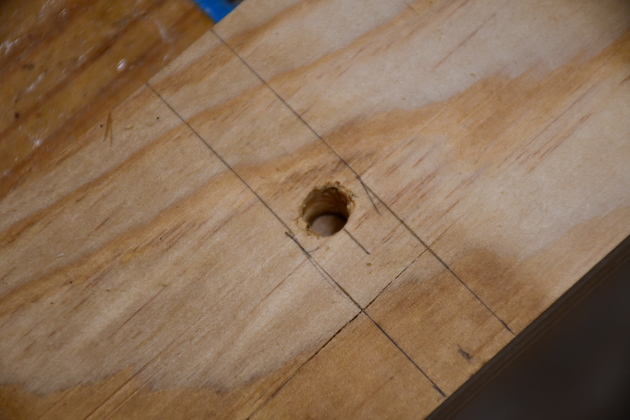
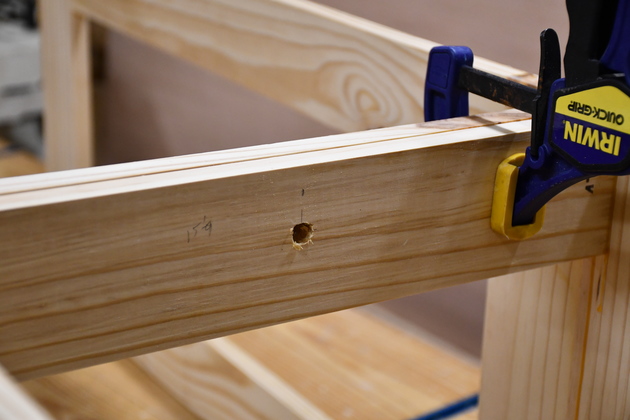
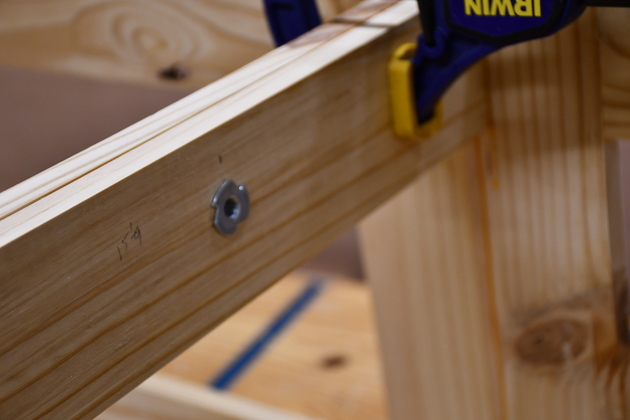
3/8" hole drilled through both box ends. |
|
Tee nut setting bolt head and washer. I use a bolt so when the tee nut is set a bolt can be easily started into it. |

|
Tee nut with setting bolt finger tight. |
|
After the bolt is tightened, the tee nut is set and the bolt will always thread correctly. |
|
Now the top is being glued to the head box. |
|
Gluing the stop block for the dog house door on the underside of the top. This block supports the top edge of the dog house door. |
|
The head lip is being glued to the top side of the head box. Since Susan's headboard stands away from the mattress, I added this lip to keep the mattress aligned on the bed. |
|
Head box (box #1) with top and front lip all glued. |
|
The dog house door, you can see the stop block glued to the underside of the top. You can also see the back side hole for the wing bolt that will connect the two head boxes. |
|
Dog house door in place. |
|
Two main boxes having a hole drilled for the wing bolt. |
|
You can see the wing bolt hole on this side and the tee nut on the far side. |
|
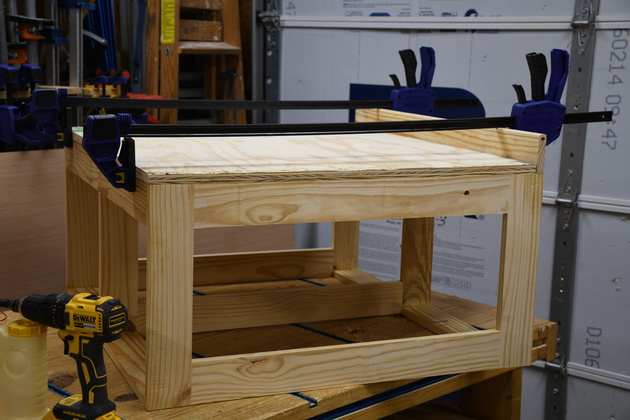
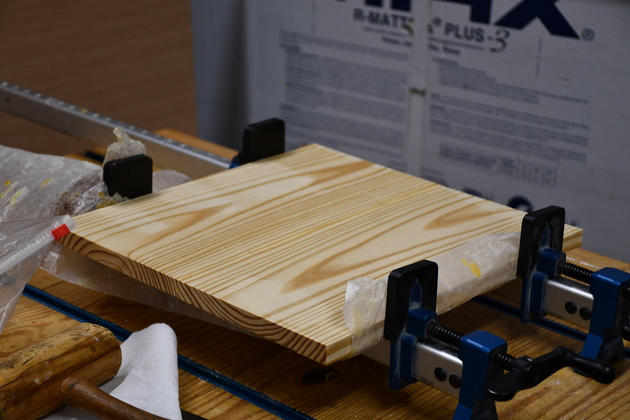
Main box top being glued. |
|
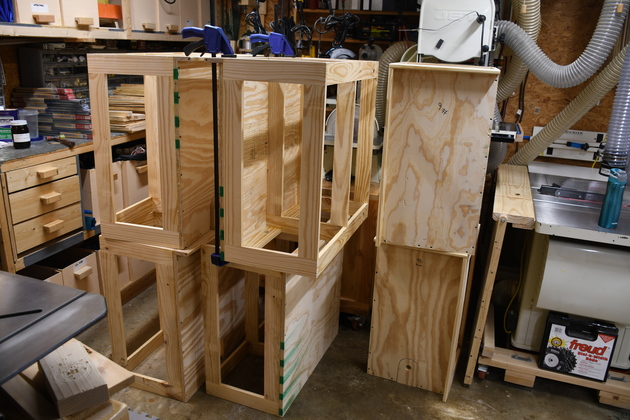
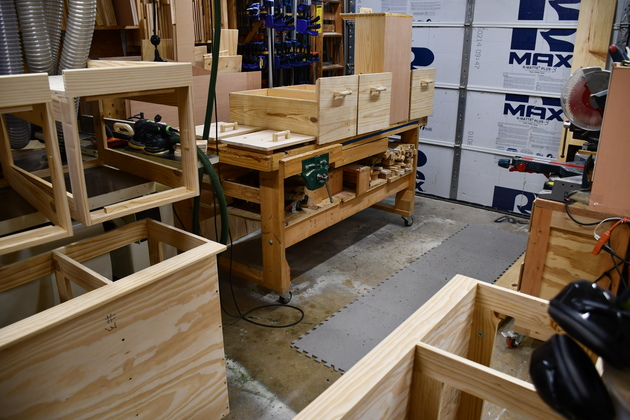
All 6 boxes ready to paint. |
|
2 X 10 drawer lumber, ready for sizing. |
|
2 X 10s cut to length (sized). |
|
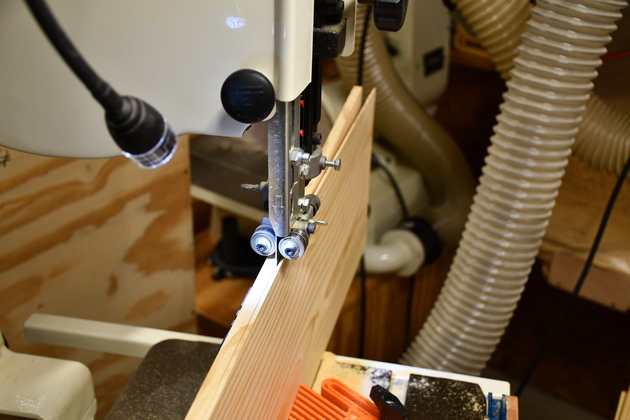
Resawing drawer fronts.
|
|
Resawing drawer front slabs. You'll note I'm sawing right down the center of the line so both halves will be the same. |
|
Drawer front slabs resawn and planed The drawer fronts are a littel taller than 14", higher than most board widths, so I cut two boards and edge joint them to make a front. |
|
Slotting drawer front slabs for edge joining biscuits. |
|
Drawer fronts being edge joined. |
|
Head door, having reinfocing bars glued on the inside. When I resaw yellow pine it sometimes wants to cup a little so I glue on these bars to prevent that, keeps the panel nice and flat. |
|
Rabbets cut in the edges of the drawer fronts. |
|
Resawing two 3/8" drawer sides/backs from each side of a 2x10. Note the line is right on the left edge of the kerf. This operation leaves a core about 5/8" thick, which I'll plane then resaw off another 3/8" slab. |
|
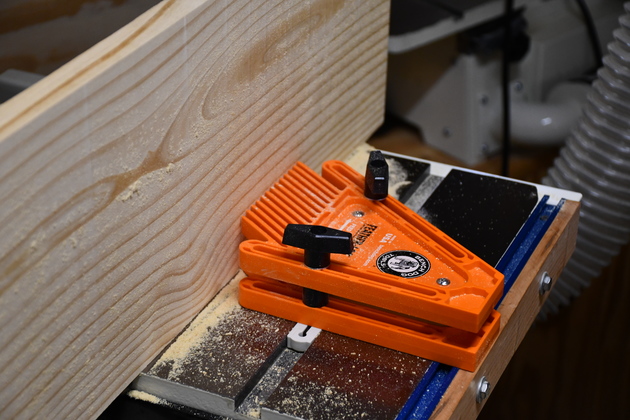
A drawer side being resawn from a 2x10, note the feather board holding the bottom close to the guide. |
|
Closer look at the feather board while I resaw the 2x10's core. |
|
After I saw off a slab from each side of a 2x10, I plane the remaining core then saw off another 3/8" slab, leaving a thin piece of pine suitable for the inset panel facings on the foot board. |
|
You can see the thin pine slab being sawn off the 3/8" slab.
I'll use the thin pine slabs, laminated to plywood, for inset panel facings on the footboard.
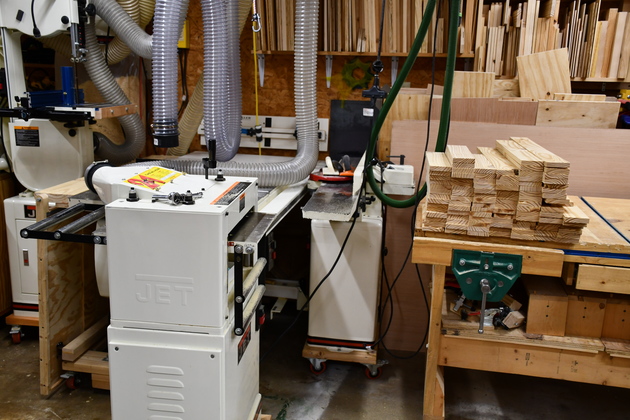
This is a good place to note: I'm using a 3/4" 3TPI TimberWolf blade on a Jet JWBS-14DXPRO Deluxe bandsaw and a Kreg precision fence and Kreg 7" resaw guide.
|
|
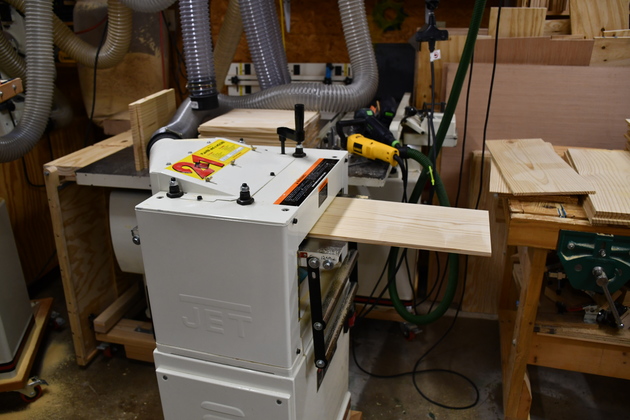
The 3/8" slabs being sawed are actually a little thicker than 3/8", here I'm planing them down to exactly 3/8". This is a Jet 13", closed stand, thickness planer. Both the bandsaw and the planer are sitting on one of my caster bases. |
|
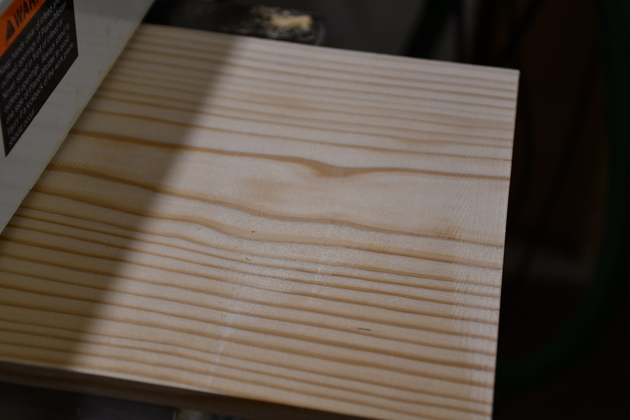
Kind of hard to really see in the pic but this is the unplaned surface. |
|
And this is after planing. |
|
The thin pine facings (right) along side the 3/8" panels (left). |
|
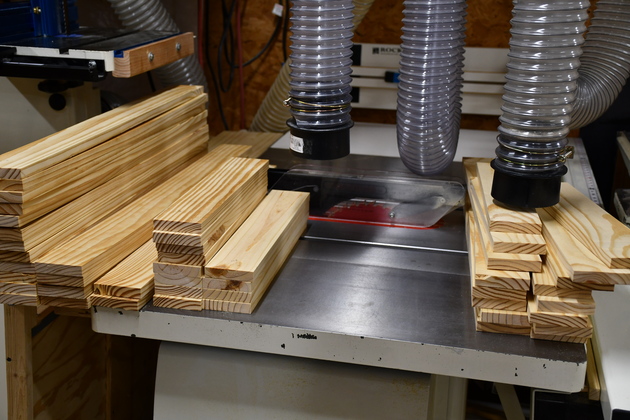
Stack of 3/8" thick drawer sides and backs. Here is a link showing dovetailing drawer sides & backs on another page. |
|
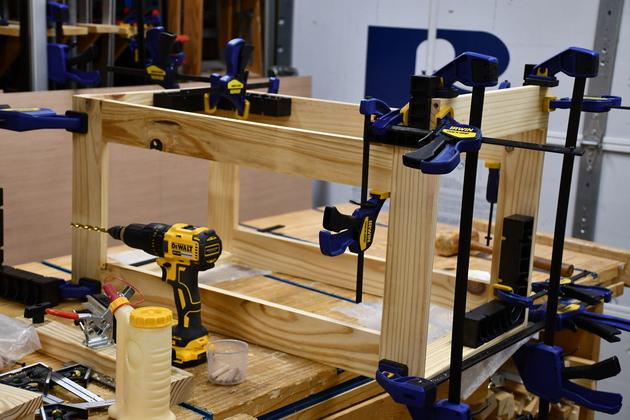
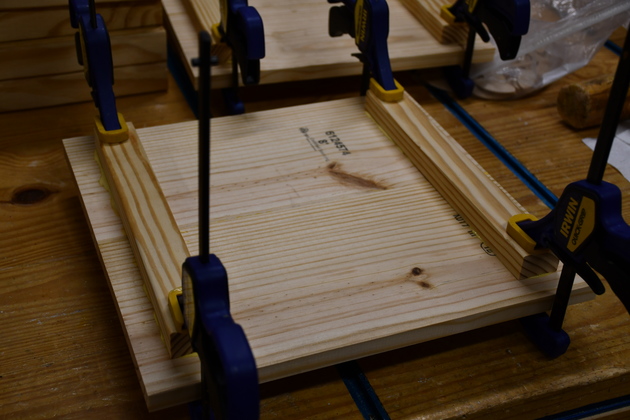
After dovetailing, drawers being glued. Note the ClampIts at the rear corner of each drawer frame, these make sure the frame is square. |
|
Gluing "stiffeners" to the drawer fronts. |
|
Closer look at "stiffeners". Since the fronts are 11/16"thick, resawn from 2x10 yellow pine, they frequently want to cup, the drawer sides and these "stiffeners" prevent that. This is an extra step I take required by using yellow pine. |
|
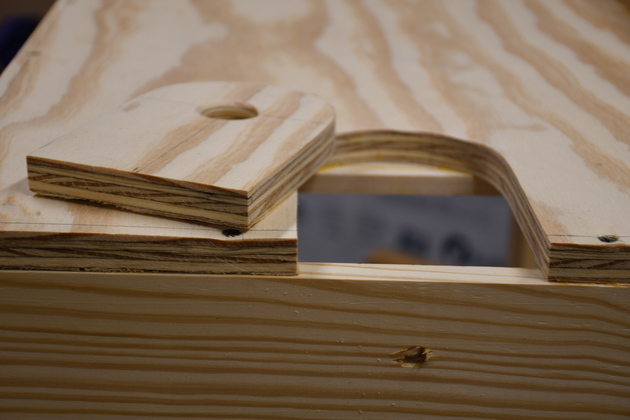
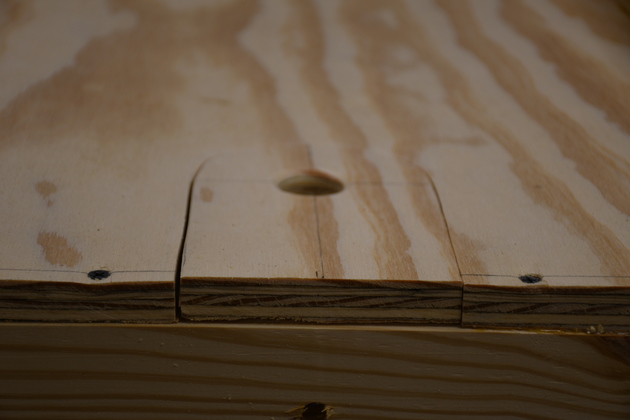
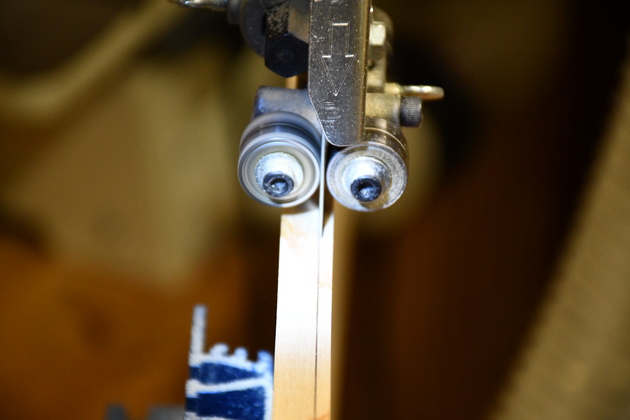
Holes drilled for mounting a decorative tapered handle. |
|
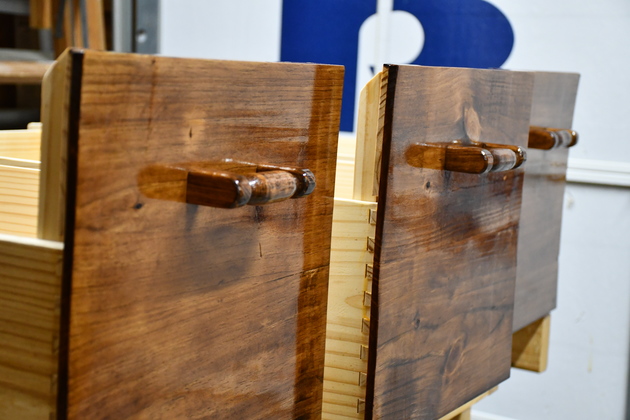
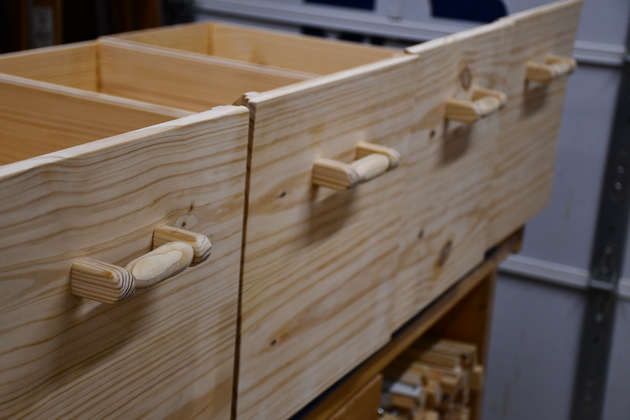
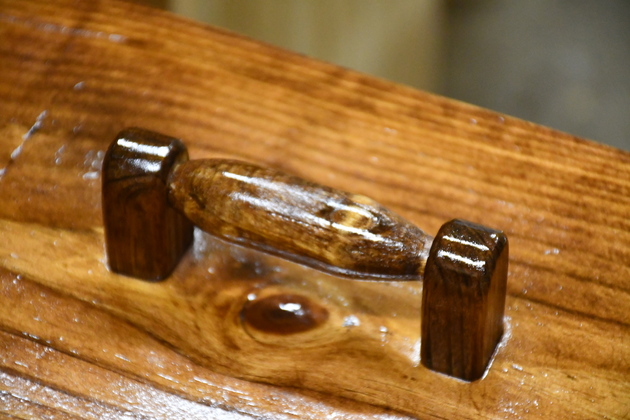
4 of the 8 drawers, with handles mounted. Susan wanted these decorative handles (more decorative than my normal handles) so, with Kyles help, we whipped them out. |

|
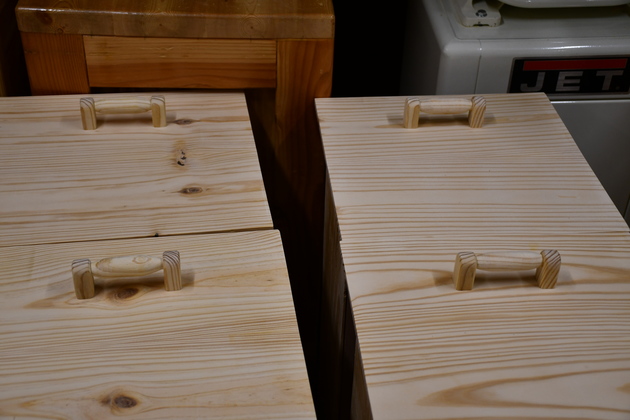
closer look at a mounted decorative handle. The drawer front and handle are both yellow pine. |
|
|
|
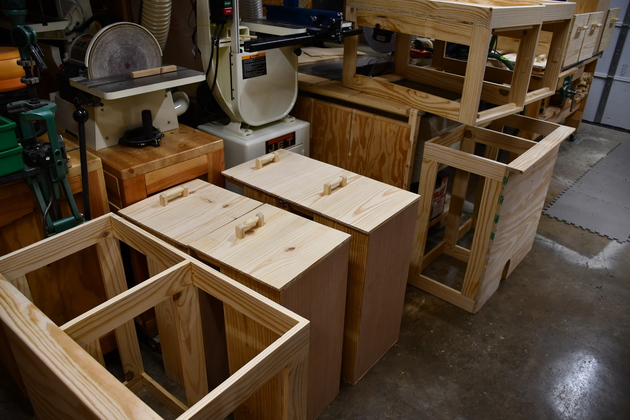
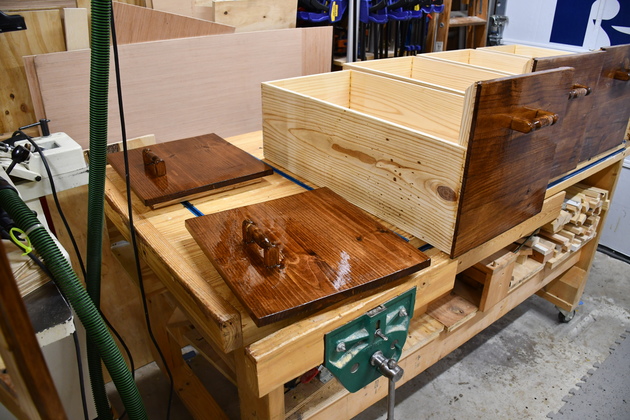
My little shop is chock full of box frames and drawers, ready to stain. |
|
The other 4 drawers, with handles, ready to stain. |
|
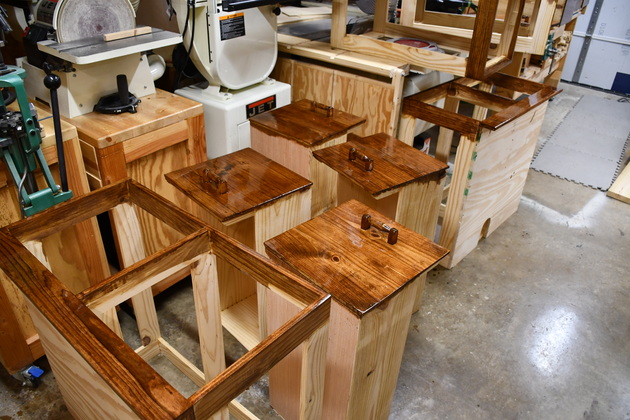
Boxes and frames, everywhere, after stain and painting. |
|
Note, I only stain the parts of the box frames and drawers that will be visible after the bed is assembled.
|
|
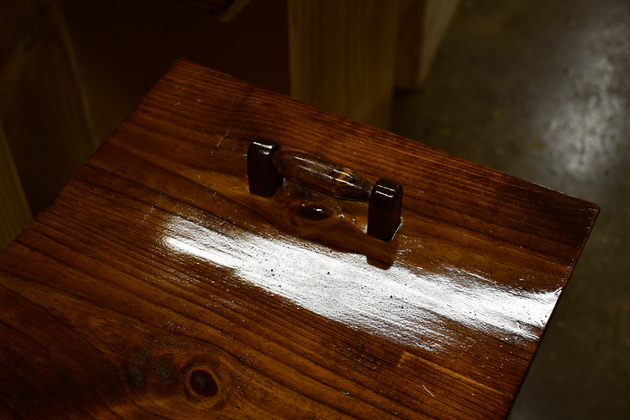
Closer look at drawer front whith handle after poly applied. The lighting makes the stain look darker than it is, please see the next pic of the same handle. |
|
Close look at the same handle, note the knot under the handle and color difference! Also note the difference in color between the handle verticals and horizontal, these were made from the SAME BOARD! |
|
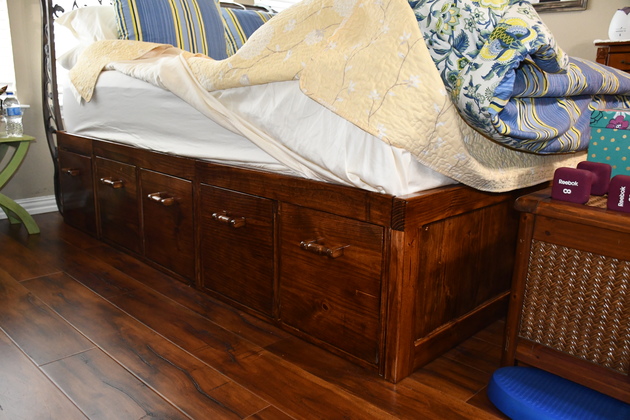
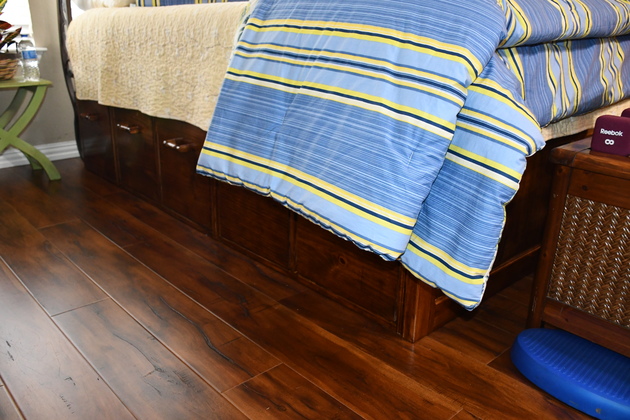
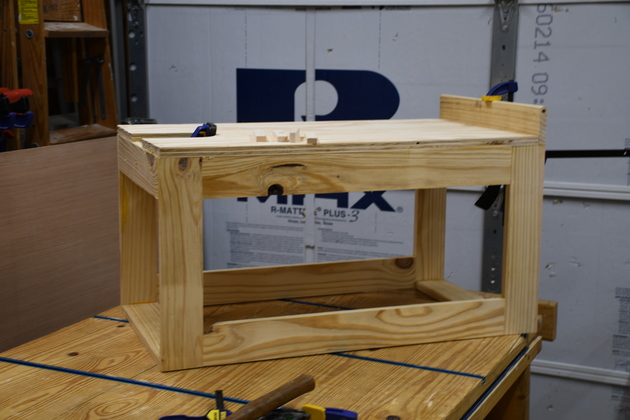
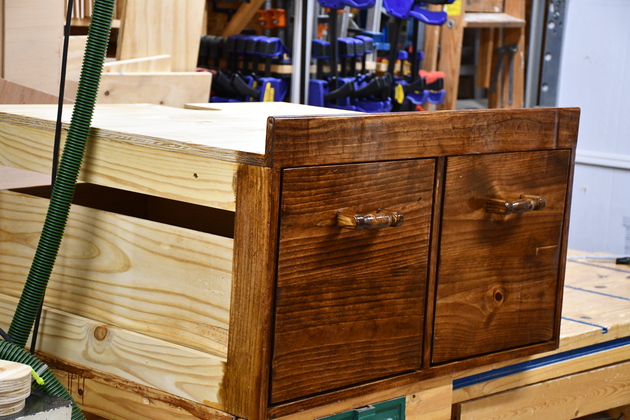
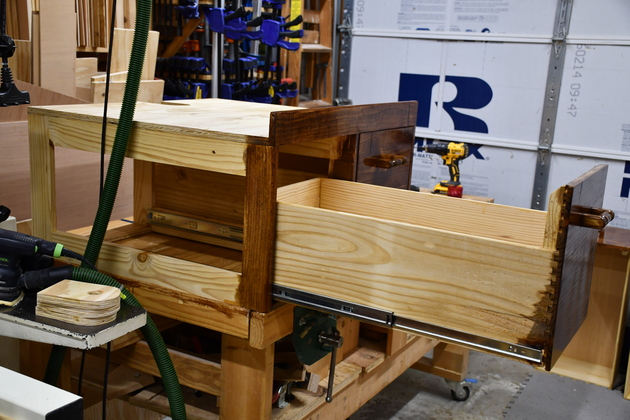
A main box, finished. |
|
With one drawer pulled out. |