|
|
|
|
Storage Bed Head & Foot Board
| ||
|
|
|
|
|
Storage Bed Head & Foot Board
| ||
| Storage Queen Bed | Const Info | Frame | Inset Panels |
Betty wanted a head and foot board similar to the twin bed's
These will be made of yellow pine 2x3s with yellow pine inset panels.
I appoligise for my poor paint & finish ahead of time.
Since I use soft woods, I use polyurethane finishes to provide a hard protective finish.
Inset Panels
I make inset panels by resawing 1/8" thick pine panels, edge joining them to get the appropriate width, then laminating the pine face to a 3/16" plywood backing.
The resultant laminated panelwill be 5/16" thick.
I cut a rabbet in the inside of the frame and round the outside edges.
Then glue the laminated panel into the rabbet.
Pics.
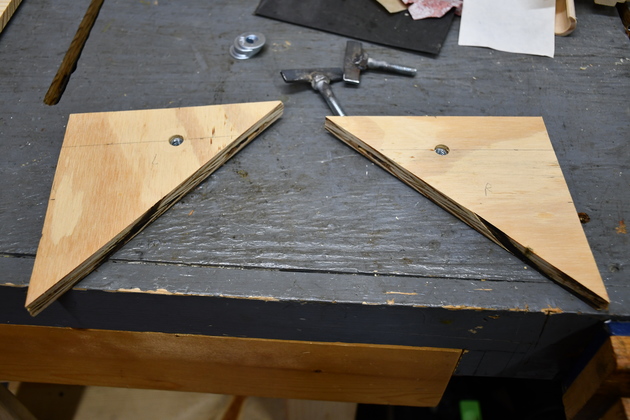
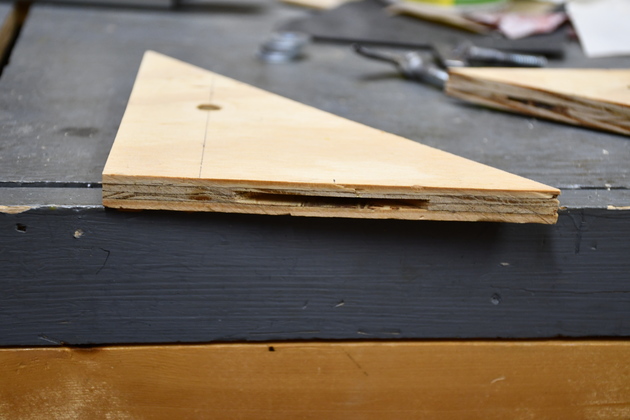
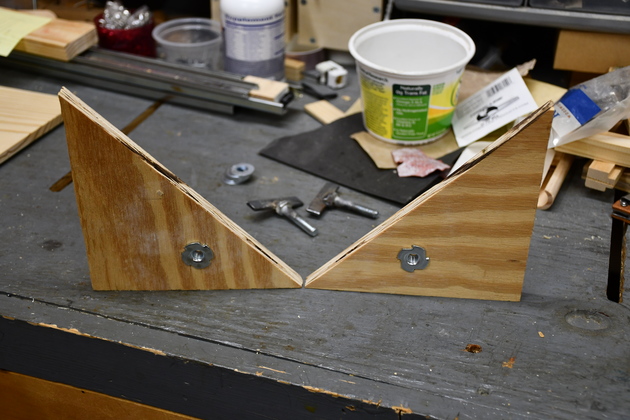
Small plywood fillets hold the tee nut used to fasten the head board to the boxes. They are made from, at least 1/2" (usually scrap) plywood, sawed diagonally, with a 5/16" tee nut. The fillets are 6x6" mirror images of each other along with the tee nut hole. I use the structural term "fillet" which usually means filling/rounding an internal corner.
After making Susan's bed and foot board, she decided she wanted a matching headboard, except she wanted hers taller (45"). So you'll note in the construction page, different numbers for anything vertical.

|
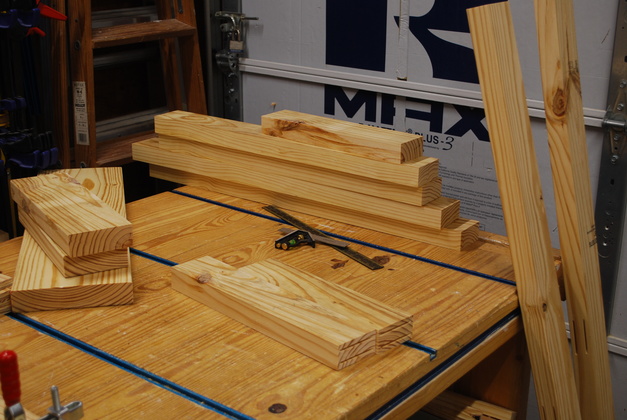
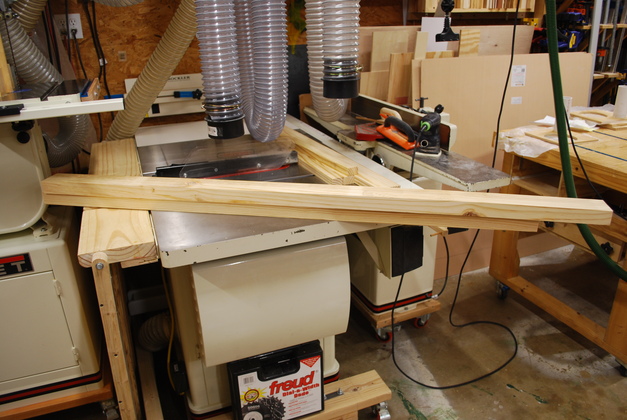
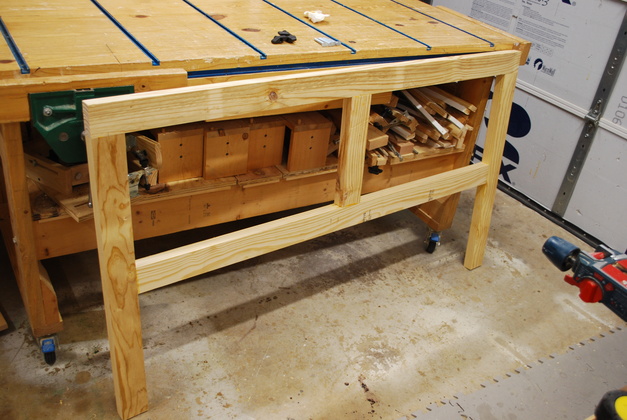
Betty's head board frame pieces cut to length and ripped from 2x8. You'll note it is about an inch short of the workbench top which is 36" hith. |
|
Little better shot of the top and bottom horizontal bars for the head or foot board. |
|
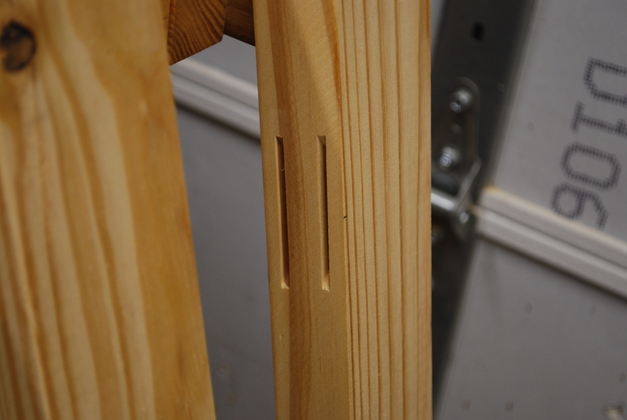
Double slots in 2x top bar for center brace. |
|
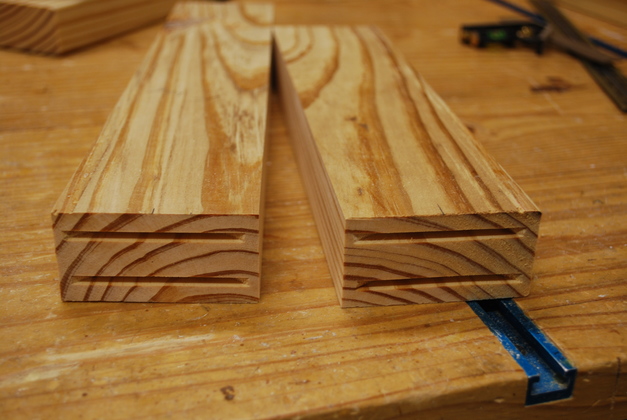
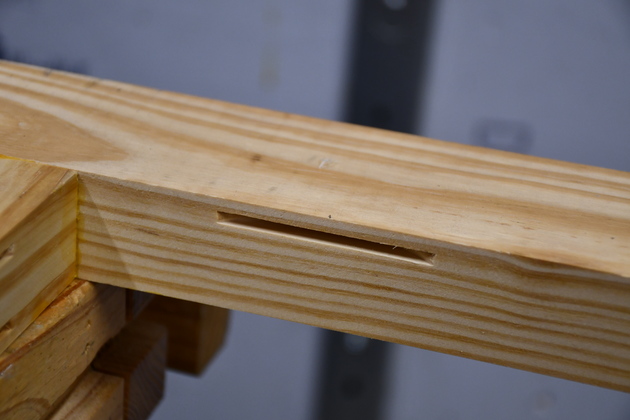
Double biscuit slots in ends of bottom bar and center brace. |
|
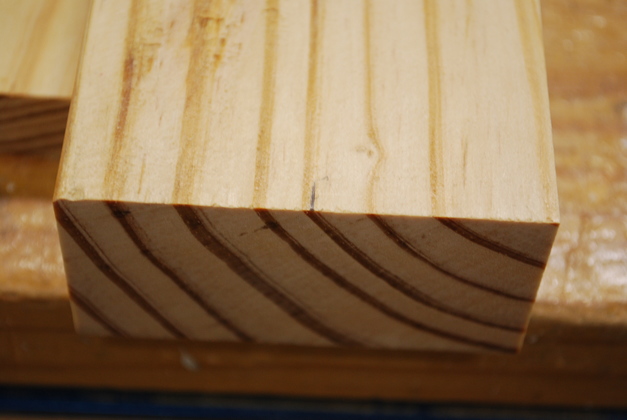
Little "tick" mark for positioning slots. Since these frame boards are exactly 3" wide, the center is exactly 1-1/2" from the edge. |
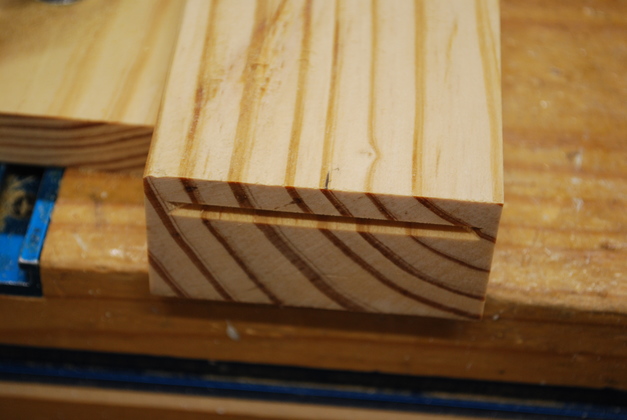
|
First slot cut. |
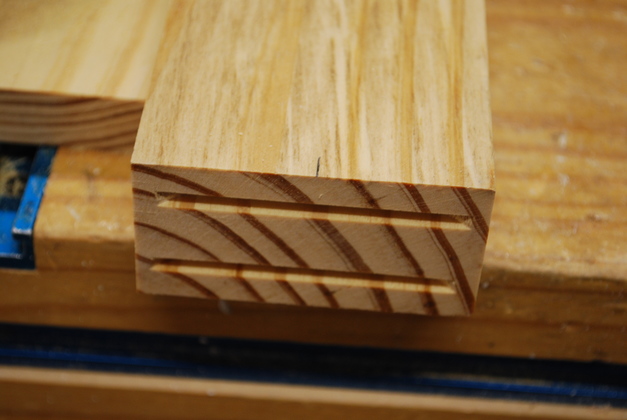
|
Second slot cut. The board has been turned over and the center marked again. When using biscuits you must always use a common reference edge, so the slots matching these will also be referenced to the outside edges. I checked the thickness first, it is 1-1/2", the slots are 1/2" from each edge. |
|
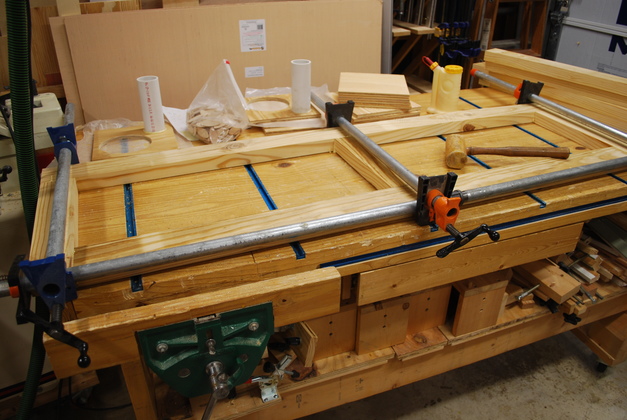
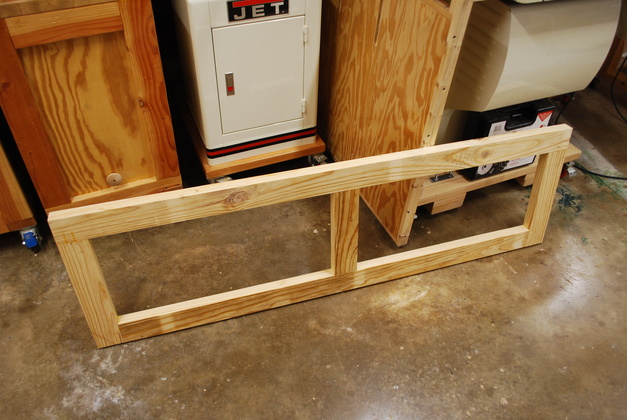
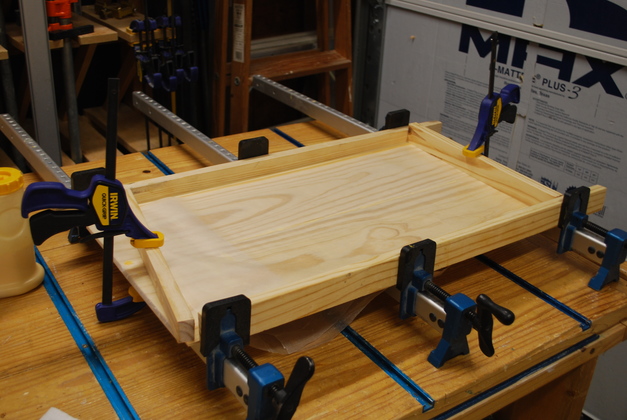
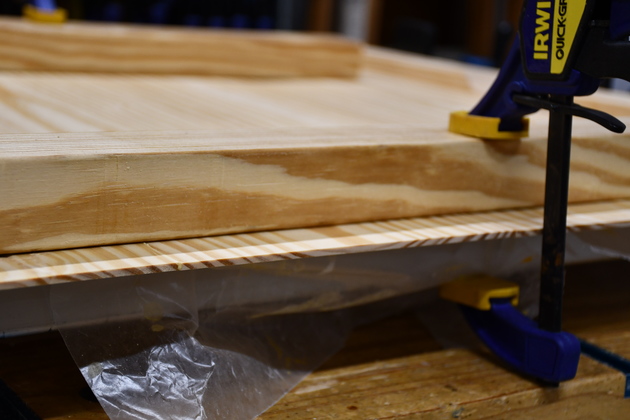
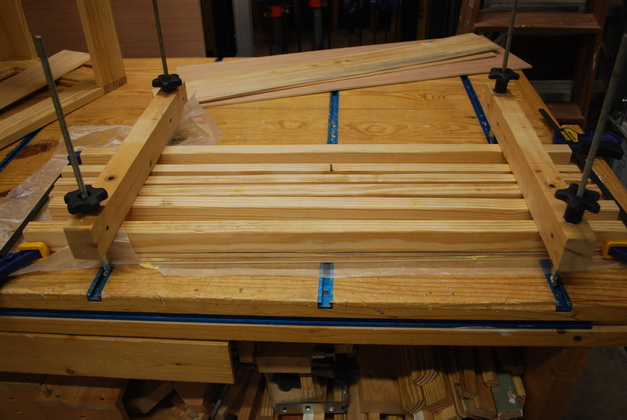
Foot board frame in clamps. |
|
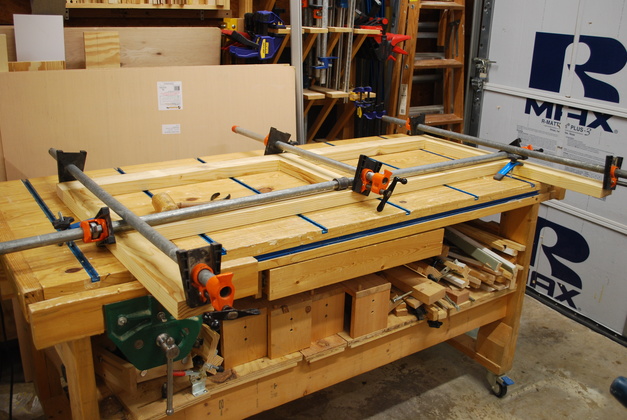
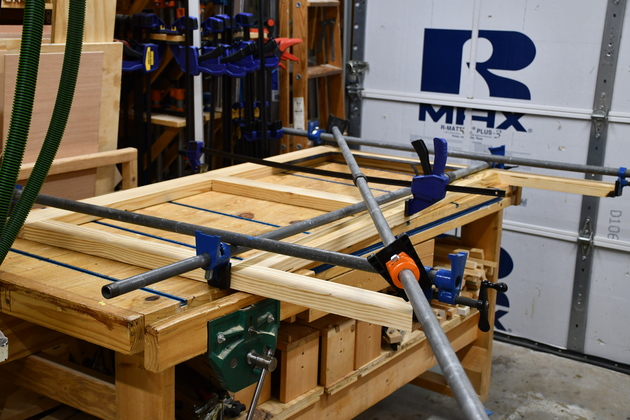
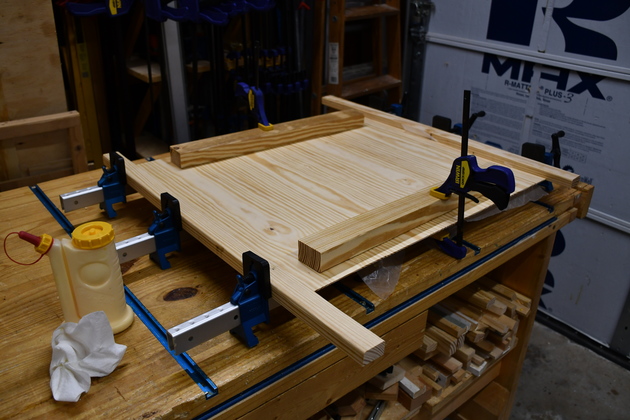
Betty's headboard frame in glue clamps. Since the frame is 61-1/2" wide I extended the horizontal pipe clamp with a 3/4" union and another 3' piece of pipe. You can just see the union to the left of the center vertical clamp. Here is another extended clamp situation with Kelsey's Table. |
|
Susan's headboard clamped. |
|
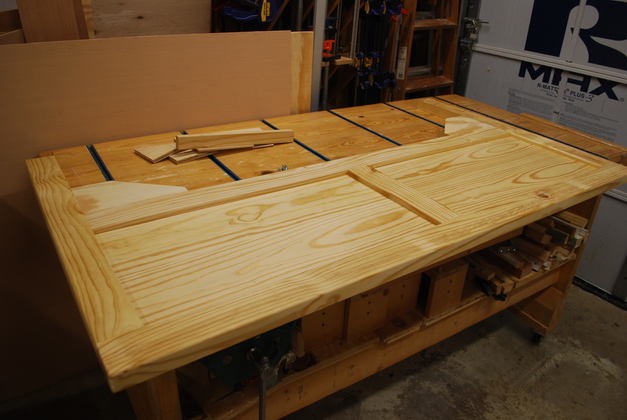
Glued foot board ready for routing of rabbet and rounding edges. |
|
Betty's headboard glued, ready for routing rabbet and rounding edges. |
|
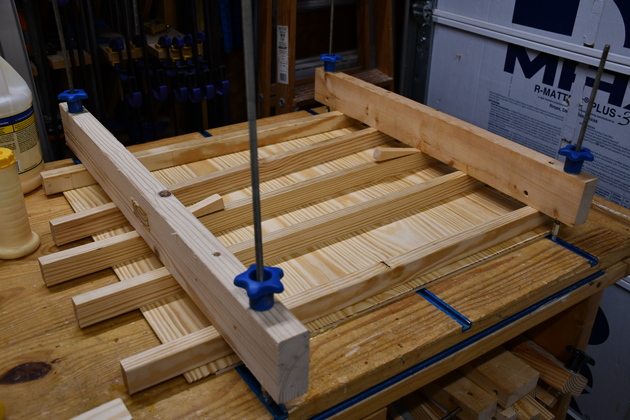
Susan's headboard frame glued with fillets clamped, drying. Note its 10" taller than Betty's headboard. Also, this is the back side of the headboard, the fillets are offset toward the front. |
|
Susan's headboard with fillets glued, ready to route rabbets for back panel and round front edges. |
|
Inset panel rabbet cut. |
|
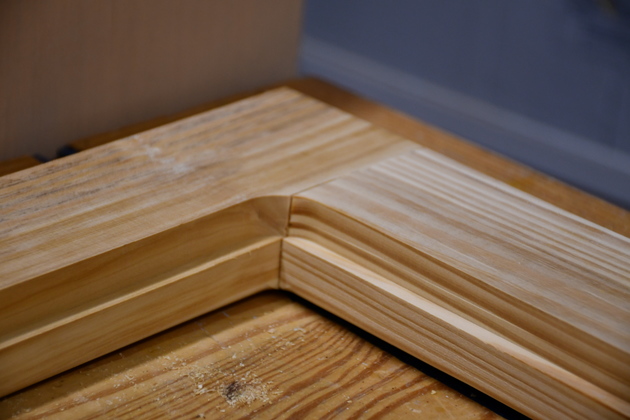
Top corner of Susan's headboard with rounded edges. |
|
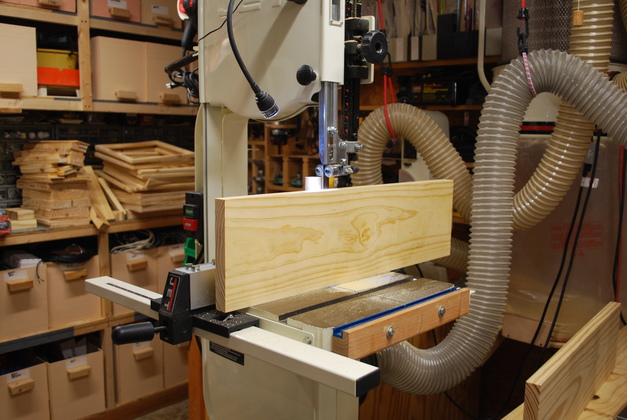
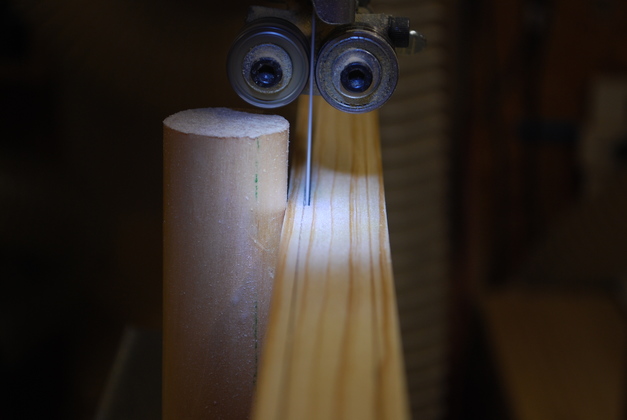
2x8 being resawed into 1/8" thick slabs for the inset panels. Note I chose a section of the 2x8 with no knots, makes it easier to plane thin slabs. |
|
I marked 1/8" + 1/16" = 3/16" from each edge of the 2x8.
Close up of resawing the mark, the slab is just to the left of the kerf.
If the 2x8 is a little cupped, I plane it flat before marking.
|
|
After sawing off thin slabs I plane the remaining center of the 2x8 before marking and resawing off more thin slabs. |
|
Re-mark the remaining center piece (from the 2x8) for another resaw. The two outside 1/8" slabs will become inset panel faces. |
|
1/8" slabs after resawing, I try to select pieces where there are no knots (or small knots). Unless knots are very tight and small, they break out when thin pieces of pine are planed. If a small knot comes out when planed, you can sometime drill it out and plug it with a plug from a scrap piece, with matching grain. |
|
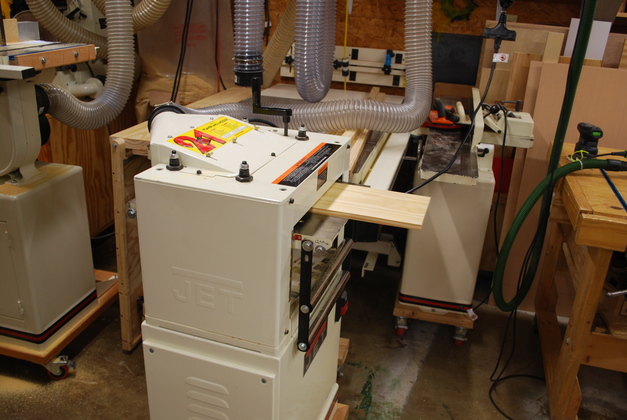
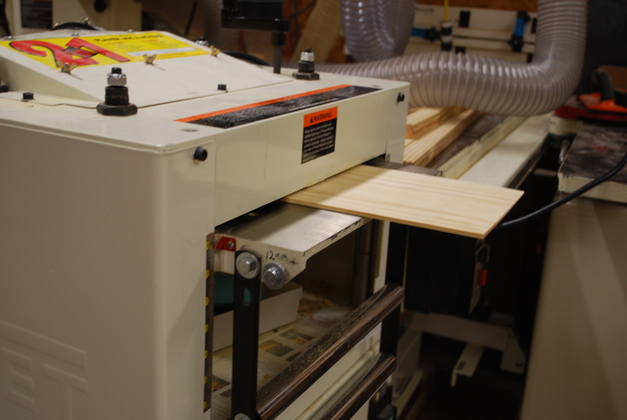
Using a thickness planer on a 1/8" slab. When I resaw a slab I cut it a little thicker than I actually need so I can plane off the bandsaw marks and to get to the exact thickness I need. |
|
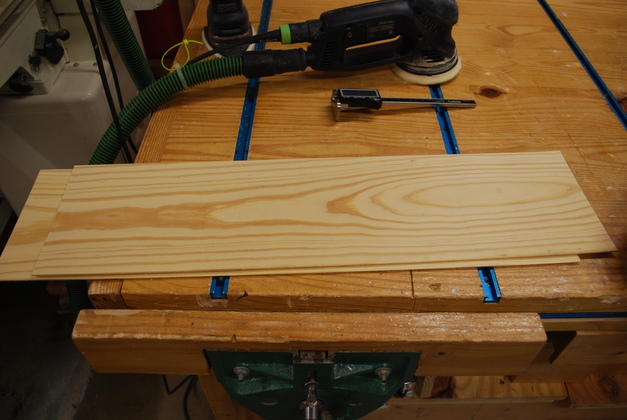
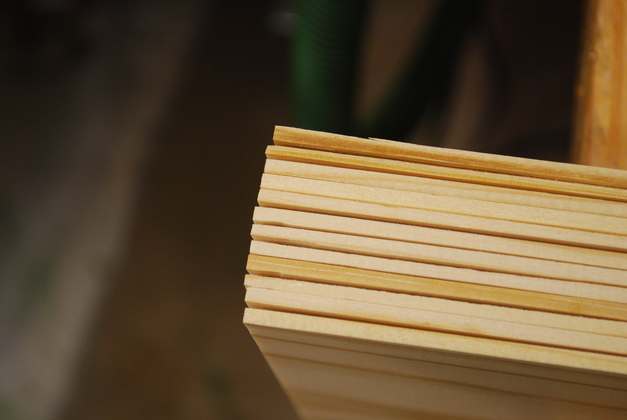
Stack of 1/8" thick pine faces to make inset panels. |
|
After running the edges of the panels across the jointer I'm edge joining them. The boards against the clamp faces are to prevent damage to the panel's edge, the other two boards (clamped down) hold the panels flat to prevent buckling under pressured. |
|
Ditto for Susan's panels. |
|
Here is the edge of the pine face panel being edge joined. |

|
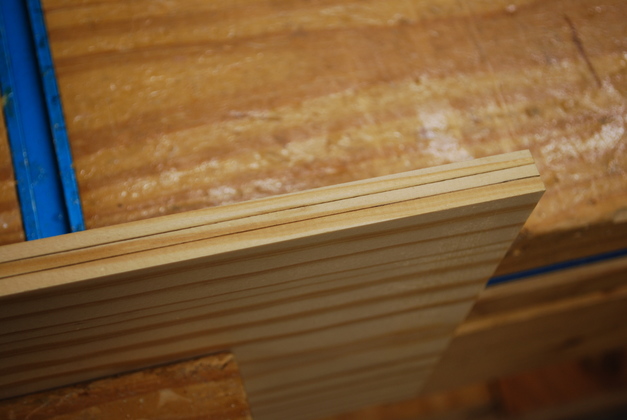
Two pine face panels after edge joining. |
|
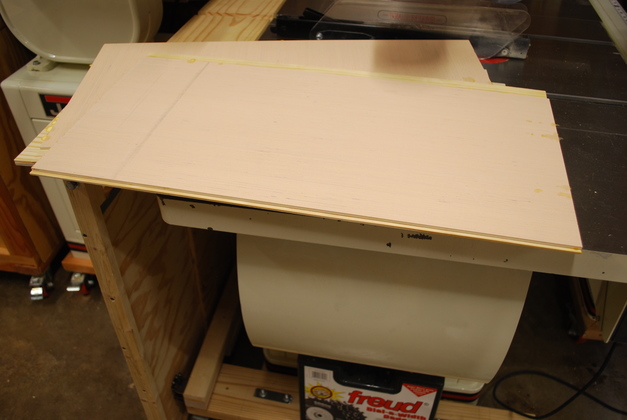
These are 3/16" thick plywood backing panels. I'll laminate them to the back of the pine face to make an inset panel. |
|
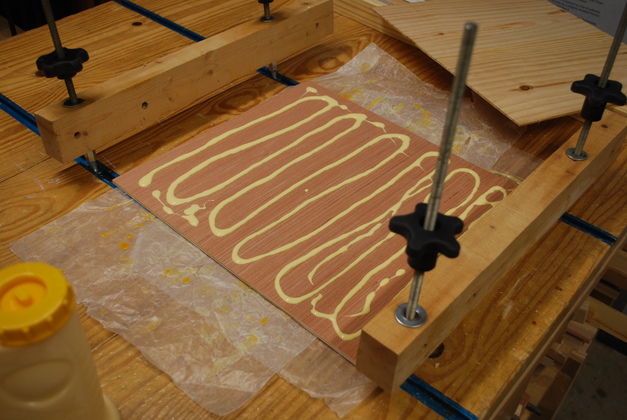
Heres how I apply glue for laminating (from another project). |
|
And how I spread it out (also another project), note the bondo spreader from Walmart. |
|
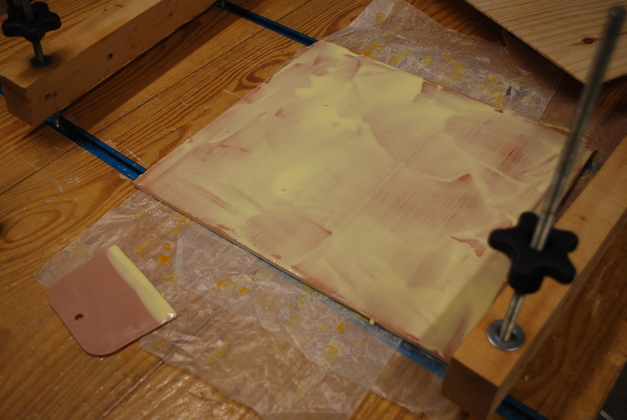
Laminating pine face to plywood back. |

|
Edge of laminated panel, upside down, the plywood is on top and the pine on the bottom. This laminated panel is 5/16" thick, 1/8" pine face and 3/16" plywood back. |
|
One of Susan's inset panels being laminated.
These panels are same width, but 10" taller and the grain is vertical.
|
|
Several laminated panels note the pine overlaps the plywood, I'll trim it before gluing. |
|
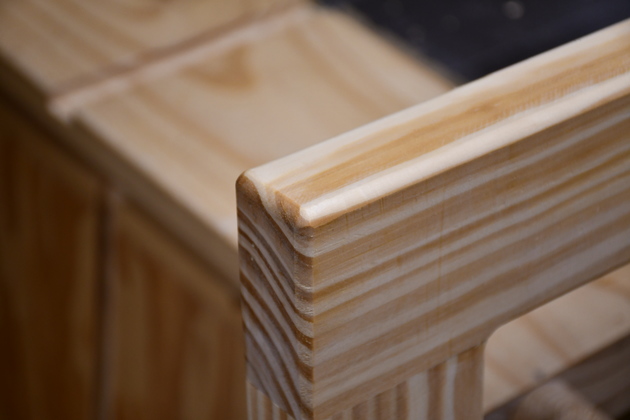
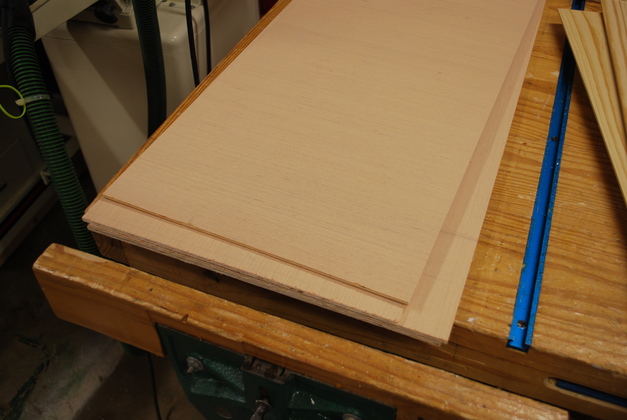
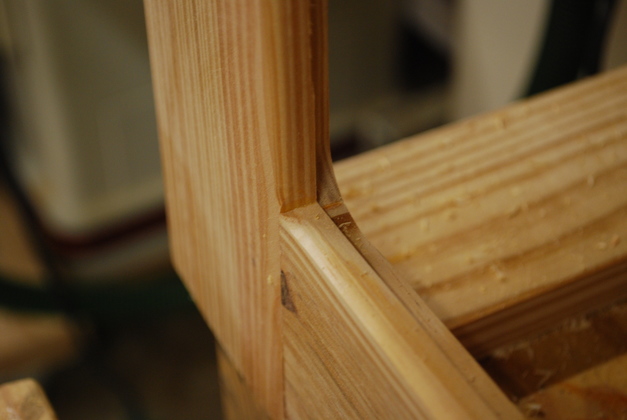
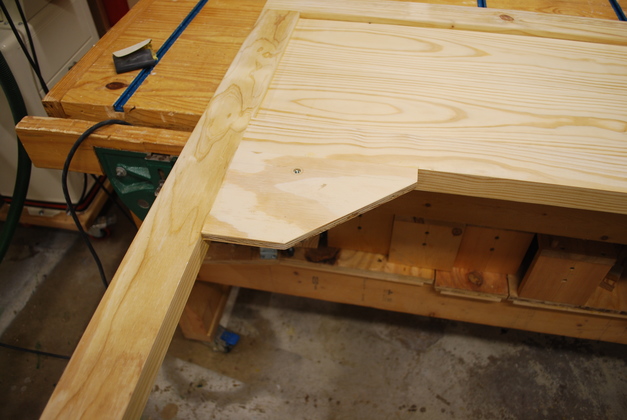
On a different frame you can see the rounded outside edge and the rabbet inside. |
|
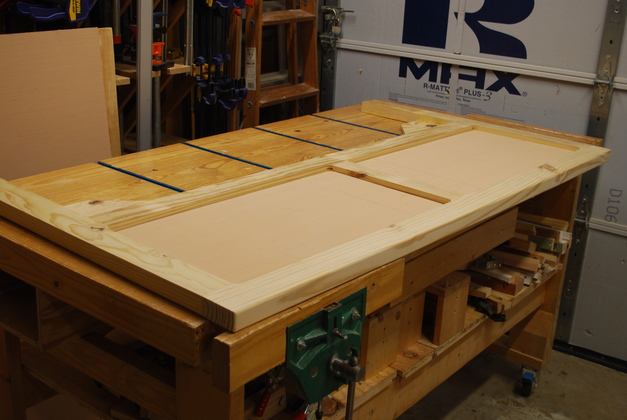
Back side of headboard with laminated inset panels being glued in. |
|
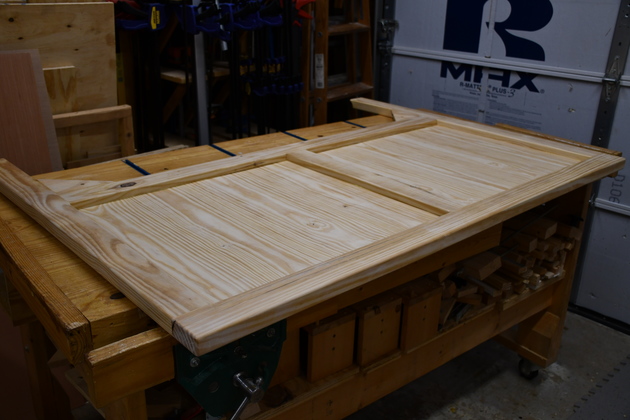
Front of foot board with laminated inset panels glued in. |

|
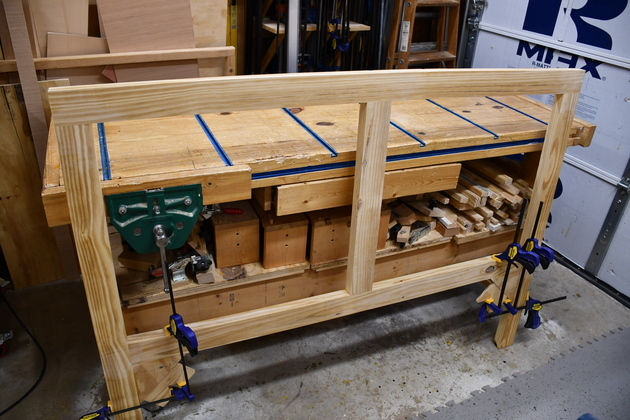
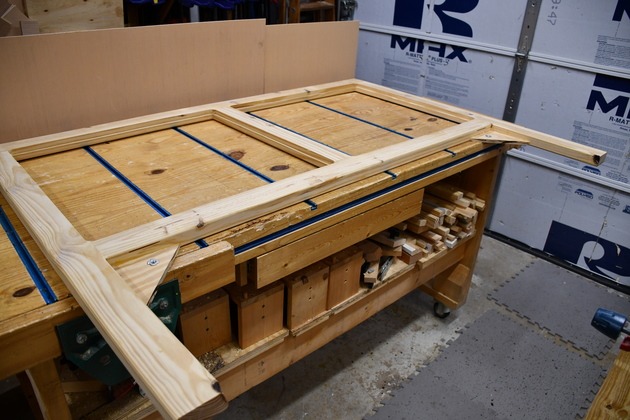
Betty's footboard with primer coat of poly, the headboard is in the background on the workbench. |
|
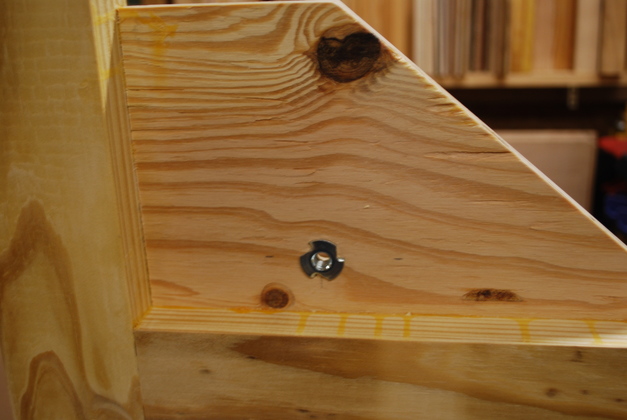
Headboard with primer coat of poly. Note the little "fillet" at the legs under the bottom horizontal. These will have the tee nuts inserted and glued that hold the headboard to the head boxes. |
|
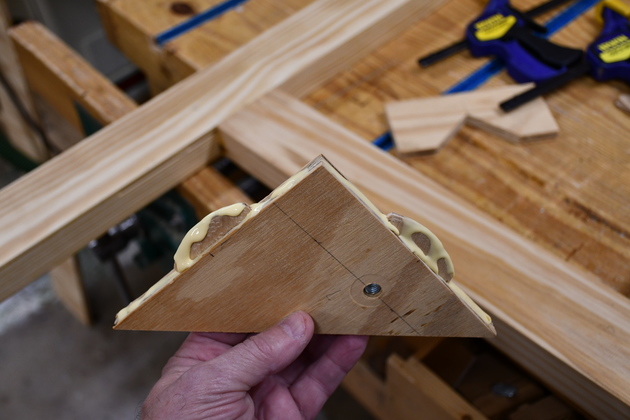
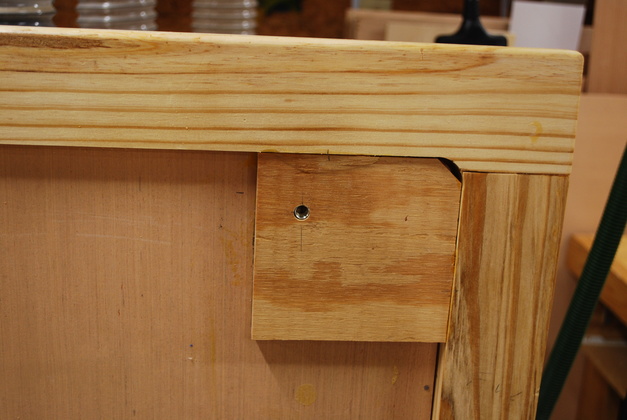
Closer pic of one of Betty's 1/2" plywood "fillets" with it's tee nut installed. |

|
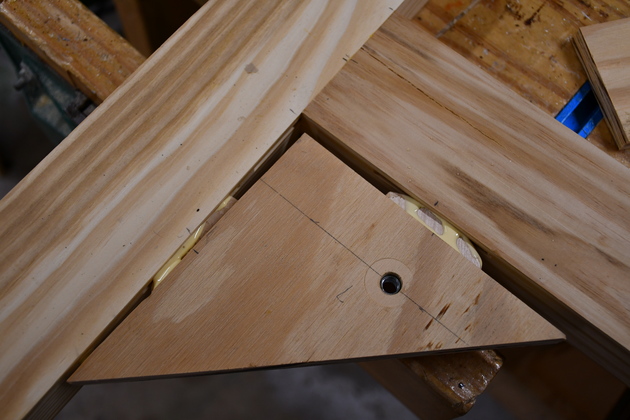
Note the "fillet" is flush with the front of the headboard. It also uses biscuits in the glue joints. |
|
Back side of a fillet board, you can see the tee nut is pressed in. |
|
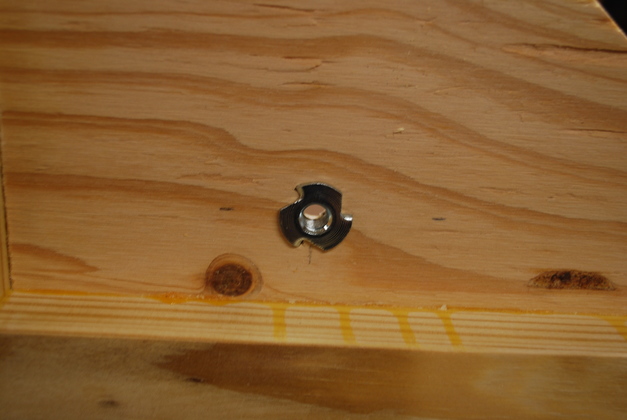
Closer pic of tee nut pressed into the 1/2" plywood fillet. |
|
Susan's fillets with tee nut installed. |
|
Here is one of the biscuit slots in the edge of the fillet. |
|
Back side of Susans's fillets showing back side of the tee nuts. |
|
One of the biscuit slots in the headboard frame, it is positioned to keep the face of the fillet flush with the frame front. |
|
Glue applied and biscuits in place, ready to glue on. |
|
Starting to glue in the fillet, you can see the two biscuits. |
|
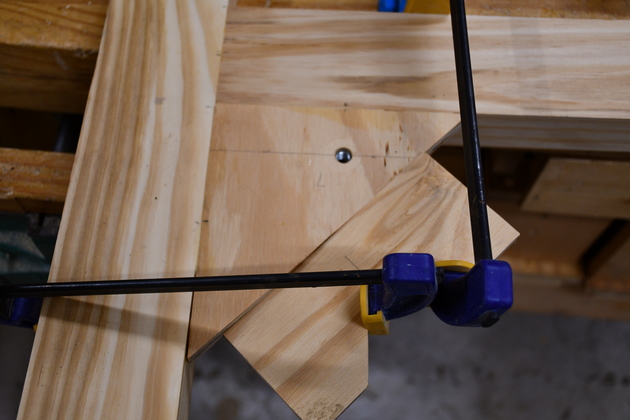
Here they are clamped up tight. Note the clamp block I made to help gluing in angled pieces, its another piece of 1/2" ply with a 45° X 45° notch. |
|
Betty's footboard fillet glued to back side of inset panel. This also uses biscuits in the glue joints. The tee nut is counter bored on the back side so the fillet glues flat to the plywood underneath. |

|
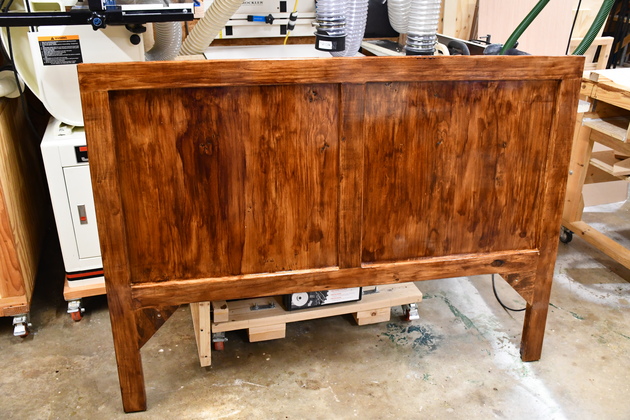
Betty's headboard with additional coats of poly. You can start to see reflections of the background (like the big 'R' on the door insulation). |
|
Susan's headboard, sanded, ready to paint. |
|
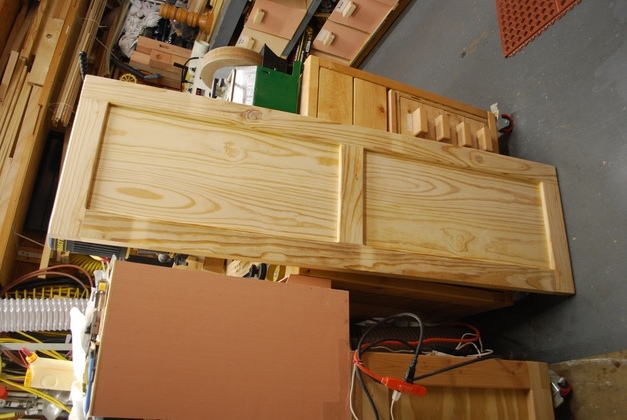
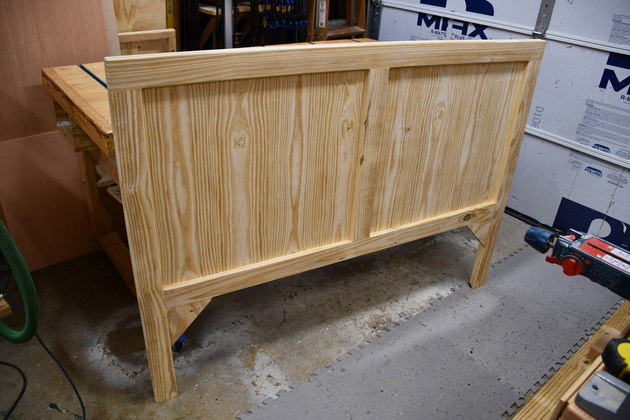
Susan's headboard right side up. |
|
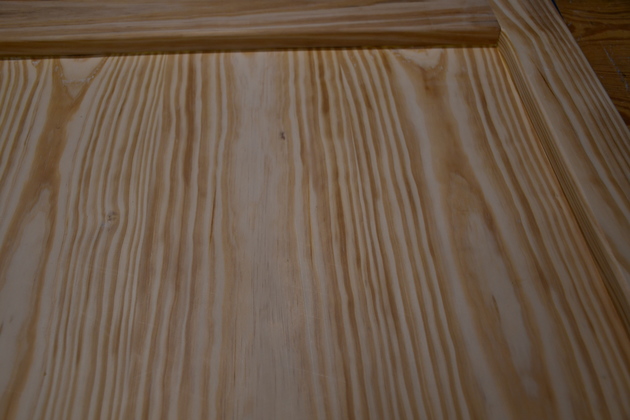
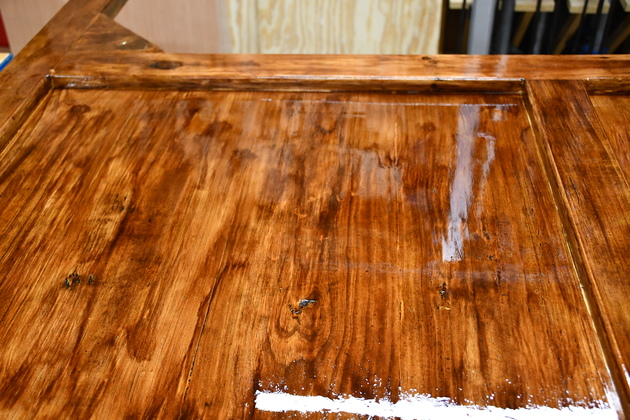
Grain in one of Susan's inset panels. |
|
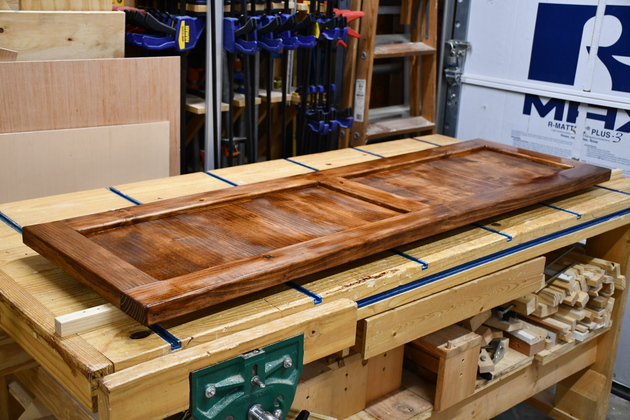
Susan's footboard painted on the bench. |

|
You can see the grain in Susan's inset panel. |
|
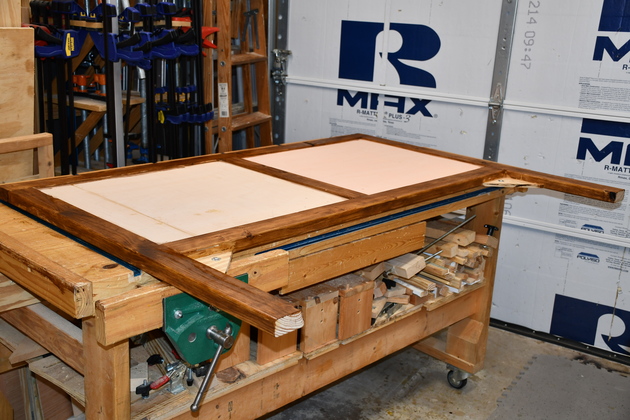
Back of Susan's headboard stained. Note the pink plywood backing for the inset panels. |

|
Susan's headboard stained. |
|
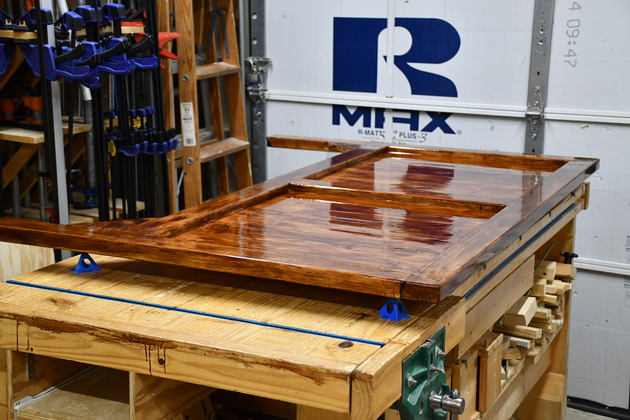
Susan's with one coat of poly. |
|
Note the grain in one of Susan's inset panels. |
|
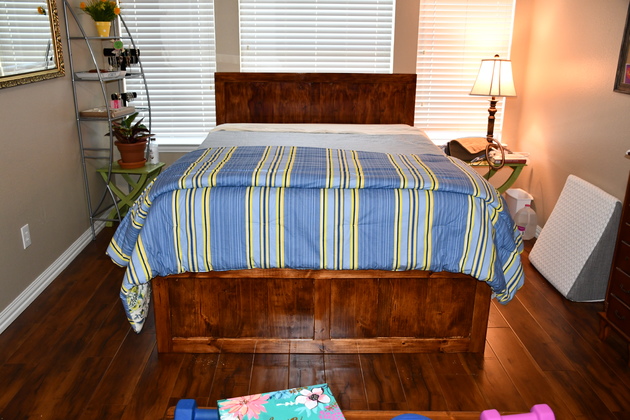
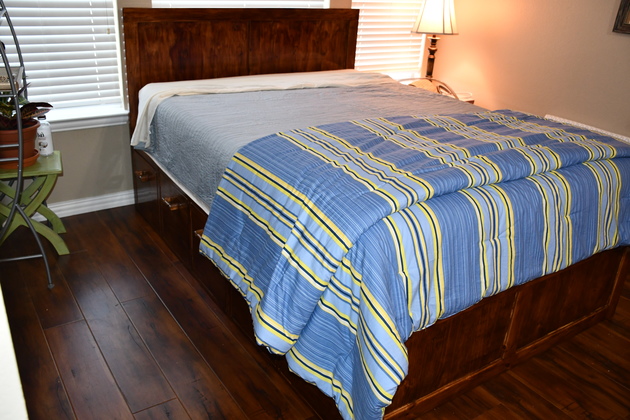
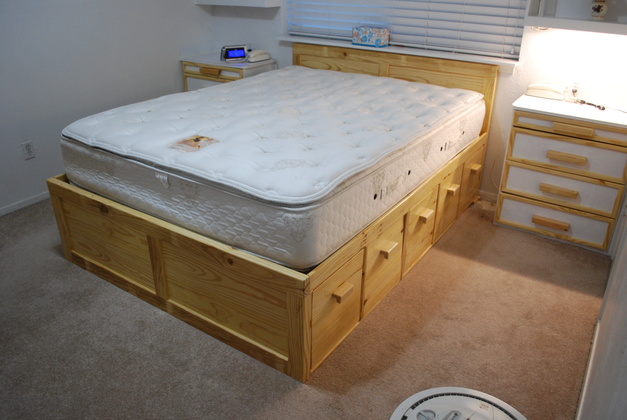
Betty's queen storage bed finished. Note the head and foot boards. Pics of Betty's finished bed. |

|
|