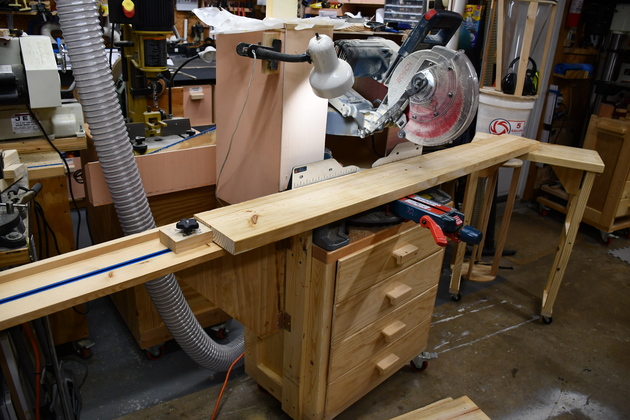
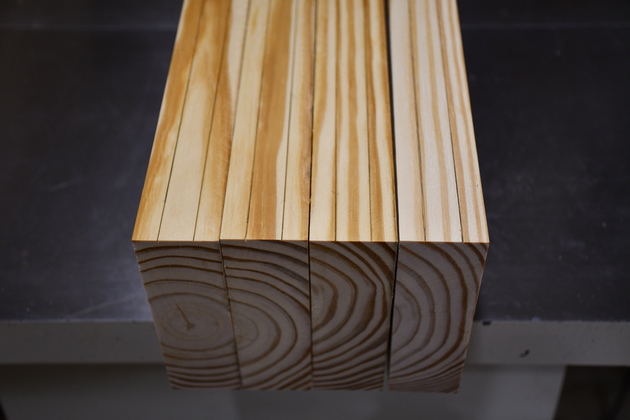
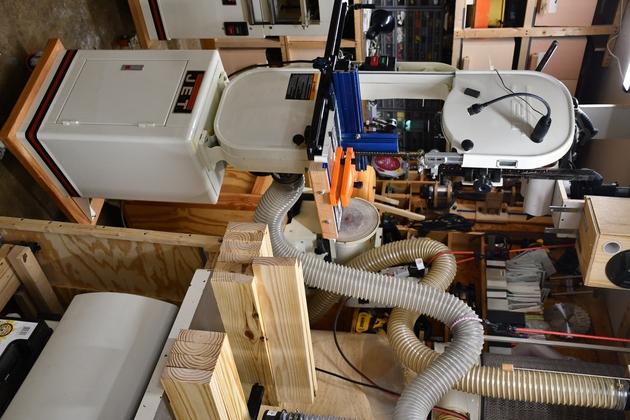
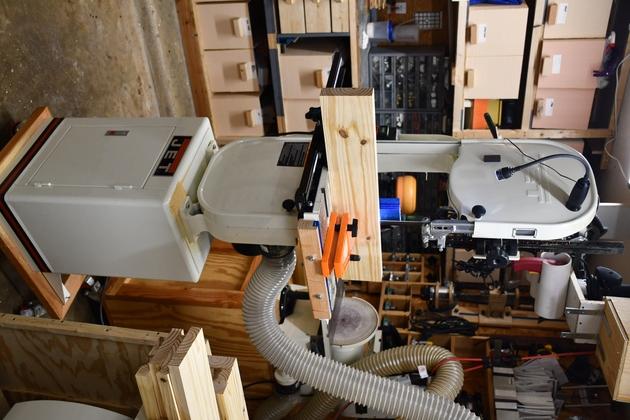
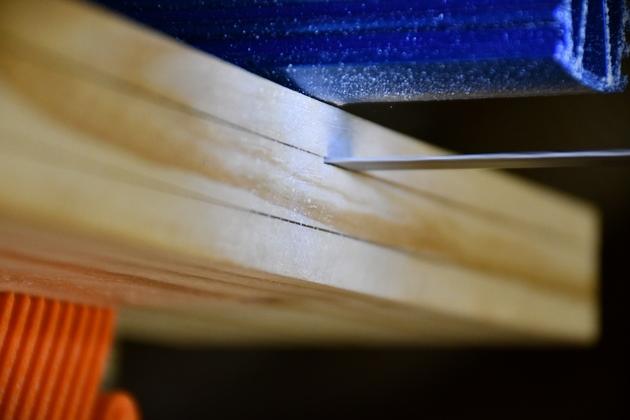
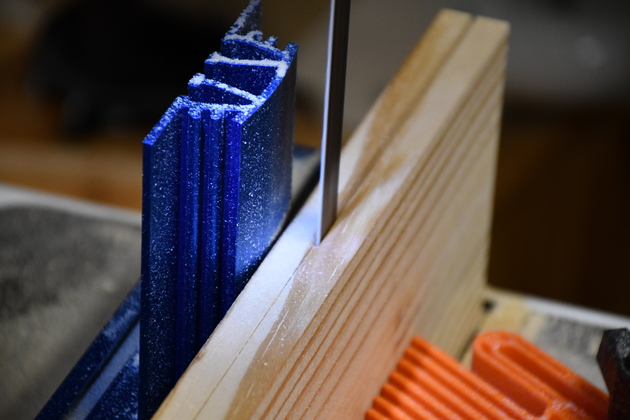
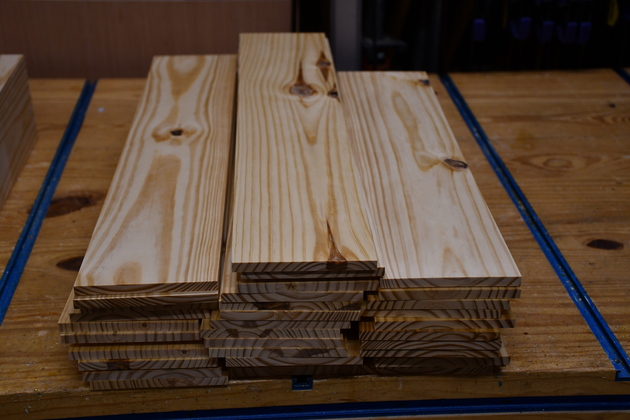
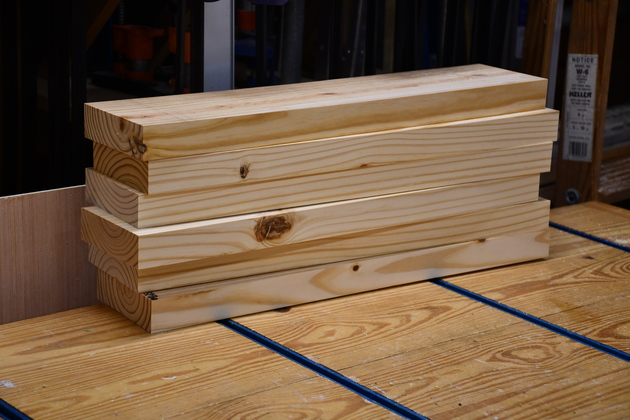
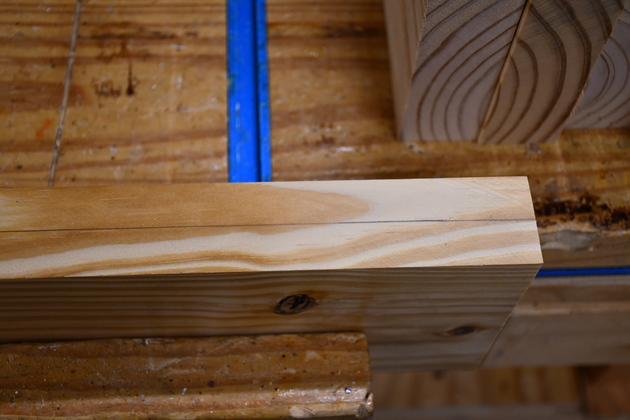
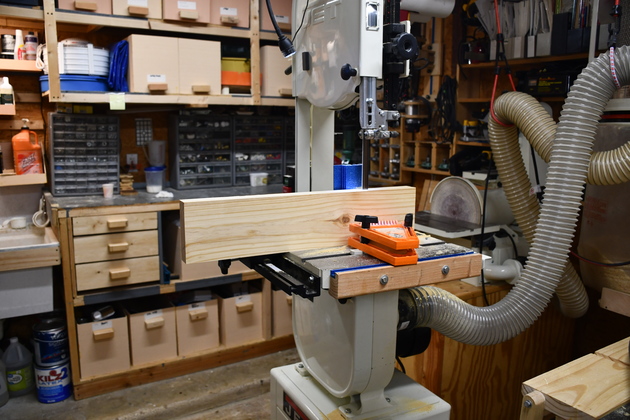
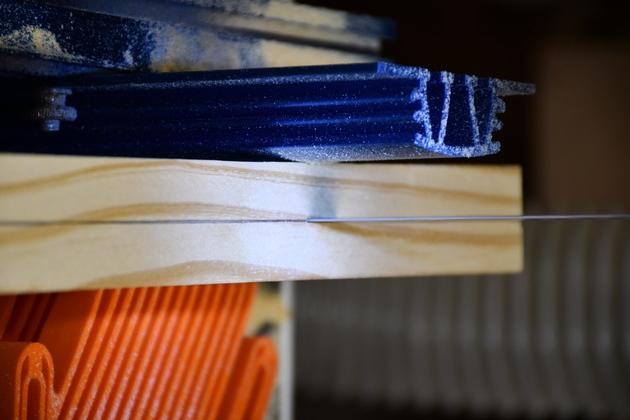
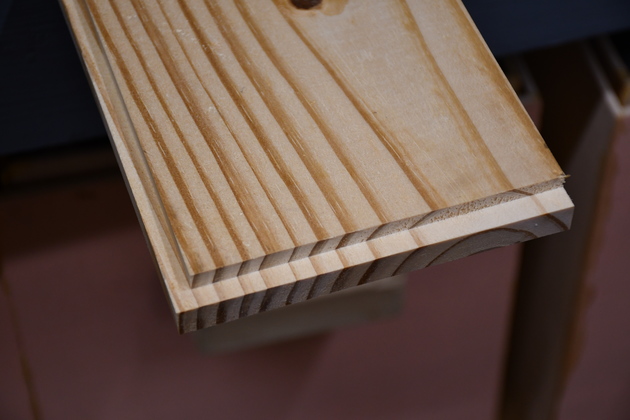
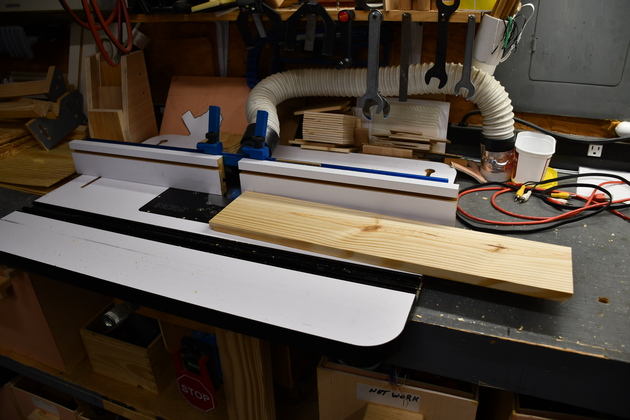
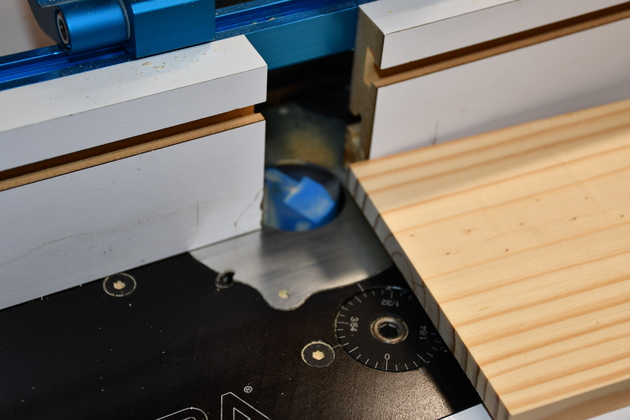
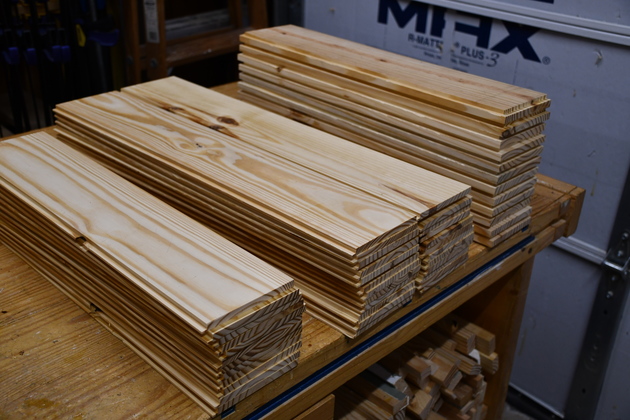
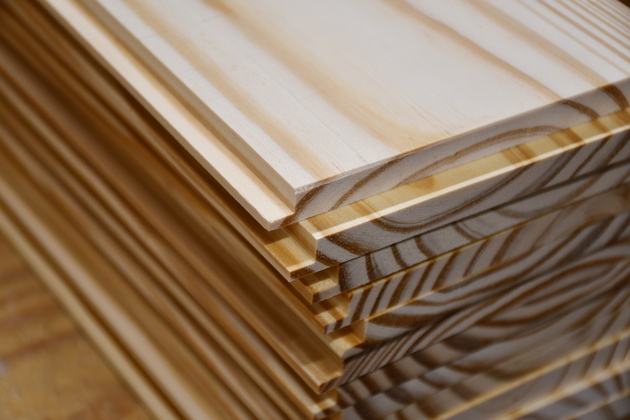
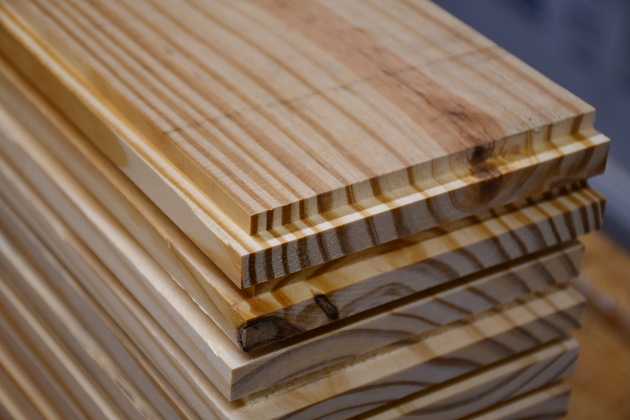
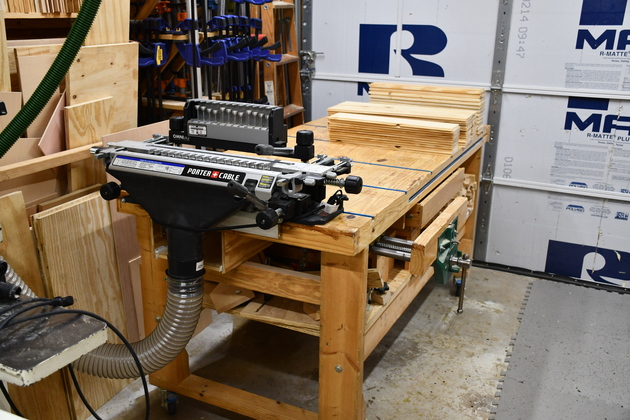
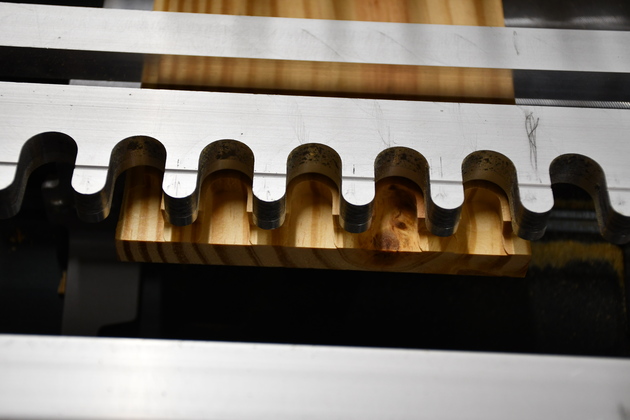
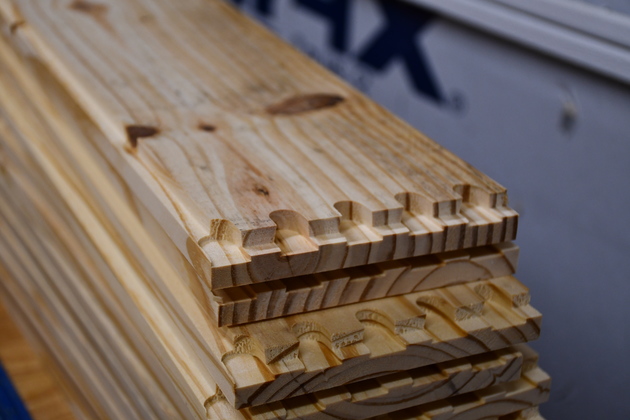
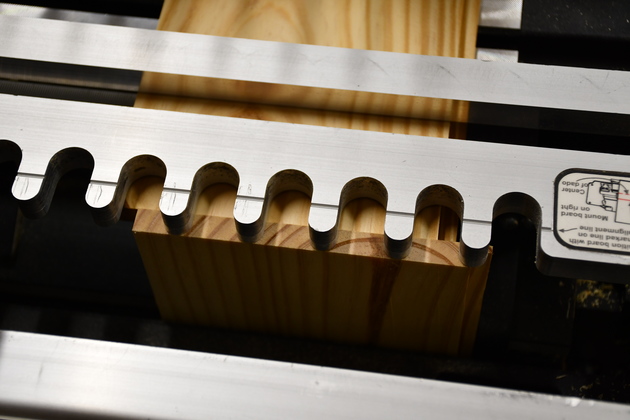
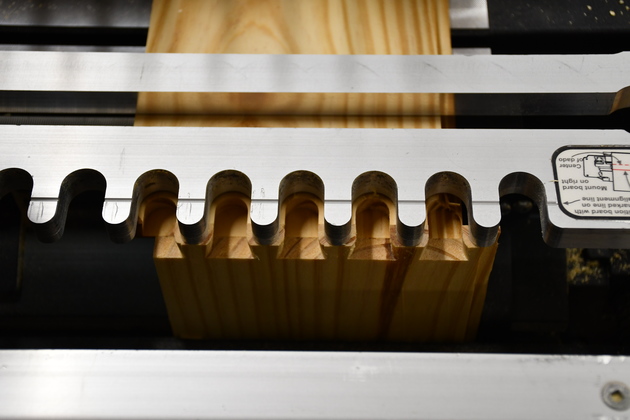
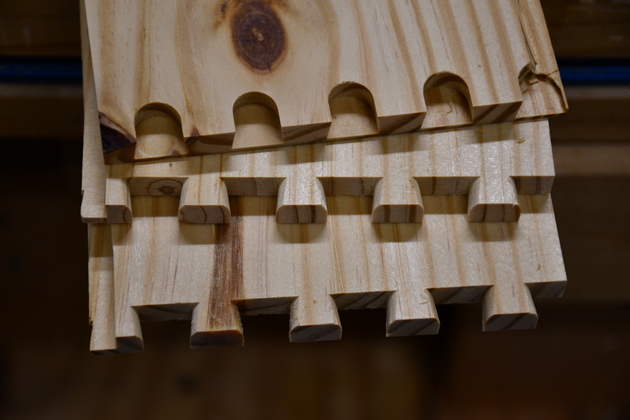
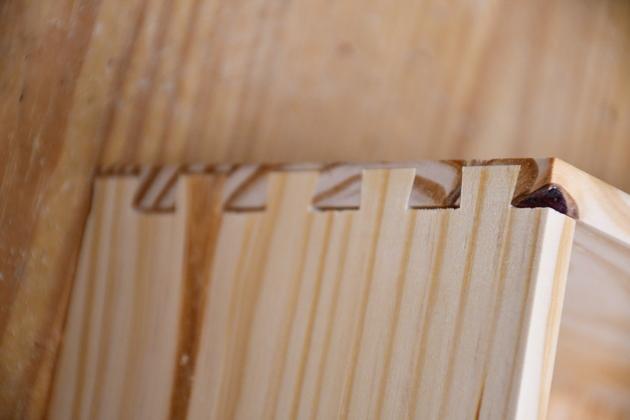
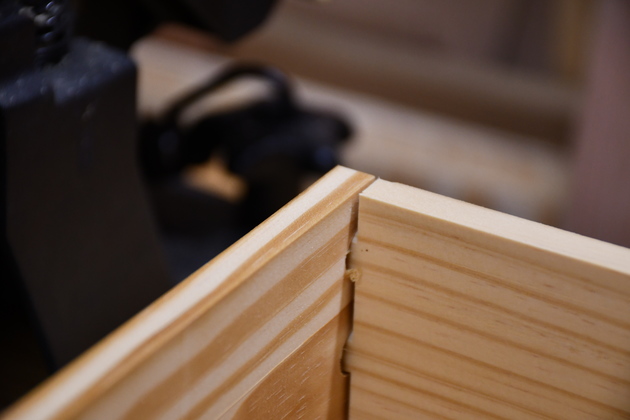
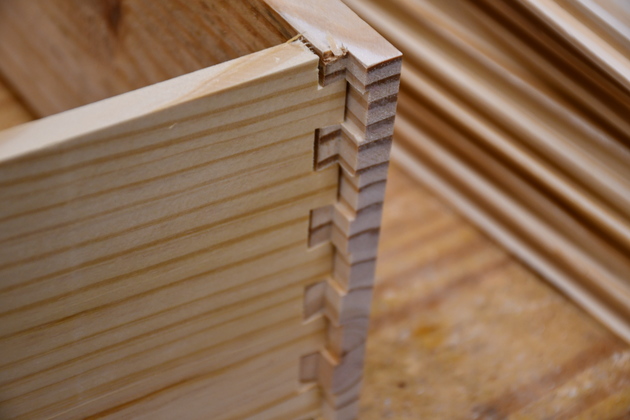
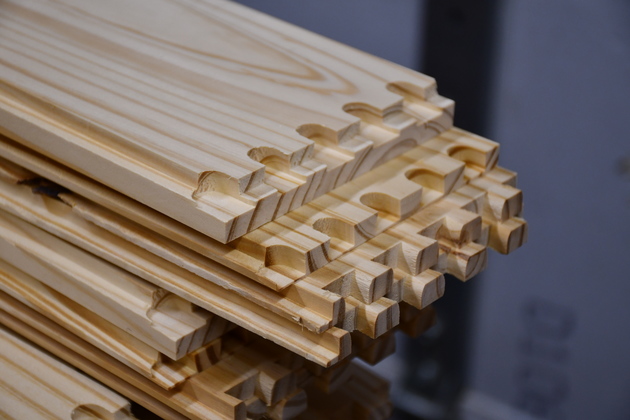
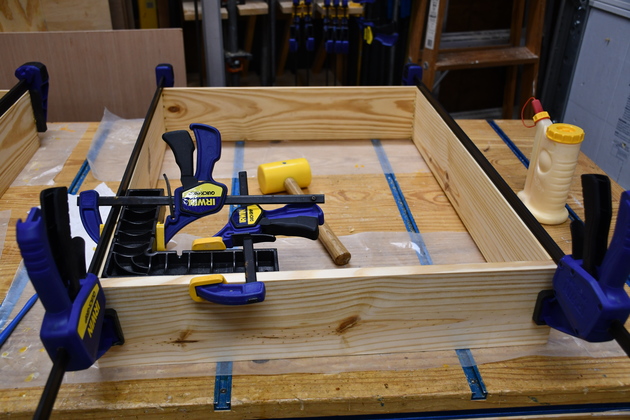
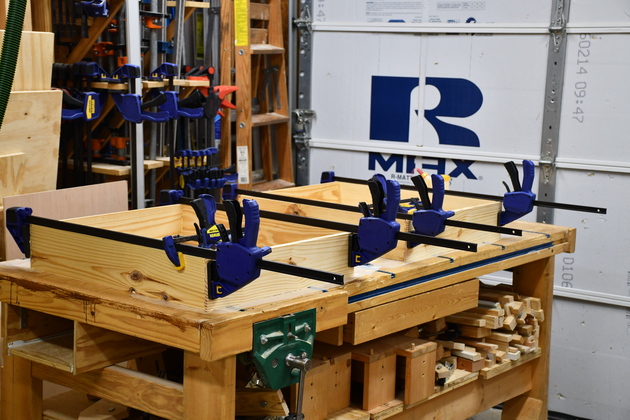
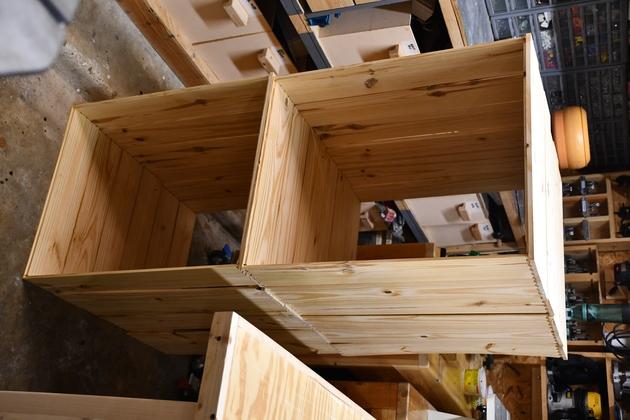
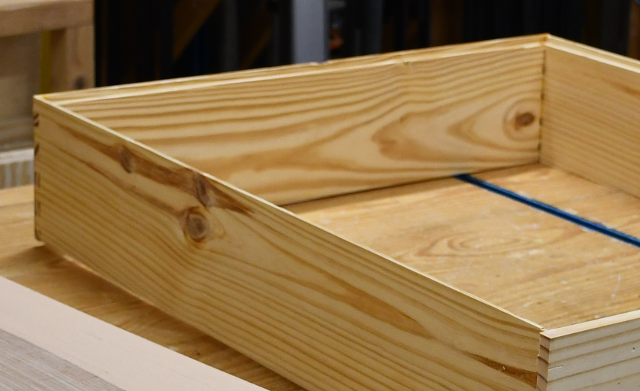
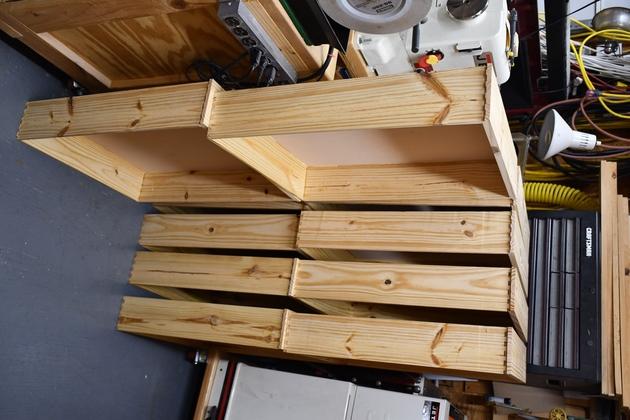
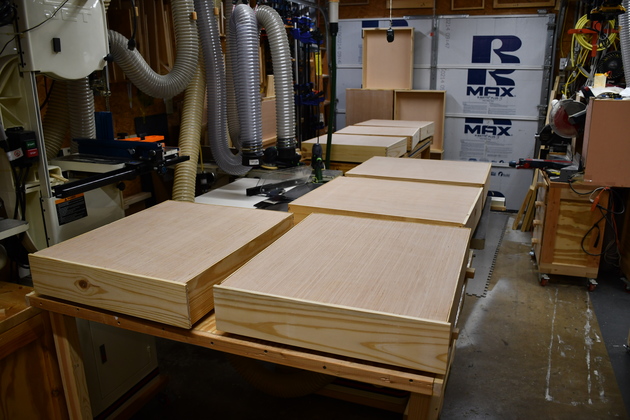
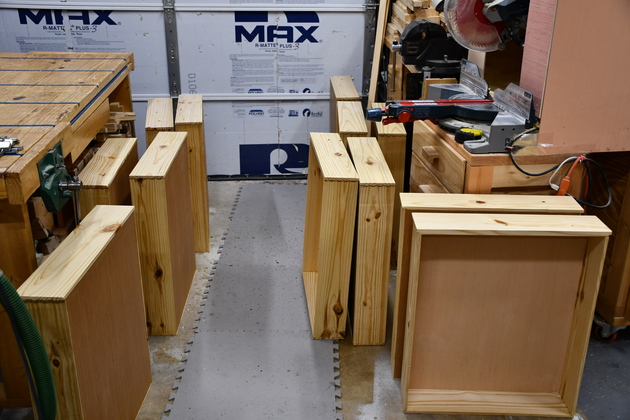
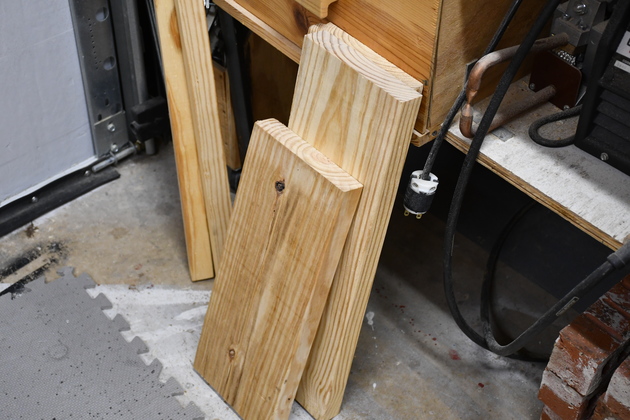
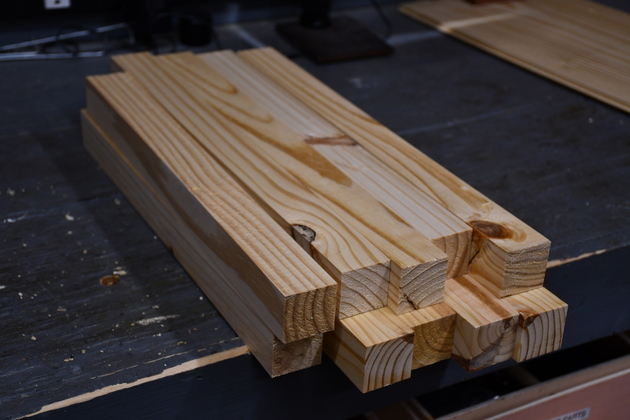
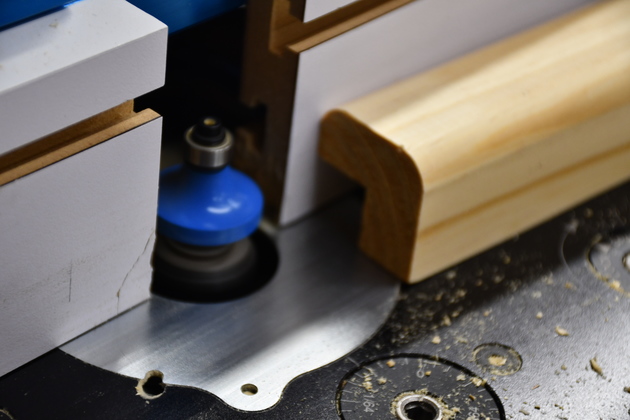
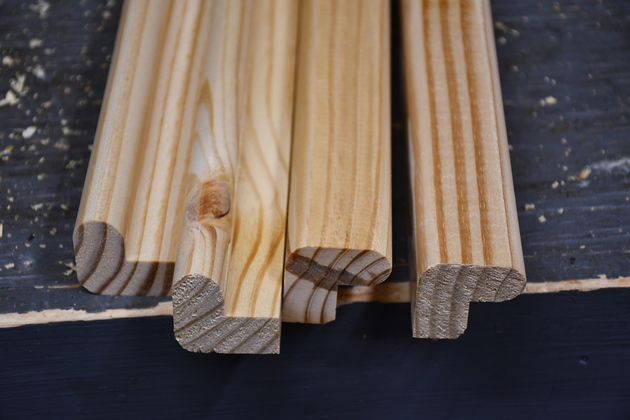
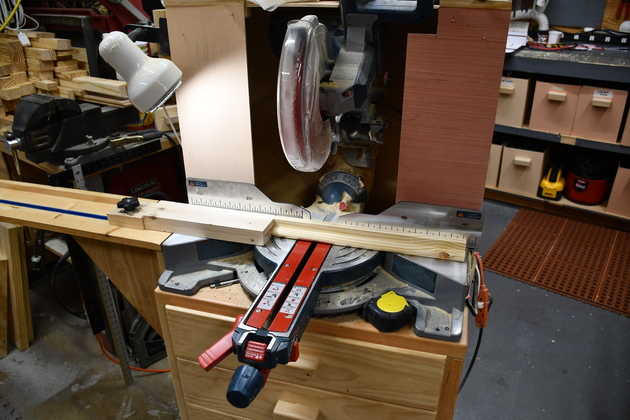
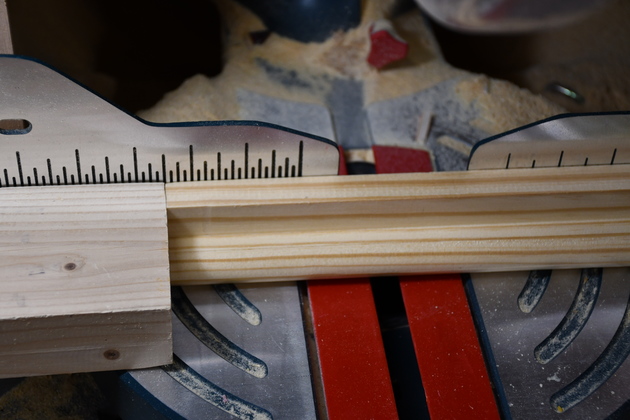
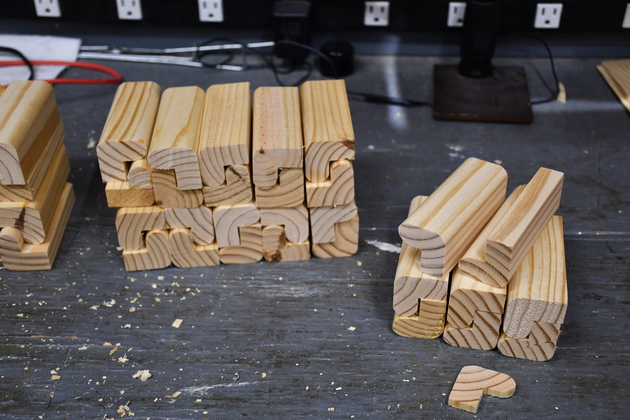
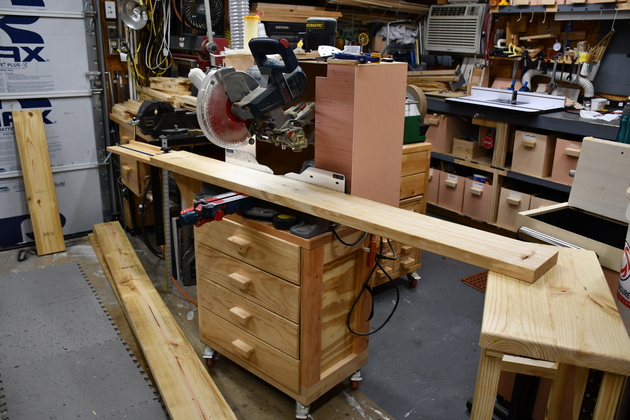
Work Table Drawers
|
Lumber | Frame | Handles |
![]() |
When I cut multple pieces the same length, I use a stop block on the miter saw extension to make sure the cuts are the same lenth. |
![]() |
Here are the drawer sides and backs, ready for resawing. |
![]() |
These are marked for 3/8" plus 1/16" for drawer sides or backs. I've already machined the outside surface flat with the thickness planer. I'll get 3 3/8" thick sides from each 2x8. |
![]() |
Here is the setup on to resaw. The 2x8s are on the table saw to the right. |
![]() |
Starting to resaw. This is one of the 26" long side slabs. |
![]() |
Showing a little more of the bandsaw setup.
The orange thing to the right of the slab is a feather board which holds the piece against the blue vertical resaw guide to the left of the piece.
|
![]() |
Sides and backs after resawing and planing. |
![]() |
These will be drawer fronts. |
![]() |
2x8 marked down the center for the drawer fronts, they'll be 11/167quot; thick after I resaw and plane them. |
![]() |
Resawing the fronts. |
![]() |
Now the blade centers on the mark. |
![]() |
Cutting the bottom rabbet on a side. |
![]() |
Showing the bit cutting the bottom rabbet. BTW that bit is rotating about 24,000 RPM, the strobe flash almost stopped it. |
![]() |
All parts for 12 drawers, bottom, sides, and backs, rabbeted and ready to dovetail. |
![]() |
Closer look at bottom rabbets. |
![]() |
And the stack of drawer fronts, rabbeted. |
![]() |
With the dovetail jig's slider pulled out.
For more pics on the dovetail storage slider please see.
|
![]() |
The workbench ready for the dovetail jig. |
![]() |
With the dovetail jig mounted. There are two tee knobs and bolts that fit in the end tee track to hold the dovetail jig in place when in use. |
![]() |
I have begun to use this bungee cord to hold the dust shroud in place, vibration tend to let it work away from the jig. |
![]() |
Drawer sides, backs, and fronts, in sets, ready to dovetail. |
![]() |
Looking down at the end of a drawer front lined up ready to cut the dovetails. |
![]() |
Now the tails have been routed. |
![]() |
Closer look at the tails after routing in the jig. |
![]() |
Stack of dovetailed frawer fronts. |
![]() |
Here is a drawer back (on top) and a drawer side (front bottom) ready to cut the tails (top) and pins (bottom). |
![]() |
And the tails and pins after routing. Note when the material (sides and backs) are the same thickness, I can cut both tails and pins with a single routing cut. |
![]() |
A set of routed back (on top) and sides. |
![]() |
Side to back test fit, outside. |
![]() |
Back test fit inside. |
![]() |
Side to front test fit. |
![]() |
Stack of drawer sets, rabbeted, dovetailed, and ready to glue. |
![]() |
10 drawer sets ready to glue. |
![]() |
Drawer set laid out to glue. |
![]() |
Putting a glob of glue on each section of the dovetail. |
![]() |
Glue blobs on each section. |
![]() |
Then I use this little round glue brush, from Rockler, to spread the glue. |
![]() |
After the glue is spread its ready to join. |
![]() |
Two drawer frames in the glue. |
![]() |
Note the ClampIt holding the frame square while the glue sets. |
![]() |
On most of these drawers I use a long clamp front to back on each side. And the ClampIt in a front corner. I use the kind faced hammer to tap the sides flush in the dovetail. |
![]() |
Last two of 12 drawer frames being glued. |
![]() |
Stack of drawer frames, glued, ready to have bottoms glued in. |
![]() |
Cutting out drawer bottoms on the table saw. I also rip the handle stips here. |
![]() |
Preparing to glue in drawer bottoms, the stack of bottoms is on the left. Drawers are bottom up. |
![]() |
Ten of the 12 drawer frames with bottoms glued in. |
![]() |
Some of the drawer frames (all I had room for) upside down, sanded, and ready to start paint. I'll use clear polyurethane all the way around. |
![]() |
Different view of the four on the tablesaw and outflow table. |
![]() |
Frame painted, now receiving several coats on the front. Next will be assembly, slides and handles. |
![]() |
Some of the 2x8 ends sawed off while sizing the rest of the frame pieces. I'll rip some of these into 1-1/2" X 1-1/2" strips. I usually make a lot of handles when I make a batch. My main drawer handle page. |
![]() |
1-1/2" X 1-1/2" strips ripped on the table saw. |
![]() |
First I cut a 3/4"X 3/4" rabbet along one edge. |
![]() |
3/4" X 3/4" rabbet cut. This leaves a 3/4" thick Ell shape. |
![]() |
Next I round the top front and lower front edges. |
![]() |
Now I round off the lower front edge. You can see how I raised the roundoff bit. |
![]() |
Handle strips with all three edges rounded. |
![]() |
Now I'm cutting the strips into 4" lengths. |
![]() |
Since I'm going to cut a lot of these, I use a stop block. |
![]() |
Pile of 4" handle blocks. |
![]() |
This is a jig I made to help round off the ends of the handles. You can seee on of the hanlde blocks clamped in the left end. |
![]() |
A little different perspective. |
![]() |
I just move the block around the roundoff bit to round the edges. All the handle round offs use a 3/8" radius bit. |
![]() |
Handle ends rounded off, ready to drill, sand, and paint. |
![]() |
Stack of handles ready to drill. I drill two pilot holes 2-1/2" apart and centered in the flat base for 1-5/8" wall board screws for mounting. I also use the screws when painting the handles. |
![]() |
Handles being painted with clear water based polyurethane. Note the wall board screws, these will also be used to mount the handles. |
![]() |
|