| 
| 
|
|
Jet Floor Drill Press Caster Base and Lift Off Storage
| ||
|
|
|
|
|
Jet Floor Drill Press Caster Base and Lift Off Storage
| ||
| Caster Base Pics | Storage Chest | Machine Benches & to Caster Bases |
| Drawers & Handles | Drawer Pics | Handle Pics |
While in the death throes of a project with a deadline (I don't normally do things with schedules) my Delta DP-350 (bench mount drill press) conked out, the roll pin in the variable speed pulley wallowed out and Delta doesn't sell replacement parts for that press any longer (GRRRRRR!!!). So I called Rockler and asked what other brand drill presses the had in stock, turns out they had only one press in stock and it was on a significant sale (I think Jet is coming out with a new design). Turns out it was a Jet 17" floor model which I had been eyeing for a while, so I pounced on it.
Now, I've always had a bench mount drill press and thats what I had room for, please see old Multi-Bench pic. Having the drill press on the multi-bench was handy because of the bit and tool storage immediately under the press.
I had recently done a little thinking about what to do with a floor model press and eyeballed the Jet at Rocklers.
I occasionally need the height of a floor press and didn't want to give that up if I had one, so I thought about adding a removable drawer set.
The drill press had to be mobile (on casters) since everything else in my shop is, and I'm always looking for more storage.
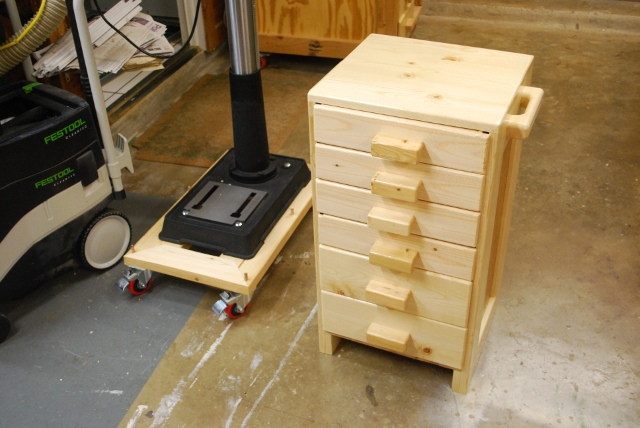
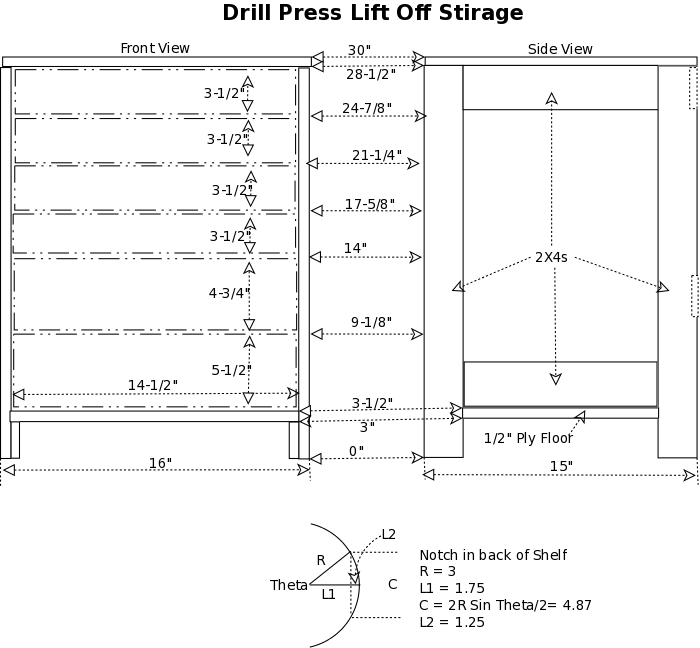
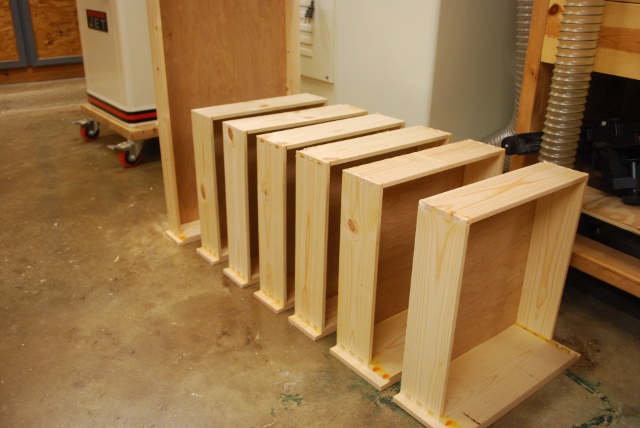
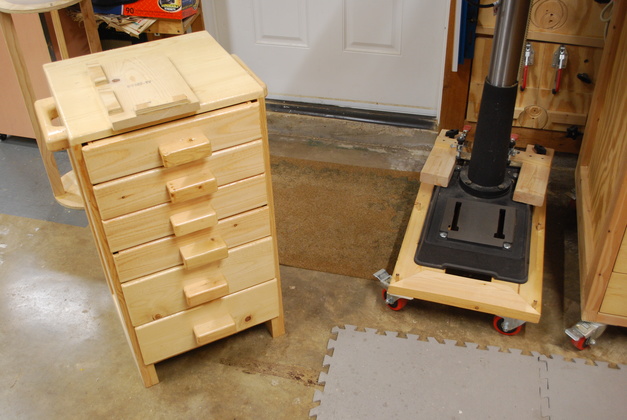
I decided to make a machine caster base for the floor model drill press, similar to the others I had, but with a small chest of drawers, above the base, that would move with the press or could be lifted off and set aside when I needed to drill something tall.
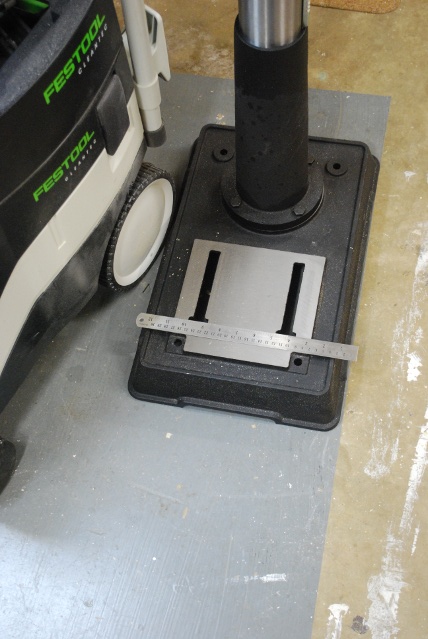
This caster base will be 2" wider than the drill press base and 6" longer, front to back. This gives me a little more stability since the DP base is narrow (only 12") and the extra 4" in front makes the storage chest deeper.
|
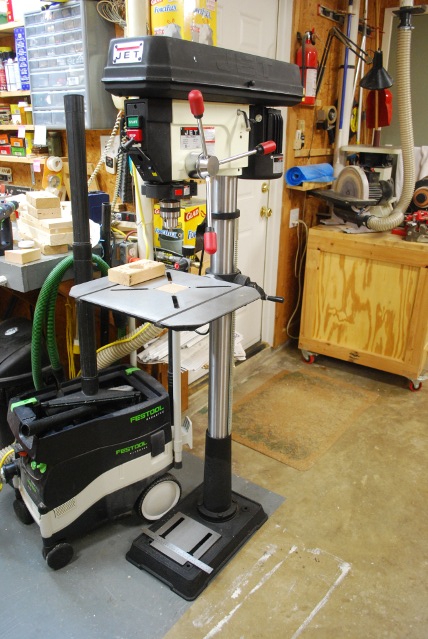
The new Jet 17" floor model drill press. |
|
It's base where I need to support it. Thats a 12" ruler. |
|
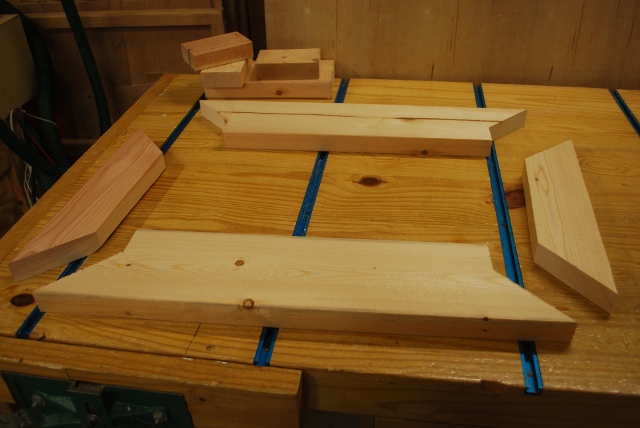
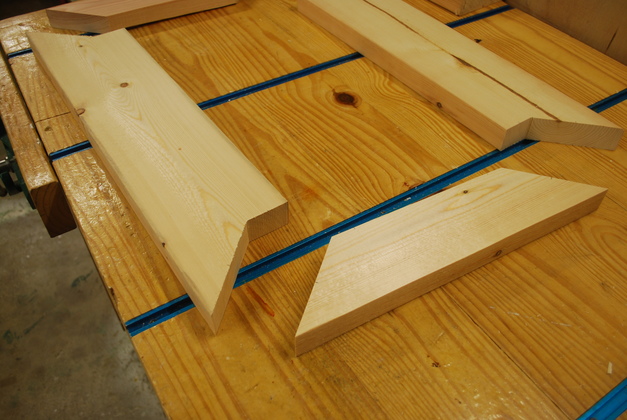
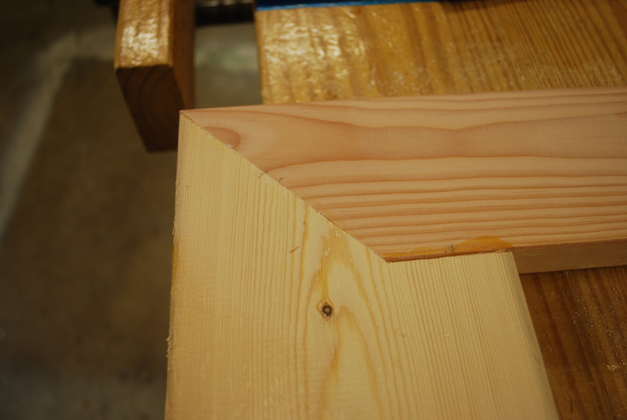
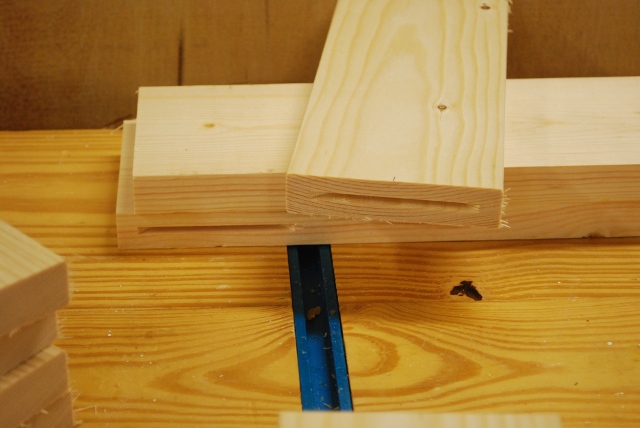
I'm mitering 2x6s to 2x4s so the pieces look different than normal miters. |
|
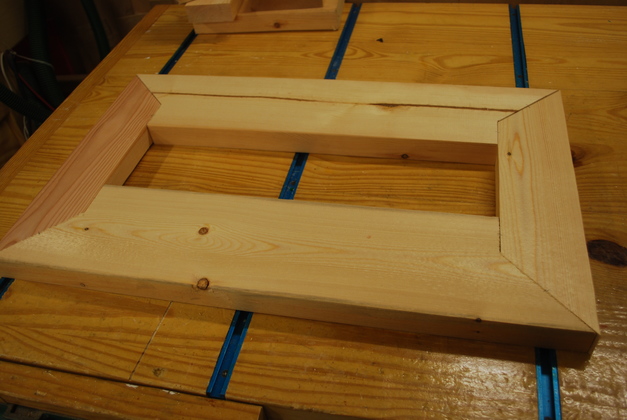
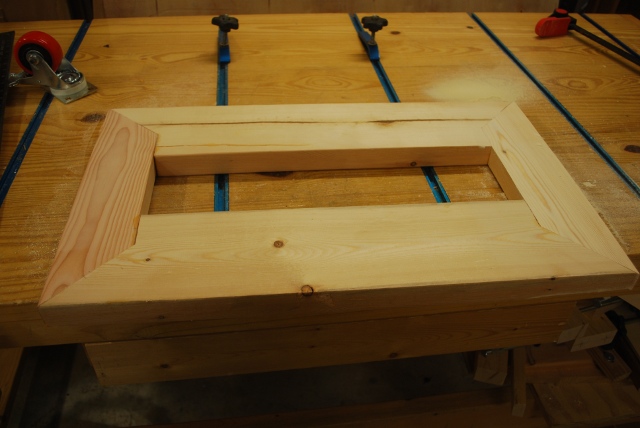
This is what it will look like when its glued. |
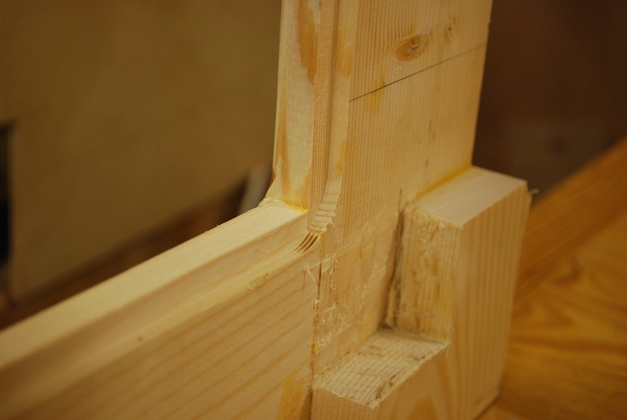
|
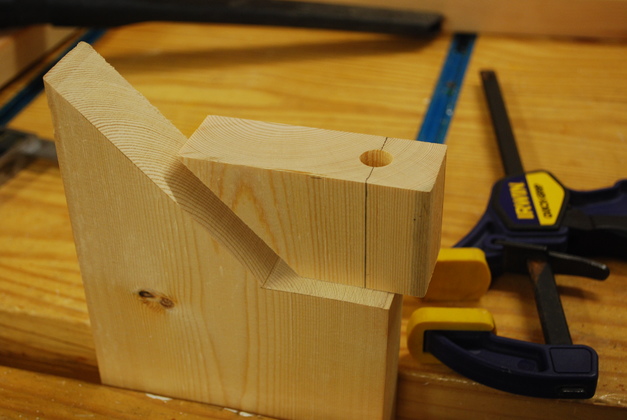
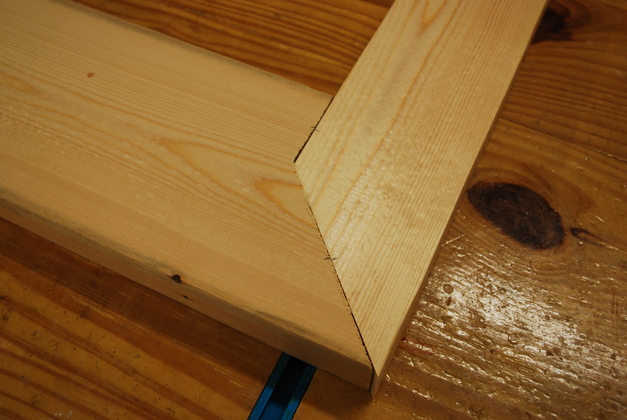
Closer look at a 2x6 to 2x4 miter joint. |
|
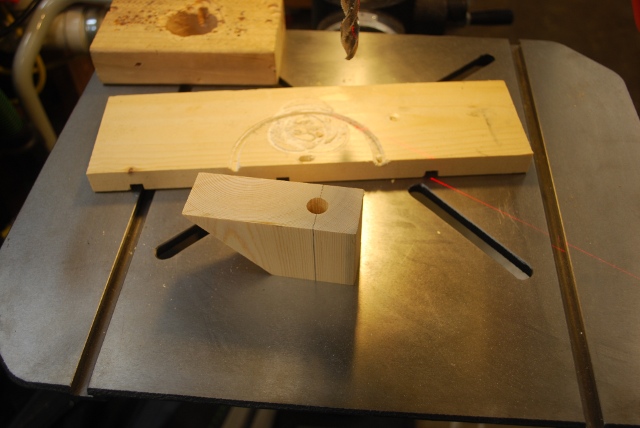
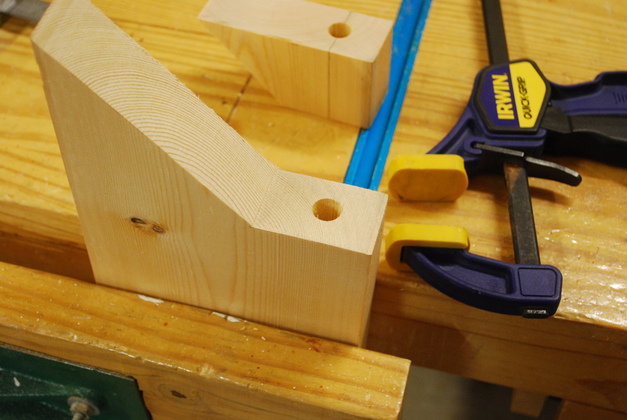
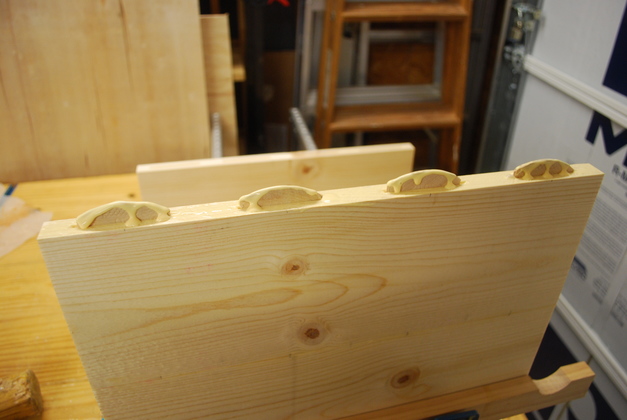
I usually use biscuits for these large joints but I can't get to every place to cut the slots, so I'll have to use dowels. I made this drill guide to drill the dowel holes. |
|
After drilling one of the dowel holes. |
|
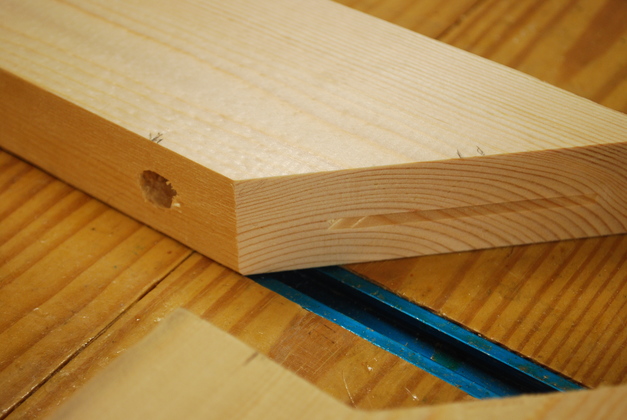
A dowel hole and a biscuit slot in one of the 2x4s. I drilled these holes 1-5/8" deep in both pieces to be joined then used a 3" long dowel. |
|
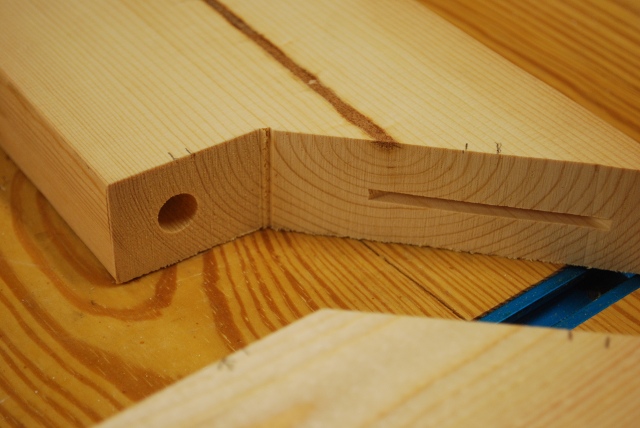
The matching dowel hole and biscuit slot in a 2x6. |
|
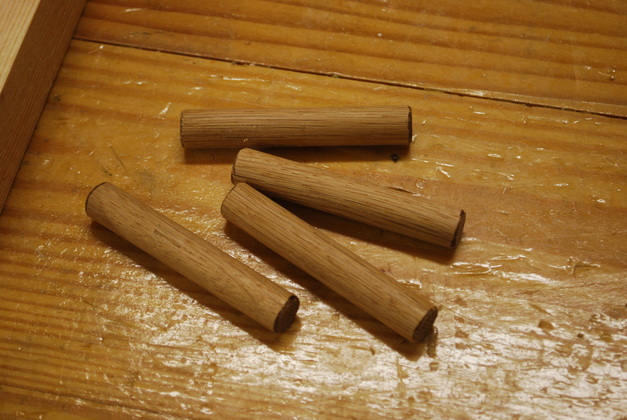
Half inch oak dowels. |
|
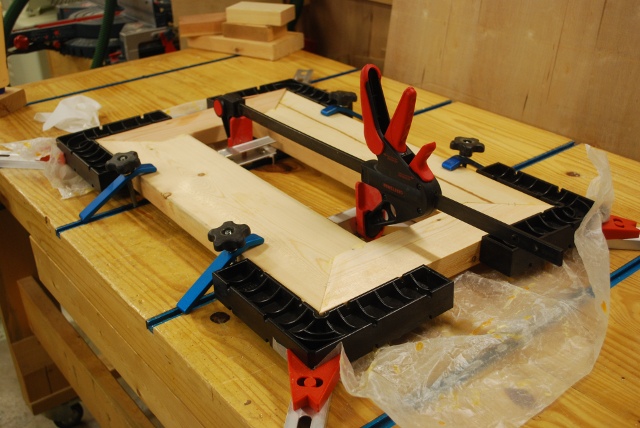
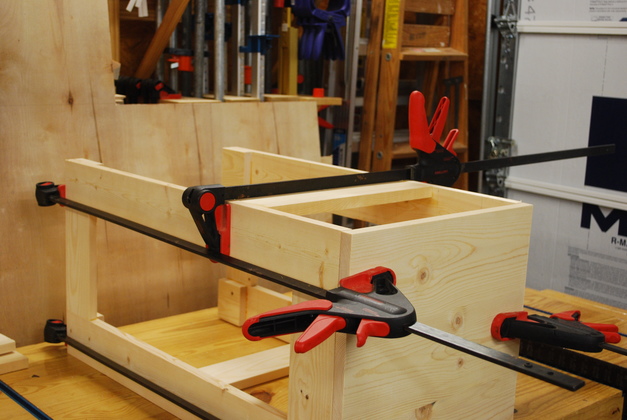
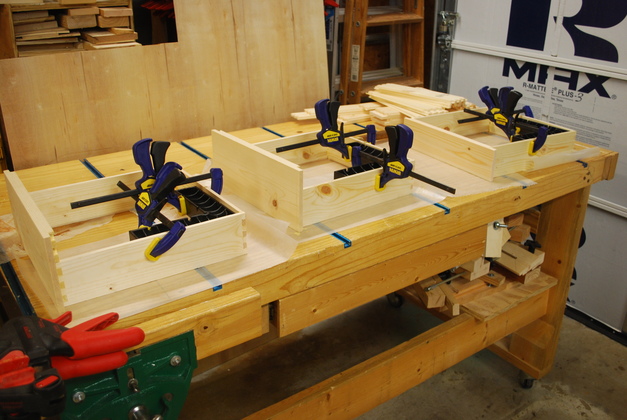
Here it is in the clamps. I used ClampIts at each corner to help make sure its square. |
|
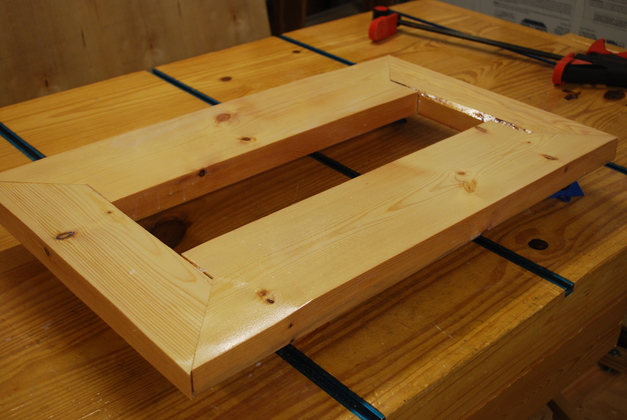
Glued up. |
|
One of the 2x4 to 2x6 "miter" joints. I like a miter joint for a glued frame member, it provides more gluing surface and the stress on the joint is more evenly distributed across the longer joint. |
|
Painted with casters. I'm using the 300# double locking casters from Woodcraft. |
|
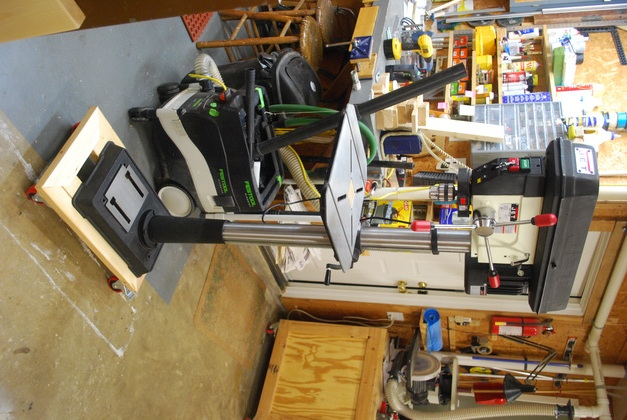
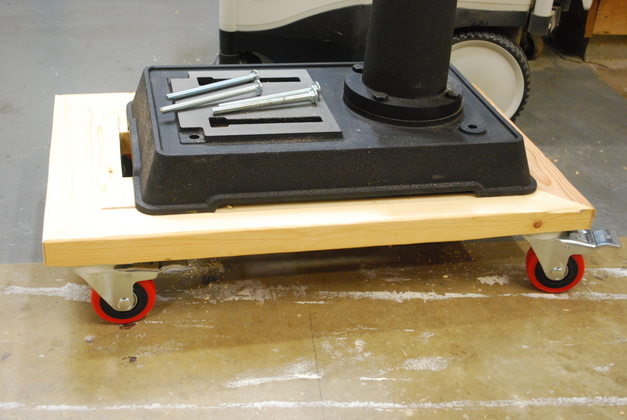
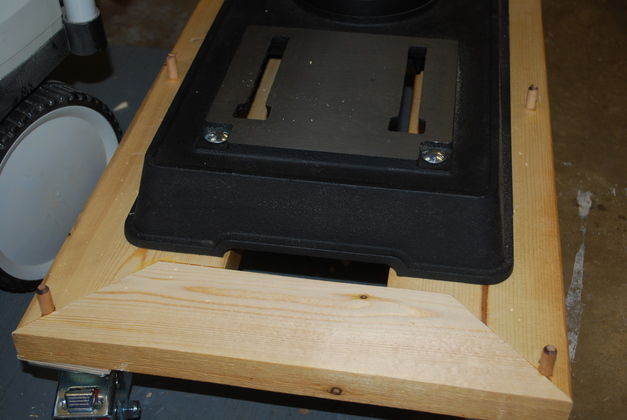
Drill press sitting on it's caster base. Note the carriage bolts on top, will be used to bolt the DP to the caster base. |
|
Drill press bolted to caster base. Theres a full 2" clearance on sides and back, the front has 4", extra room for storage cabinet. |
|
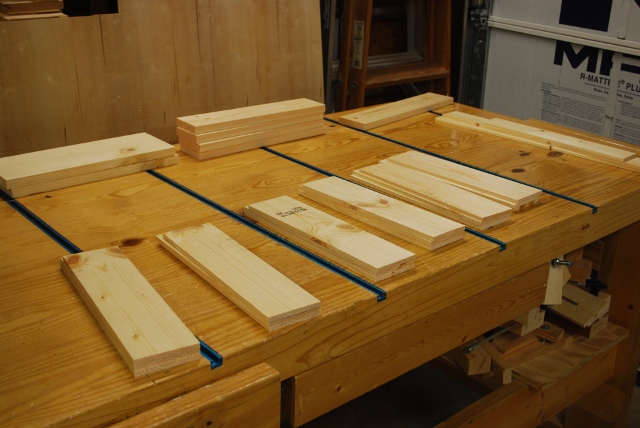
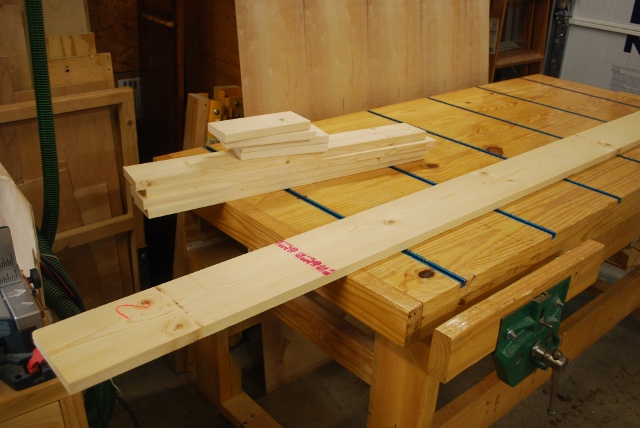
Verticals and braces cut out, top 1x6 ready to cut. |
|
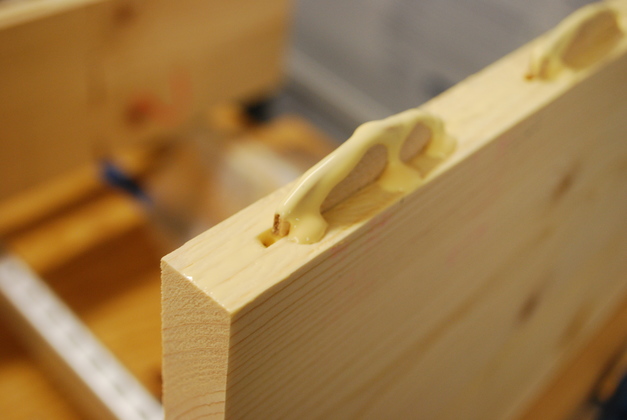
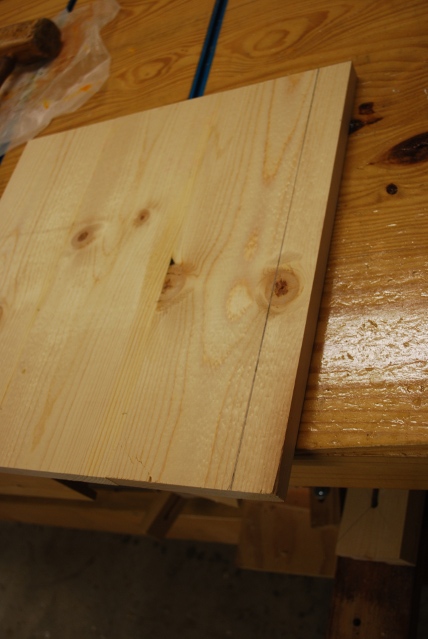
Edge joining the top, biscuits in slots and glue applied, ready to join. |
|
Close up of glue on biscuits, the flat surface has glue applied but spread out, and doesn't show as clearly. |
|
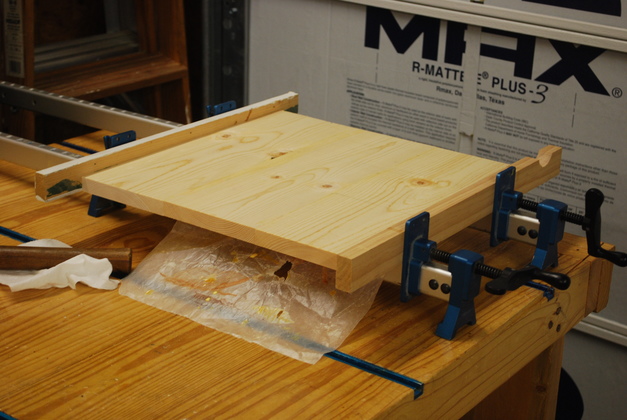
Top in glue clamps. |
|
Corner verticals and braces layed out, you can see the biscuit slots. The short (3") pieces are blocks to support the floor. |
|
Closer pic of biscuit slots in brace and vertical. |
|
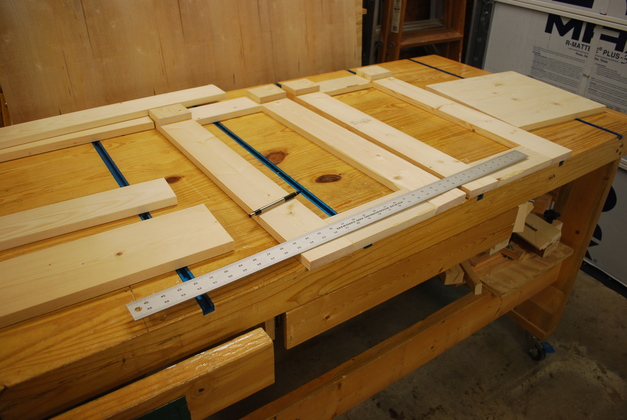
The top only needs to be 15" front to back and 3 1x6s are about 16-1/2", so I have marked the edge joined top to be cut off. |
|
Floor support blocks glued and clamped. |
|
Marking side frames for slides and position of back brace. The back brace it the 1x6 front left on the bench. |
|
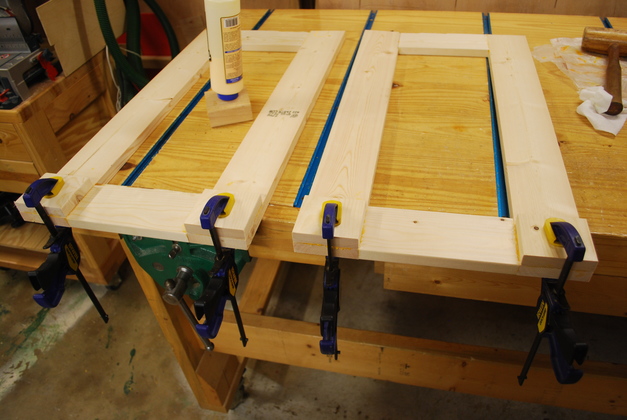
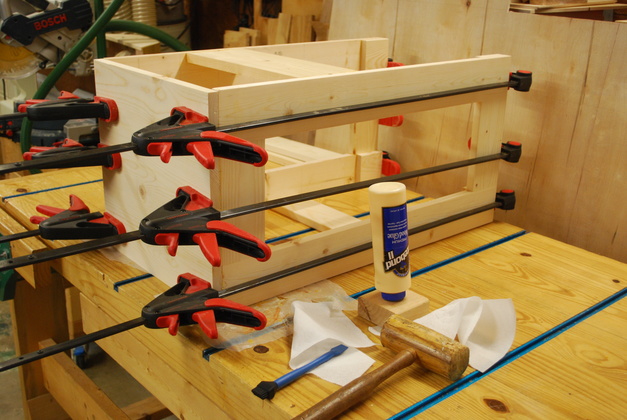
Here I'm gluing the back brace on, the top is there to help keep things square. |

|
Now I'm gluing the top to the rest of the frame. |
|
The frame is face down, you can see the back brace on top, the smaller brace on the front is just for squaring up while gluing. |
|
Frame glued. |
|
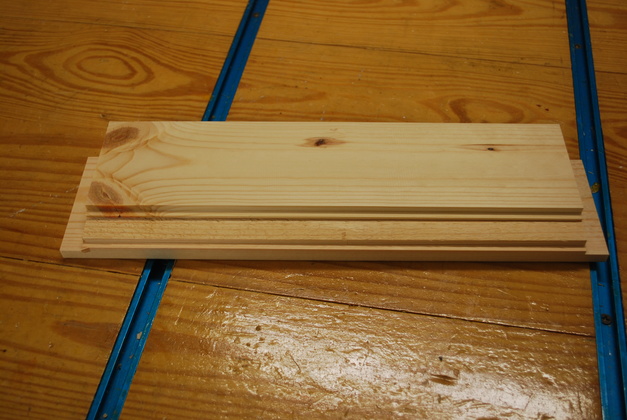
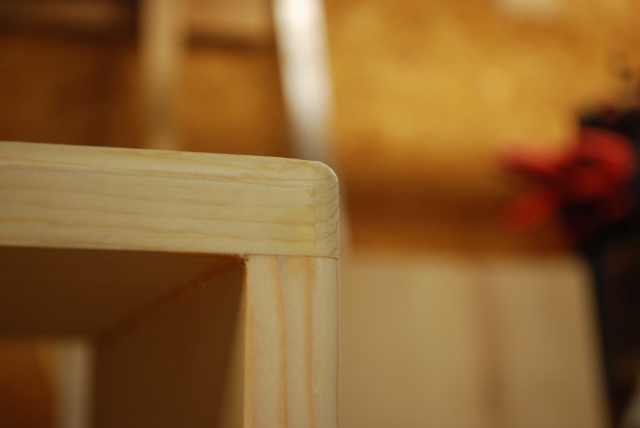
I rounded the outside corners and cut rabbets for the panels. |
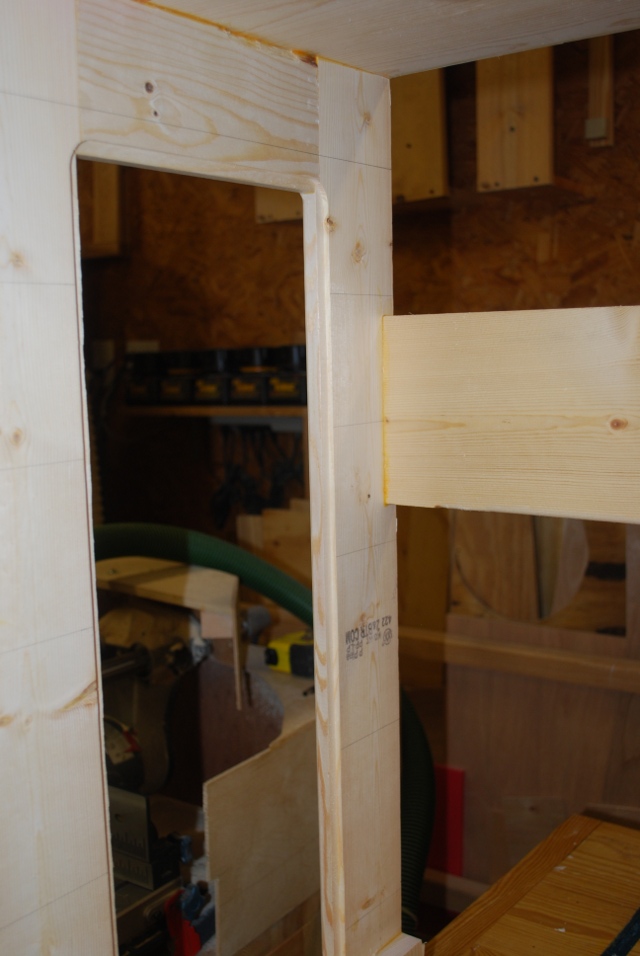
|
Here are the rabbets for a side panel. Since the panels are rabbeted into the inside the inside is flush so the slides mount on a flat surface, and the outside has a recessed appearance. |
|
Close up of inside rabbet, and corner floor support block. |
|
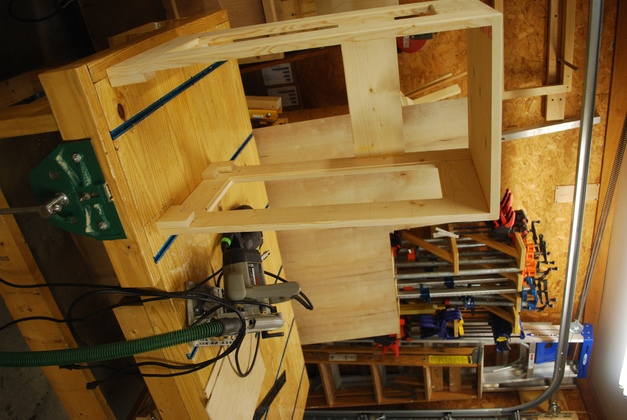
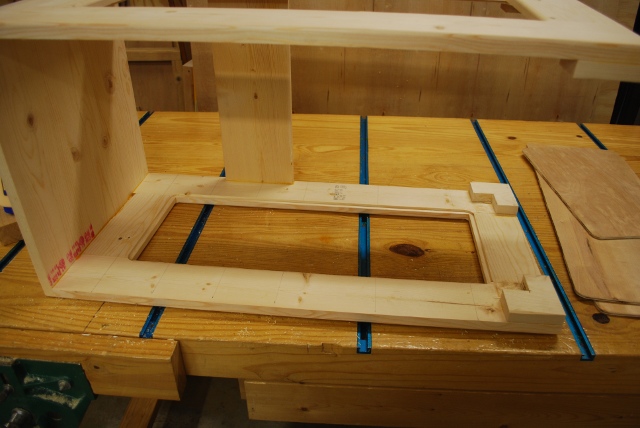
Frame on drill press base, where it'll end up. |
|
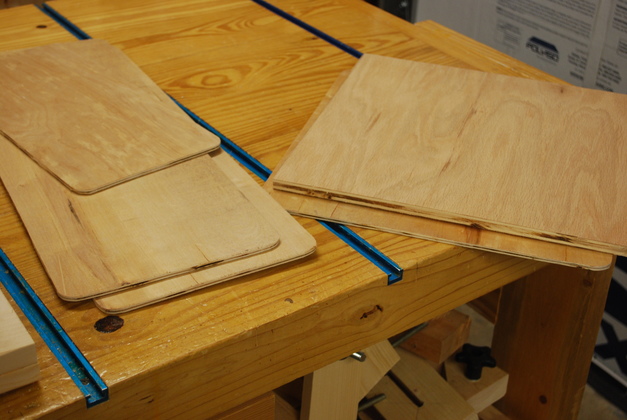
Panels cut our and rounded corners. Note I had to notch out the floor support blocks so I could rabbet for the side panels. |
|
Panels and floor. |
|
Ready to glue in side panel. |
|
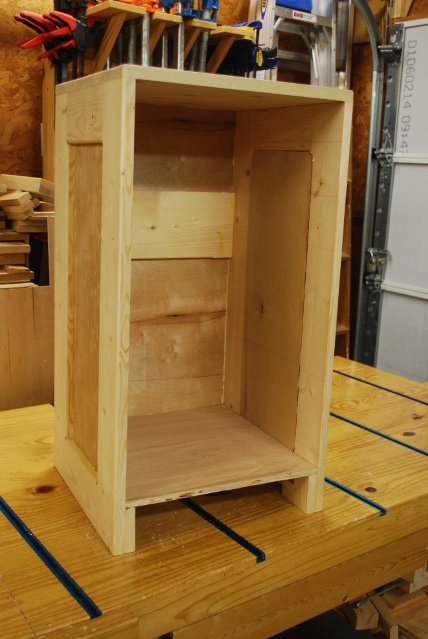
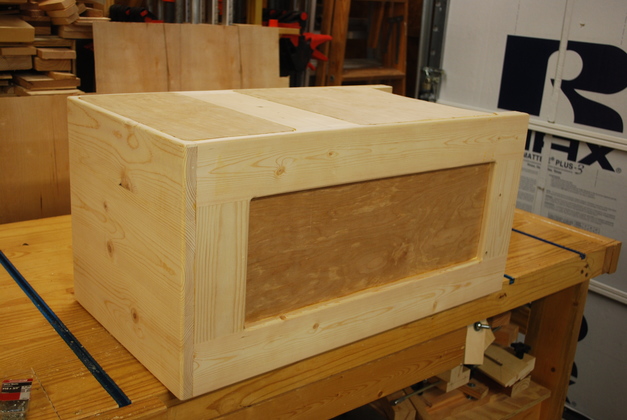
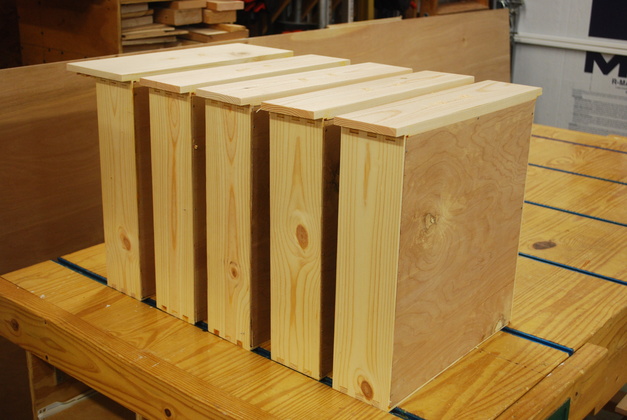
Back and side panels glued in. |

|
Note the panels are a little darker than the frame, wait till its painted, they should really contrast. |
|
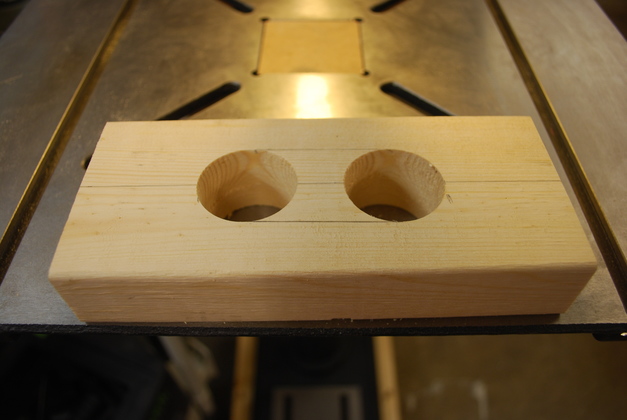
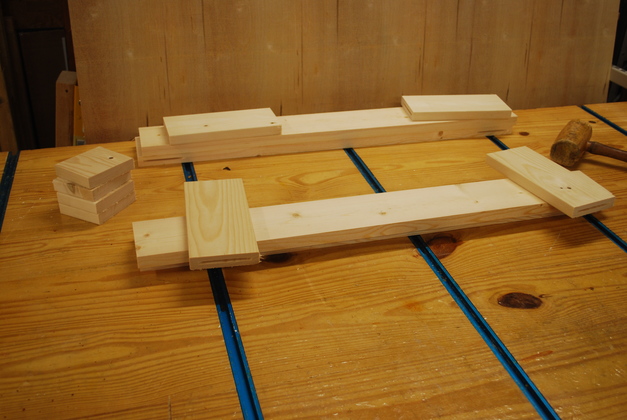
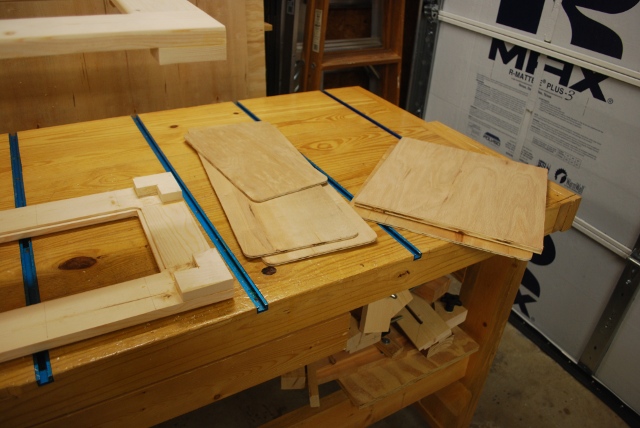
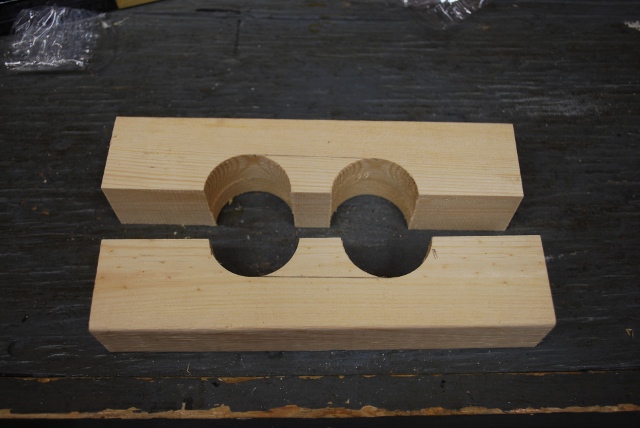
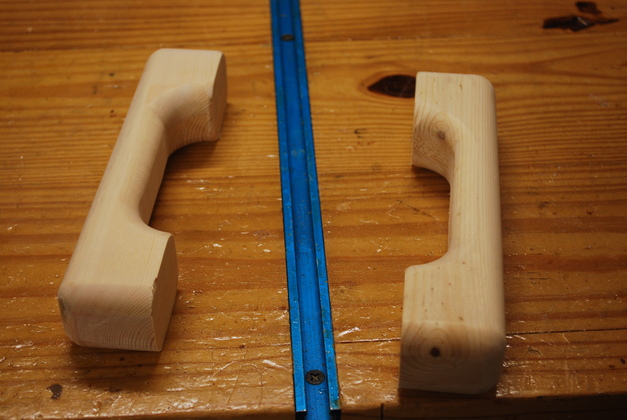
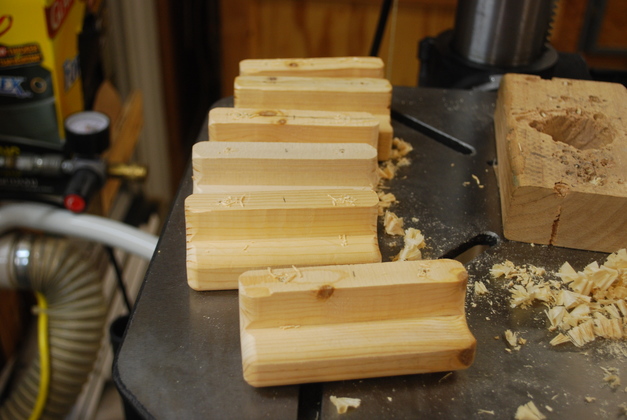
I cut the 2x4 in half along the center line for two handles. Next, I'll cut the lines between the outside edges of the holes. |
|
After I sawed the lines between the edges of the holes on each half, I rounded all the edges with a 1/2" roundover bit and, voilla, handles. |
|
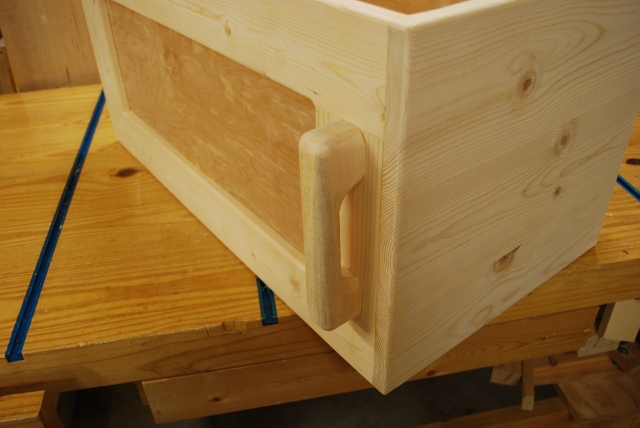
I screwed the handles to the top side of the storage frame. We're looking at the top of the storage unit. |
|
|
Handle on the other side. The handles are screwed on with two 1-58" wallboard screws in each end, or 4 screws per handle. |
|
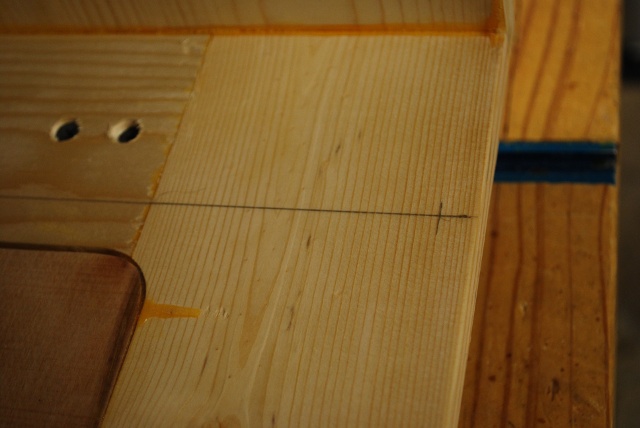
Inside screws holding one end of a handle on. Also note the lines where the guides will go, the little vertical mark is where the front of the slide goes (usually 1/2" from the front of the cabinet). |
|
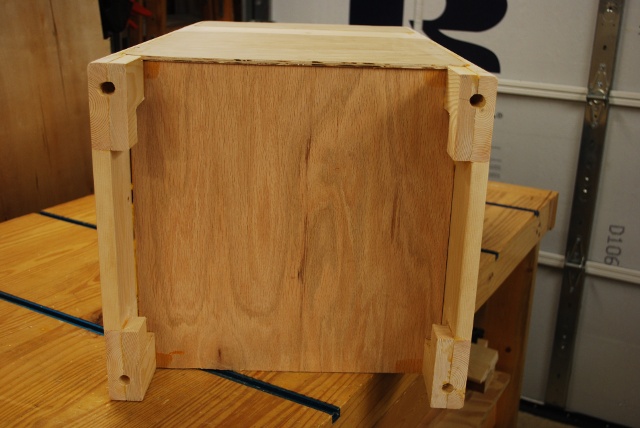
Because the storage unit will be movable, I needed some way to keep it in place while moving the whole drill press, so I drilled 4 1/2" holes in the bottom. |
|
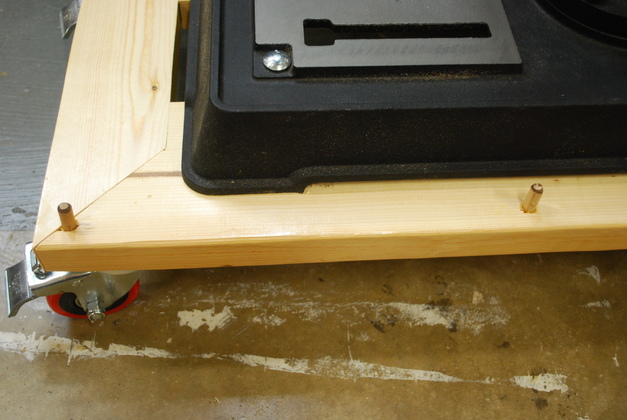
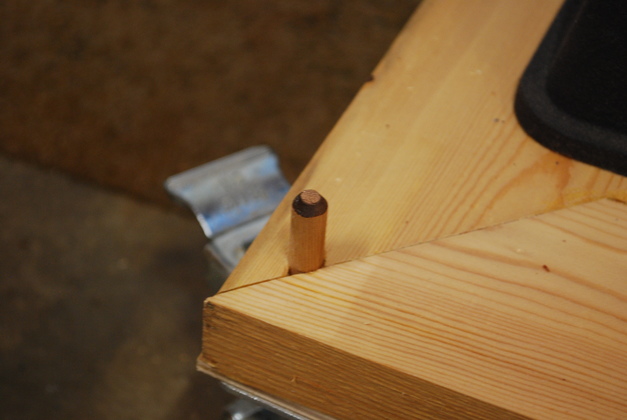
And I glued 4 2" long oak pins, 1" into the base that match up with the holes in the storage unit. |
|
A little closer look at the pins on one side. |
|
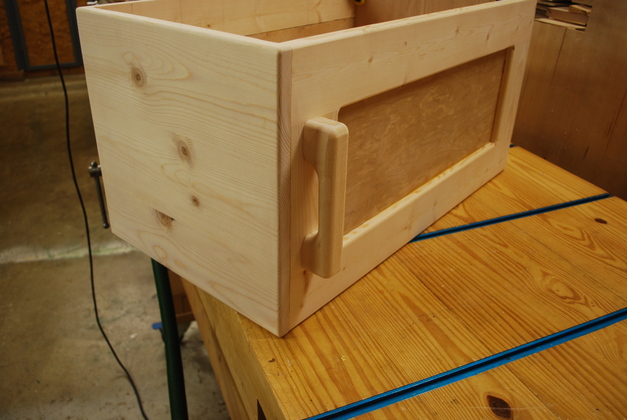
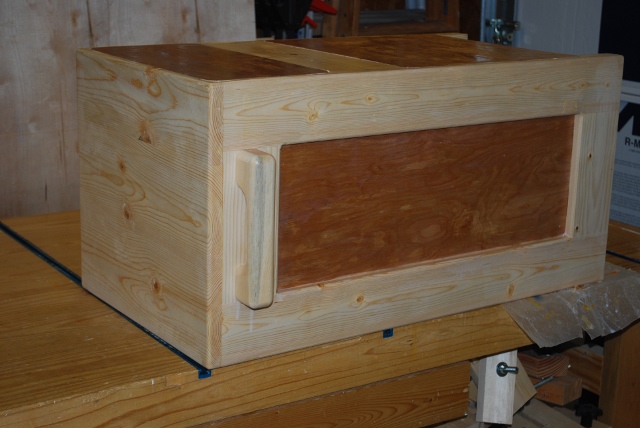
Side of the storage unit with polyeurethane on it. Note how dark the panel is in comparison with the pine frame. Next up, more paint then make some drawers. |
|
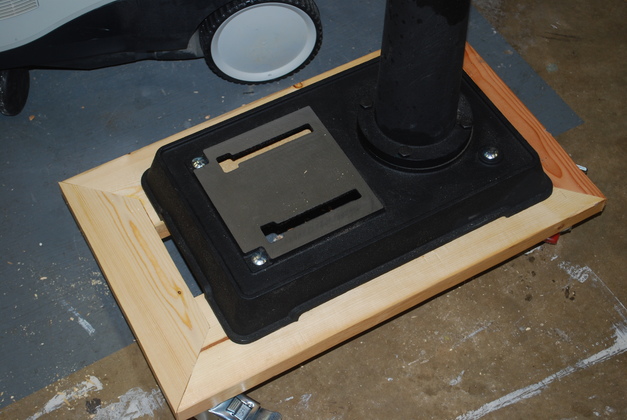
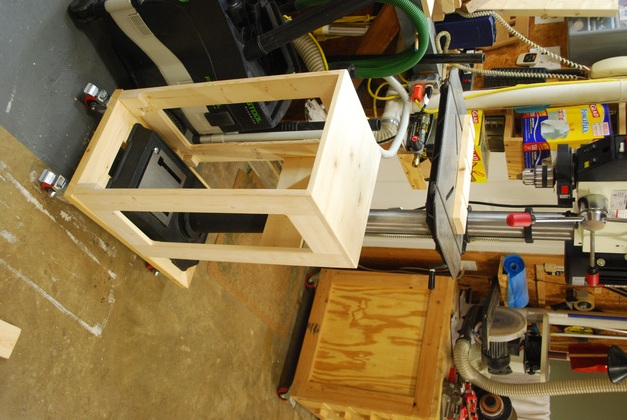
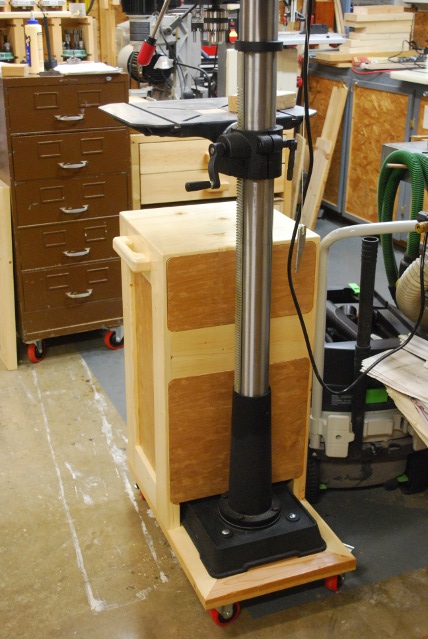
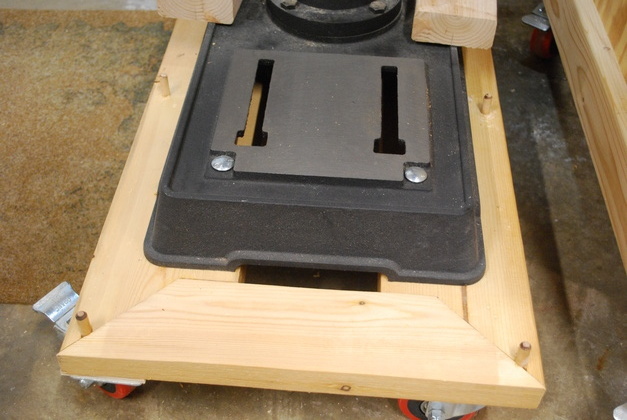
The cabinet sitting on it's alignment pins on the front of the drillpress base. |
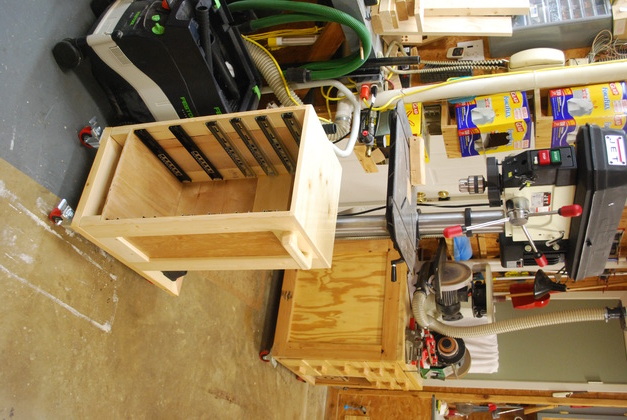
|
Front view of storage cabinet on the DP base. You can see the multi-bench in the background, thats where my bench top drillpress used to sit. BTW: When I got the drill press only one of the lasers worked, so I called Jet and they sent me another whole collar with both lasers, now it works great. Here is a link to the replacement for the multi-bench. |
|
All the bottom rabbets cut, and the front side rabbets cut. |
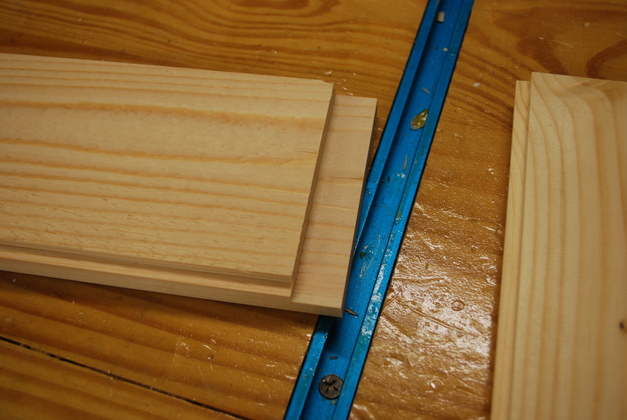
|
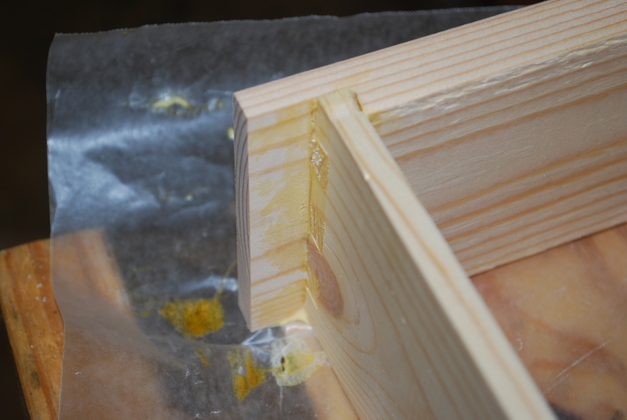
A front on the left, note it's bottom rabbet and side rabbet. The side is on the right, you can see it's bottom rabbet. |
|
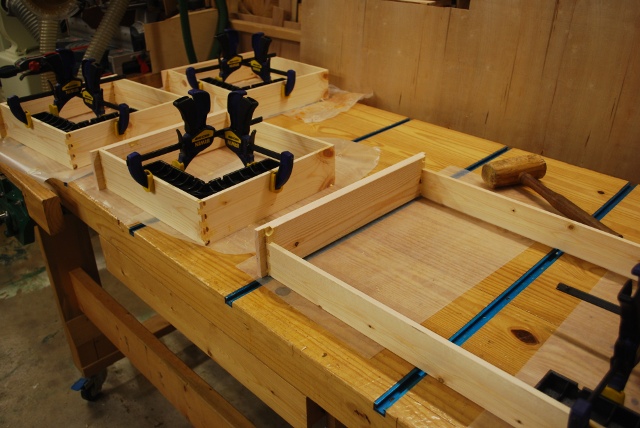
The first three drawers, glued. Note, I didn't use side clamps, just the ClampIts in the corner after I tapped the joints flush. |

|
Last three drawers plus a remake for Bill's computer desk. |
|
This is an unclamped corner drying. I tapped the side in with a mallet till the joint is flush and let the joint's friction hold it (I do keep checking while the glue sets). |
|
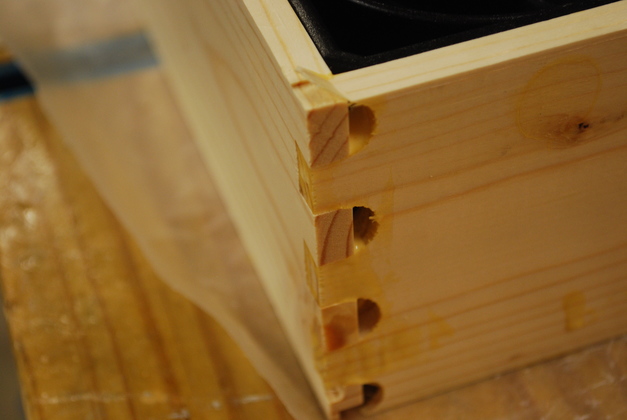
Back corner unclamped. |
|
The big drawer, front right, is for Bill's computer table. Next, I cut out the bottoms from the sheet of underlayment standing up at the back right. |
|
Drawers with their bottoms glued in. |
|
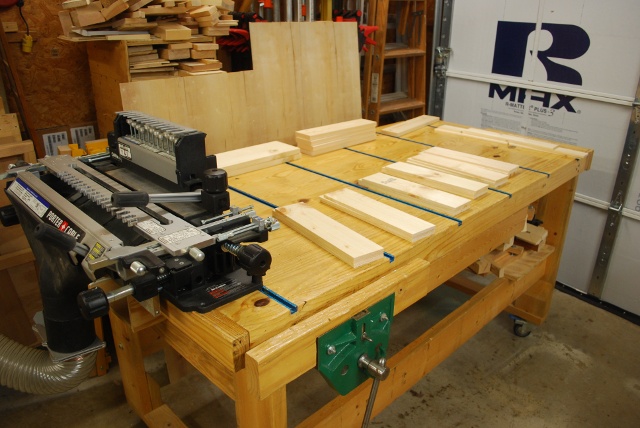
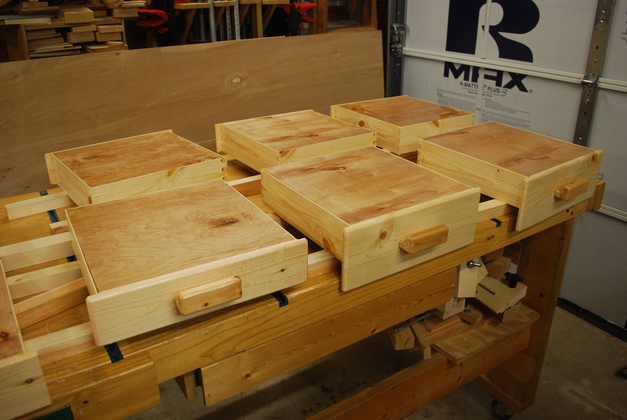
Five of them lined up to have their fronts rounded over. |
|
Here is one after rounding it's front edges, these are surface drawers. |
|
Handles after drilling pilot holes for mounting. For more info on how I make drawer handles, please see my page on drawer handles. |
|
Handles installed, I'm painting the bottoms, sides and fronts. The fronts will get several coats. |
|
|
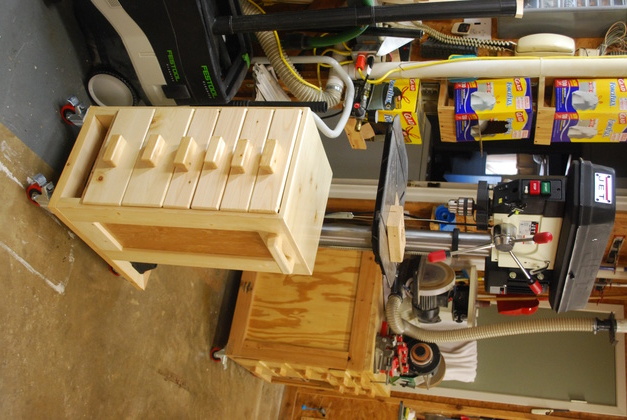
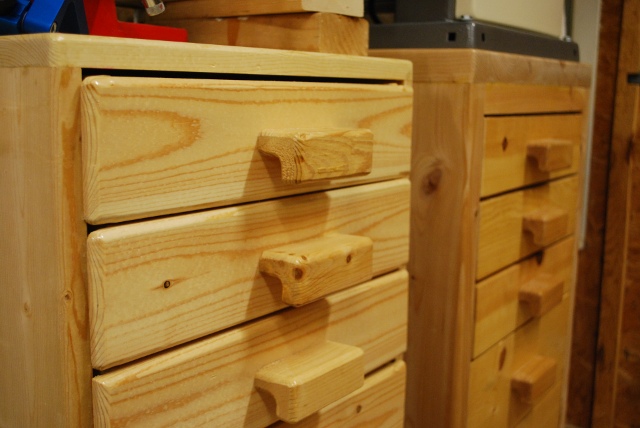
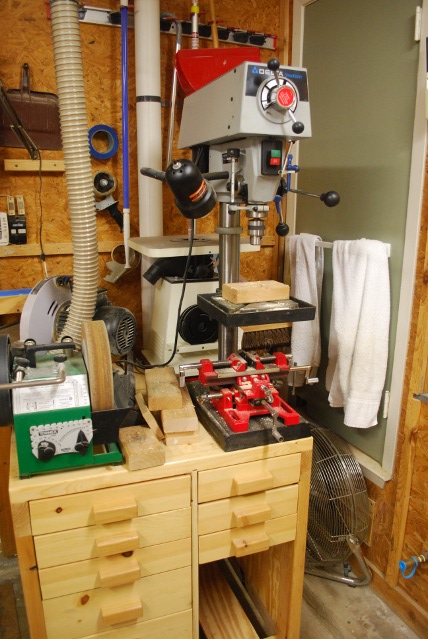
Finished with drawers installed. |
|
Overlay drawers in the drill press storage cabinet, left. You can also see inset (or flush) drawers in the badsaw bench, on the right. |
|
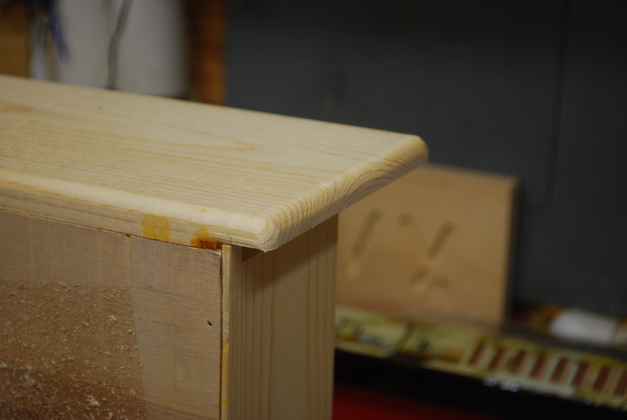
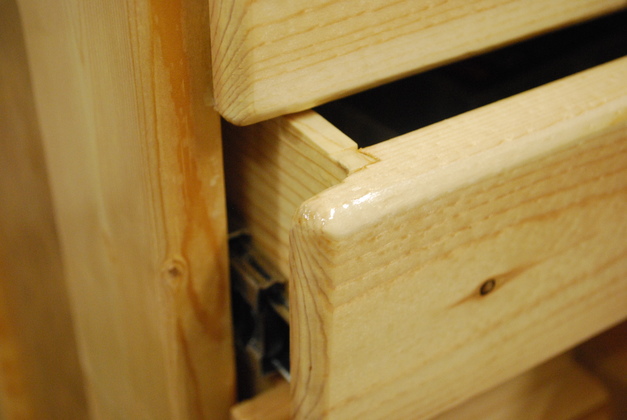
Closer view of how drawer front overlaps the frame. |
|
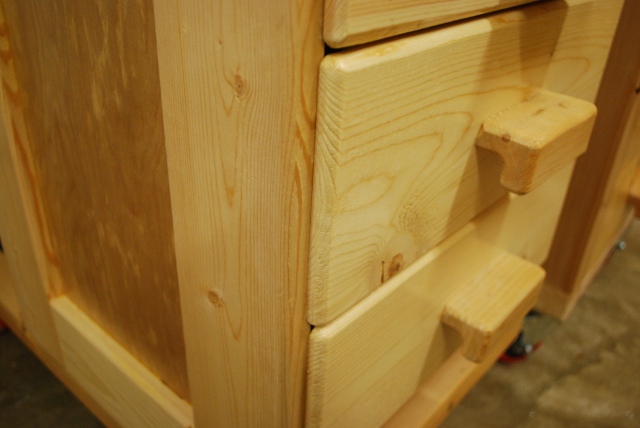
Larger drawers. |

|
Drawer open shwoing some forstner bits etc. |
|
In 2017 I needed to drill a hole in the end something long so I removed the storage. All went well. |
|
All 4 alignment pegs still there and ready. |
|
Close look at one of the pegs. All went well. When I put the storage chest back on the DP base I got Betty to align them for me. |

|
Old multi-bench. |
|
Bench top drill press on the old Multi-Bench. |

|
|