| 
| 
| 
|
|
|
|
|
|
| Small Trash Bin | Trash Bins |
The primary problem with building thin plywood boxes with mitered corners is holding them in place while you assemble and put glue on the edges then strap around them for pressure.
I had tried using the Rockler cauls for box joint boxes but they were too small for this size box and the little interdigitated fingers really didn't work well for this size project.
The Rockler cauls on the outside corners still didn't hold the box sides in place (cauls too light to hold the larger panel) while I assembled and put glue on the miters, the panels keep falling down.
I built forms for the inside which helped a lot but I had to have a different size for each different size box.
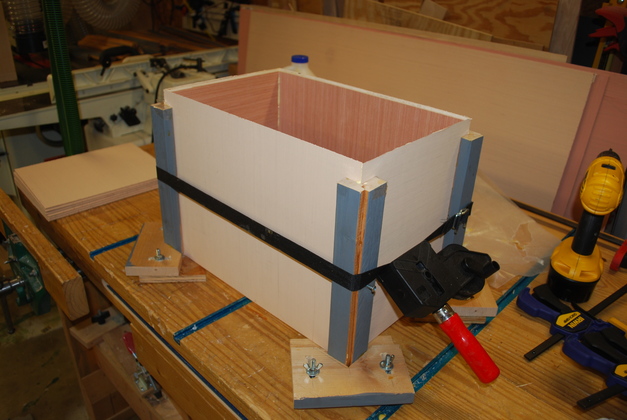
Strap clamps work well to keep pressure on the mitered corners while the glue sets.
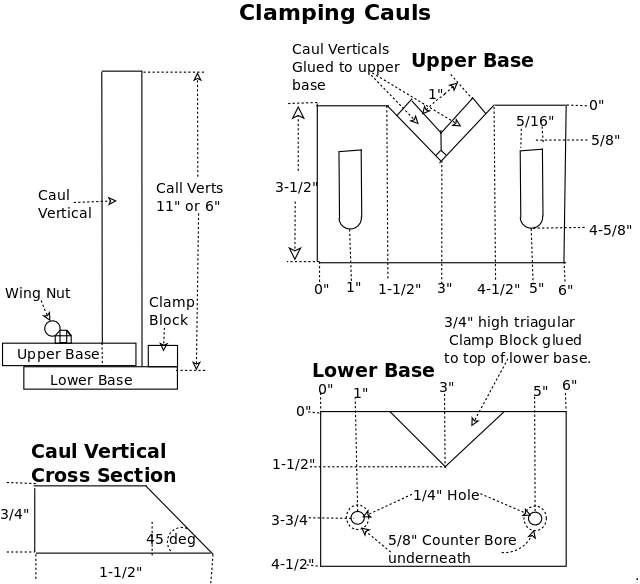
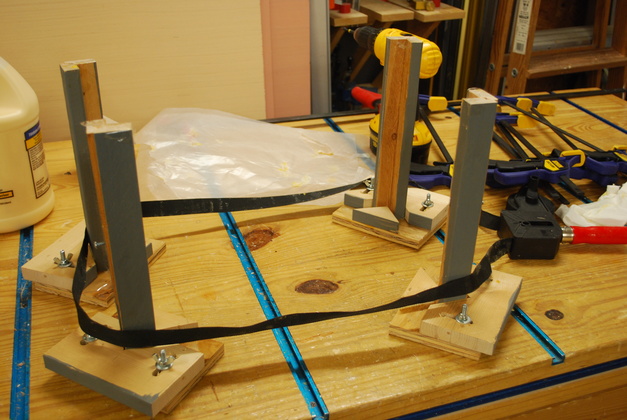
So I came up with cauls with a built in clamp. Clamp is a very loose term, they just keep the parts aligned while I'm putting on glue and assembling sides. I made the caul's vertical 11 " high with a 6" long 1x4 base on top of a 5/8" plywood base the same size (3-1/2 x 6"). The cauls are made from 1x2 with one 45° mitered corner.
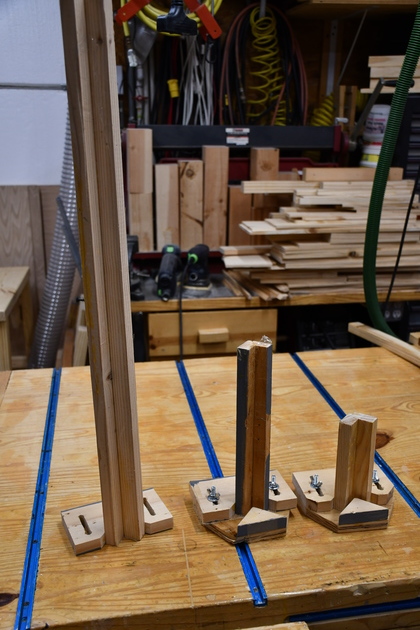
Over time I have needed different size cauls so I have 3 different sizes: 6", 12" and 24" high.
|
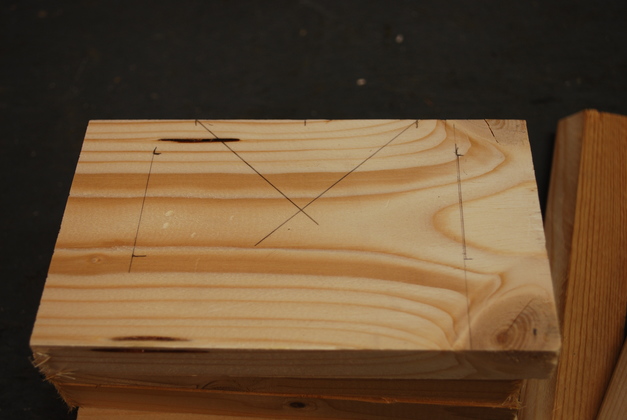
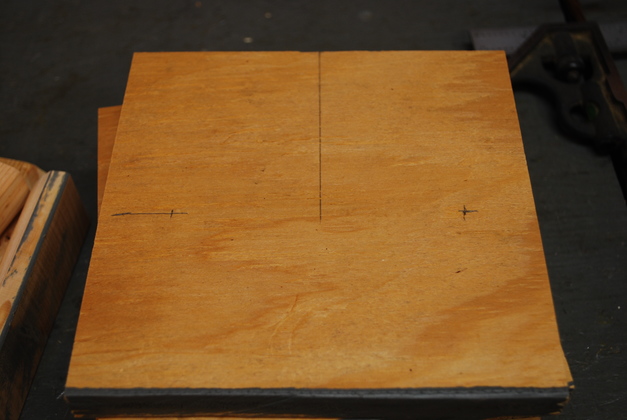
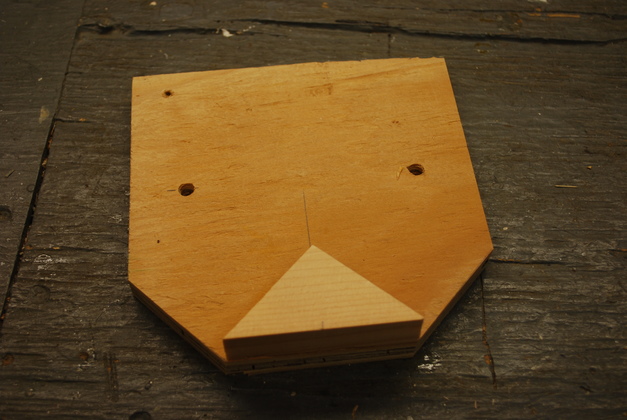
Upper base marked for cutout. |
|
Lower base marked for cutout and drill holes. |
|
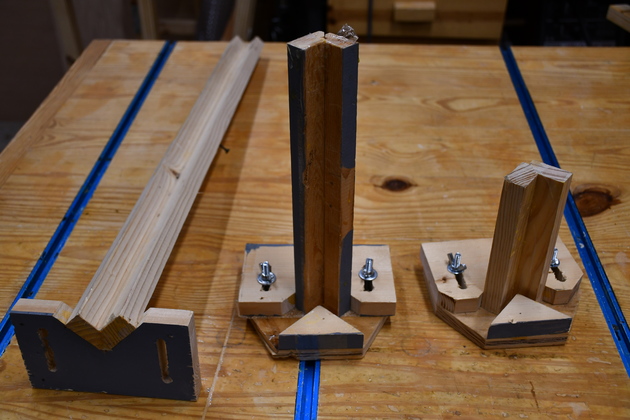
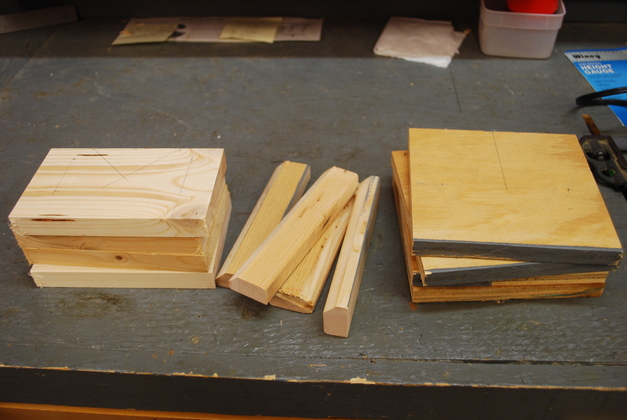
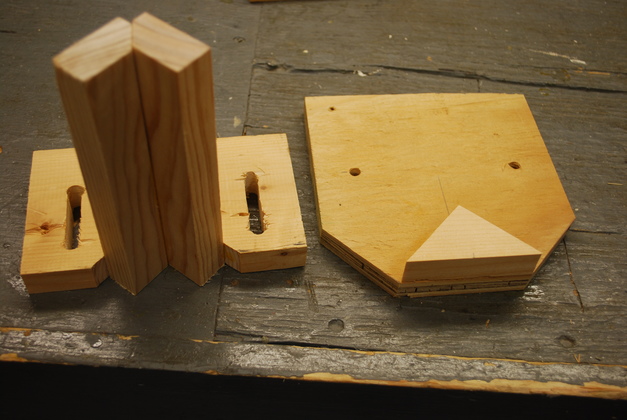
Parts for a set of cauls. |
|
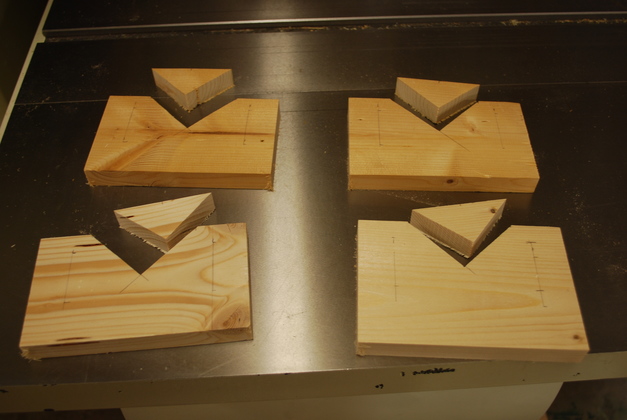
Upper base pieces cut out. Note I keep the piece from the upper base's notch for the lower base. |
|
Gluing the cut out notch to the lower base. |
|
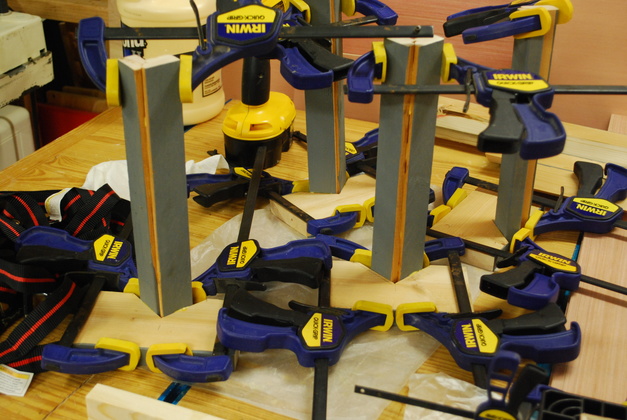
12" caul verticals being glued to the upper base. |
|
Caul lower and upper base, with vertical, ready to assemble. |
|
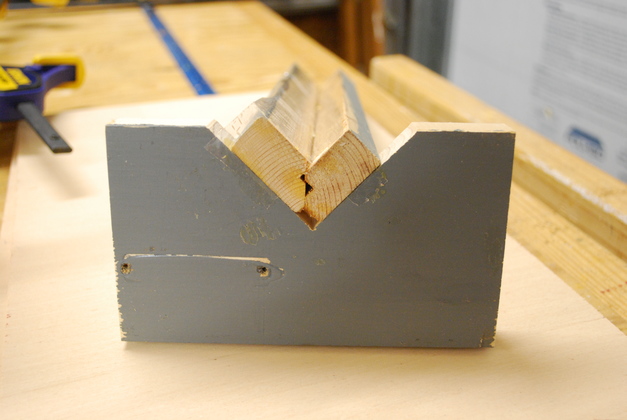
Bottom of upper base with caul verticals glued into notch. I chamfered a 1x2 previously used as a door frame so it had a rabbet which you can see at the overlap. The primary point is they need a 90° angle between them. |
|
Slightly different perspective. |
|
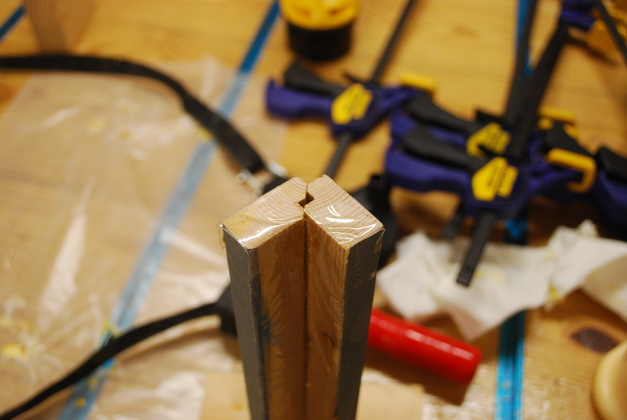
Top of caul vertical. Note the 2" wide packing tape placed down the length of the 90° corner to keep glue from sticking, works great. |
|
|
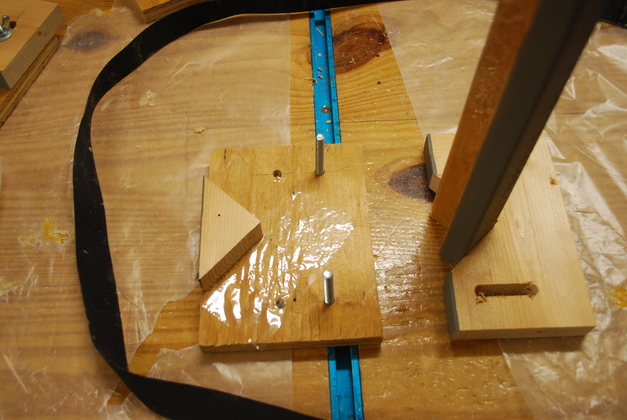
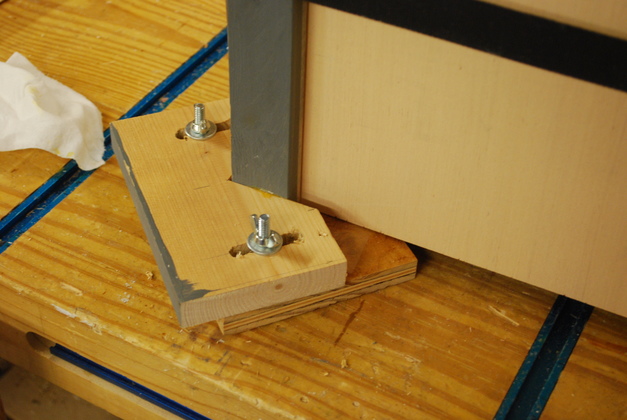
Lower base beside upper base, you can see the two 1/4" carriage bolts sticking up out of the lower base. You can also see more packing tape in front of the clamp block, again to keep glue from sticking. |
|
Another shot of the lower and upper bases, ready to assemble. The slots are 5/16" so alignment isn't critical. |
|
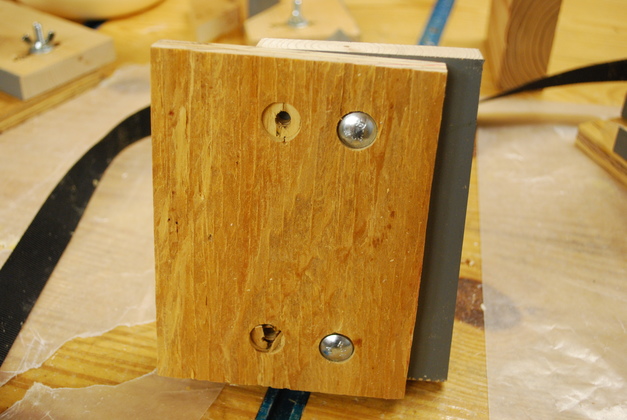
Bottom of lower base with upper base attached. You can see the heads of the 1/4" carraige bolts in their coutnerbore. Please excuse the extra counter bored holes, I guessed wrong on the first try. |
|
12" cauls ready to use. |
|
Over time I have built 3 sets of cauls (I only built two base sets), 6", 12", and 24". The 24" cauls I need for trash bins. |
|
|
Tool caddy in short cauls. |
|
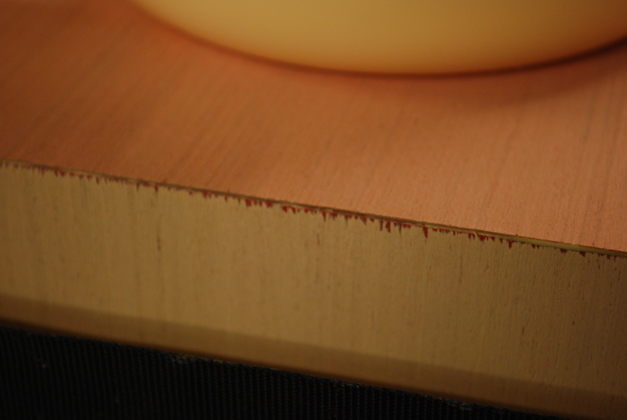
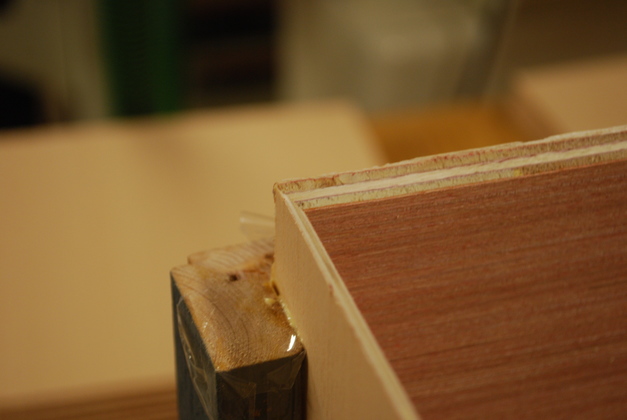
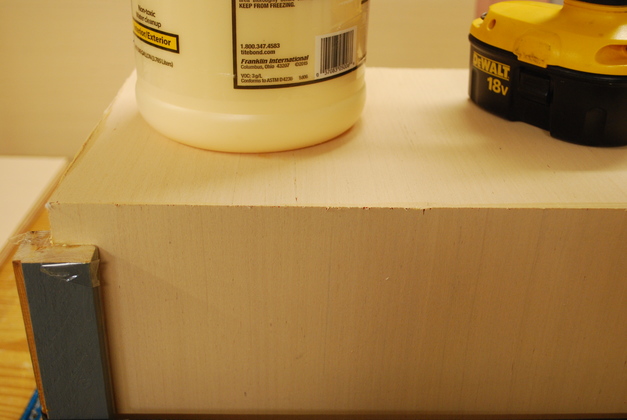
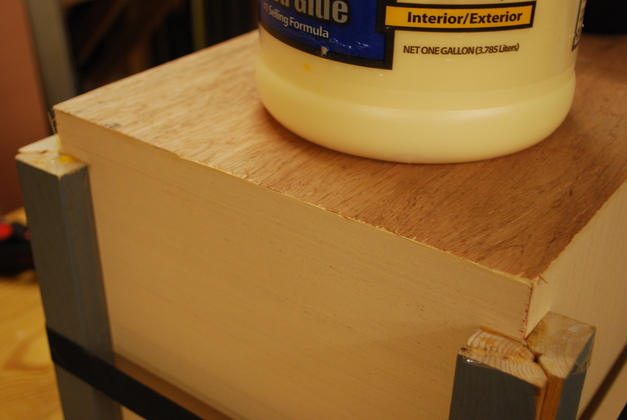
See the nice edges, with these cauls, mitering plywood is easy. There was a little splintering when I sawed the plywood. |
|
More nice mitered plywood edge. |
|
And around on the back side. |
|
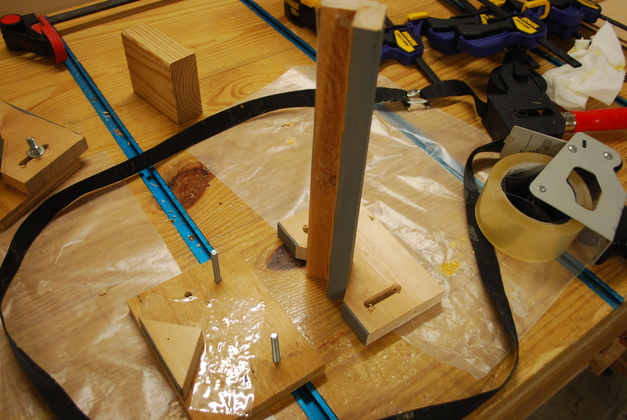
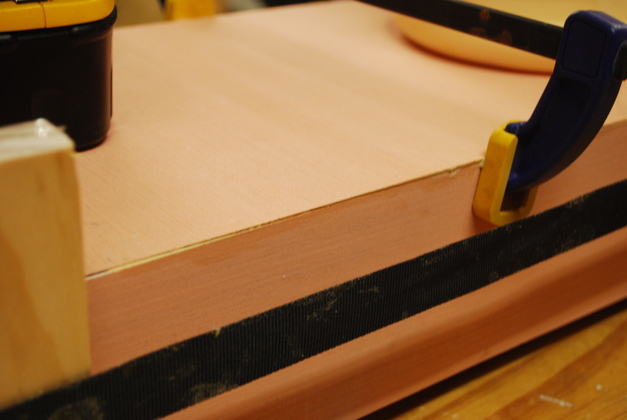
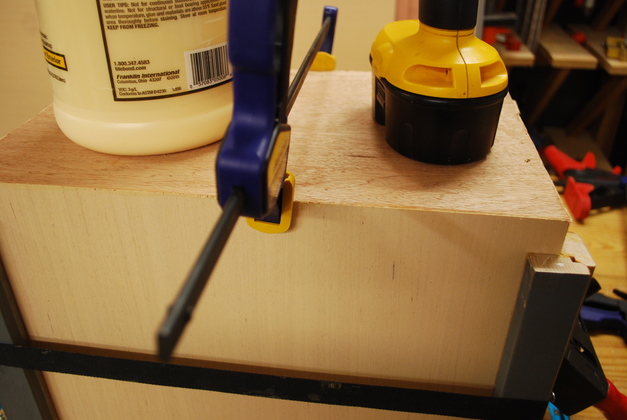
The screw in the side of the caul vertical helps hold the strap clamp in place while I'm tightening it. |
|
A panel sitting in the cauls while I put the next panels in, these things really make this easy. |
|
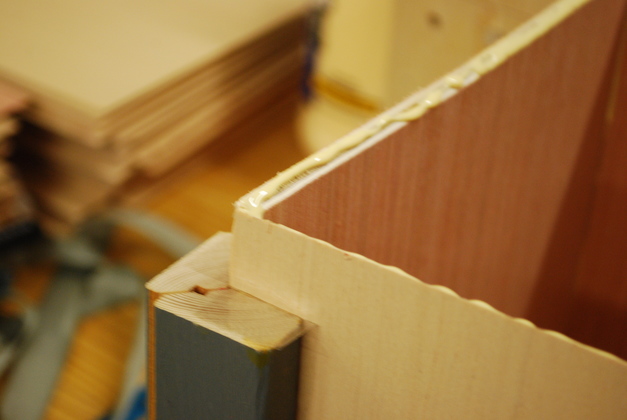
One side panel sitting against the caul and clamp block, notice it doesn't try to fall over. |
|
Looking down into a box being setup, you can see the clamp block keeping both sides from falling over. |
|
|
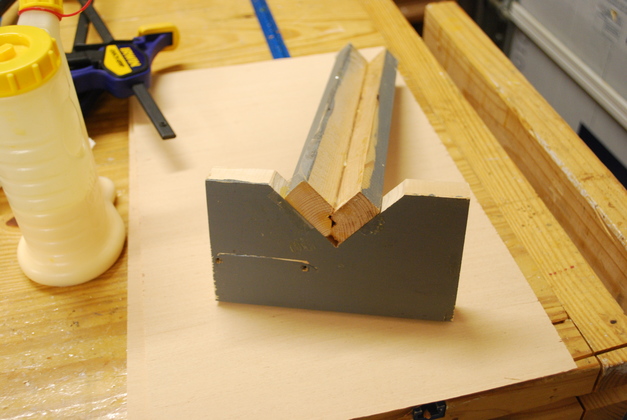
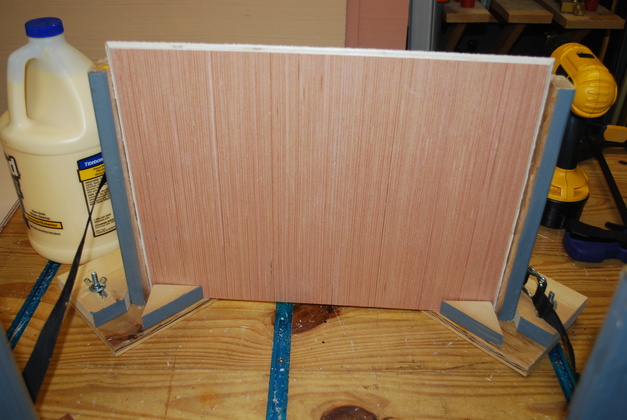
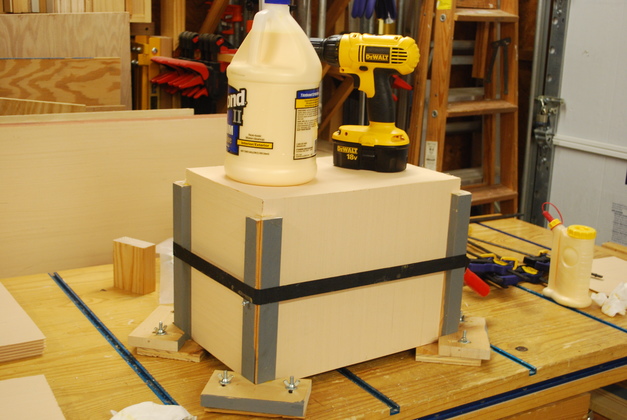
Box clamped in tall cauls, ready to put a bead of glue around the top edge for the box bottom. |
|
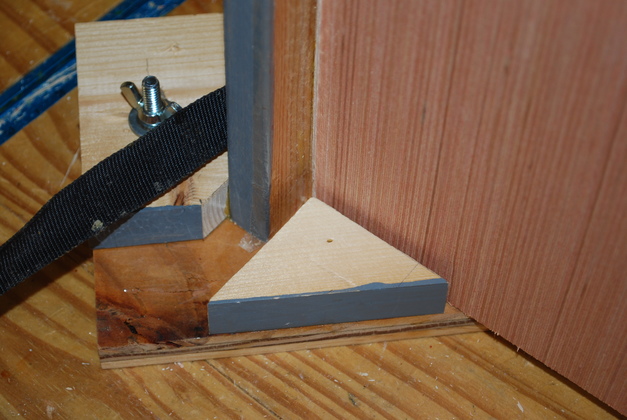
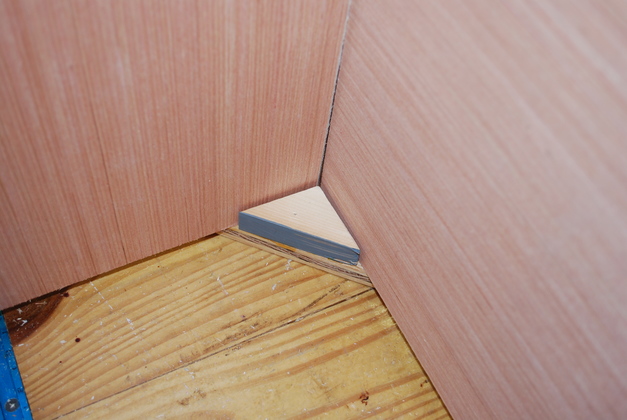
Note how nicely the caul keeps the mitered corner lined up. |
|
Bead of glue along the bottom miter, ready for the box bottom to be set in. |
|
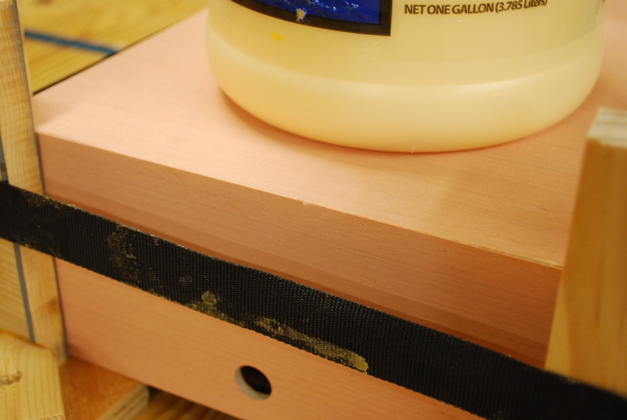
Box, upside down in the tall caul clamps. The weights on top keep a little pressure on the box's bottom as the glue sets. When I glue the bottom on, it forces the sides to be perfectly square, If I cut the bottom square. |
|
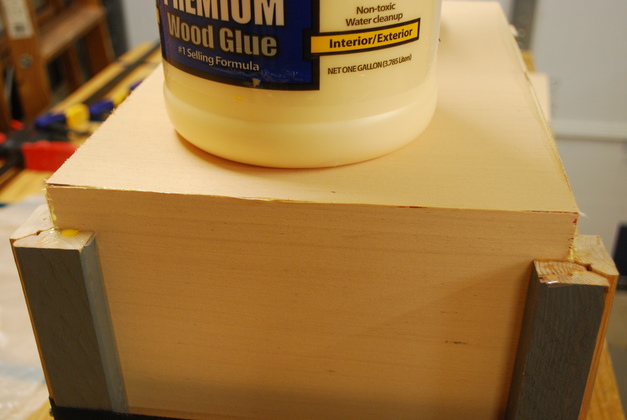
A look at the long mitered corner while the glue sets. |
|
Short mitered corner, this type of construction is strong because the miters allow a larger gluing area. I use TiteBond II which is very tough (the wood will break before the joint). |
|
Look at the base of a tall caul with a box in the clamps. |
|
Another look at a box in the glue clamp, some of these panels are a little bowed so I had to clamp them together until the glue sets. If the side panel bows inward the box bottom miters will correct it and keep it in position until the glue sets. I always glue these boxes together upside down, the bottom makes sure the sides are square. |
|
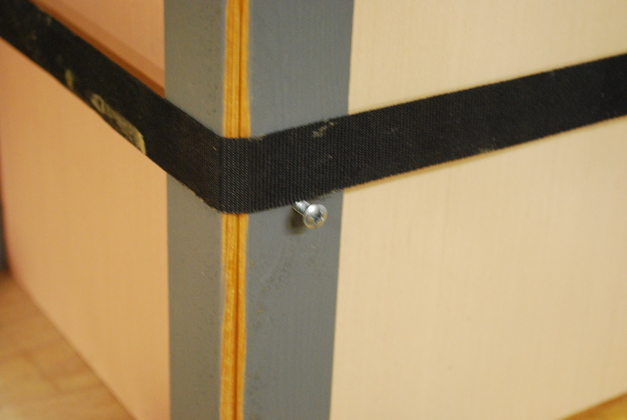
Notice the nice mitered corner, not plywood cross section shows, except on the top edge. |