|
|
| ||
|
Router
| ||||
|
|
|
| ||
|
Router
| ||||
Old Router Table Dust Collection
After owning several Sears router tables, I bought a nicer and larger one from Rockler.
I decided to mount it directly on my work bench so I cut a hole in the bench top for the router and built a box for the router under the bench so wood dust wouldn't get into all the stuff I had stored under there.
The router table had a dust port in the center of the fence but I also needed a dust port in the router box to prevent its filling up with dust
So I drilled a hole near the bottom of the router box for a lower dust port.
I ran a 2" vacuum line under the bench from my Festool vac and 'Y'ed the line for the upper dust port and the lower router box dust port.
Originally, I placed a 2" blast gate under the bench and in front of the 'Y' with a 3/8" dowell to open and close it.
For more on dust collection please see my dust collection page.
Router tool drawer and bit holder
One of the first things I needed was a place for router tools (wrenches, collets, bits, etc.).
So I added a couple of drawers under an existing work bench (I always think of drawers first).
One would be pencils paper small scales, small squares etc. the other would be just for router support.
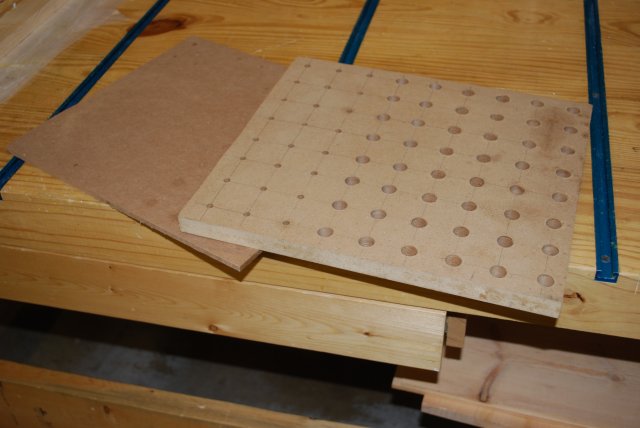
I got this idea to use the back 2/3s of this drawer to hold bits, so I cut a piece of 3/4" MDF and drilled holes for the shanks on 1.5" ctrs, some for 1/4" and most for 1/2".
I drilled 5/16" holes for 14/" shanks and 9/16" holes for 1/2" shanks.
At first I placed a 1/4" MDF bottom on the larger piece then I realize I didn't need it and removing it allowed a little longer bits to clear the top of the drawer opening.
I drilled the shank holes on 1.5" ctrs. which gave me places for 72 bits.
Here is the description and pics of the bit holder drawer.
Table Markings
I recently got a new router table, since my old lift was a rubber band drive with an over size plate, I couldn't just get a new lift.
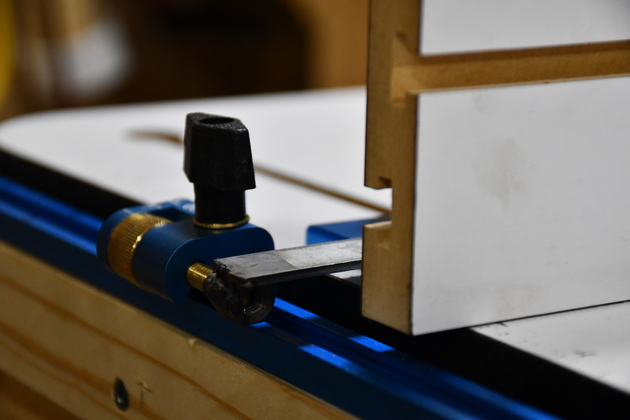
The new table has a combined miter bar and tee track, and the new lift is direct drive.
When you align the fence on your router table and plan to use the miter guage track, it is very important to set the fence parallel to the miter guage track.
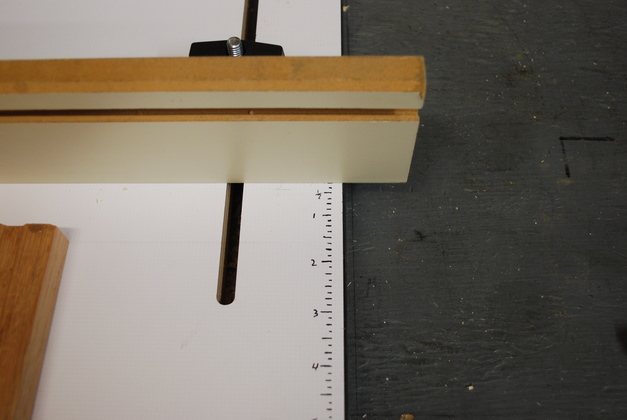
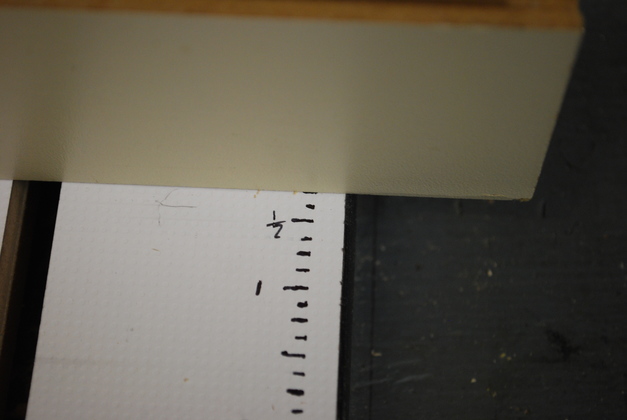
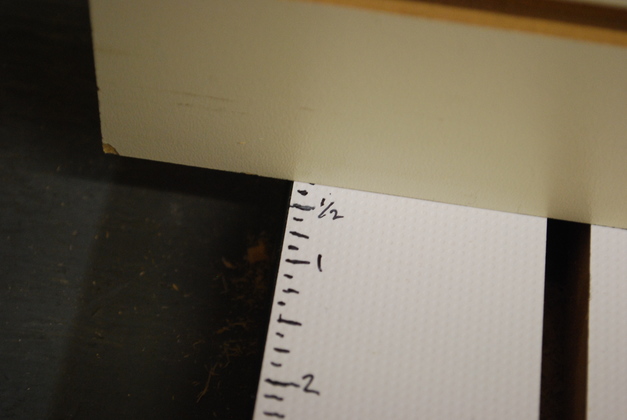
Its a pain to get out a scale and measure each end from the track so, I marked the edge of the table, in eighth inch increments, from the center of the bit (6" from the track on my table).
Please take a look at my table markings, click here for pics of the edge marks for my fence.
I also re-plumbed the vacuum so I had more space on the back of my table.
|
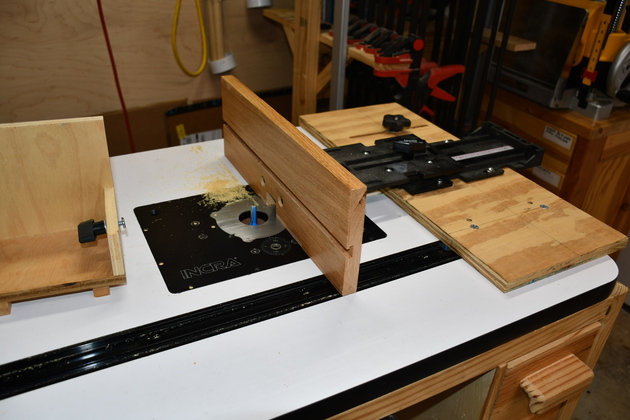
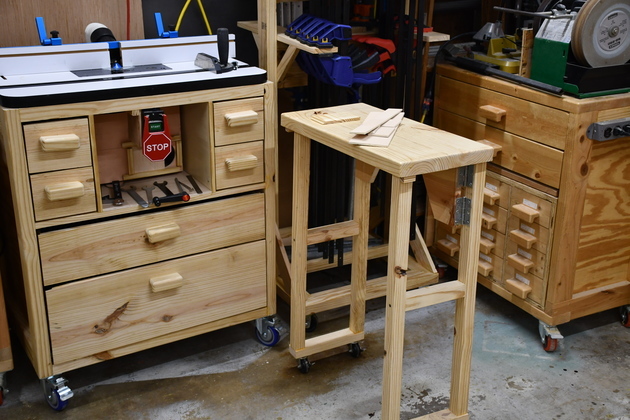
New roll-around router table with floding cart. Please see my new Roll-Around Router Table Page. |
|
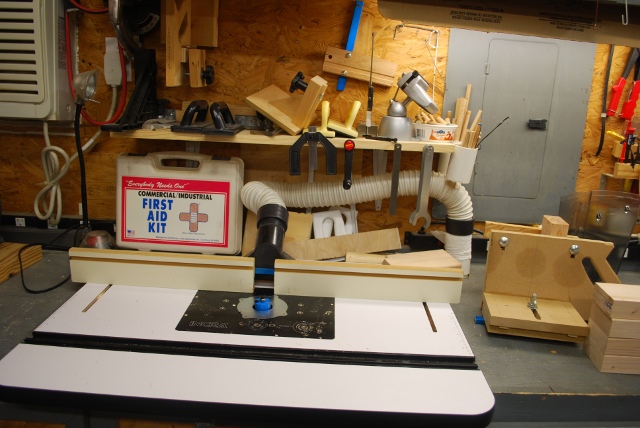
The fixed table, you can see the 2" flex hose to the top dust port. The router motor is in a box below the router table and the switch is on the bench front below the router table. This is powered from the Festool CT-23's power sensing switch which turns on the dust collector when the router is turned on. |
|
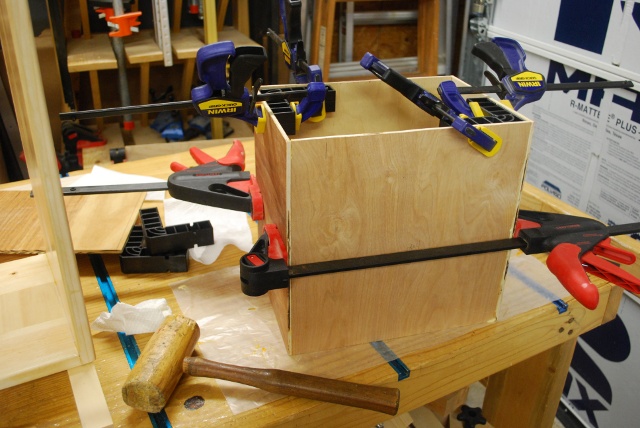
Router dust box being glued up. |
|
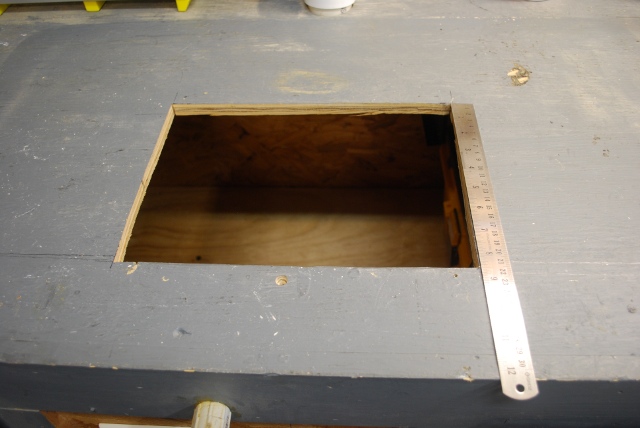
Hole in bench for router dust box. Thats a 12" ruller. |
|
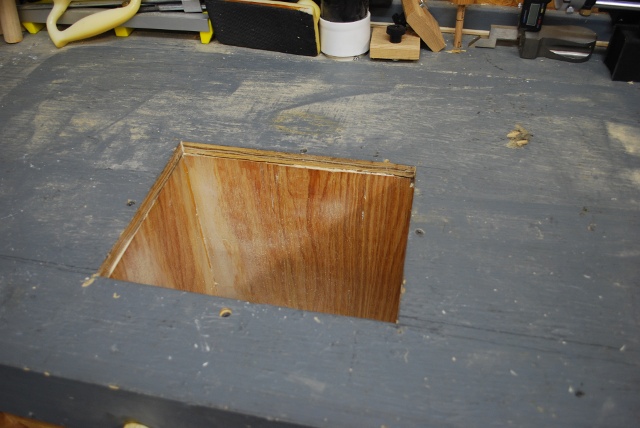
With the router table removed, heres the underlying bench top and the top of the router box. |
|
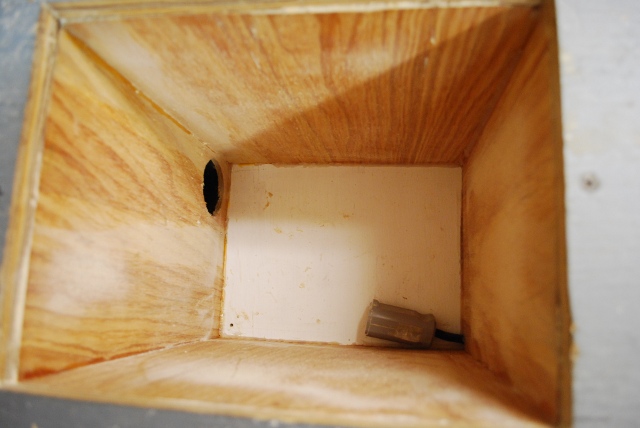
The inside of the router dust box. Note the lower dust port on the left and the power plug on the right. |
|
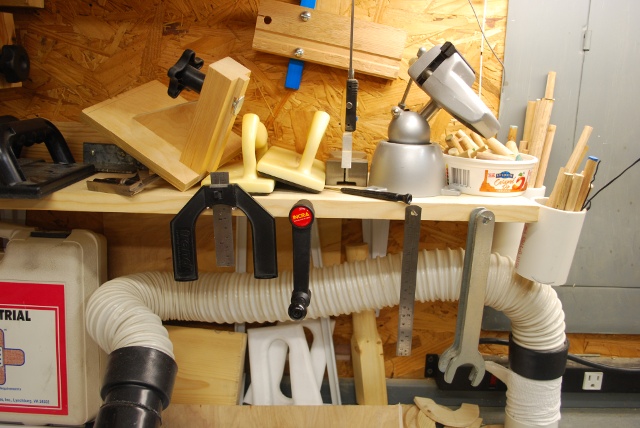
Shelf just above and behind the router table holds push blocks, wrenches, up/down crank, and depth guage. |

|
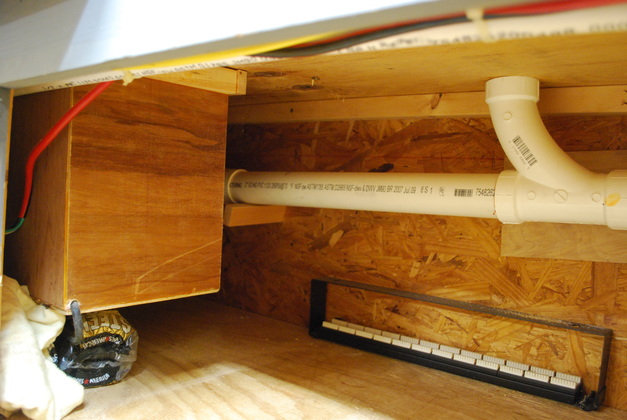
Router table vacuum line, the short section is where the blast gate was before I built the 2" plenum with slide valves. |
|
Another pic of the 2" line under the bench showing extension beyond router table top tee. |
|
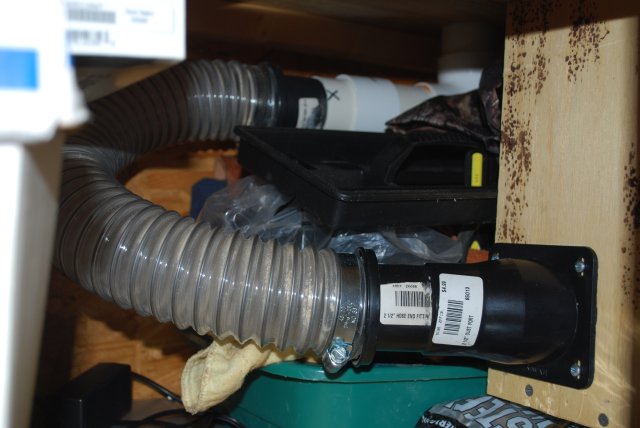
Other end of that extension with the flex hose to the bottom of the router box. |
|
The router bit holder and it's original bottom. |
|
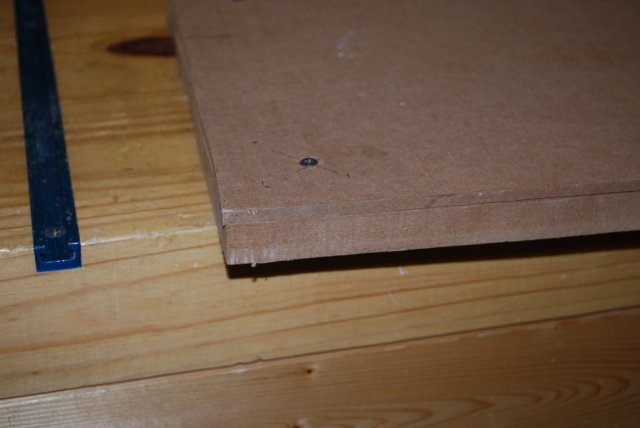
The bottom is screwed on. |
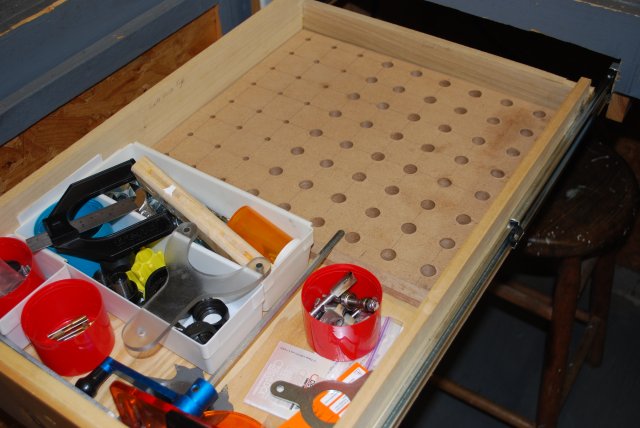
| The bit holder in the drawer. Note I mostly have 1/2" shank bits and if I replace an old 1/4" shank with a 1/2" shank, I just drill the hole larger. The holes for 1/4" shanks are 5/16" and the holes for 1/2" shank bits are 9/16". |
|
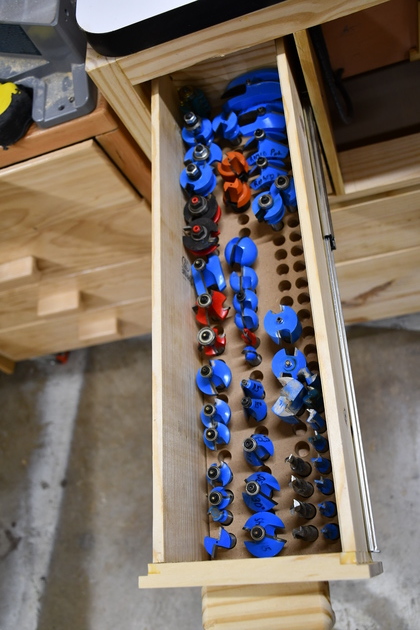
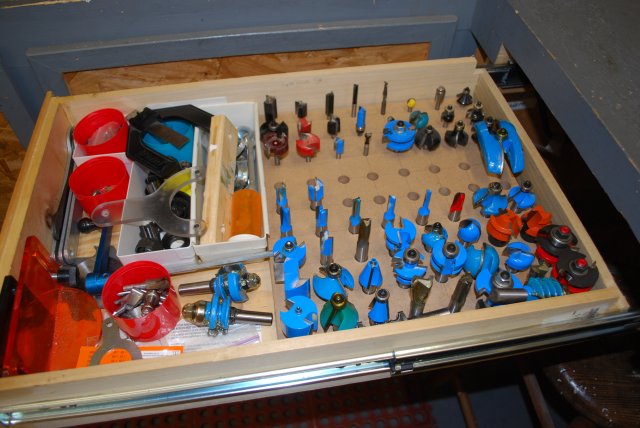
In the drawer with bits. Most of these are Rockler bits, which I really like except Rockler doesn't put the sizes of their bits on the shank, just the part number. In some cases I can still look them up on the web but they frequently change part numbers so I mostly measure (thank goodness for calipers). The three rows on the far side are for 1/4" shanks and the nearer 6 rows are for 1/2" shank bits. |

|
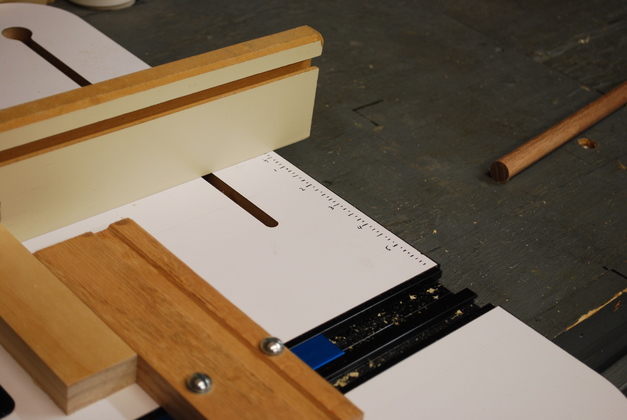
My new table with edge marks. Also note the miter bar square I use for edging the end of long narrow pieces. |
|
Right edge markings. |
|
Closer look. |
|
Left edge closer look. |
|
Showing the miter track. |