
|
|
Box Joint Jig using Incra Precision Positioner
|
|
|
|
Box Joint Jig using Incra Precision Positioner
|
| Precision Positioner | Router Table History | A Small Box Joint Box | Darbin Orvar |
I made a bandsaw box and enjoyed making the small box, so I wanted to try some box joint (finger joint) boxes. My 16" Porter Cable Dovetail Jig doesn't work well with small/short pieces of wood, so I decided to try using my router table to make them. I did some research and decided that the Incra Precision Positioning Jig would work for me, but my router table is too short, front to back, so I decided to use it sideways.
Incra Precision Positioner
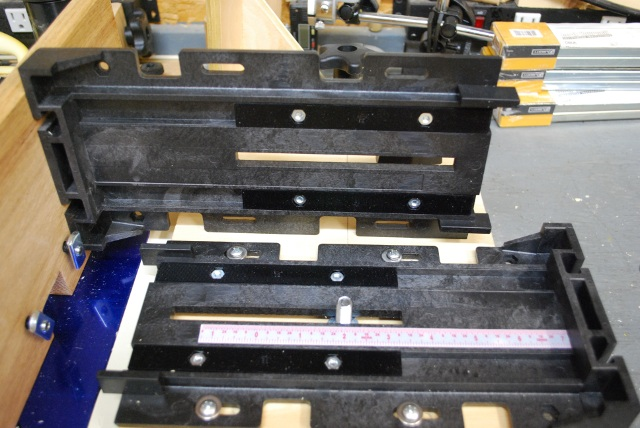
The Incra Precision Positioner consists of two pieces of structural foam with 4 racks (2 up and 2 down) that have 1/32" sawtooth ridges.
The four tracks engage to not only hold the positioner pieces securely, but allow them to be moved in precise 1/32" steps, and they are repeatable.
You must make a base piece that allows the positioner to be attached to your router table.
Incra also offers a fence with right angle brace, but the fence was too long for what I needed.
The Incra instructions tell exactly how to make a fence, I just made mine smaller and added a tee track (which they had in their factory fence).
One of the problems with using the Incra Precision Positioner is, it's long for my current router table setup. It is normally used on the back of the table replacing the normal fence, but my table is mounted so that this is not very practical. I had to use it side to side with an additional fence. It can also be used as a slot cutting jig.
|
You can see the four sawtooth racks (dark in pic) in the two halves of the Incra Precision Positioner. You can also see the special attachment nuts and bolts sticking out of the fence on the far left. |
|
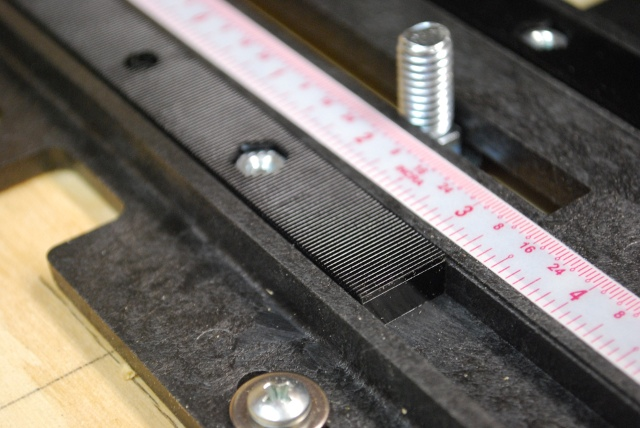
Heres a close up of one of the lower sawtooth racks (there are two). The teeth are 1/32" apart. |
|
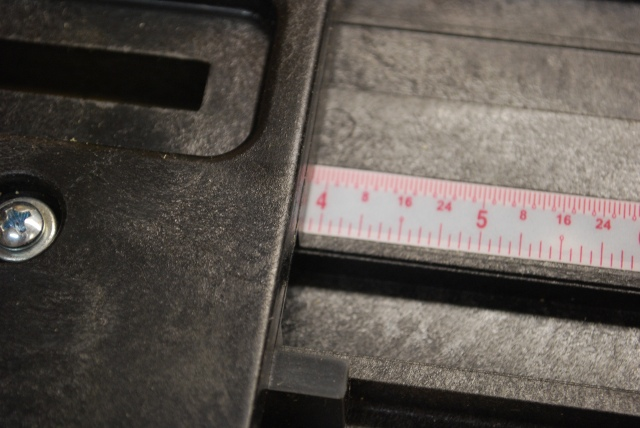
The scale for adjusting the position, note its clibrated in 32nds and 16ths. The sawtooth racks make it easy to repeat a setting. |
|
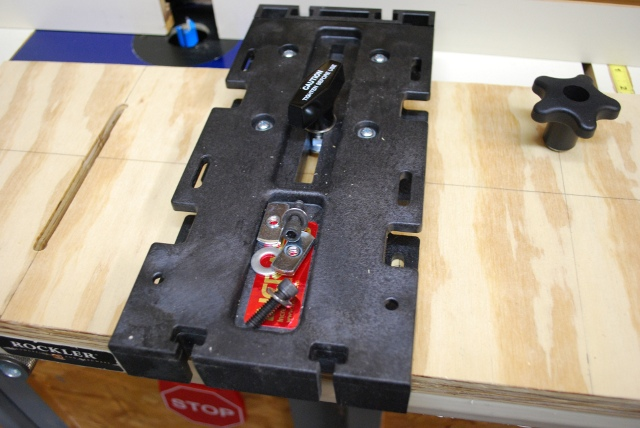
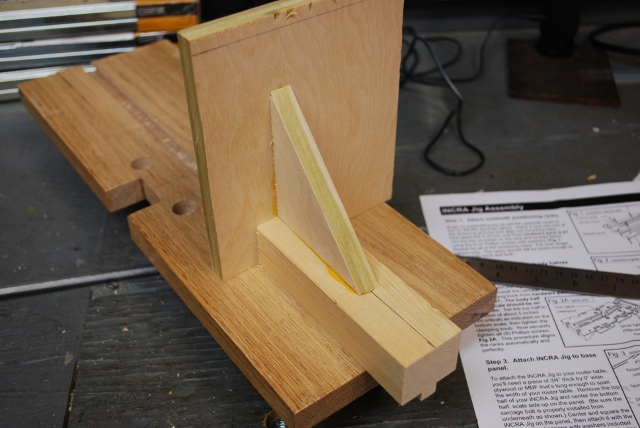
The Incra Positioner mounted on the 3/4" plywood base I made for it. I can see where the Precision Positioner could have uses other than just on a router table, the custom base requirement is actually an advantage allowing it to be used on other tools like drill presses etc. You must also make a fence, Incra will sell you one but it was too big for my application, so I made my own. Please click here for the pics of the construction. I had to make a right angle slider support and some way to collect dust from this operation. |
|
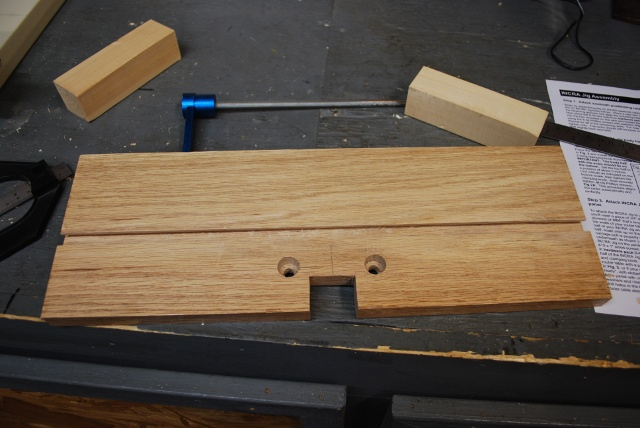
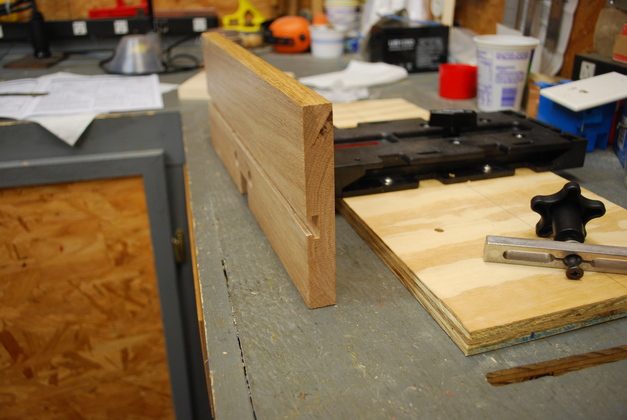
The fence. I cut this from a piece of oak I found in my shop. |
|
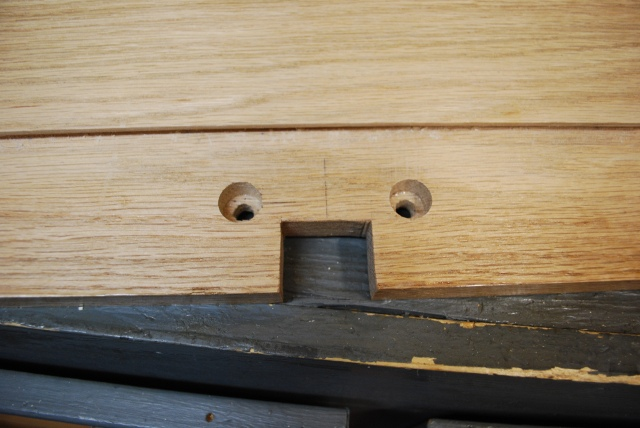
Closer look at the router bit clearance hole and the two counterbored mounting holes. |
|
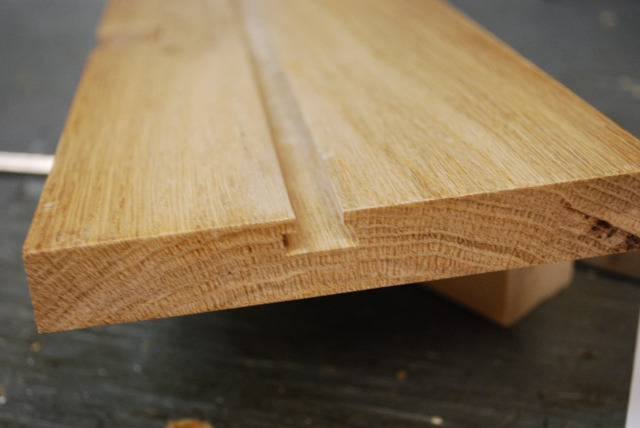
The tee track slot in the fence. |
|
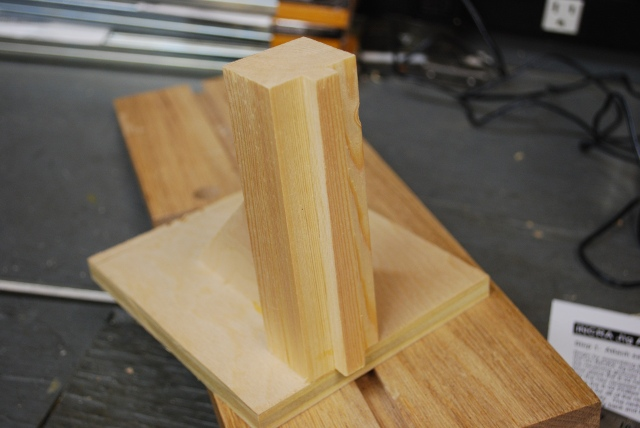
The right angle slider support. You can see the tongue on the bottom that fits into the tee track slot. |
|
As it fits into the tee track on the fence. |
|
The fence positioned on the adjuster, you can see the miter bar mounting kit laying on top in the foreground. |
|
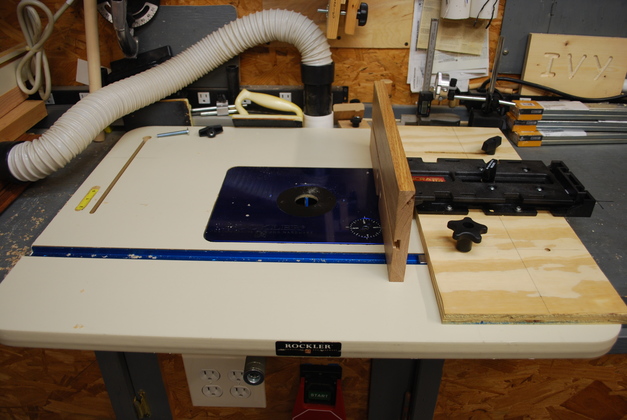
The new positioner and it's fence mounted on the router table. |

|
A look at the back of the positioner and fence. |
|
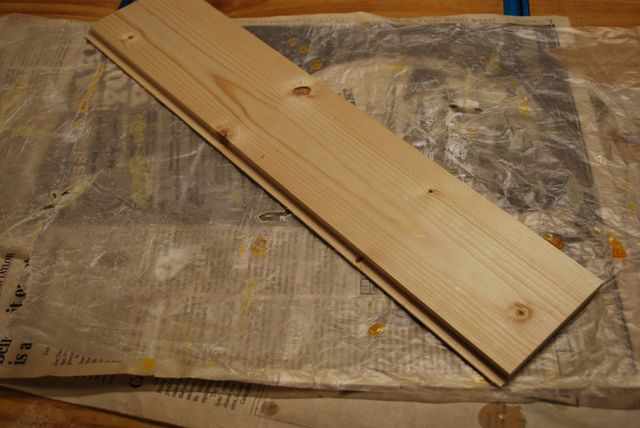
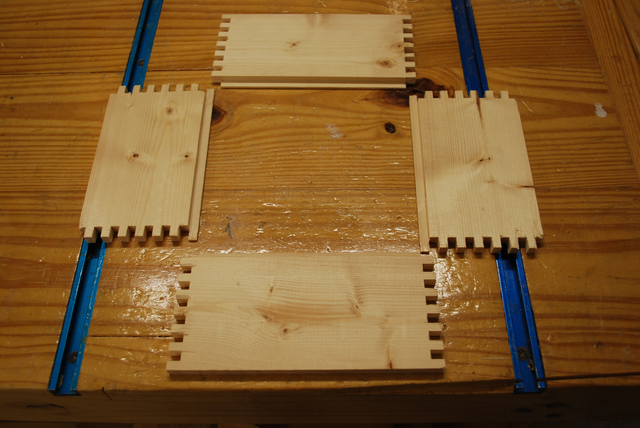
I found some scrap pieces left over from a drawer and cut them into four pairs of pieces and ran them across my new Box Joint Jig. This was originally resawed from a 1x4" then run across the jointer set to 1/32", so It's about 5/16" thick. |
|
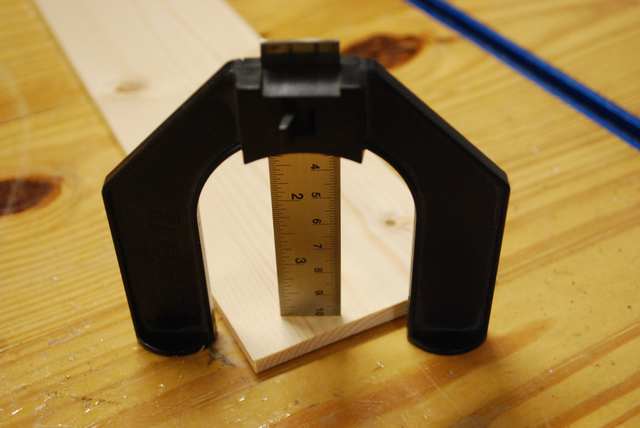
I copied the thickness of the box side material. |

|
Then used the thickness to set the bit depth. BTW, when you do this, bring the bit up until the top of it's flutes (cutting edges) just touch the guage. Slide the guage back and forth making sure it just touches the top of the flutes or the taller of the two (all bits are not created equal). This is a 1/4" straight bit. |
|
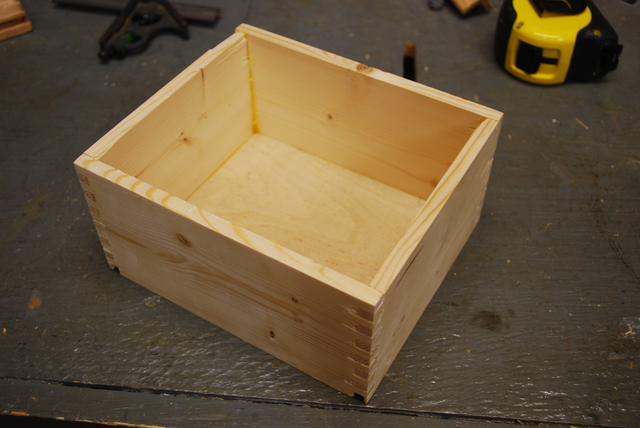
The four sides after running them across the box joint jig. These were originally scrap left over from making drawers, you can see the rabbets for the drawer bottom, I'll use them for the box bottom. |
|
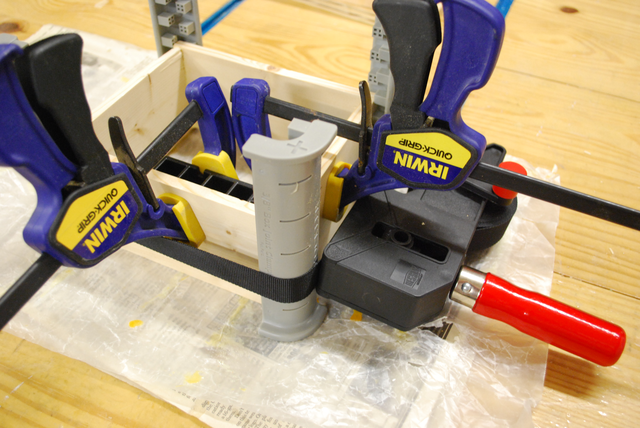
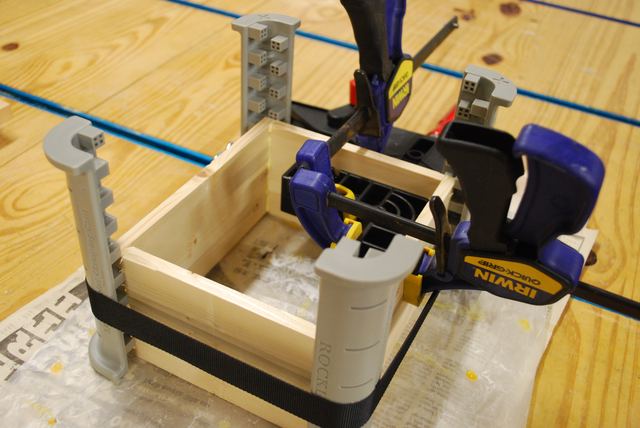
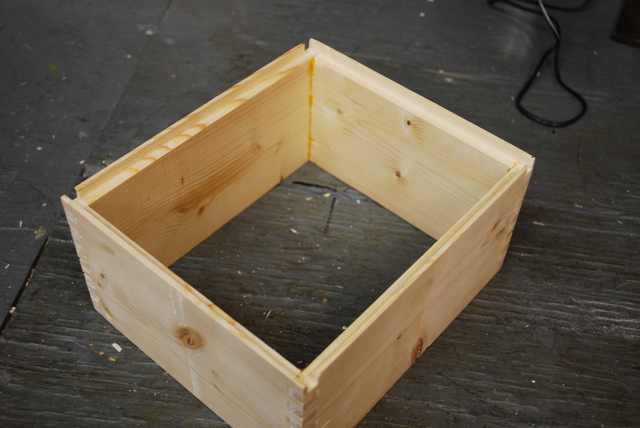
The box joints have all had glue applied and are in the glue clamps. I only had 3/8" cauls for use with a band clamp (the fingers were 1/4"), but it worked OK. This is the first time I have used the band clamp and cauls, for the pic I should have put the ClampIt in a different corner. |
|
You can just see the minature ClampIt clamped in a corner to insure the final box is square. I use the ClampIt on drawers and frame pieces, it always works well. |
|
The joints came out all right, of course this is pine and I should have used some sacrificial pushers, but the fit is good. |
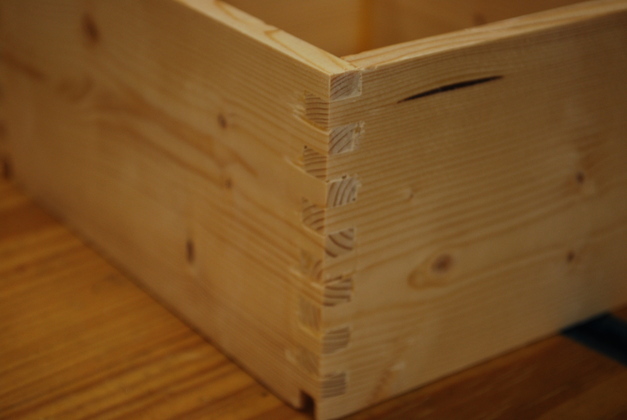
| Corners of my first box joint box. |
|
The bottom, showing rabbet for a bottom panel. |
|
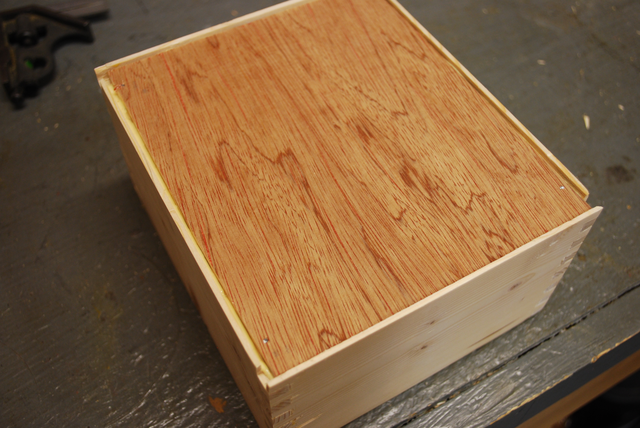
With a bottom panel being glued into the rabbet. |
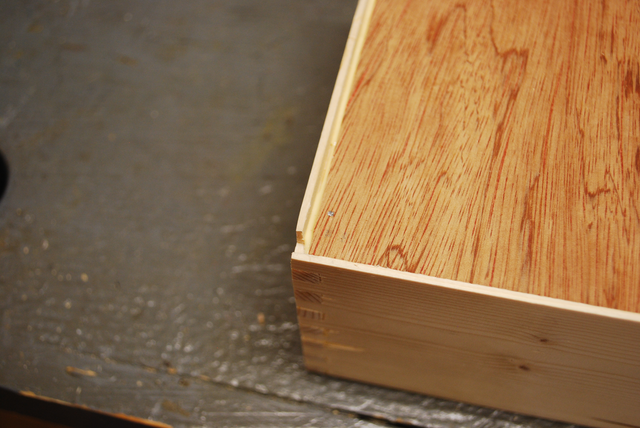
|
Closer view showing bottom corner nail and fresh glue (pale yellow) in the rabbet. |

|