| 
| 
|
|
Router Fence Micro Adjuster
| ||
|
|
|
|
|
Router Fence Micro Adjuster
| ||
| Back to Router Stuff |
You can get a Kreg router fence micro adjuster for $25, but it's not made to attach it to my router table. So, being a frequent user of the Kreg Micro Adjuster for my bandsaw fence, I thought two Kreg Micro Adjusters might make a good router fence adjuster.
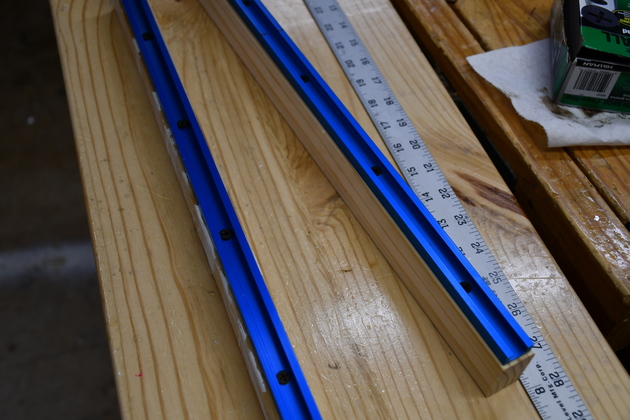
In addition to the Kreg Micro Adjuster you'll need about 12" of 3/4" wide, 1/8" thick steel bar.
Now I have a wire welder so this was easy for me.
If you don't have access to a welder, there are several ways to attach a 1/4-20 nut to a positioner arm.
You might use a piece of square steel tubing, drill and tap it to 1/4-20 and clearance holes for 8-32.
Lowes has 1/2" X 1/2" steel tubing.
Or use a 1/2" x 1/2" angle, drill and tap the vertical 1/4-20 and the horizontal 8-32 clearance holes.
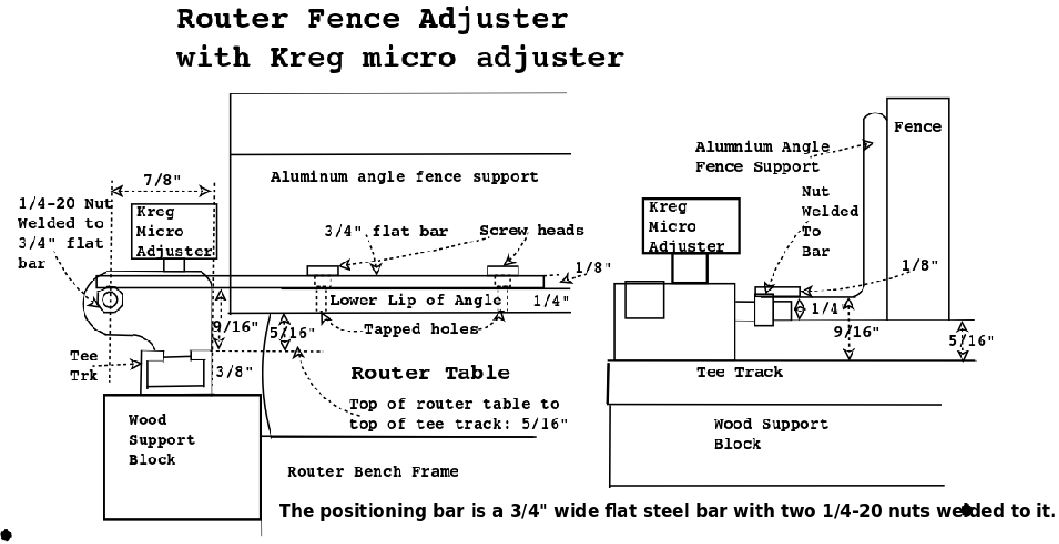
I welded two 1/4-20 nuts to the flat bar (I think a single nut would suffice) just be sure a 1/4-20 machine screw, threads through both nuts freely, and is parallel to the tee track (so it lines up with the micro adjuster).
I'll probably use 8-32 screws to hold the positioning bar to the aluminum angle fence support.
Mount your positioning bar then the tee track with the 1/4-20 Kreg adjuster threadded into the positioning bar.
Its a good idea to mount both Kregs pinting the same way so the adjusters can be rotated the same direction, its a little less confusing.
The technique I use when working with the Kreg Micro Adjuster is loosen the Kreg Adjuster knob and the normal fence securing knobs. Move the fence to approximately where you want it and tighten the Kreg Adjuster knob. Adjust the knurled wheel on both the Kregs to move the fence in or out, when the fence is right, tighten the normal fence securing knobs. In other words, I don't depend on only the Kreg to hold the fence. And remember, when you tighten the fence securing knobs, sometime the fence will move, so check it again after tightening.
Since the Kreg Micro Adjuster has an offset, the horizontal distance to the tee tracks on each side will be different, and consequently the tee track supports must be different widths.
|
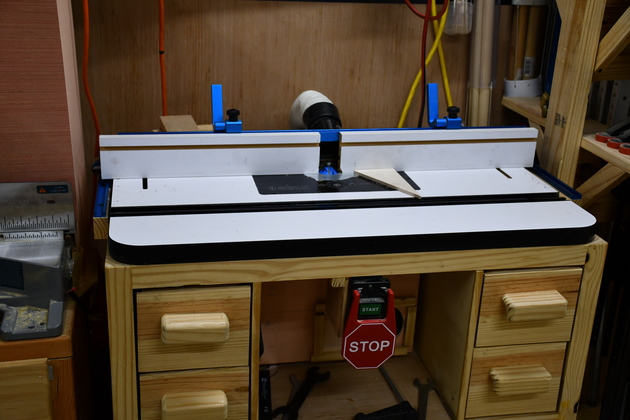
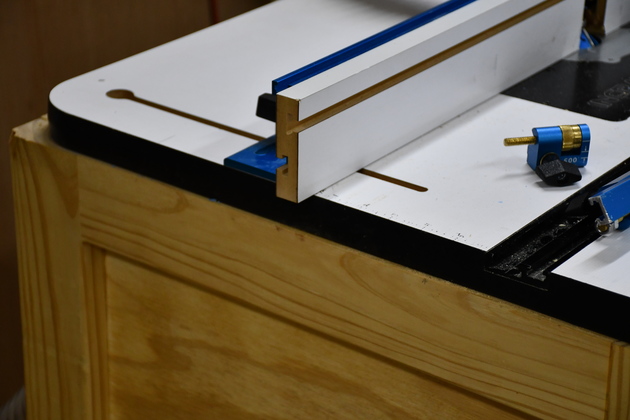
Left end of roll-around router table before adding the adjusters. Note the Kreg Micro Adjuster on the right. |
|
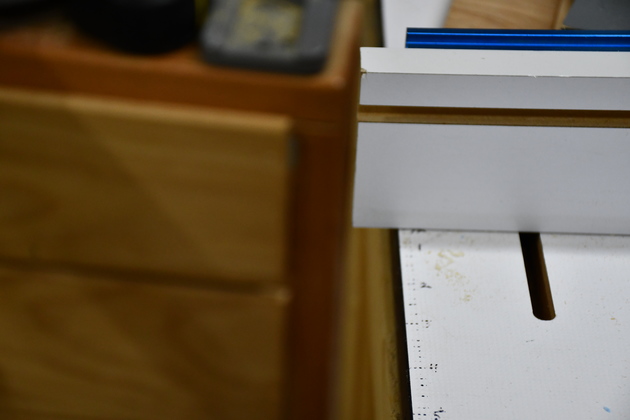
Front side of fence. |
|
Back side of the fence. |
|
Closer look at the back side of fence. |
|
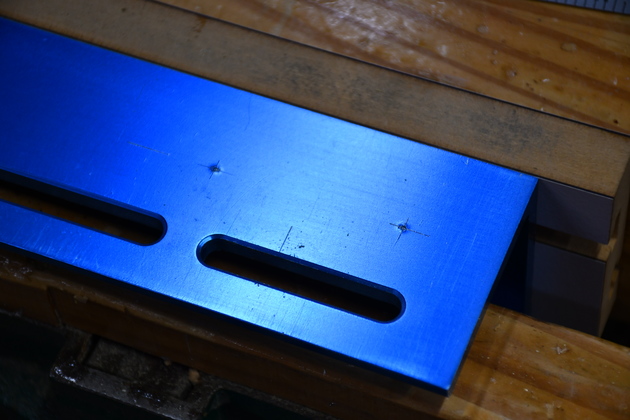
Bottom of Rockler Fence suport angle marked for drilling. |
|
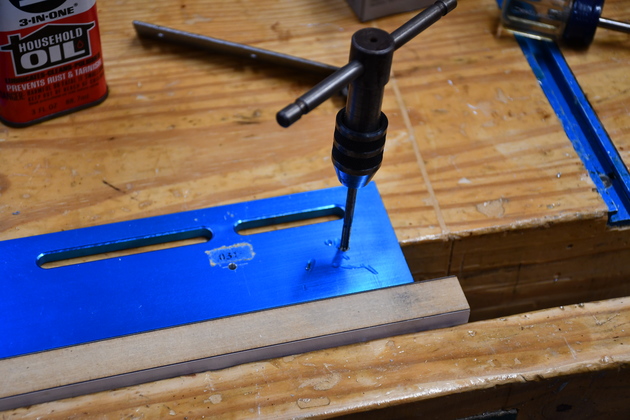
Holes drilled, now I'm tapping them 8-32. |
|
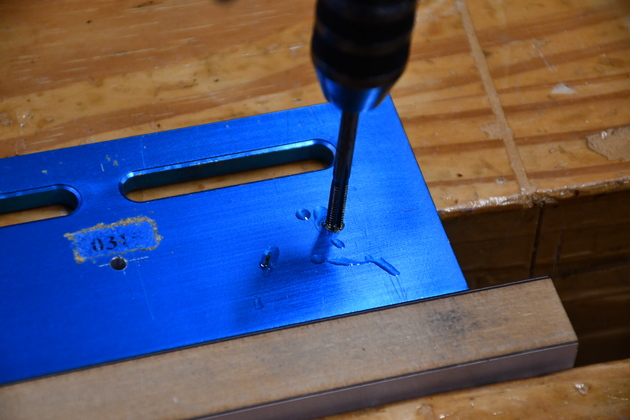
Closer look at tapping, you can see the machine oil around the hole being tapped. You can barely see the chamfer on the hole on the left. |
|
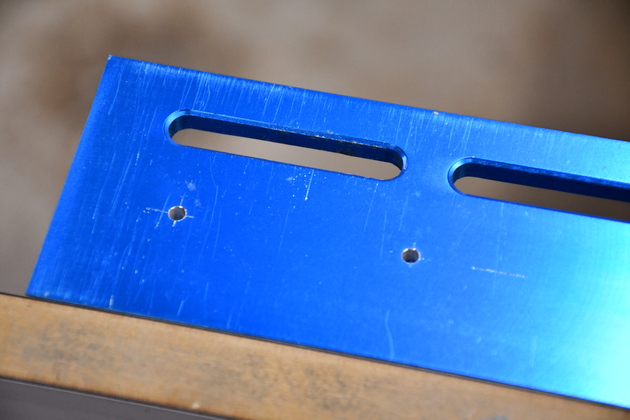
Can't quite see the threads but both are tapped 8-32. |
|
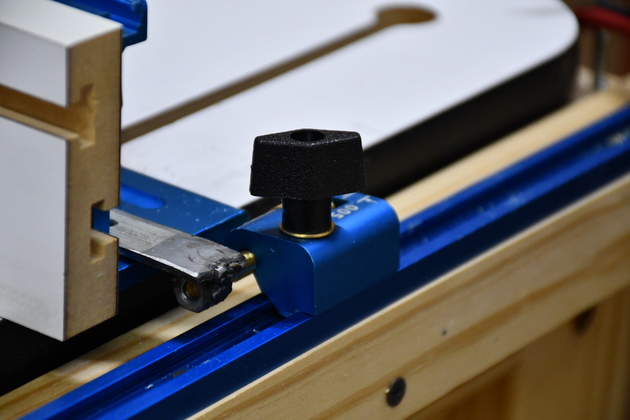
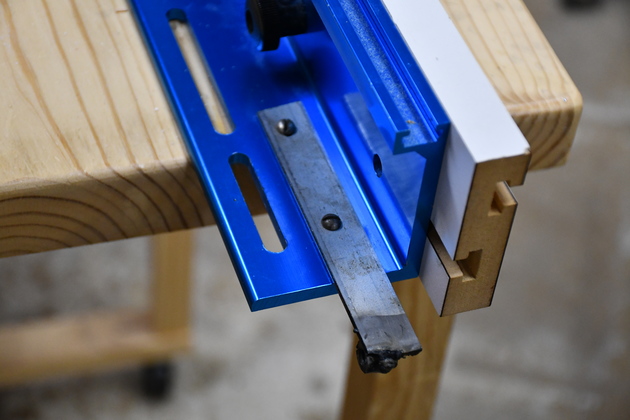
3/4" x 1/8" positioning bar mounted on the fences' angle support bracket.
Note the very old 8-32 slot screws from my junk box.
Sometime in the 1960's the military changed from slot screws to philips head screws, the surplus houses were full of slot head machine screws.
So I bought about 5# for a couple of $, and I still haven't used all of them.
|
|
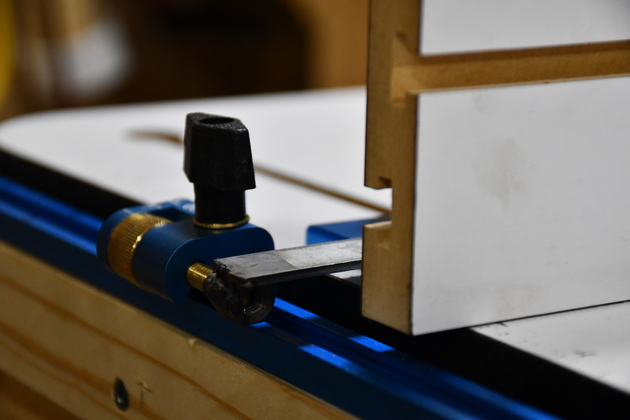
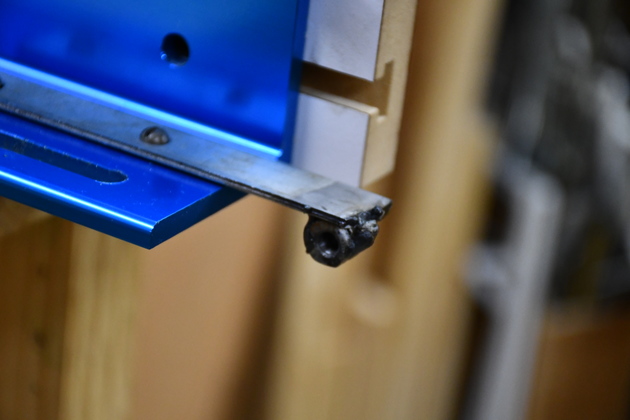
You can see the 1/4-20 nuts welded under the positioning bar and at least one of the 8-32 screws screwed into the fence's aluminum bar. |
|
Rockler tee tracks on top of their support blocks. |

|
Tee track & support block clamped to left side of router table.
Note fence is gone for drilling and tapping adjuster mounting holes.
|

|
Tee track and support block attached to the left side. You'll note this support block is wider than the left side due to the way the Kreg Micro Adjuster is made. |
|
|
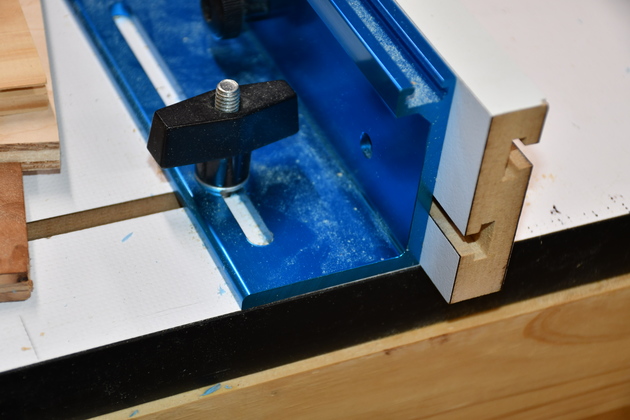
Closer look at the right side adjuster. |
|
|
Left side adjuster installed. After a little tweaking, making sure everything lines up, this thing works like a champ. |
|
|
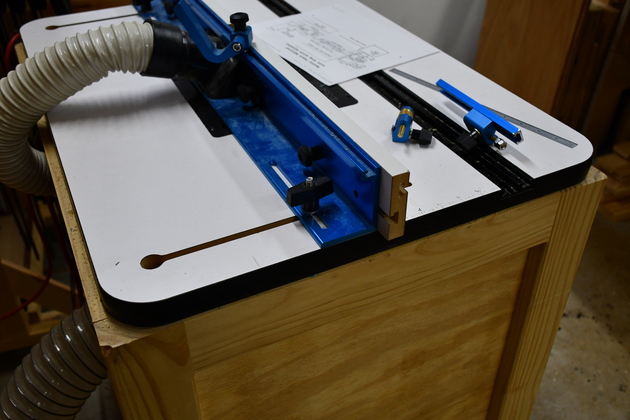
Router table with both adjusters installed. As a test, I made one of hardest set-ups I do, 45° bevel, and it was easy. |

|
Right side adjuster with the router table tucked into it's nitch. |