I recently bought a table saw with the intent of retiring my miter saw.
Even with a crosscut sled, it is difficult to cut long pieces of lumber so I soon realized I still need a miter saw.
However, I see that the new Bosch 10" CM10GD has a much smaller footprint, especially in back, and a better dust collection set-up.
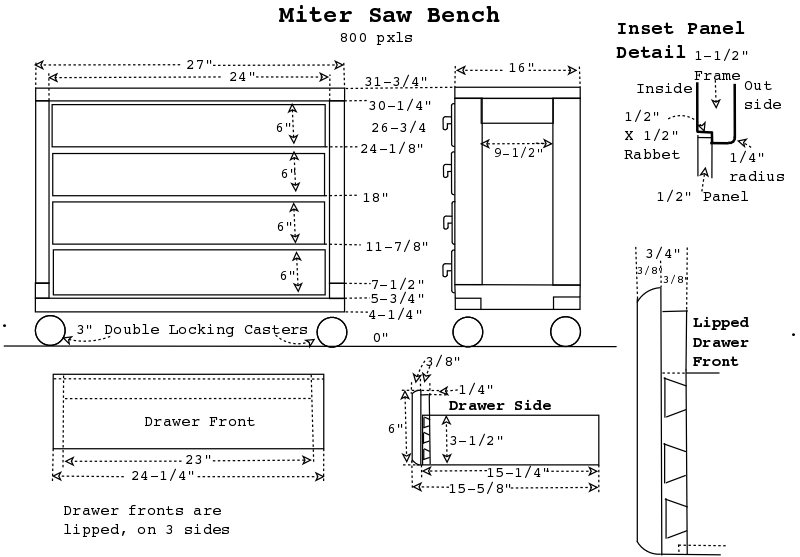
Miter Saw Bench
Now, I need a new bench, smaller but with more drawers.
I can easily get four 6" X 23" drawers in this bench.
I am also looking at retiring my old IBM card file I have been using as a tool box for the last 25+ years.
The 4 drawers in the new saw bench can hold the stuff I need from the IBM card file, this would also give me a lot more space in the shop.
The top is made from 2x6s, the frame is 2x4s with 1/2" plywood inset panels.
I use #20 biscuits (loose tenons) for the top and all joints.
This is the same construction technique as my Compact Handloading Bench, please take a look at it's page for more details.
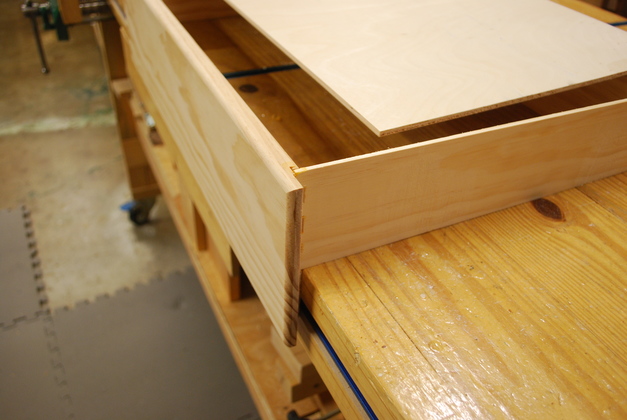
Just a word on drawers: I usually make flush drawers but in this case, the cabinet is shallow 15-1/2" (14" slides) and I want to get maximum storage from the drawers, so I going to make "lipped" drawers which will give me just a slight bit more storage (about 200 in³ for all four drawers).
If you have questions or comments about this please email me at  .
Sorry, our mailserver doesn't accept connections from outside the US and some domestic spam generating networks.
.
Sorry, our mailserver doesn't accept connections from outside the US and some domestic spam generating networks.
New Saw
|
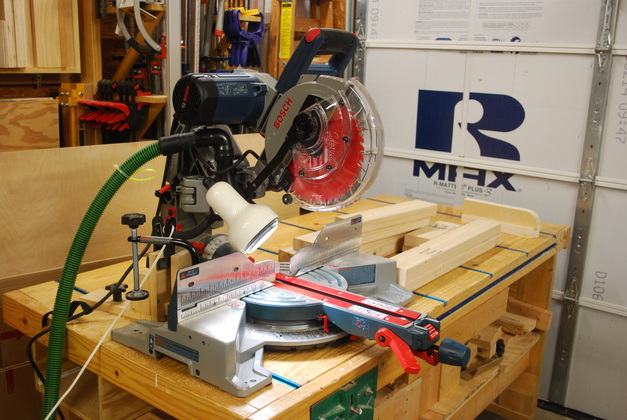
New saw (Bosch CM10GD) temporarily on the workbench to cut parts for it's own new bench.
Only problem is the rubber dust hood isn't large enough, so I'm gonna make a larger one out of HDPE (High Density PolyethElyene or milk jug) and see if I can improve it.
|
Frame
|
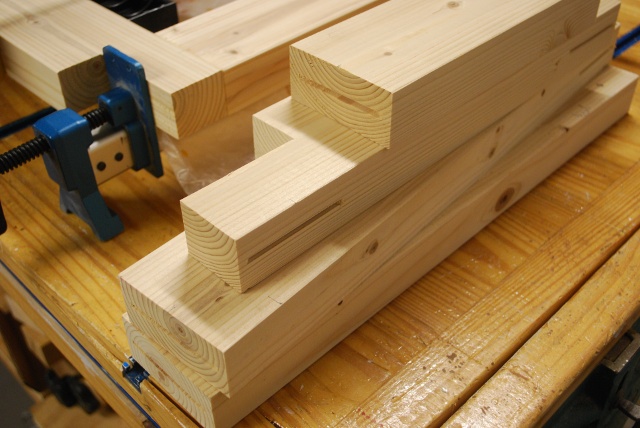
Lumber squared, biscuit slots cut, and notches for bottom stringers.
|
|
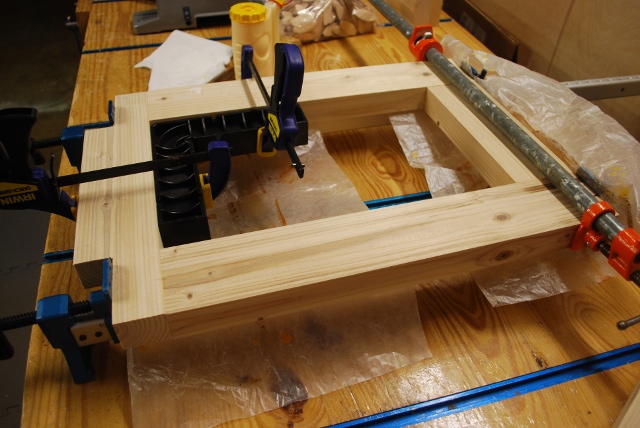
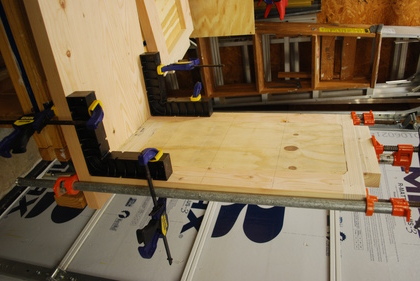
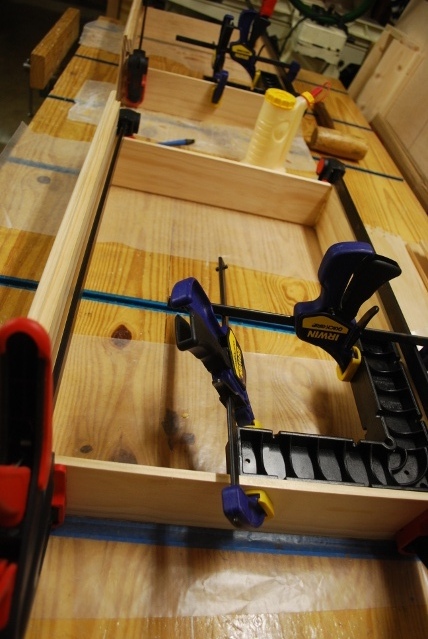
One side frame in the glue clamps.
|
|
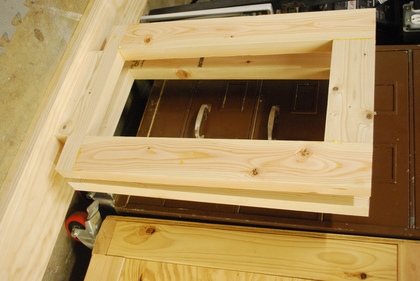
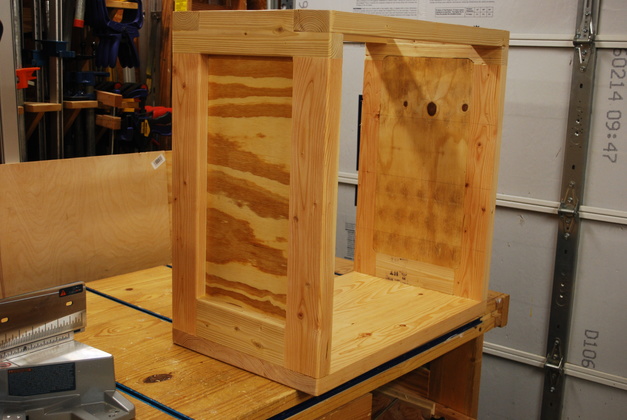
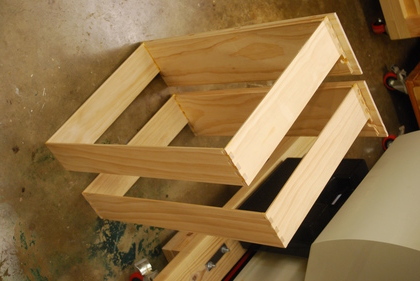
Both side frames, glued, waiting for sanding, routing, and attachment to the top.
|
|
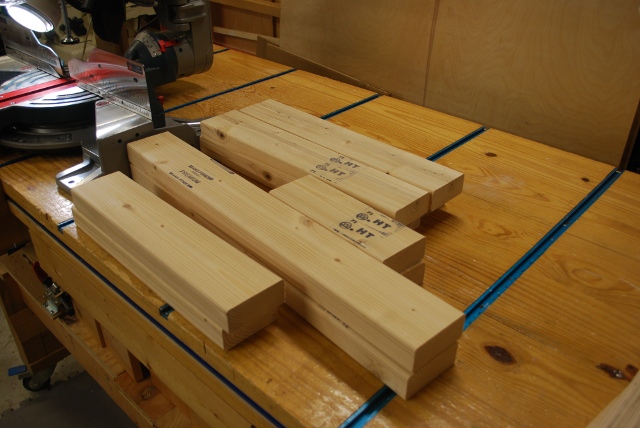
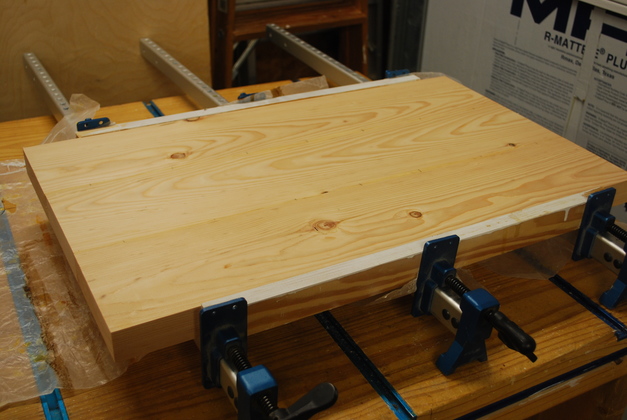
Top, three 2X6s, in the glue clamps, it uses biscuits every 4 inches.
I run the 2x6s across the jointer until the corners are square, this also straightens out the sides so you get a perfect joint.
By perfect joint, I mean after you sand it just a little you can see it but can't feel it.
|
|
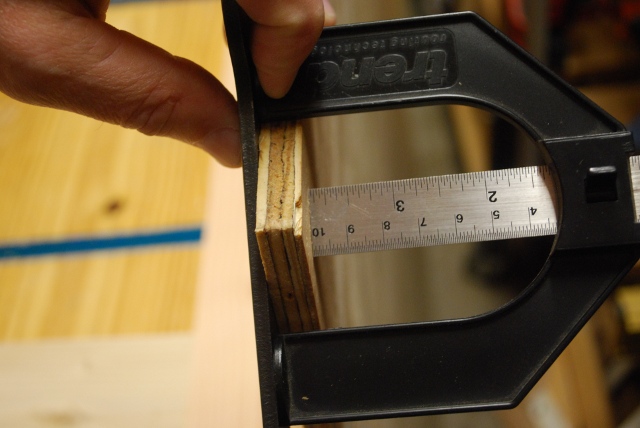
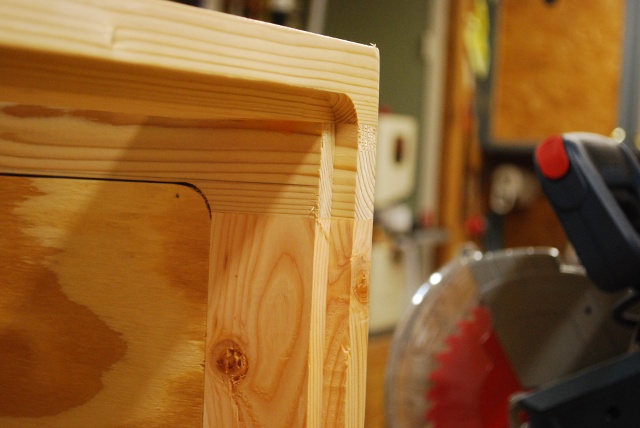
I'm copying the thickness of the 1/2" plywood for the panels, using my router depth guage.
I'll set the height of the rabbet bit to this dimension, so the panels will be flush.
|
|
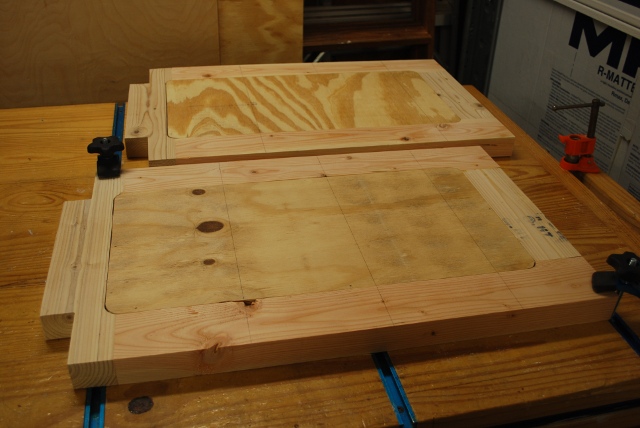
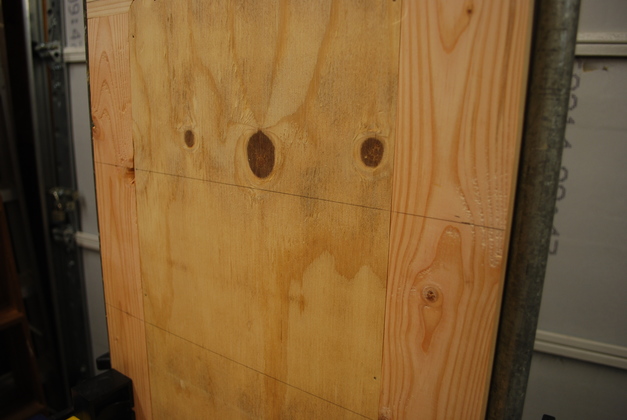
End frame pieces rabbeted and panels glued in.
|
|
Left end being glued to the underside of the top.
|
|
Closer look at slots in underside of top and top edge of right end.
|
|
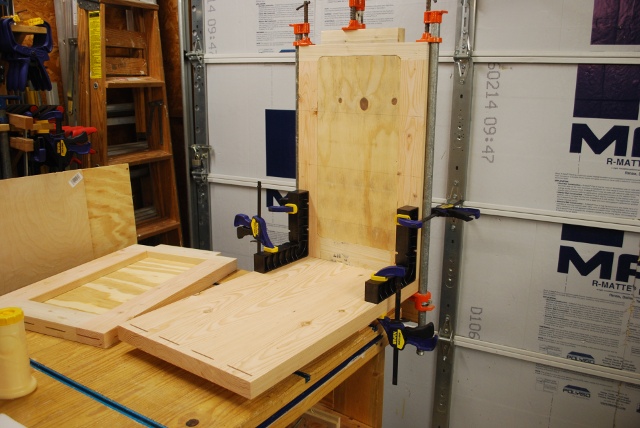
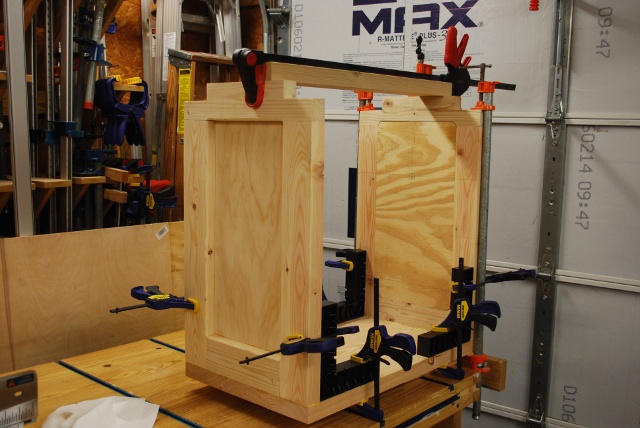
Closer look at gluing operation, note multiple clamps and "ClampIts" holding everything square.
|
|
Note the lines for the slide centers, I drew them just after I glued in the panels.
|
|
Right end set gets glued.
|
|
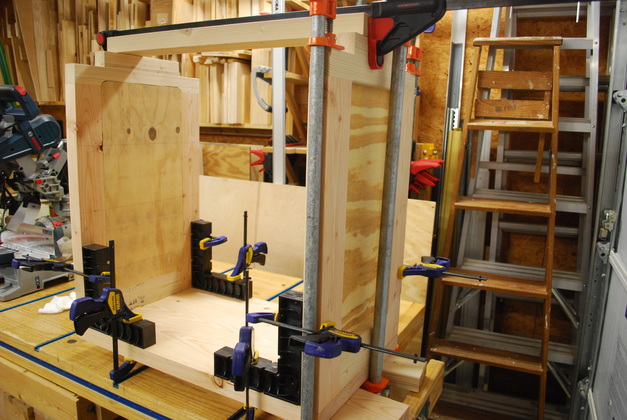
Note a pair of "ClampIts" on each end and the stringer used as a spacer to keep everything square.
|
|
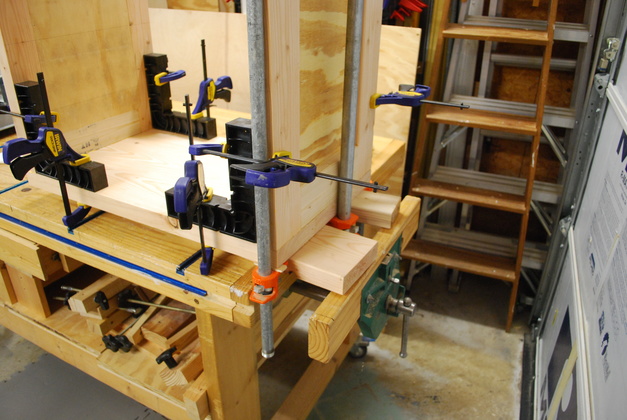
Note the 2 Xs supporting the bench top while the gluing is going on.
|
|
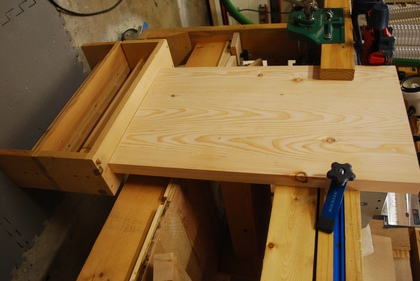
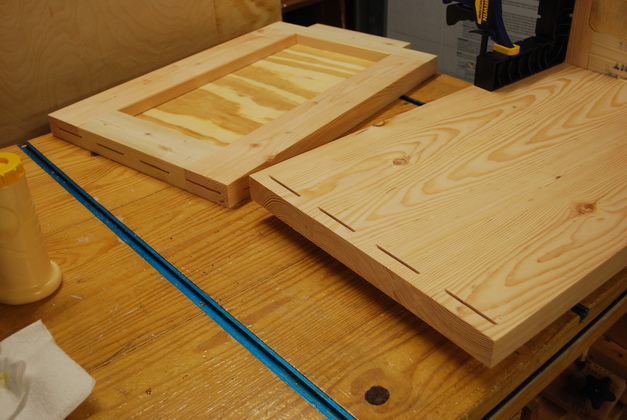
Main frame glue complete, stringers side pieces, and top.
Just needs the back panel.
|
|
Rabbet cut for the back panel.
Because the back panel rabbet has rounded cornes, I'll round the plywood panel's corners on the disk sander.
|
|
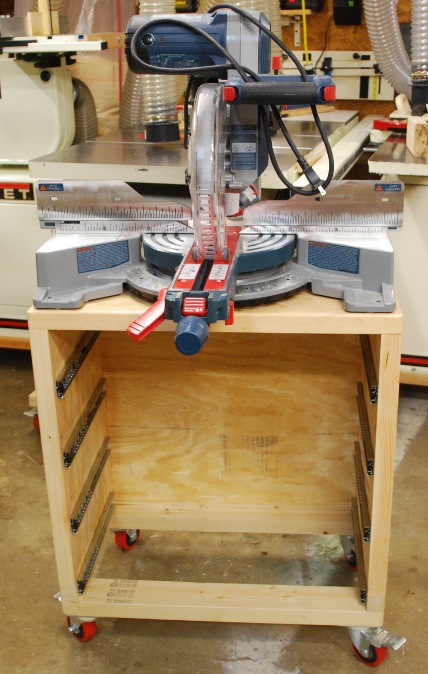
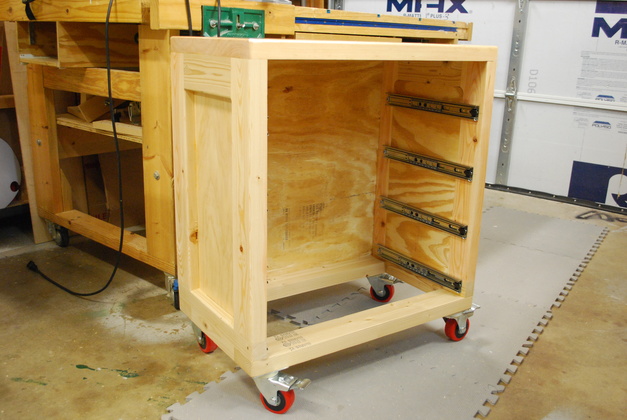
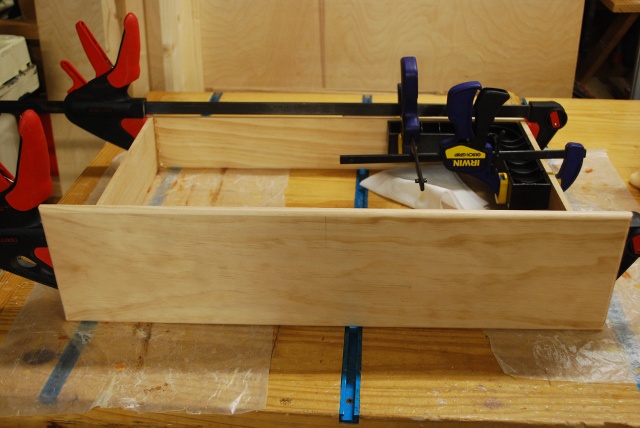
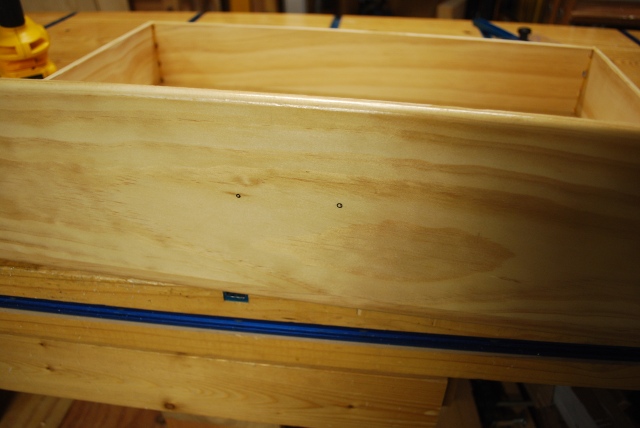
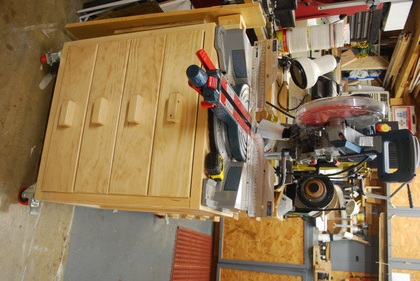
Back glued in, slides , and casters installed, ready to paint.
You'll notice there are going to be 4 drawers in this bench, the others usually have only two.
|

|
Painted, clear polyeurethane.
|

|
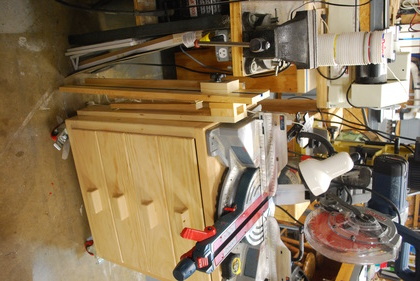
Note saw table is level with workbench.
|
Drawers
|
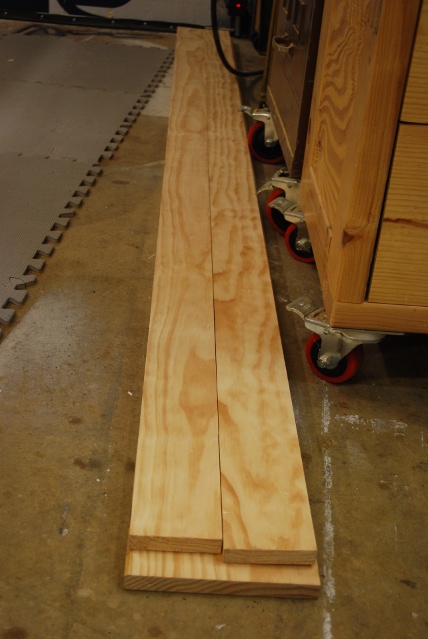
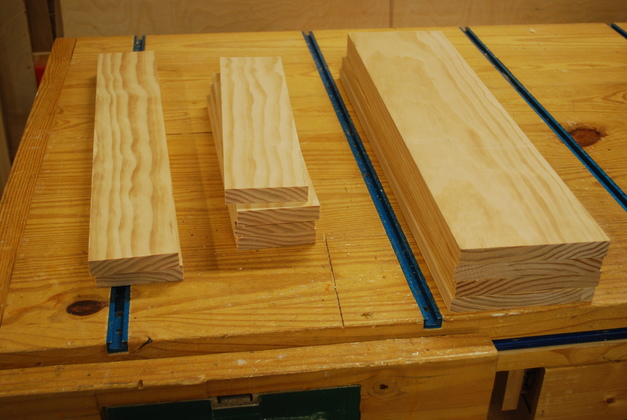
Drawer lumber, fresh from Lowes.
For more details on how I make drawers please take a look at my Drawer and Handle Page then click on Construction.
|
|
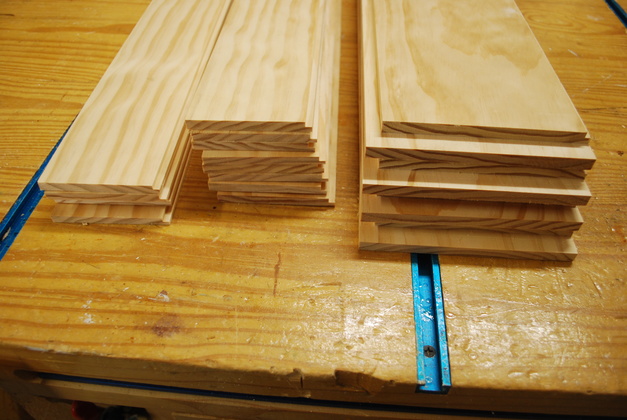
1x4 backs, 1x4 sides, and 1x8 fronts, for all 4 drawers, sawed to length.
The 1x8s were also ripped to 6" wide.
|
|
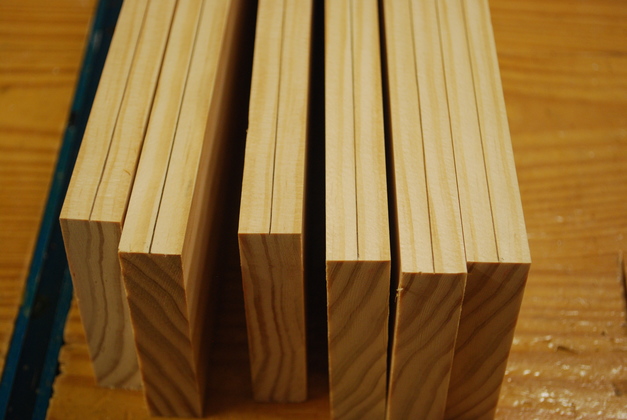
Backs and sides marked for resawing.
Please see the resawing section on my Drawers and Handles Page.
These 1 x 4 are sawed vertically to produce two pieces each for the backs and sides.
The resawn pieces will be 5/16" thick.
Heres my Resaw Techniques Page, it has a good explanation of what resawing is and why you'd want to do it.
|
|
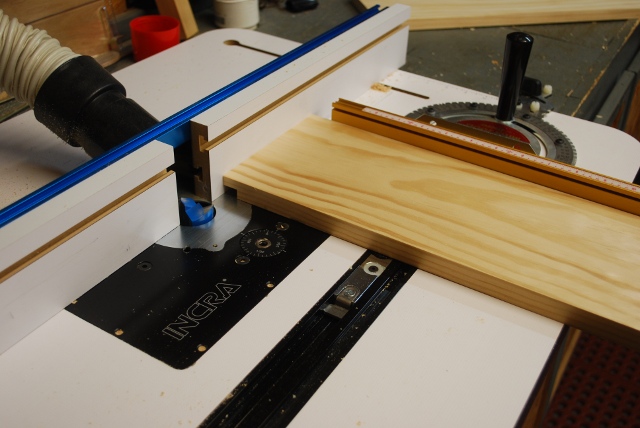
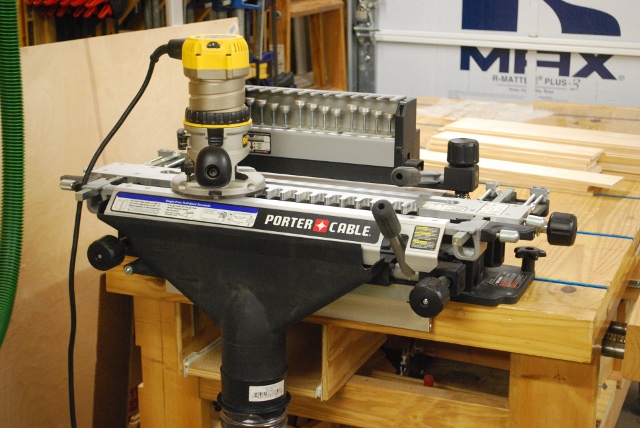
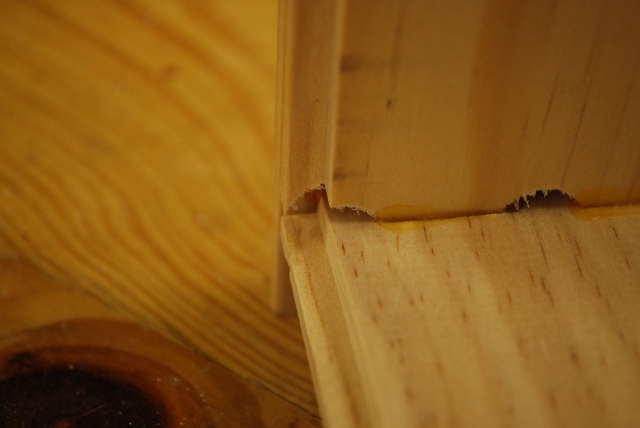
Cutting rabbets.
Here I'm cutting the 5/8" x 3/8" rabbets on the end of the drawer fronts.
I'll also round the front edge of the drawer front and cut rabbets for the drawer bottom on all fronts, backs, and side pieces.
I'll also cut the bottom rabbets on this setup.
Please see the rabbeting section of my drawer construction page.
|
|
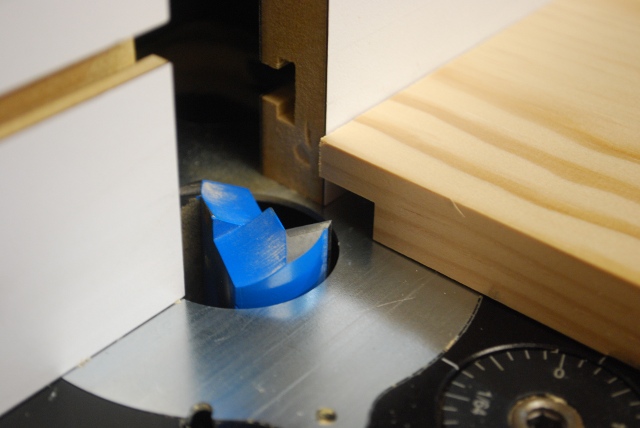
Closer look at drawer front's side rabbet set up.
|
|
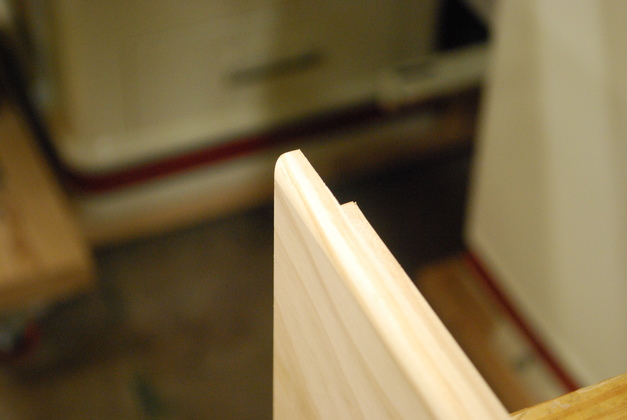
Drawer front showing rounded front edge.
All four front sides are rounded like this.
|
|
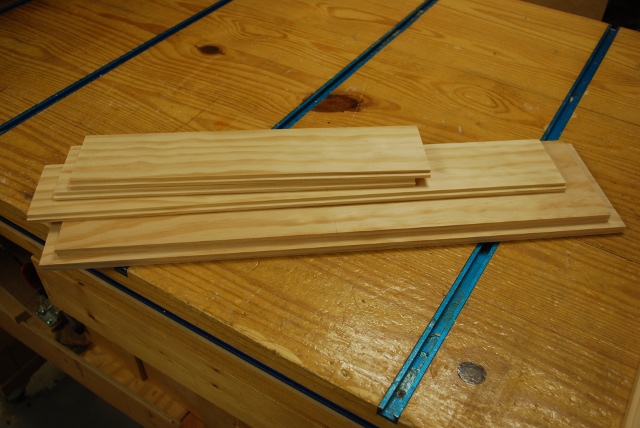
All rabbets cut on all 4 drawer: backs, sides, and fronts.
|
|
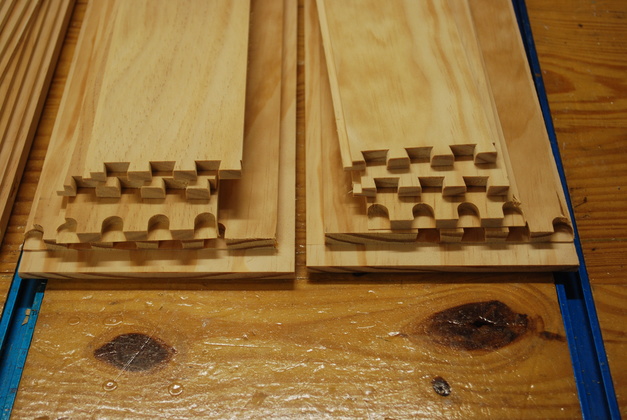
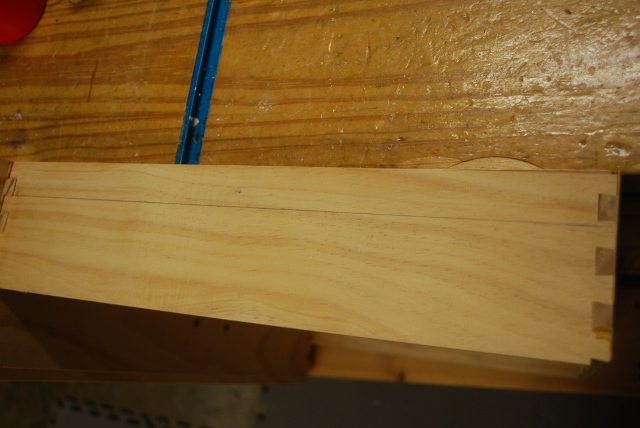
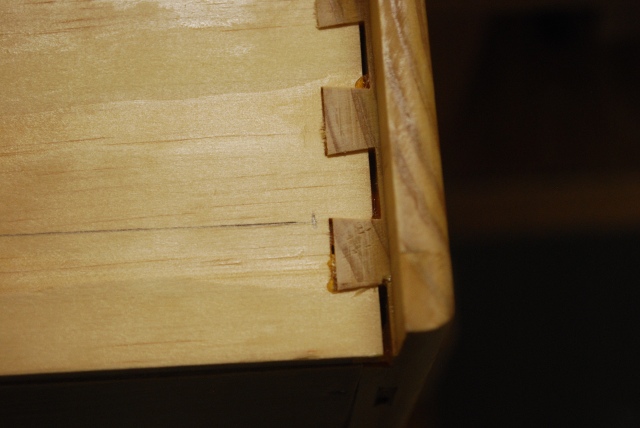
One drawer set (all four pieces) laid out ready to dovetail.
You can see the bottom rabbets facing us.
I use the bottom rabbets, while dovetailing, to maintain the orientation of each piece.
|
|
My dovetailing jig set up on the workbench.
Please have a look at the dovetail operation on my Drawers and Handles Page.
|
|
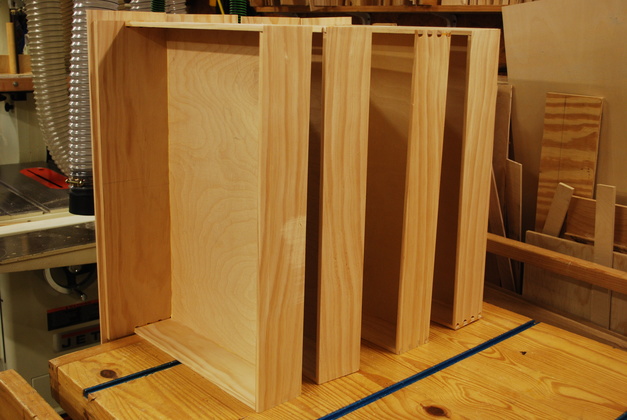
Two drawer sets, dovetailed, ready to glue.
|
|
A test fit of the parts.
|
|
On the test fit, you can see how the sides fit the dovetails on the front and where the front piece rabbets will be in the final drawer.
|

|
Drawer frame pieces laid out for gluing.
|
|
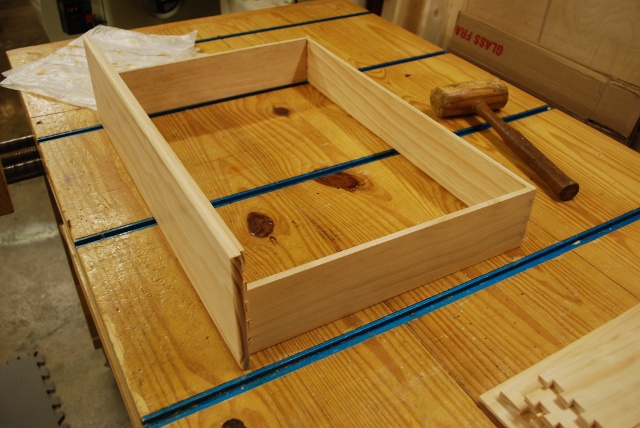
First drawer in the glue clamps.
You can see the "ClampIt", in the right rear corner, holding everything square.
|
|
First pair of drawers in the glue clamps, and closer look at the "ClampIt".
I use ClampIts in most glue-ups to keep everything square.
Since I took care keeping the sides and backs equal length, and cut the dovetails on a jig, one ClampIt should keep the whole drawer square.
|
|
First pair of drawer frames after gluing while second pair are in the glue clamps.
Next, the bottoms.
|
|
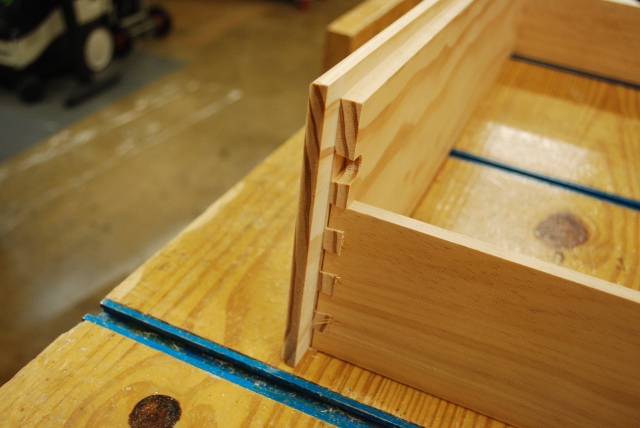
After gluing you can see how the bottom rabbets on the side and front piece match up.
|
|
Bottoms cut out ready to glue.
|
|
These drawers have tall fronts (taller than the sides) so I let the upper part of the drawer front hang over the side of the bench when I glue on the bottoms.
I use small wire nails to hold pressure on the bottom instead of glue clamps.
|
|
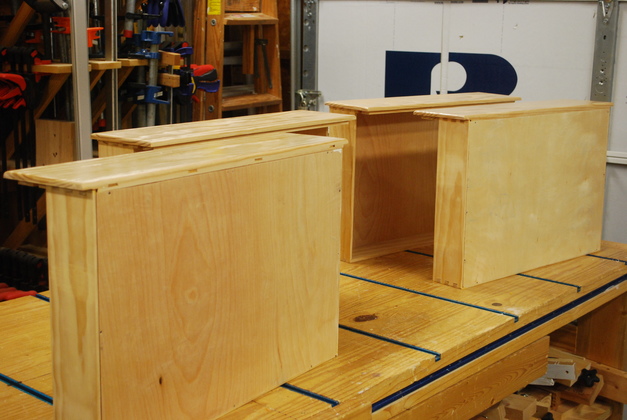
Bottoms glued on all 4 drawers.
|
|
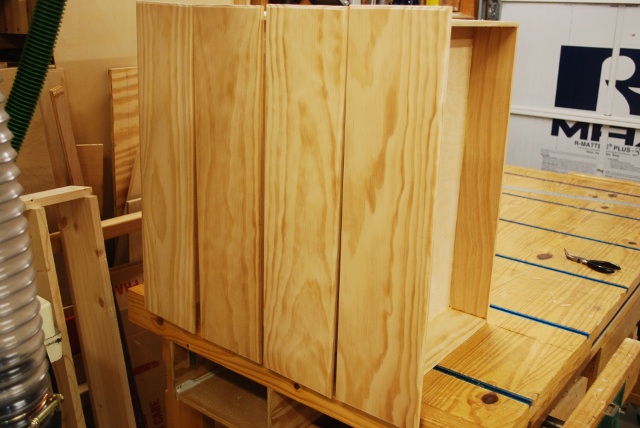
Drawer fronts while bottom glue is drying.
|
|
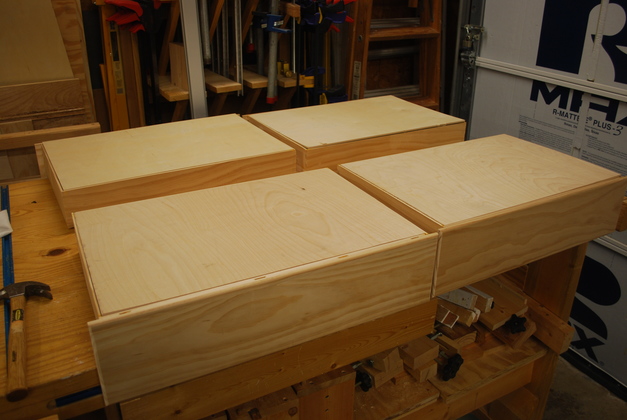
Drawers while paint drys.
|
|
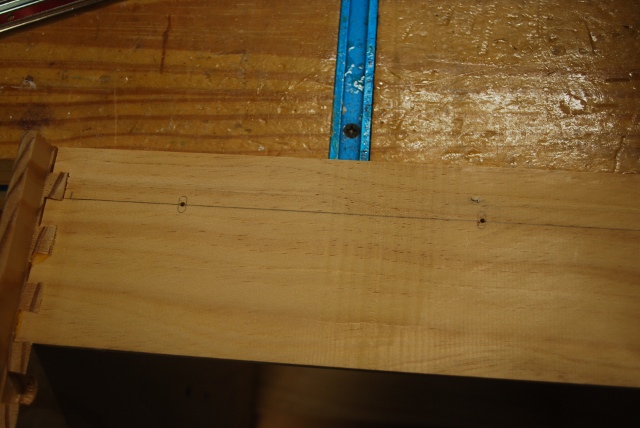
Marked for slide.
I always put the slides 1" above the bottom of the drawer.
|
|
Holes drilled for slide screws.
|
|
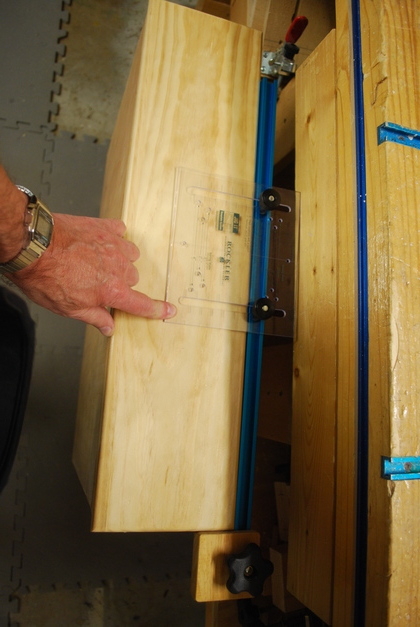
Using the Rockler guage to mark the handle holes.
|
|
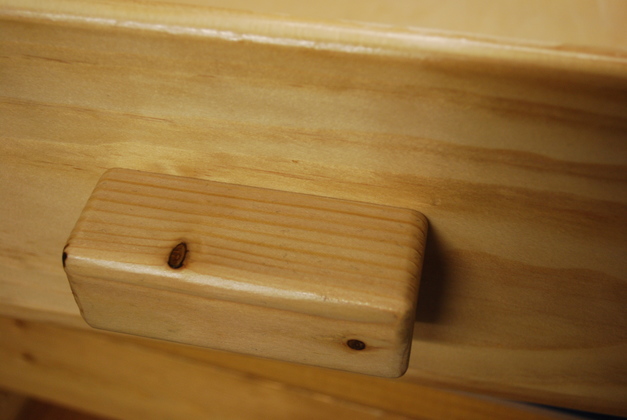
Handle holes drilled.
|
|
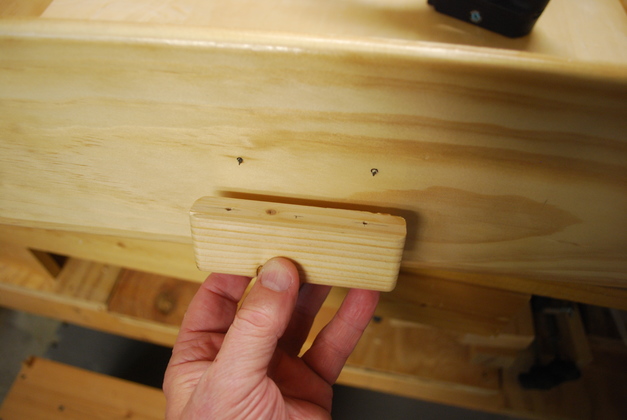
Its difficult to see but the tips of the two 1-5/8" wallboard screws are just sticking out a little so I can feel when I have the holes drilled in the handle lined up.
|
|
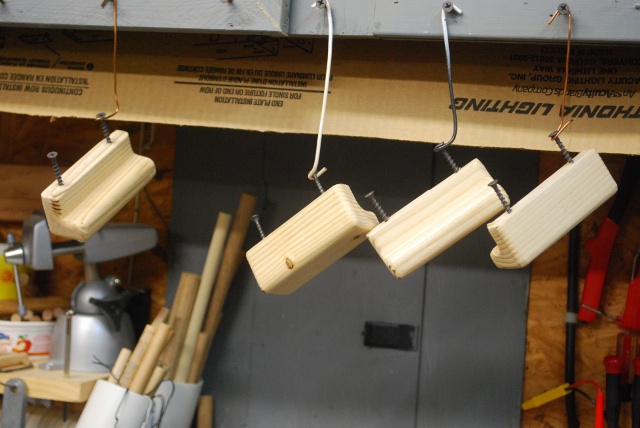
Handle screwed down.
|
|
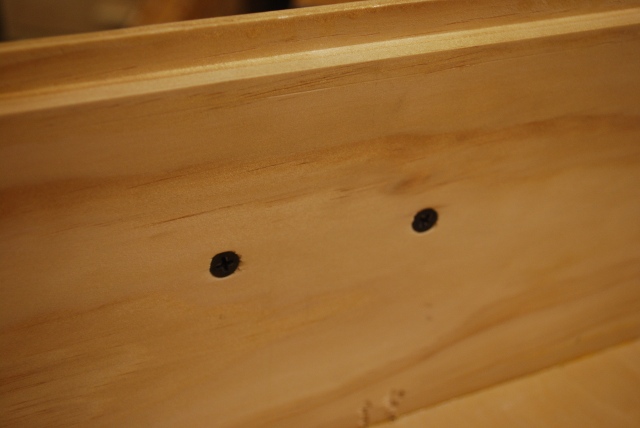
Back side showing heads of the wallboard screws holding the handle.
|
|
This mark is 1/2" from the back of the front piece, thats where the front of the slide will go.
|
|
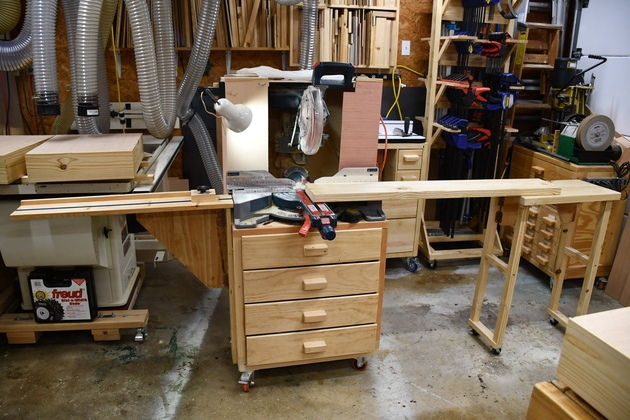
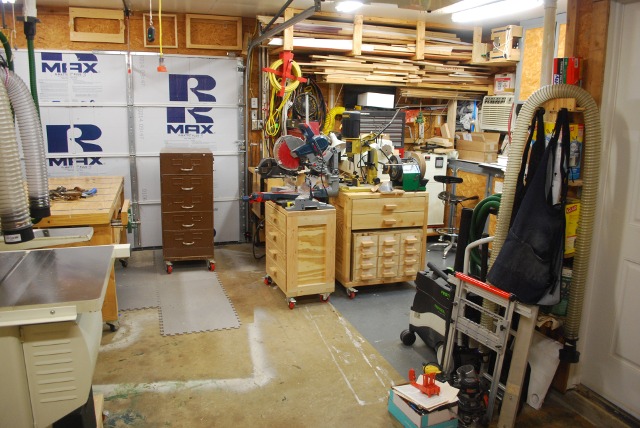
New bench in the shop, shop rearranged, the lathe is now behind the mortiser bench.
|
|
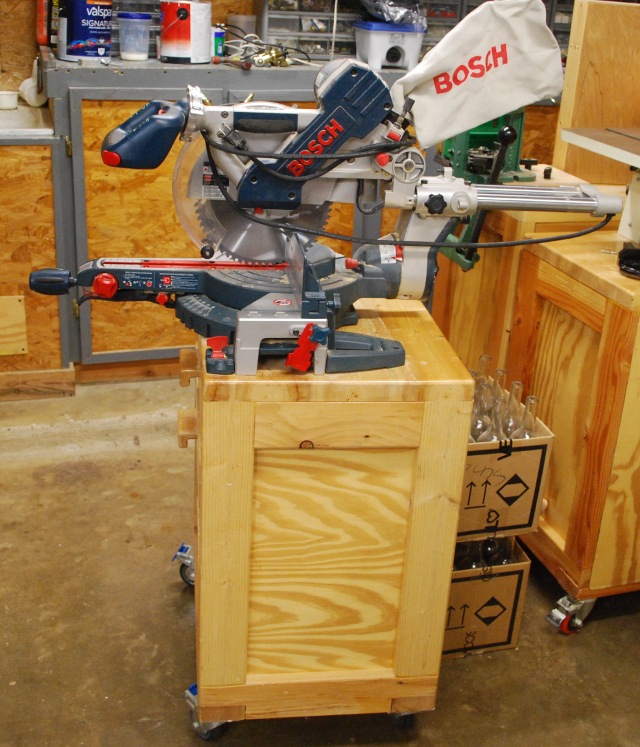
Finished miter saw bench with drawers loaded.
|
|
The extension folded down and out of the way.
|
|
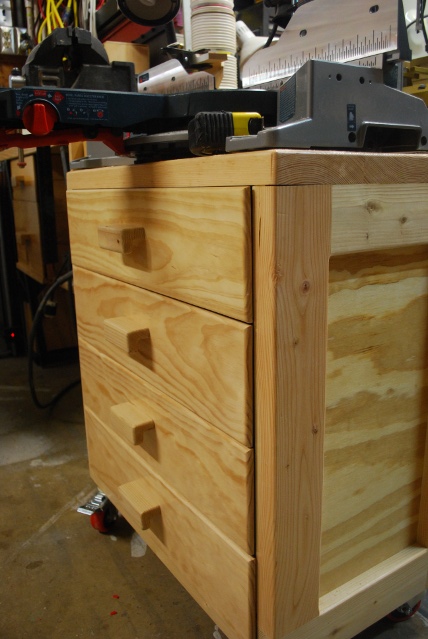
Lipped drawers.
|
Old Saw & Bench
|
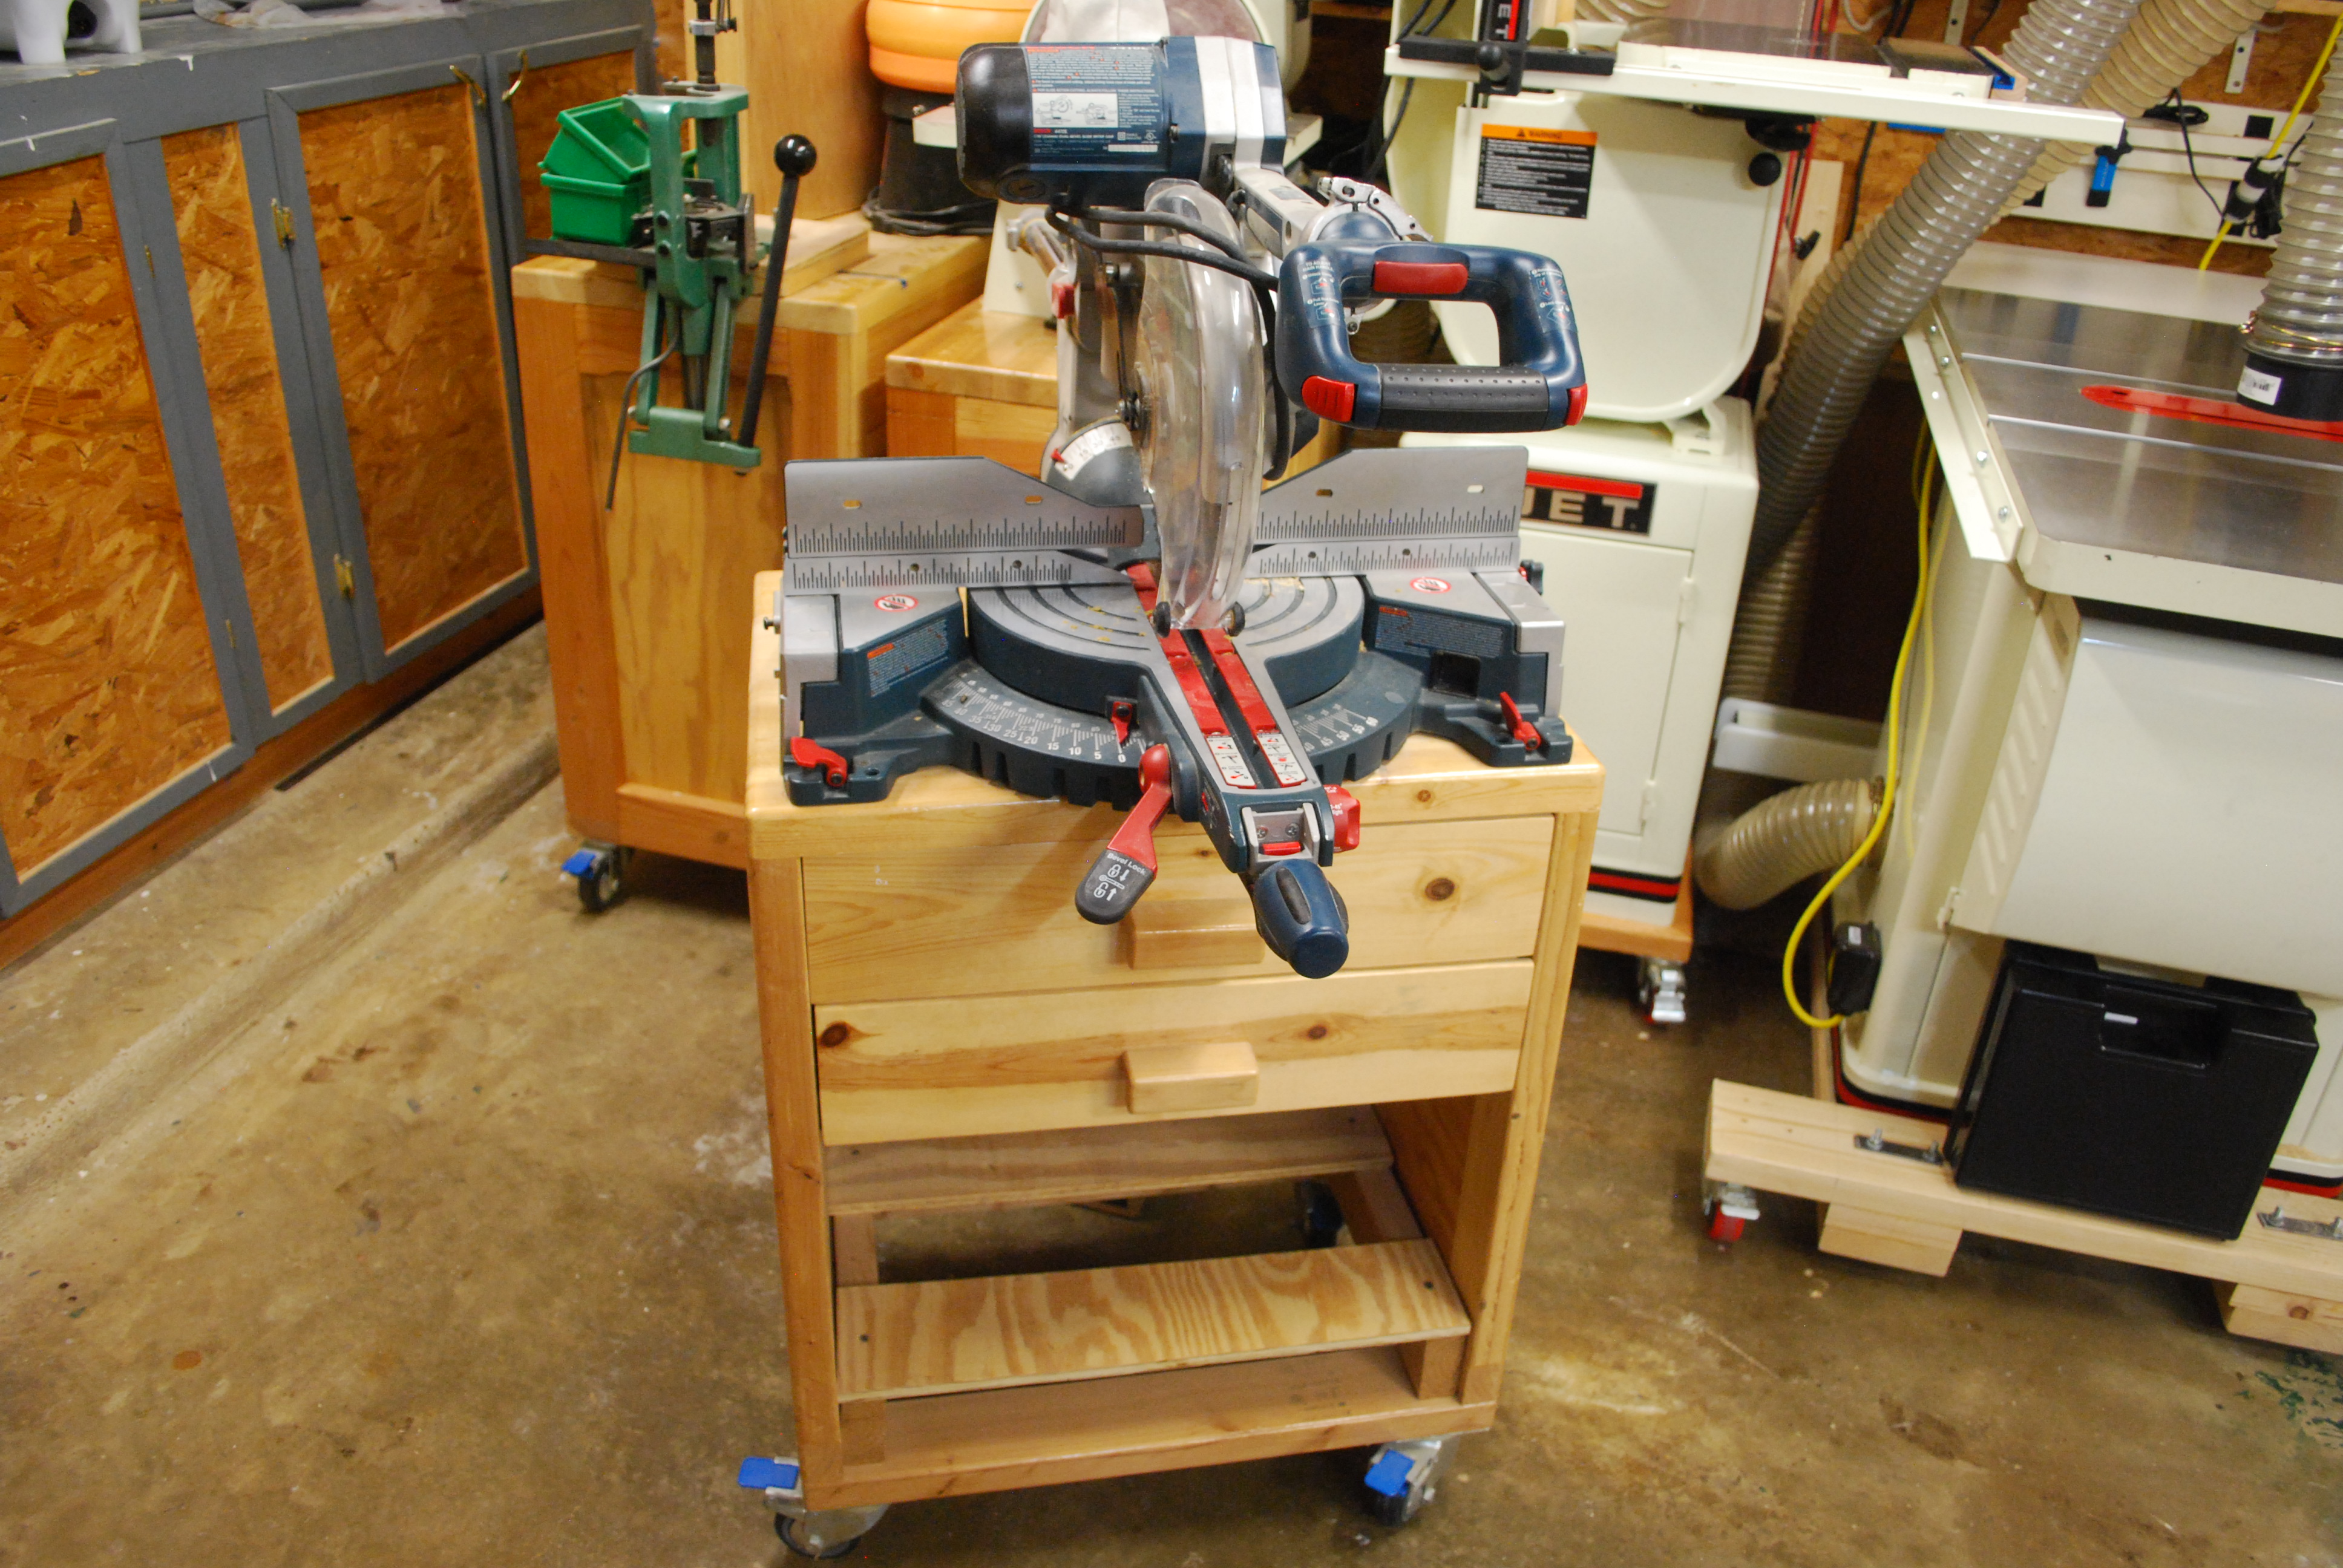
Old Bench and Saw.
Note how far to the rear the slide bars extend, takes up a lot of space, can't be close to the wall.
In all other respects, the Bosch has been a very good saw every thing I made for about 10 years was cut on this.
|
|
Front of the old saw and bench.
|

|
Work bench on the right, note how the old saw's table is the same height as the workbench.
This makes cutting long lumber easy especially since the workbench is on casters.
|