10/11/16: New Shroud
03/27/12: Added more pics at bottom.
A miter saw makes an awful mess (sawdust & chips).
My old 10" Bosch had two sliding bars sticking out the back which mandated a certain shape and made it hard to build.
The new 10" Bosch CM10GD glides on a large folding arm and doesn't protrude out the back like the older saw, making the shroud much easier to build and take up less space.
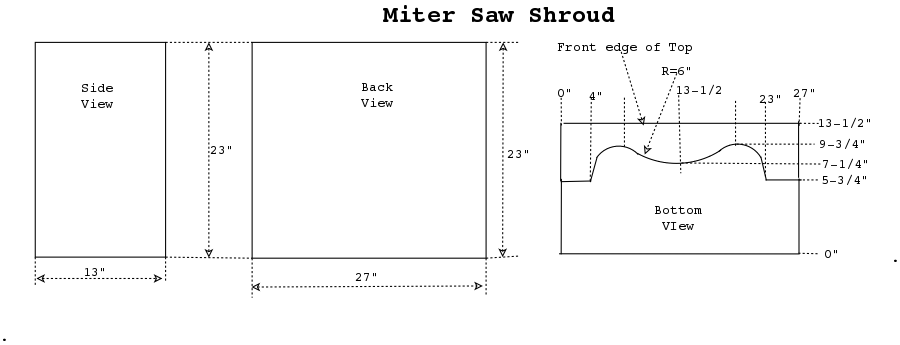
The cabinet will have a 1/2" plywood base (bottom) with 5mm plywood on all other sides.
The sides and back will be glued/screwed to the base, all other joints will be mitered and glued.
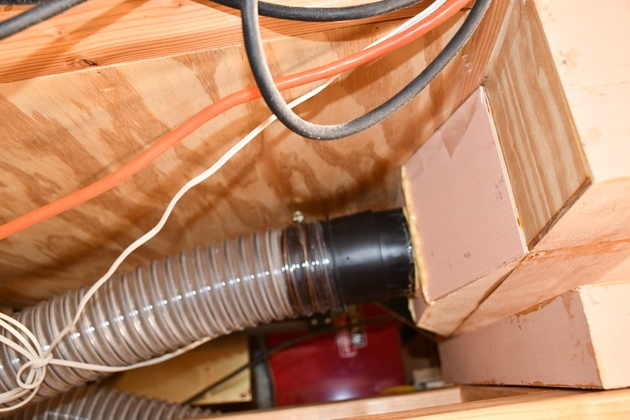
After moving the saw back and forth to the West side of the shop for a while, I decided to add an extension of the 4" plenum and valves across the shop to just above the miter saw and add another valve.
The extension was only for a single 4" port so it isn't as large as the original plenum.
You should hear it when it sucks up a small knot or chunk of wood as it zooms through the wooden plenum across the shop ceiling.
This greatly improved the usability of the saw and shop in general.

|
1/2" plywood base for the miter saw shroud with 4" nipple for DC hose.
|
|
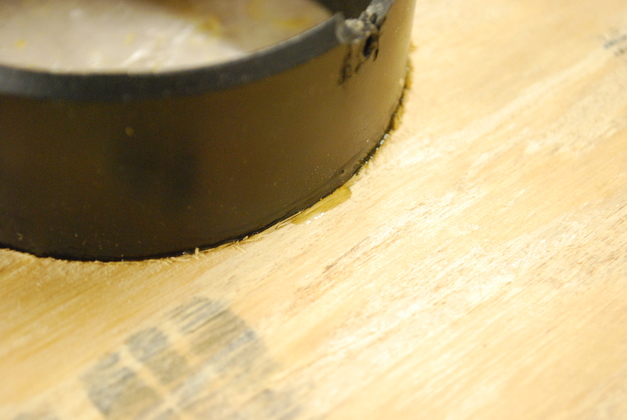
I saw a 4" hole, put Gorilla Glue around the base of the nipple the shove the nipple into the hole, twisting as it goes to spread the Gorilla Glue.
You can just see a little of the Gorilla Glue right after it is applied.
Gorilla Glue foams up as it cures, filling small cracks and voids, sealing the vacuum nipple.
|
|
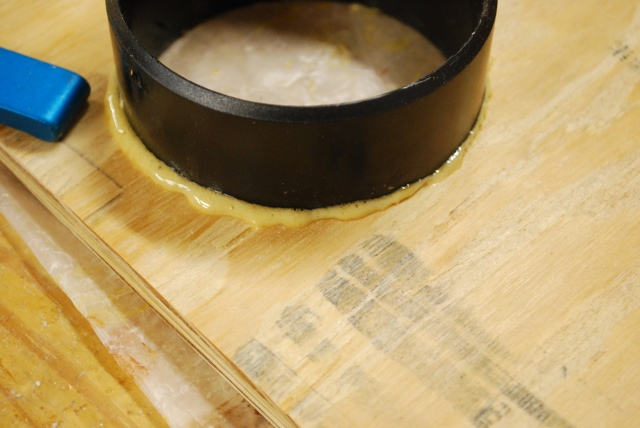
Gorilla Glue after it cures, you can see the foam all around the nipple's base.
|
|
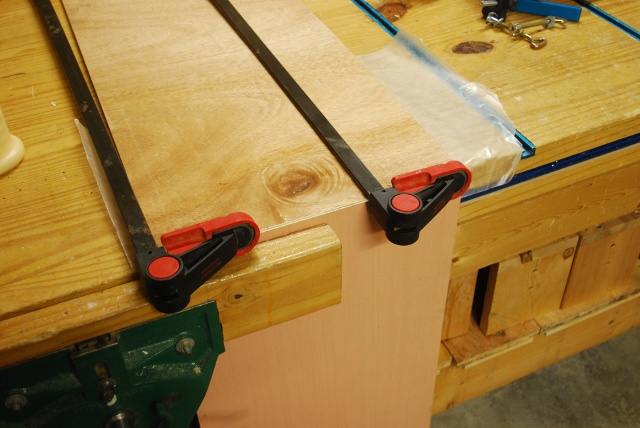
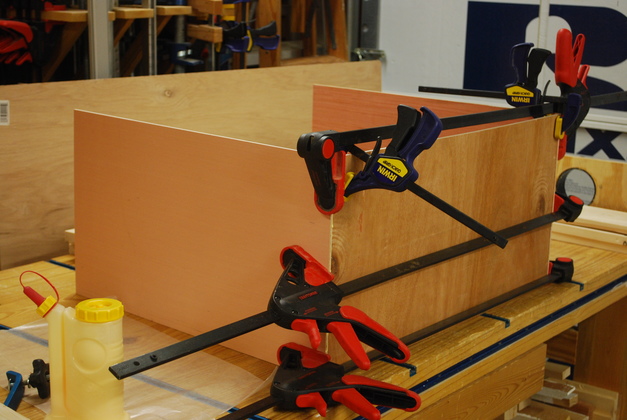
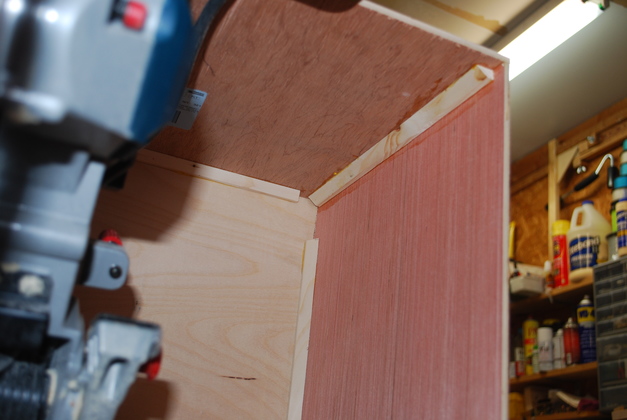
A little hard to see but this is one side and the top of the shroud being glued.
I use TiteBond glue on wood joints.
|
|
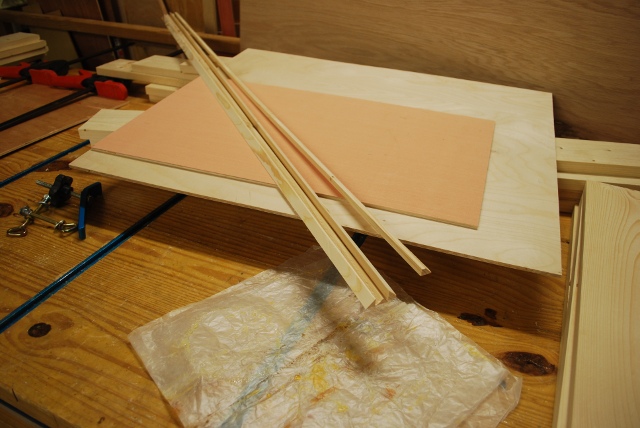
Long 3/4 X 3/4" strips, ripped at 45° angle for glue blocks.
|
|
The other side of the shroud being glued to the top.
|
|
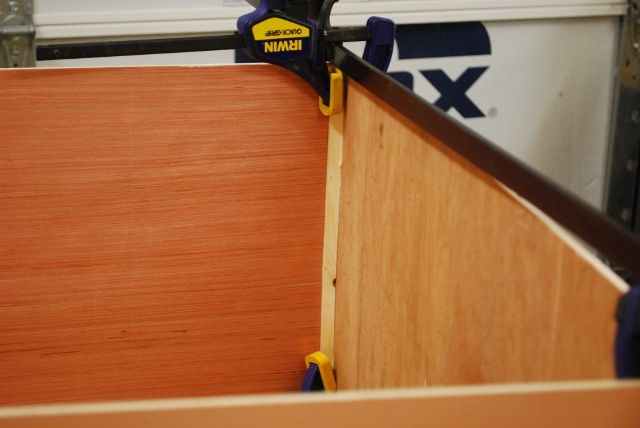
Glue blocks glued into the inside corner.
|
|
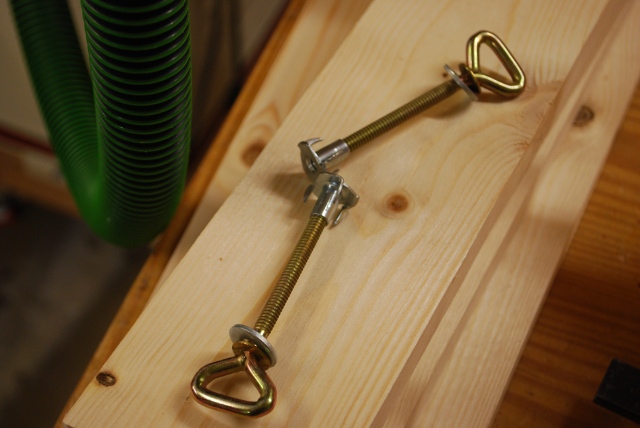
These are 1/4-20 strap tie ends, I'll use them as hold down bolts for the shroud.
|
|
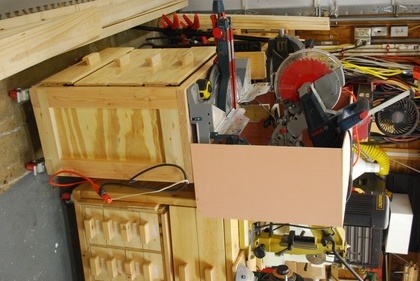
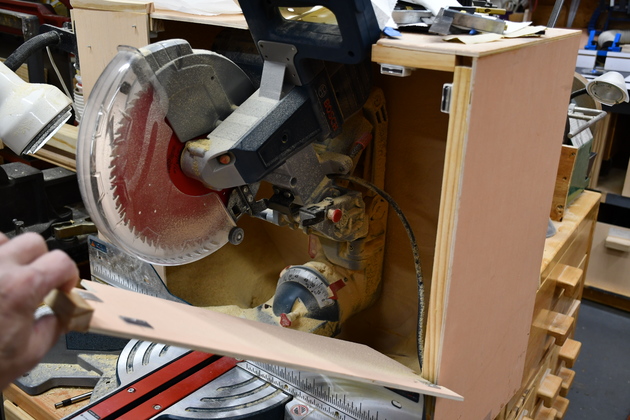
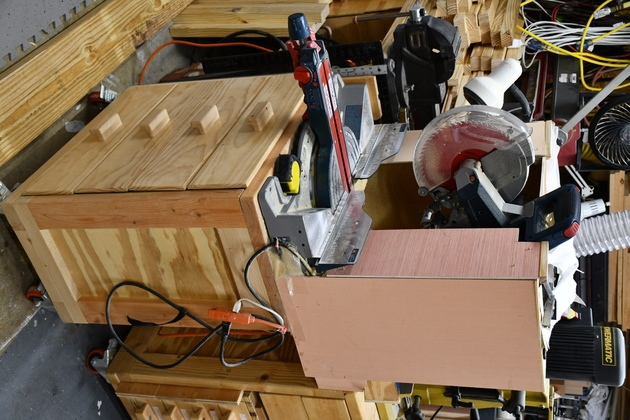
Saw shroud attached to the miter saw's machine bench..
|
|
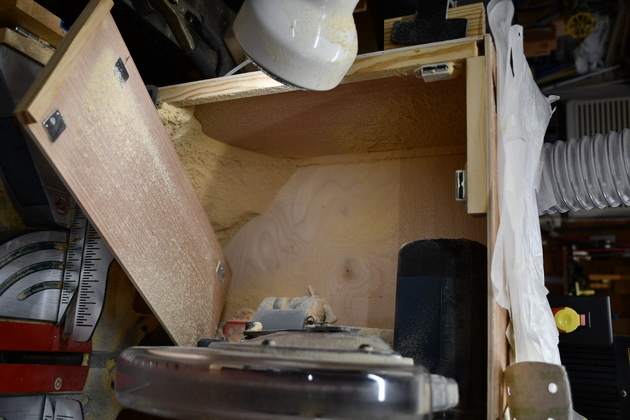
Glue blocks inside the shroud.
|
|
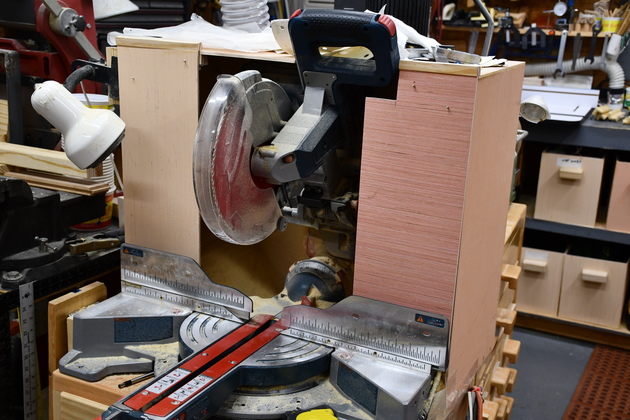
Front view of the finished shroud.
|
|
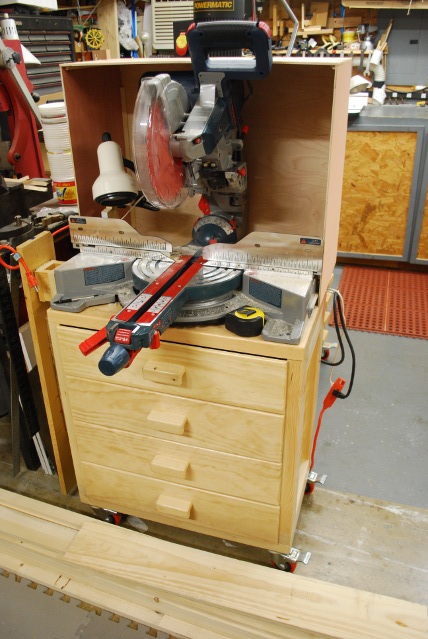
The hold down.
|
|
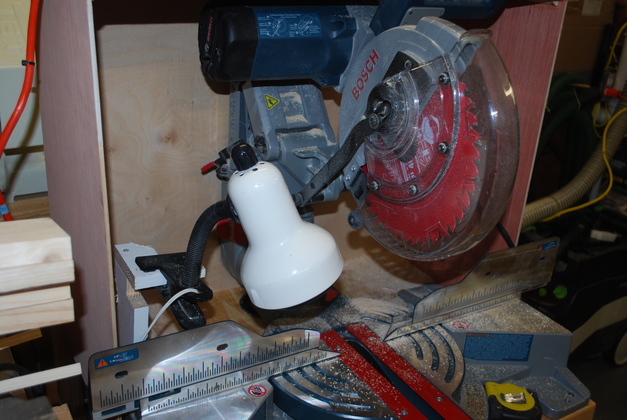
Lamp to add light for hitting the mark.
|
|
Later I added these front cover panels to keep a lot of the sawdust in the shroud.
|
|
These are held on by magnetic cabinet door latches.
You can see the two upper magnets, there is another at the bottom of the panel.
You have to remove one of both of these when you do much miteriing, the majority of what I do with this saw is crosscut.
|
|
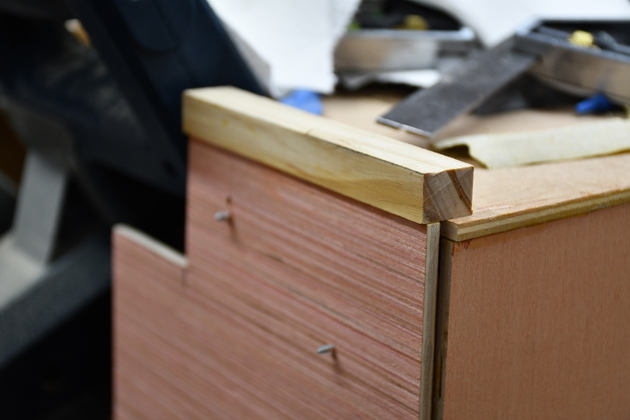
I glued on a little wooden strip at the top to help support them and keep them lined up.
|
|
Left side cover panel laid down, you can see all three latch plates.
Also note how the sawdust is piled up behind the cover, shows it works.
|
|
The whole saw with cover plates in place.
|
|
Back of the shroud showing 4" vac hose attachment.
|