| 
| 
|
|
Laundry Baskets & Storage
| ||
|
|
|
|
|
Laundry Baskets & Storage
| ||
| Construction Info | Top | Frame | Drawers |
| Hampers | Finished | Child's Hamper Rack | Clothes Hanger Storage |
We needed a place to accumulate laundry for washing. We have a single shelf with a plastic laundry basket in the wash room but its at the back of the house and our bed rooms/bath rooms, where we change clothes, are in the front. So, after watching April (April Wilkerson) make laundry baskets for her bathroom vanity, I decided to make a laundry basket with storage cabinet for the master bedroom near the door. By placing the new laundy/storage table near the doorway of the Master Br. it is conveinient to both baths and close to the hallway for wash days.
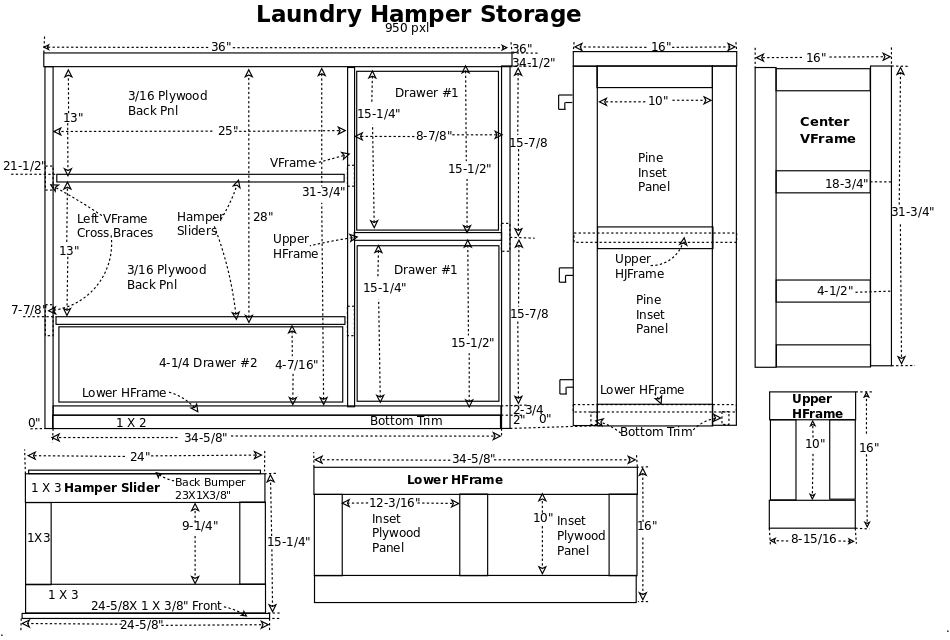
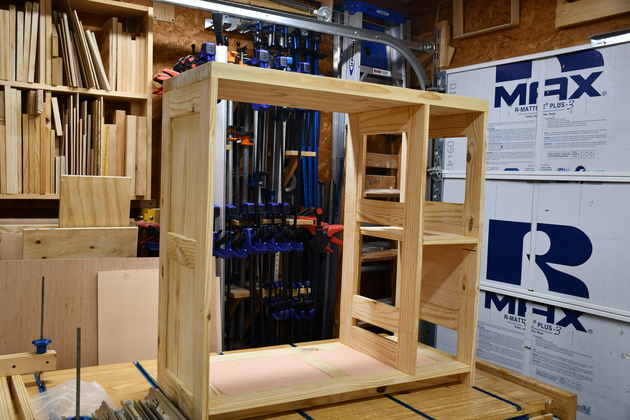
The frame will be made from 11/16" x 3" (resawn from 2x8) except the top (2X) and bottom trim (11/16" X 2").
A VFrame will separate right side drawers from sliders and provide support for the slider guides.
A small upper HFrame will provide rigidity to the vframe.
A lower HFrame with inset plywood panels will provide overall rigidity to the lower part of the frame.
The two end VFrames will have inset pine faced panels, backed by plywood.
The left end VFrame will have two cross braces to provide support for the slider guides.
The right side VFrame will only have one cross brace.
The rear of the frame will have inset plywood panels behind the sliders.
Drawer style: I really like the flush drawer front, it blends well with the overall modern look of our cabinets even though it costs a little inside drawer space (11/16"). However, we have a number of shaker style overlapped (and even one set of flat panel face frame) drawers in our house. Betty just said she wanted the flush drawers in the laundry hamper cabinet, even though there are shaker style overlapped drawers (Night Stand and chest of drawers ) in the same room.
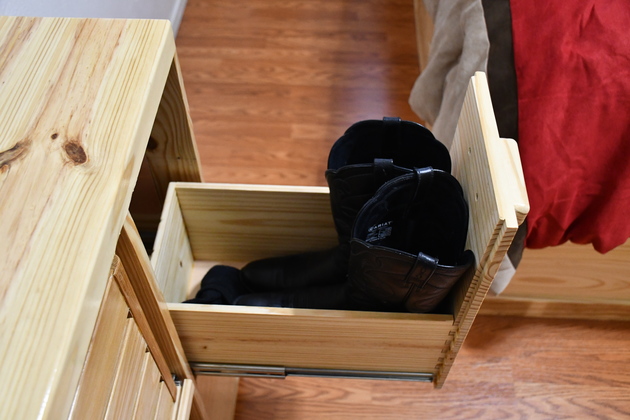
After talking again to Betty, we decided to make a 2 #1 drawers instead of 4. The new drawers will be 15-1/4" high so Betty's boots will fit neatly into them.
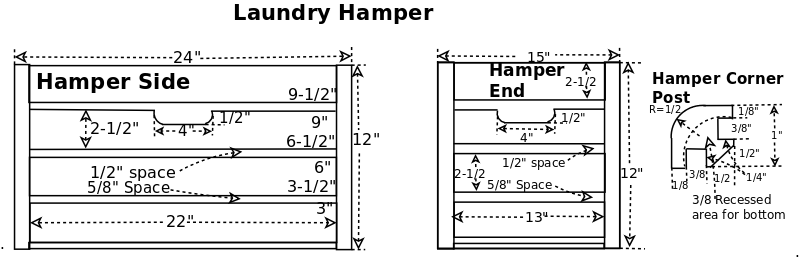
In order to reduce weight, per April's suggestion, the hamper's sides and ends will be made of 2-1/2" wide, 3/8" thick cedar slats with 1/2" spaces between. The hamper's bottom will be solid 3/8" cedar. The corner posts will be 1x1x12, rabbeted at the bottom for the hamper bottom (1-3/8 X 3/8 deep) then grooved on two sides (3/8 X 1/4) for the side and end slats, and finally the outside edge rounded with a 1/2" radius roundoff bit.
|
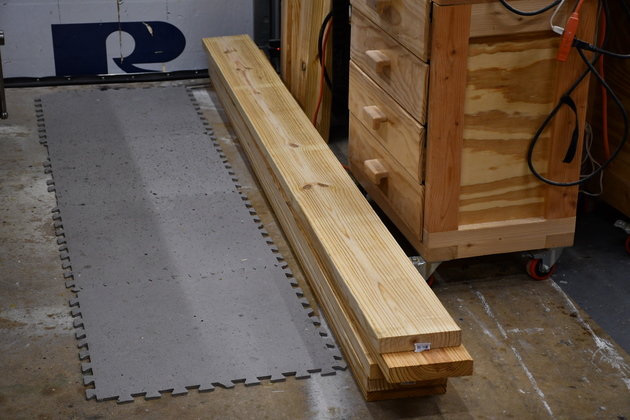
The way all projects start, 2x8s on the floor in the shop. I haven't purchased the cedar for the hampers yet. |
|
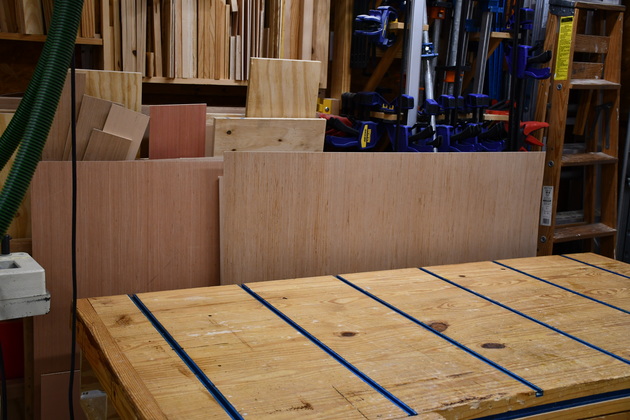
And 3/16 plywood behind the workbench. |
|
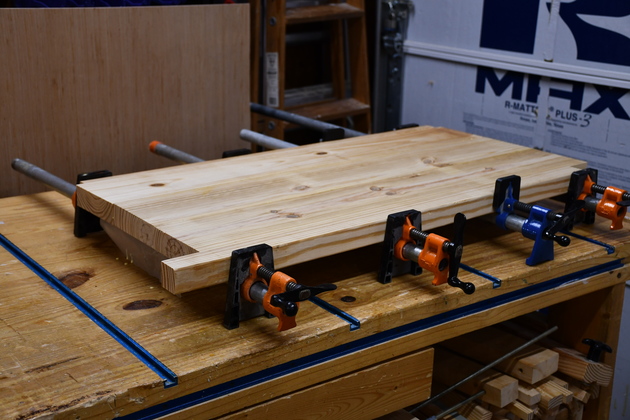
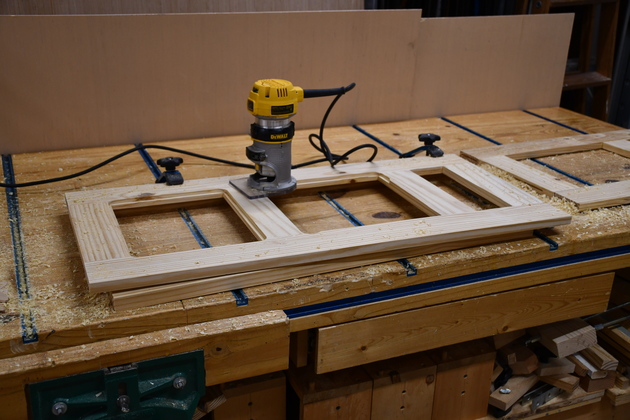
For the top I cut three pieces of 2x8 to 36" long then ripped them to 5-3/8" wide. Next it was run across the joiner to make sure the joints will be flat and now its being edge joined. There are 6 #20 biscuits in each joint. Also notice I'm using 3/4" pipe clamps, each will put about 500Lbs. of pressure, to make sure these 2xs are really tight while the glue sets. |
|
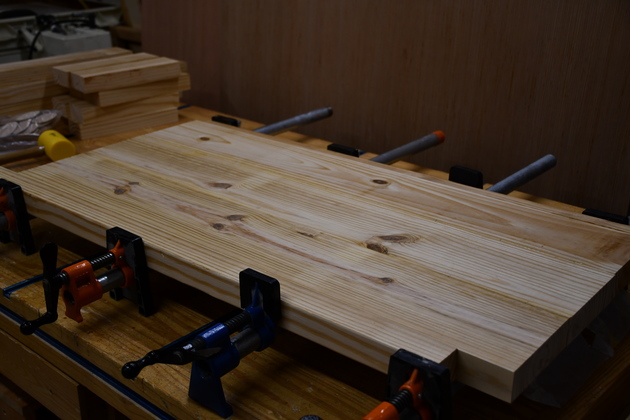
A little different perspective on the top being edge joined. |
|
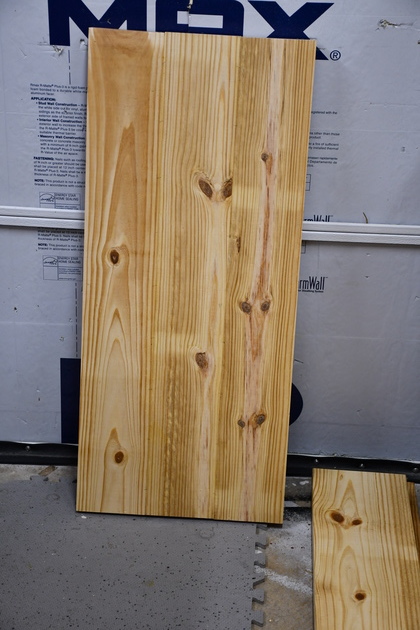
The top after being glued, ready to sand. |
|
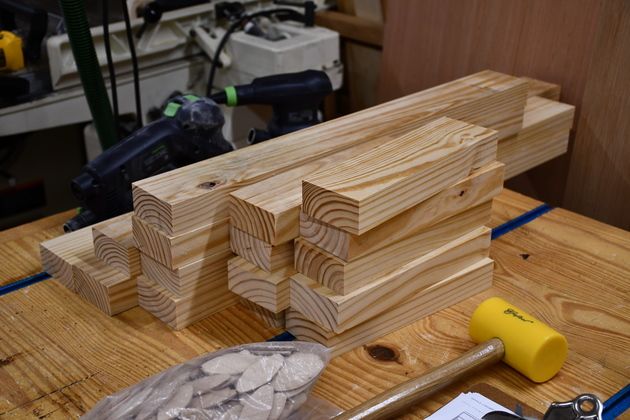
Pieces of 2x cut to length and ripped to 3" wide, from a 2x8 for the frame.
|
|
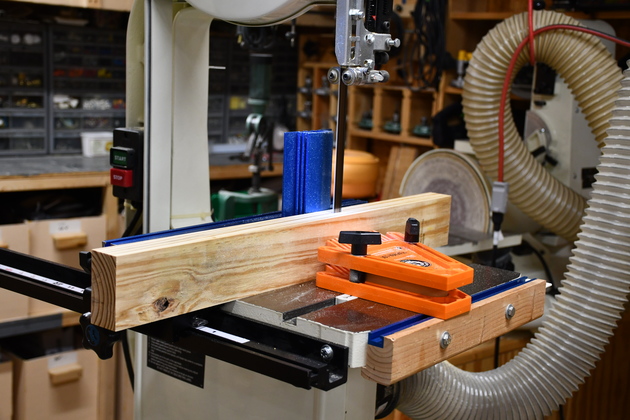
Frame piece being resawn in half edgewise for 1x3s. The blue thing sticking up behind the piece is a resaw guide, the orange thing in front is a feather board to hold a little pressure against the piece and against the resaw guide. This setup makes it pretty easy to resaw even wide boards. |
|
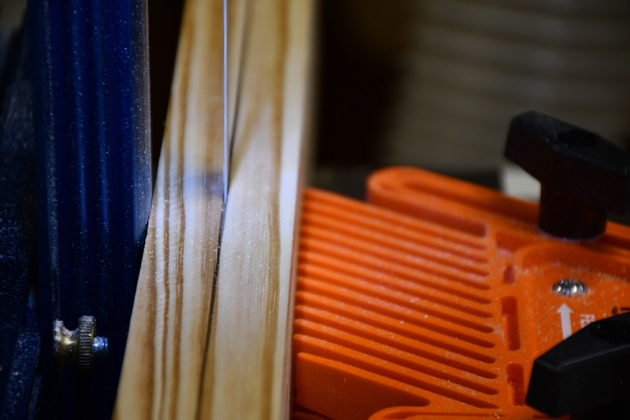
Closer shot of the resawing, you can see the mark down the center and the bandsaw blade cutting down the center of the mark. After this, the board will make a pass through the planer to clean up the bandsaw blade marks and make it exactly 11/16" thick. |
|
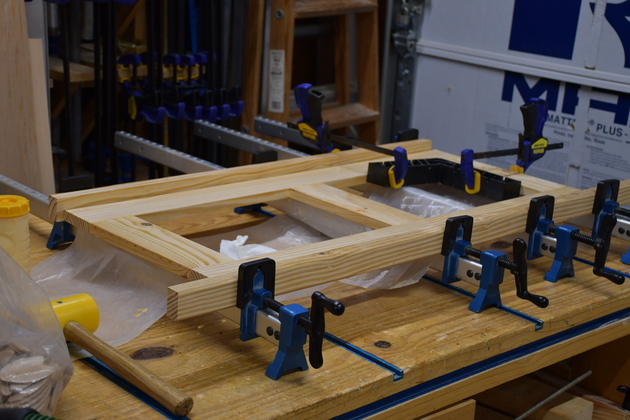
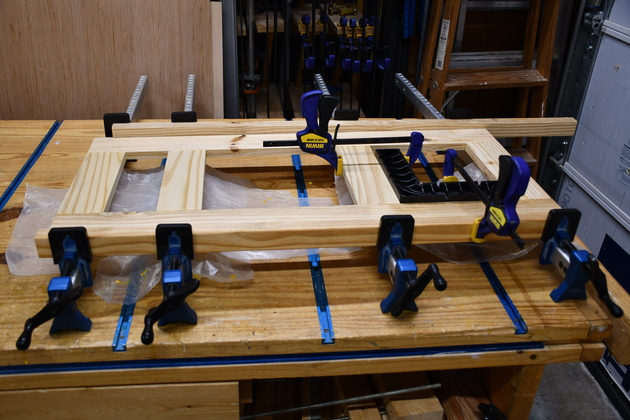
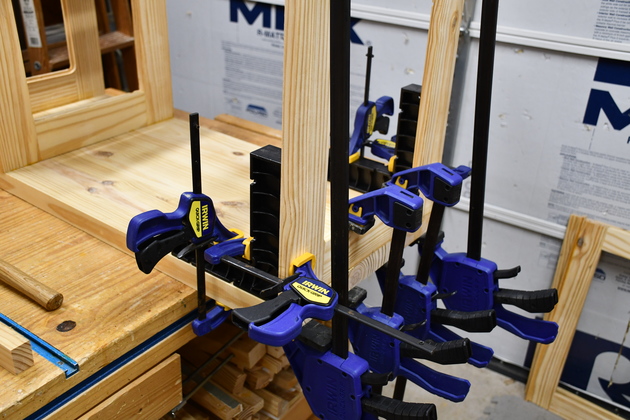
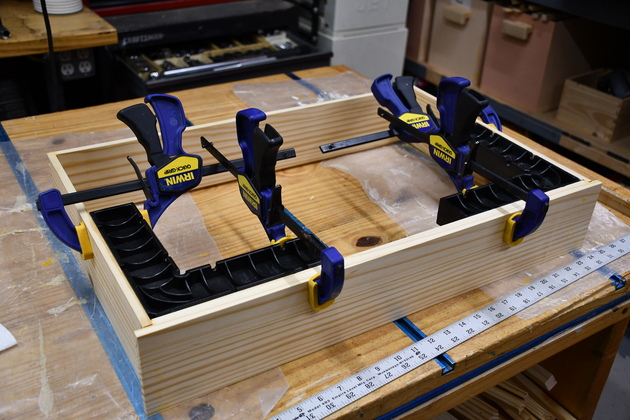
The right side Vertical Frame piece (VFrame) in the glue clamps. There is a #20 biscuit in each joint. Please check out the Work Table page for a little more detail. |
|
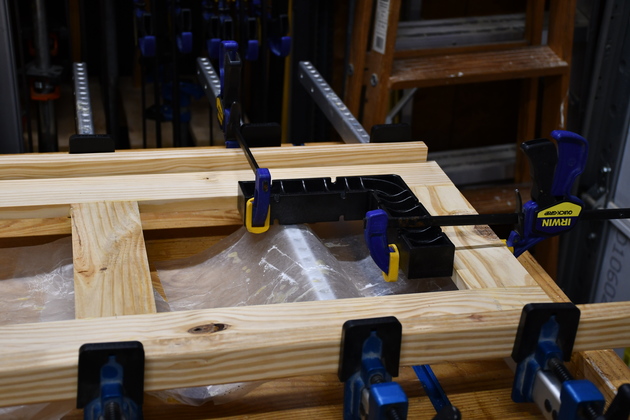
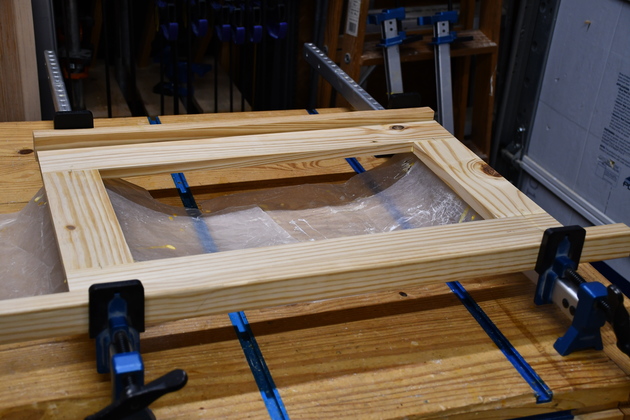
Notice the black ClampIt clamped inside the frame to keep it square while the glue sets. |
|
The left side Vertical Frame piece, note it has an extra cross brace. The two center cross pieces support the slides for the hamper sliders. |
|
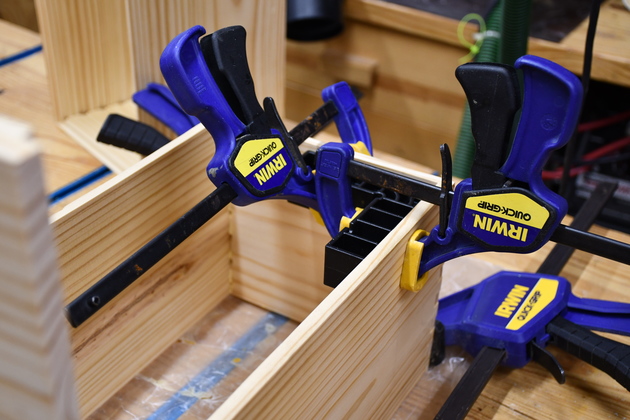
One of the hamper sliders being glued. |
|
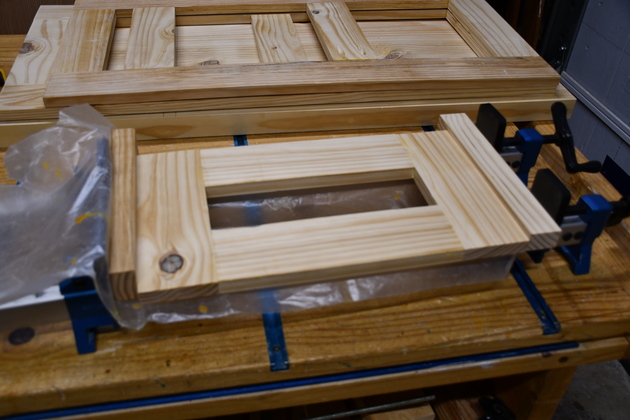
The upper Horizontal Frame piece (HFrame) being glued. Note two of the VFrame pieces stacked on the top in the background. |
|
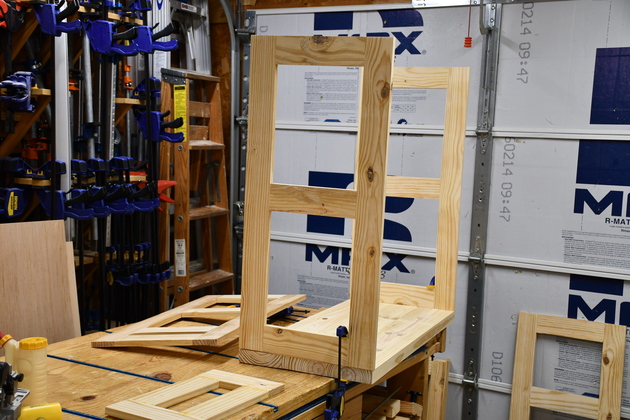
Side VFrames being test fit to the top. |
|
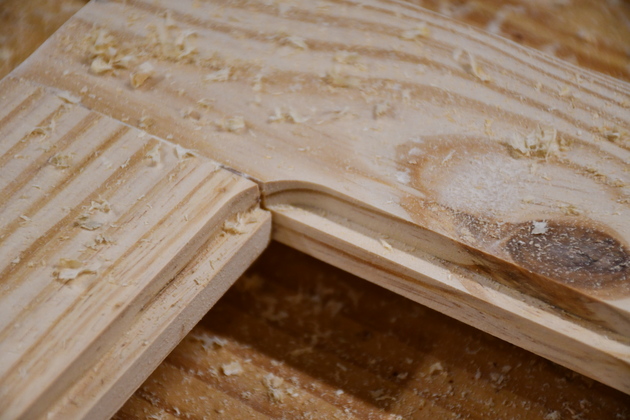
Routing the inset panel rabbets in the left side VFrame. |
|
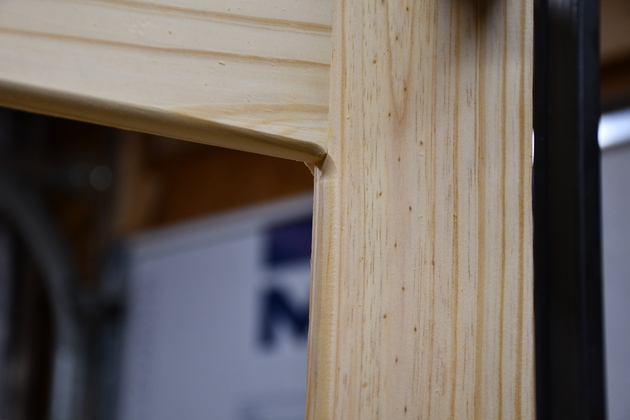
Closer look at inset panel rabbet. |

|
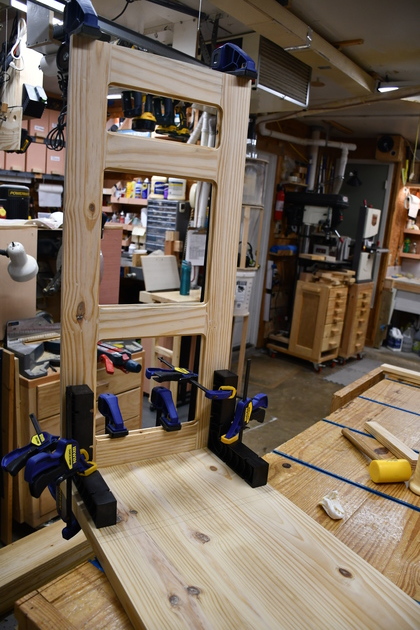
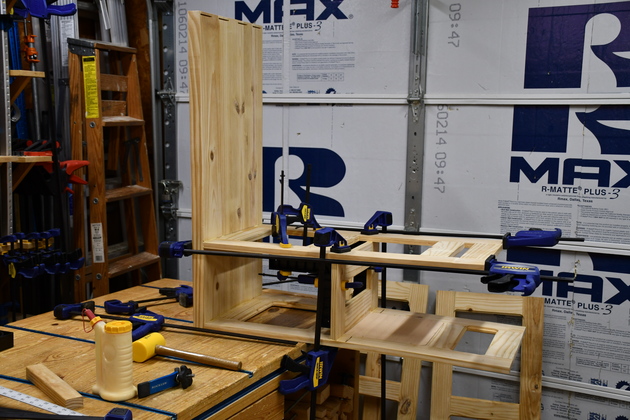
Left side VFrame being glued to top. |
|
Closer look at left VFrame gluing operation, note the ClampIts holding the VFrame square to the top. |
|
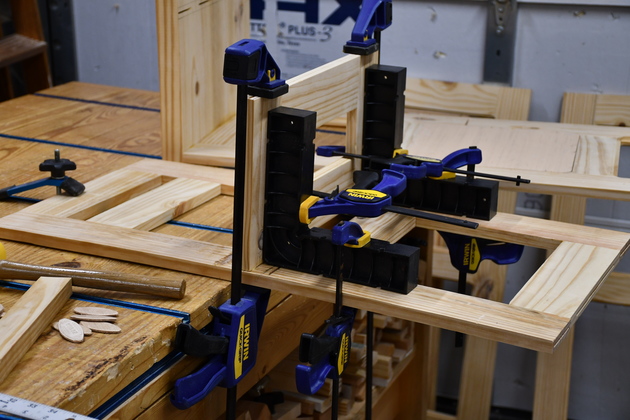
Gluing the upper HFrame to the center VFrame. Again note the ClampIts. |
|
Note I rounded the inset panel exterior edges before I glue in the panels. |
|
Gluing the center VFrame and upper HFrame to the top and right end VFrame. |

|
Close up of above showing the back of the glued in inset panel under the upper HFrame. |
|
Gluing the bottom trim pieces to the lower HFrame. |
|
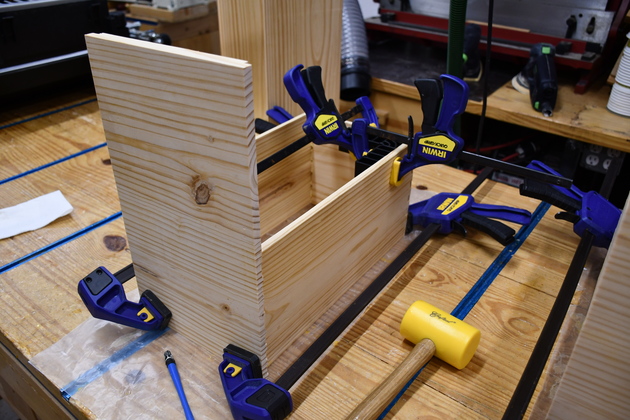
Left end VFrame being glued. |
|
Again, lots of ClampIts. |
|
And the lower HFrm being glued to the end VFrames and center VFrame. |
|
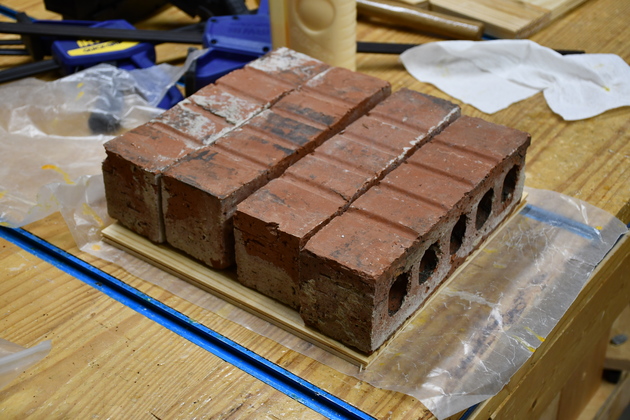
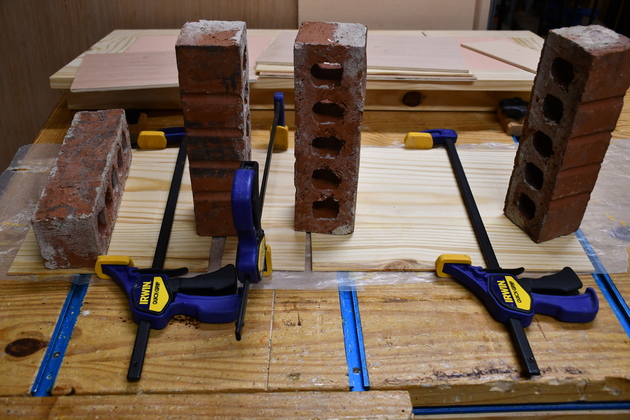
Edge joining pine panel faces. The bricks keep them flat. |
|
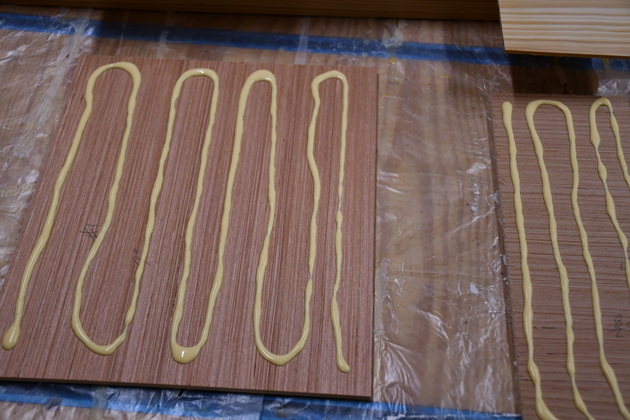
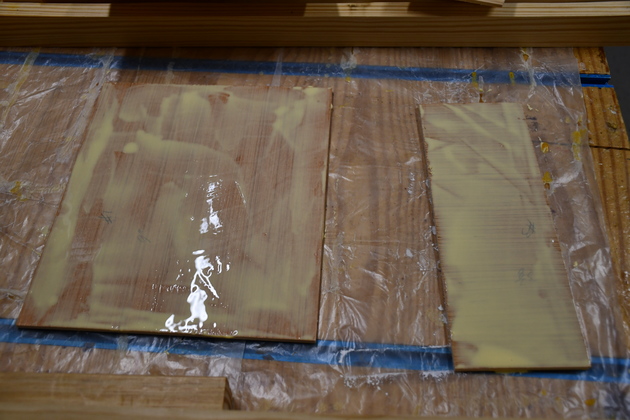
Gluing up plywood backing for pine faces. |
|
Glue spread. |
|
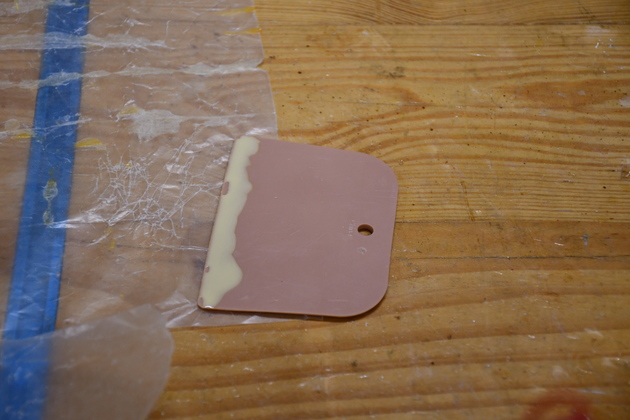
A bondo plastic spreader from Walmart I use to spread the glue. |
|
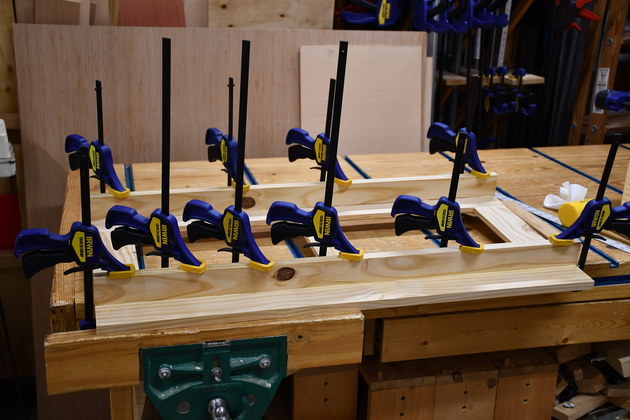
Apply pressure and let set 12-24 hrs. |
|
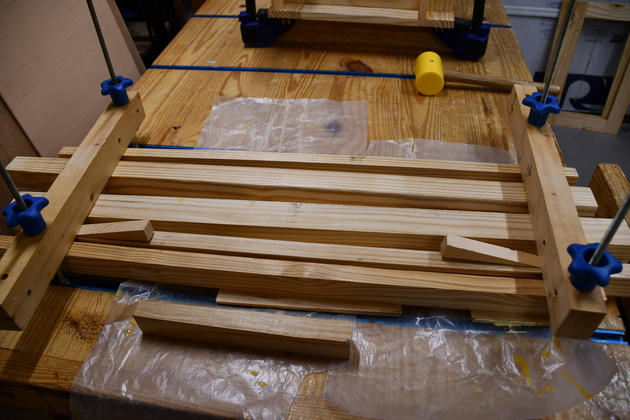
Note I use these small wedges to make sure all the horizontals have pressure. |
|
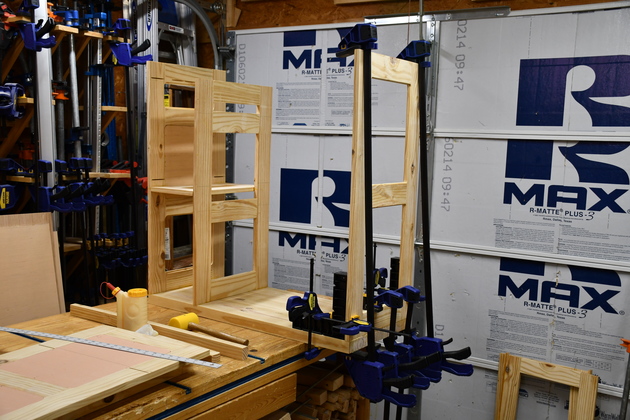
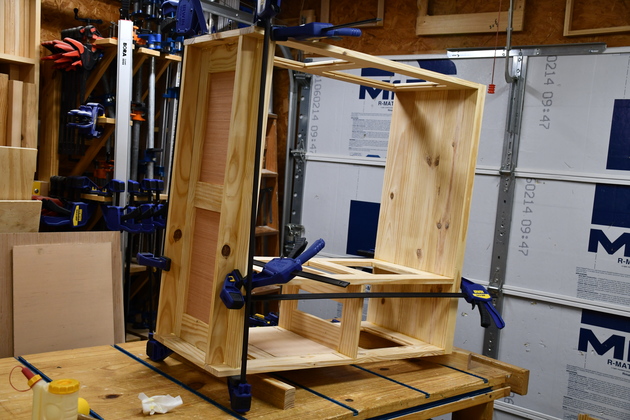
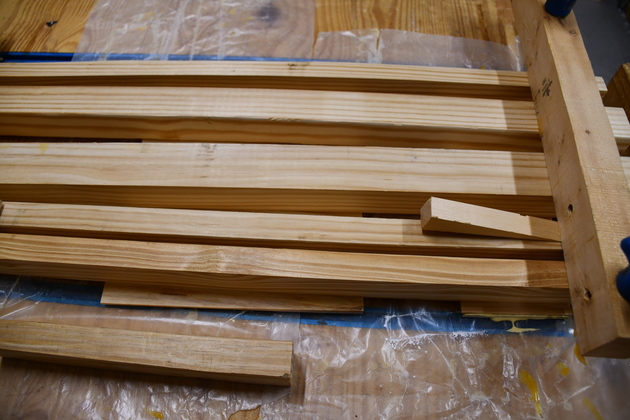
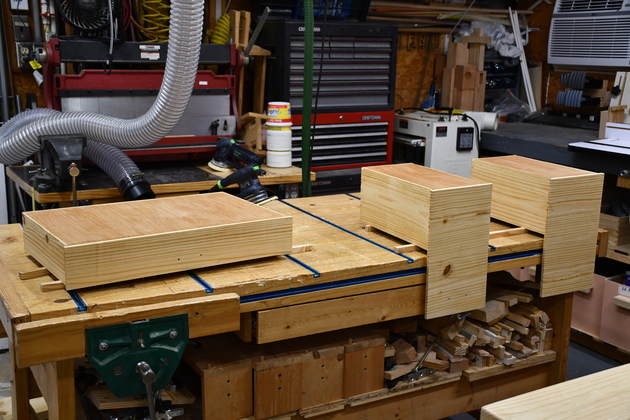
Frame all glued. |
|
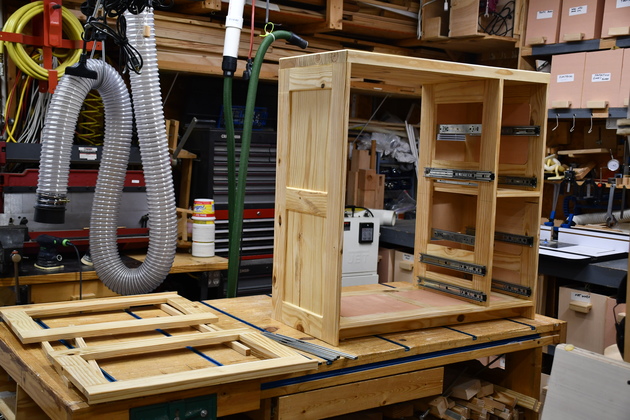
All inset panels glued in and slides installed. Also, note the actual sliders are on the workbench to the left. |

|
Painting. Also note the hamper sliders are installed. |
|
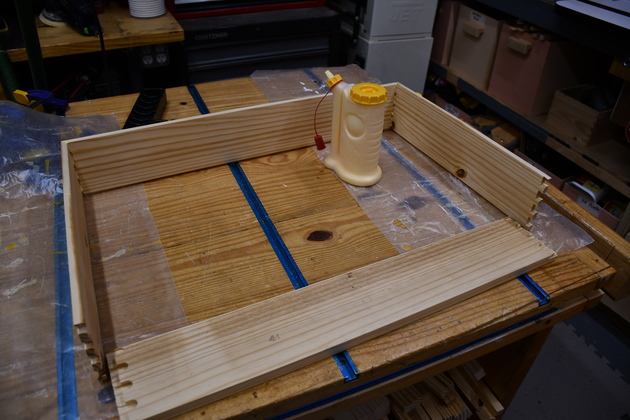
Gluing #2 drawer frame. For more info on how I make drawers please see my drawer construction page. |
|
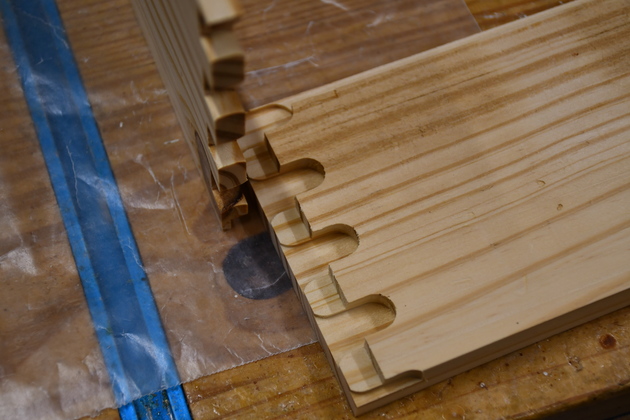
Closer look at the dovetails on the drawer front. |
|
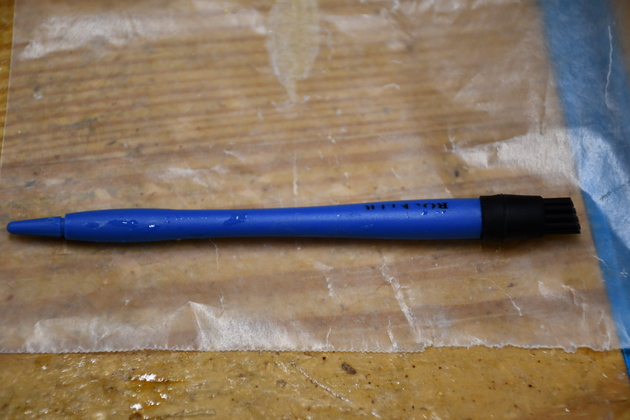
This is the little Rockler glue brush I use to spread glue in dovetails. |
|
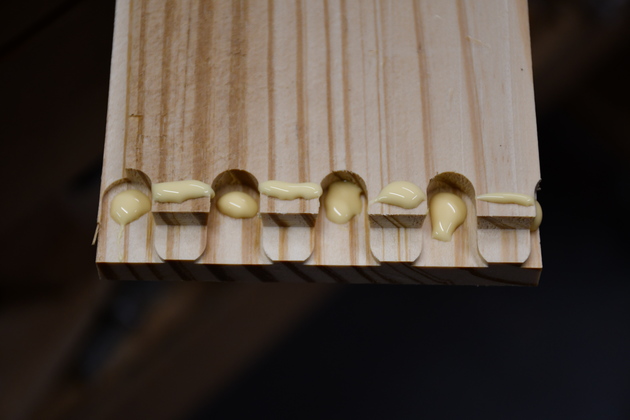
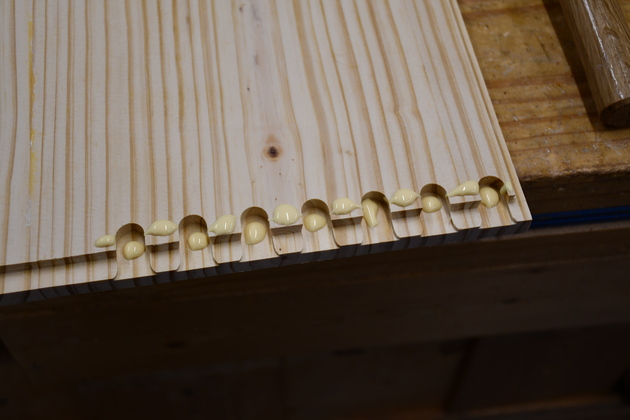
Spots of glue in each #2 drawer dovetail hi & lo. |
|
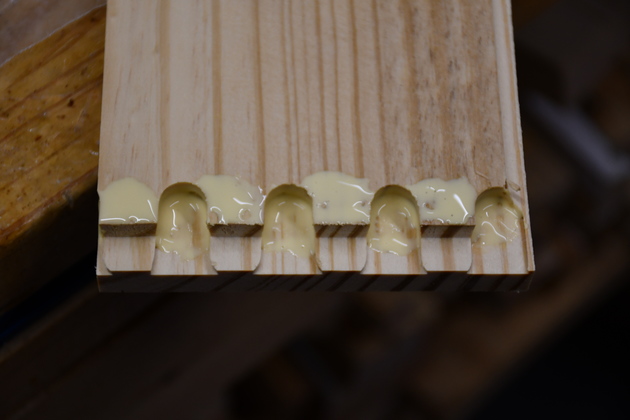
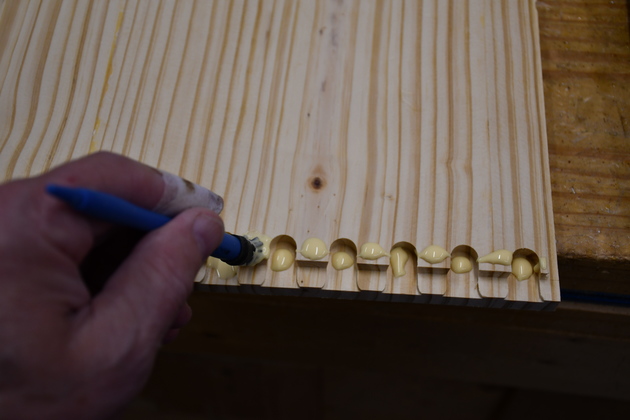
After spreading with the round Rockler glue brush, ready to assemble. |
|
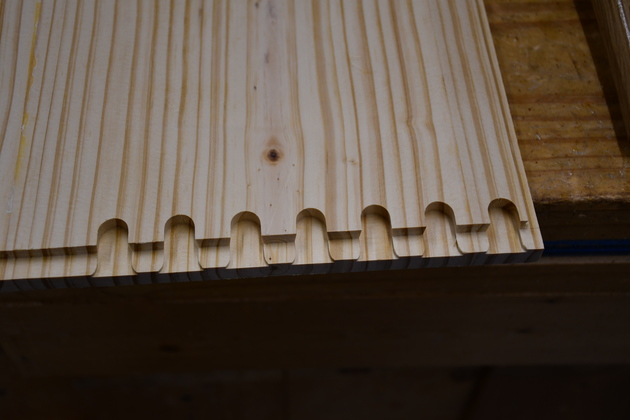
This is a look at the dovetails on one of the #1 drawer sides. |
|
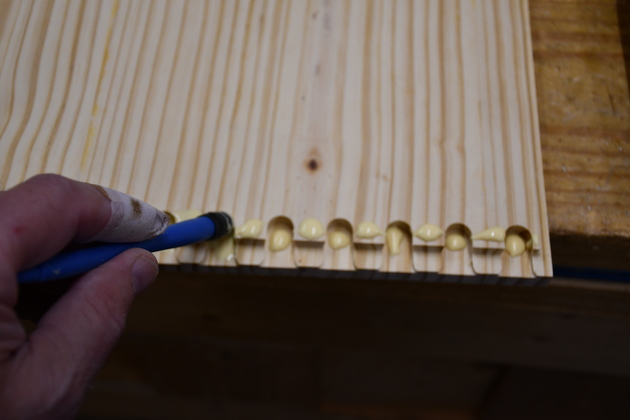
I put a spot of glue on each section. |
|
Then I twirl the Rockler round glue brush, in each slot, to distribute the glue more or less evenly. |
|
I brush the glue on each top. |
|
Then assemble by tapping the edges till they are flush and clamp. |
|
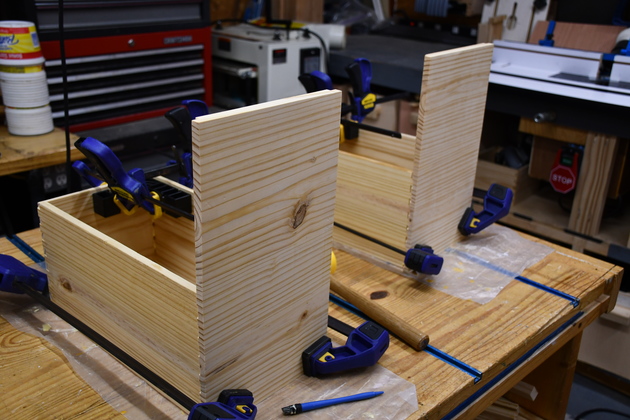
The #2 drawer in the glue clamps. Note in all the glue pics I use a ClampIt to make sure the frame is square. |
|
The ClampIt in one of the #1 tall drawers. |
|
Overall pic of a #1 (tall) drawer in the glue clamps. |
|
Drawer bottoms and sides being painted. If you look close you can see the holes drilled for the handles. |
|
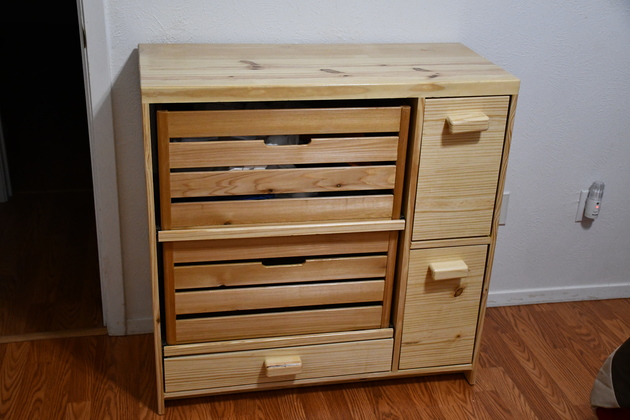
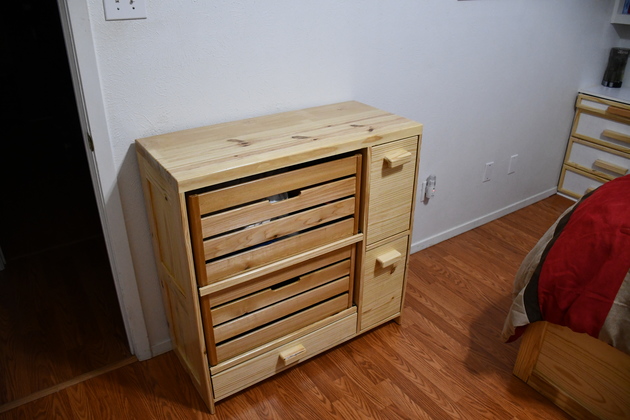
Completed. |
|
|
Betty's boots in the top drawer. |
|
|
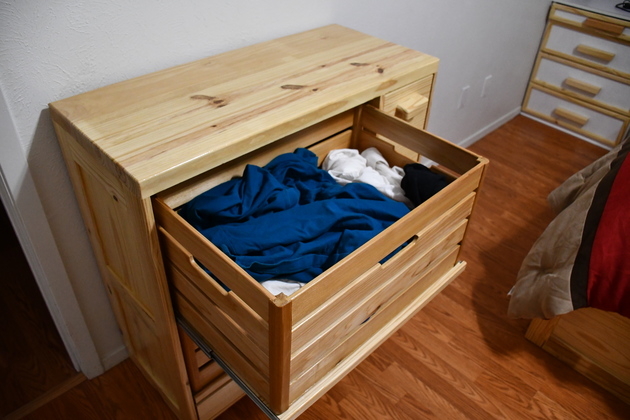
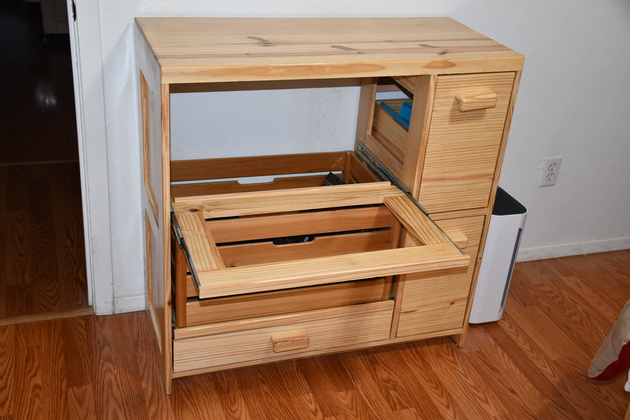
The top hamper pulled out on it's slider, easy to access. |
| Hamper slide out and hamper removed. |
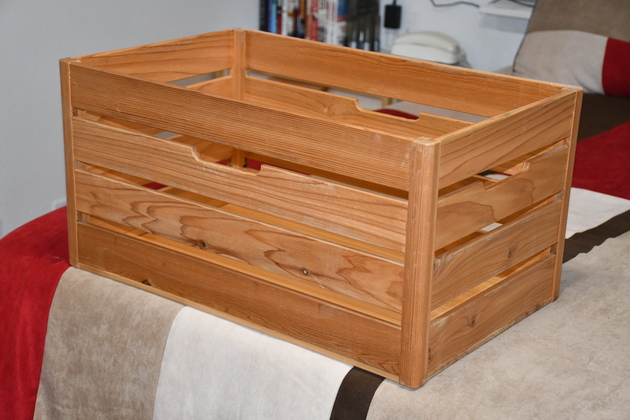
| Empty hamper on the bed. These hampers weigh 5.4 Lbs. |
| Note the hamper bottom is solid (no spaces) and built (like the rest of the hamper) out of 3/8" edge joined cedar. |
|
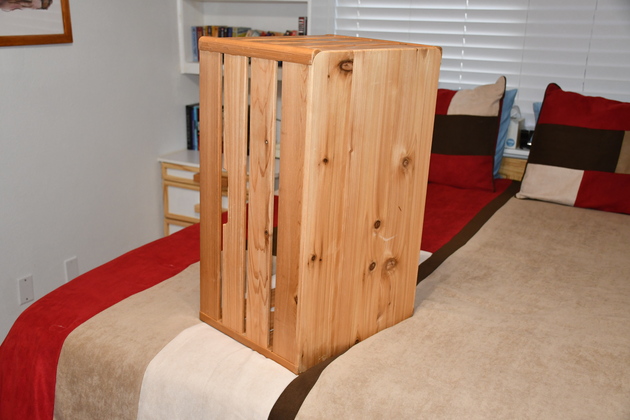
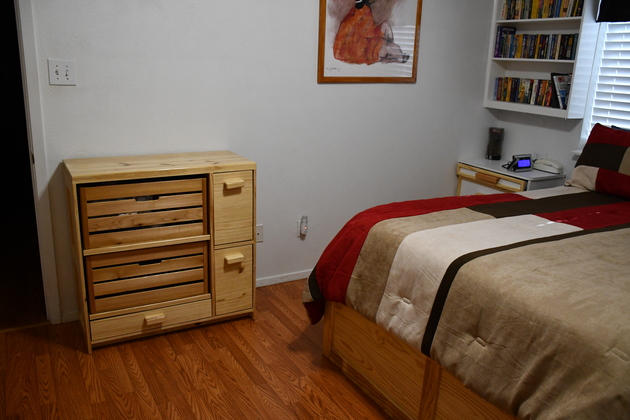
Notice the cedar hampers are slightly darker than the yellow pine.
Also take a look at the night stand and bookcase above, in the far corner.
They were part of the Master Bedroom Remodel.
|
|
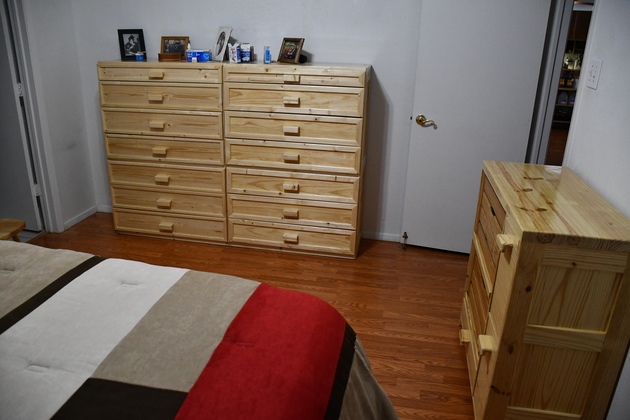
We moved the two chests of drawers into the master BR. |
|
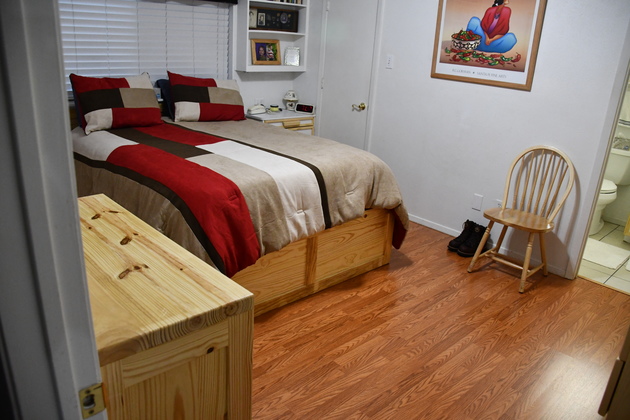
And looking in through the door. |

|