07/22/16: Page Origin
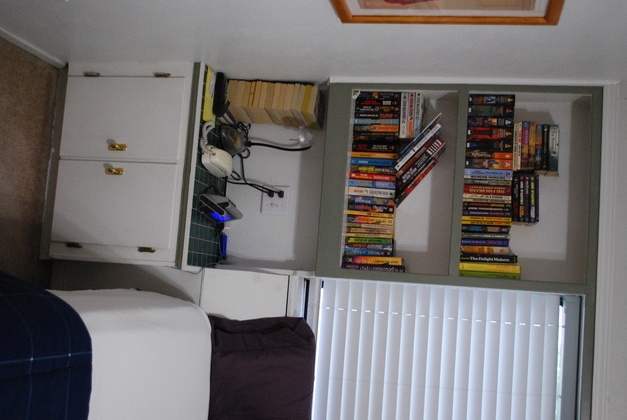
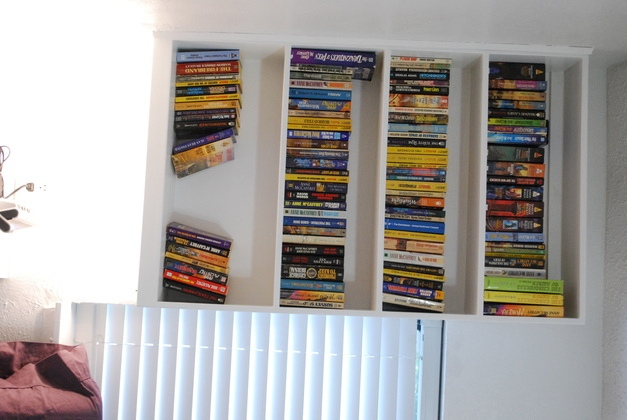
The shelves in the book case above the night stand were too tall and too few and there was a board between the tops of the two bookcases that made the room look smaller.
Also there are old timey magnetic ballast, slow start, flourescent lights in the deep pockets under the two bookcases and they were too low to cast enough light for reading in bed.
Since we were redesigning the entire west wall of the master bed room, this was the time to fix these things.
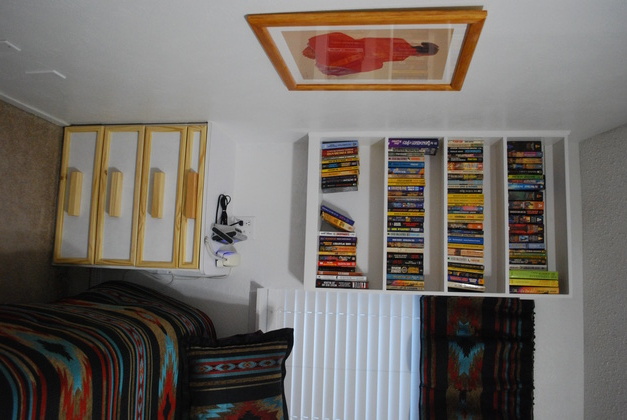
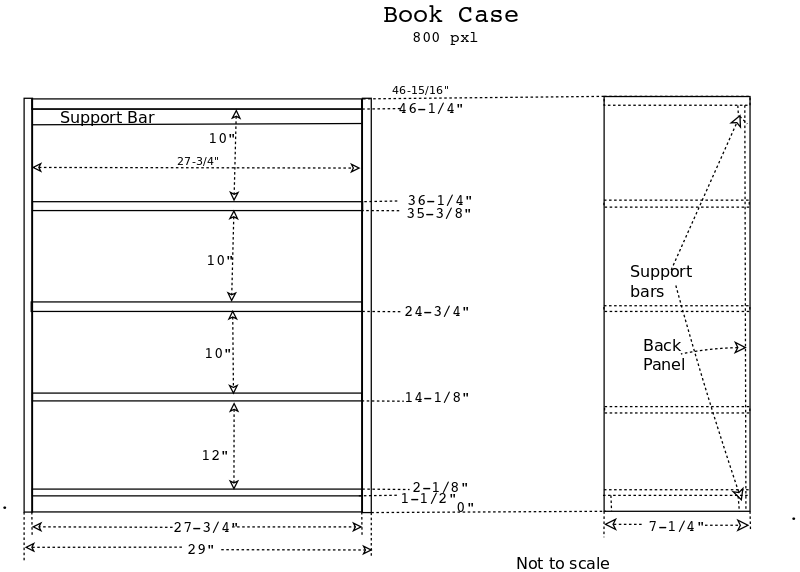
The new bookcase's bottom shelf would have 12" clearance, the next three would have 10" each.
You always have a tall book etc. so the bottom shelf is taller.
The frame and shelves will be 11/16 X 7-1/4" (1x8) pine with a 3/16" plywood back panel.
In addition to the two support bars, at the back, there will be a 3/4 X 1-1/2" (1x2) front bottom bar to help suport the bottom shelf and to form a pocket at the bottom to hide an LED light.
The support bars will be fastened to studs in the wall.
* Since I sawed this lumber from 2x8s I am using the exact dimensions.
Click for Larger Pic
Resawing 2x8s Into 11/16" Thick Boards
|
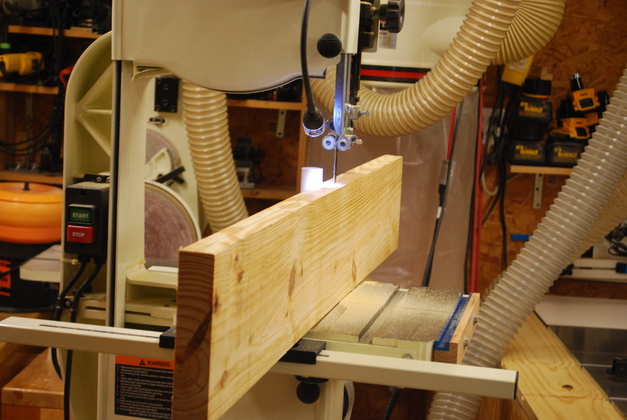
2x8, cut to length being resawed.
The 1-1/2" 2x board, if cut in the center, the kerf is 1/16" plus another 2 X 1/32" for two jointer passes means I loose 1/8" each time I resaw.
This leaves 1-1/2" - 1/8" and divide by 2 yields two boards 11/16" thick.
Please take a look at my resawing page, my resawing guide page, and my resawing 2x8 into lumber page.
|
|
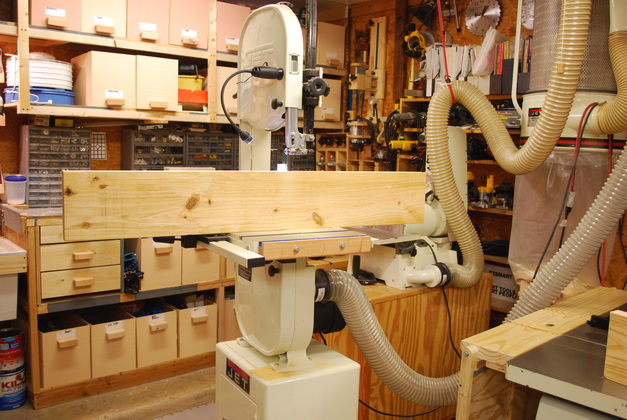
This 2x8 is 48" long and will be both sides of one of the new bookcases.
|
|
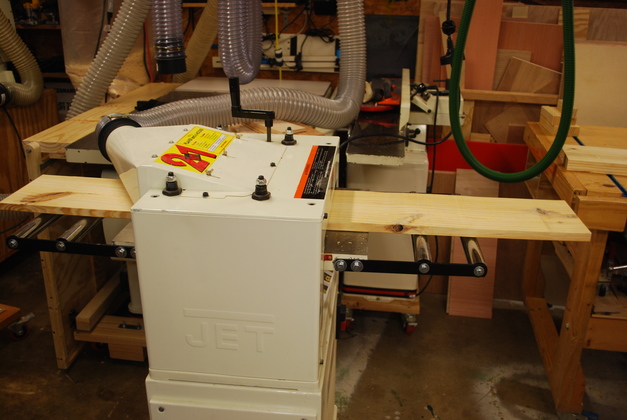
Resawed board being planed to remove the bandsaw marks.
Jointer is too narrow for these boards.
These will be 11/16" thick after planing.
|
|
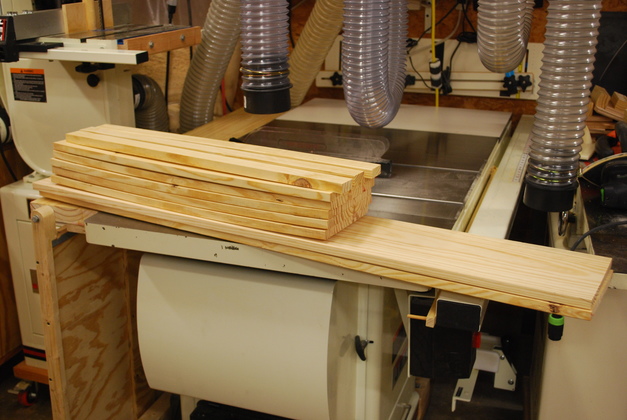
Support bars, shelves, and sides for a bookcase, sawed from 2x8s, ready to assemble.
|
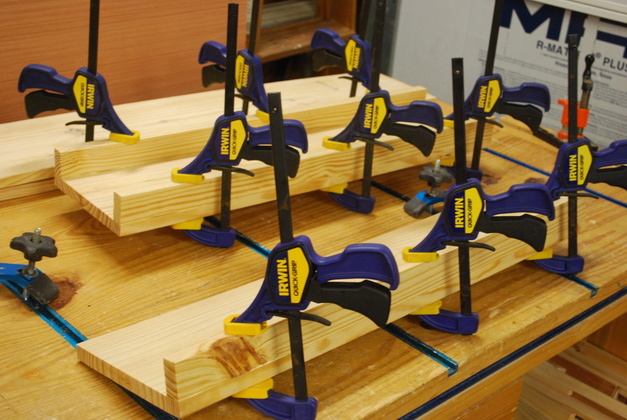
|
Support bars being glued to top and bottom shelves.
|
|
Being set up for gluing shelves, face down.
You can see the upper and lower support bars.
|
|
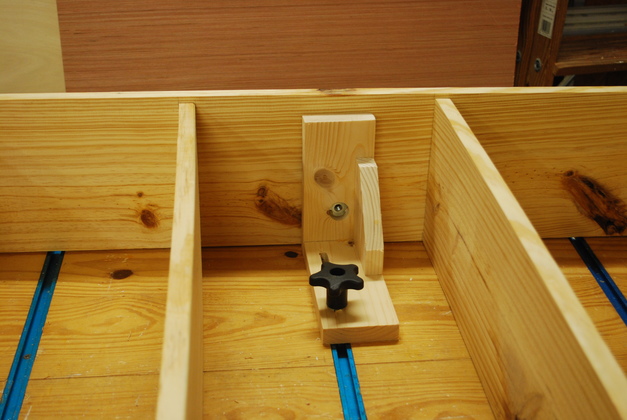
Using my vert braces to hold things up while I mark etc.
|
|
Gluing in the shelves.
Its a pain to clamp front, back, and middle of each end of each shelf so , since these will be painted white, I use glue and screws.
I clamp the shelf in place, then mark, drill, and countersink.
I'll spackle the wallboard screw heads before I paint.
|
|
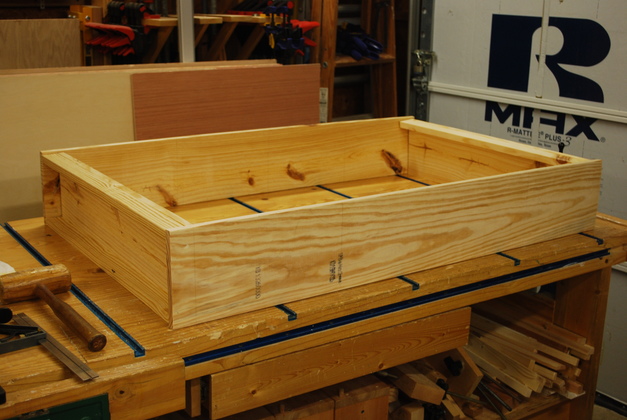
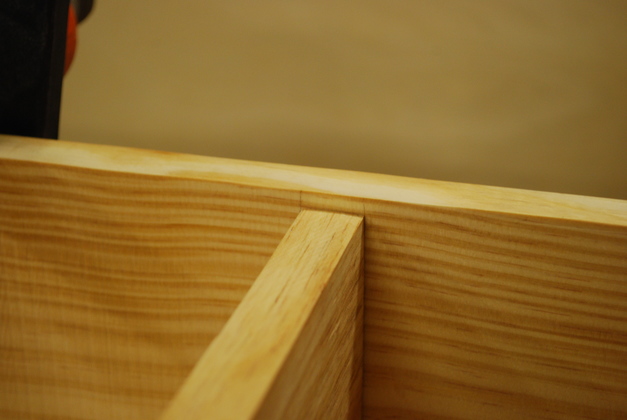
Since this is the back of the bookcase you can see the shelves leave clearance for the back panel.
After the shelves are set, I'll rout a rabbet in the side then glue in the back panel.
|
|
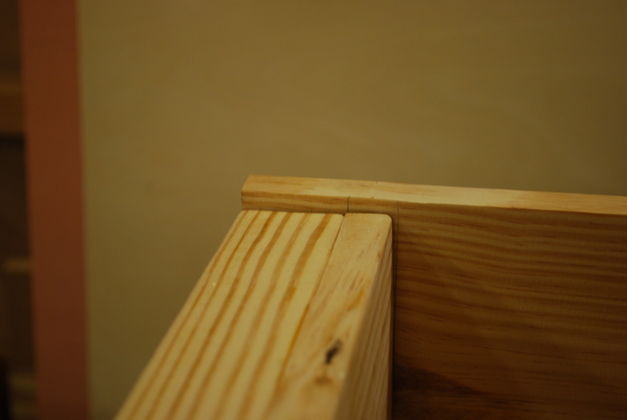
The bottom and top shelves are also set back from the back edge for the back panel.
|
|
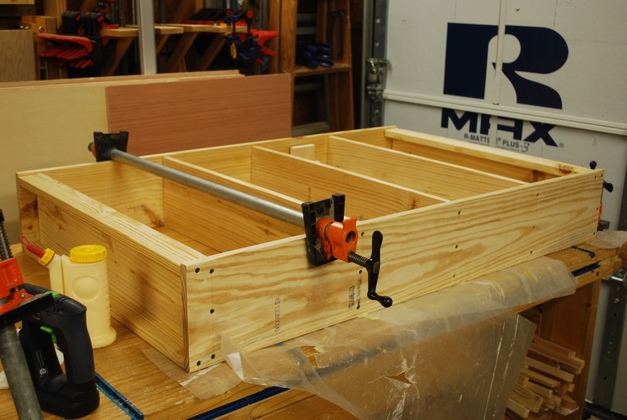
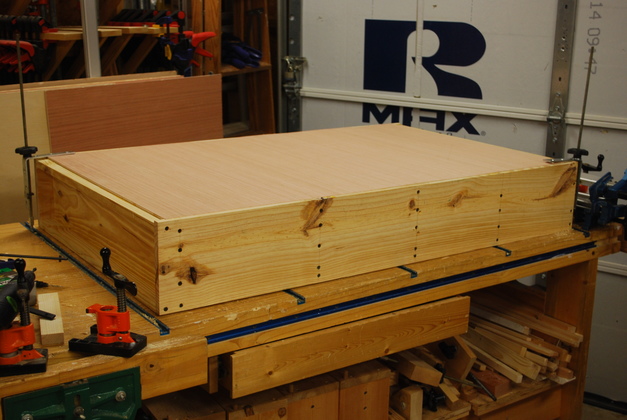
Bookcase assembled, the back is glued to the side rabbets and the back of the shelves.
You can see all the countersunk screw holes where each shelf and crossbar are.
You can also see the large knots since this was originally structural lumber (2x8).
|
|
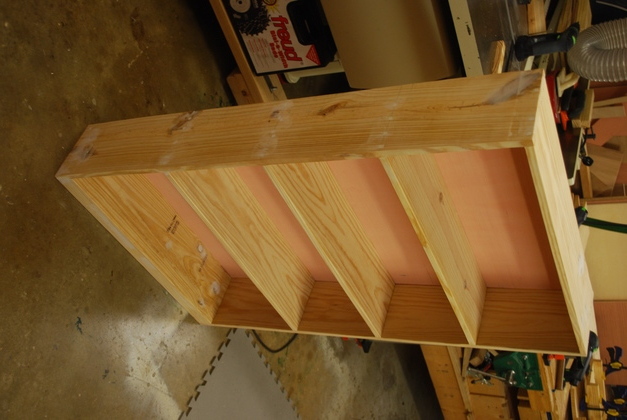
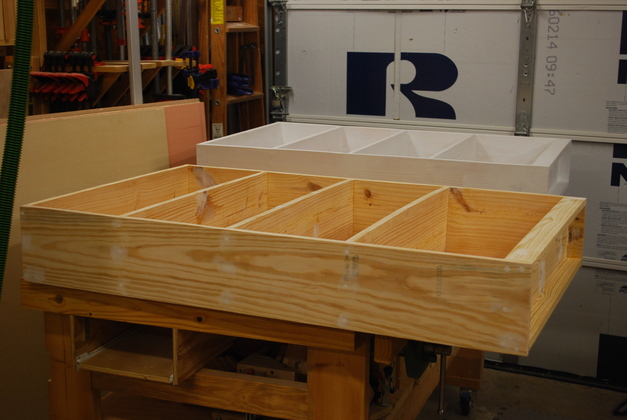
First bookcase, spackled, ready to sand and paint.
I spackled all the screw holes and a few knots since this will be painted white.
Bookcases are nice for using resawn lumber or even slightly crooked lumber, when you glue and screw the frame sides and back that forces the shelves to be straight.
Ocassionally I have to spackle one of the knots to make it completely disappear before I paint.
|
|
One primed, one ready.
I know it doesn't look like it but they are exactly the same size.
|
|
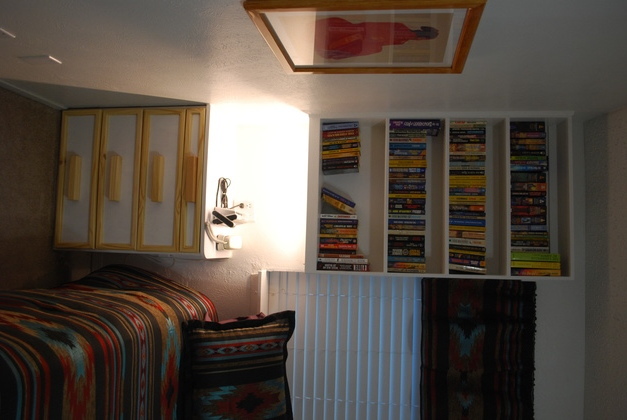
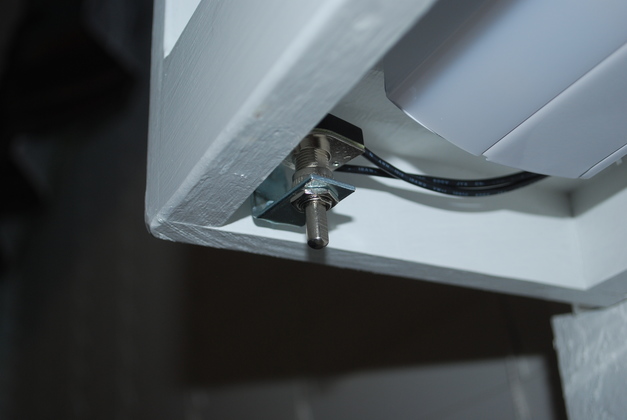
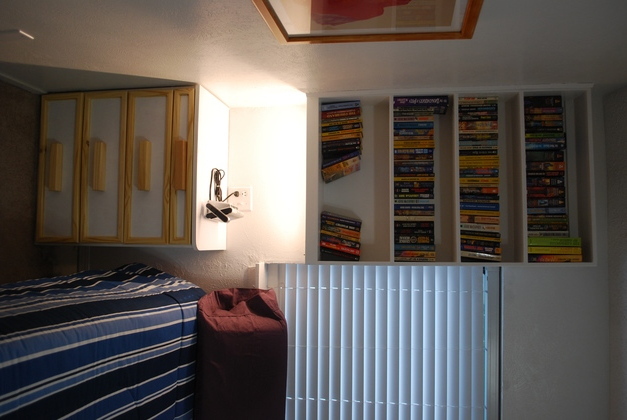
I built this little bracket for the under cabinet lights and placed it in the front corner, next to the bed, so it would be convenient to turn on or off while in bed.
|
|
You can just see the little push button sticking down under the corner of the bookcase.
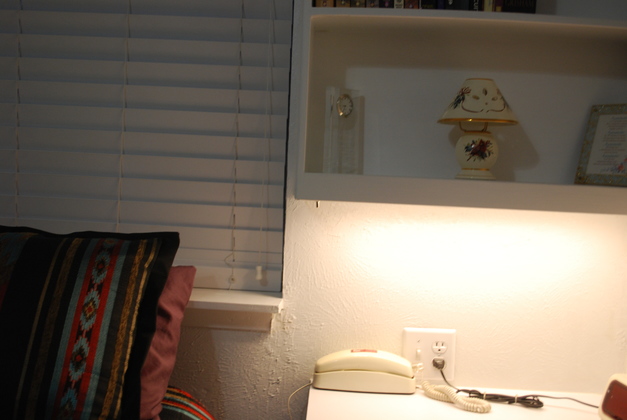
Finished.
|
|
Finished.
|
|
Bookcase and nightstand.
|