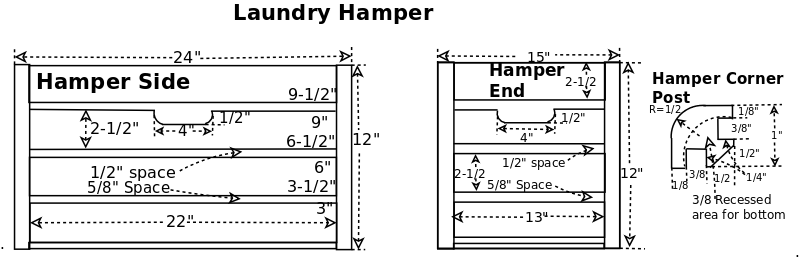
In order to reduce weight, per April Wilkerson's suggestion, the hamper's sides and ends will be made of 2-1/2" wide, 3/8" thick cedar slats with 1/2" spaces between.
The hamper's bottom will be solid 3/8", edge joined cedar.
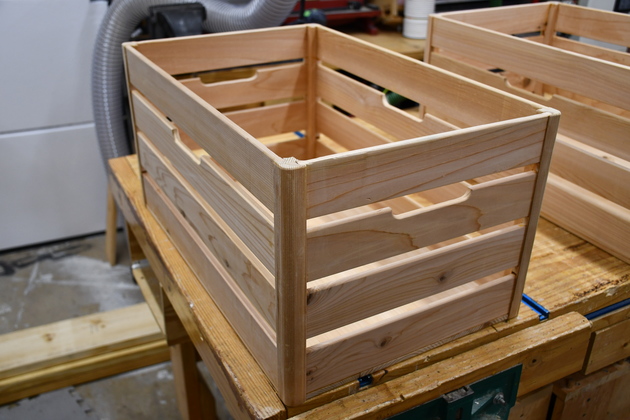
The handles are 1/2" holes sawed into the top of one slat, the 1/2" space above it allows a full inch for the fingers.
This way no slat is missing more than 1/2" of it's height keeping it stronger.
Another idea, I'll probably put felt glides on each corner of the hampers for when they get set on the floor etc.
You may notice that the shop overhead door has changed since the beginng of the frame construction, it has an extra inch of foam board on the inside covering most of the metal frame.
Lumber
|
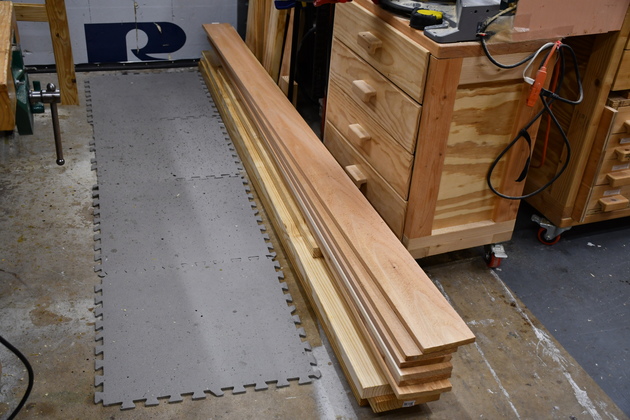
And I bought the cedar 1x6s laying on top of 2x8s for the drawers.
|
Assembly
|
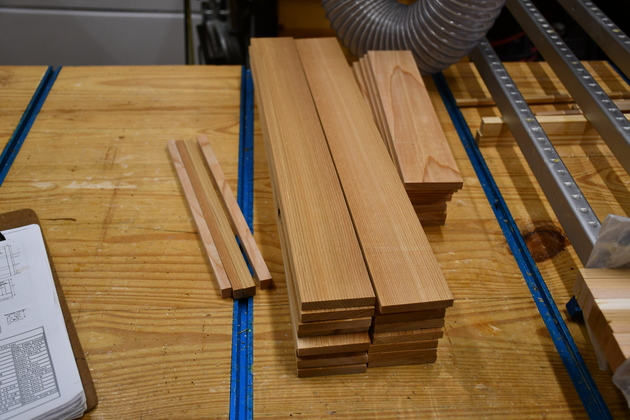
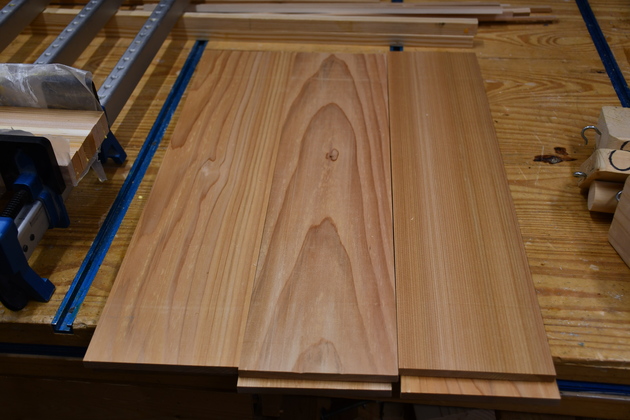
Cedar slats after they have been ripped, cut to length, and planed to 3/8" thick.
The little 1/2 X 3/8"strips will be cut up into 1/4" long spacers for the slats.
|
|
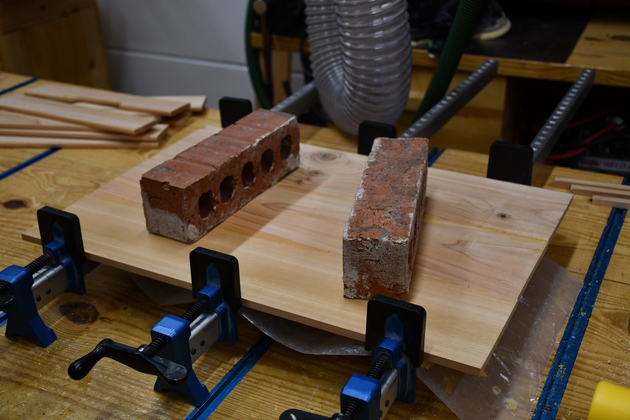
These are the cedar for the two hamper bottoms, ready to edge join.
|
|
The bottom pieces being edge joined.
|
|
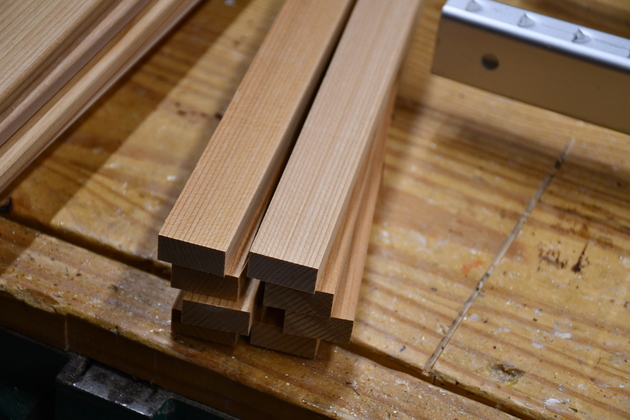
The 1/2" X 1" X 12" pieces of the corner posts.
|

|
The 1 X 1/2" cedar strips for the corner post being laminated into 1 X 1s.
|
|
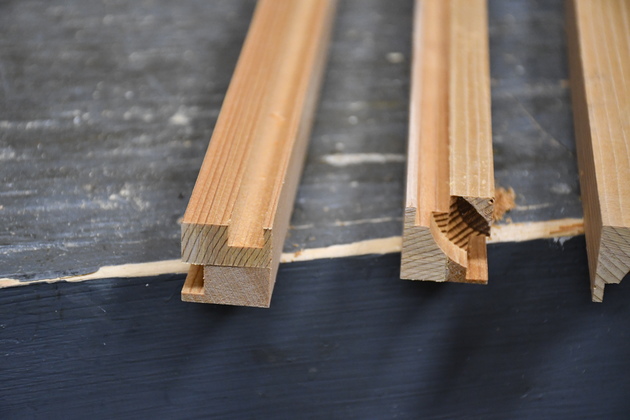
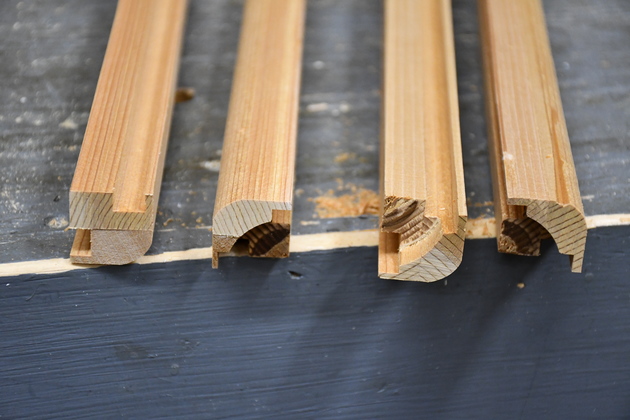
Here I've cut the rabbets in the bottom end of the corner posts.
|
|
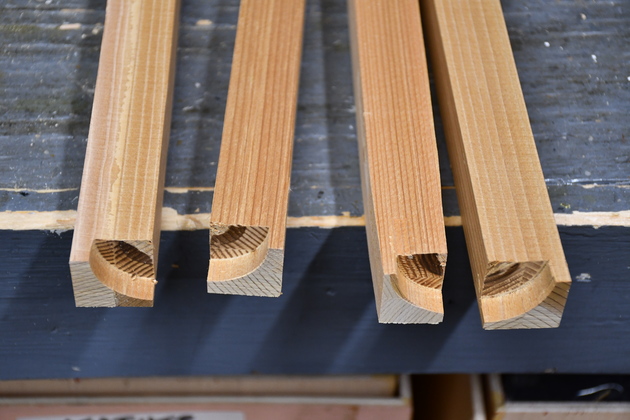
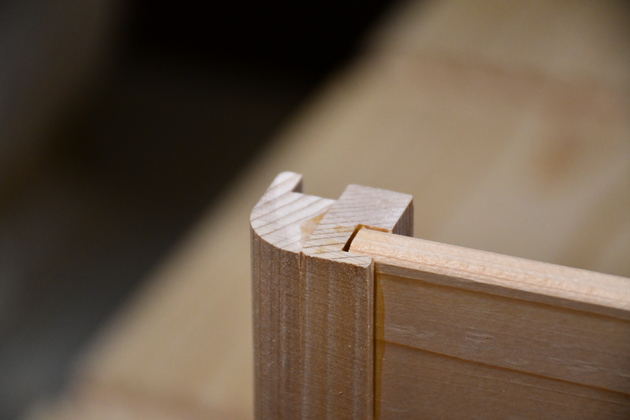
Now I've cut the grooves for the side/end slats.
|
|
And rounded the outside corners.
|
|
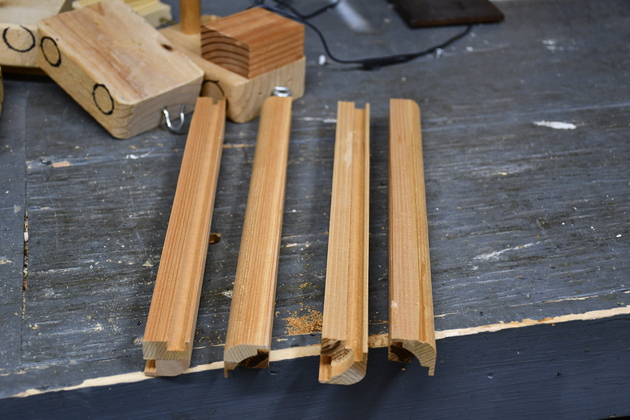
Corner posts are now ready to use.
Note the "emergency toys" in the background, our great grand kids finally outgrew them so I'm retiring them.
|
|
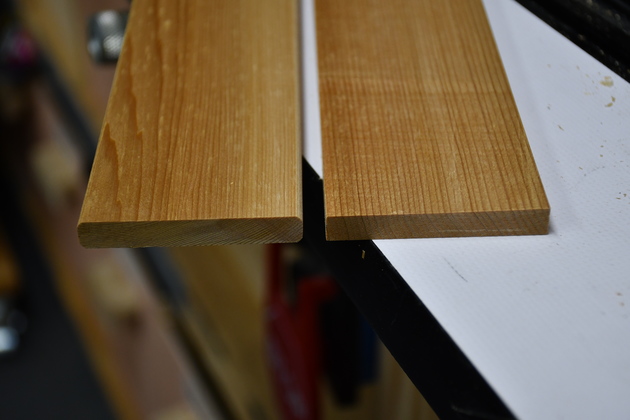
I rounded the edge of the slats (left), it makes it nicer when you pick it up.
|
|
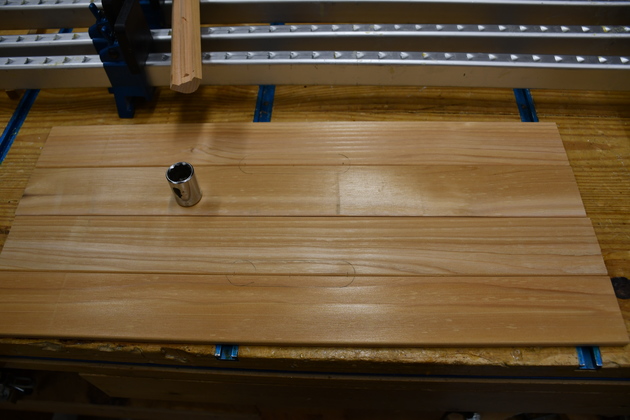
Slats for one side laid out.
Note the 1" OD. socket.
|
|
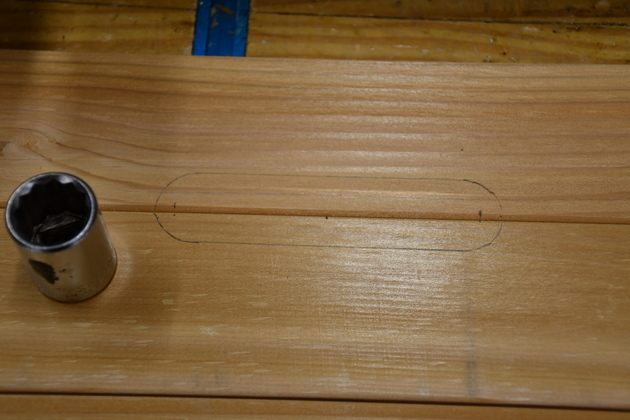
I laid 2 slats (one for each side), found the center, then used this socket to mark a 1" diameter circle across the boundary.
Next, I'll saw out the oval area of each.
|
|
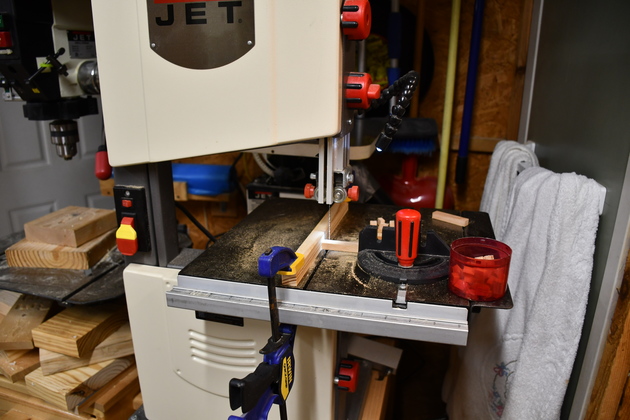
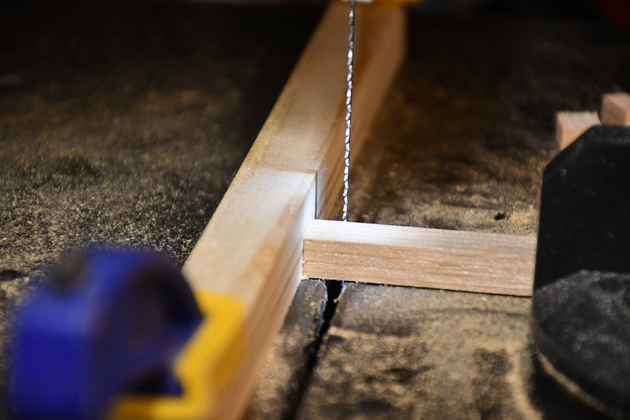
Sawing the slat spacers.
I ripped a 3/8 X 1/2" strip and then sawed off 1/4" pieces for spacers between slats.
|
|
Close up of sawing slat spacers on the 10" bandsaw.
I clamped on a piece of 3/4" X 3/4" strip to serve as a fence.
|
|
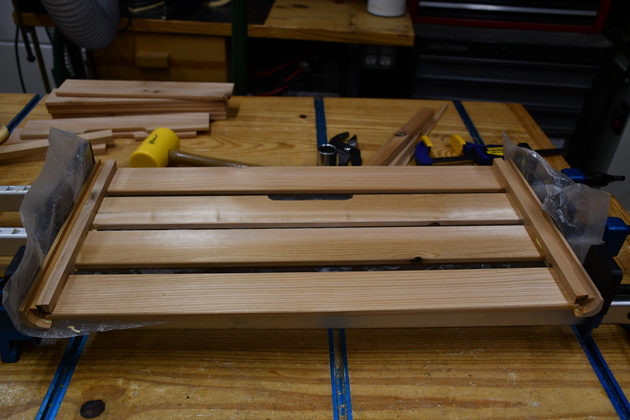
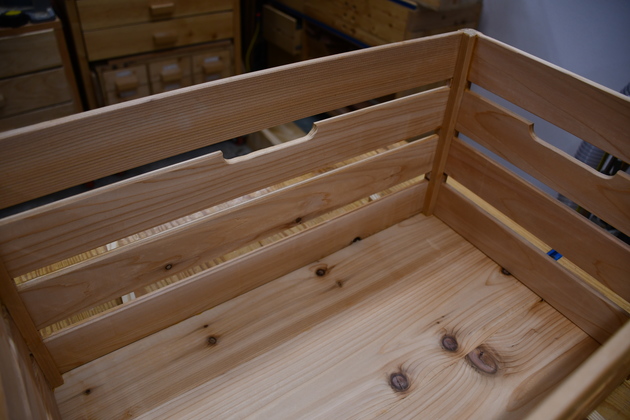
Looking at the bottom of a hamper side, the 2nd slat from the far side (top) is one of those I marked then sawed for handle clearance.
|
|
Pic of one corner post after the side slats are glued.
Note the little spacers between slats.
|
|
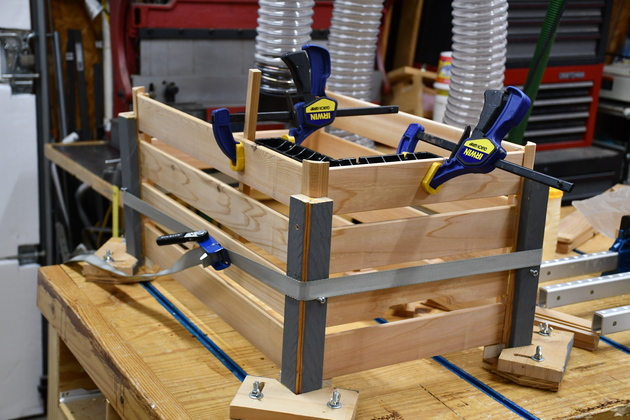
Gluing in the end slats (also glues the sides together).
Its hard to see but theres one slat on the far side to keep the sides aligned.
|

|
Gluing in the other end slats.
|
|
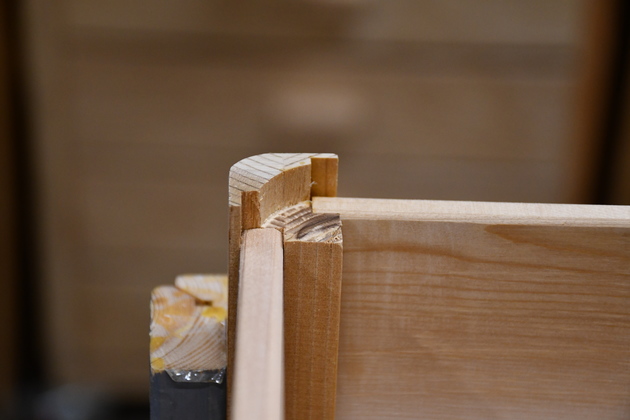
Bottom rabbet on bottom end of corner post.
Note the rabbet is flush with the bottom of the slats, the bottom will be glued to the slats.
|
|
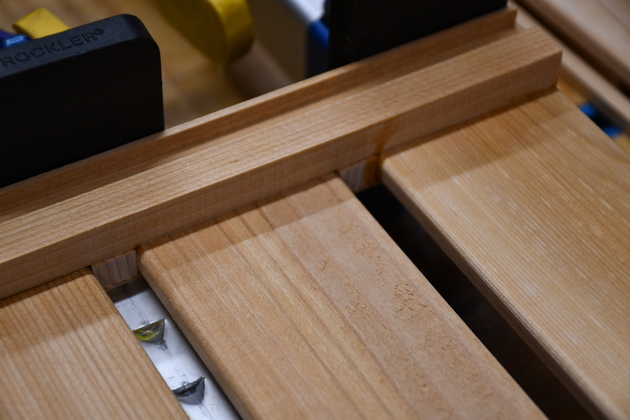
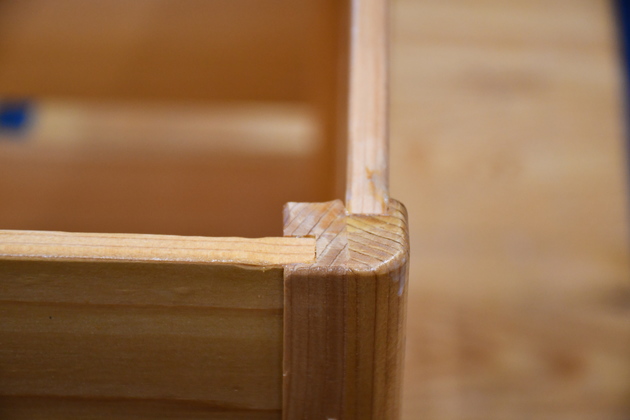
Look at top of corner post with one slat glued in.
|
|
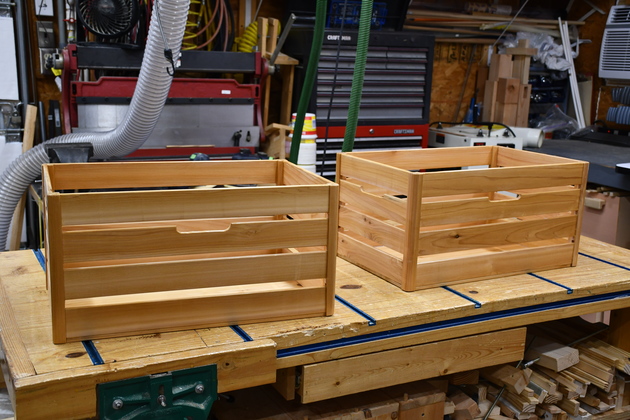
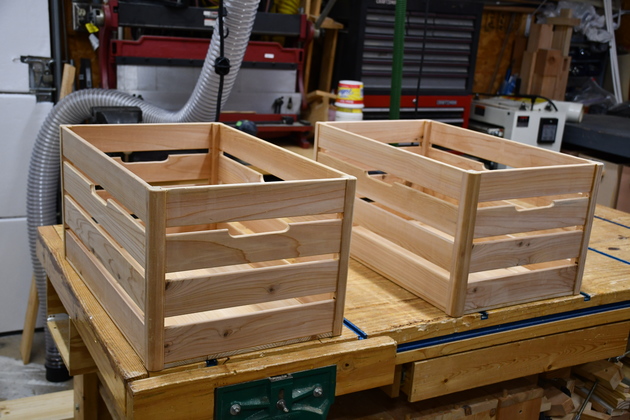
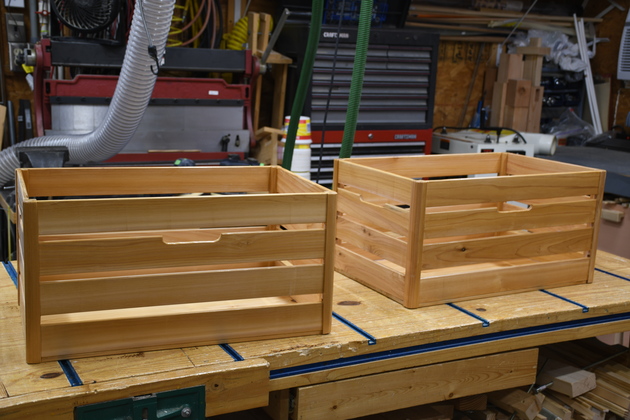
Both hampers glued together, ready to sand.
|
|
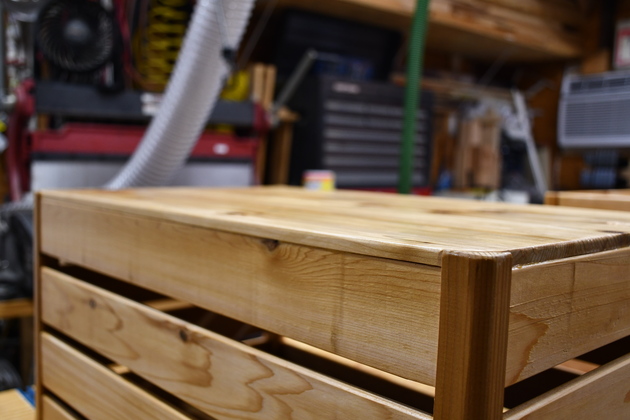
Hamper after sanding an rounding off corner post edges.
|
|
Pic of bottom glued in.
|
|
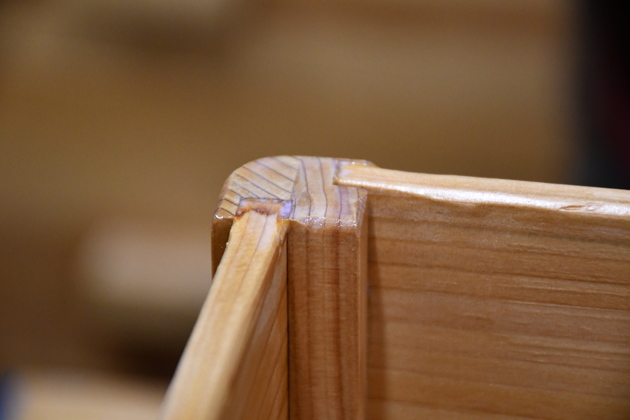
Close up of bottom corner.
|
|
The bottom is glued to all 4 bottom slats and the corner posts.
|
|
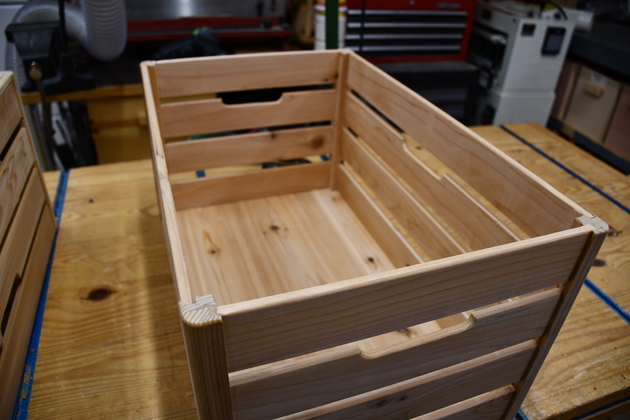
Inside of a hamper.
|
|
Hampers being painted.
|
|
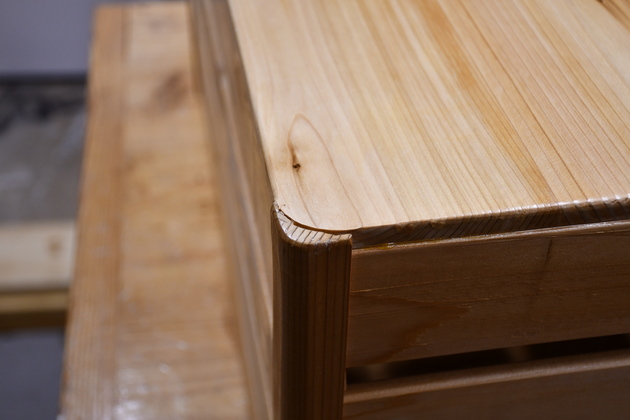
Corner post top corner showing how the slats are glued into grooves.
Note how the edges of the corner post are rounded.
|
|
Inside of corner post.
|
Finished
|
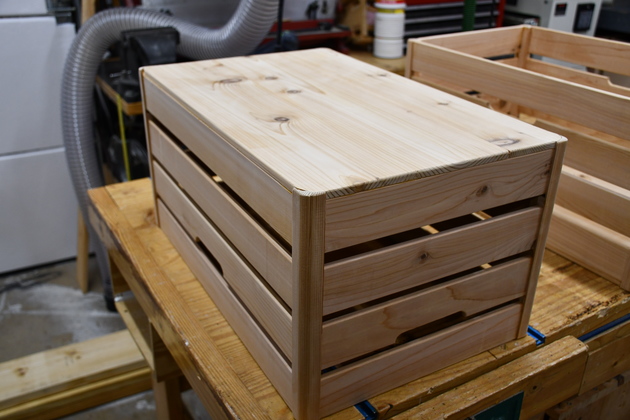
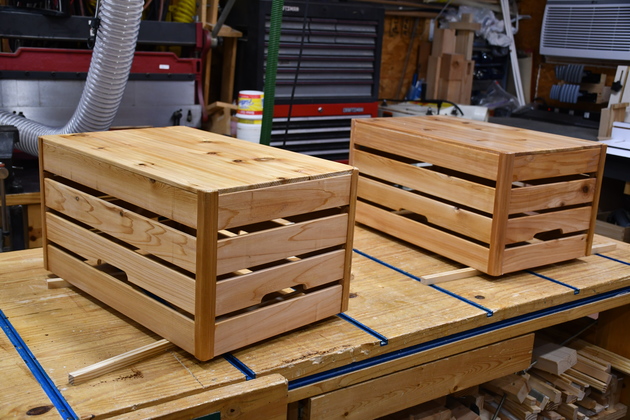
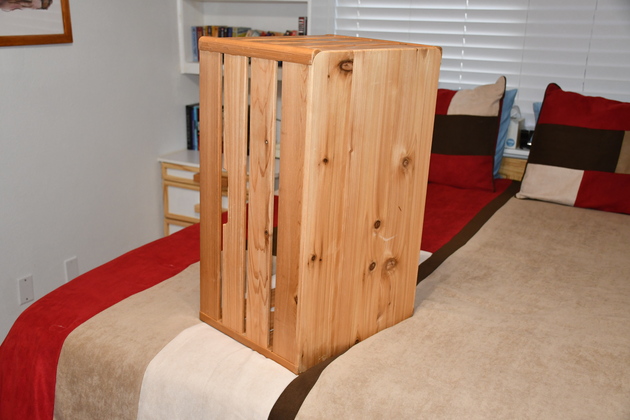
Hampers ready to put on the rack.
These hampers weigh 5.4 Lbs.
|
|
The inside of a hamper.
|
|
Bottom of a hamper.
Notice it is, like the rest of the hamper, also made from 3/8" edge joined cedar.
|