| 
| 
| 
|
|
Clothes Hanger Storage
| |||
|
|
|
|
|
|
Clothes Hanger Storage
| |||
| Diagram | Const Info |
We have always seemed to have a number of clothes hangers laying around, being in the way, so I decided to do something about it. I had seen several clothes hanger storage devices in dry cleaners etc. so I decided to make one. I measured all the largest and smallest hangers in the house and came up with the dimensions on the diagram.
I figure I can make this from 1/4" Baltic Birch plywood from Rocklers. In either case add a 1x6 by 23" long base, if you want to set it on the floor. I'll miter the corners and glue it together, just like I have done many other projects, except for the shoulders they aren't at 90°. The only trickey part will be the angled front miters, If I miter the side at 45° and the sloped front at 22-1/2° (both chamfer bits are available from Rockler) I think it'll work.
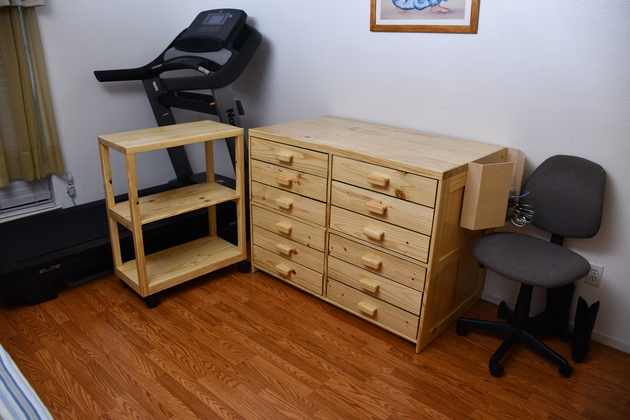
I can hang this on the side of the work table so the top is flush with the top surface of the table, or ,with a base, sit it on the floor or table top. The hanger storage in taylor, dry cleaning shops is about 30" high, but we don't have that many hangers (about 3 hangers / vertical inch).
I'm using mitered glue joints everywhere. The shoulders are more than 90° so I'll cut one side at 45° and the other at 22-1/2° The total angle is 45° + 22-1/2° = 67-1/2° if you would prefer, you can chamfer both edges at 30° resulting in 60° but the hangers will be very snug. I use my router table with a chamfer bit, usualy 45° on the edges that will join. In this case two edges of each front piece (7-21/32" X 12-1/4") will be mitered with a 22-1/2° chamfer bit. The 22-1/2° and 45° chamfers won't quite match up, the 45° chamfer will be slightly longer but you'll still get a good glue area.

|
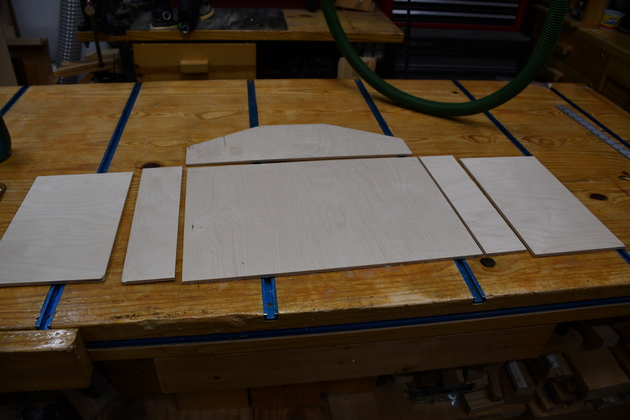
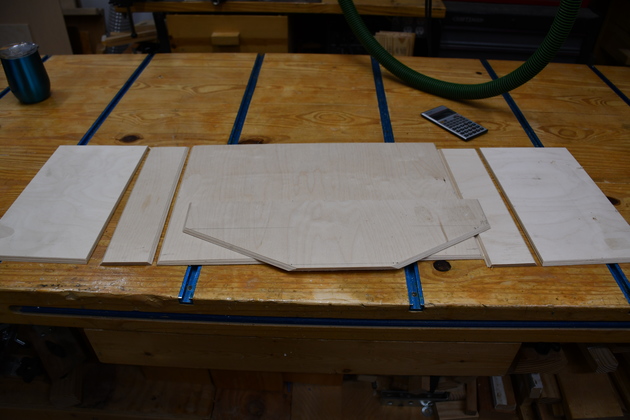
1/4" thick baltic birch plywood, cut out per diagram above. |
|
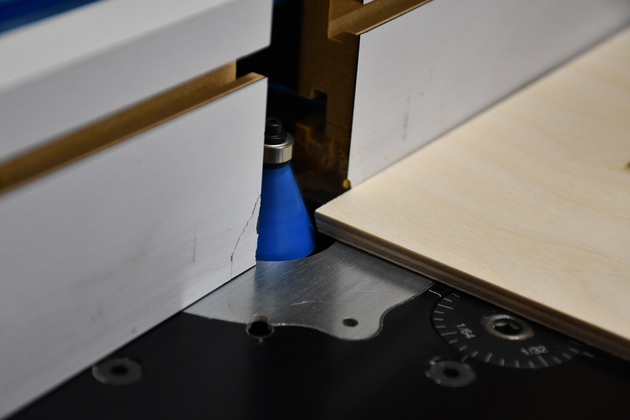
Cutting the miters. Thats a 22-1/2° chamfer bit. |
|
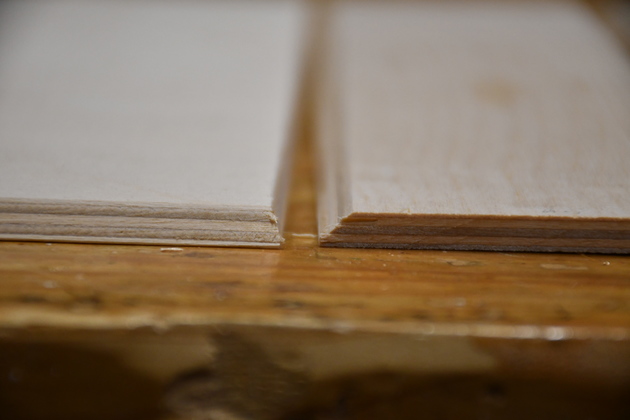
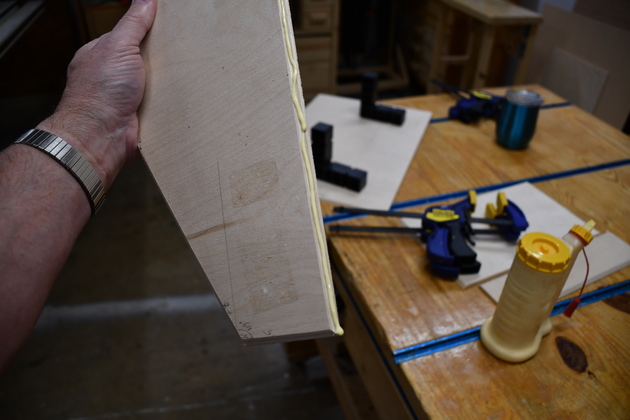
The shoulder joint, the miter on the right is 45° the one on the left is 22-1/2°. |
|
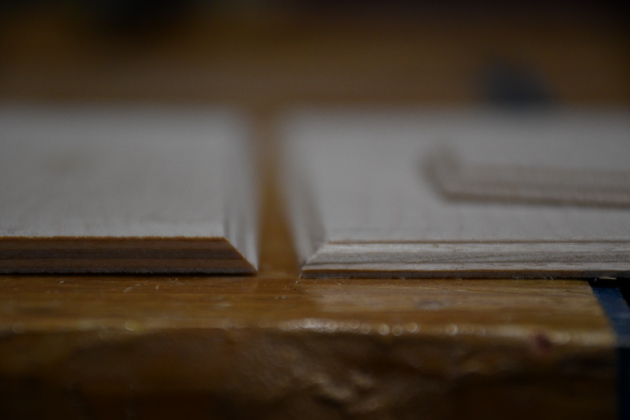
A pair of 45° miters, this will make a 90° angle. |
|
All the miters cut. |
|
Glue on bottom piece miter before clamping. |
|
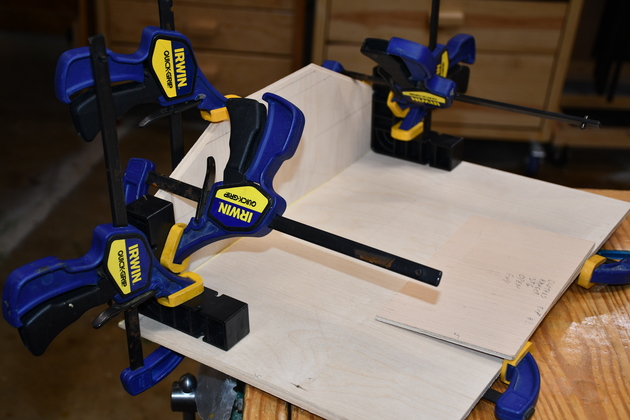
Bottom being glued to the back. Note the clampits at each end keeping the angle at 90°. |
|
The other side of the bottom being glued to the back. |
|
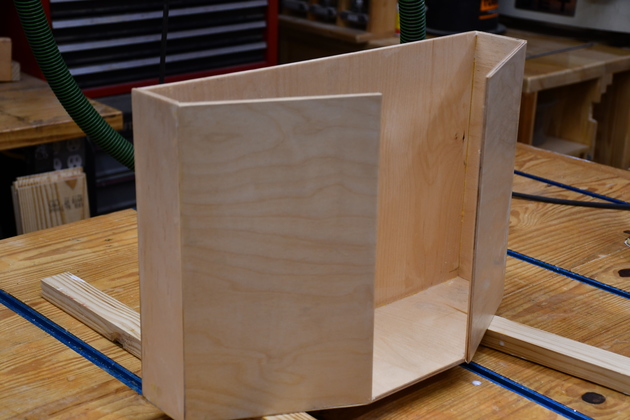
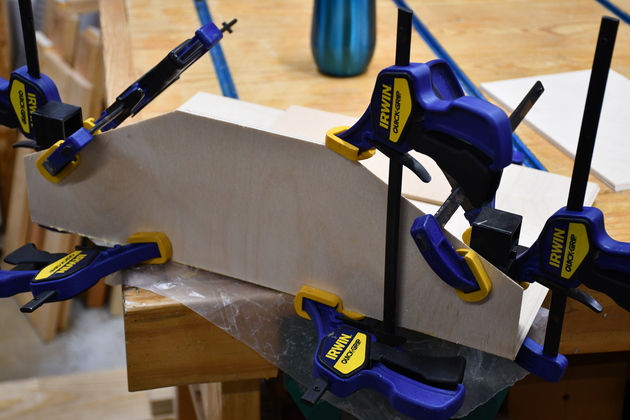
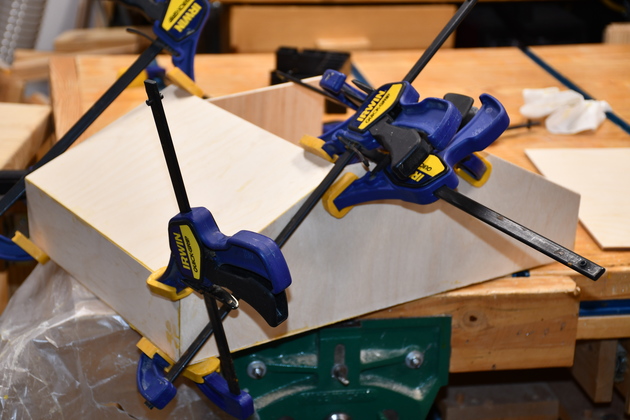
Both sides are glued, now gluing one of the front pieces. |

|
The piece standing vertically is a brace for gluing. If I make another of these I'll biuld a more solid brace. |

|
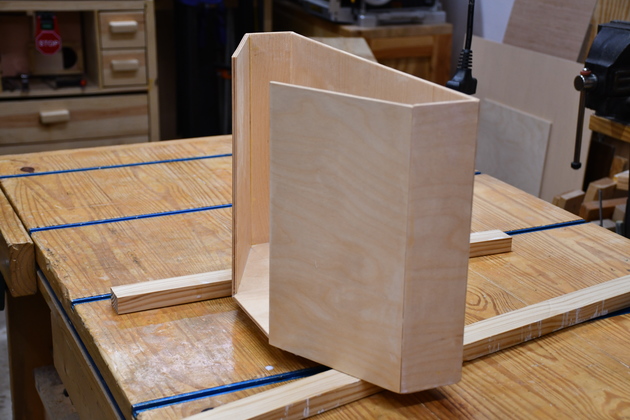
All glued ready to sand. |
|
|
1st coat of paint, clear polyurethane. |
|
From the other side. |
|
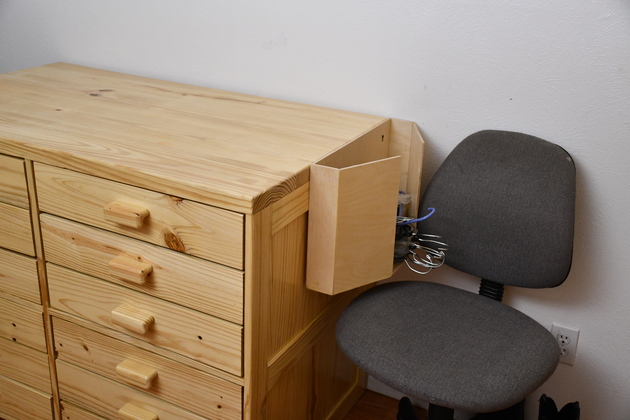
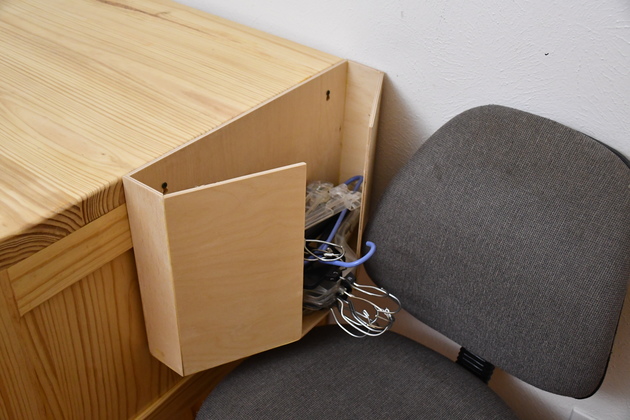
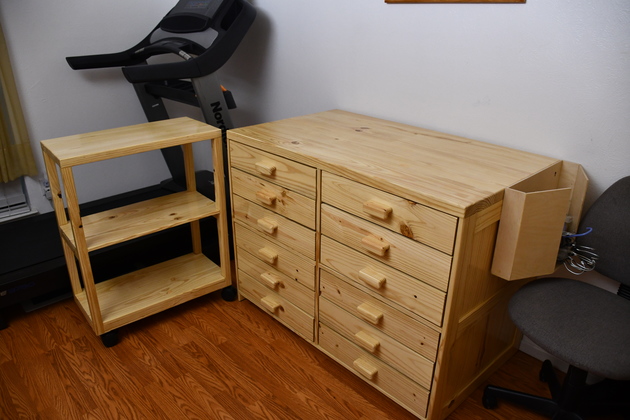
Installed on the side of the folding table. |
|
|
I hung it so it was flush with the top. |
|
|
|