| 
| 
| 
|
|
Work Table
| |||
|
|
|
|
|
|
Work Table
| |||
| Construction Info | Lumber | Top | Frame |
| Inset Panels | Drawers | Roll-Around Table | Clothes Hanger Stg |
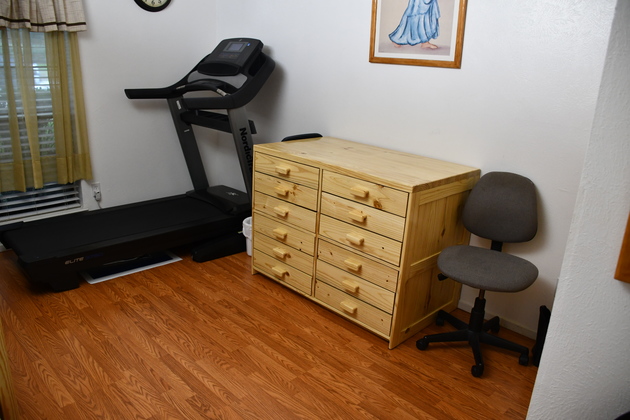
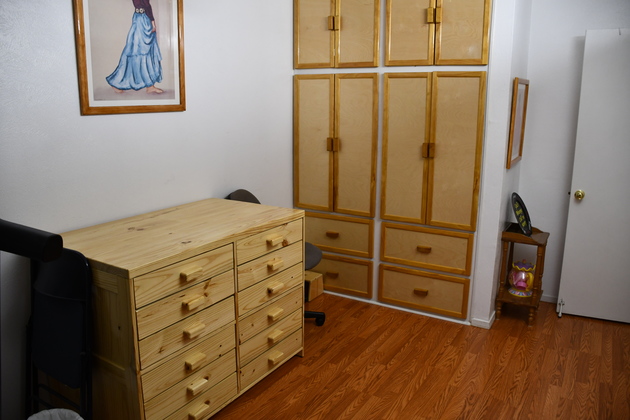
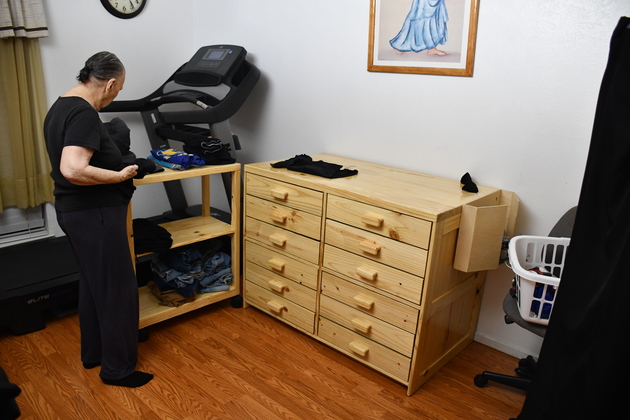
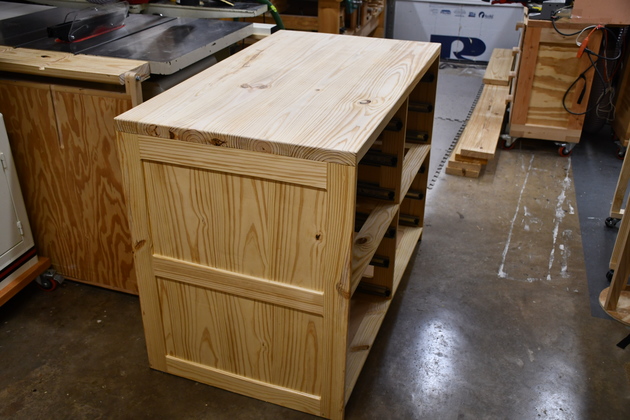
We decided to make our front corner BR into a work and excercise room. Betty used the single bed for her clothes folding, work layout, etc. table. But we are going to give the single bed away to have room for a treadmill. So we are replacing it with a work table with lots of large storage drawers. The table is large enough to fold clothes or layout a good sized project.
OOPS!!!
Part of designing furniture for the house is the logistics of moving the new piece into it's intended location.
After thinking about the work table design, I realized my initial design could not be moved into our corner bed room, it wouldn't fit through the door and around the corner, so...
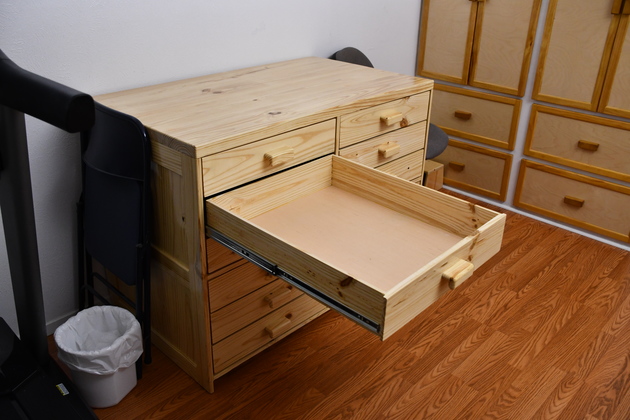
The new table design is now 28" deep by 48" long by 36" high.
I put 3 vertical frames made of 1x3 with an inset panel of 3/16" plywood (underlayment) the two outside vframes will have pine panel faces and the internal vframe will hold the inside slides. I included two horizontal frames 1x3 with inset panels for overall rigidity.
After completing the work table I am pleased with the strength of the frame. It appears that making the lower HFrame with plywood inserts greatly increased the frame's strength.
|
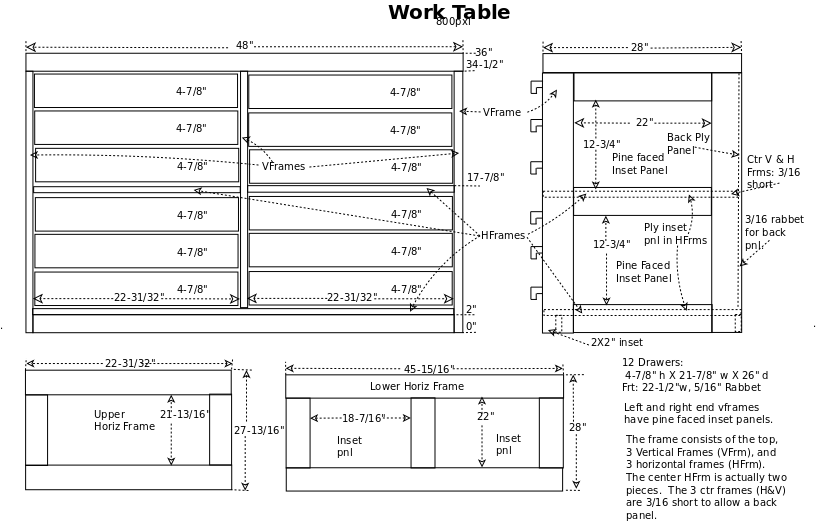
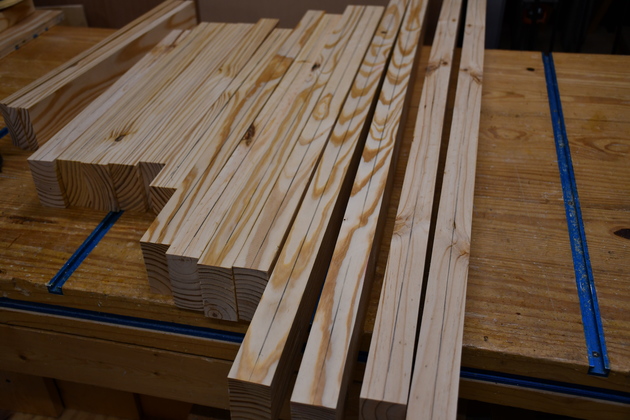
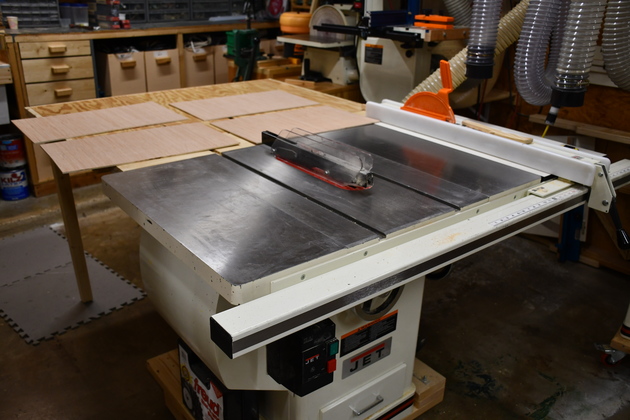
2x8s ready to be converted into furniture. |
|
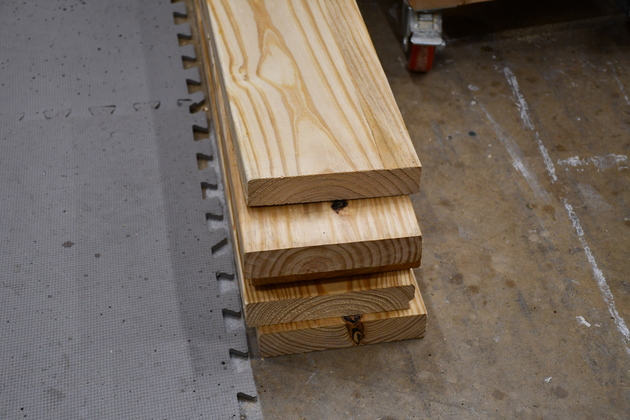
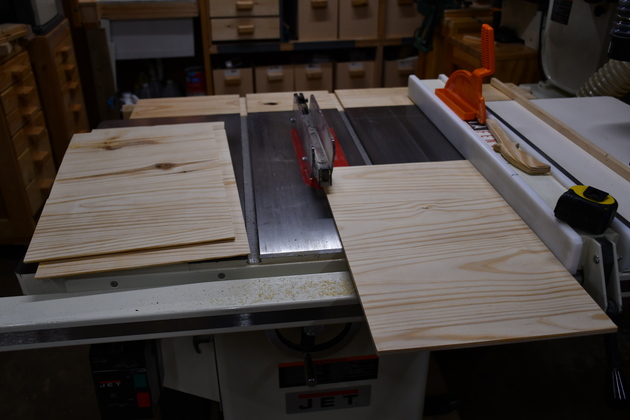
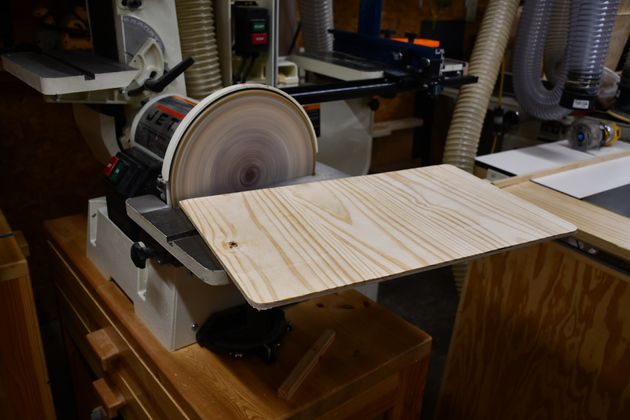
The top: 4 pieces of 2x8 x 48" long ripped to 7" wide, then edge joined with #20 biscuits. |
|
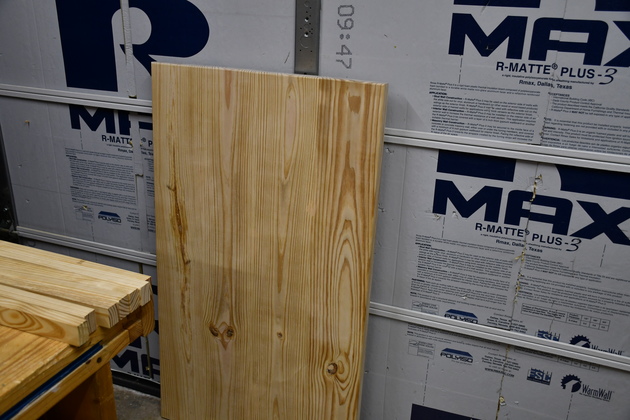
A little different presiective. |
|
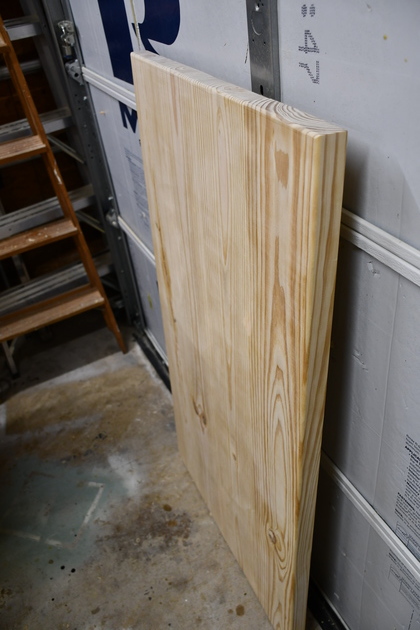
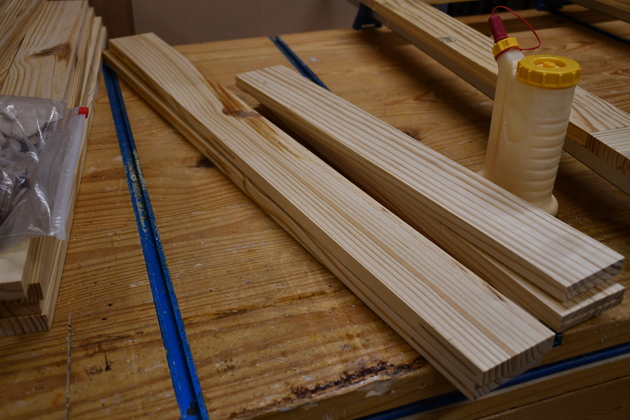
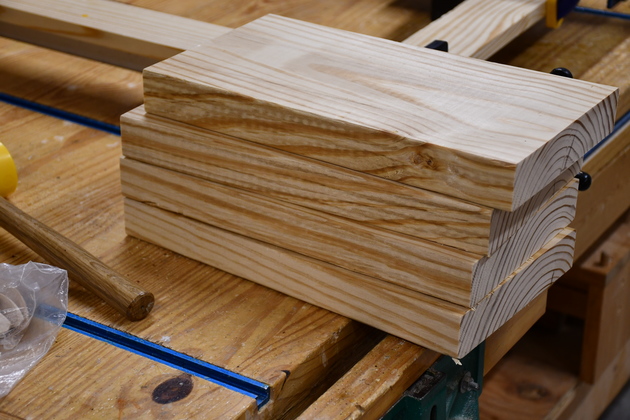
The 2x8s have been ripped 3" wide and cut to length of the 1x3s I'll need. |
|
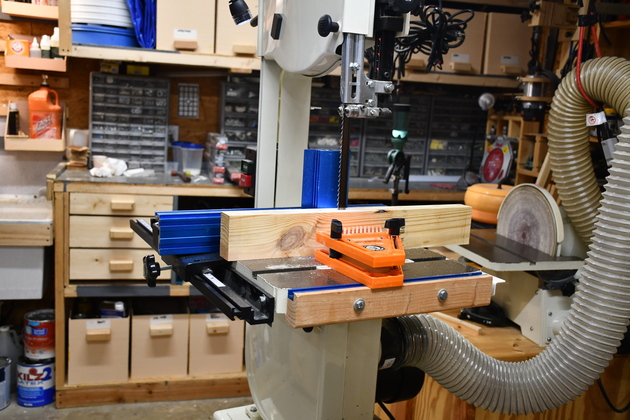
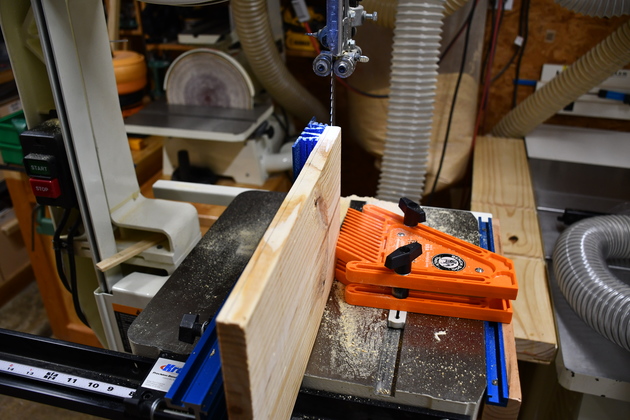
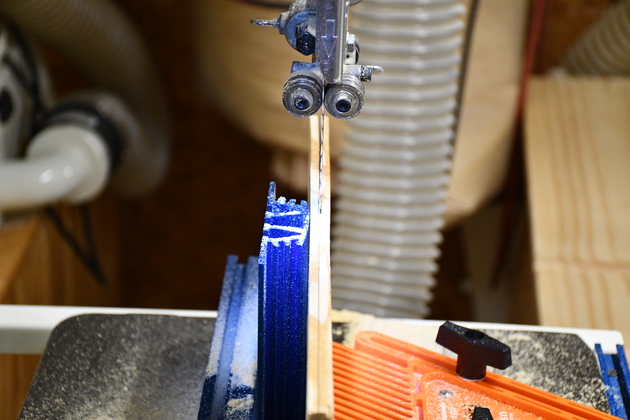
I'm resawing, cut to length, 2x3s into 1x3s. For a closer look at resawing please see my resawing page. |
|
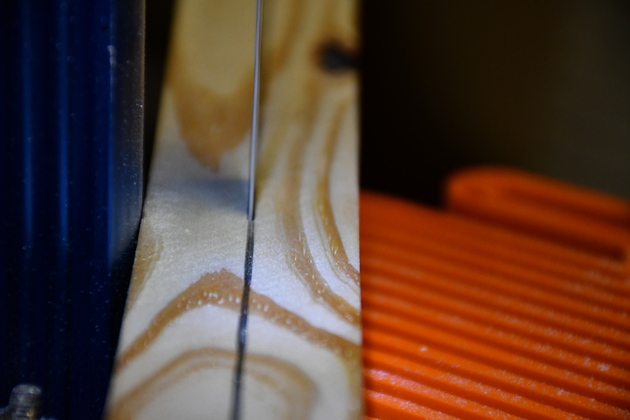
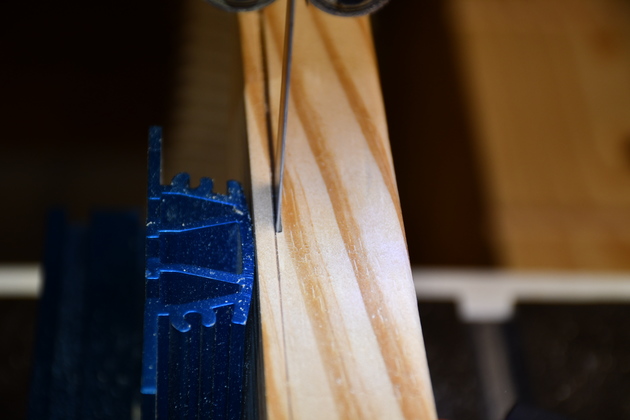
Closer look at the resawing operation. In this case I'm sawing the board into equal halves, the 2x is actually 1-1/2" thick and after resawing and planing each half will be 11/16" thick. Note the difference between this and where I'm resawing thin slabs. |
|
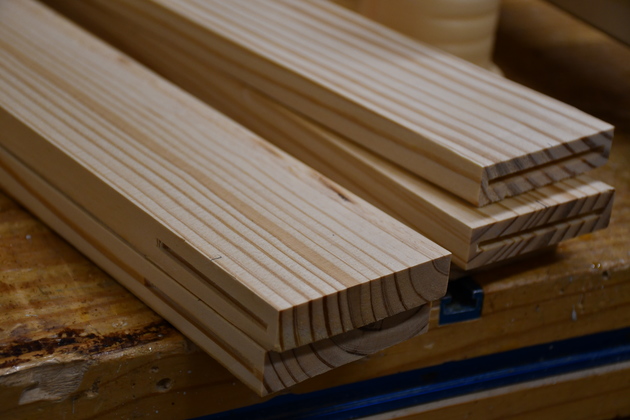
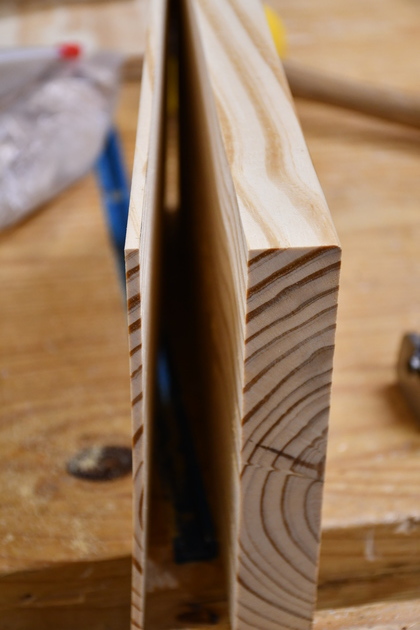
Here are the resawn 11/16" thick boards, slotted for biscuits at their joints. The biscuits are called "loose tenons", they make a joint much stronger while forcing alignment of the wood surfaces until the glue sets. For a look at how I use biscuits please see my biscuit gluing page. |
|
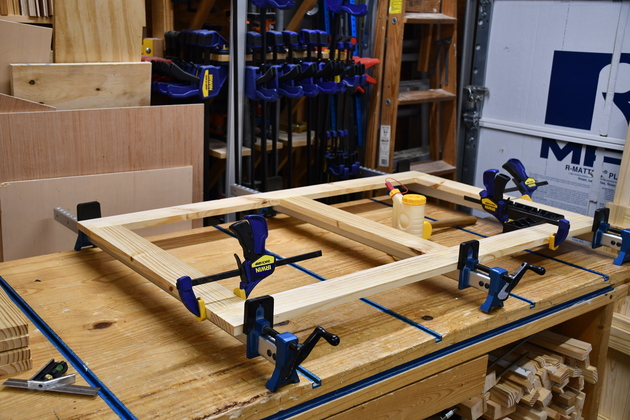
These 5 will be one of the end vertical frames (VFrames). |
|
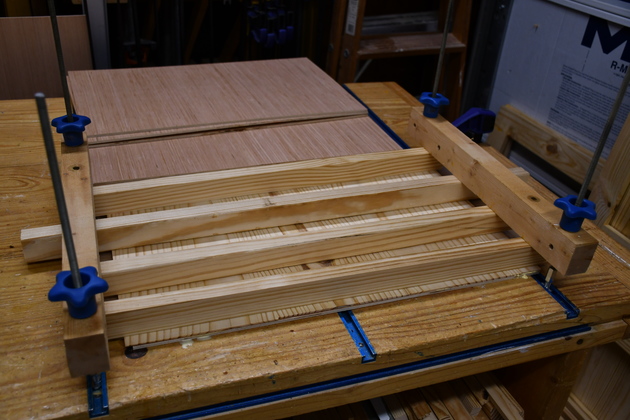
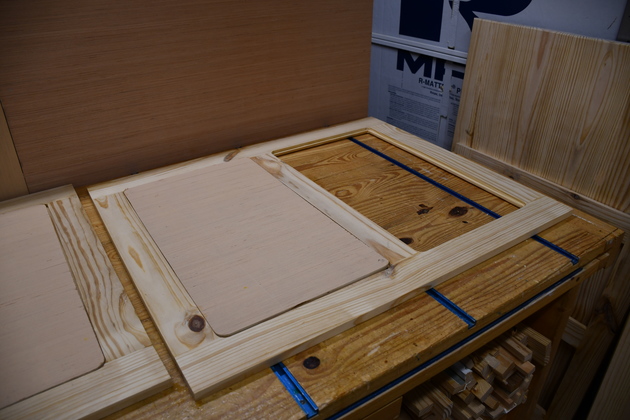
Here is one of the end VFrames in the glue clamps. I'll make pine faced inset panels for the two holes in each side. The end VFrames will have inset, pine faced panels to improve their looks and makey them much stronger. |
|
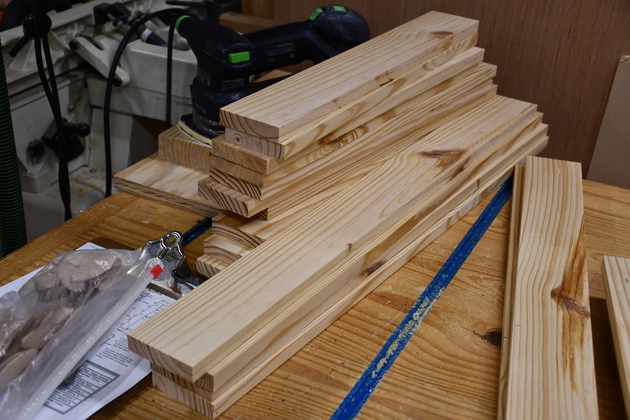
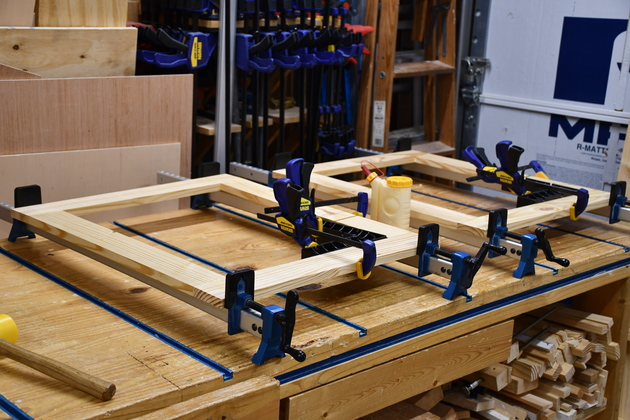
Except for the two long sides of the lower HFrame, here are the rest of the pieces for the center VFrame and the Horizontal (HFrame) frames. |
|
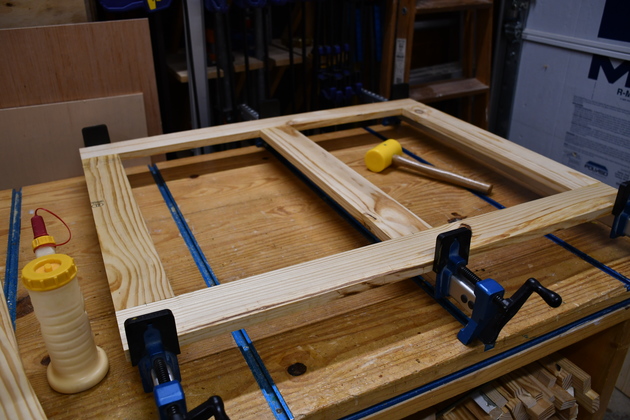
This is the center frame in the glue clamps. It only differs from the end VFrames in that its a little shorter, since it sits on top of the lower HFrame, and it will not have inset panels. |
|
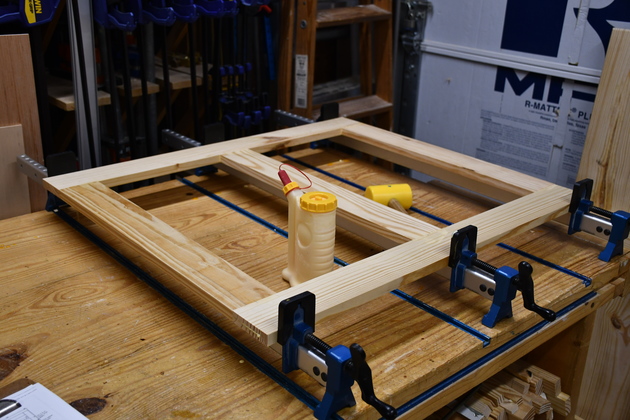
And here is the lower HFrame in the glue clamps. This will have plywood inset panels but without pine facing. |
|
The two hi HFrames in the glue clamps. |
|
One of the side verticals (VFrm) being sanded. |
|
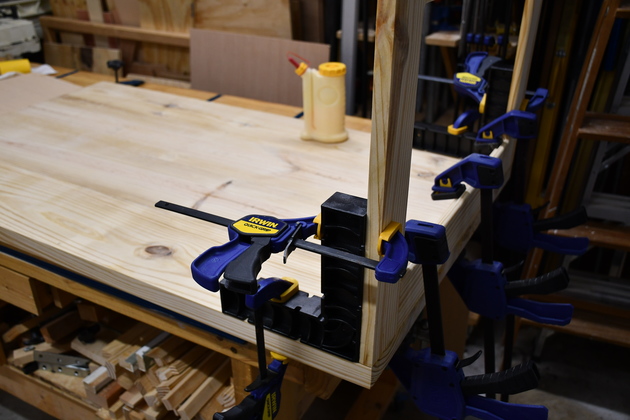
Left end being glued to the top. |
|
Closer look, notice the ClampIts holding the joint square. |
|
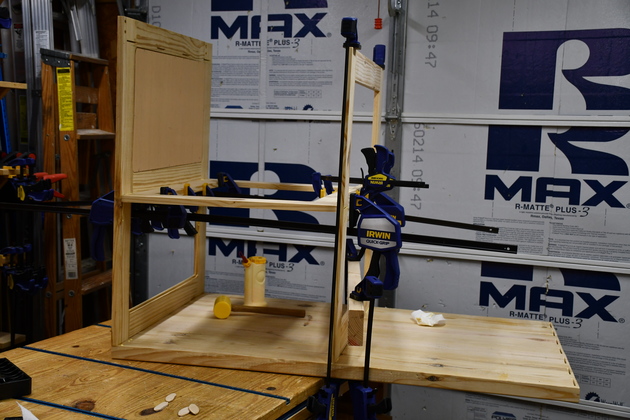
Center VFrame and left upper HFrame being glued. Something weird about the perspective here, the center VFrame looks crooked but note it's parallel with the center section of the garage door and my square also indicates its square. |
|
Lower HFrame being glued. |
|
Right end and upper HFrame being glued. |

|
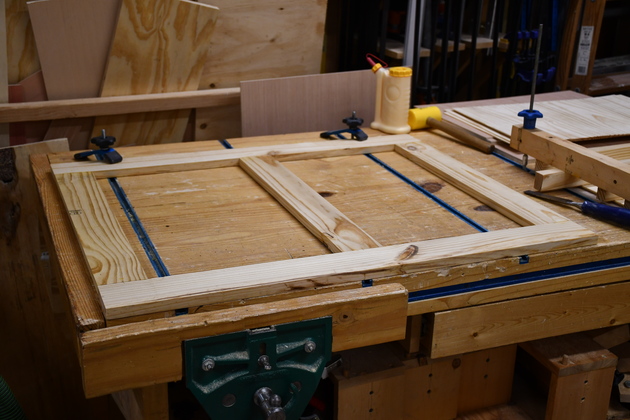
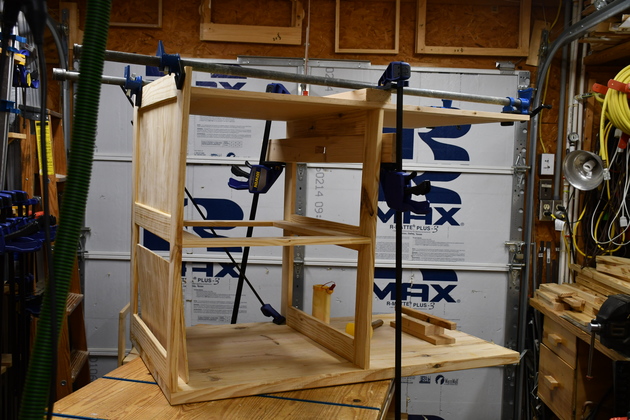
Bottom front and back trim strips being glued. |
|
different perspective of bottom trim strips being glued. The frame is starting to look like the drawing, but upside down. |
|
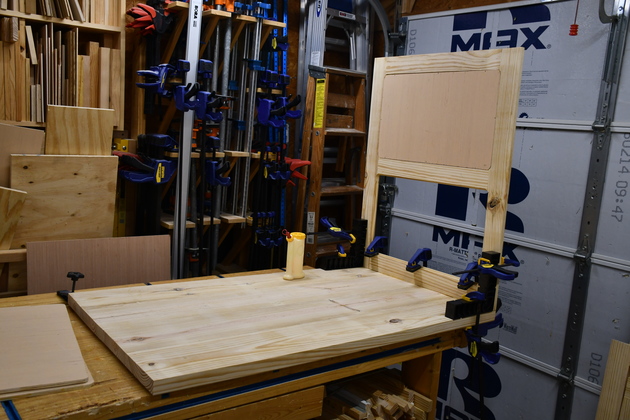
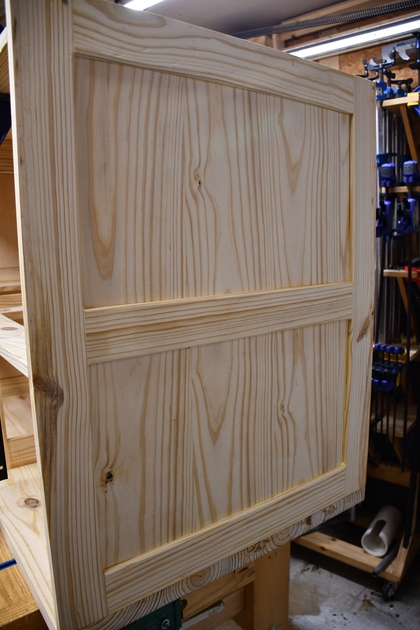
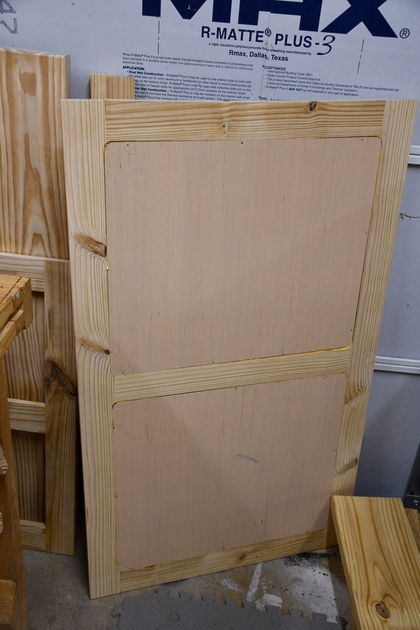
Left end panel after gluing in the upper (lower in pic) panel. |
|
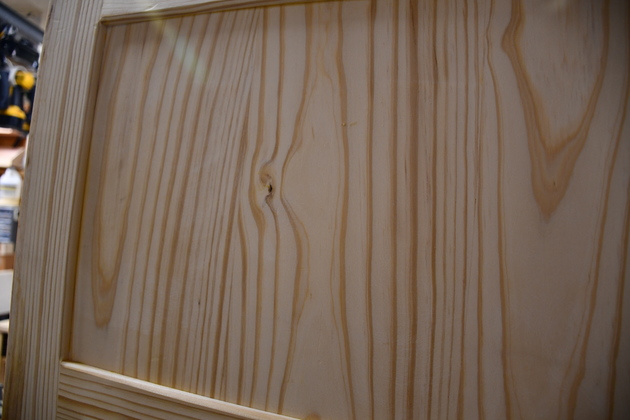
Closer look at inset, pine faced, panel. |
|
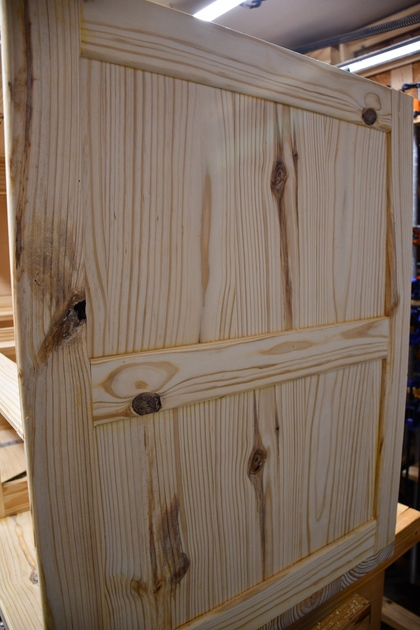
Right end inset panel. |
|
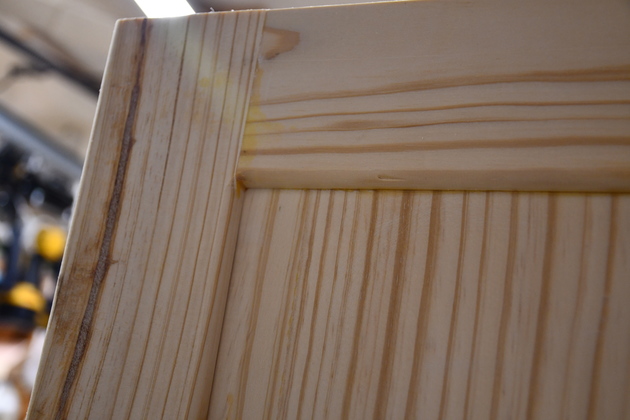
Note how the edges are rounded off into the pine facing. |
|
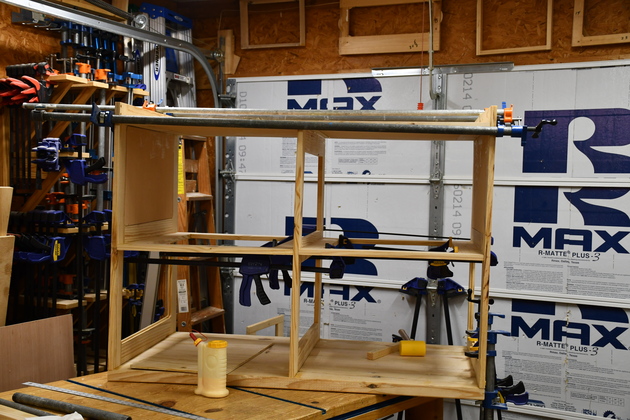
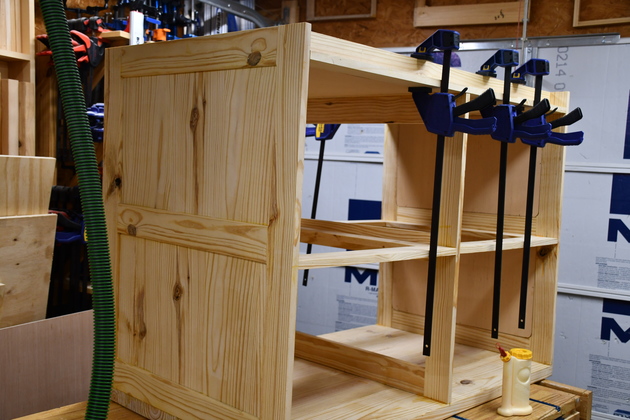
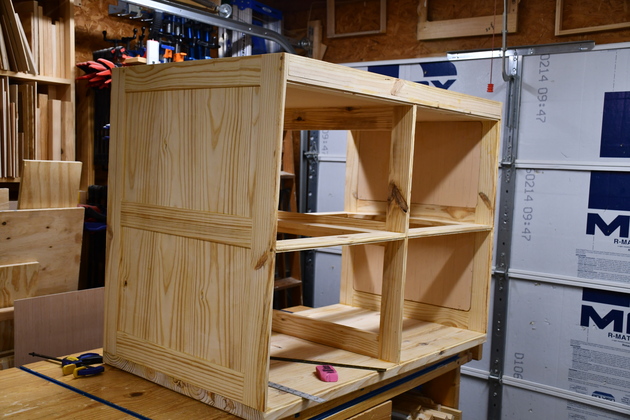
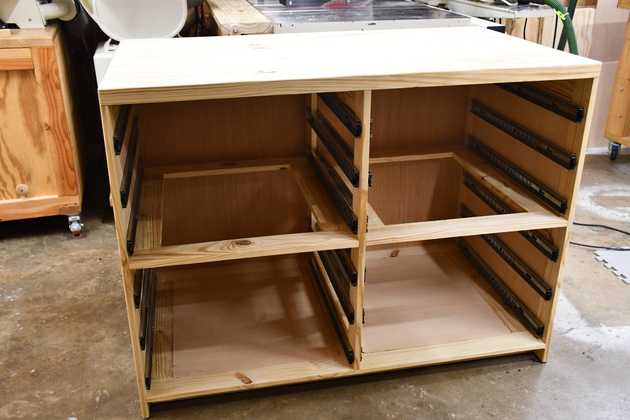
Backside of frame, still needs backing panels and drawer slides. |
|
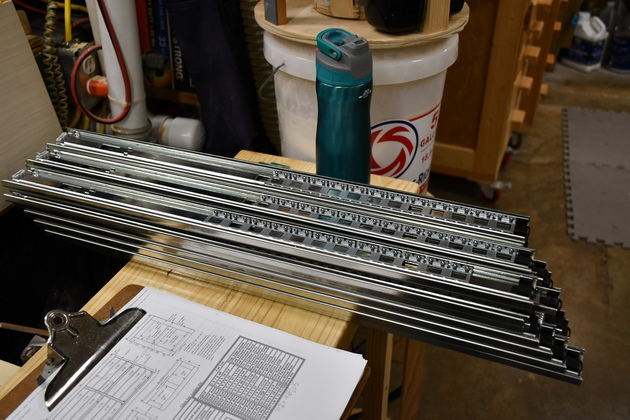
Cabinet side drawer slides, ready go mount. |
|
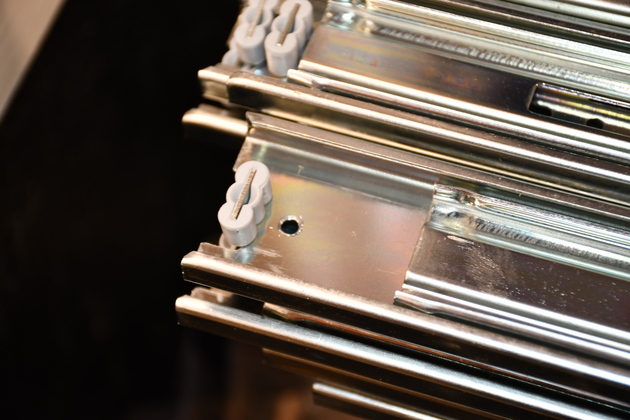
I had to drill an extra mounting hole at the rear end to match the frame. |

|
Finally the frame is right side up. |
|
Here are the back panels with their centers painted with clear water based polyurethane. You can see the unpainted strip at the edge where they'll be glued. |
|
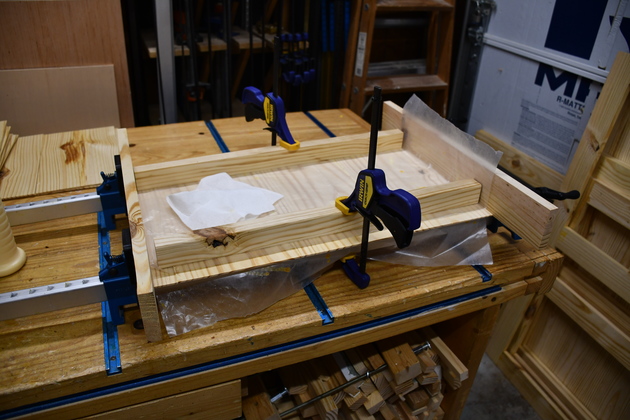
Gluing in the back panels, the clam is holding the frame exactly square while the glue sets. I painted the inside of the frame before I glued in these panels. |
|
Rear quarter view of back panels being glued in. |

|
Front of cabinet with back panels glued in. Its hard to see in this pic but I have already marked the drawer slide center lines. |
|
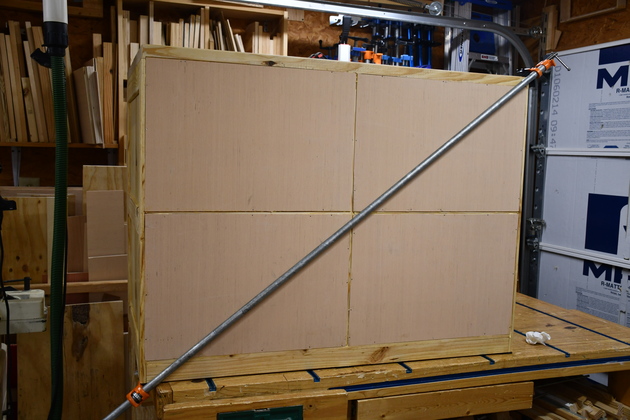
Here is the table frame on the floor. |
|
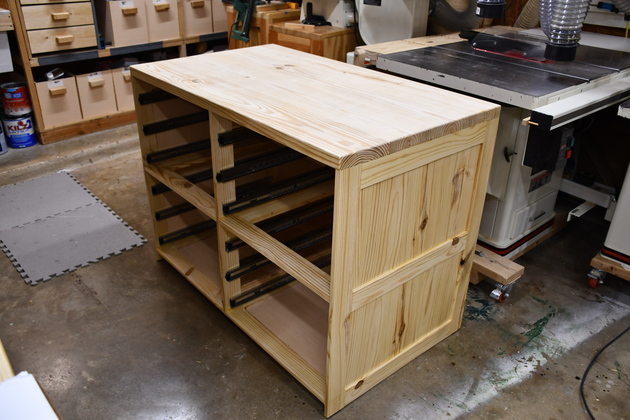
And a front view of the finished frame with sldes installed. |
|
Right quarter view of finished table frame. At this time the top is the only thing not painted. |
|
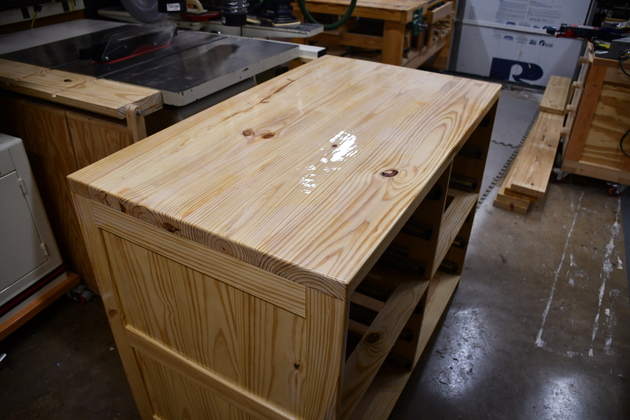
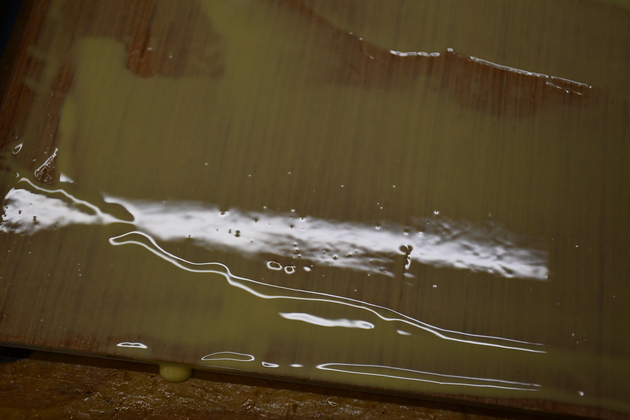
Top being painted with clear water based poly. |

|
Another shot of the left end with a fresh coat of poly on the top. I put 7 coats of polyurethane on the top to give it a good sheen. |
|
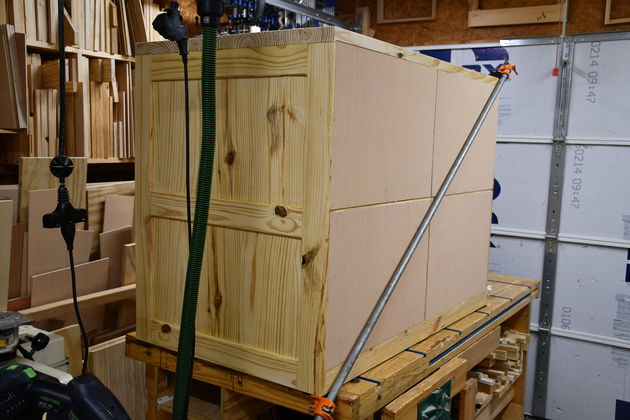
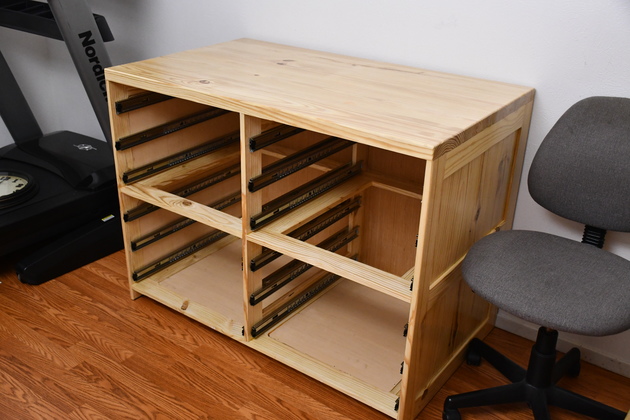
And here is the finished frame in Betty's work room, ready for drawers. |

|
A little wider shot of the new work table in the play room, you can see her treadmill against the far wall. |
|
2x8s cut to 13-1/4" long for pine panel faces. |
|
First I plane one side to smooth it out. I didn't show it but I ran the edges of the 2x8 blocks across the jointer, since I will edge join the slabs. |
|
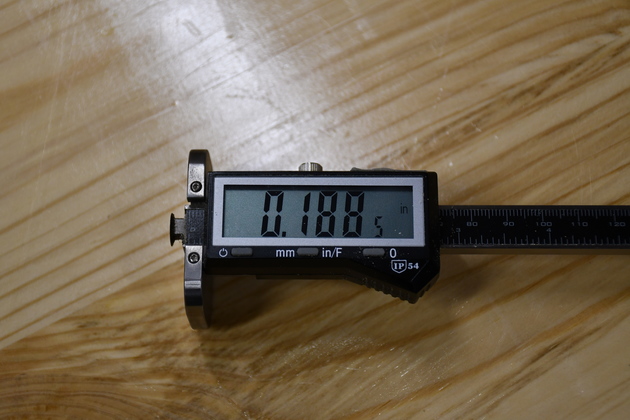
I set the marking wheel to 1/8 + 1/16". |
|
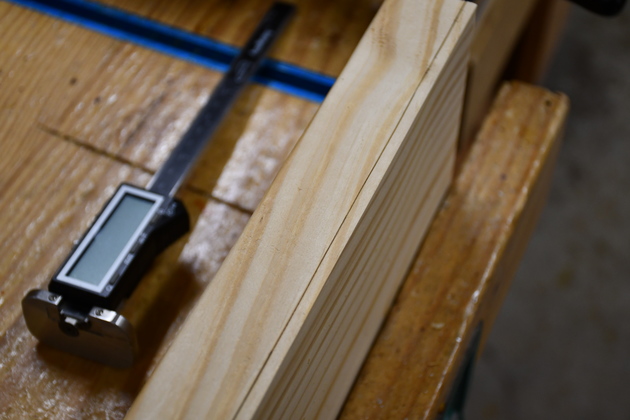
Mark the planed edge of all 2x8s. |
|
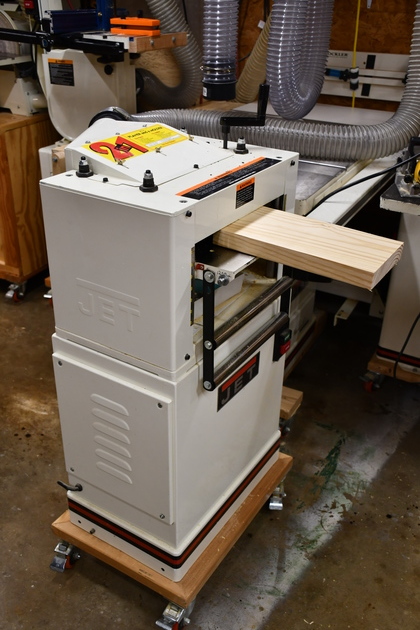
Resawing thin slabs from a 2x8 block. |
|
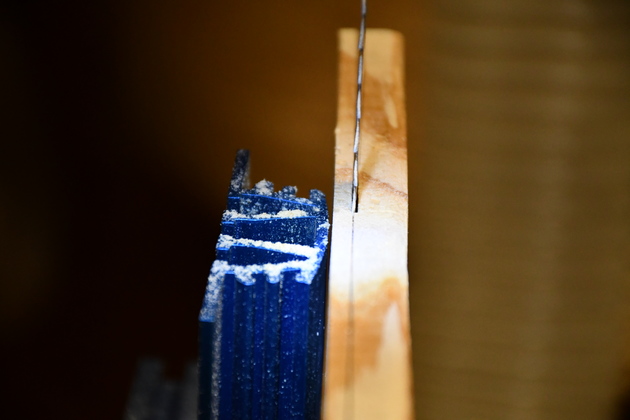
Now resaw off the slab. Note I have the edge of the bandsaw kerf right on the center of the mark, since I'm sawing off the slab on the left. Note the difference between this and where I'm resawing 1x3s. |
|
One of the slabs sawed off the 2x8 block. |
|
As I continue resawing, planing, and resawing again, the block gets thinner. |
|
The last resaw, note I'm, as it turned out theres enough to make one more slab. |
|
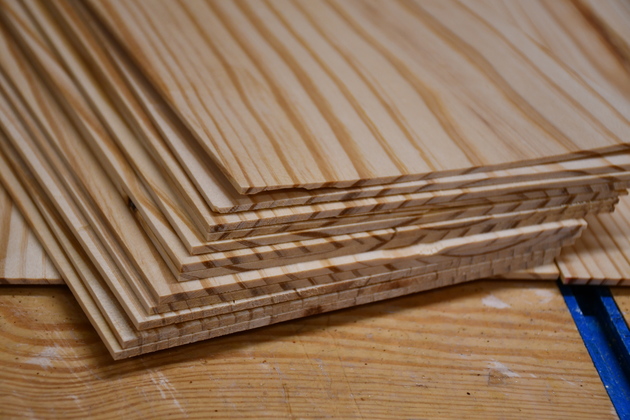
After planing, a stack of 7" wide 1/8" thick pine slabs, ready go be edge joined into a panel face. I always make some spares since some of these thin slabs break when I thickness plane them. |
|
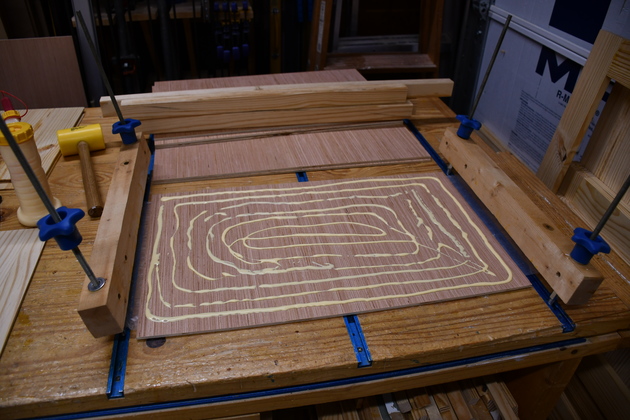
After planing I'm edge joining the 1/8" thick slabs into a large pine face. This short piece will make the total panel 22-1/2" wide. |
|
Edge joining a complete panel face. The larger strips, clamped to the top, keep the thin panel from buckling even though It doen't take much pressure on the bar clamps. |
|
One of the joints in a pine panel face. The wax paper keeps the wooden pressure blocks from getting glued to the face. |
|
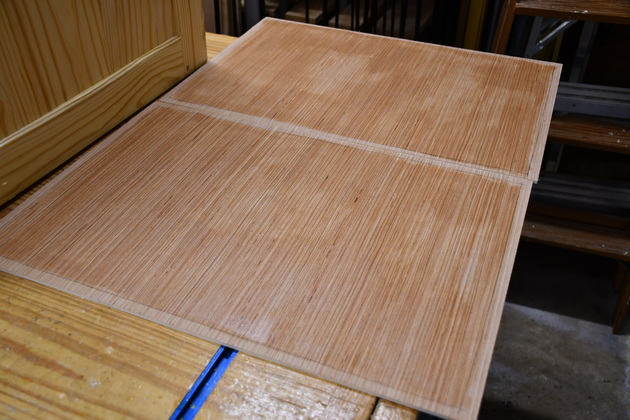
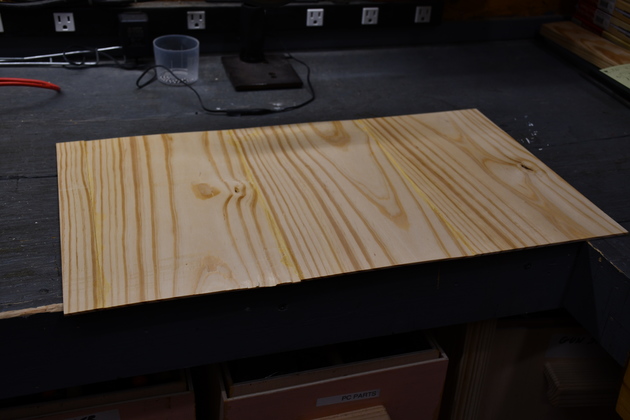
A 13-1/4" high by 22-1/2" long pine panel face edge joined. |
|
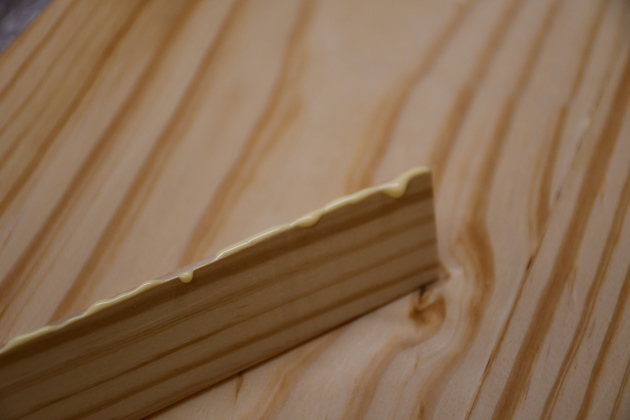
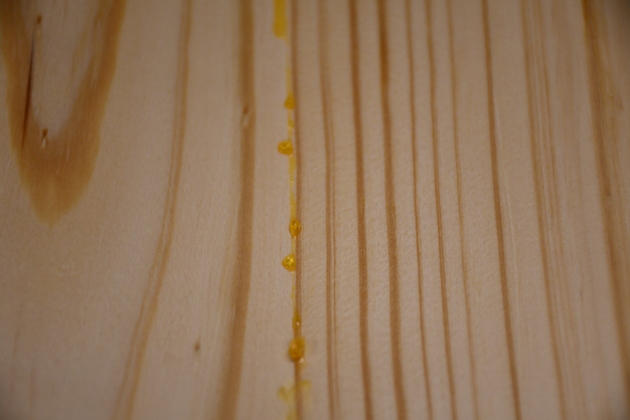
Pine face before sanding. You can see the little beads of squeeze out glue. |
|
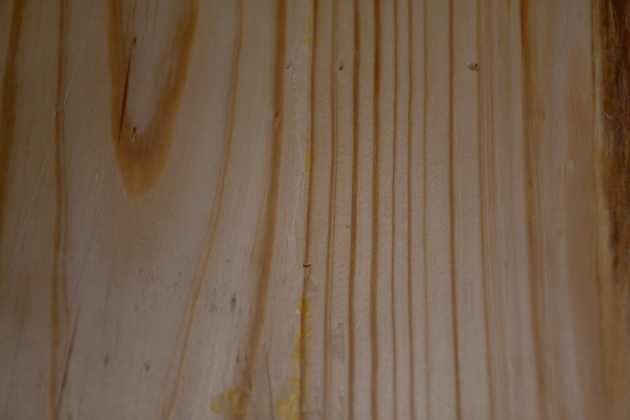
Close look at pine face after sanding. |
|
Plywood backings for inset panels being cut out. |
|
Glue being applied to inset panel backing. |
|
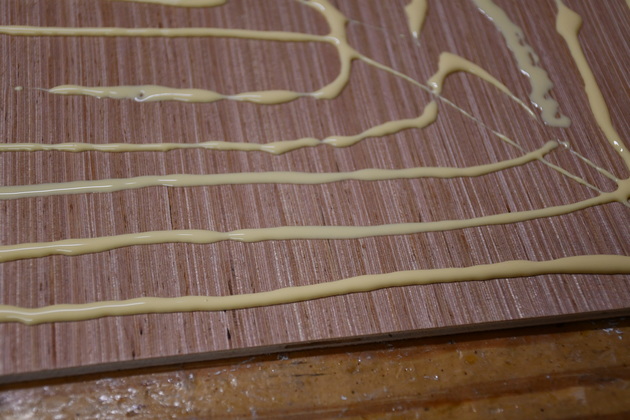
A little closer look at the glue beads before being spread out thinly. |
|
Glue spread thinly over backing for inset panel. If you look closely, at the lower far left side of the pic you can just see the edge of the Bondo spreader I use to spread the glue. |
|
Close look at glue on inset panel back. |
|
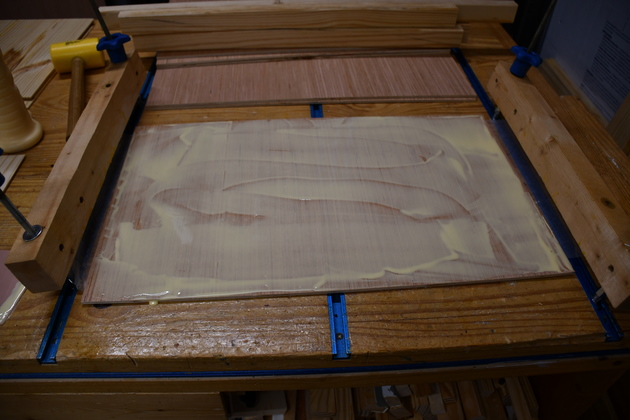
Pine face being laminated to the plywood backing. |

|
Close look at the edge of the backing and face panels being laminated. These have to sit for several hours so the glue will set. |
|
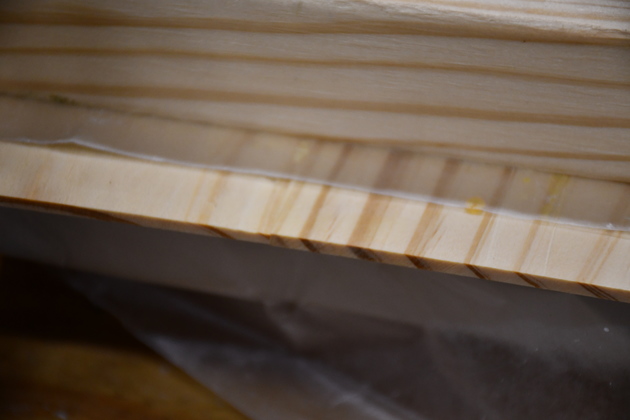
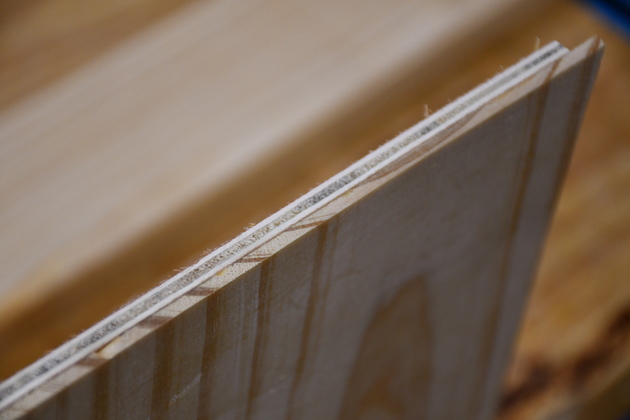
Edge of laminated panel after gluing. |
|
Trimming laminated panels. I always make these a little large then trim to fit. |
|
Rounding the corners. When I route out the rabbet for the panel the corners are rounded so I round the panel to match. |
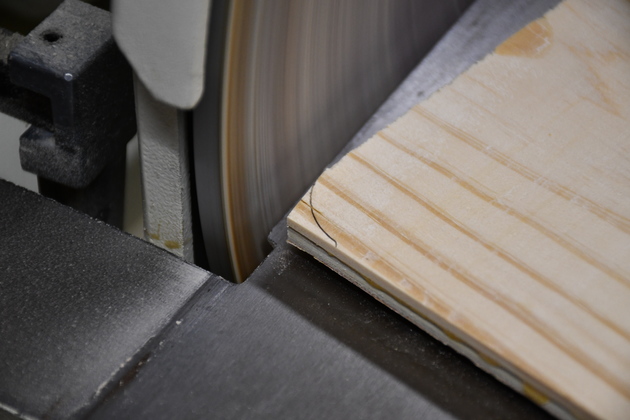
|
I use a 1-3/8" OD socket to draw the radius (1" ID). |
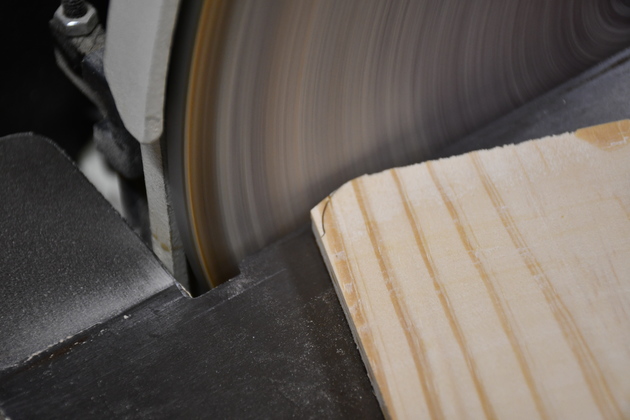
|
I just roll it around and the corner is round. |
|
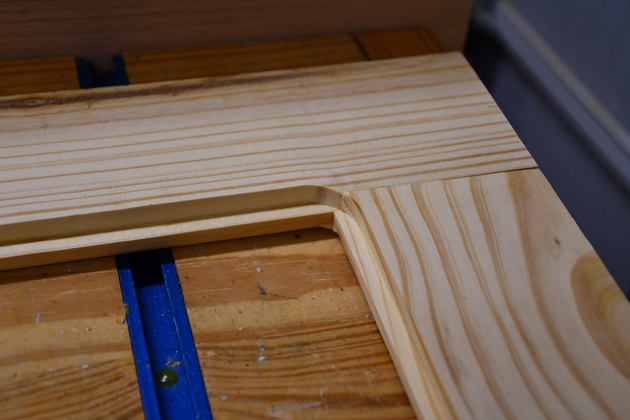
Heres the rabbet for an inset panel. |
|
Lower inset panel being glued in to end VFrame. I won't glue in the upper panels until the VFrame is glued to the table top, I need to clamp it for gluing. Since these are tough to clamp I use brad nails to hold, at least until the glue sets. |
|
Heres the lower HFrame with it's plywood panels. |

|
|