| 
| 
|
|
Roll Around Handy Table
| ||
|
|
|
|
|
Roll Around Handy Table
| ||
| Construction Info | Diagram | Tenons | Shelves |
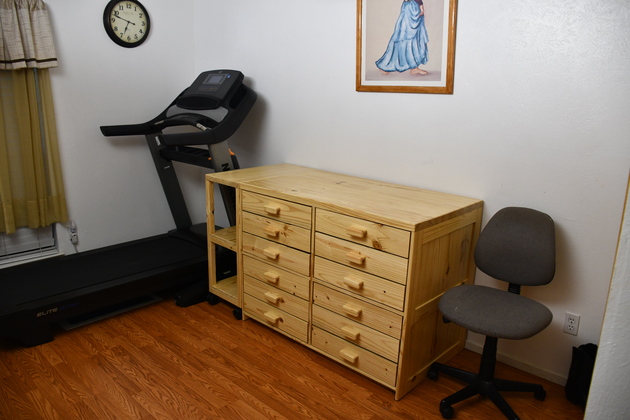
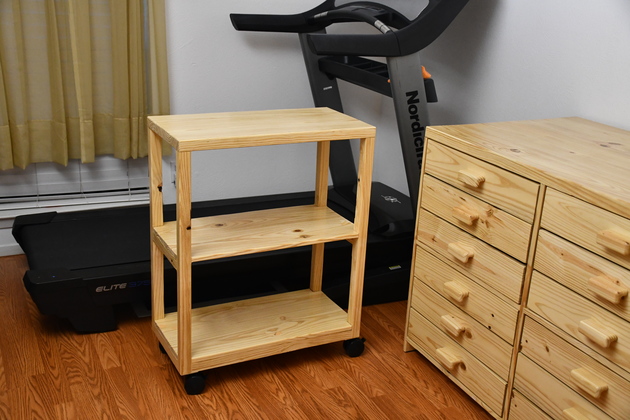
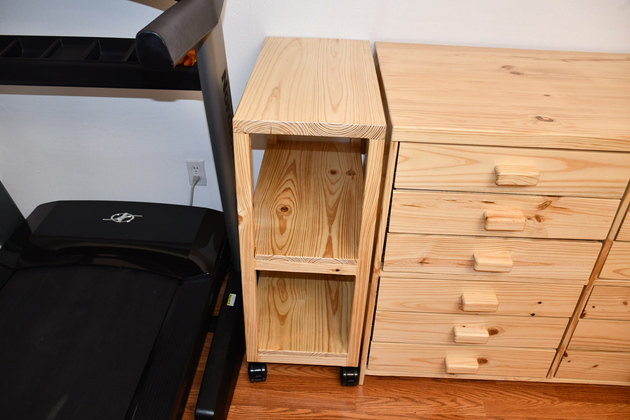
Once Betty and I started using the work table, as large as it is, we discovered it would be nice to have some additional temporary and movable storage space, like the roll around table in the shop only with some shelves. This roll around table doesn't need to fold up, and would have fixed shelves. We decided it would be 14" by 28" and 36" high, same height as he work table. It could be stored against a side of the work table (either side).
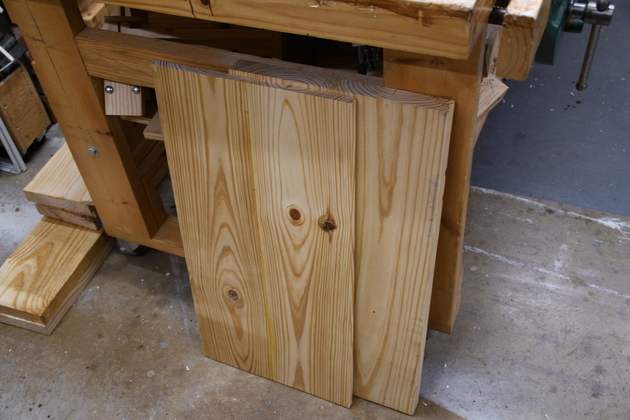
This is another project made completely from 2x8 Southern Yellow Pine. It will have 1-1/2 X 1-1/2 legs and braces with a 1-1/2" thick top and 11/16" thick shelves, all ripped/resawn from 2x8. I will cut mortises and tenons at all the frame joints including legs to top. The top and shelves will be edge joined with biscuits. There will be a cross brace under the middle and bottom shelves and a long brace under the bottom shelf. This makes the table a little bit heavier but a whole lot more sturdy.

|
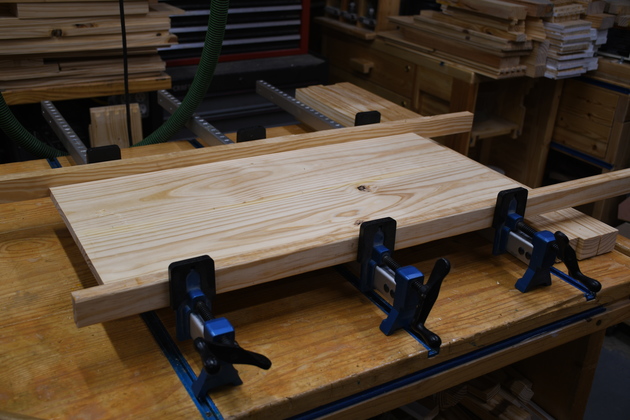
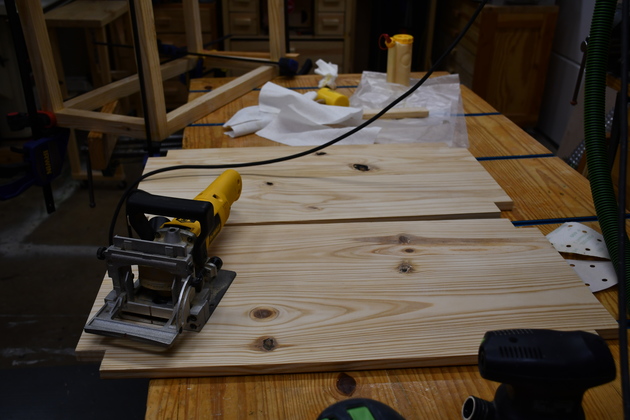
One of the shelves being edge-joined. The individual pieces were resawn from one 2x8 then planed and a jointer used to make sure the edge join didn't have a crack. |
|
Top and the other shelf ready to sand. |
|
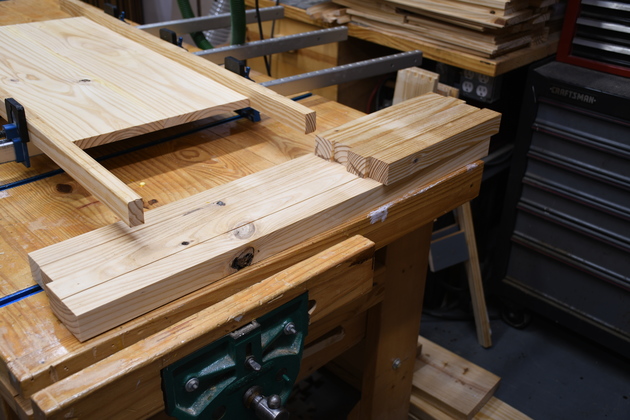
Legs and cross braces ready to cut tenons and mortises. |
|
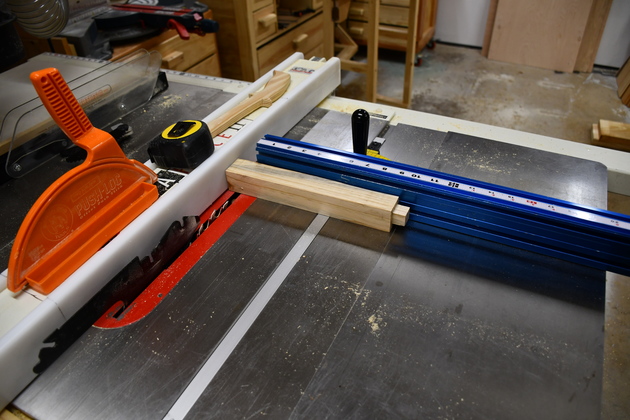
I used a little different approach to cutting the tenons. The shoulders of a tenon are the most critical as far as the looks go, so... I sawed the shoulders on the table saw then used the bandsaw to trim the remainder. |
|
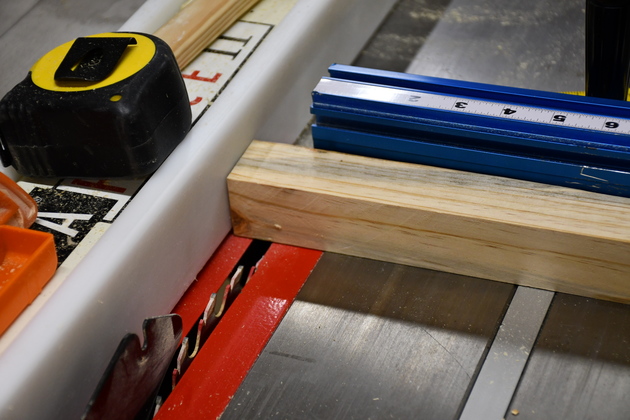
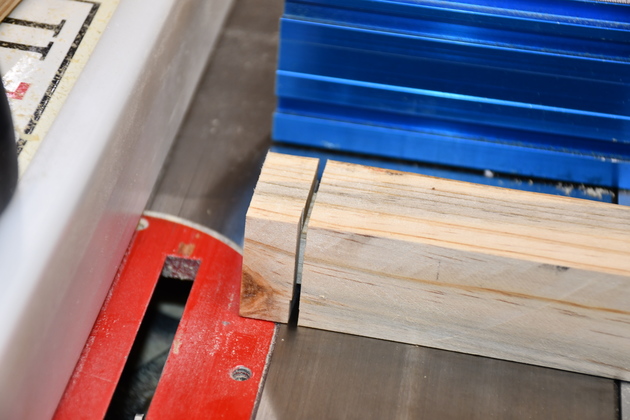
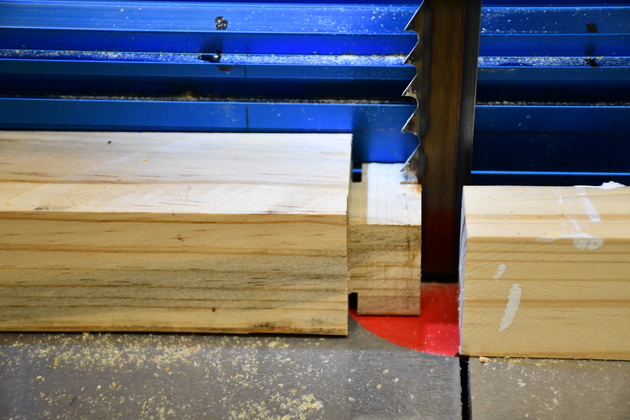
Closer look at sawing tenon shoulders. I adjusted the fence so the cut would be exactly 3/4" from the end of the piece. |
|
Here is a piece with the shoulders sawn. Notice how straight and neat the shoulders look. |
|
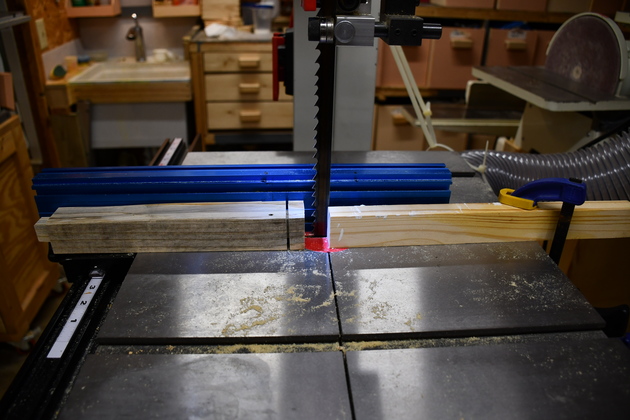
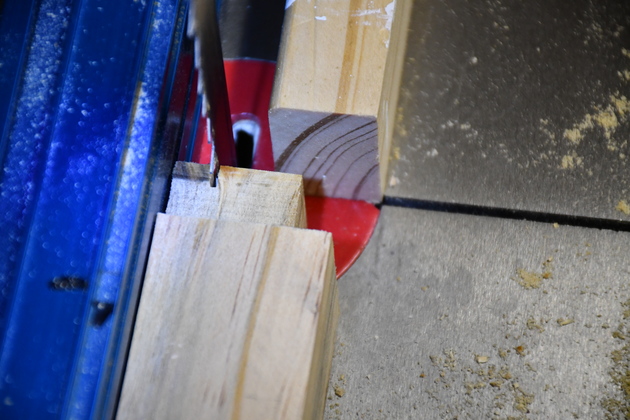
Now to the bandsaw. I have adjusted the fence so the outside of the blade is just against the tenon's side. And the stop block so the blade just gets into the previously sawn slot, not touching the shoulder. |
|
Closer look. The stop block, on the right stops the piece just before the bandsaw blade touches the tenon's shoulder. |

|
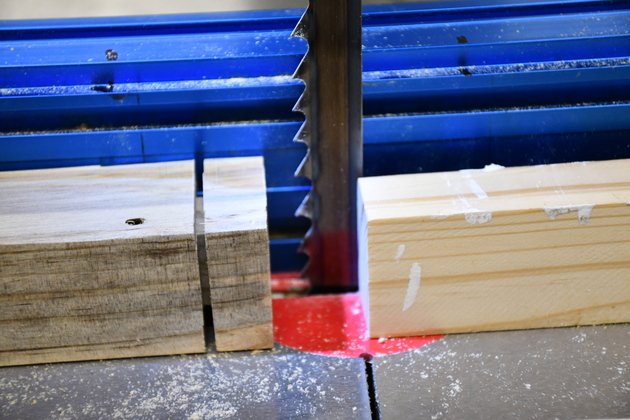
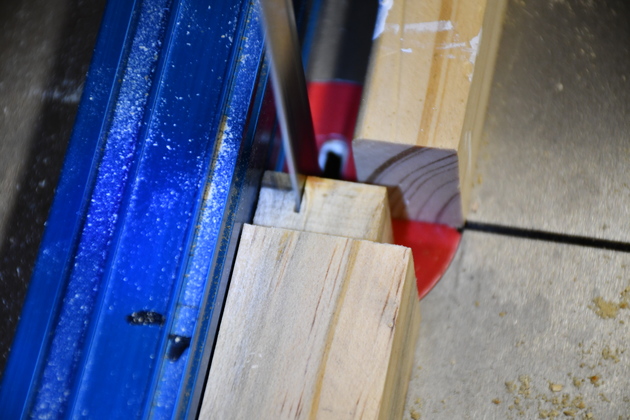
A look from above, you can see the piece I just cut off. Note the stop block is not against the fence so the cut-off pieces have a place to go. |
|
About to trim the tenon. |
|
You can see on this side of the tenon how the bandsaw blade just trims the tenon. |
|
Actual trimming process. |
|
Look from above as the trim cut is made. |
|
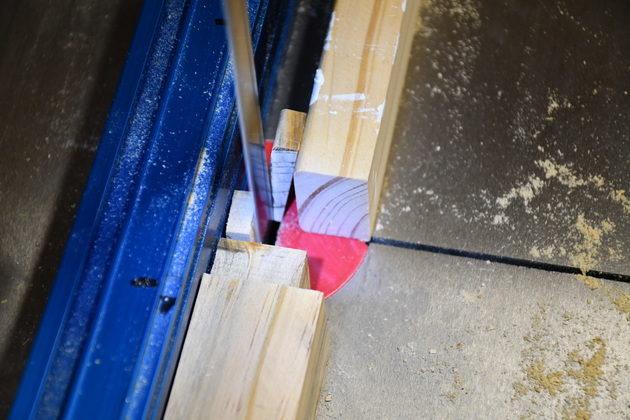
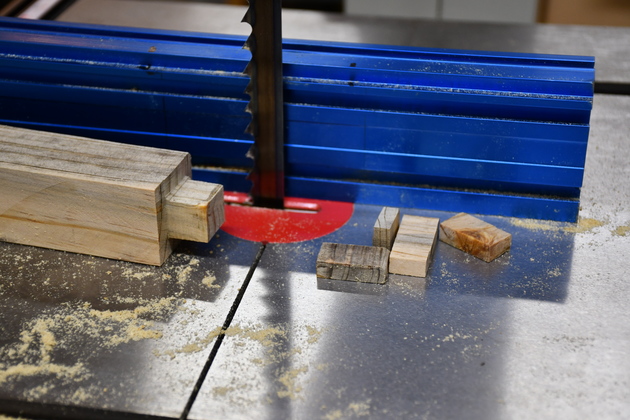
Different look at completely trimmed tenon. You can see the trimmed off pieces. |
|
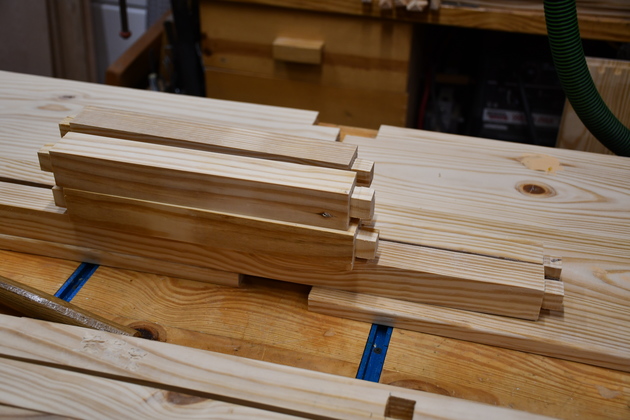
After tenons cut. |
|
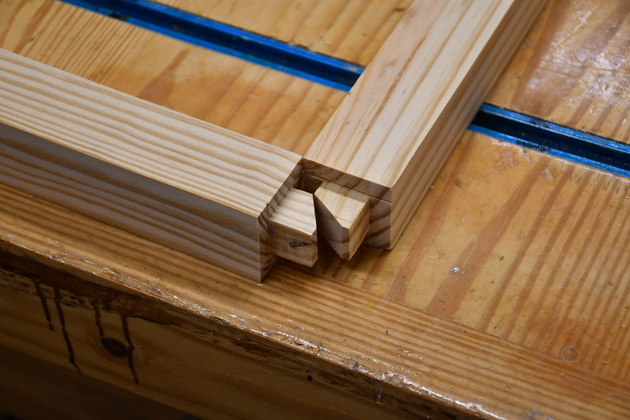
Braces and legs with mortises and the bottom braces with tenons trimmed at an angle. The bottom end of each leg has two intersecting mortises, one for a side brace and one for the bottom front/back brace. |
|
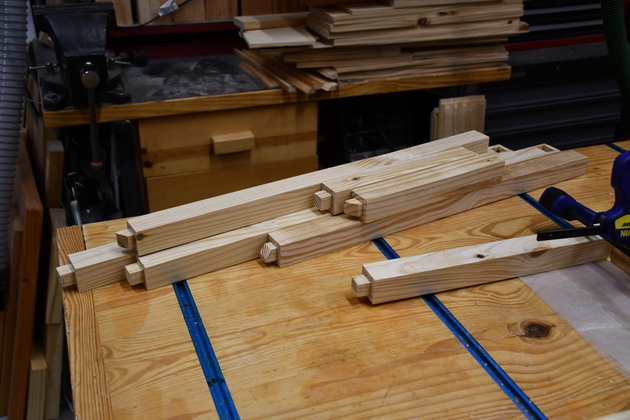
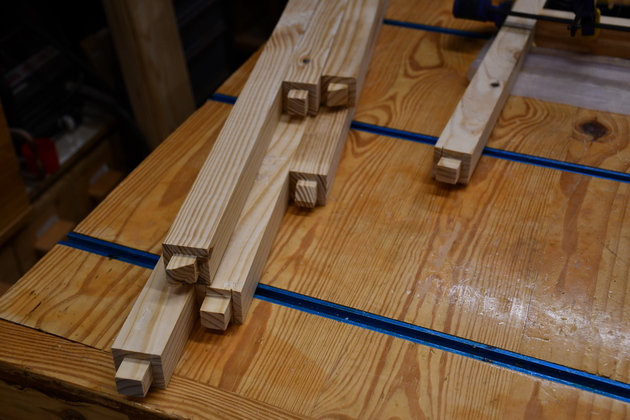
Better look at tenons. |
|
The angled tenons on a side and bottom front brace. This is the way the angled tenons will fit inside the leg bottoms. |
|
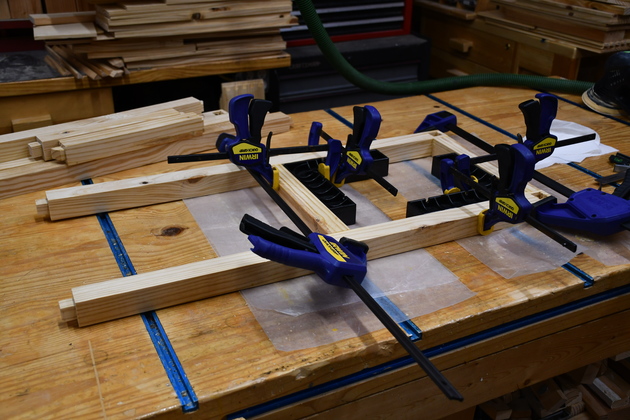
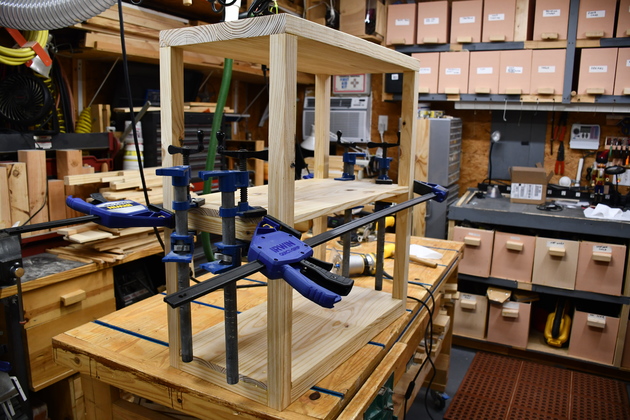
One of the side frames in the glue clamps. |
|
Side frames being glued together with bottom front and rear braces. |
|
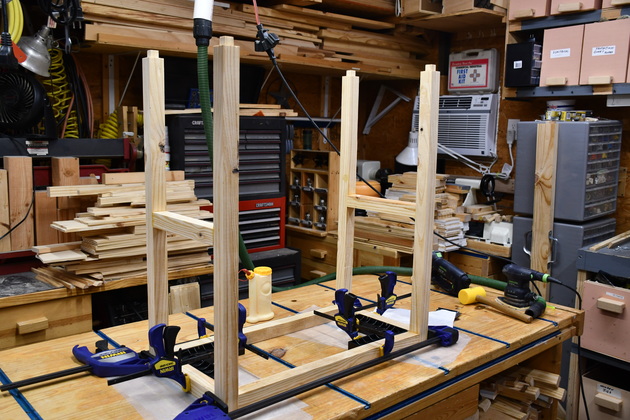
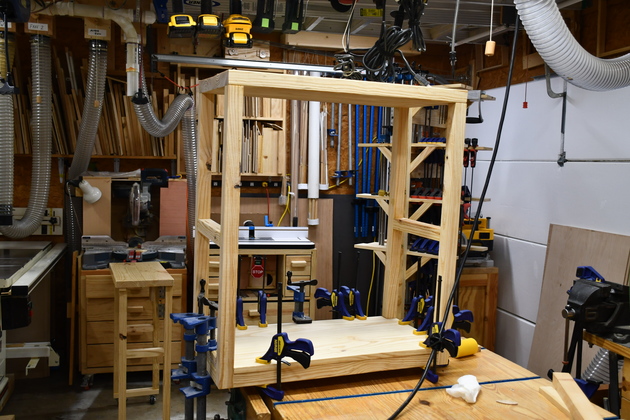
Top being glued to legs (side frames). |
|
Different view of top being glued to legs (side frames). |
|
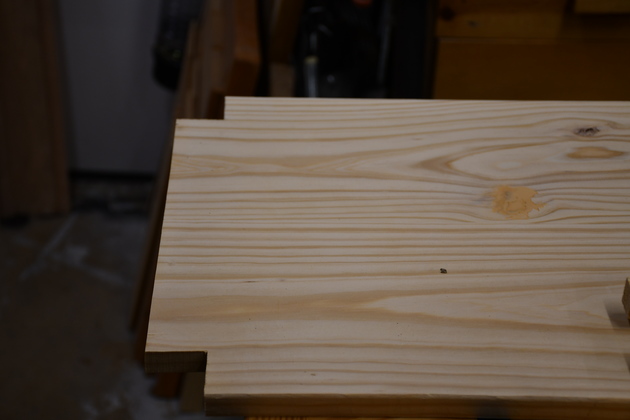
Also notched the corners of the shelves. |
|
Shelves, corners notched, about to be slotted for biscuits. |
|
Bottom shelf in the glue clamps. Note my shop roll around handy table in the background, left of the laudry handy table. |
|
Middle shelf in the glue clamps. |
|
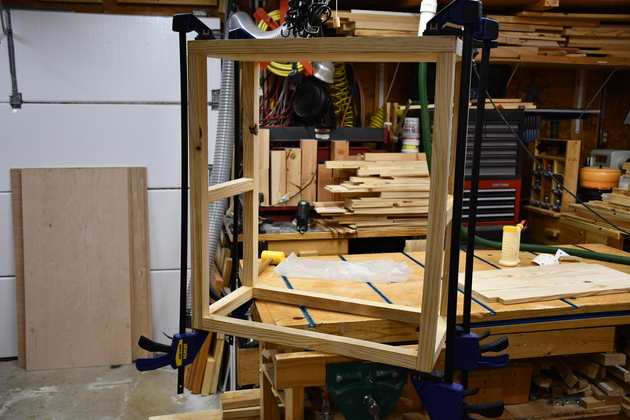
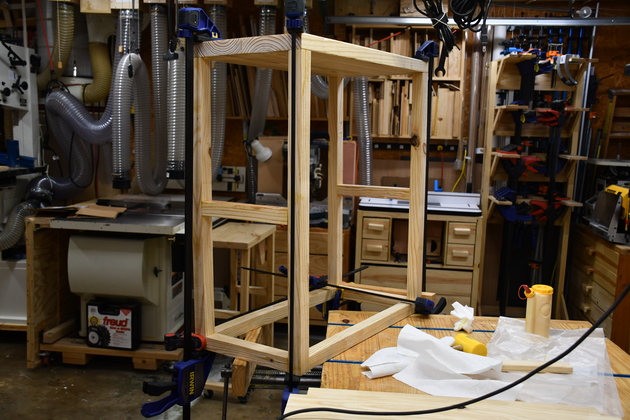
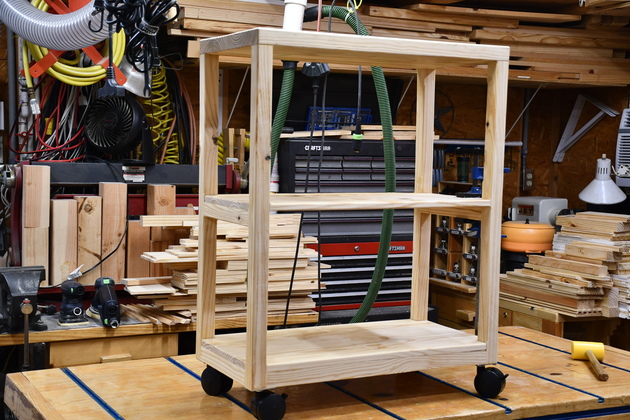
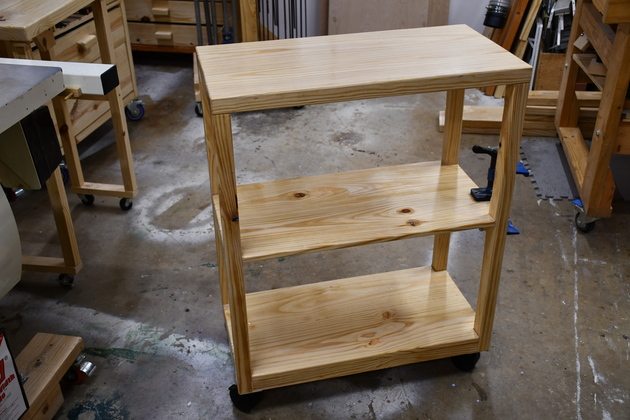
Completely assembled (except for 1 last clamp) roll around table. |
|
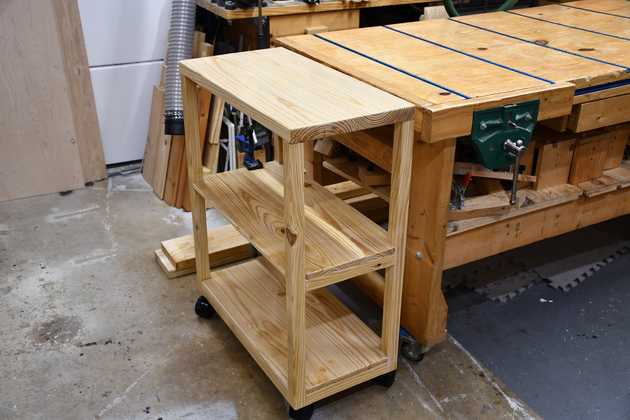
Note the height, its handy having an extension to support the ends of long boards etc. |
|
Being painted while sitting on the floor. |
|
|
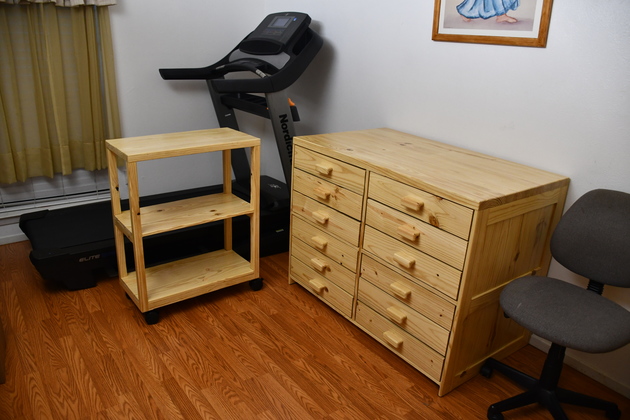
In it's normal place, on the left of the work table. |
|
Pulled out for a job. |
|
|
|

|
|