02/16/15:
Added Stand Mixer Storage Slider
01/17/15:
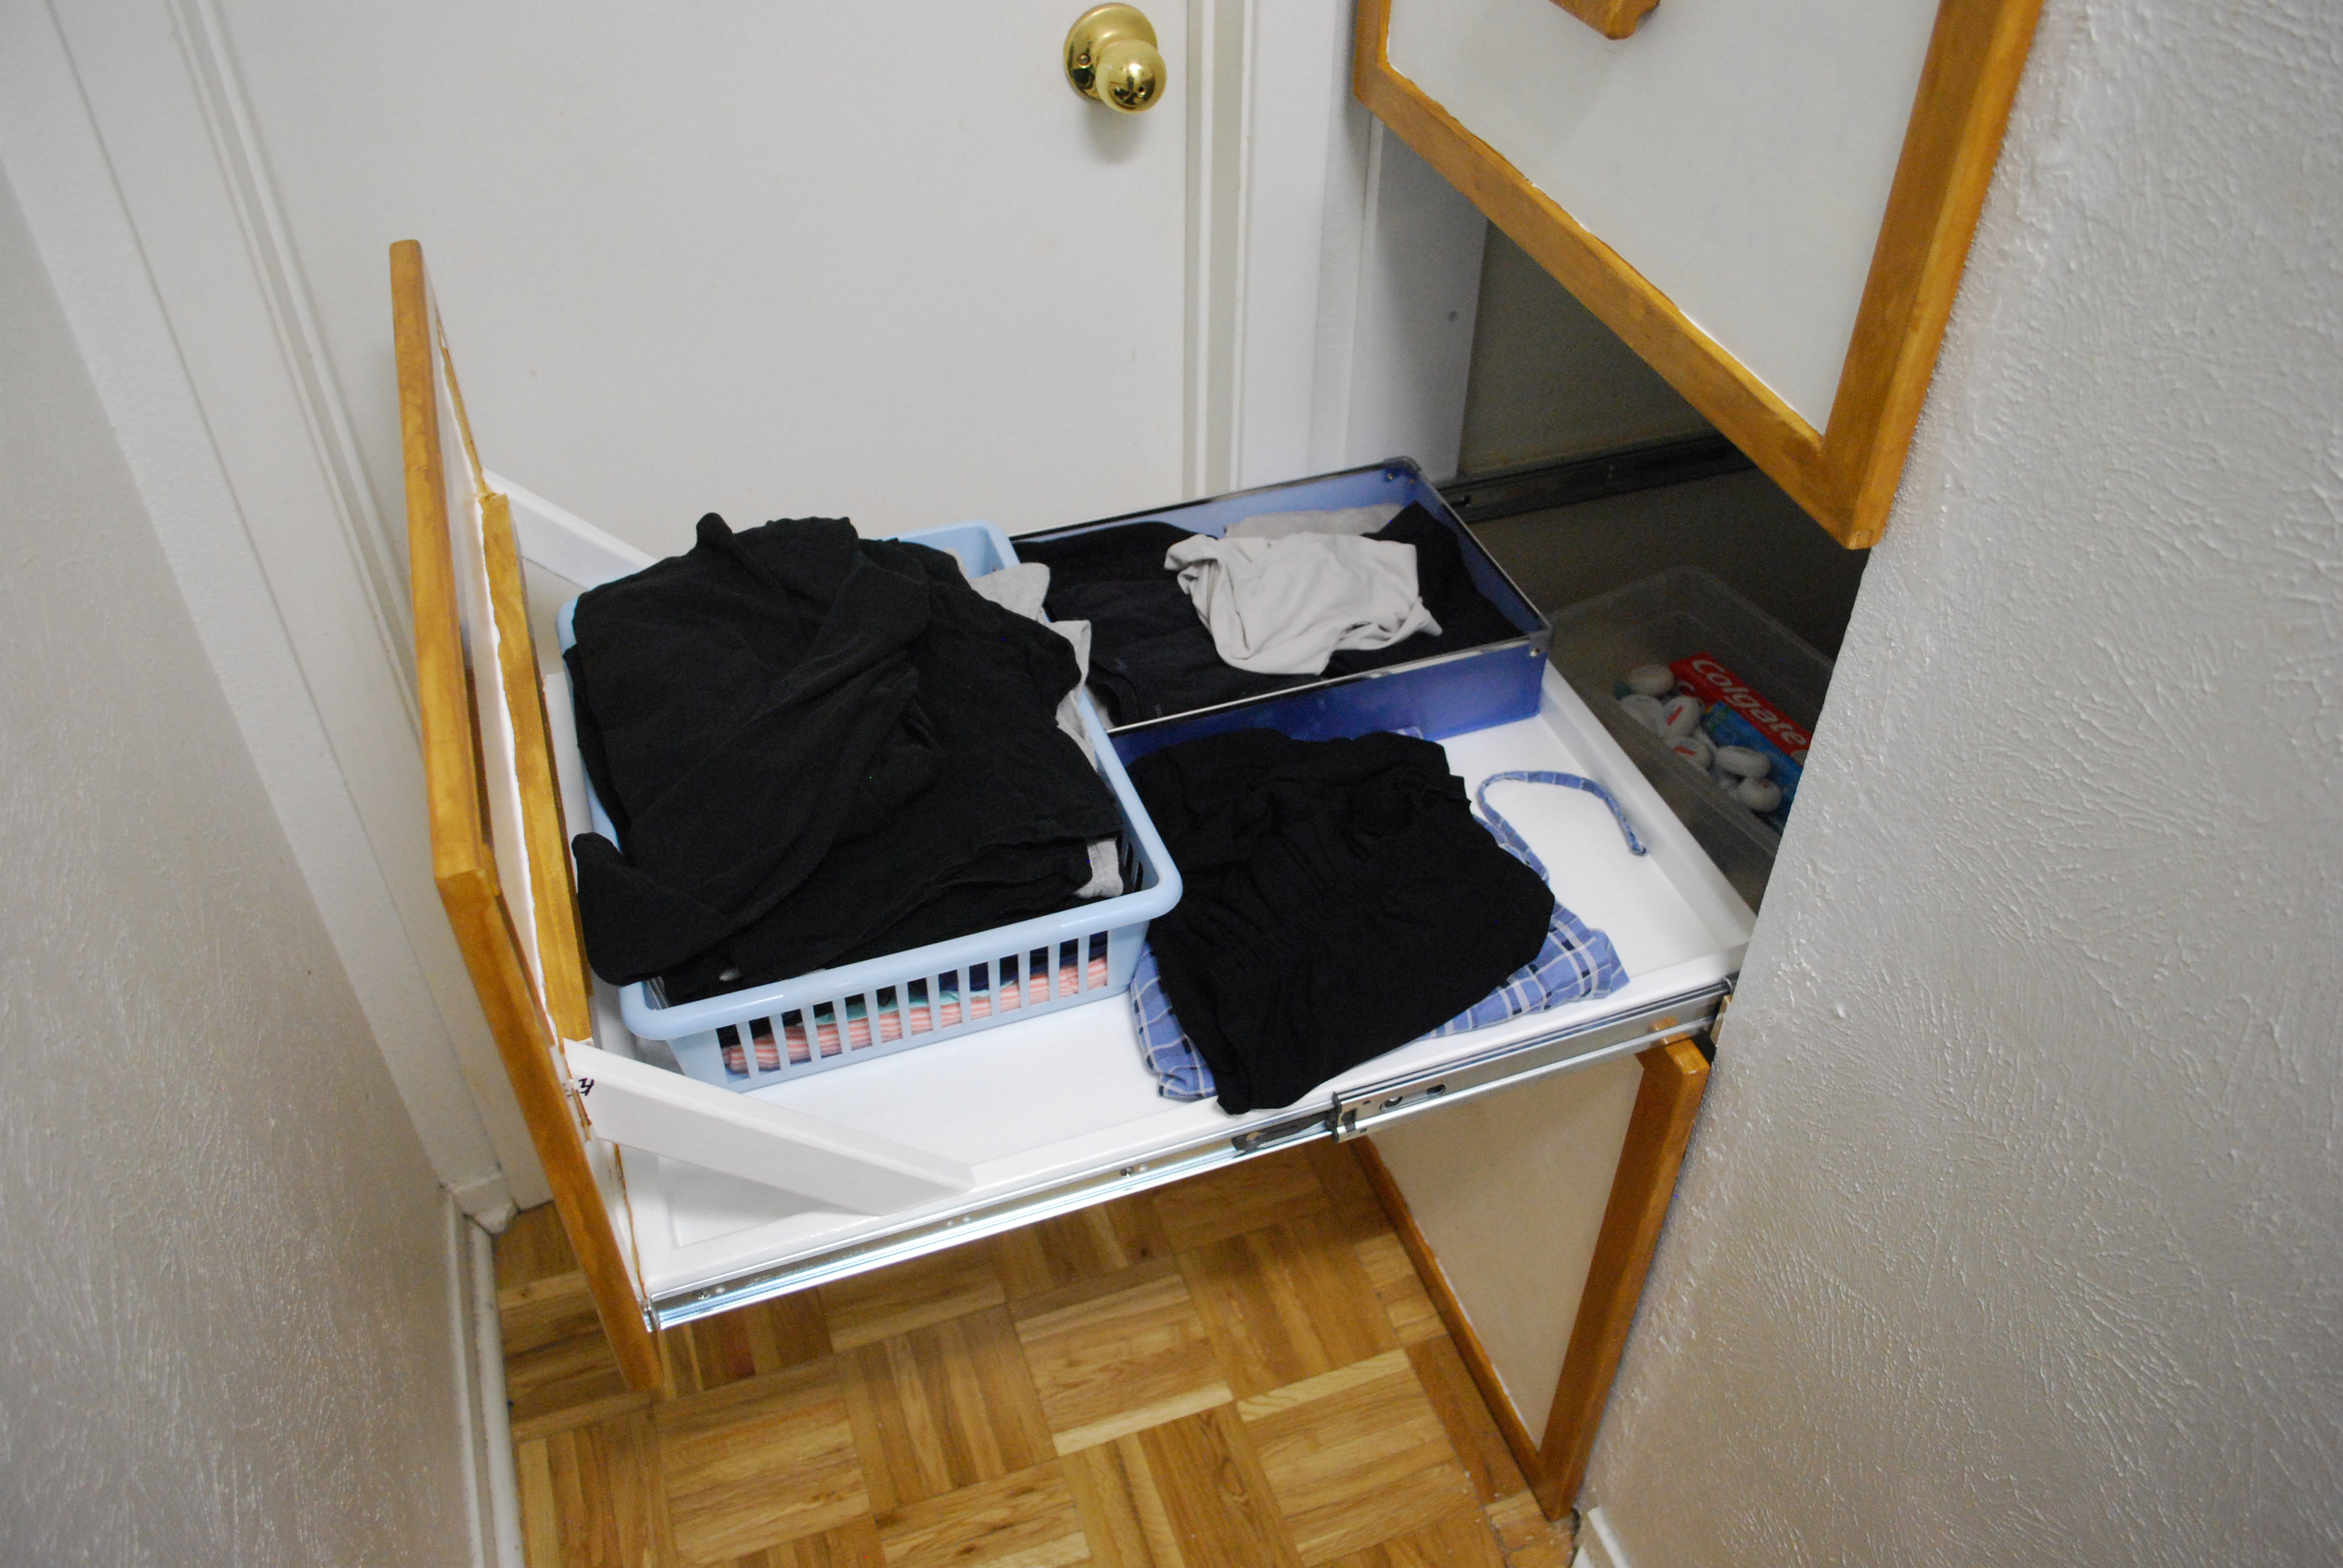
Replacing Linen Closet Shelves With Sliders
.
06/08/14: Split off Sliding Shelf Frame Construction Page
06/04/14: Finished with Kitchen Sliders Construction
05/31/14: Under Sink complete
05/27/14: Page Origin
Our house is tiny and we need all the storage space we can get, so I started looking at ways to save space, and improve our current storage areas.
I noticed that most of the shelves in our pantry, linen closet, etc. didn't come all the way to the door in order to be able to see whats on lower or upper shelves.
Most of these shelves are deep (22 - 26") so it was difficult to see what was on the back of the shelf especially on lower and upper shelves (those above or below your eye level).
This set-back of the front shelf edge wasted some space.
So, after thinking about it, I came up with the idea of sliding shelves.
A sliding shelf (slider) is a shelf with a frame, mounted on full extension drawer slides so you can pull it all the way out and see what is on the entire shelf without getting down on your hands and knees and trying to peer into a dark area.
Sliders are different from drawers in that they don't have high sides, so you can access them from the side when one is mounted high (almost eye level).
There are two styles of slider: Top Lip and Under Frame.
The Top Lip has a Lip (frame) around all four edges that stick up, the slides are between the lip and the cabinet,
I use the top lip in places where the shelves can't be made to reach all the way to the sides or back of the cabinet space, like the Dining Rool Storage Cabinet and the Under Sink Shelves.
The lip keeps things from sliding off the shelf between the cabinet and the shelves.
The first part of this page is about top lip sliders.
The Under Frame slider has the frame and slides under it so the shelf is wider, (snug up to the sides of the cabinet and back).
I use this style where I don't have any concern of things slipping off the shelf inside the cabinet, the cabinet walls keep everything on the shelf.
Link to Under Frame pics.
One of the biggest problems with putting drawers or sliding shelves attached to the inside of a closet is that houses aren't built by cabinet makers.
A house isn't square by cabinet standards, so you have to measure carefully and calculate shims etc. to make things fit and slide smoothly.
There are two problems with closets in houses, the front isn't square with the sides and the sides aren't parallel to each other.
Most cabinets in houses are built in a shop somewhere else, then brought in and screwed to the wall in a new house.
The pantry is wider at the back than at the front so I'll have to put shims at the back to make the slides parallel to each other.
I built a special IdTool (inside dimension tool) and what I call a Closet Square to accurately measure the inside of a closet (or pantry) so I could fit drawers or sliders into them.
The tool consists of two pieces of 1x2: one end has two dowels glued in, and the other end has two very deep holes, with a carriage bolt and wing nut to clamp the movable part.
You expand the tool until it touches both sides, tighten the wing nut, then measure the overall length.
This gives you an accurate inside width of a pantry.
I have used this tool a number of times and have made several different lengths of the clamp end.
Here is a link to my page on the inside dimension tool, showing how its built and used.
This page covers the kitchen sliding shelves (under sink, Stand mixer, and small pantry).
Under the sink is usually a large storage area (in our house) but its just above the floor and has the drain and disposal hanging down over part of it.
We needed some help lifting the heavy stand mixer from under the cabinet to counter top, so I added a slider so we only had to lift it straight up.
Our kitchen pantry is two narrow cabinets one on top of the other, the lower pantry originally (when we got the house) contained a trash compactor but we needed pantry space more, so I removed the compactor, placed some shelves and a door in the space, and bought a plastic trash can.
We also have a linen closet in a narrow, short hall that had set-back shelves and a folding door.
The folding door was a real problem, it stuck out quite a way and blocked the light from the hall so the closet was always dark and the door partially blocked the hall when open.
I make the shelves with 1/2" plywood bottoms and a 1x2 "lip" or frame around it.
The corners of the frame are mitered with a rabbet for the bottom to be glued into.
Link to Top Lip Sliding Shelf Construction Page.
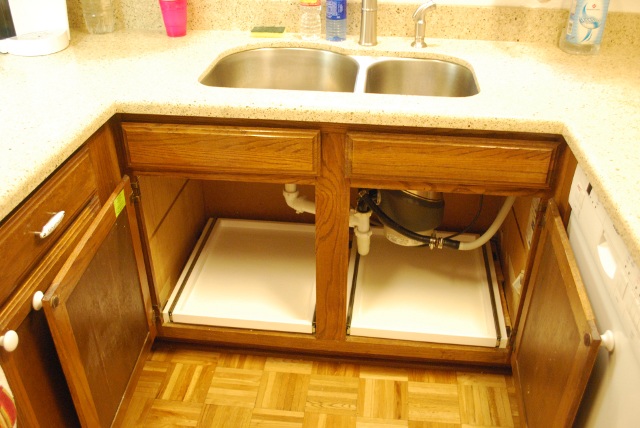
Under Sink Sliders
|
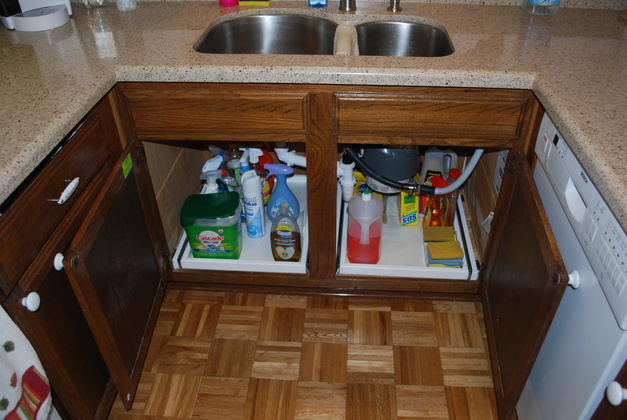
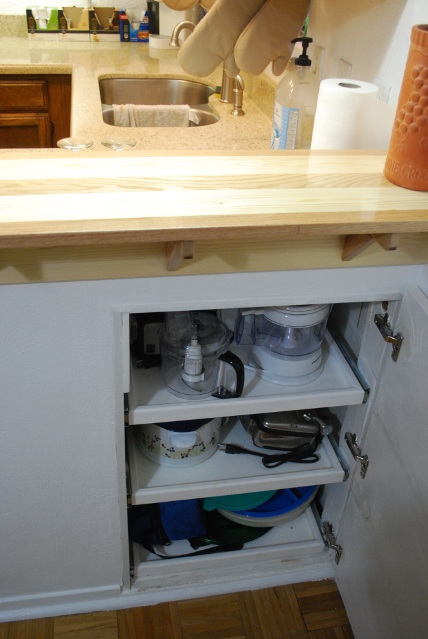
Here are the under sink shelves before being loaded up.
Its hard to tell by this pic but the doors don't open quite all the way, so I had to make these shelves a little narrower than the inside of the cabinet, so the drawers would slide all the way out missing the doors.
|
|
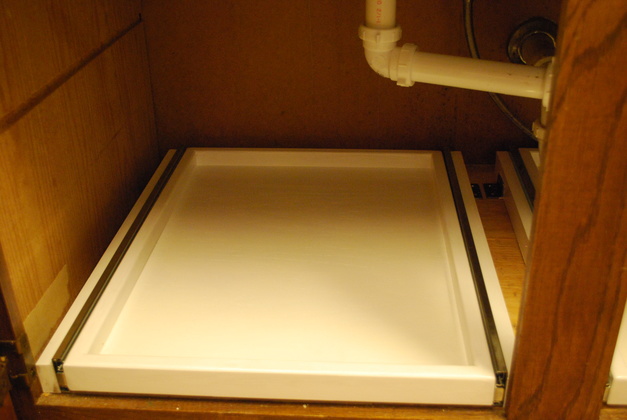
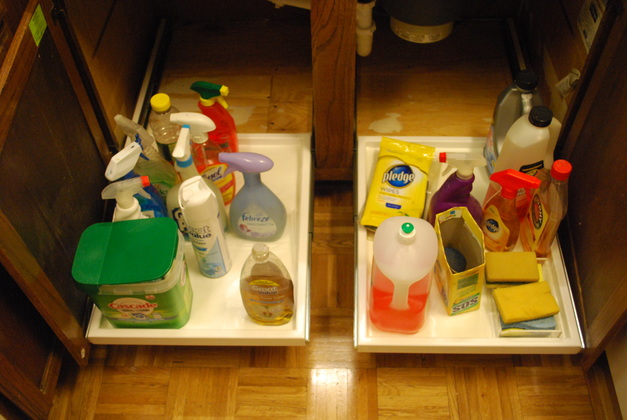
Closer look at one sliding shelf under our sink.
The space on each side of the shelf required a lip to hold stuff on the shelf when it is pushed in.
|

|
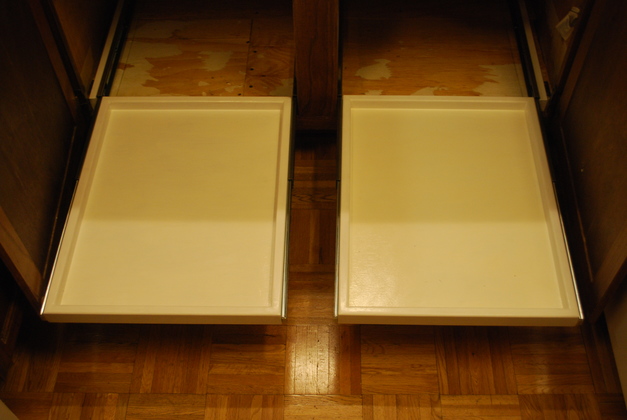
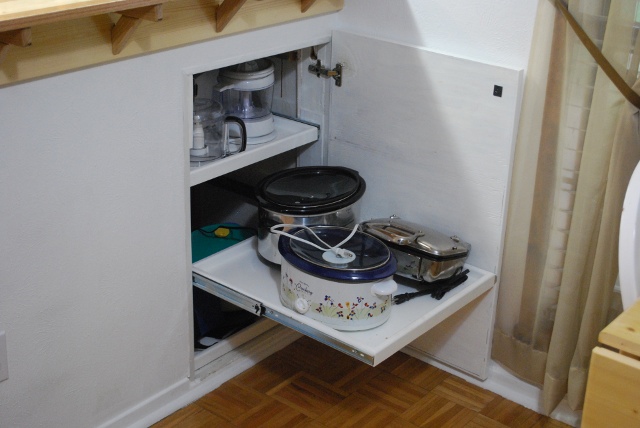
You can see they slide all the way out (full extension slides), allowing you to see whats on the entire shelf.
|
|
Both slding shelves at full extension.
|
|
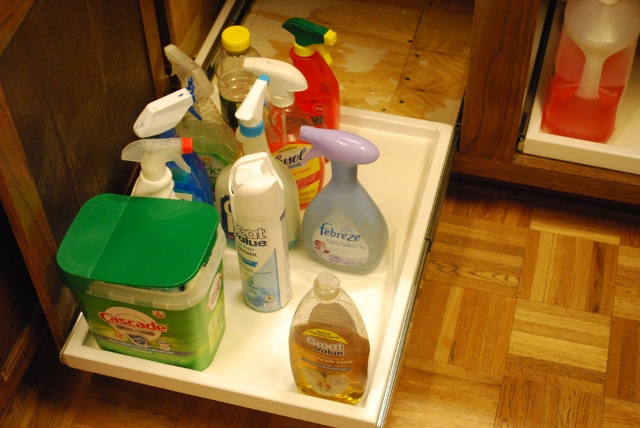
You can get a lot of stuff on them but you still have to clear the drain and disposal.
When you would normally put things under the sink you put the smaller things in the front so you can seem, you don't have to do that with sliding shelves.
|
|
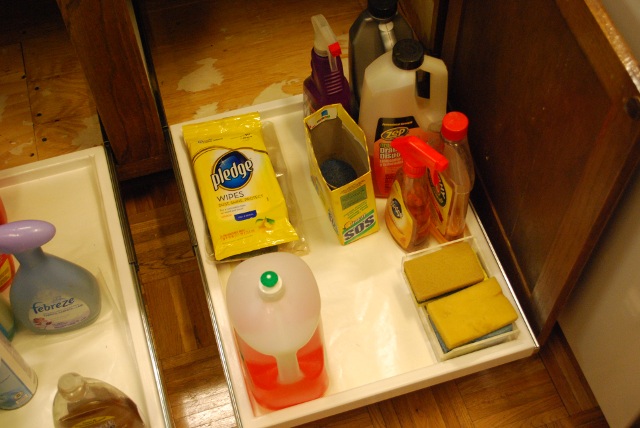
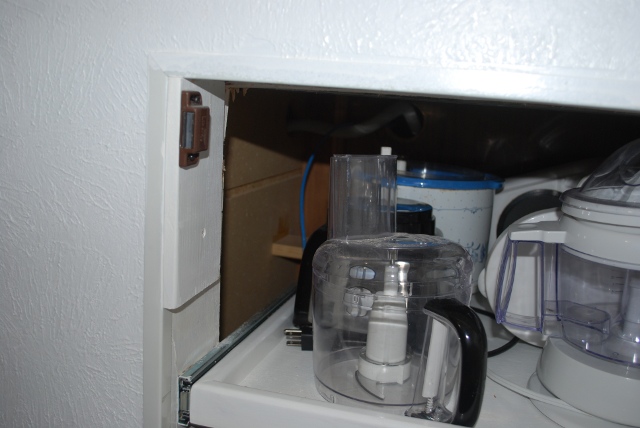
You can get an idea how much access you have with the shelves pulled out.
|
|
Same on the other side, of course we have to arrange things so they don't hit the disposal or drain when the shelf is pushed in.
|
|
All the stuff we keep under the sink.
|
|
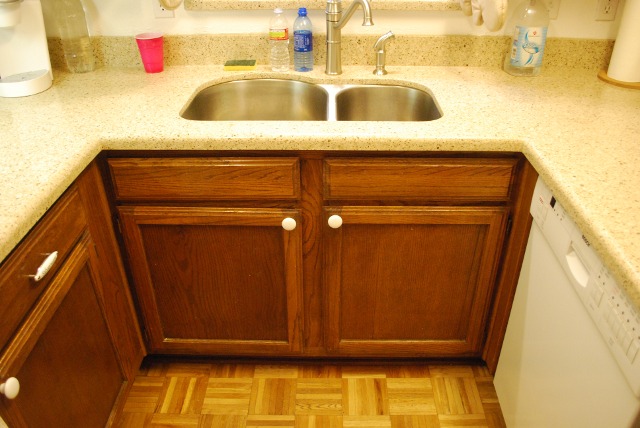
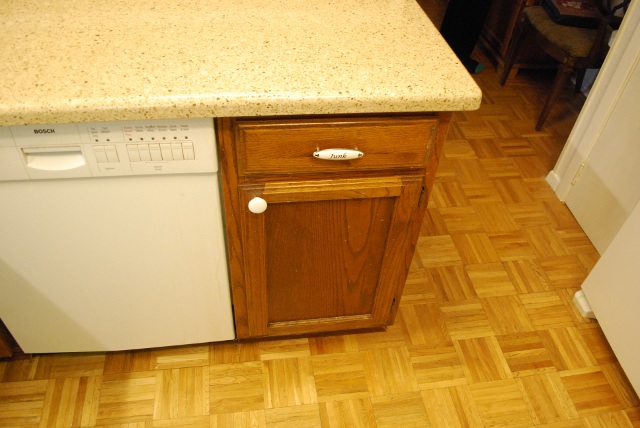
Cabinet under the sink with doors shut.
|
Stand Mixer Storage
|
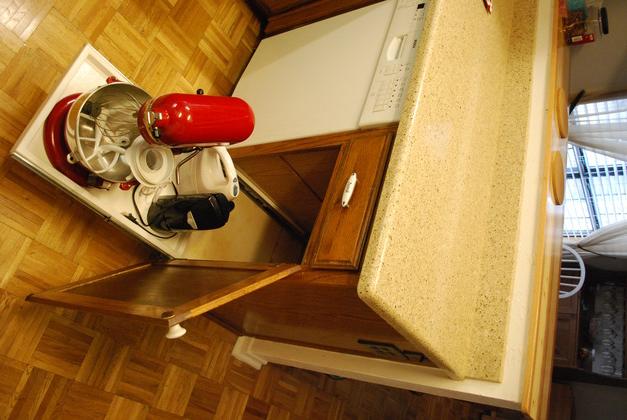
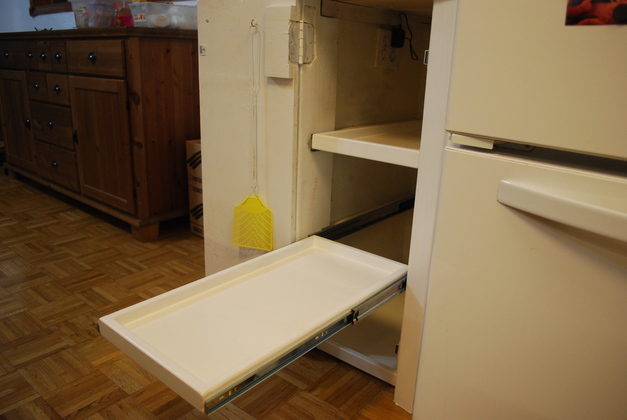
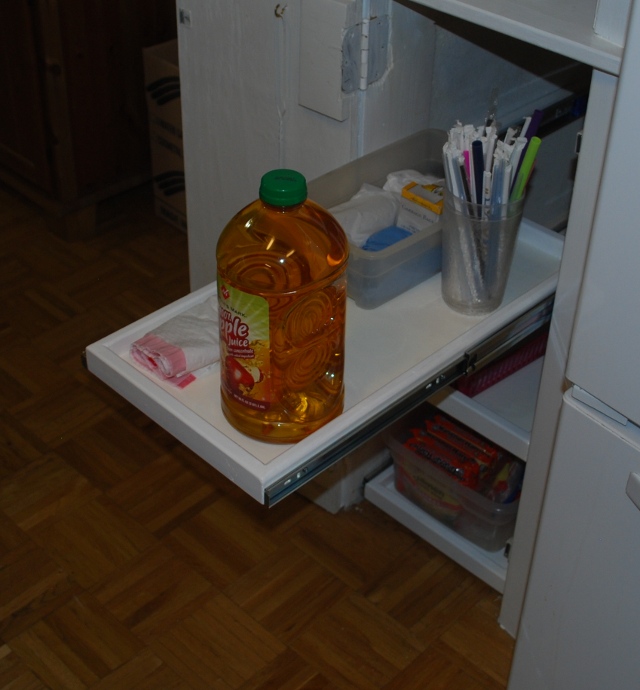
Sliding shelf under counter (right side of dishwasher) with stand mixer, can opener, and hand mixer.
|
|
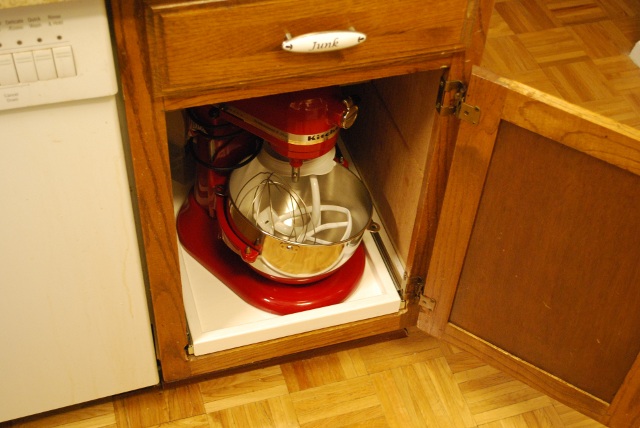
Stand mixer sliding shelf pushed in.
|
|
Stand mixer storage closed.
|
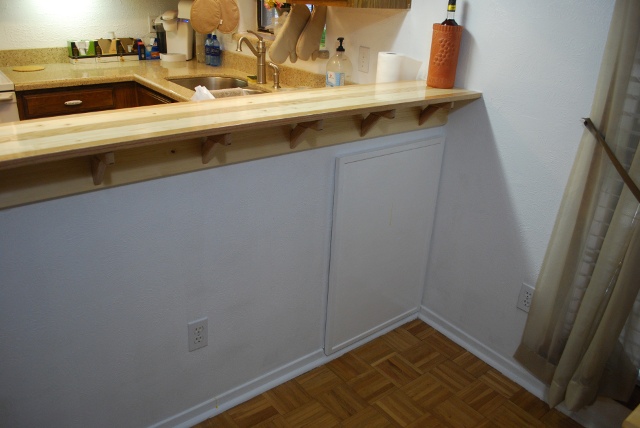
New Storage Area
|
The under cabinet storage area seen from the dining room.
This shows a good perspective on where the storage area is in relation to the sink (in the background).
Please see my
Dining Room Storage Cabinet Page.
|
|
You can see the brace spanning the gap between the shelf slide and the wall of the dishwasher cabinet.
This area is about 4" wide, without the lip, stuff would slide off into this space.
You can also see the lip on top of the shelf.
|
|
Door open and one shelf out.
|
|
Seen with the door closed.
|
Pantry Shelves
|
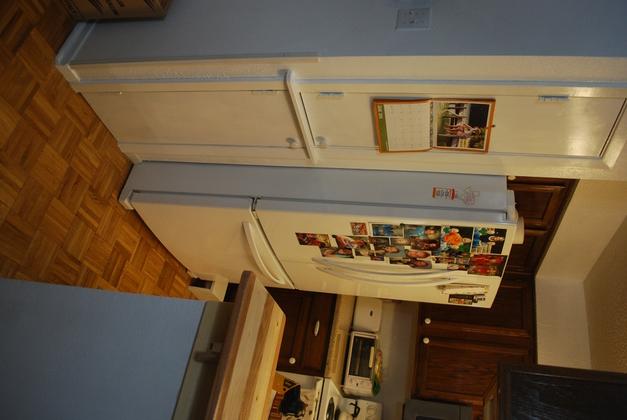
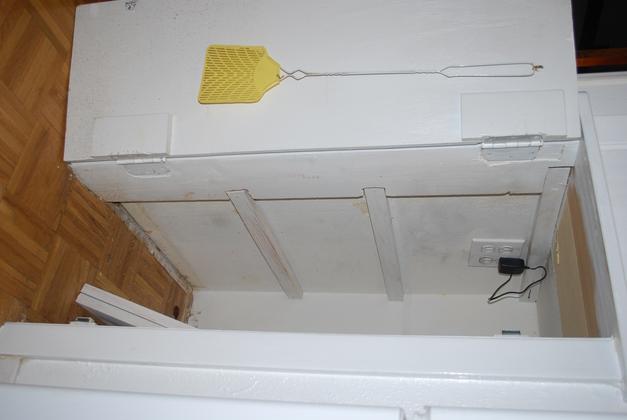
Our entire pantry cabinet (on the left here), you can see why we needed pantry shelves more than a compactor.
|
|
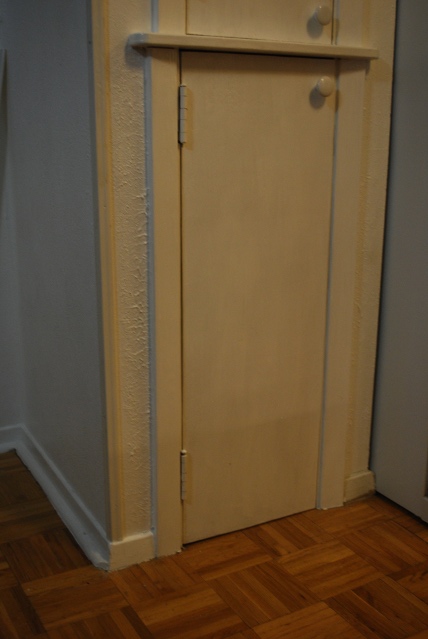
The lower pantry door, this was used to contain a trash compactor.
Early on, I replaced the compactor with shelves.
|
|
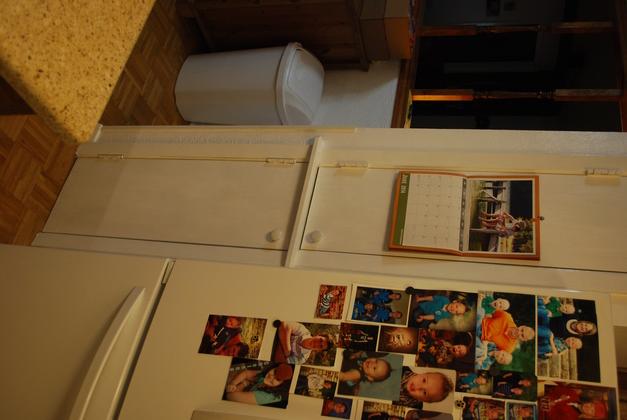
How it looks from the kitchen.
You can see the trash can on the left.
I replaced the trash can with one of our painted 39 gal. trash bins.
|
|
Heres what it looks like inside, I removed the shelves (stacked on the right), so I could measure.
The power plug and wall wart are for the phone above and on the opposite side of this wall.
|

|
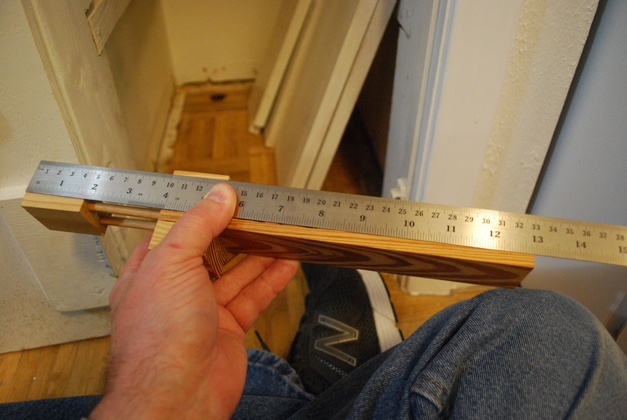
Using my home built inside dimension tool for measuring closet spaces.
One of the biggest problems with putting drawers or sliding shelves attached to the house is that houses aren't built by cabinet makers.
A house isn't square by cabinet standards, so you have to measure carefully and calculate shims etc. to make things fit and slide smoothly.
This pantry is wider at the back than at the front by about 3/32" so I'll have to put shims at the back to make the slides parallel to each other.
|
|
The tool consists of two pieces of 1x2, one with two long dowels glued to it (the movable part) and the other end has two very deep holes with a carriage bolt and wing nut to clamp the movable part.
You expand the tool until it touches both sides, tighten the wing nut, then measure the overall length.
This gives you an accurate inside width of a pantry.
I have used this tool a number of times and have made several different lengths of the clamp end.
Here is a link to my page on the inside dimension tool, showing how its built and used.
|
|
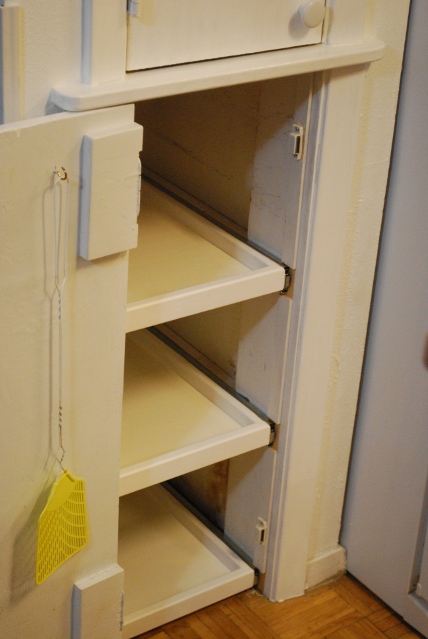
Here are the lower pantry sliders installed.
The door frame prevented me from using under frame shelves here.
|
|
You can see how things that were kept at the back of the pantry are now visible and accessable.
|
|
Here is what it looks like after Betty started loading it.
Plenty of room for more stuff.
Betty absolutely loves these things.
After doing the linen closet, I'm thinking about removing the door and putting fronts on these, like the linen closet.
|
Under Frame Sliders
|
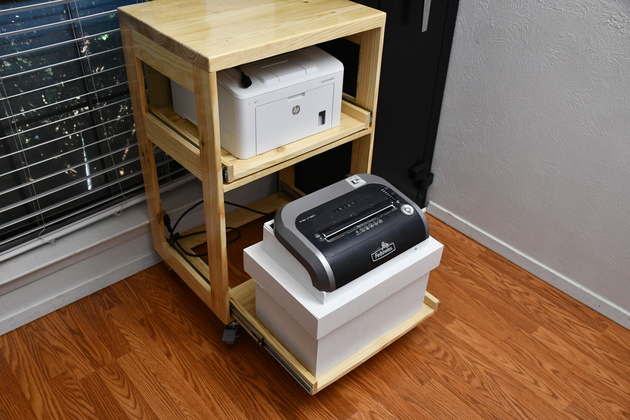
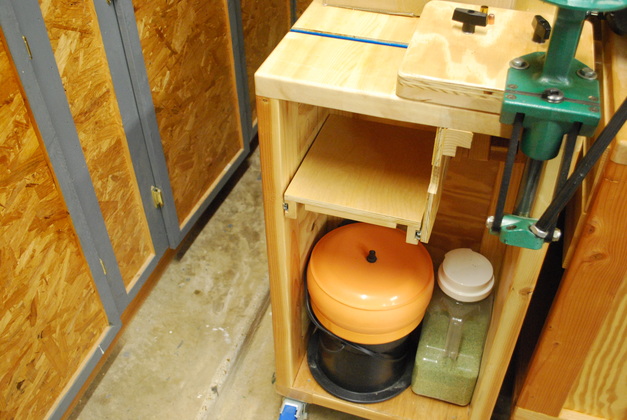
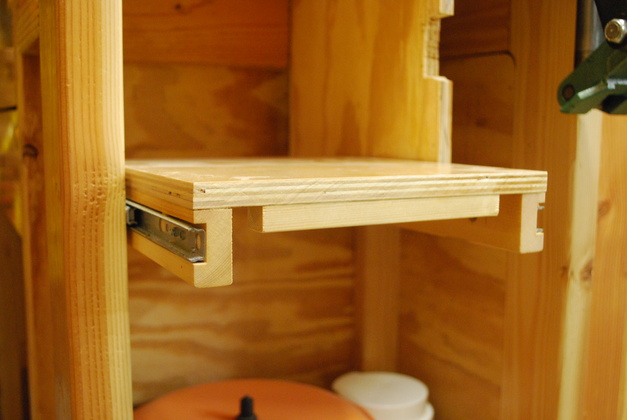
The loading shelf in my compact loading bench is the first Under Frame sliding shelf I built.
|
|
A little closer view, you can see the shelf fits snugly between the sides of the cabinet.
Note the slides are below the shelf, this is the only loading shelf where I had actual slides, I made the rest from wood.
|
|
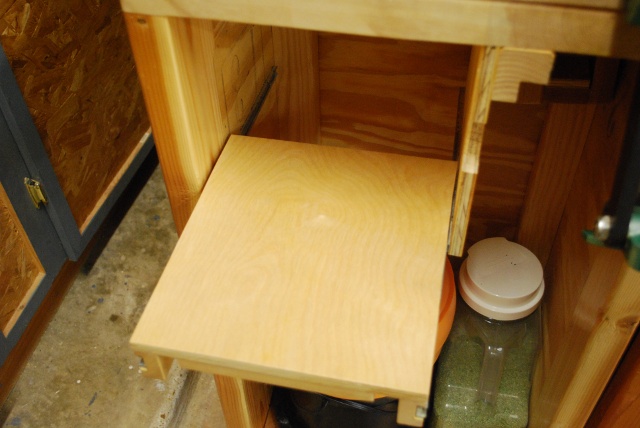
Extended.
These aren't full extesion slides, I couldn't find any 10" long.
|
|
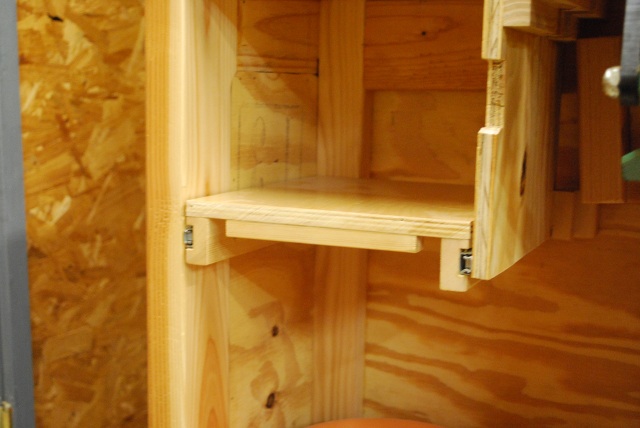
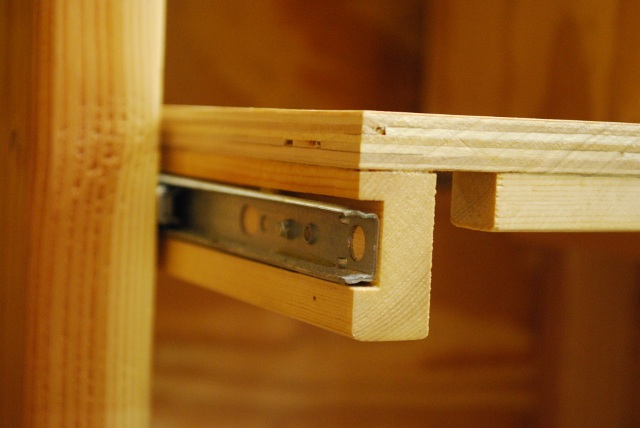
You can see the frame under the shelf.
The shelf is the full width of the enclosure, the slides are underneath.
|
|
I had to rabbet the frame for the slides for more clearance under the shelf.
You'll note the "pull" or handle is just a small 1/2" square strip about 6" long glued under the front edge.
|
More comming on Under Frame Shelves
when I get a