| 
| 
| 
|
|
|
|
|
|
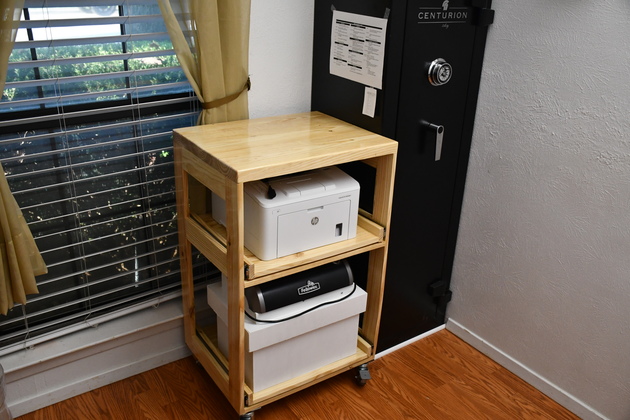
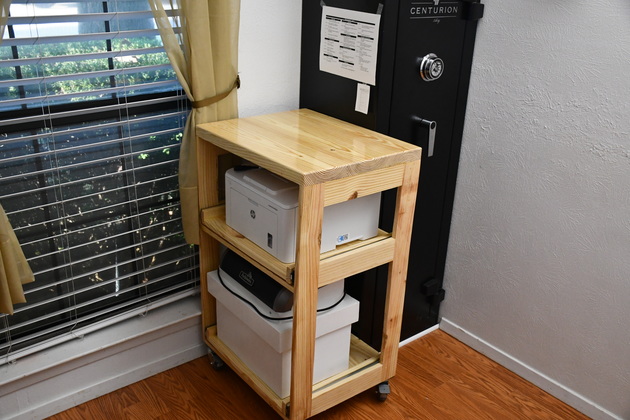
After looking at a printer and a shredder on my office floor for over a year, I decided it was high time I did something about it.
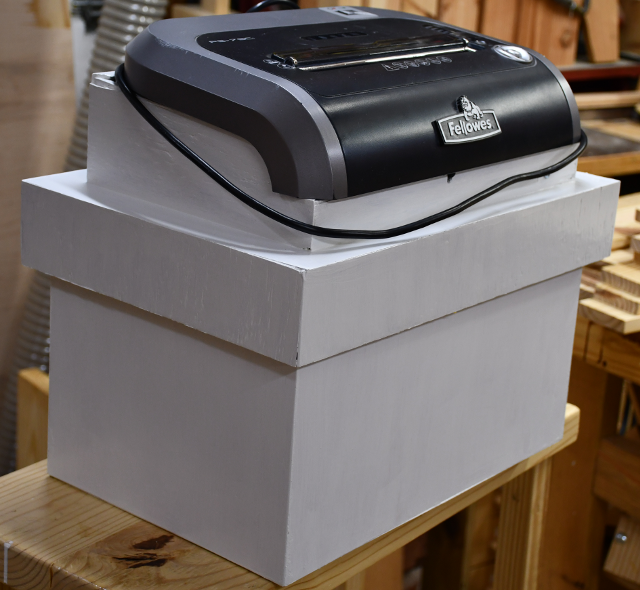
We used the old shredder for a number of years, but finally got tired of it's
ovreheat stops and waits, so I bought a newer Fellowes Powershred 12 sheet shredder.  I built a new cap that fit the new shredder, and SHAZAM!
we were back in business.
The Powershred 12 sheet had the same problem as the earlier model, bin too small
and posts inside the bin that tore the plastic bag.
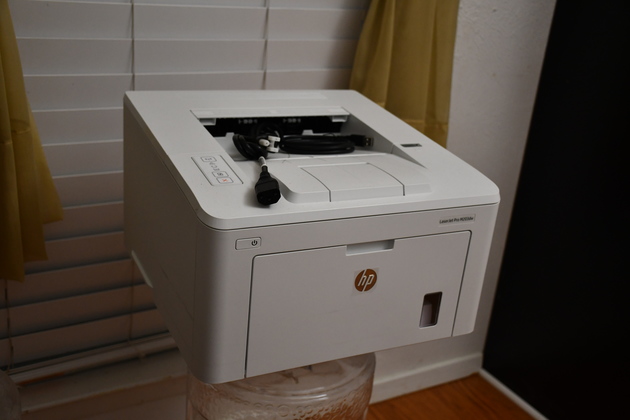
This laser printer is wireless or USB (HP Laserjet Pro M203) and we have an access point behind our firewall, so it doesn't need to be near a cat-5 so I'll make it mobile (in the house at least). Mostly we use this when our HP 1320n won't do the job (the 1320n doesn't pick up paper from the envelope tray anymore), so when we print labels and such it doesn't work, but in all ormal print tasks it works great and its cheaper to feed (toner only no drum).
We use the shredder several times each year when odds and ends need shredding, but once per year (usually in February) I shred all the documents from two years ago (usually 100's of documents). The shredder has a built-in shred bin which fills way to quickly (every 15 or 20 docs), when I do the annual shred documents. The built-in bin has sharp edges which want to tear the shred sack when removing, it also makes the shredder difficult to store. It occurred to me, on the annual shreds, wouldn't it be great to be able to shred directly into one of our 39 gal trash bins. And during the year, when we only shred 5 or 10 docs, I could use a smaller bin!
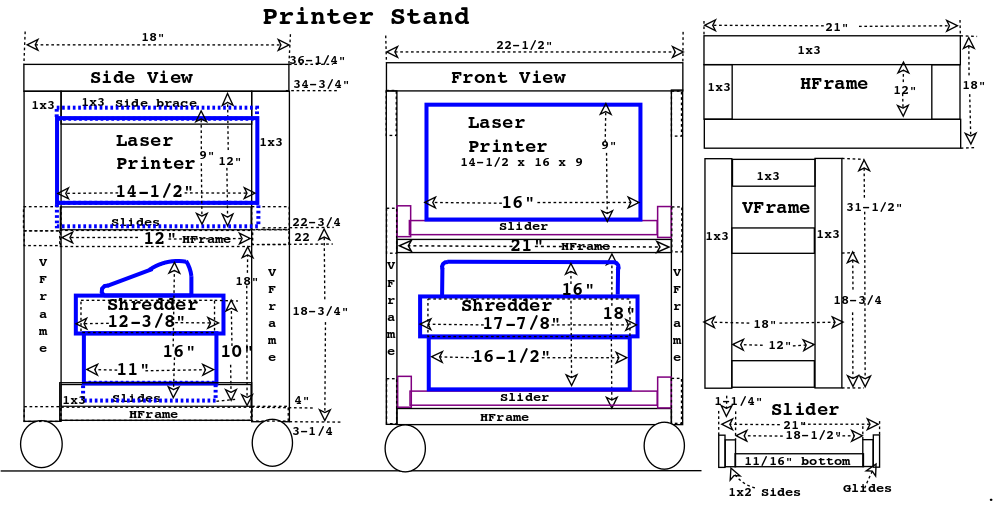
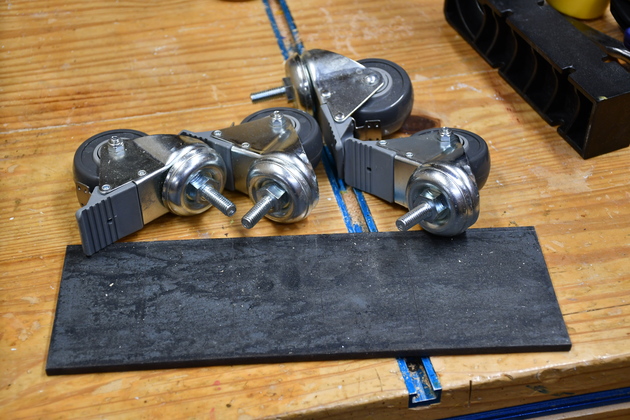
After some thought I decided to use slightly larger casters on this project. We have laminate flooring with transitions at the doorways, so a larger caster would be easier to move across them. I had a 4 pack of Rockler 3" casters with a 3/8" stem which are double locking and seem to work well, except the stem. I originally bought them for another project thinking I could use inserts into the wood to mount them, the inserts quickly wallowed out (in pine), stems don't work well with pine apparently. I am going to use 1/4" thick steel plates as mounting plates. I bought a 4" X 12" X 1/4" thick steel plate, I'll saw into 2" X 3" plates. I can drill and tap the plates, thread the caster's stem into the steel plate then add a locknut and cut the stem off. I'll have to counter sink the nut into the bottom of the cabinet.
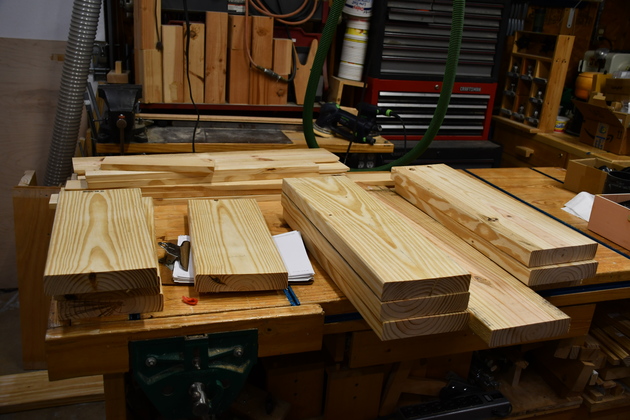
Most of my projects are made from 2x8x8' Southern Yellow Pine which I cut to lengh, rip to width, then resaw and plane to the correct thickness.
When I resaw a 1-1/2" thick board in two, and plane it I get two 11/16" thick boards wich I use instead of 1x which are actually 3/4" thick.
In most of my later projects I have horizontal frames, for strength, I call them HFrames.
I also refer to the sides as VFrames, but occasionally I need a vertical partition in a structure and I'll call it the VFrame.
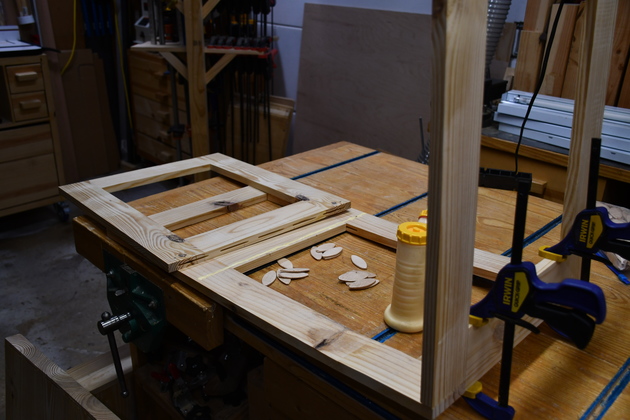
I mostly use loose tenons (biscuits) for this kind of project, I have done a few with actual mortise and tenon, but that takes a little longer.
The biscuit primarily holds in one direction where a domino holds in two directions.
I'll probably put a plug strip on one of the back verticals so there is only one cord to contend with.
|
Our little Laser2 printer. |
|
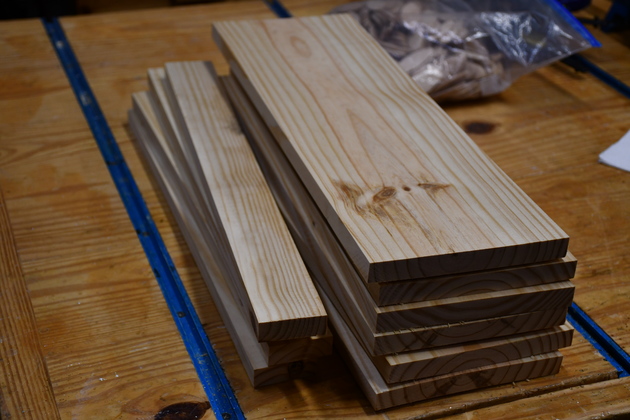
Sectioins of 2x8 cut to length for parts of the roll-around stand. Next, I'll rip to width, then resaw and plane to the correct thickness. |
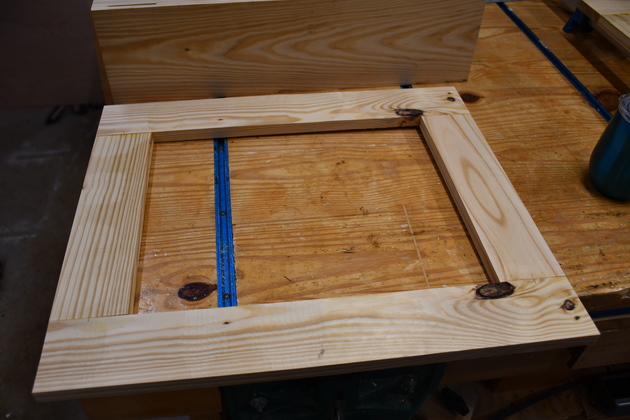
Frame
|
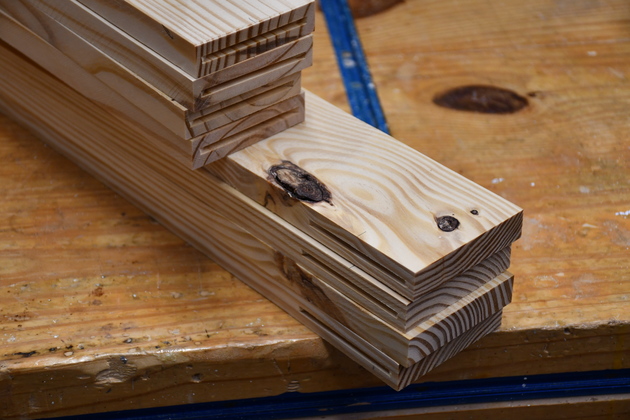
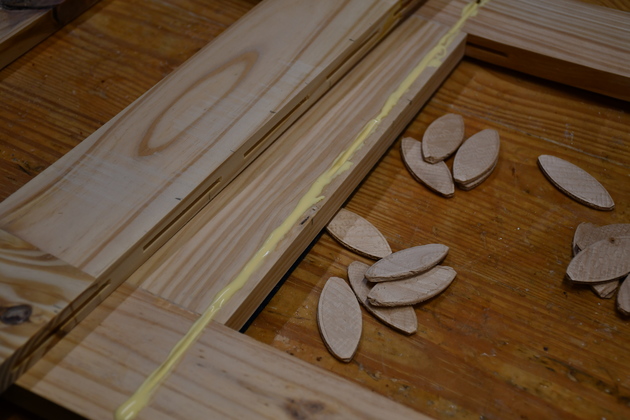
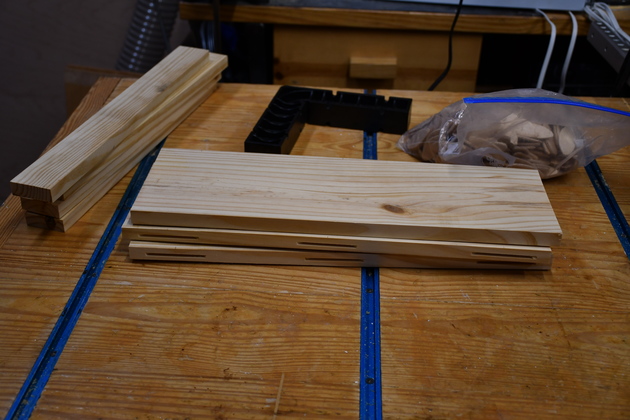
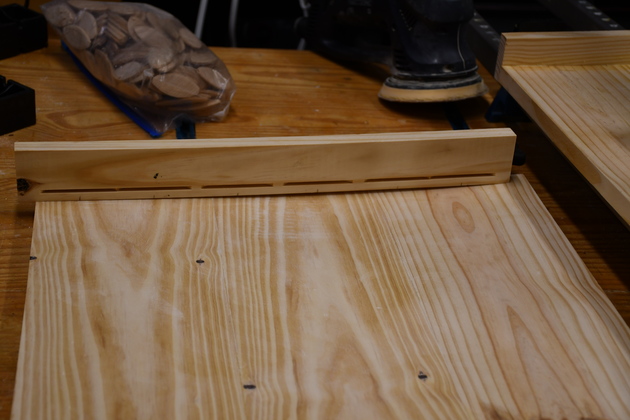
Horiz frame pieces slotted for biscuits.
These are referred to as 1x3, actually 11/16 thick after ripping, resawing, and planing.
|
|
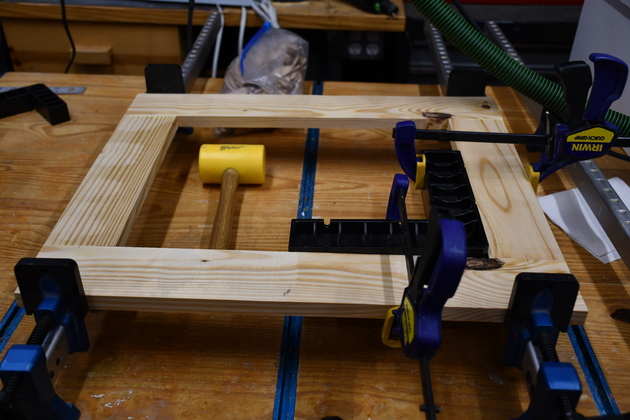
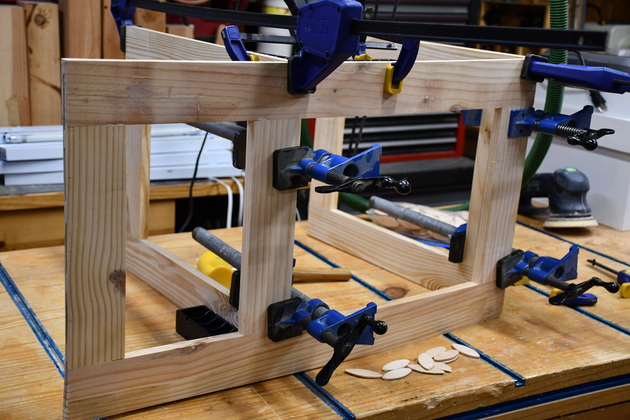
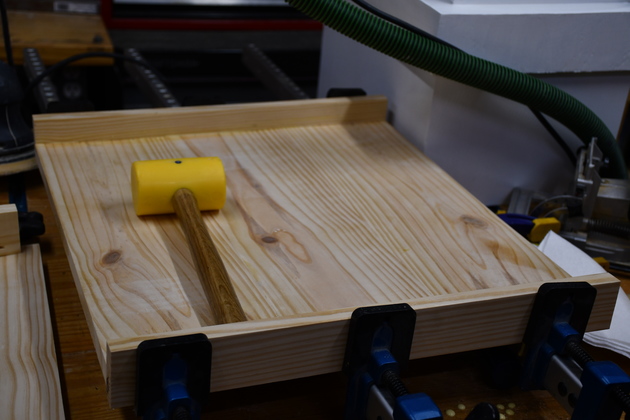
One of the HFrames in glue clamps. |
|
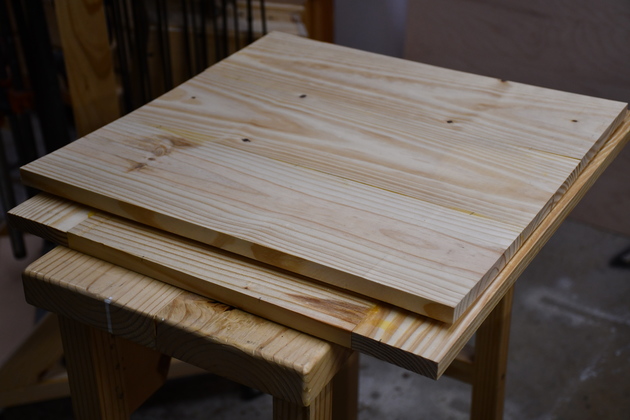
Glued HFrame, ready to sand. |
|
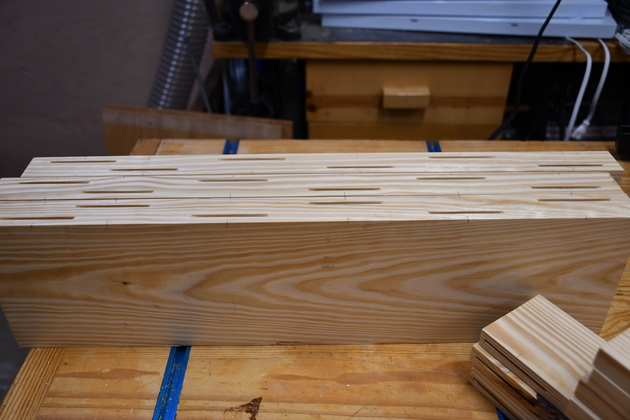
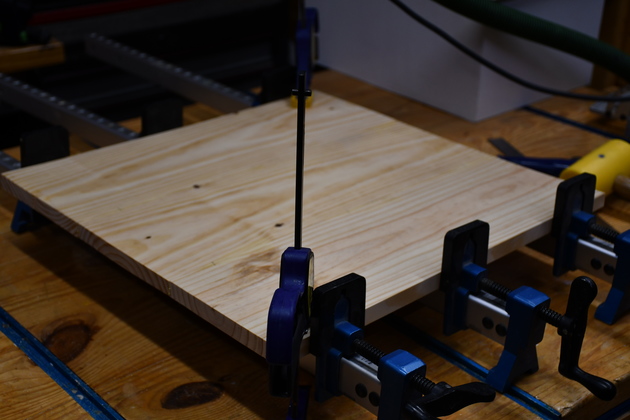
Top, planed, joined, and slotted for biscuits. |
|
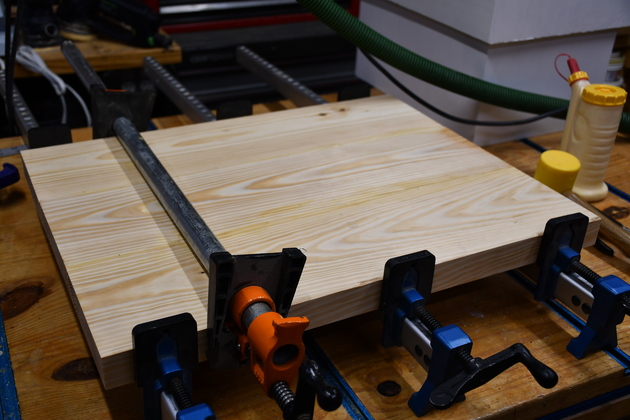
Top in the glue clamps. Note, I use the bar clamps for making flat stuff, but occassionally I add a pipe clamp for more power. |

|
A little different perspective on the top. |
|
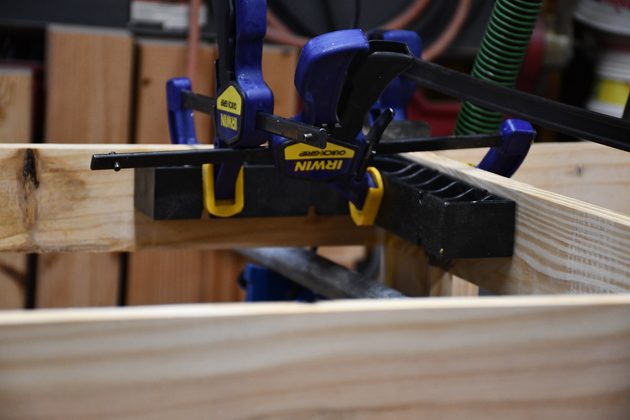
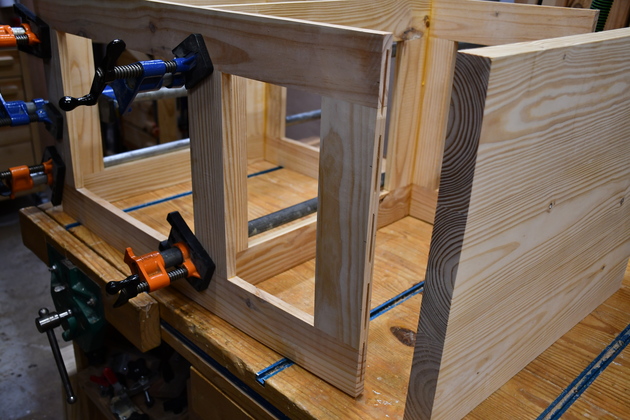
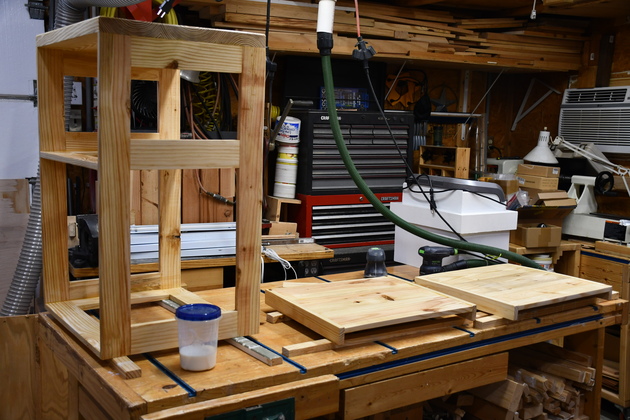
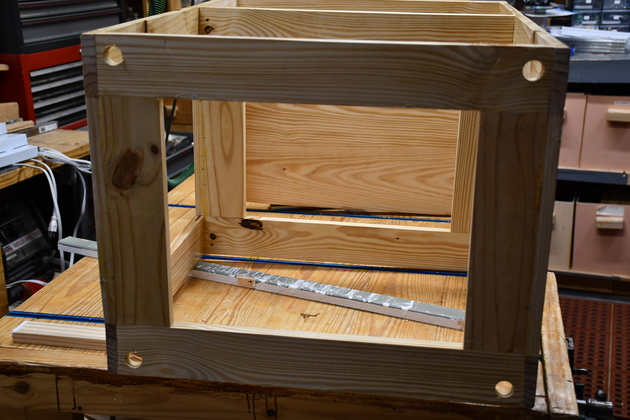
Starting to glue lower HFrame to right side (VFrame). I run the glue bead across the slots, then insert the biscits, tap them down, the run another bead of glue across the top of the biscuit, and join the pieces. |
|
Bead of glue across VFrame slots for an HFrame. Note the slots in the upper HFrame (on left) and biscuits ready to insert. For more info and pics of how I do this, please see my Biscuit Page. |
|
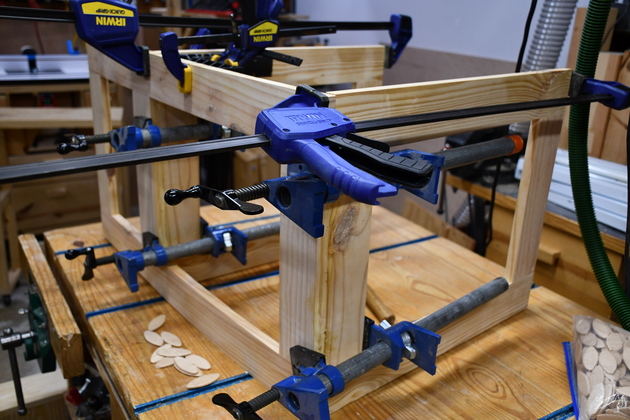
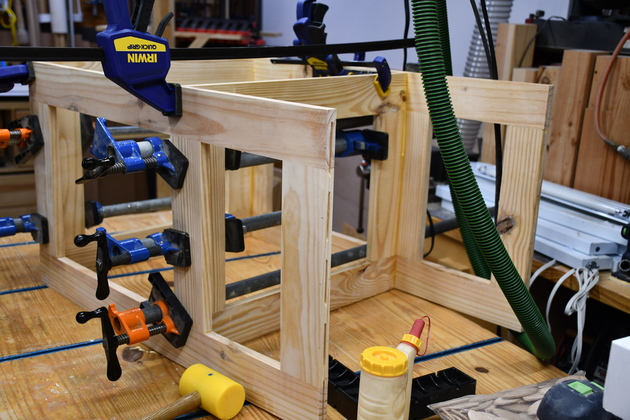
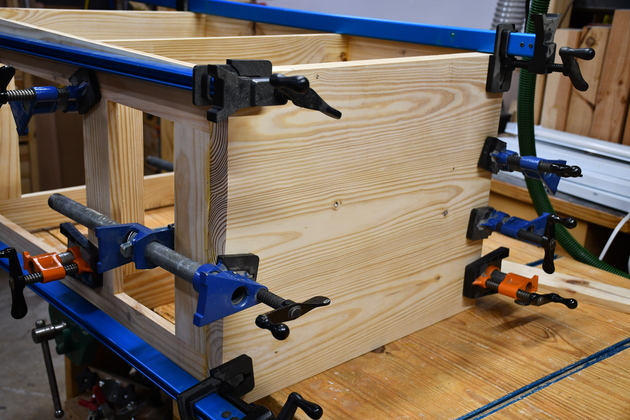
Lower and upper HFrames being glued to right VFrame (side). Note I used a lot of short pipe clamps on this frist joint. Later, as I add the second VFrame, I'll replace most with longer clamps. |
|
Better look at clamps. You are looking at the bottom of the cabinet and it's lower HFrame. It is difficult to see but there are 'ClampIt's bolding the HFrame square ot the side (VFrame). The ClampIts are super handy, they even have Mini Clampits for tight spaces. Rockler only shows a ClampIt kit now, I bought mine individually. |
|
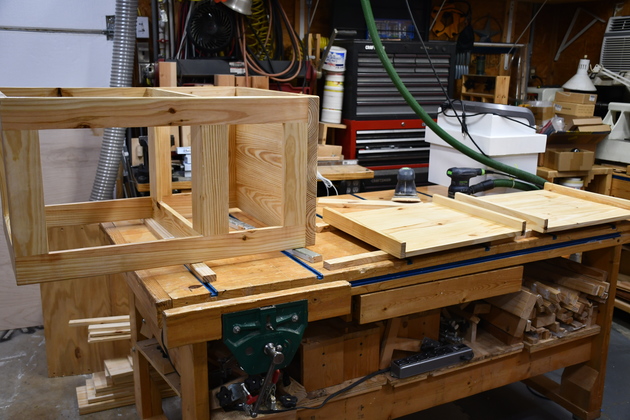
Left VFrame (side) being glued to HFrames. You can see one of the ClampIts in the far corner. The frame is face down on the bench, you are looking at the frame's bottom. |
|
Closer look at one of the ClampIts keeping VFrame square to an HFrame while the glue sets. |
|
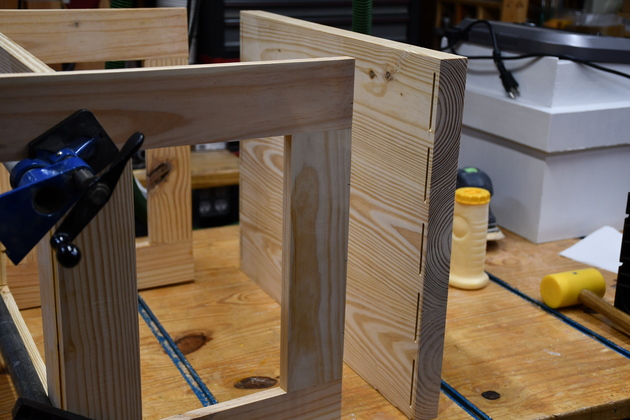
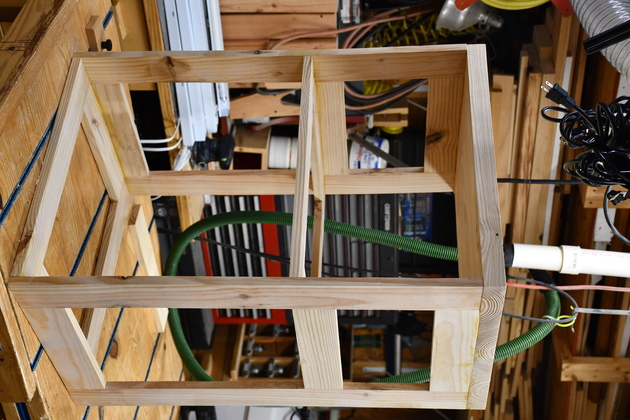
View from the frame top, you can see the slots in the top of the VFrames (sides). |
|
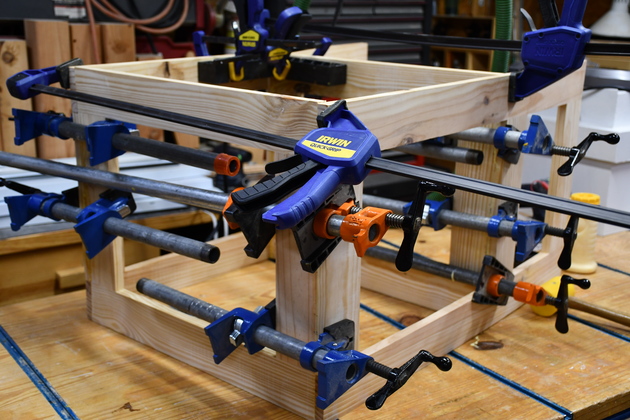
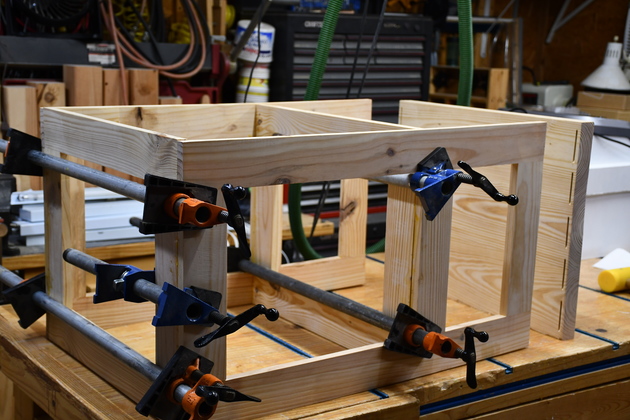
I replaced most of the short clamps with longer pipe clamps. |
|
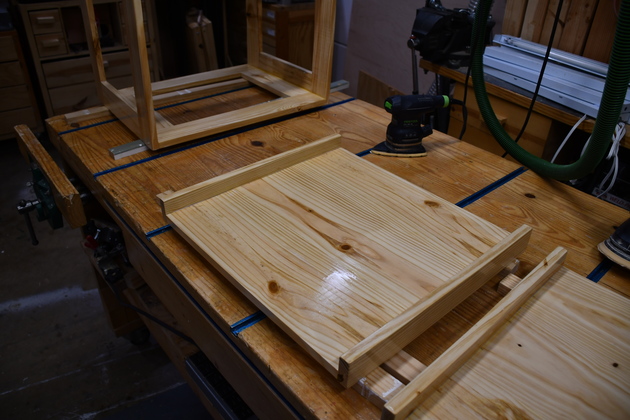
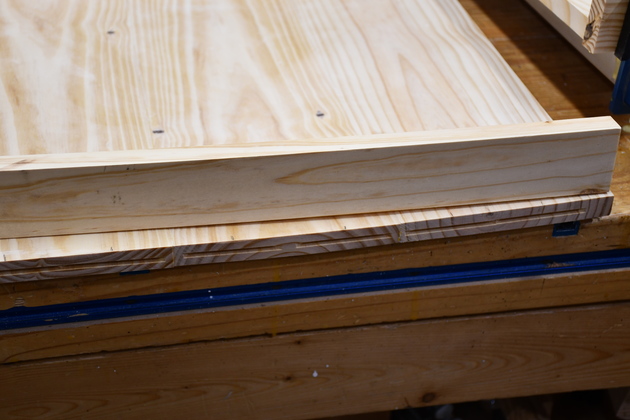
Preparing to glue top on the frame. Note the biscuit slots in the top. |
|
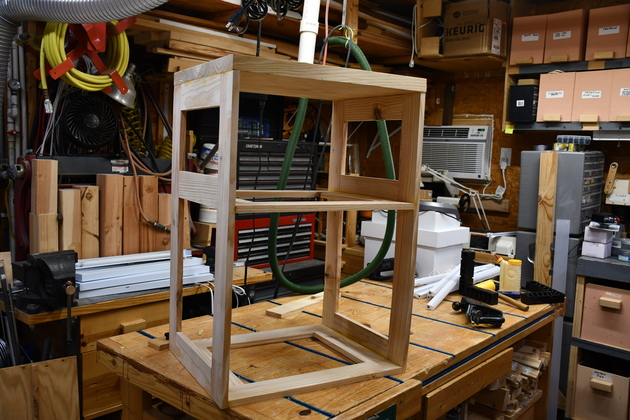
A look from the top, you can see the biscuit slots in the top edge of left VFrame. |
|
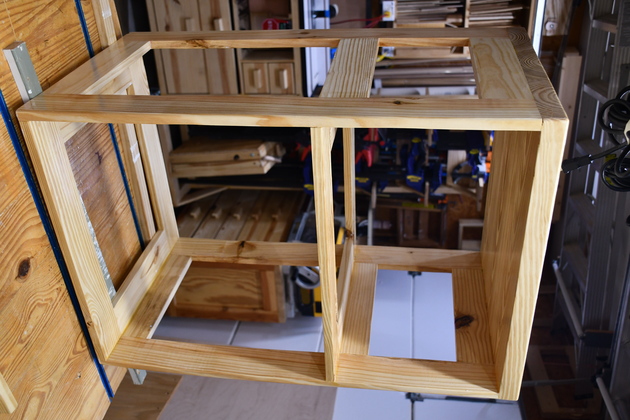
Top being glued to VFrame tops. |
|
Back side of the frame glued. |
|
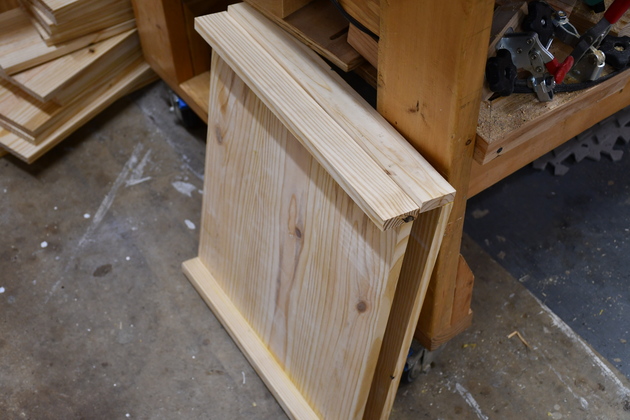
Front side of the frame ready to sand and paint. |
|
Frame and slider bottoms being painted. |
|
Bottom of frame and top of sliders being painted (1st coat, primer). |
|
As sucessive coats go it starts to have a little sheen. |
|
Front of the main cabinet. |
|
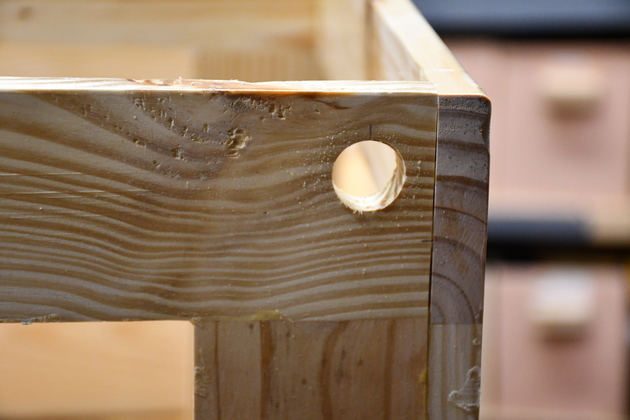
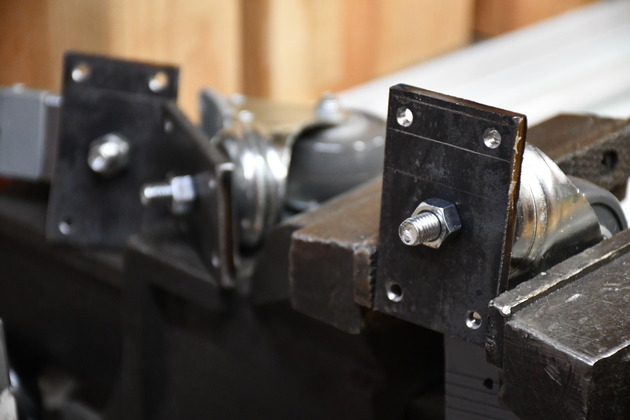
Cleance holes for caster nuts in bottom. |
|
Closer look at caster nut clearance hole, its 7/8". |
|
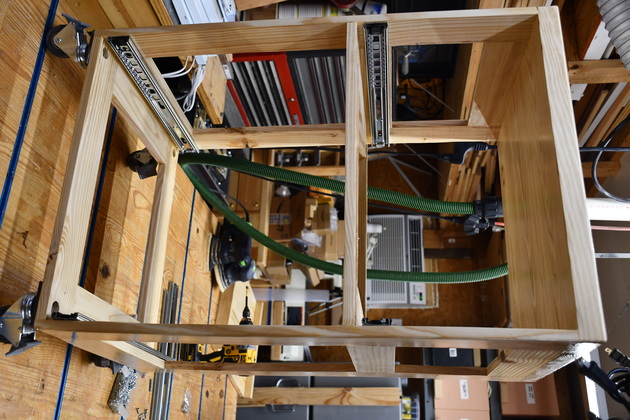
Slides and casters mounted. |
|
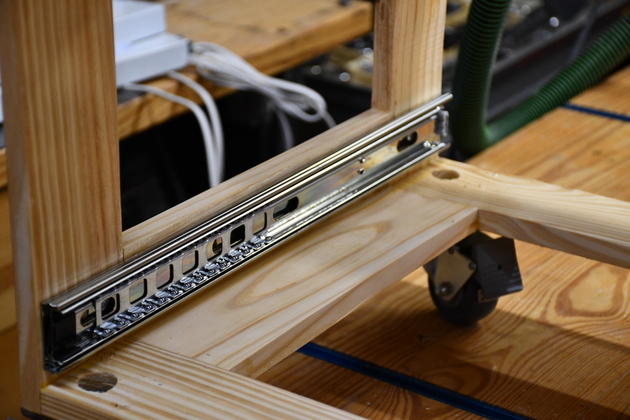
Closer look at a slide mount. |
|
Sliders installed in cabinet. |
|
|
Sliders
|
Slider parts, sides on the left, base parts on the right. |
|
Slider base and sides, slotted for biscuits. |
|
One of the slider bases in the glue clamps. These are being edge joined. |
|
Glued slider base on top of an Hframe. |
|
About to glue slider side to base. Note the biscuit slots. If you look closely, you can see the base has a slight bow, this will be straightened out when the sides are glued on. |
|
Slots in slider base edge with a side on top ready to glue. |
|
Slider sides being glued to it's base. |
|
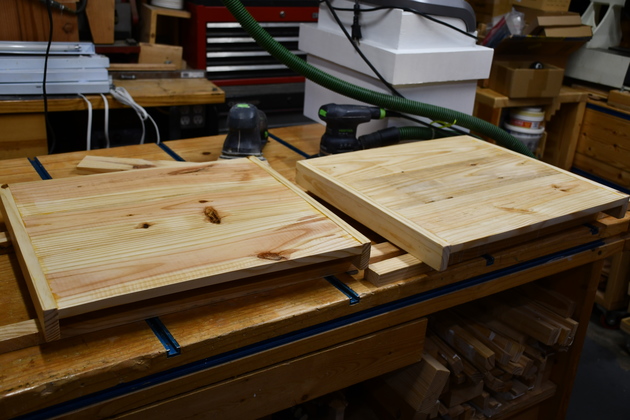
Sliders ready to sand and paint. |
|
Sliders bottom being painted. |
Casters
|
Stem casters with 1/4 x 4 x 12" steel plate. I bought these for another project intending to use metal inserts, in the wood, to hold them but the inserts wallowed out quickly, so I used plate mounted casters on that project. My intent here is to make mounting plates and weld the stems to the plate then saw of the extra and grind them flat. I'll cut the plate into ≅ 2" X 3" smaller plates then drill four 3/16" mounting holes at the corners and drill and tap a 3/8-16 center 'Stem' hole. |

|
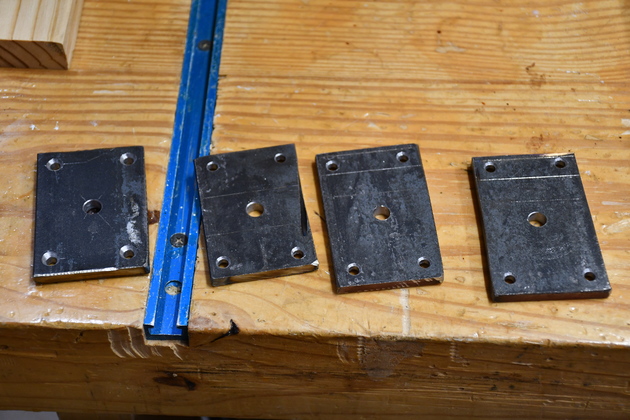
Caster plates after sawing into 2 x 3". |
|
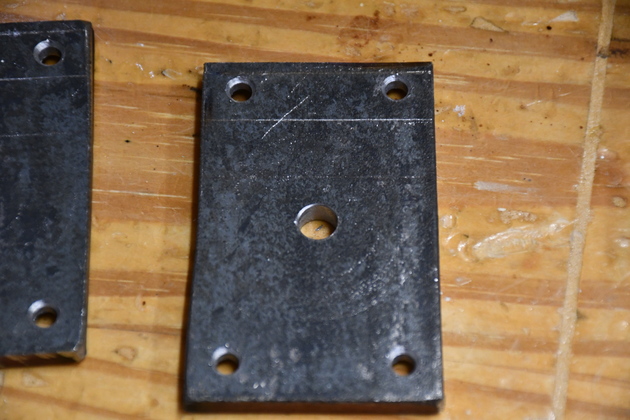
Corner mounting holes drilled and chamfered and 5/16" stem hole drilled. |
|
Closer look at drilled holes. |
|
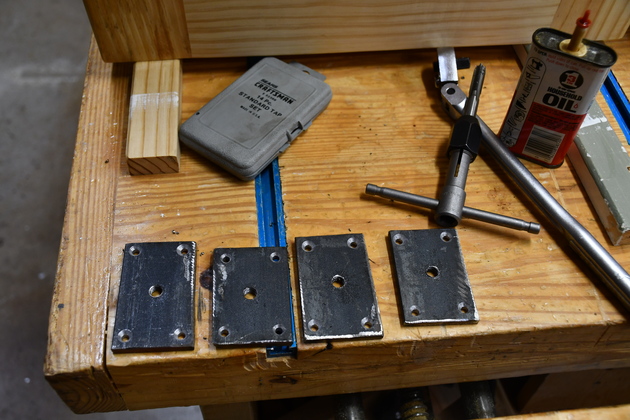
Tapping 3/8-16 center 'Stem' hole. |
|
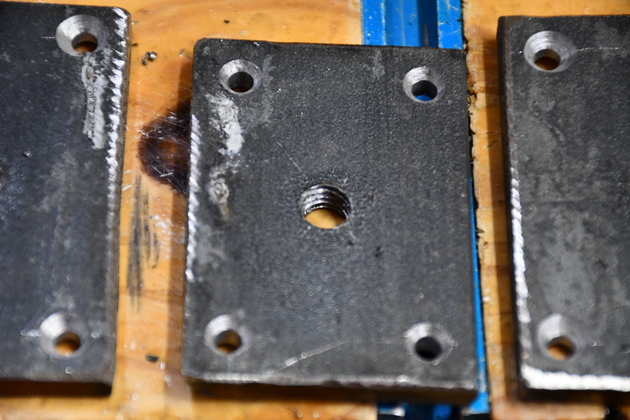
Closer look at tapped 'Stem' hole. |

|
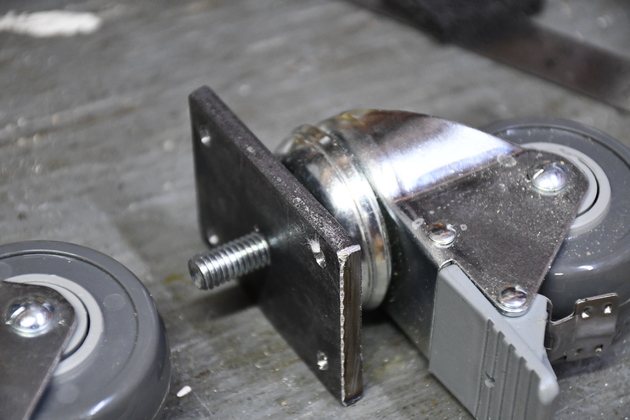
'Stem' casters threaded onto mounting plates. |
|
Closer look at top of caster mounting plate. I'll saw off the extra stem, then weld it and finally grind it flat. |
|
Caster plate clamped into vise with 3/8-16 nut. Now I'll saw off the stem even with the nut. |
Finish
|
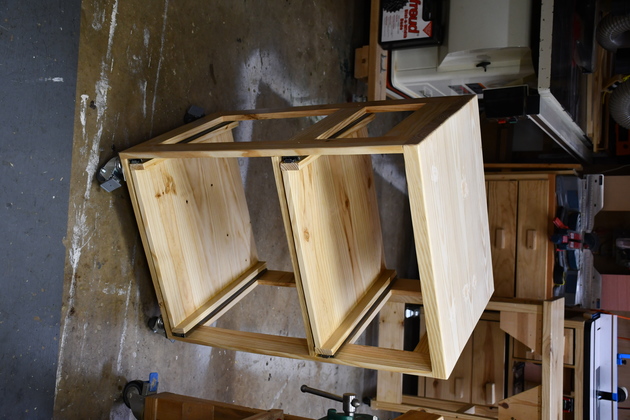
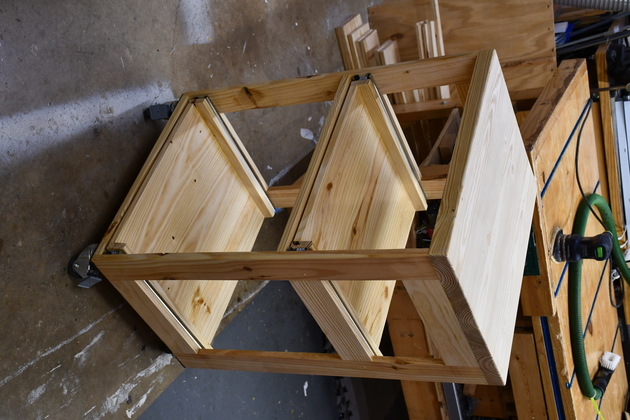
Finished, sitting in my office. |
|
|
I think I like this postion better. |
|
|
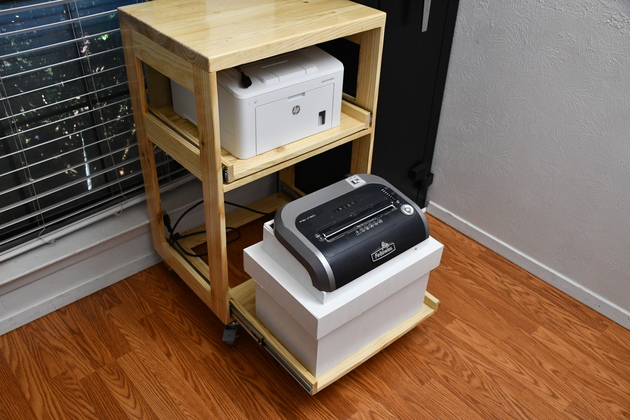
Shredder pulled out for shredding. |
|
|
Printer out for printing. |

|
|