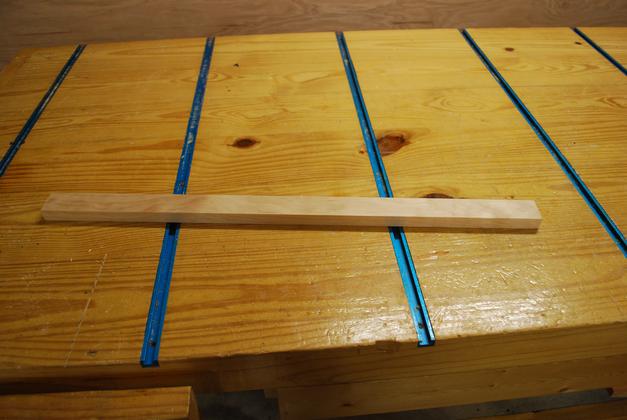
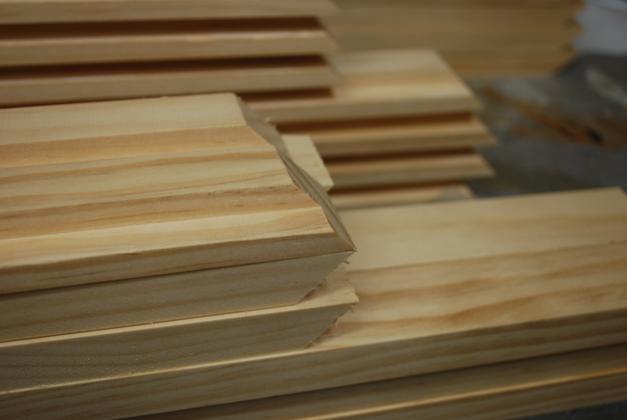
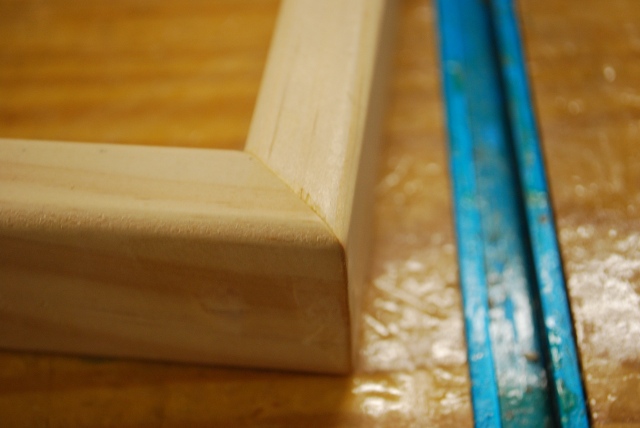
One piece of a shelf lip (or frame piece), cut out and ready to miter.
Top Lip Sliding Shelves
I make the shelves with 1/2" plywood bottoms and a 1x2 "lip" or frame around it. The corners of the frame are mitered with a rabbet for the bottom to be glued into. I also used type "FF" biscuits in the corner miters for added strength.
Link back to Sliding Shelves Page.|
|
One piece of a shelf lip (or frame piece), cut out and ready to miter. |
|
I cut them all to the length or width of the finished drawer. Here is a link to my picture framing page with more info on how I cut and glue miters. |
|
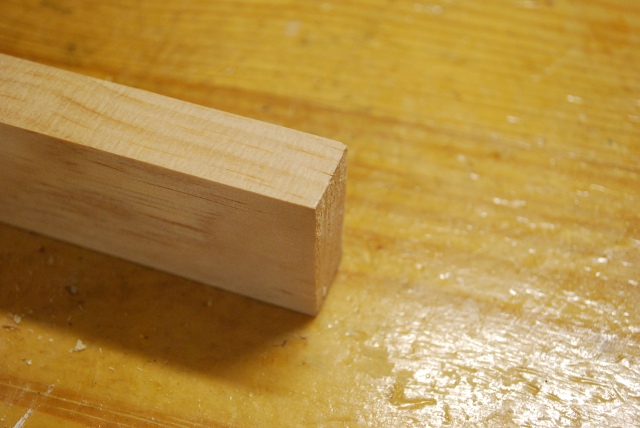
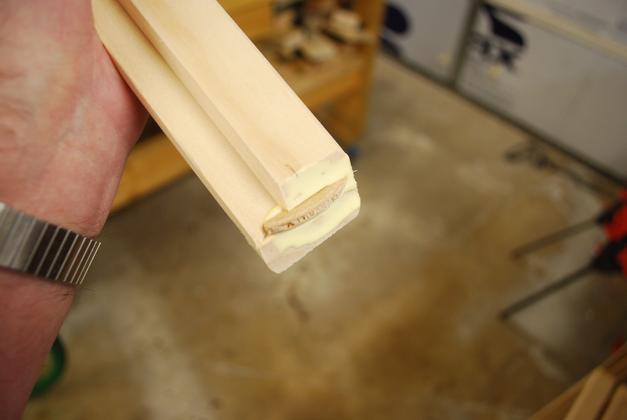
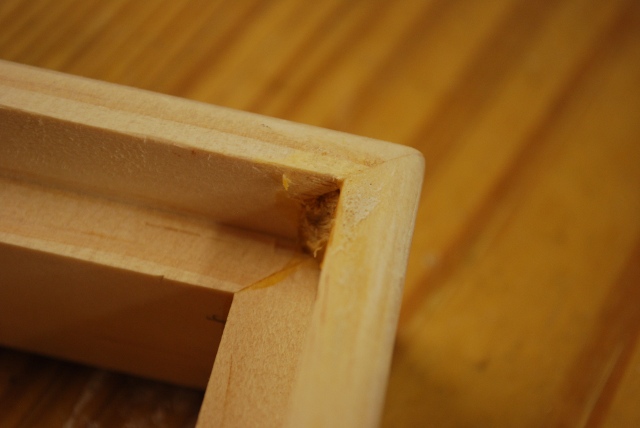
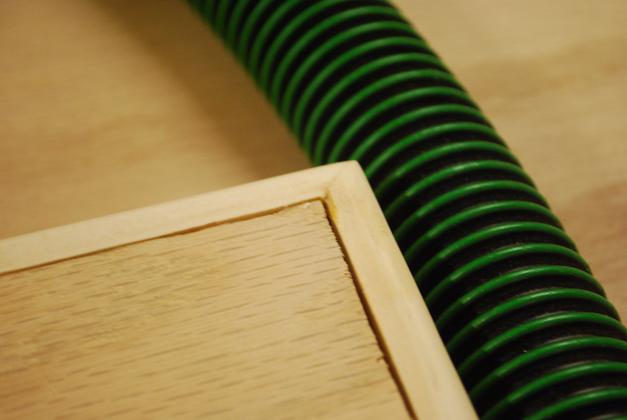
Here is one end after I cut the rabbet for the shelf bottom. |
|
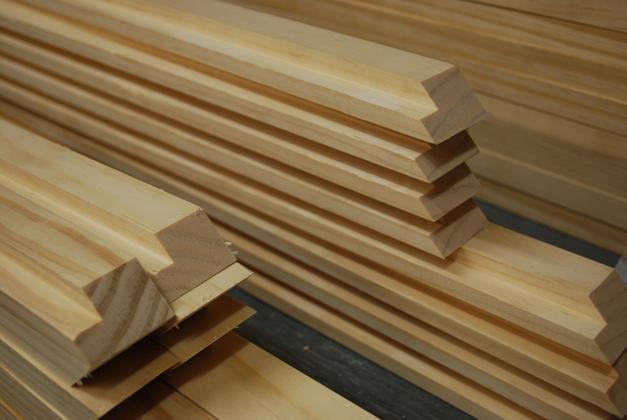
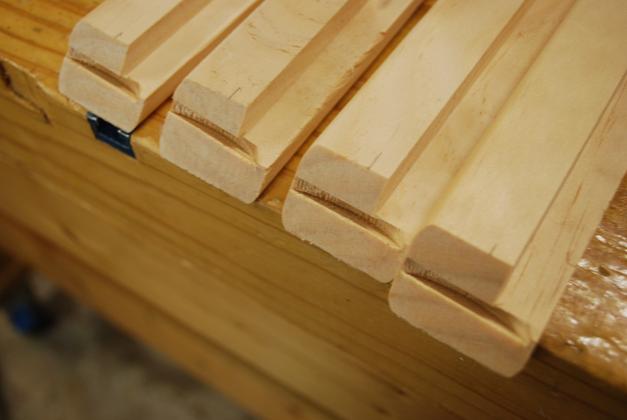
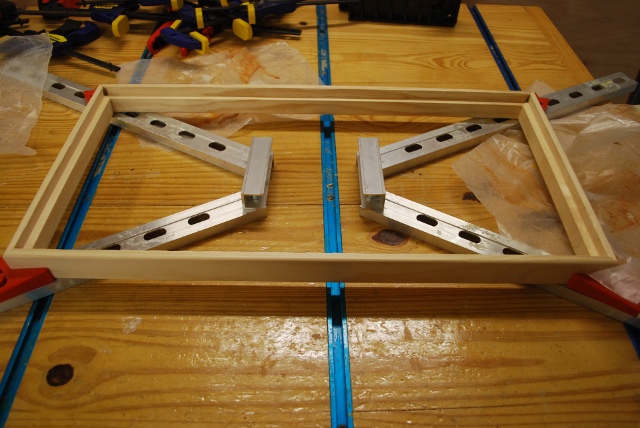
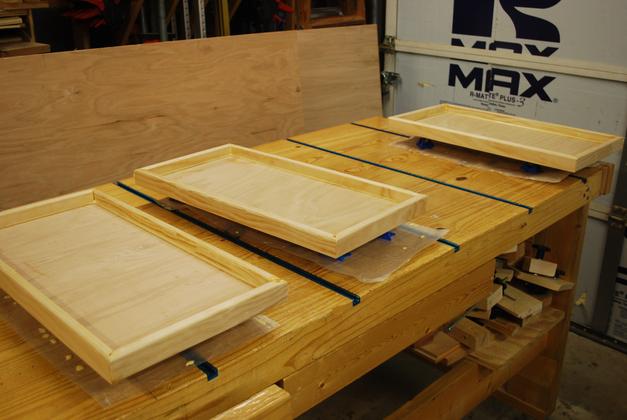
At this time I have several sliding shelf projects going on, the linen closet, under the kitchen sink, and a small pantry. Here are all the frame pieces rabbeted and mitered, next I will round off the top corners then slot for biscuits and glue the frames together. |
|
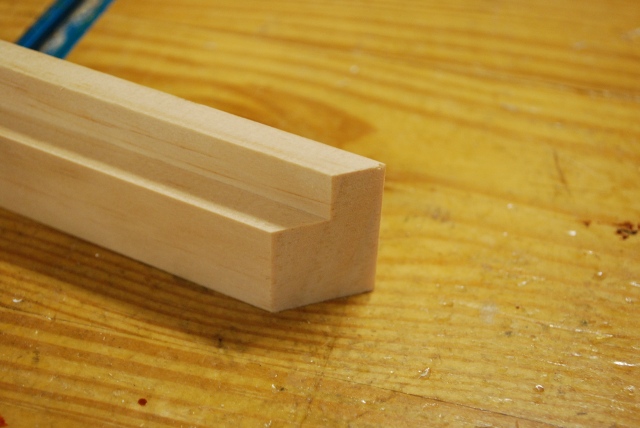
A little closer look at the miters and rabbets, I cut the rabbets and round of the corners on my router table. |
|
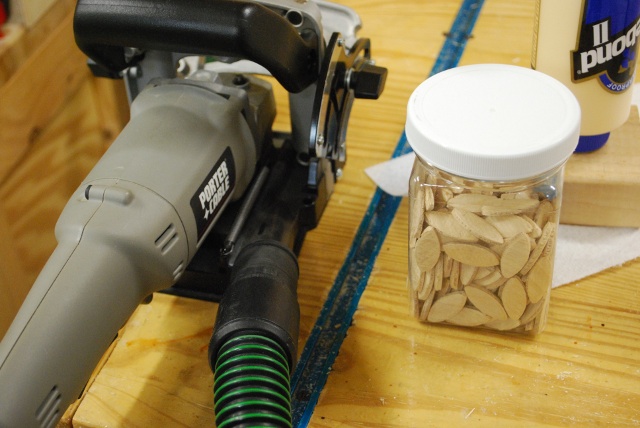
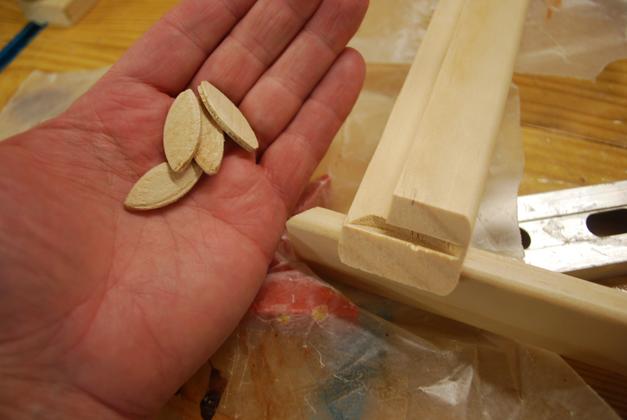
My plate jointer and some type "FF" (Face Frame) biscuits. |
|
See the pencil mark on the frame (lip) pieces, thats how I allign when I make the biscuit mortise. Also note, I've rounded the top corners on the router table. Here is a link to my picture framing page with more info on how I cut and glue miters. |
|
Biscuit mortises cut, ready to join the shelf frame pieces. |
|
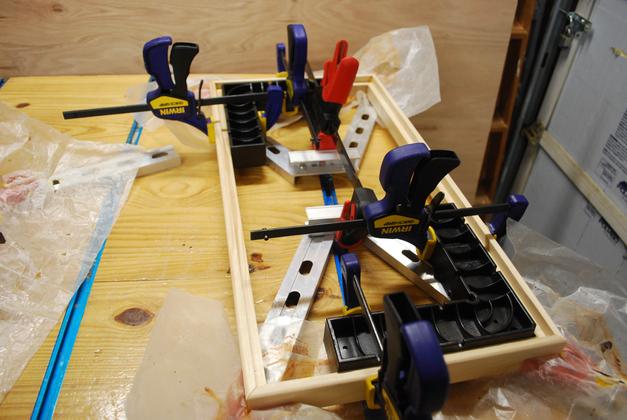
A test fit, i'm making sure the picture frame clamp is set up for the frame's length and width. |
|
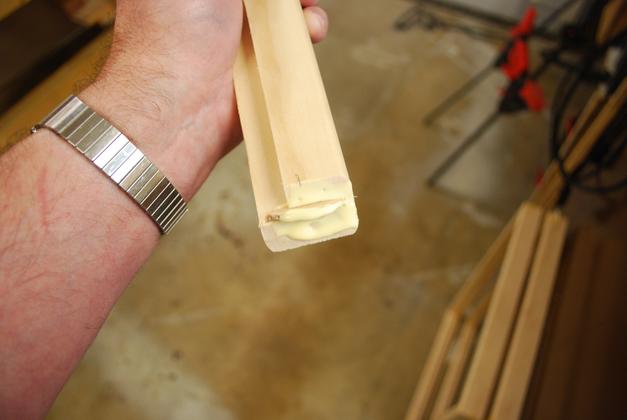
Type "FF" biscuits, ready to glue the frame. Notice the mortise is cut slightly into the rabbet for the bottom. |
|
I put glue on each end of the frame piece, in the biscuit mortise, and insert a biscuit. |
|
I put glue on top of the biscuit just before clamping the frame. I do this on the two opposite sides, the glue on this end and the top of the biscuit will be enough for both of the pieces being joined at this corner. |
|
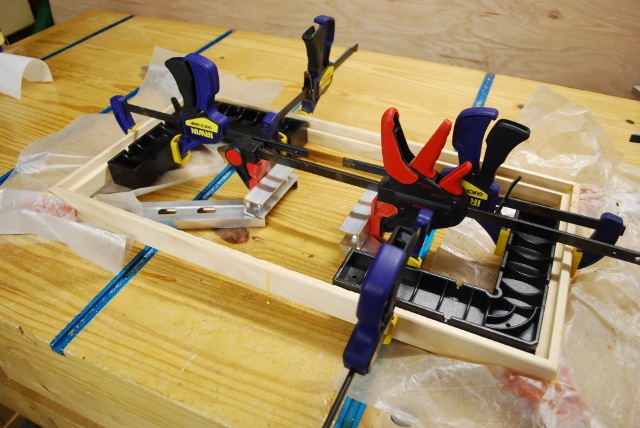
A frame in the glue clamps, I'm using a picture frame clamp and I add "Clampits" to make sure every thing is perfectly square. This frame is for one of the under sink slide outs. |
|
Here is a frame for the pantry slide out in the clamps. |

|
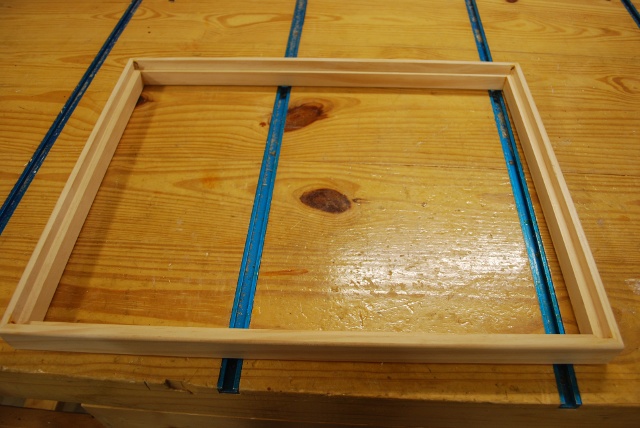
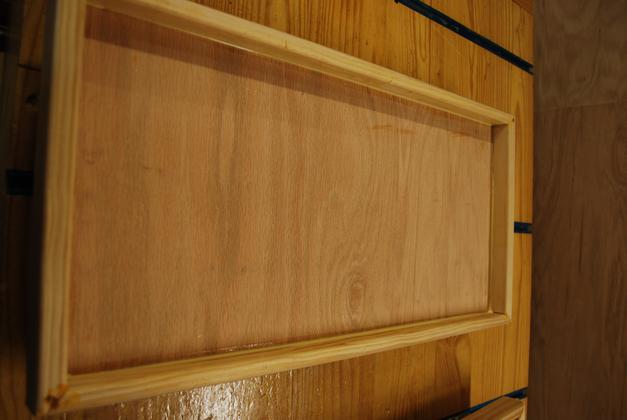
A glued slide out shelf frame ready for it's bottom. |
|
The bottom of the frame. |
|
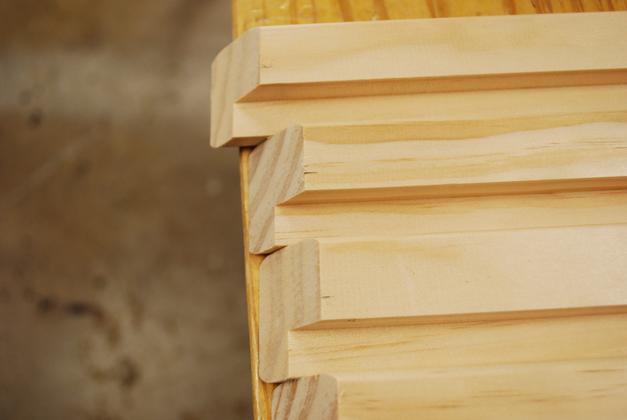
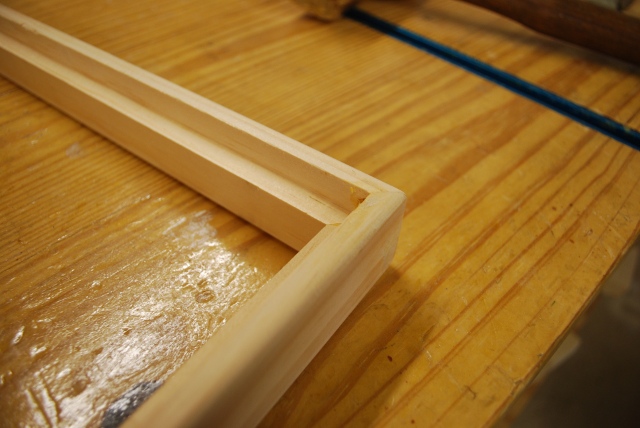
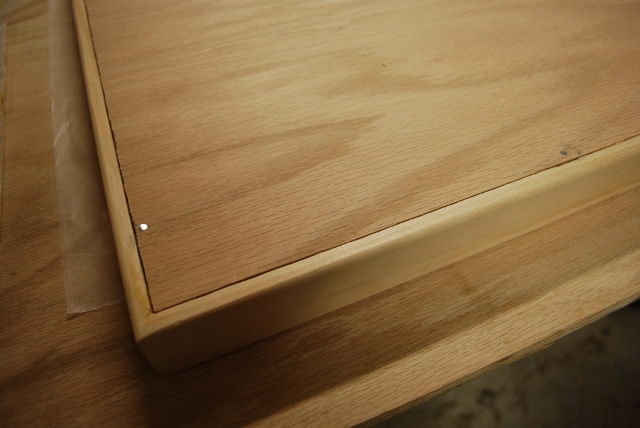
A closer look at one corner |
|
A closer look at the top of one corner before its sanded. |
|
Closer look inside of a corner, you can see some glue around the exposed biscuit. I'll chisel that off before I put the bottom in. |
|
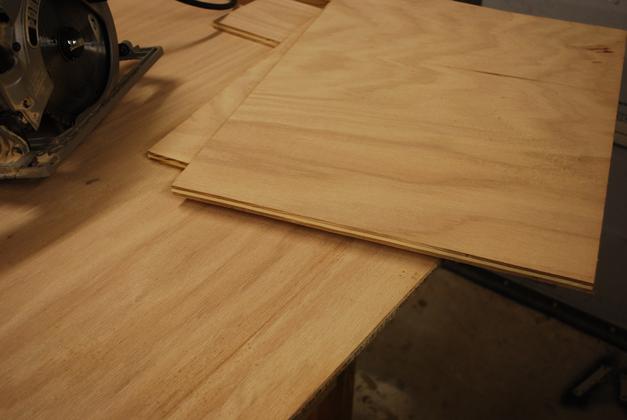
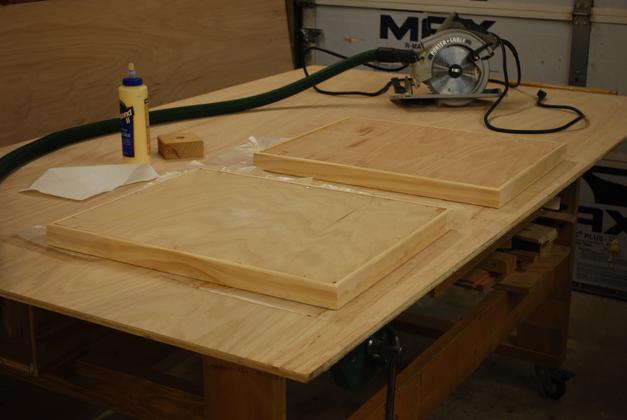
The bottoms of the under sink shelves cut out. |
|
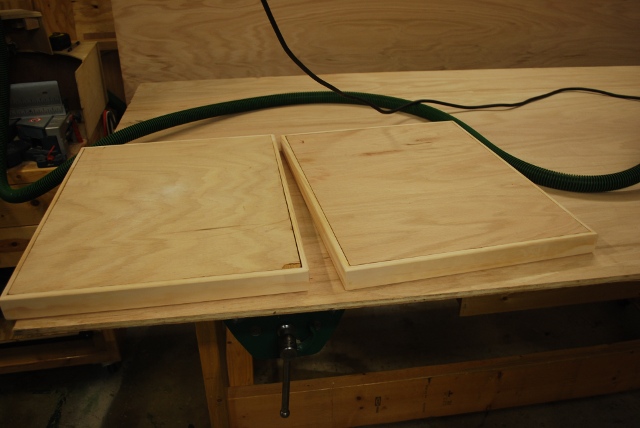
Test fit of both shelves. |
|
Test fit close up of a corner. |
|
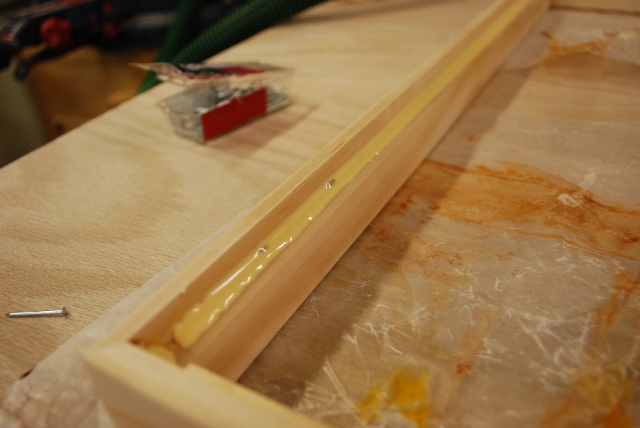
Bead of glue before placing the bottom into the frame. Notice one of the nails laying beside the frame, I'll use these to hold the bottom tight until the glue sets. |
|
Complese frame with glue bead. |

|
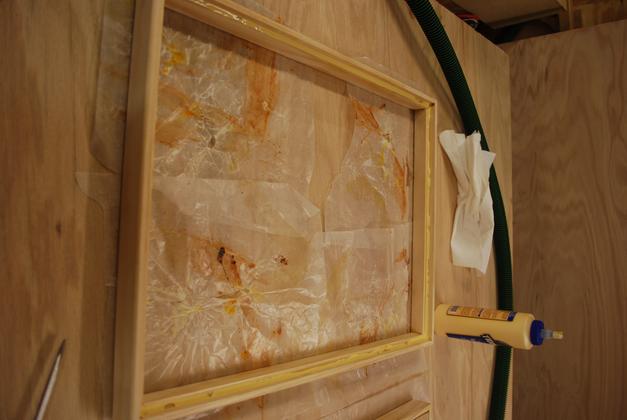
Both under sink shelves glued and ready to paint. |
|
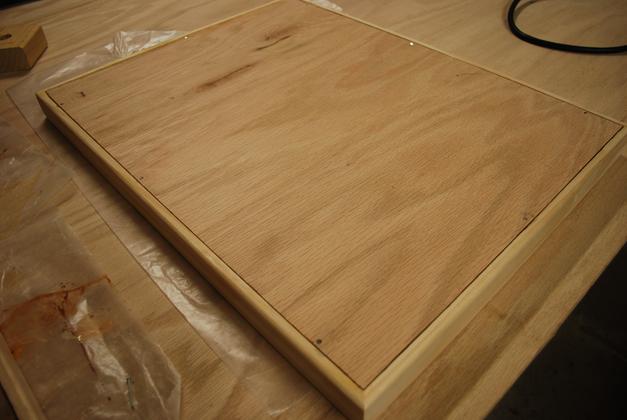
Bottom, in the glue, and nailed. |
|
Closer look showing nails holding the bottom tight into the glued rabbet. Notice the plywood is oak vernier, I usually use birch but oak is all I could find for this project. You should use a good grade of plywood for shelves, even though I'll paint these, they'll be smoother and look better when done. |
|
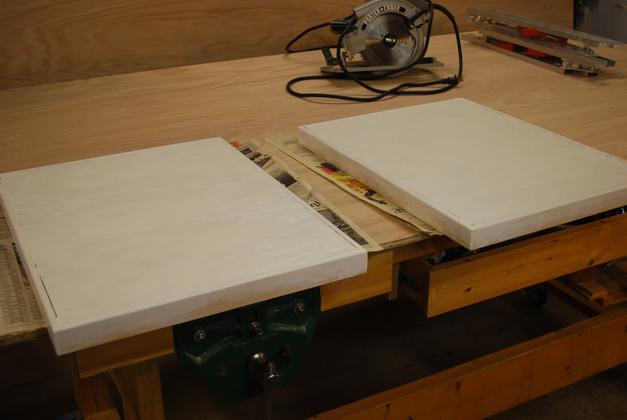
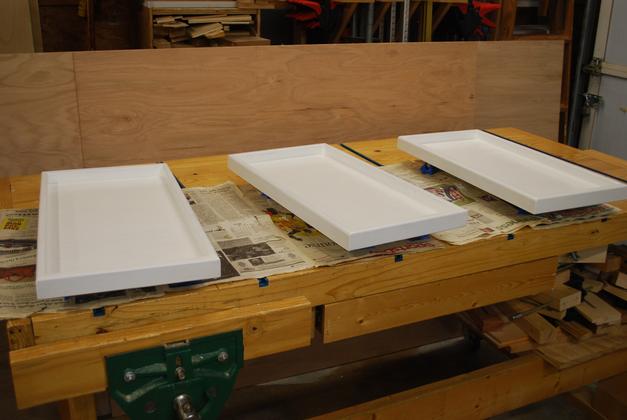
Both the under sink shelves are ready to paint. |
|
Here they are with the bottoms painted (tops are next). |
|
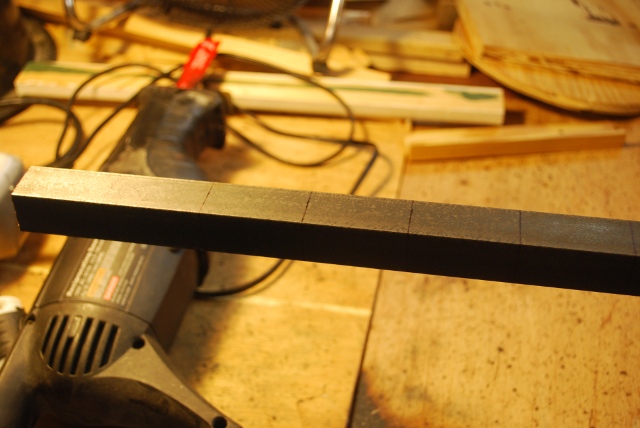
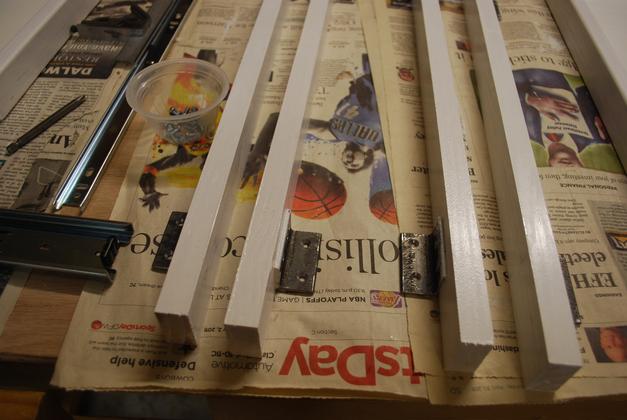
Since these sliders will mount on a horizontal surface (bottom of the cabinet) instead of on the walls of a cabinet or pantry, I had to make mounting bars (wooden) and metal brackets to attach them to the floor of the cabinet. I could have just used long screws but I decided not to. Here I'm making mounting brackets by cutting 2" long pieces if 1" X 1" angle iron. After they're cut, I'll drill and chamfer holes for the screws into the floor and the wooden mounting bars. |
|
I screwed the mounging brackts to wooden guide bars, here show in pairs. These will be attached to the floor under the sink and the drawer slides screwed the them. |
|
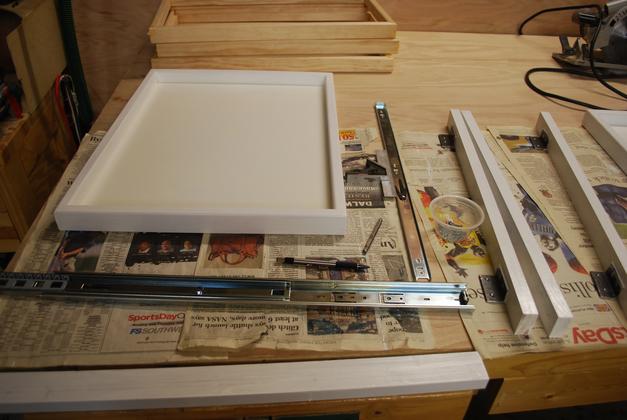
Here is one of the shelves with wooden guide bars and mounting brackets attached. |
|
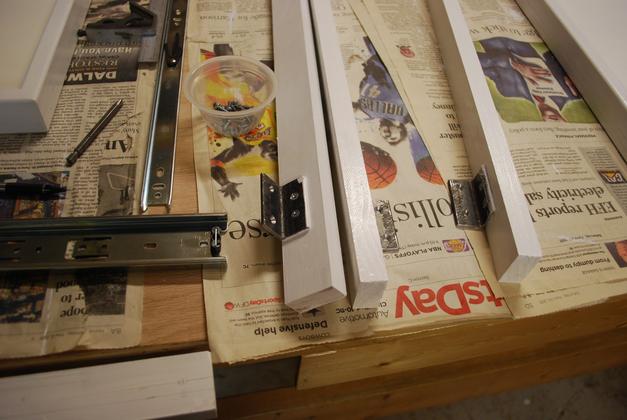
Closer pic of wooden guide bars and mounging brackets. |

|
Slides attached to the wooden mounting bars. |
|
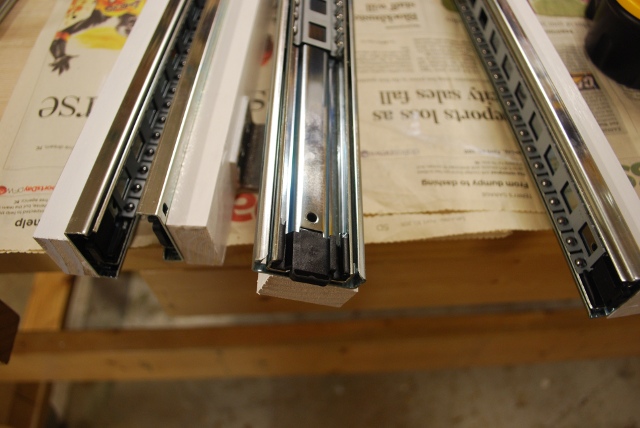
Closer look at drawer slides on mounting bars. The center line of the slides is 1" from the floor under the sink, the slides on the actual shelves wiil be 5/8" from the bottom of the shelf making the final shelf 3/8" above the cabinet floor. |
|
Pantry sliders (sliding shelves) with bottoms glued in. After I measured I figured out what the narrowest dimenstion of the pantry is, then figured out what the sliders needed to be (1" less than the narrowest width). Their length is long enough to just clear the indide of the door when its closed. |
|
One Pantry slider, glued. These sliders are about 12" wide and almost 24" deep, narrower and deeper than the under sink shelves. |
|
After two coats of paint, top and bottom. |