06/23/16: Page Origin
For some time we felt we weren't using the pantry space efficiently.
The pantry was divided into two sections, low and high both with it's own door.
Several years ago I put sliders in the lower section which greatly improved accesability to the lower area.
But recently, we have felt we needed to better utilize the upper section, plus the top shelf was about 2 ft below the ceiling in the pantry, this we felt was wasted space.
I try to make our house efficient, without sacrificing appearance.
The old pantry had nearly 2 ft above the items on the top shelf, that space could not be readily accessed.
Also, the sides of the door casing was shimmed from the wall to fit some kind of small door (probably a folding door section) but didn't allow full width sliding shelves.
The last sliders I made, for the front and back bathrooms, were actually drawers with tall fronts, so things would stay on better while sliding in and out.
The pantry sliders will also be made like drawers but the sides on the upper sliders will be shorter so we can better see whats on the upper sliders.
The pantry closet had moulding and a casing for it's door just like a normal house.
I have started (in the Linen Closet Project) to not use moulding and casing in slider projects, to allow wider sliding shelves.
This gives much more storage space in that the sliders and their slides strech from wall to wall inside the closet.
Instead of moulding and casings I finish (tape bed, texture, and paint) the front corners as if they were a normal corner in the house.
Then I add plastic (or polycarbonate) corner protetors so the slider fronts have something to close on.
Houses are not built by cabinet makers!
Drawers require a square cabinet so the fronts are parallel with the sides and close without a crack on both sides, top and bottom.
This was the challenge in adding drawers or sliders to a closet in a house.
The pantry closet is typical of closets in most tract houses, nothing is square, or plumb, even the short walls on either side weren't the same length from the back nor square with the wall at the back.
I came up with a new tool to aid in calculating the width of the slide shims, front and back: the shim form Shim Calculator asks for the front and back measured width of a shelf and it's out-of-square error for each side and front and back, alonw with the target shelf width.
Click on "Calculate" on the Shim Form goes to the ShimCalculator which displays the results for the entered data.
I measured the squareness of the sides, using a homemade closet square, and the inside width at each shelf position using my ID tool.
Of course I measured the depth front to back on each side of each drawer position.
I put the results of the shim calculator into a table then figured what my shelf width needed to be.
Pantry Closet ReConstruction
|
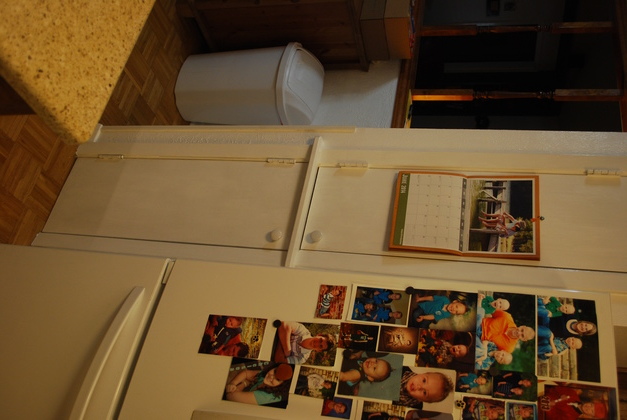
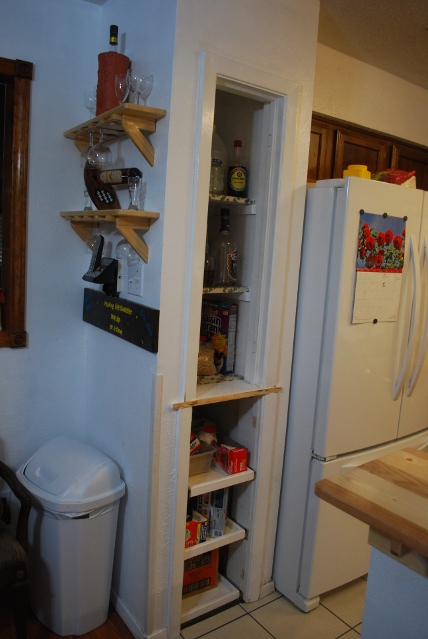
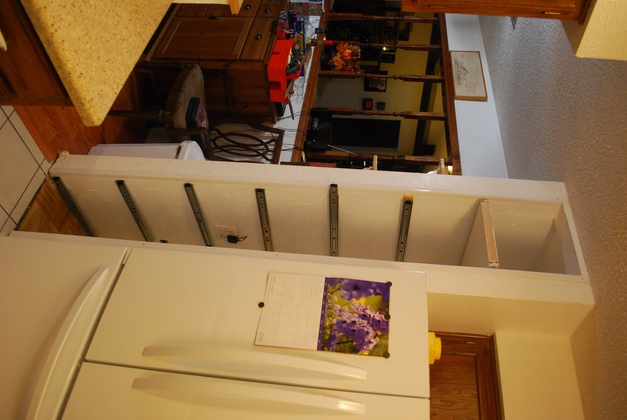
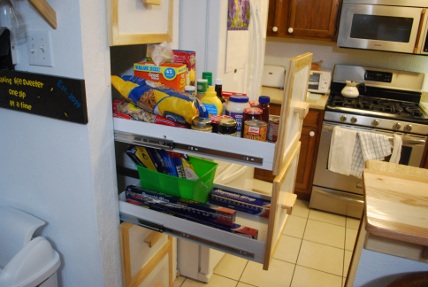
Doors removed.
You can see the three old sliders on the lower half and three fixed shleves in the upper half.
The basic problem with this kind of pantry is you can't see or reach things on the back of a shelf.
Note the wasted space at the top, you can't put anything up there.
|
|
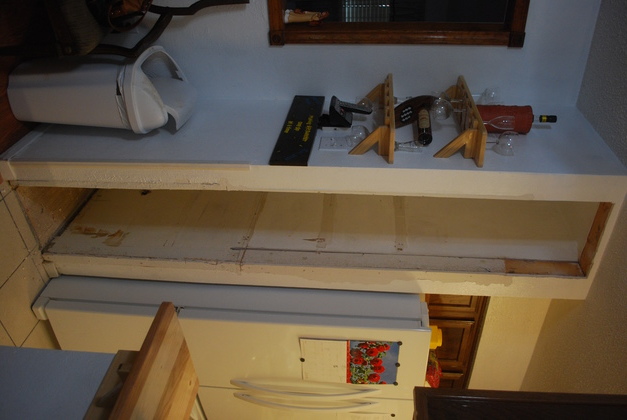
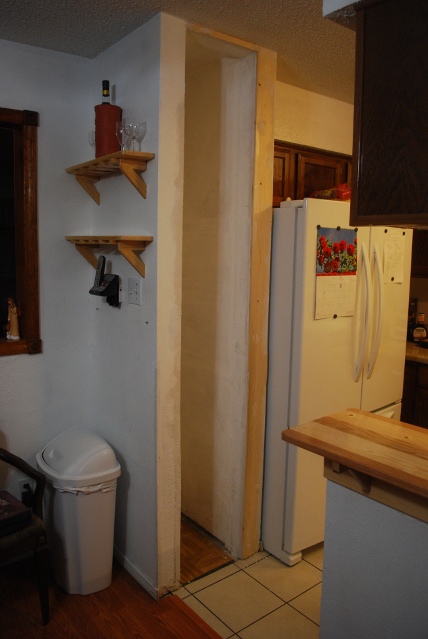
Door casing, moulding, and all shelves and sliders removed.
I also removed the header and opened it up to the plate.
Now we have access to the entire space.
Please take a look at the old pantry pics.
|
|
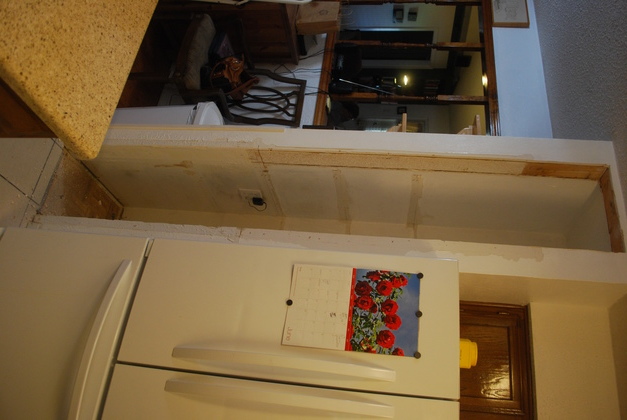
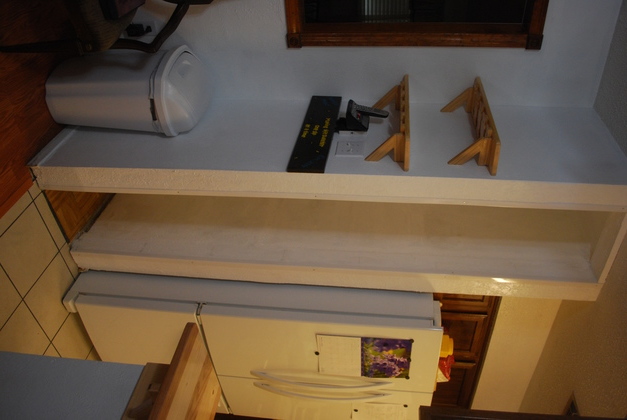
A look from the kitchen, floor to ceiling storage space now available, I can now add at least one more slider.
|
|
After spackling and painting inside the pantry closet.
I had to make a 3/8" shim along the right front side of the pantry to make the two sides the same length.
The wood shim across the top is tapered to make the top look smooth, side to side.
|

|
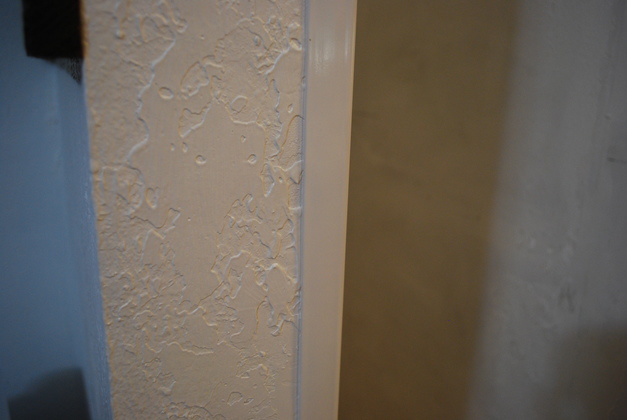
Closer look at shim, attached to right front of pantry, this makes the two sides of the pantry the same length and hopefully I can get the front of the drawers will close to evenly against it.
This shim is 4-3/4" wide, 96" tall, and tapered from left (3/8") to right (0").
I had never done an angled resaw before, it took a few special guides on the bandsaw.
|
|
Close look at the white corner protector installed.
I used these instead of moulding.
The old door casing was a 3/4" piece on each side, we lost 1-1/2" width of storage just to make it look like the other doors in the house.
BTW, note my version of Santa Fe Knockdown texturing.
|
|
After texturing, spackling, and painting the pantry is now ready for sliders/drawers.
Here you can just barely see the polycarbonate corner protectors I used instead of moulding.
|
|
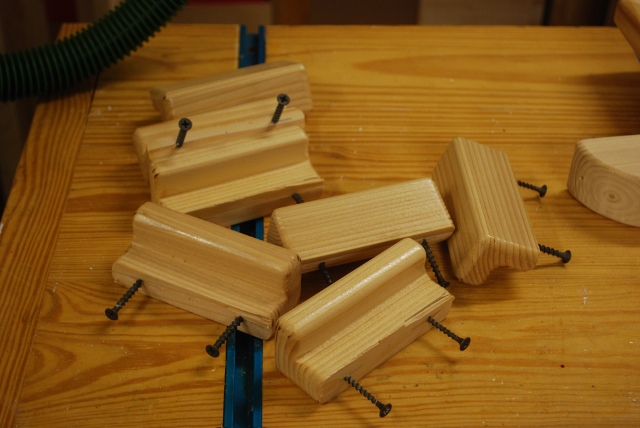
Closet shims cut, ready to install.
There is one for each end of each slide, I made 4" long shims this time, in the linen closet I made full length, tapered, shims.
|
|
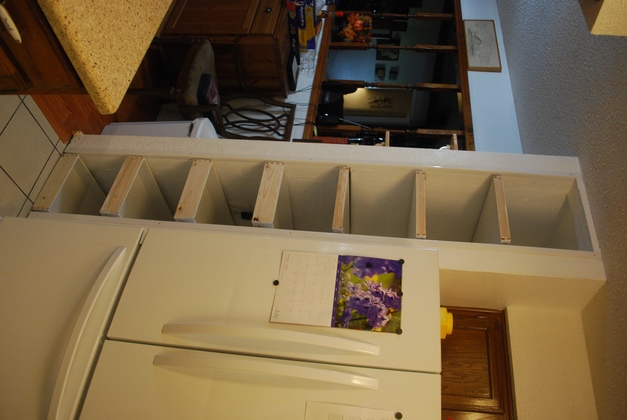
Shims and slides mounted in the pantry closet, one drawer/slider is at the top.
|
|
All sliders in place, waiting on drawer fronts.
The spacing on all sliders is 13-1/2" center to center, it doesn't look that way in this pic because the upper drawers are not as tall for better visibility of the contents.
|
Drawers

|
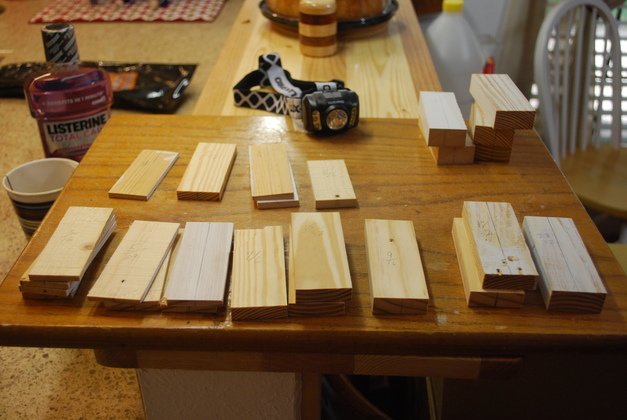
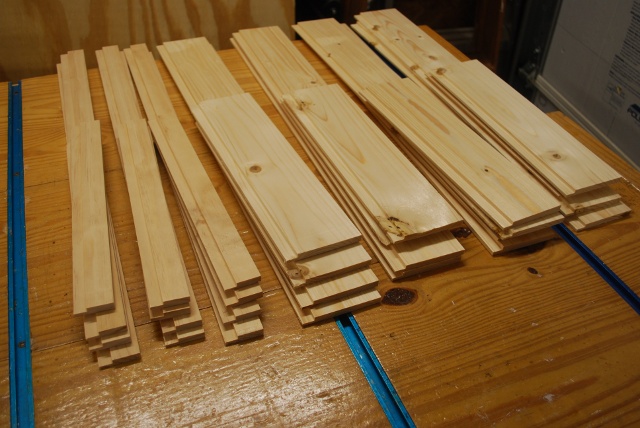
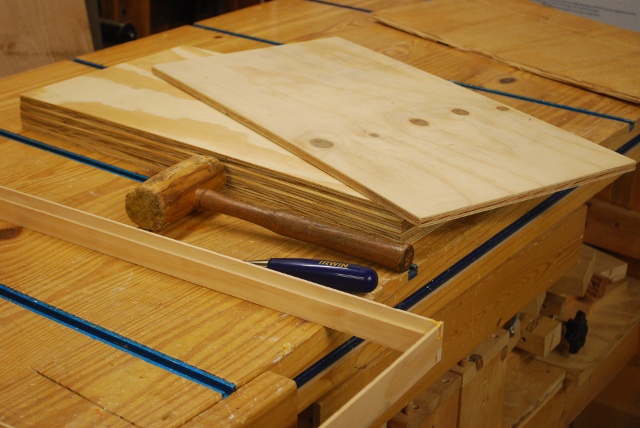
Drawer sides and backs cut to length and thickness.
These are made from 1x2 and 1x4s, cut to length, then resawn and machnied to 5/16".
The top 3 drawers/sliders will have 1-1/2" high sides and backs while the lower 4 sliders have 3-1/2" high sides and backs.
|
|
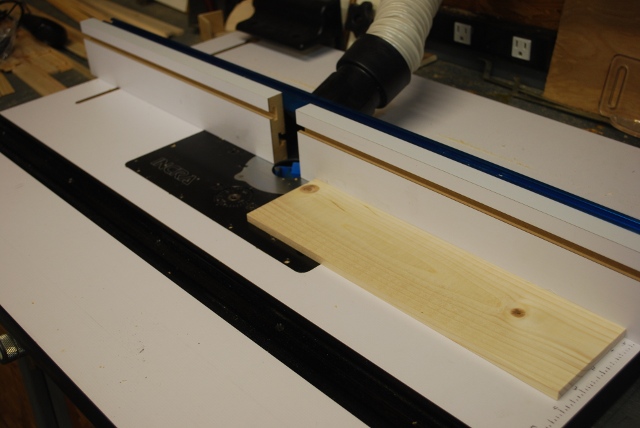
Router table set up to cut a rabbet along the lower inside edge to accomodate the drawer bottoms.
|
|
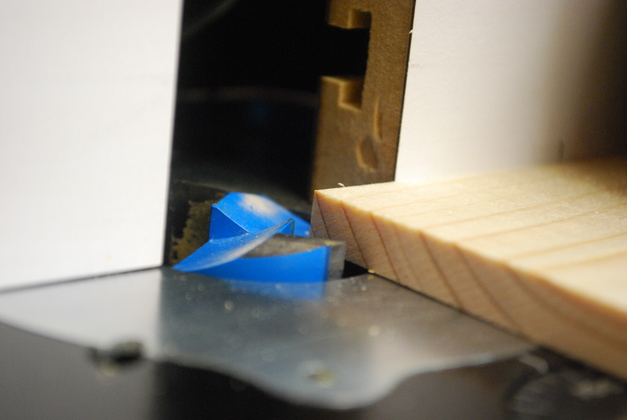
Closer look at rabbet setup.
|
|
After rabbeting, I lay the parts out in sets, two front backs and two sides.
|

|
Closer look at the rabbets in two 1-1/2" drawer sets.
The rabbets are 1/2" deep for 1/2" plywood bottoms.
|
|
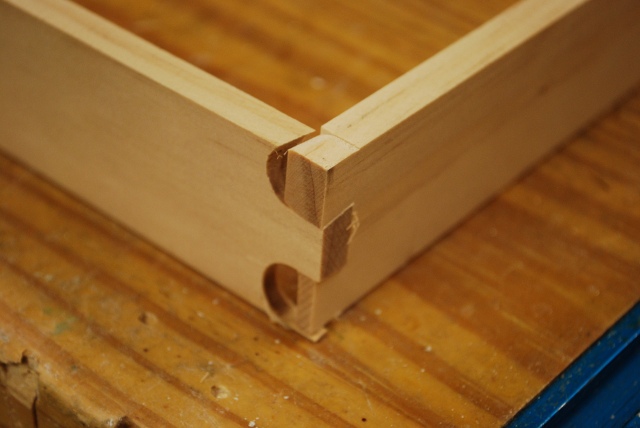
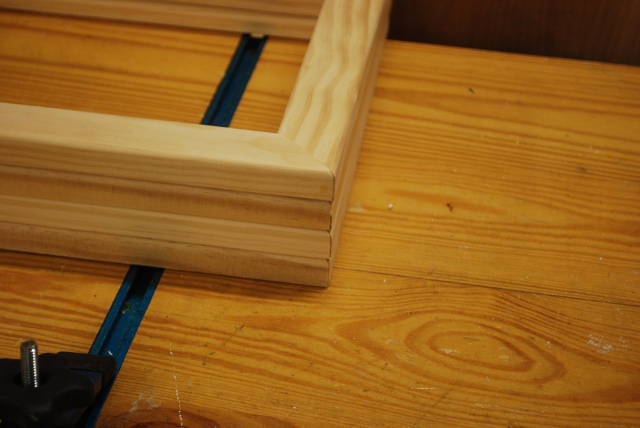
After dovetailing a test for of one of the 1-1/2" high corners.
|
|
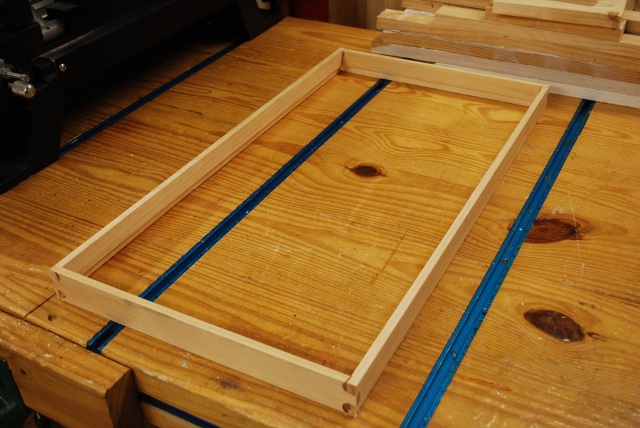
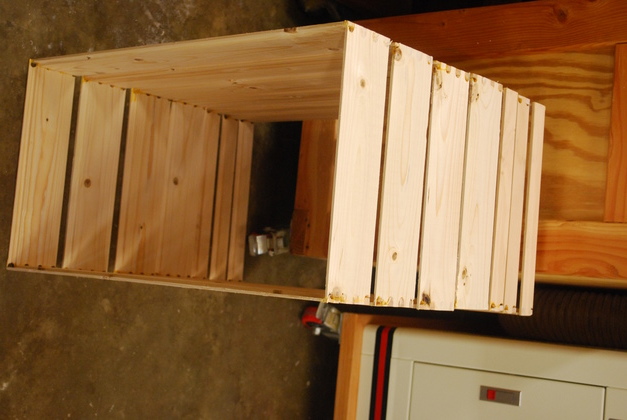
Entire 1-1/2" drawer frame test fit.
|
|
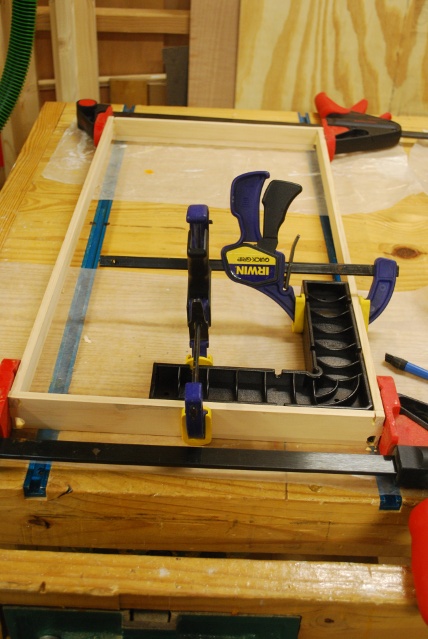
1-1/2" drawer frame in the glue clamps.
Note the ClampIt in the right front corner, forcing the frame to be square.
|
|
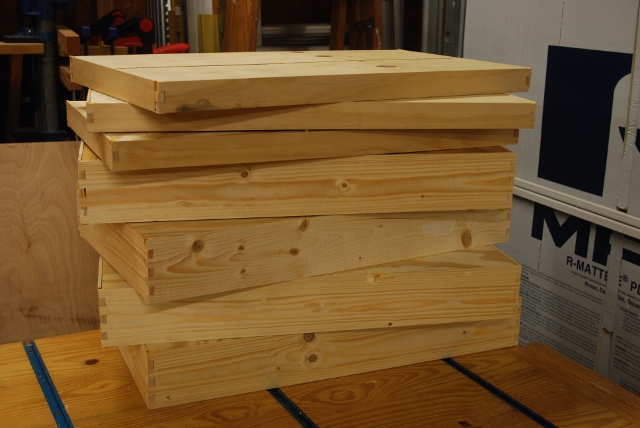
All 7 drawer frames after gluing and waiting for bottoms.
Note how nice and parallel the sides and corners are due to the ClampIt during gluing.
|
|
Bottoms cut out and ready to glue in.
|
|
Bottom gluing in process.
|
|
All drawer bottoms glued, waiting for it to dry.
|

|
Drawers being painted.
|
|
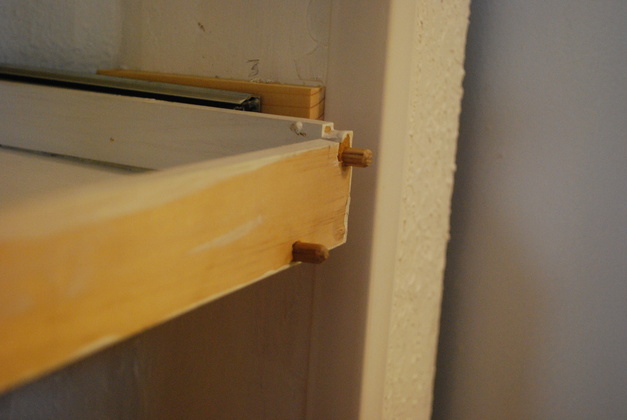
Close up of a 1-1/2" drawer frame's pins, in the pantry closet, ready for front to be glued.
|
|
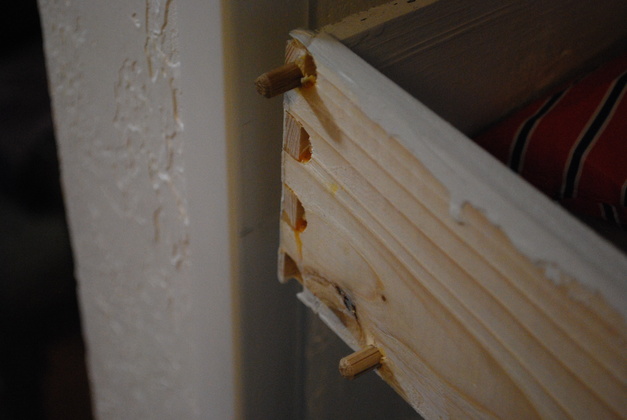
Close up of a 3-1/2" drawer frame, pins.
|
Drawer Fronts

|
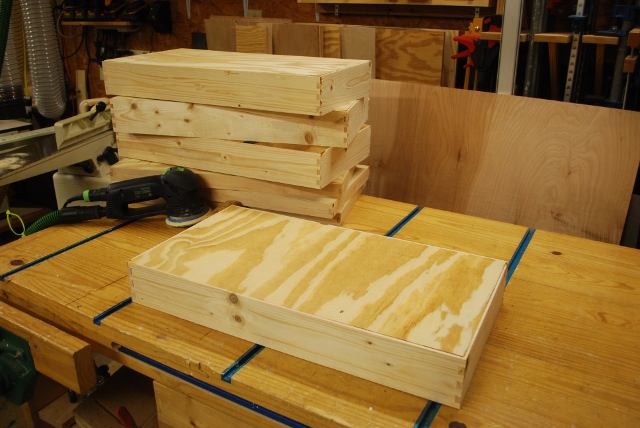
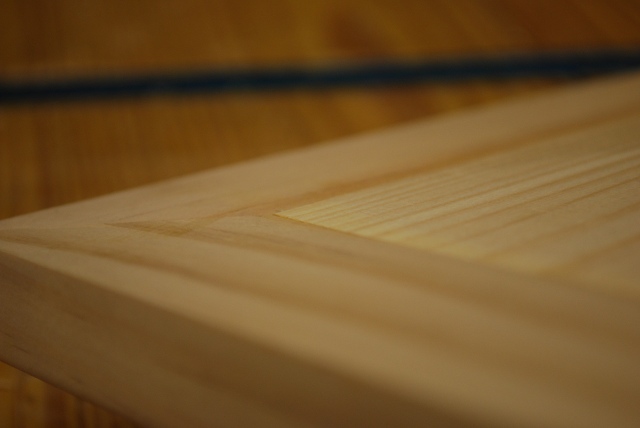
Drawer fronts, glued, being sanded.
|
|
Stack of 4 drawer fronts after sanding.
|
|
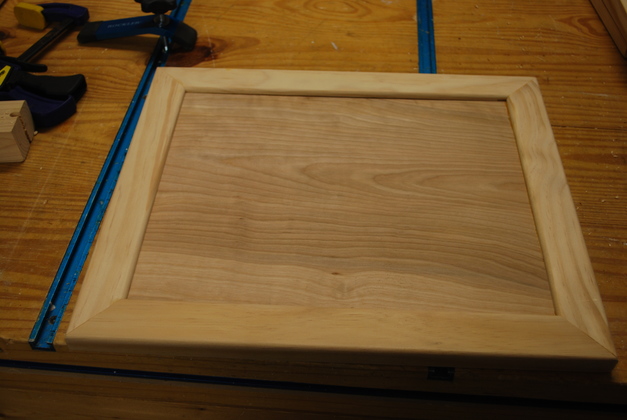
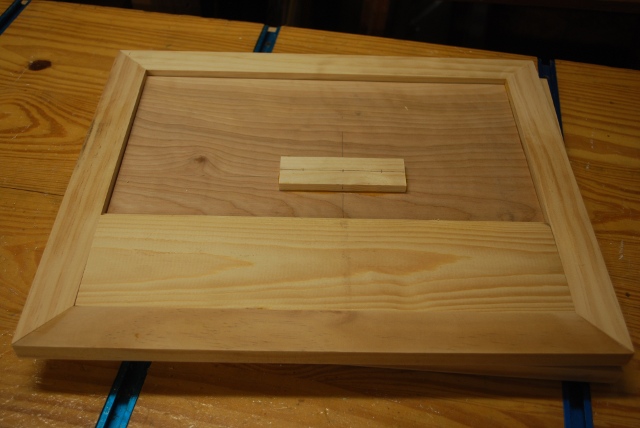
Front with 3/16" panel glued in.
|
|
On the back side of the panel I glued a reinforcing panel, to add strength and make it flush with the frame so I have a flat surface to glue the drawer frame.
I also glued in a reinforcer bar for the handle (in the center).
|
|
Not a great pic but you can see the glued in reinforcer is flush with the hack of the frame.
|
|
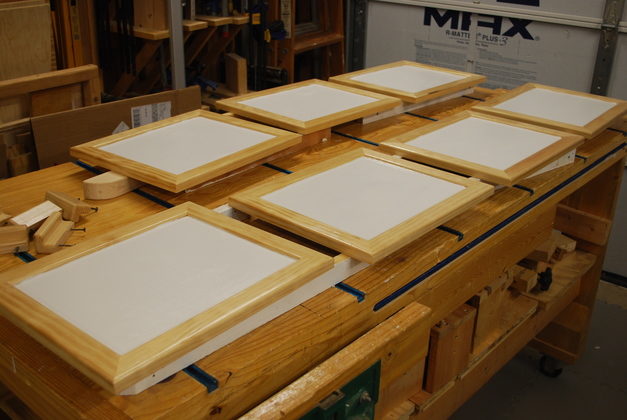
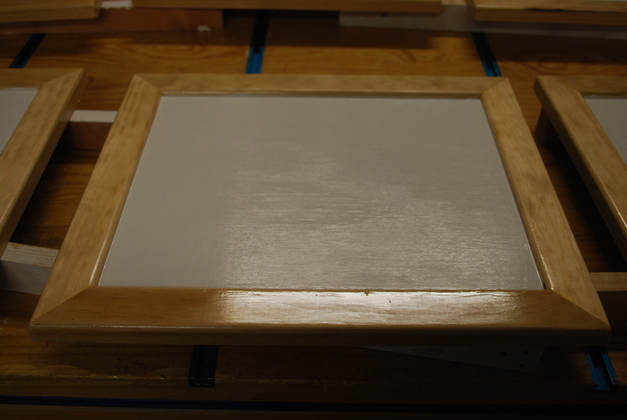
Fronts painted, outside edge is clear polyurethane, and inset panel is white high gloss.
|
|
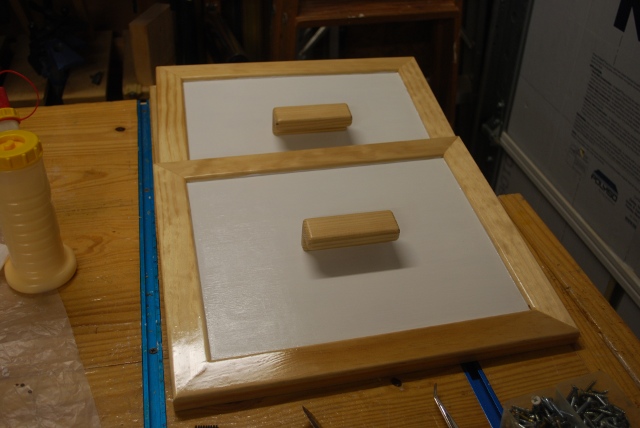
Handles ready go mount.
Please take a look at my handle making page and see how I make these.
|
|
Front painted.
|
|
Handles mounted.
|
Finished
|
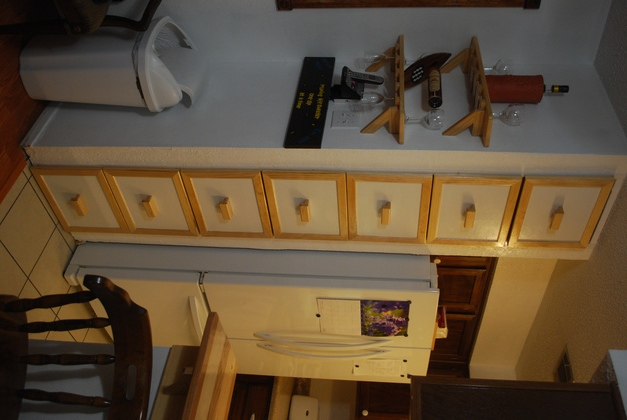
Installed.
|

|
Floor to ceiling sliders in the pantry.
|
|
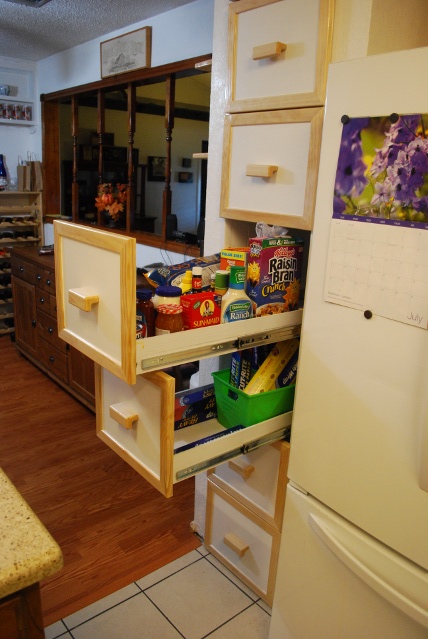
Now you can easily get to the stuff in the back.
|
|
From either side.
|

|
And some storage where we never had storage before.
|