| 
| 
| 
|
|
Ironing Board
| |||
|
|
|
|
|
|
Ironing Board
| |||
| Base Const Info | Drawer Info | Lift Info | Drawer Build |
| Top | Panels | Assembly | Painting |
| Lift Build | Finished | My Drawer Page | Scissor Lift |
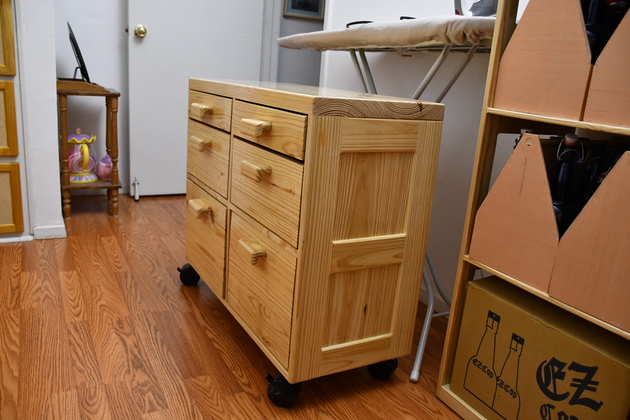
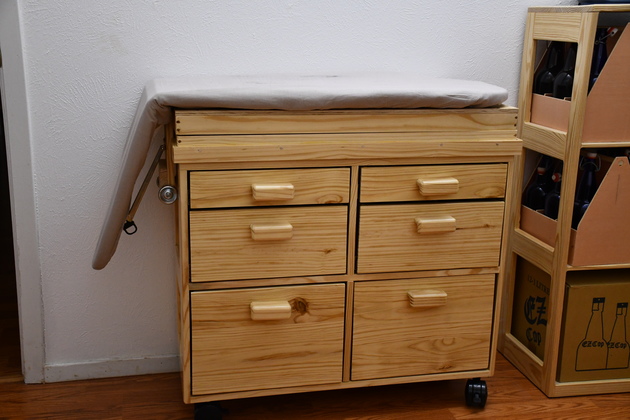
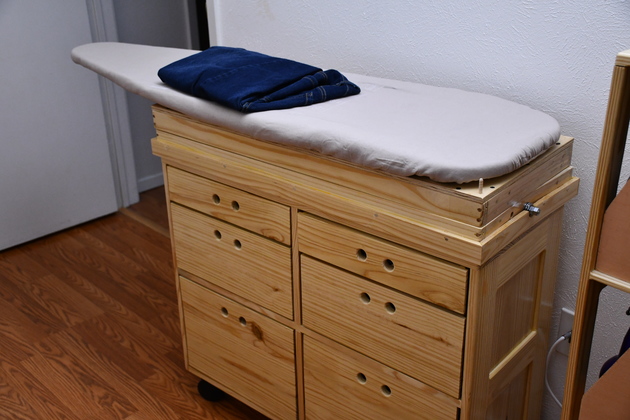
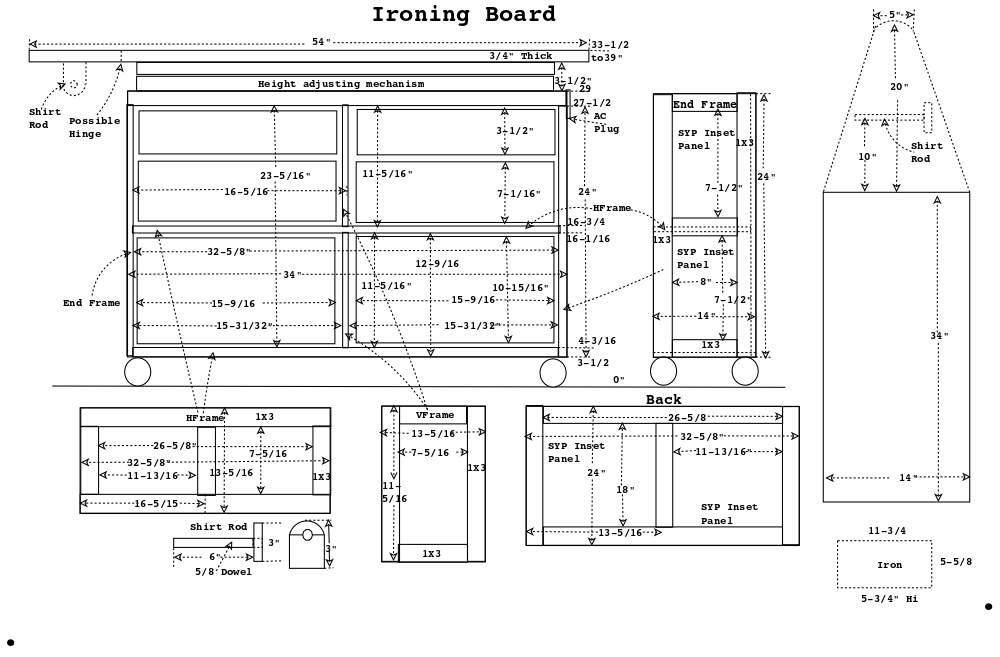
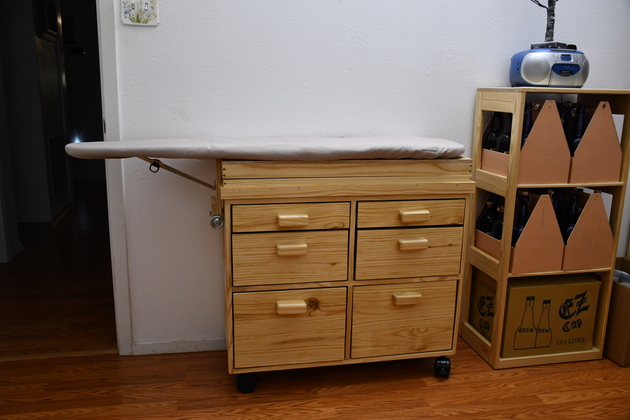
We recently purchased a new Ironing Board cover (11/07/19) and Betty commented about how wobbly her current ironing board is. So I started thinking and it occurred to me this is another place I can make Betty's life a little easier. What if I made a roll-around cabinet with an ironing board on top, and storage drawers in the cabinet for the iron, starch, etc. The ironing board's height can be adjustable ala shop scissor lift. I drew up what I was thinking and showed it to Betty who said she liked it.
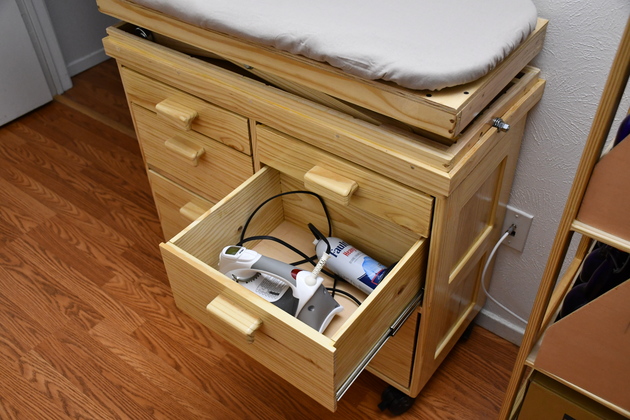
I would need locking casters so it would stay put while ironing and a plug strip for the iron. One drawer would need to be tall enough for her iron. She uses spray starch on some things and water on others so storage for the different kinds of sprayers. I could make the ironing board itself adjustable height, and maybe the 20" nose of the board could be hinged for storage. Our current ironing board adjusts from 33-1/2" to 39" high (from the floor), so I need about 6" of adjustment. I let her adjust the current board to her favorite height (about 36") and I'll check the min and max height for the board. This would be much more stable than the ironing board we had in the past and with storage for the things she uses while ironing. I drew up and built a prototype scissor lift for the shop.
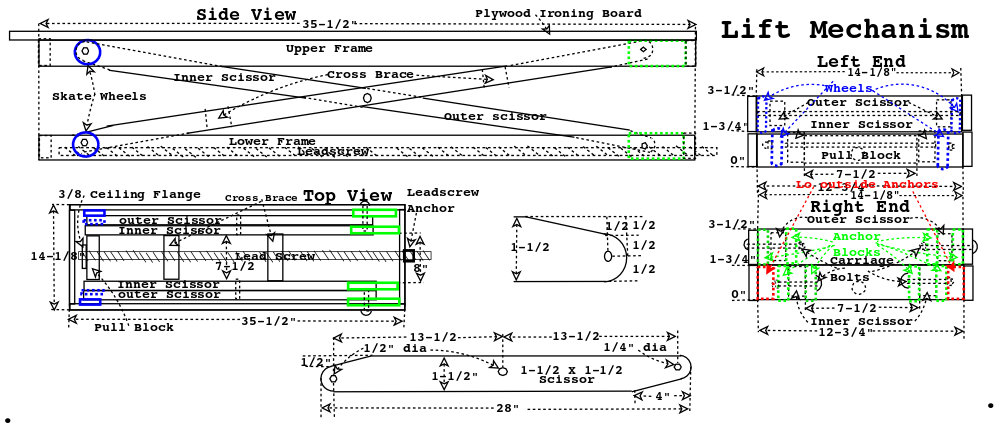
Lifting Mechanism
I looked around for ideas for a lift mechanism that would be stable and keep the ironing board parallel to the floor as it was raised.
I found a few articles about scissor lifts that looked like just what the Dr. ordered.
I'm using a 3/8" threadded rod as a leadscrew to raise/lower the ironing board with as I did with the scissor lift mechanism.
I bought conveyor skate wheels from Amazon.com $9.70.
These conveyor skate wheels have ball bearings, eliminating the need for bushings or bearings on their axle passing through the scissor ends.
You could use inexpensive skate board or in-line skate wheels with 8mm axle rod if you'd rather.
The scissors need bushings (bearings) at the anchor end, the scissor pivot point, and the wheels.
For 1/4" axles I used 1/4 round rod, threadded 1/4-20 for clinch nuts.
Only the lower end needs threadding and clinch nuts, the upper end wheels are held on by the frame sides.
I threadded the rod ends with a 1/4-20 die (see pic).
Power
I bought a Greartisan DC 12V 250RPM 2Kg.cm from Amazon.
I bought a DPDT Mom On,Off,Mom On switch from Amazon.
No more than it is adjusted, a wooden crank with a 9/16 Hex hole chiseled will probably be OK.
You could just make the 3/8" leadscrew longer, running through a hole on the right side of the lower lift frame, with jam nuts.
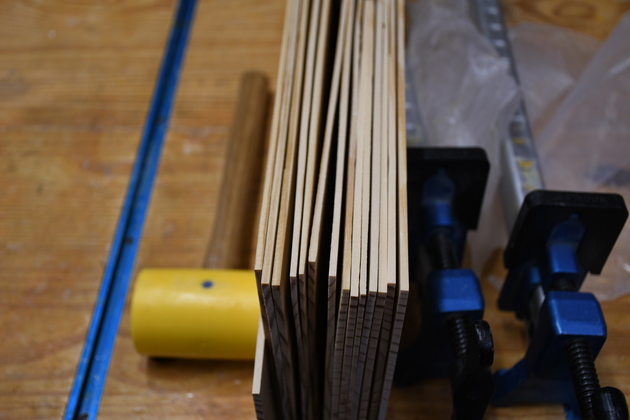
A piece of oak flooring, a 1" X4" dowel rod, and a #8 X 2" wood screw.
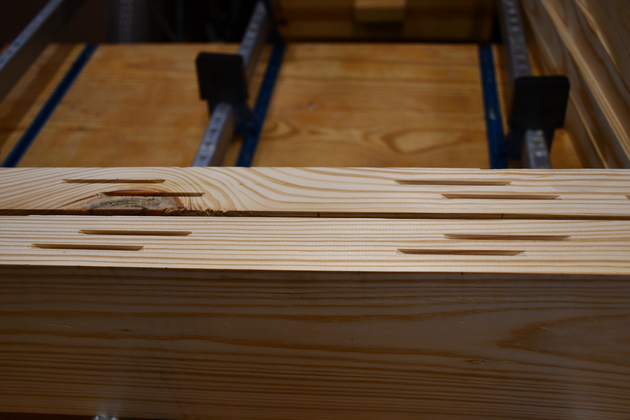
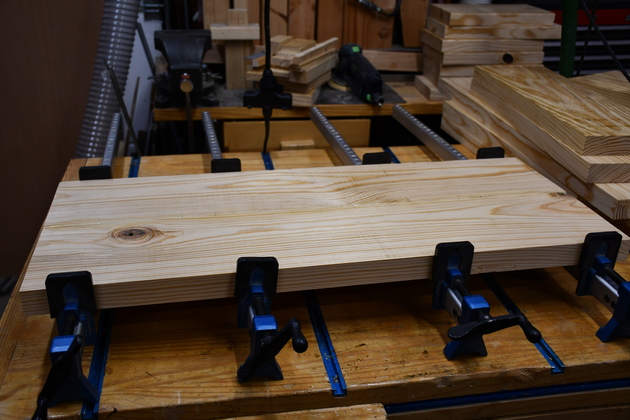
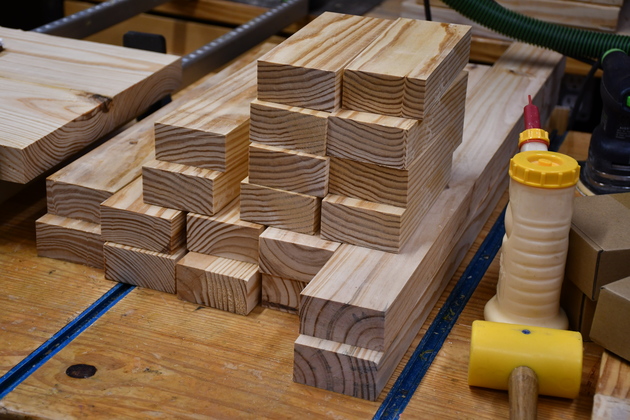
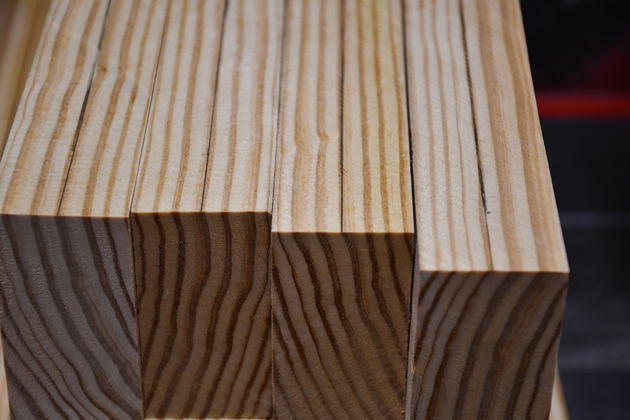
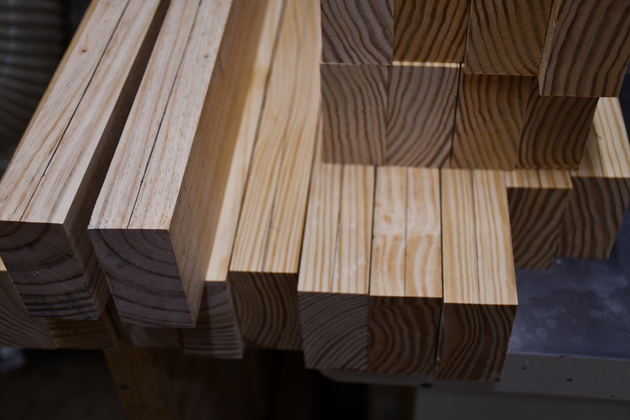
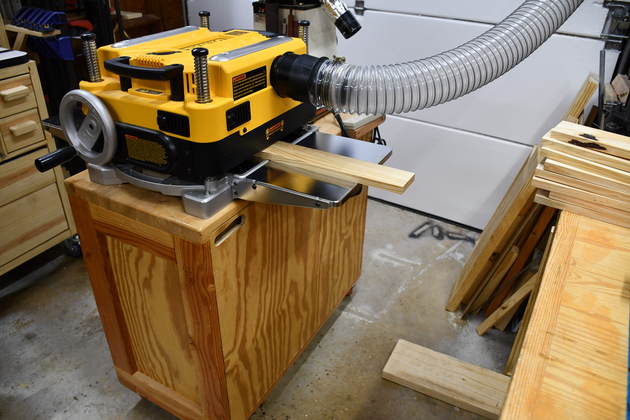
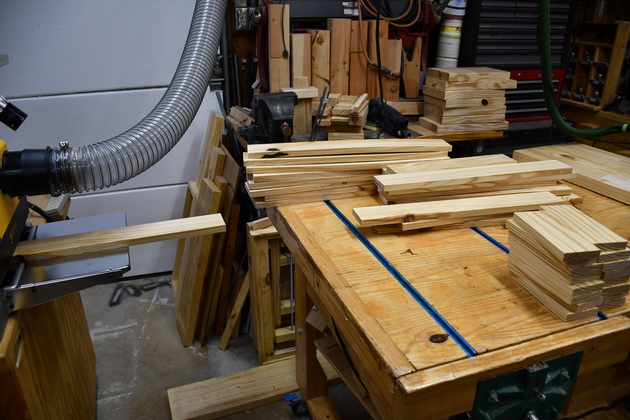
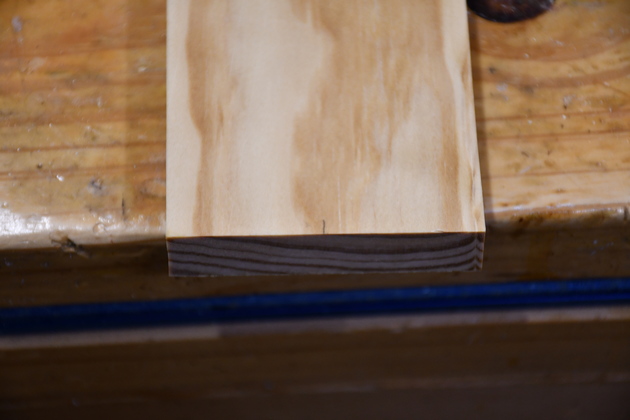
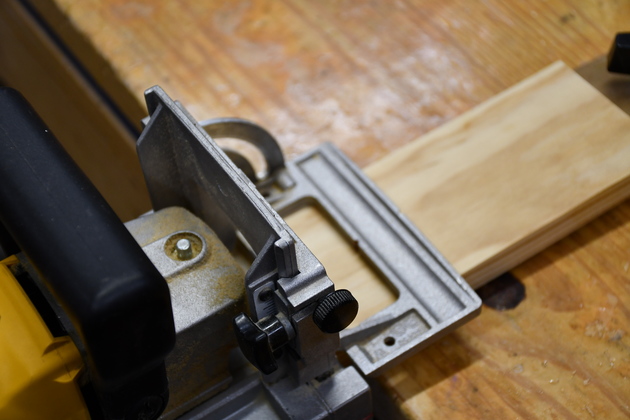
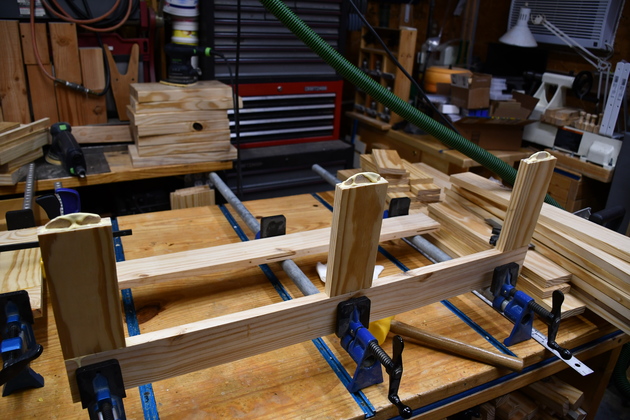
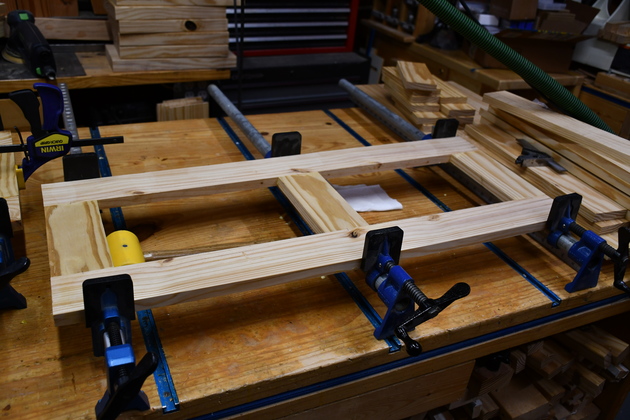
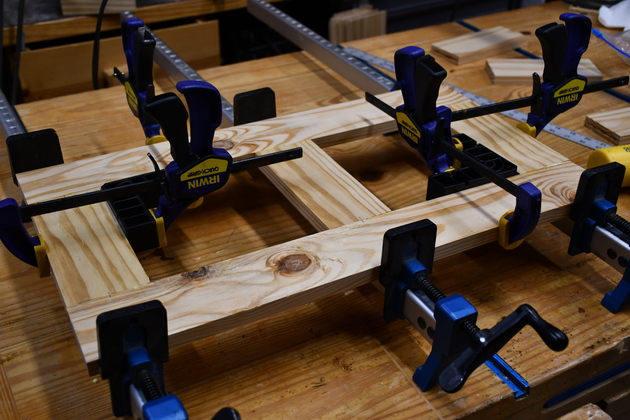
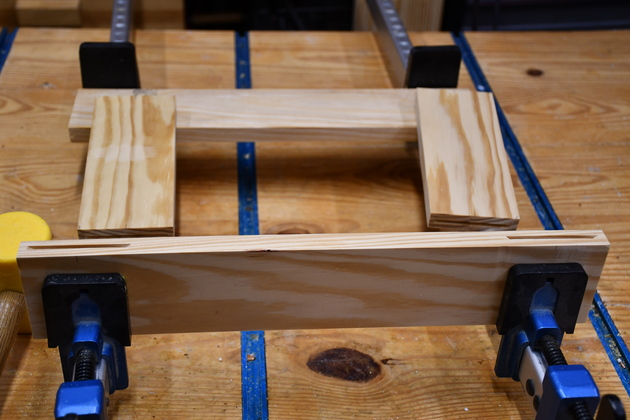
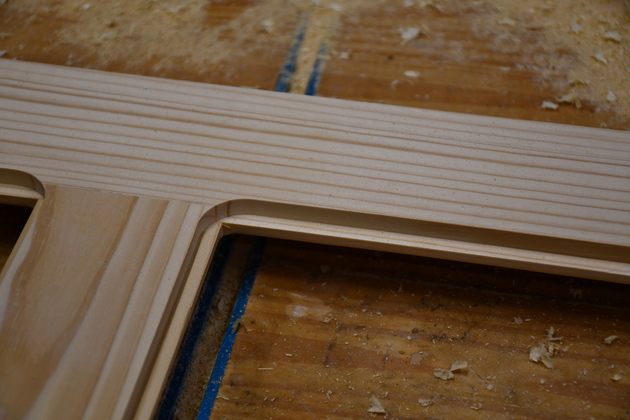
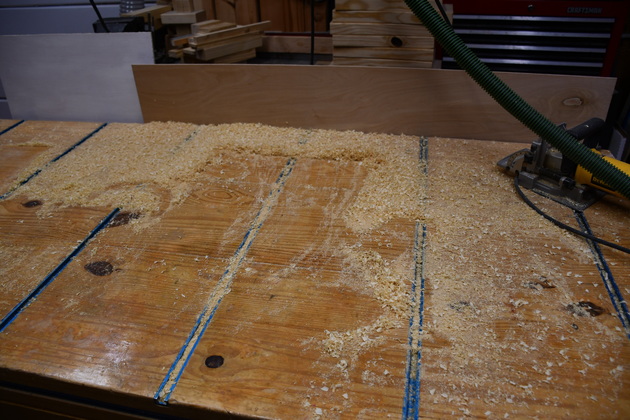
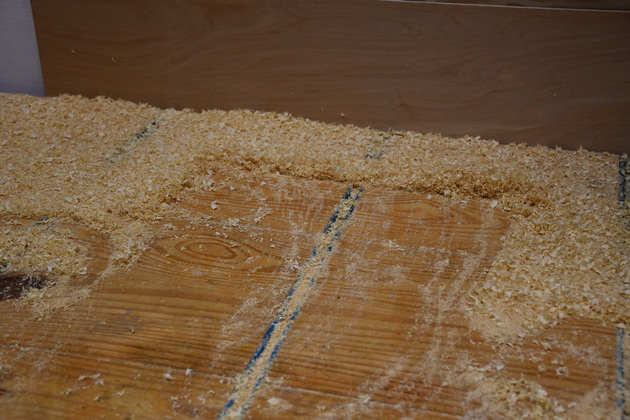
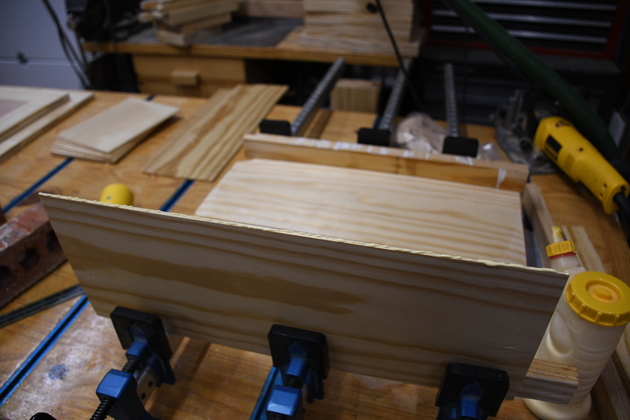
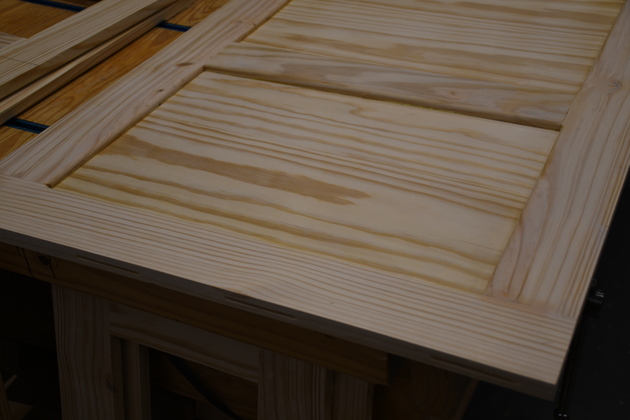
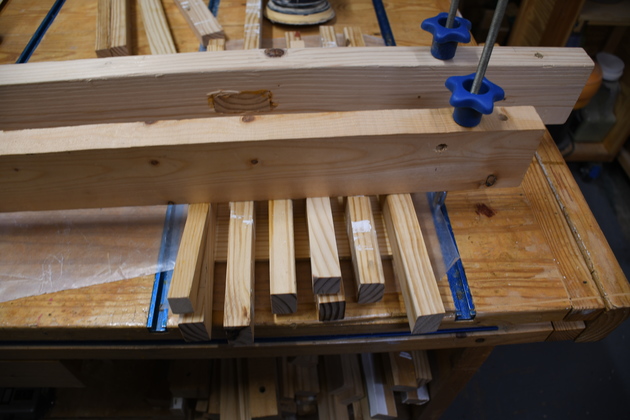
The top will be 2x SYP edge joined. The frame will be 1x3 resawn and planed from 2x8 slabs. More info on making 1x from 2x Please take a look at my resawing page. Note on construction page: When I cut a 2x to length for resawing I get two pieces of 1x for each piece of 2x lumber I cut. I'll cut 2x8 segments to length, then rip to the correct width, and finally resaw and plane so I get two 1x3 from each 2x3 cut. The 1x are actually 11/16" thick.
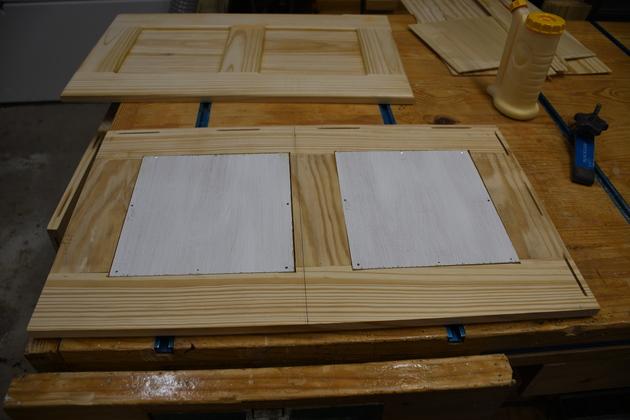
Drawers
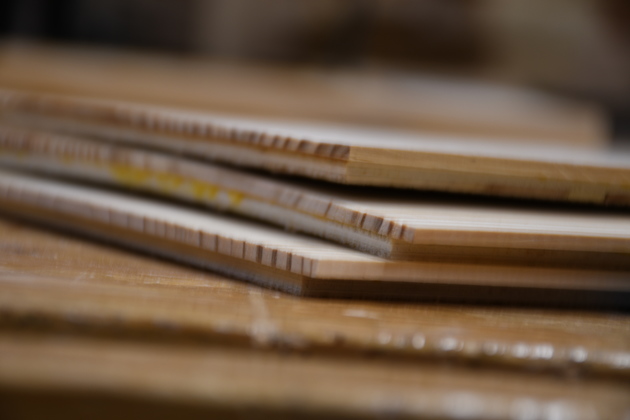
The last few years, I have been making drawer sides/backs from resawn 2x8 SYP so I get three 3/8" thick pieces from a single thickness of 2x.
Here is the link to my drawer page.
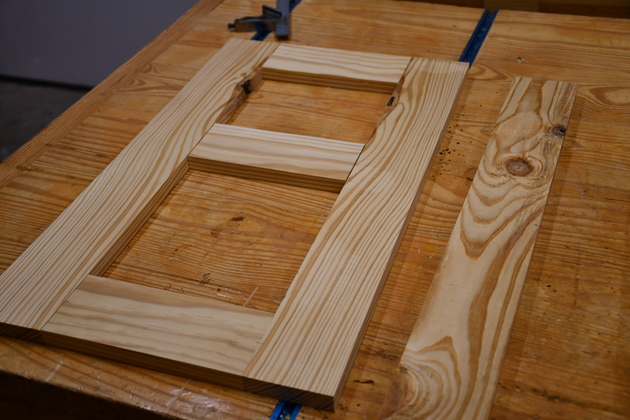
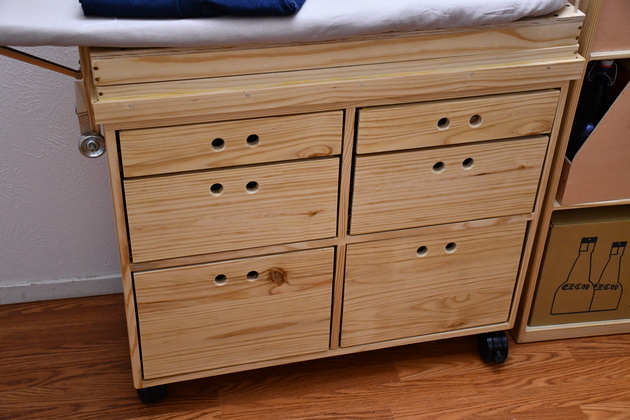
There are six drawers with three heights in the ironing board cabinet, 3-1/2" 7-1/16" and 10-15/16".
All six are 15-31/32" wide.
Since these drawers are in the corner bedroom and more utilitarian, I will make solid drawer fronts instead of inset panels.
W2 is always 1" less than the drawer opening, however W1 is 3/8" less than the drawer opening, allowing 3/16" clearance on each side of the drawers.
Ironing Board
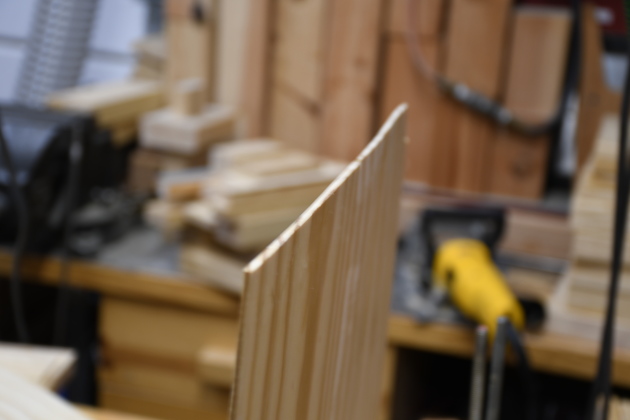
You can use most anything for the ironing board itself, as long as it is at least 3/4" thick, 14" wide, and 54" long.
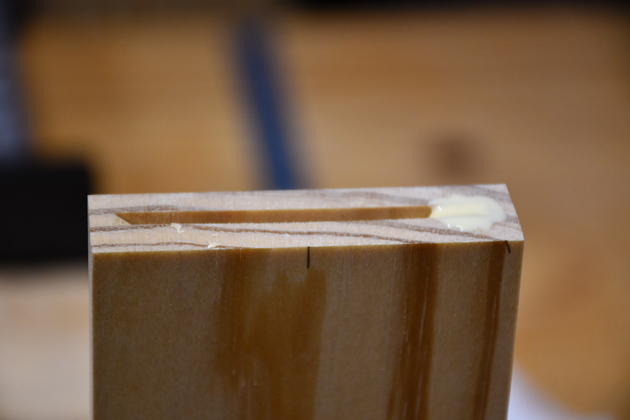
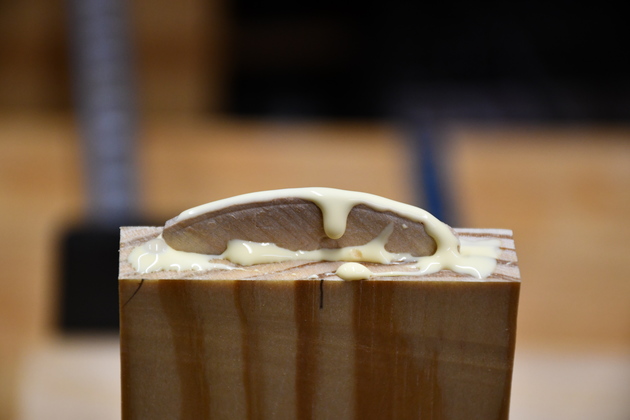
You could even use the metal one you bought, take the legs etc off, attach a 3/8" thick piece of plywood to it's bottom (for the upper scissor wheels to run on), and attach it to the 3/8" plywood.
The plywood attaches to the upper scissor anchors.
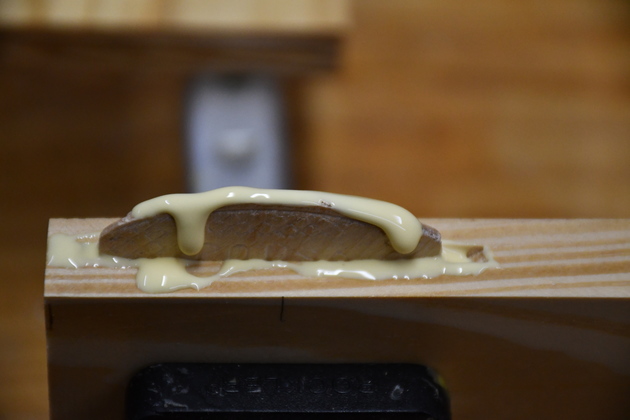
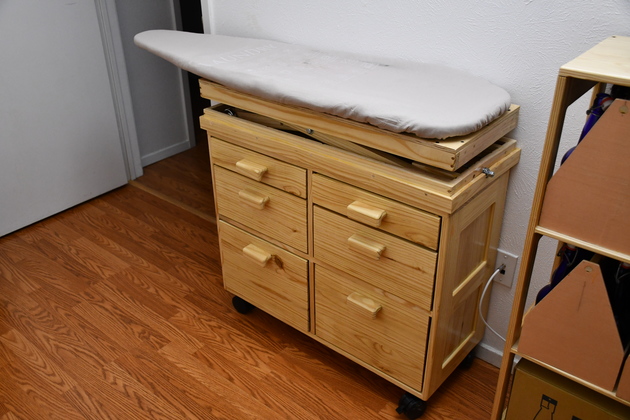
After using this ironing board, Betty realized the iron's cord catches under the cabinet and under the handles. So I removed the handles and replaced them with two holes each, like the lathe cabinet) and put a 1/4" dowel in the right rear corner to hang her cord over and now it works well.
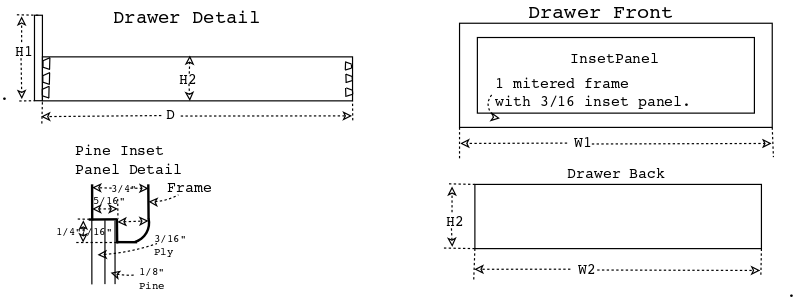
| Height (H1) | Width (W2) | Front Width (W1) |
|---|---|---|
| 3-1/2" | 14-15/16" | 15-5/16" |
| 7-1/16" | 14-15/16" | 15-5/16" |
| 10-15/16" | 14-15/16" | 15-5/16" |
|
Top ready to glue. |
|
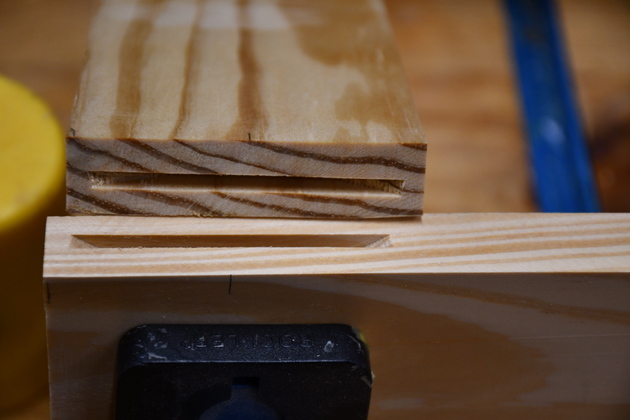
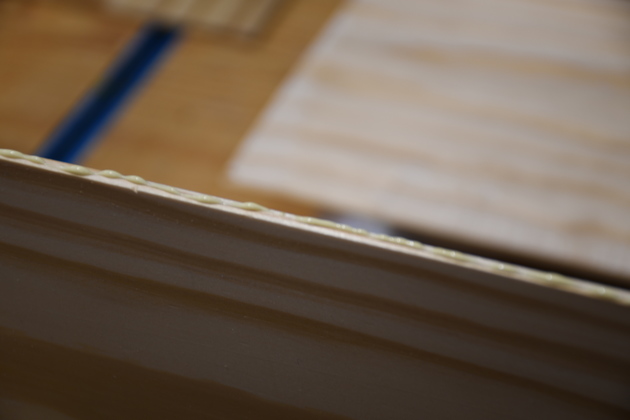
Note the offset biscuit slots (mortises). |
|
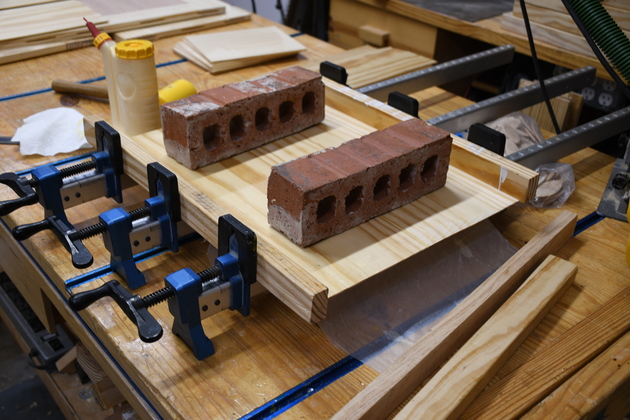
Top in the glue clamps. |

|
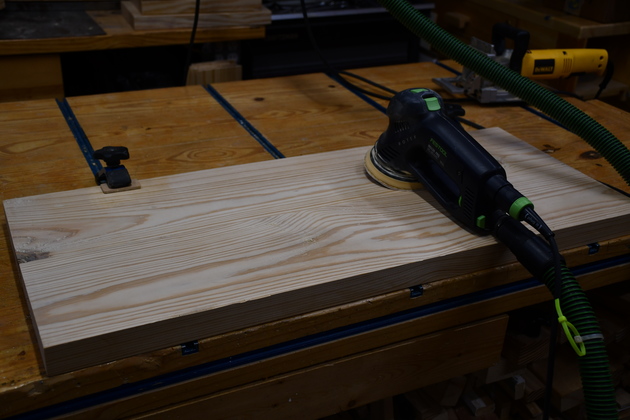
Top, glued, ready to sand. |
|
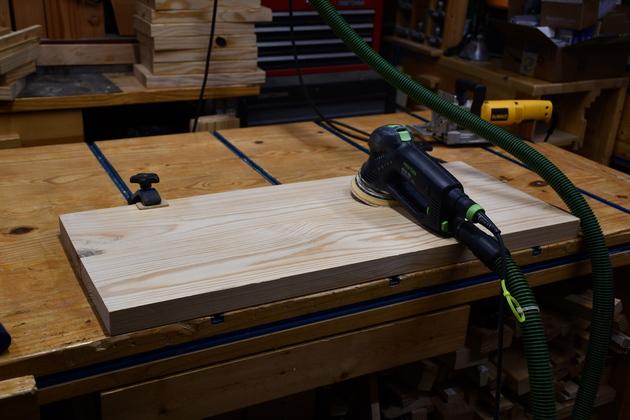
Top being sanded. |
|
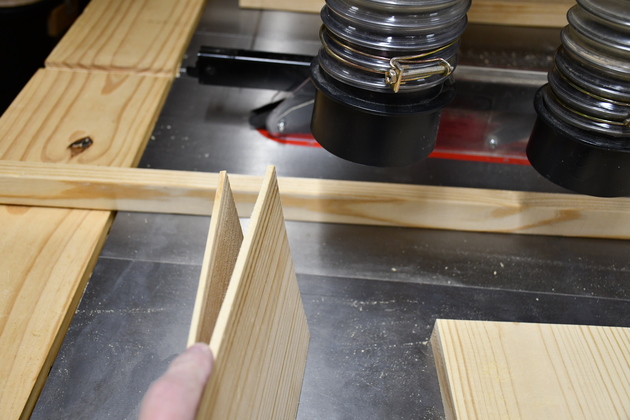
2x8 cut to required lengths and ripped to 3" |
|
Now they're marked down the center for resawing. I'll resaw these (edgewise) to 11/16" thick, only 1/16 under 3/4 like normal 1x pieces. |
|
The whole pile, ready to resaw. |

|
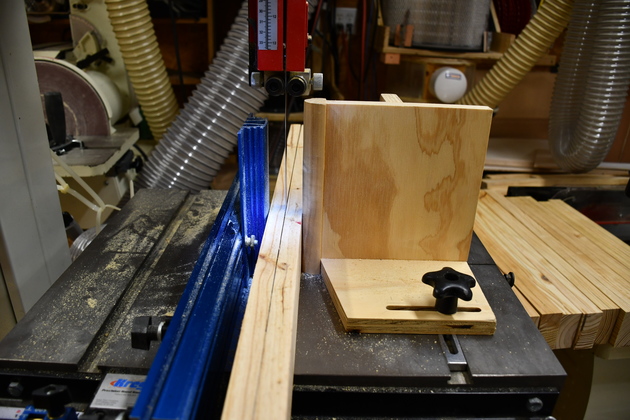
Resawing 2x into 1x. More info on resawing. |
|
Resawing, note the guides on either side of the piece, keeping the piece exactly vertical. |
|
Closer look at resawing, note the blade going down the center of the line. |

|
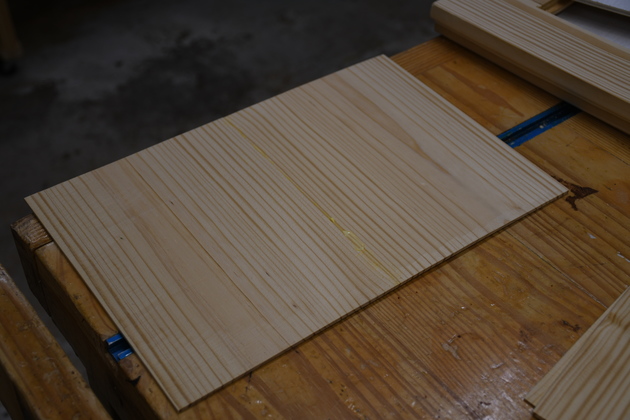
After resawing, I plane the rough surface left by the bandsaw. |
|
Piece coming out of the planer, very smooth. |
|
Another shot of planing operation, note the finished pieces on the bench. |

|
Resawn and planed 1x pieces for the frame. |
|
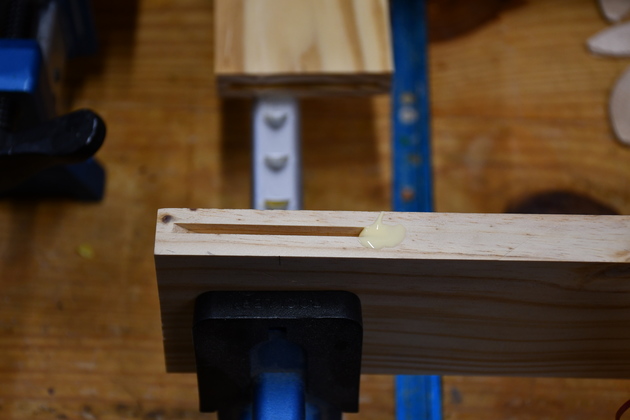
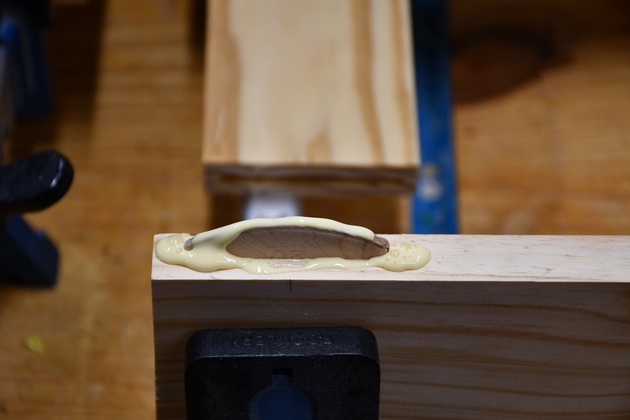
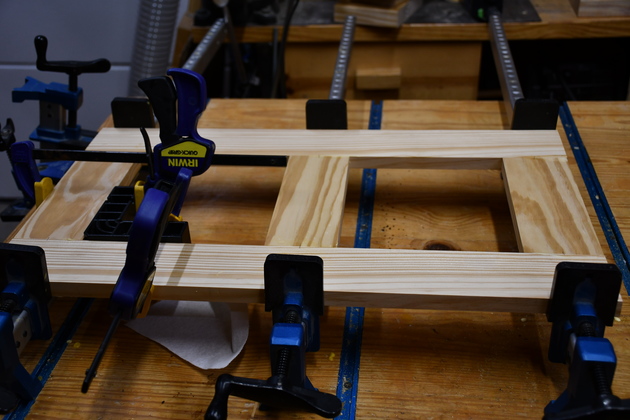
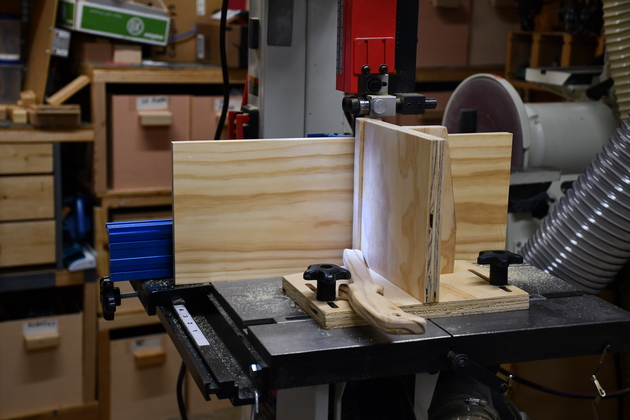
Laying out pieces for a Vframe. I'll mark where the biscuit slots will be. |
|
Note the little 'tick' mark where the biscuit slot should be. |
|
'Tick' mark for slot position. |
|
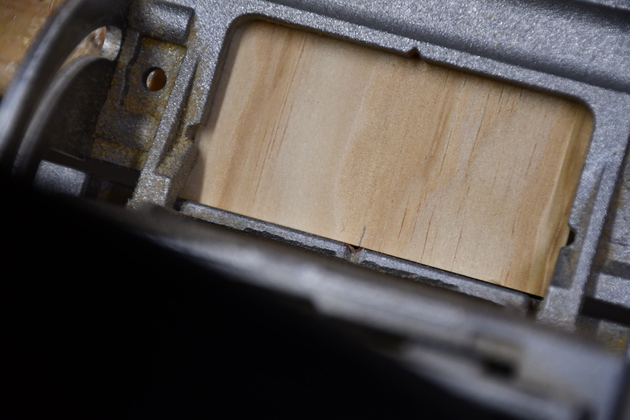
Biscuit cutter on end of cross brace. |

|
Looking down at 'tick' mark in alignment slot of biscuit cutter. |
|
Closer look at biscuit cutter alignment. |
|
Slotted frame pieces laying on the clamps. Note slots and biscuits (on the bench). |
|
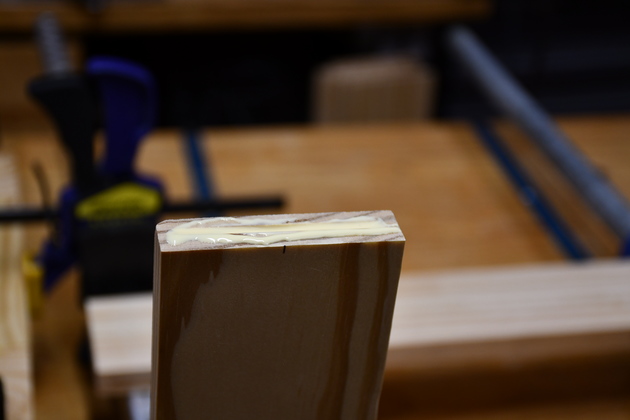
Close up of biscuit slot. |
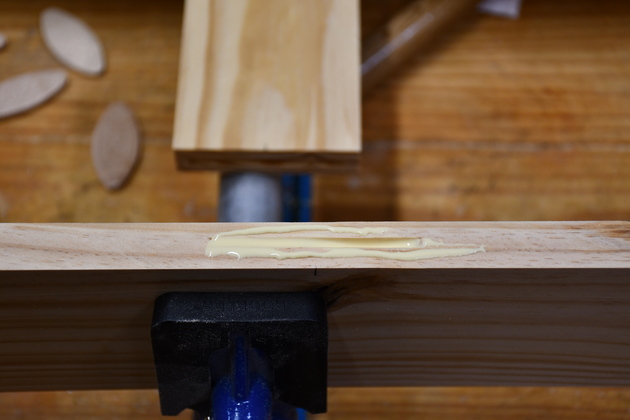
|
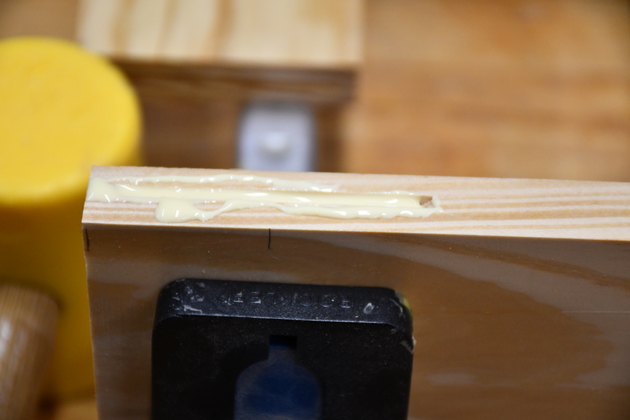
Glue in the slot. I know, this isn't a good pic. |
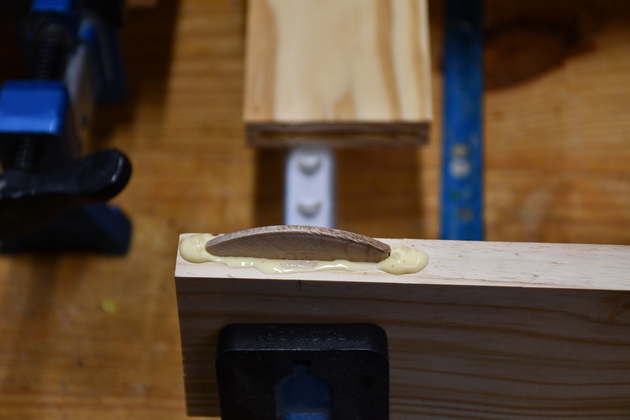
|
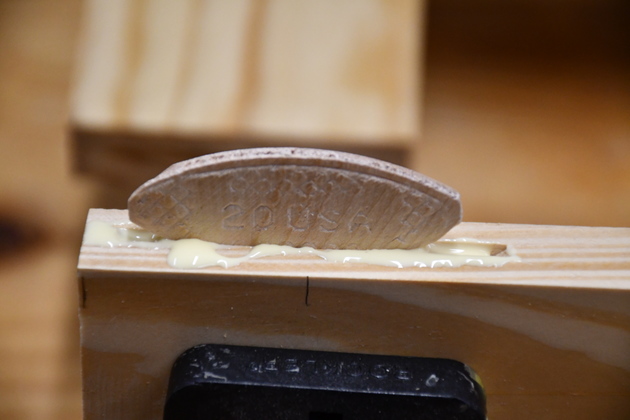
Biscuit, tapped down in slot. |
|
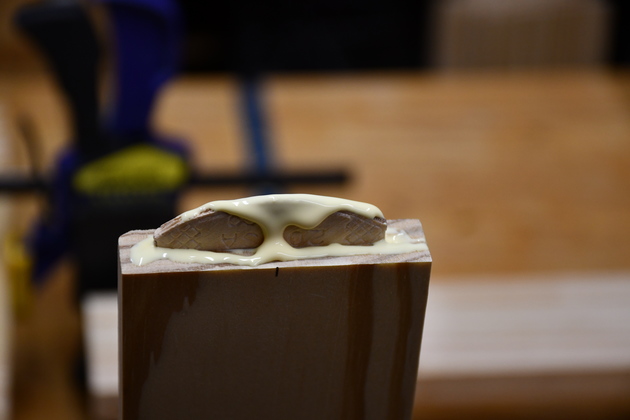
Two biscuits in slots. |
|
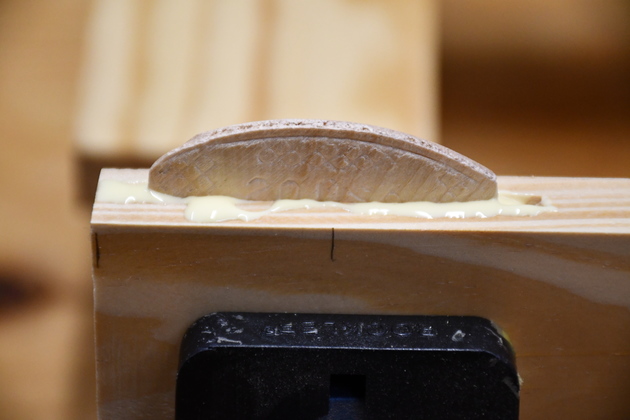
Glue on top of biscuit, ready to attach the cross piece. |
|
One side of cross braces attached, ready to apply glue and insert biscuits on the opposite side. |
|
Glue on the end of a cross brace. Note, I put the glue on a horizontal surface so it doesn't start running off before I clamp it. |
|
Biscuit in the glued slot with glue on the top. |
|
Glue and bisuits on each brace. |
|
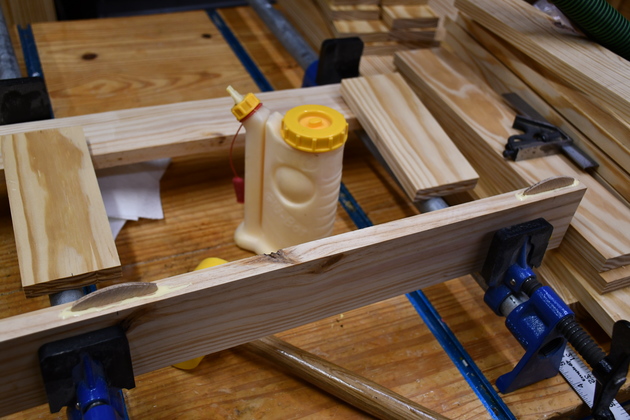
Clamped. |
|
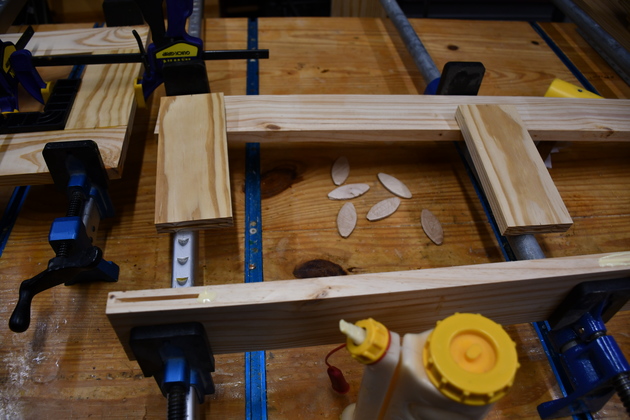
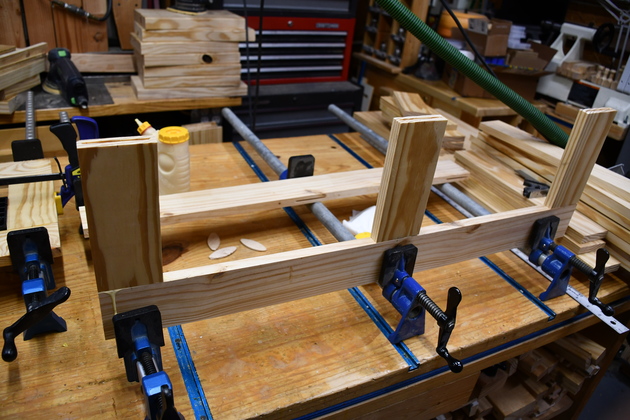
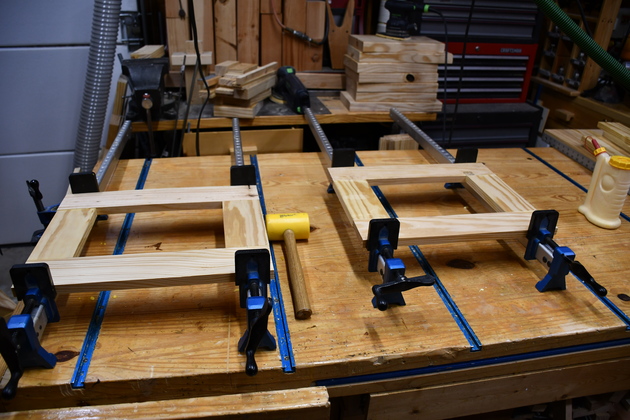
Vframe in glue clamps with ClampIts to guarantee the corners are square. |
|
Hframe-2 ready to glue. |
|
Slotted joint before gluing. You can see the slots in both sides of the joint, you can even see the 'tick' marks I made before slotting. |
|
Glue on horizontal surface, ready for biscuit. |
|
Biscuit in the slot ready to tap down. |
|
Biscuit tapped down, ready for top glue bead. |
|
Biscuit top glue bead, ready to join. |
|
End of brace, ready for glue. |

|
Biscuit tapped down, ready for top glue bead. |
|
glue bead. |
|
Two H-Frame-2s in glue clamps. |
|
End frame in glue clamps. |
|
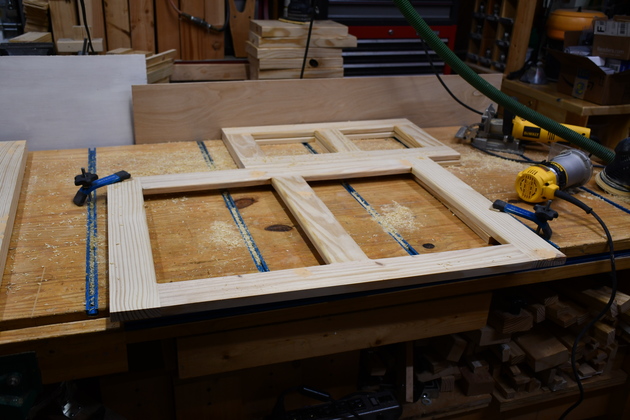
Preparing to route the back and end frames. Note the small router on the bench to the right of the frame. |
|
I have rounded the outside edges of back and end frames with a 1/4" rounding bit. The internal Hframes and Vframes don't have pine insets. |
|
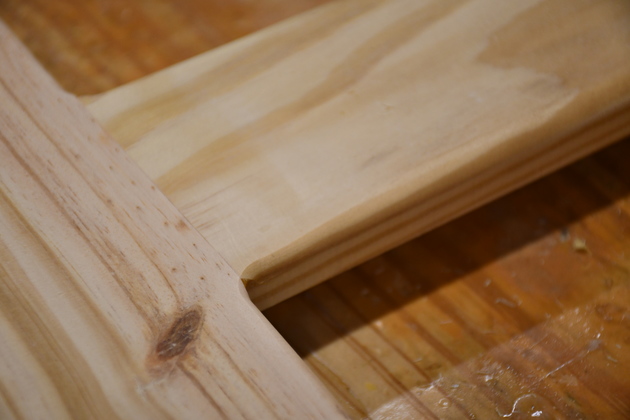
I also routed out a groove on the back of the frame for the inset panels. This is the back frame showing inset grooves on it's back side. |
|
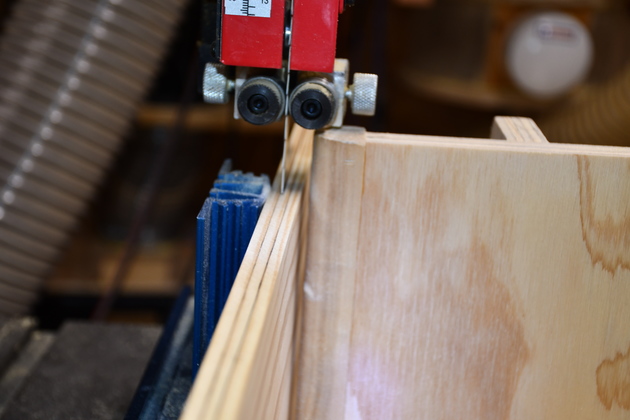
Closer look at inset groove. This groove is 1/4" wide and 5/16" deep to accomodate the laminated panel. I will chesel out the corners so they are square. |
|
Wood chips on the workbench after rounding edges and routing grooves in back and end frames (3 pieces). Note the plywood panels making up the backsplash on the back side of the workbench which prevent most wood chips from flying over the back side. |
|
A little closer look at the pile of wood chips against the backsplash after routing and rounding for the inset panels. |
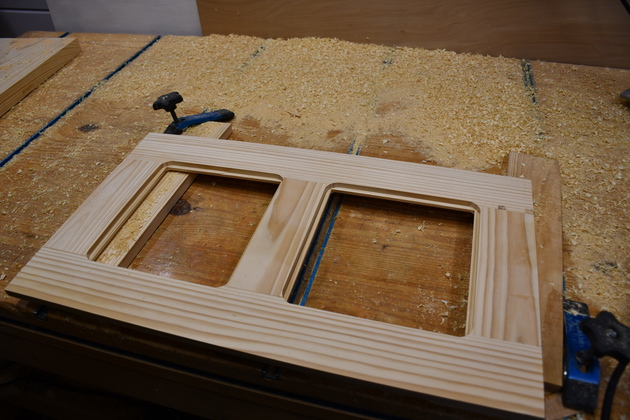
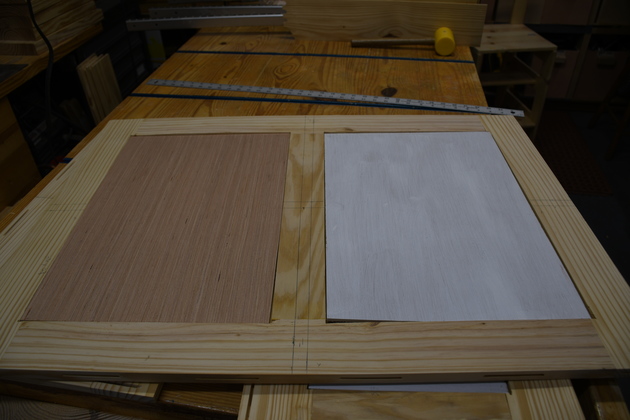
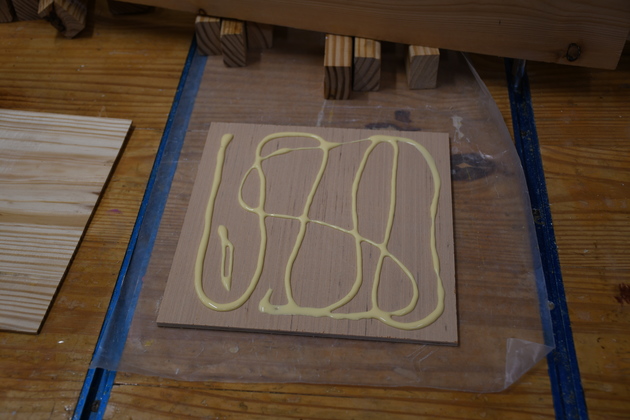
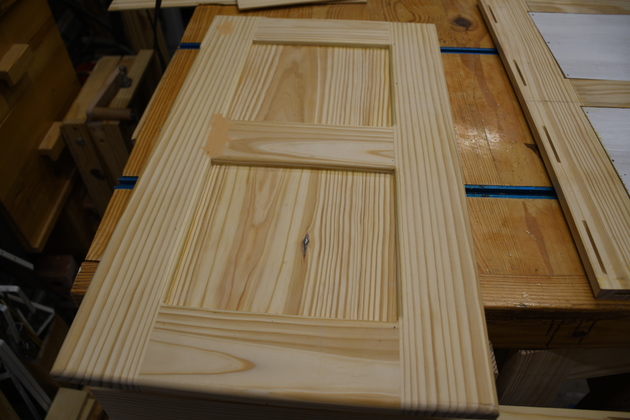
I want inset panels with pine faces that match the SYP (Southern Yellow Pine) frame material. A problem with SYP is it likes to warp, crack, and twist. To prevent this, I laminate a thin pine face (1/8" thick) to a plywood backing (3/16 thick plywood). To make these inset panels I resaw then plane SYP into 1/8" thick slabs then laminate them to a 3/16" plywood backing and finally. The laminated panel is 5/16" thick, note the inset panel groove. These laminatd panels are slightly oversize, so after laminating, I trim them to the exact size for the inset and glue them in.
|
Resaw operation on the bandsaw. Resawing is sawing edgewise to make thinner slabs of wood. |
|
A little closer look at a 2x8 being resawn into slabs for laminating. |
|
Resawing 3/16" SYP slabs from a 2x8. The 2x8 is already cut to length. These will be planed down to 1/8" thick. |
|
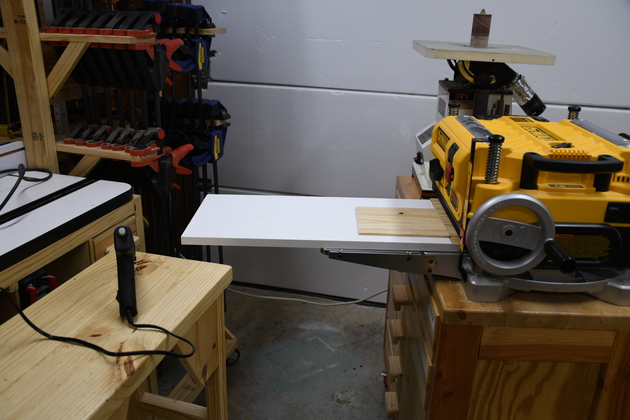
Panel face being planed. Please see my Planer Sled page. |
|
Pair of panel faces. Form more info on how I plane these please see |
|
Pine panel faces ready to edge join then laminate. |
|
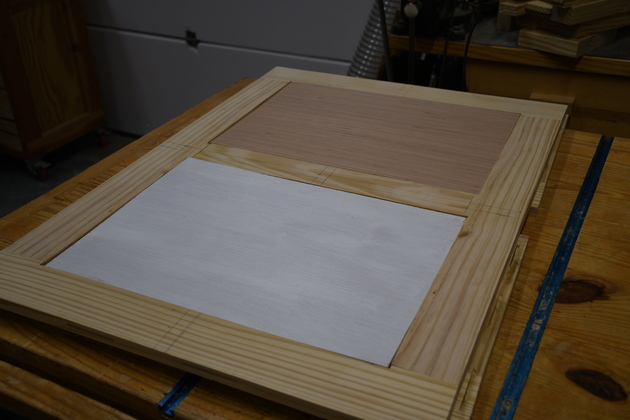
3/16" plywood backs fitted into rabbets of the cabinet back. I happen to have some 3/16" thick plywood from another project which was painted on one side, thats whats going on with the white panels. |
|
A 1/8" thick pine slab planed and ready to edge join for a panel face. |
|
Again a 1/8" thick slab. |
|
Closer look at 1/8" edge. |
|
1/8" thick panel faces about to be joined. |
|
Bead of glue on edge of 1/8" slab. |
|
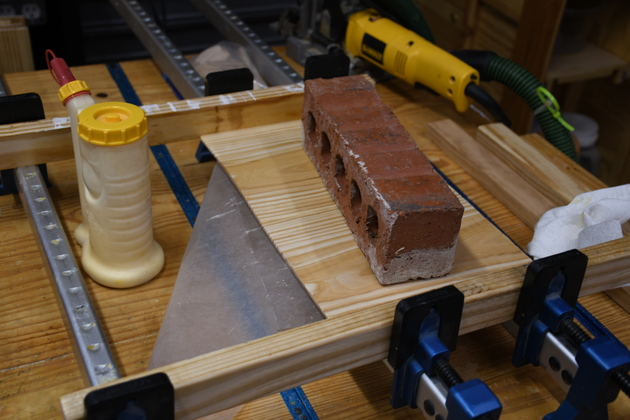
Edge joining cabinet back panel face. It doesn't take much pressure for these thin panels to bond. The bricks help prevent panels from buckling when under pressure. |
|
An edge joined panel, the glue bot is for reference. |
|
Plywood 3/16" backing panel being fitted to the cabinet back. |

|
Ditto the two end frames. |
|
Edge joining the end frame pine slabs. |
|
An edge joined pine face for the end frames. |
|
Large panels installed in cabinet back. |
|
Glue on small panel backing. |
|
Laminating a small pine face to it's 3/16" backing. |

|
Painted backing laminated to endframe panel. |
|
Stack of end frame panels. |
|
Gluing end frame panels. Note the upper half of pic is a completed end frame. |
|
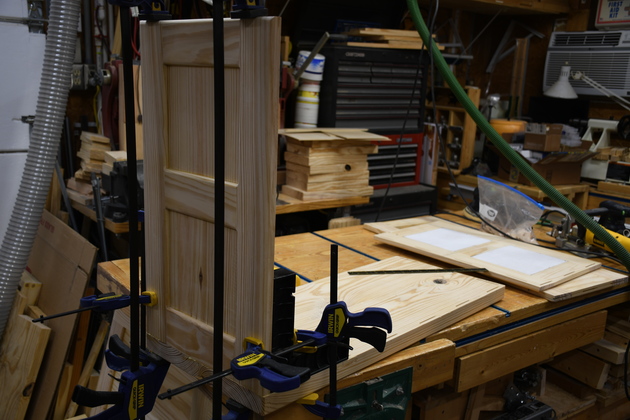
Completed end frame, ready to glue to top. |

|
Close up of inset panel after gluing. I still need to sand the filler at the brace to frame joint. |
|
Gluing left end frame to the top. Cabinet is upside down, the way I normally assemble things like this. |
|
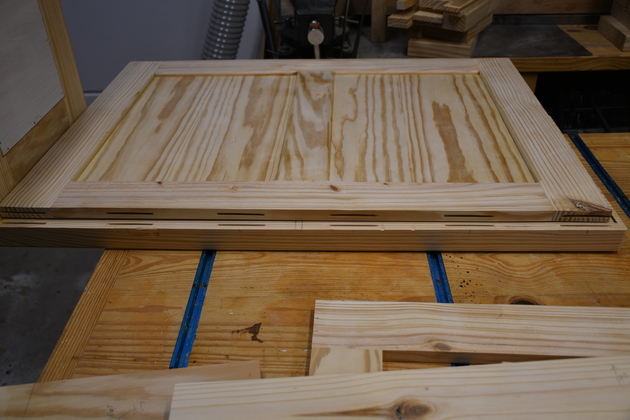
Back laying on the underside of the top checking the alignment of the biscuit slots. |
|
Gluing the upper VFrame to the top, remember, this thing is upside down. Note the ClampIts keeping everything nice and square. |
|
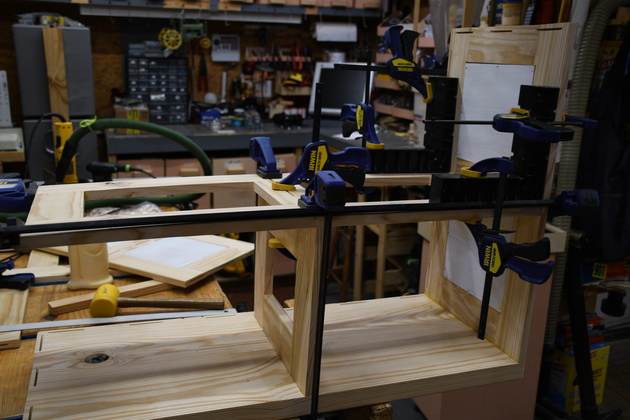
Gluing the center Hframe to left end piece and upper Vframe. |
|
Gluing lower Vframe to middle HFrame. |
|
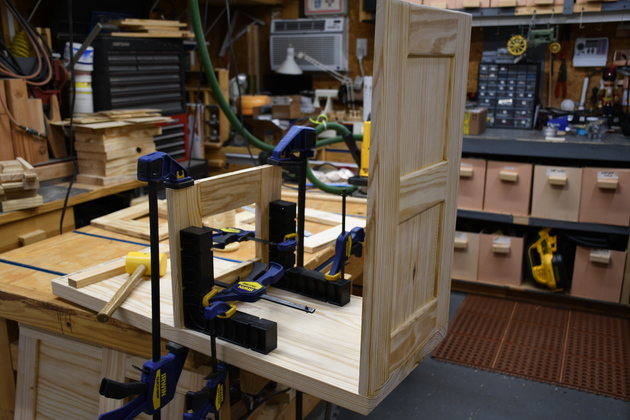
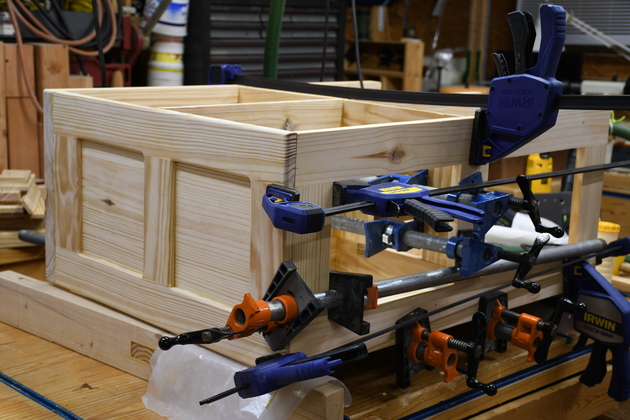
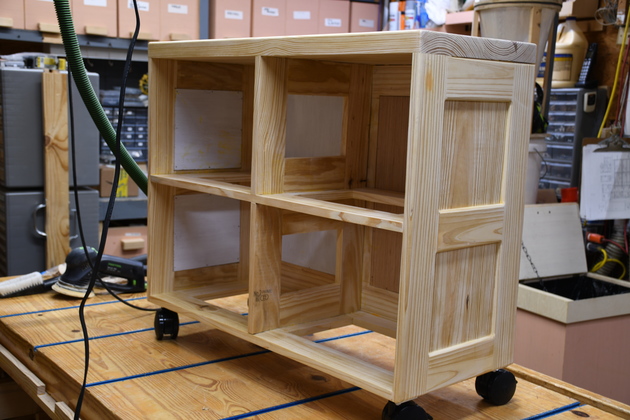
Gluing in cabinet back. Lots of clamps, to get all the joints pulled up tight. This is the most difficult glue-set, due to all the biscuits (20) and different angles. |

|
Front view of cabinet while back is being glued on. Two more glue-sets, the lower Hframe and right end piece. Note, one of the back panel basees was used before, its painted white. |
|
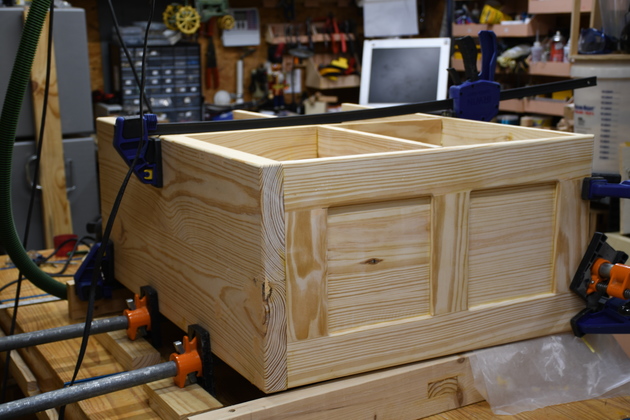
Lower HFrame being glued. |
|
Lower HFrame glue-in viewed from left end of cabinet. |
|
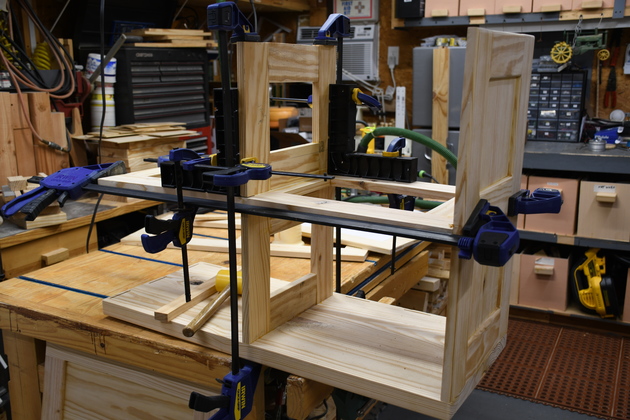
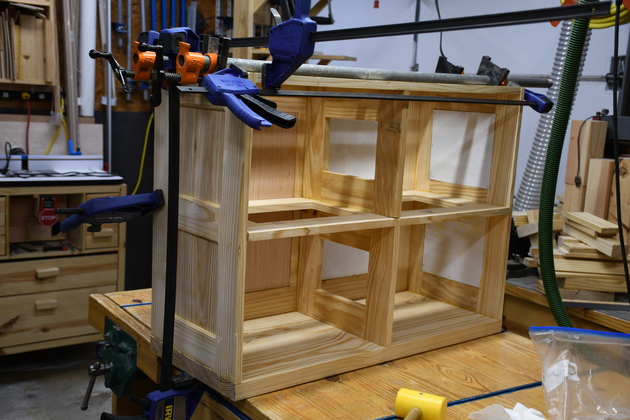
Right end being glued viewed from cabinet front. This is the last cabinet piece to glue. |
|
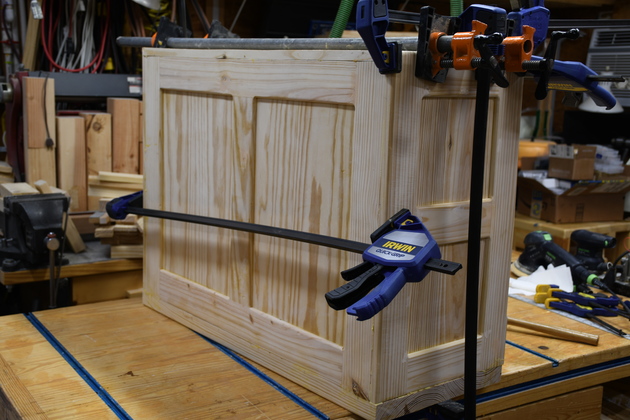
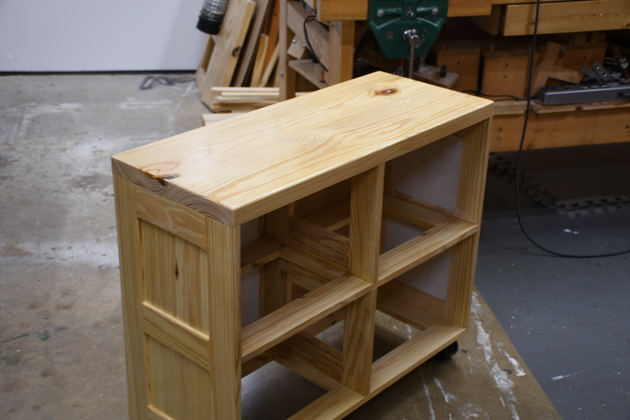
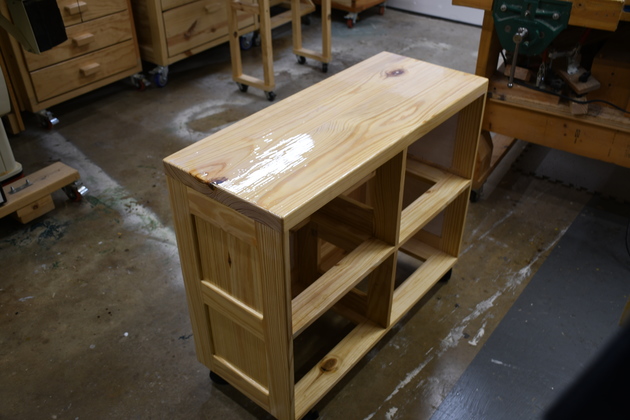
Right end glue-in from cabinet back. Next, sanding & painting. |
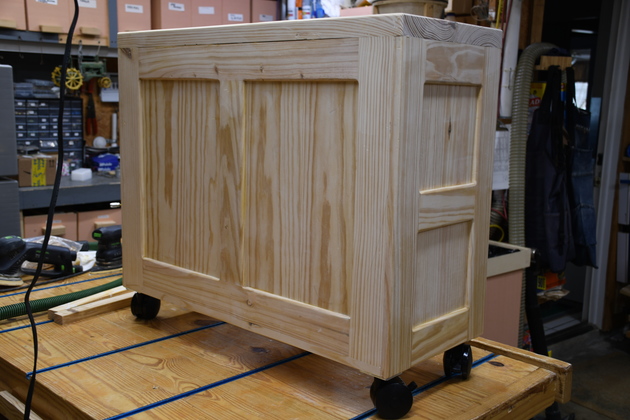
|
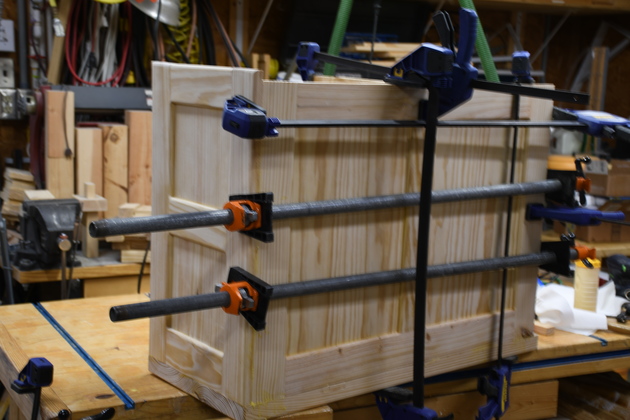
Back sanded with one coat clear-gloss polyurethane. Note: casters installed. |
|
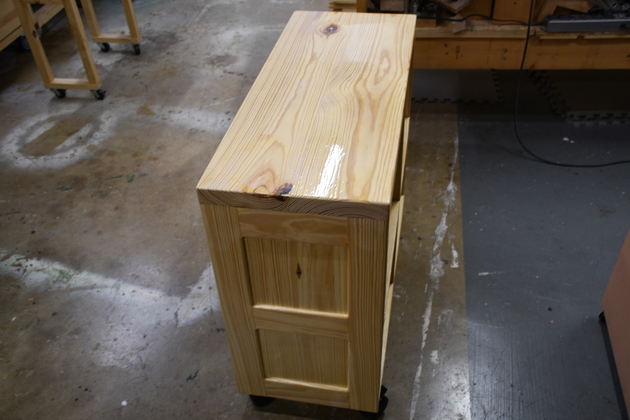
Front side being painted. |

|
Down on the floor, sides painted. |
|
Inside painted. |
|
You can see reflections in the top. |
|
|
|
|
With lift installed and in our "folding room". Board tip folded down. |
|
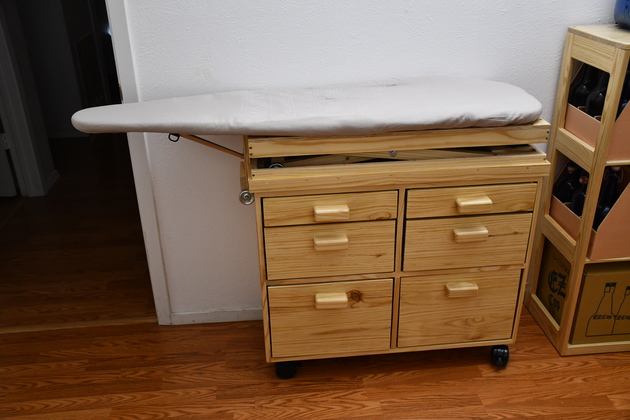
Board tip up. You'll notice that when the board tip is up it blocks the door and when down the door is unobstructed (above). |
|
Betty cranks it up just a little to be comfortable when she irons. |
|
Showing the 3/8" jammed juts on the right end where the crank fits. |

|
Closer look at jammed 3/8" nuts. |
|
|
Iron and starch hidden away. |
|
After using it, the cord for Betty's iron catches under the handles so I replacecd them with flush (tow holes). |
|
|
Rear quarter view showing how the holes (handles) can't catch the cord. Also note the 1/4" dowel at the near corner, she hanges her iron's cord over the peg so it won't catch under the corner of the cabinet. |

|
|