Ironing Board Drawers

More Drawer Making Info

These drawers are for Betty's ironing board cabinet.   I will cut pieces from a 2x8 to length, rip to width, resaw to thickness, then plane.   Drawer sides and backs are usually thinner than 'normal' boards, so I resaw them from thicker (2") boards.  

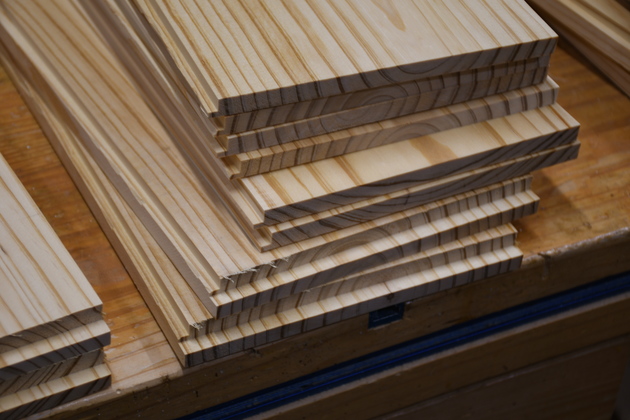
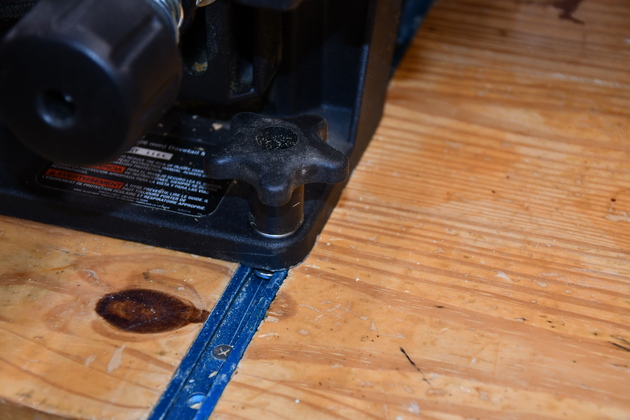
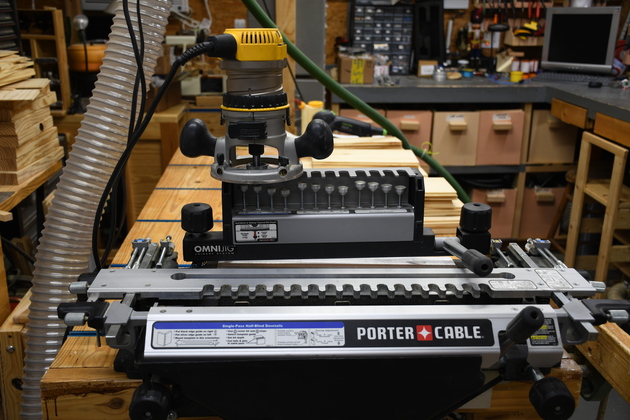
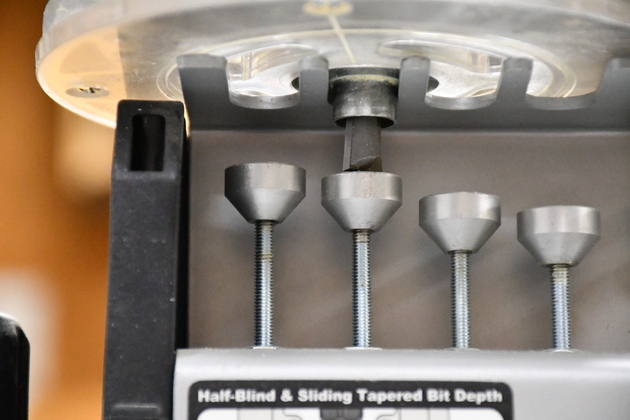
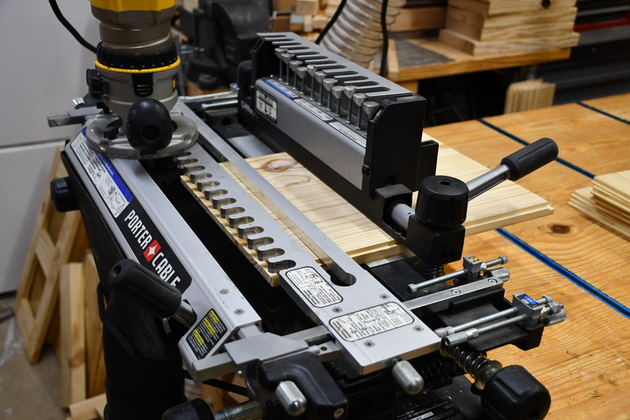
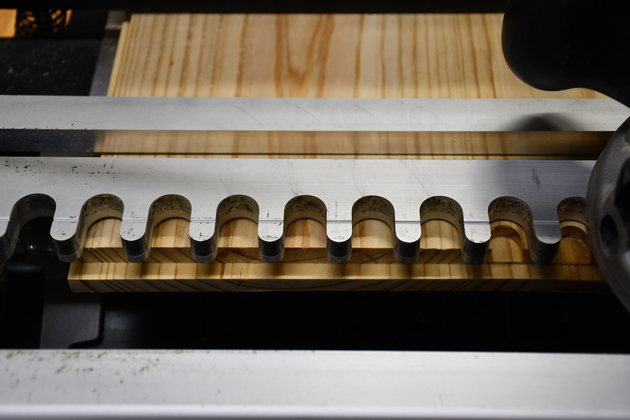
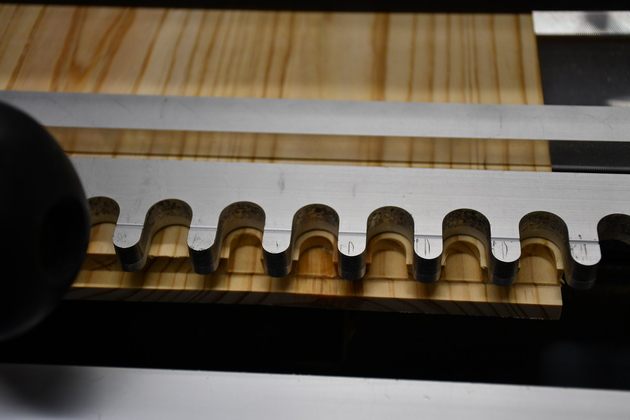
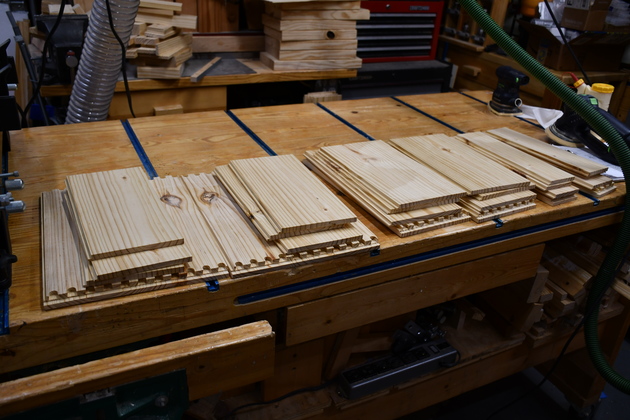
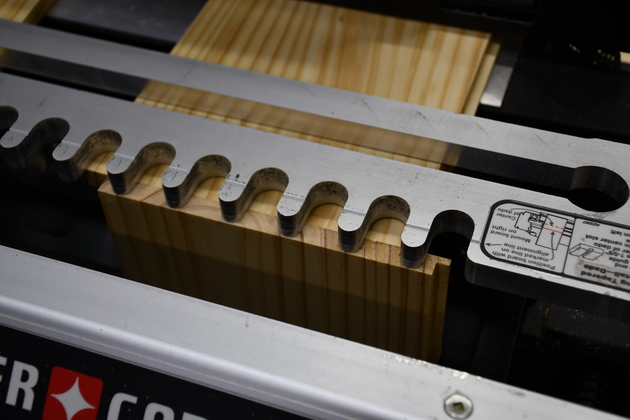
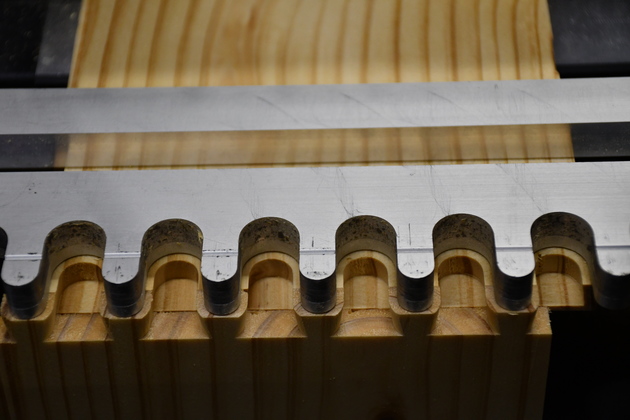
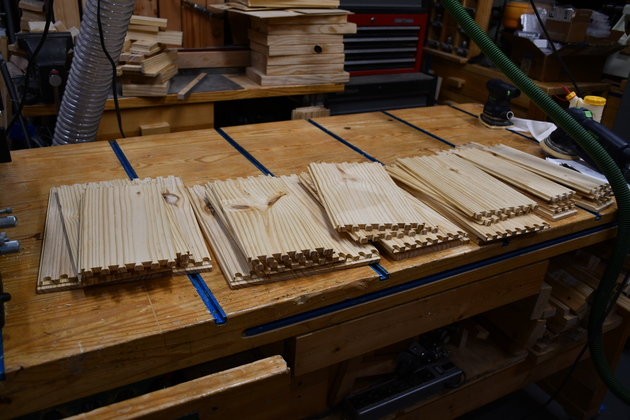
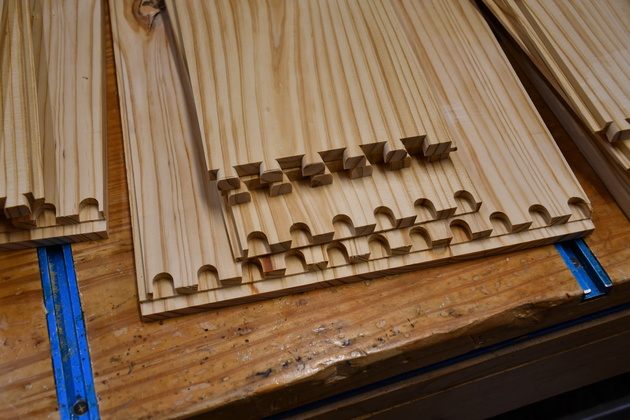
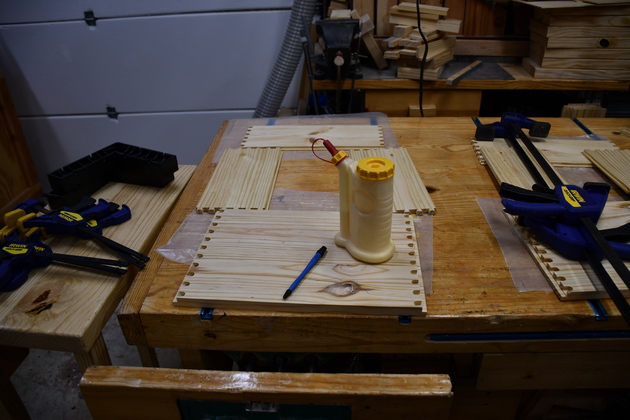
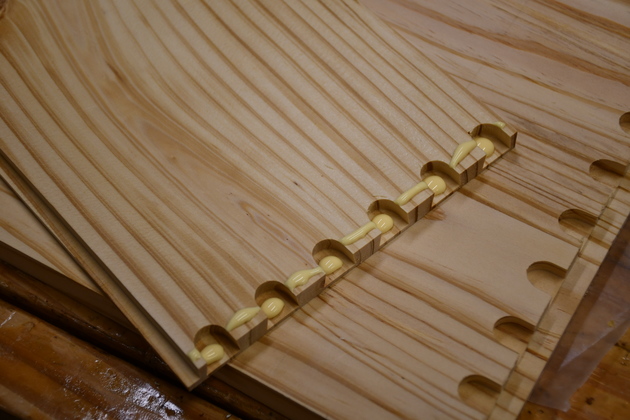
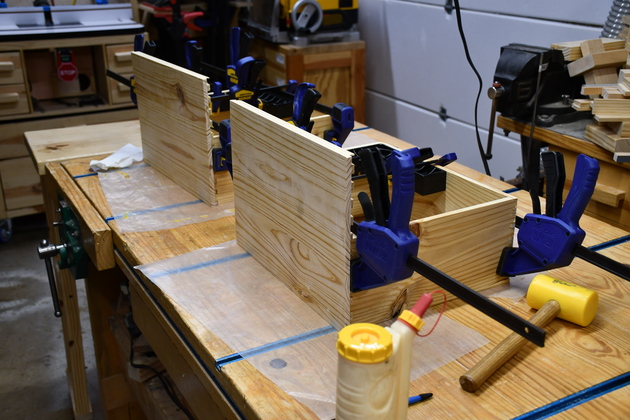
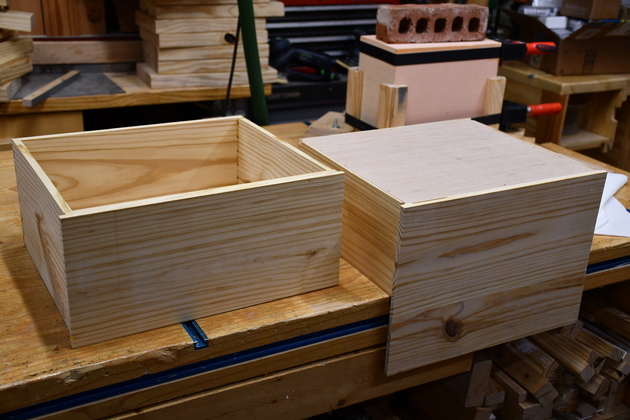
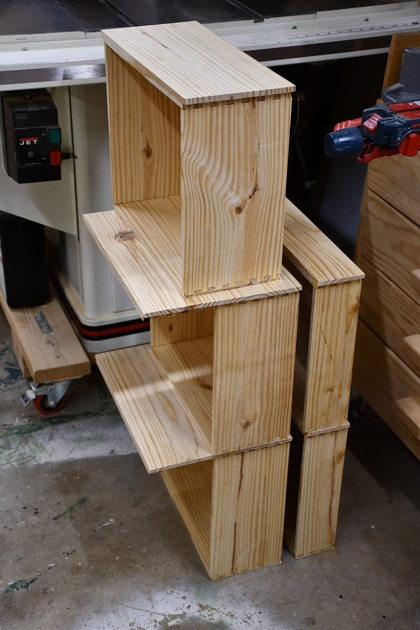
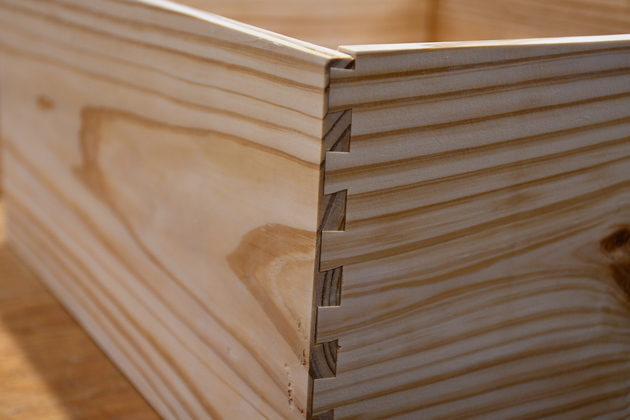
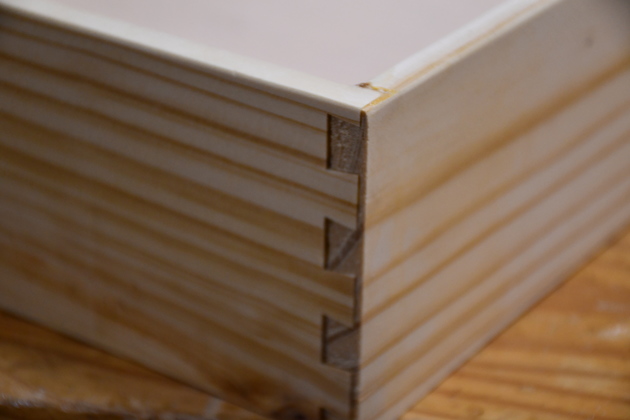
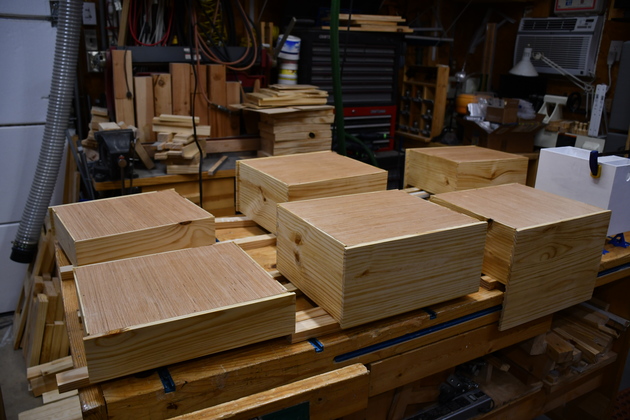
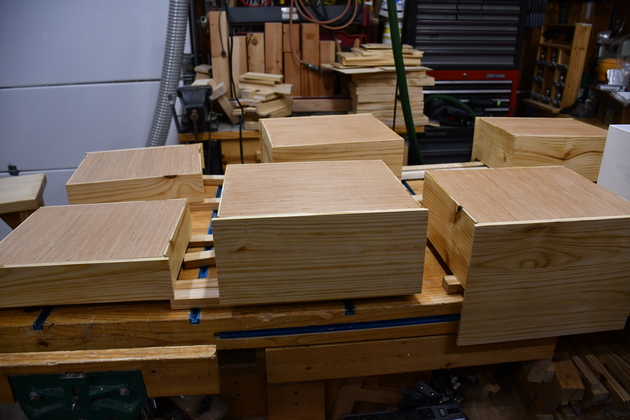
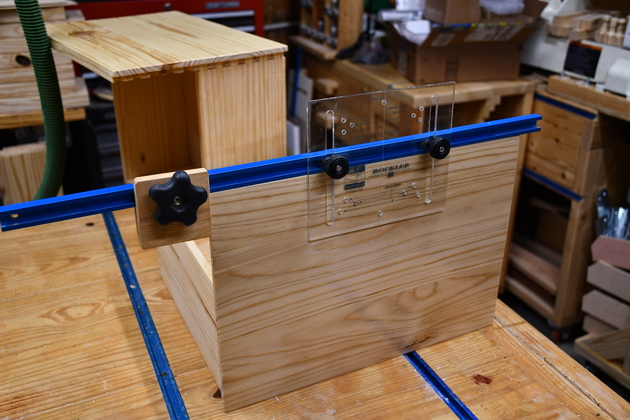
The corners of the drawer frames will be joined with dovetails.   Dovetails have two parts that fit together, pins and tails shown in this pic.   These cuts interlock and when glued form a very tight stable corner joint.   I'm cutting half blind dovetails, that is, the tails (drawer's side) don't go all the way through the tail pieces (drawer's front and back) so you can't see the ends of the dovetails from the back or front of the drawer.   Only on the drawer's side can you see the interlocking pieces.  


2x8, from Lowes, ready to cut to lengths.  


2x8 segment cut to length for drawer back.  


3-1/2 x 14-15/16 ripped from a 2x8, for top drawer backs.  


Marking 3/8 + 1/16" slabs for resawing.   You can see my marking tool on the bench just beyond the piece.


Stack of drawer fronts, backs, and sides after resawing.  


Pic of resawn board.   You can just barely see the bandsaw blade marks.


Thickness planer, at work, removing bandsaw marks.  


Stacks of backs & sides (on left), and fronts (on right) after planing, ready to rabbet and dovetail.  


Pieces cut and planed for two lower drawer fronts.   The tall drawers (bottom of cabinet) are 10-15/16" high, greater than the 7" I can get from a 2x8.   So I have to cut two pieces for each of those fronts, one 7" wide and another 4" wide and edge join them.


I ran the edges of the two pieces across the jointer and now marking them for biscuit slots in order to edge join them.  


You can see the little "tick marks" where I will cut the slots.  


Both tall drawer fronts, in the glue clamps, being edge joined.   You can see my sack of #20 biscuits on the right.


Preparing to cut rabbets.   The fronts will have a 5/16" wide by 3/8" deep rabbet down both sides, All the drawer parts will have a 3/16" wide by 1/4" deep rabbet along the bottom edge for the drawer bottom to be glued into.


Closer pic of unrabbeted drawer fronts.  


Drawer fronts after side rabbets are cut.   These side rabbets help hide the slides when the drawer is installed.


All drawer frame pieces after bottom rabbets are cut.  


Closer look at bottom edge rabbets on drawer backs and sides.  


Dovetailing

Moving dovetail jig to the workbench from it's storage under the sander.  


Dovetail jig on the workbench.   Note the lift shelf is in it's up position, makes the dovetail jig a little easier to move.  
BTW, this is a 16" #55160 Porter cable Omni-Jig.   Porter Cable originally made a 16" and 24" Omni-Jig but, due to some kind of patten infringemnnt (I think), discontinued them.   As far as I'm concerned, this thing is great, and you can get second source dovetail router bits for it and thats the only thing that wears out.    


Dovetail jig hooked up to dust collector, side table holding drawer sides/backs ready to cut.  


The dovetail jig clamps to my workbench's tee tracks.  


Router on the dovetail jig's bit height setting setup.  


You lower the bit until it just touches the little mushroom's top.   There is a mushroom for each drawer side/back/front thickness.


Ready to cut dovetails.   There is a drawer front clamped into the jig.   Drawer fronts (at least these) are thicker than the other 3 drawer sides, so I do all the fronts at the same time.  
The small rabbet on this side of the piece (for gluing the drawer bottom) helps me keep the pieces oriented during dovetailing, something that can be a problem.
Also this board is 11" wide yet there is lots of room to spare in this jig.


Closer look at drawer front aligned ready to cut.   You can also see the side rabbet in this drawer front.


Starting to cut dovetail pins into a drawer front.  
You are looking at the side rabbet of the drawer front.   This will hide the drawer's slides when installed.


Drawer frame sets on the workbench.   Each stack is the frame of one drawer.  
Note I have already cut the drawer front's dovetail pins.


Here a drawer side (vertical) and back (horizontal) aligned ready to dovetail.  
Again note the bottom rabbets, at the side of the dovetail jig.


Dovetails cut in a drawer frame side (bottom,vertical) and back (top,horizontal).   If you look carefully at the right side of the dovetails you'll note the offset between the two pieces being dovetailed.   The jig's alignment guides profides the offset so the joins will align perfectly when glued.
Dovetails have two parts pins and tails.   In this pic the tails (bottom) will ultimately slide into the pins (top).   The pins, cut into the front and back of a drawer frame, are half blind so the ends of the tails can't be seen in the final drawer.


All dovetails cut, stacked in sets (a drawer for each set) on the workbench, ready to glue.  


One of the drawer frame sets for a lower (taller) drawer.   These are called "half blind" dovetails, that is the ends of the dovetails can only be seen on the side of the drawer not the backand front.


Gluing

Setup to glue a drawer frame.   Drawer set is laid out in correct relative postion.


Daub some glue on each part of the dovetail.   Dovetails have two parts, pins and tails.   The sides (pins) slide into the front and back (tails).   This pic shows the drawer back being glued, the piece below it is the drawer front.


Then I spread the glue around with one of the little round Rockler glue brushes.  


A tall drawer in the glue clamps.  


From the back, note the ClampIt keeping the drawer square.  


Both tall drawer frames being glued.  


Gluing in the drawer bottoms.  


Drawers with bottoms glued in.  


Dovetail Details

Drawer back and side showing half blind dovetails no visible from back.  


You can see the side rabbets.  


Back of one of the short drawers.  


Showing the drawer bottoms glued into the frame rabbets.   You can see the rabbets with the drawer's bottom glued in.   Note the drawer bottom is flush with the bottom of the frame.


Not great but you can see the bottom is flush with the frame.  


Another pic of thee dovetails in the drawer front and showing the side rabbet.  


A little better perspective on the side rabbet at the bottom.   The slides will fit against the drawer side and behind the side rabbet.


Painting

Drawer bottoms being painted.  


Painted drawers.  


Handle ready to paint.   For more on how I make these handles please see my handle page


Handles paint drying.   I make these handles in batches of 10 or 20, so I generally have a few around.   Notice, the storage boxes above all have the same handle.


Marking drawer fronts for handle holes.   I use this Rockler Deluxe Drawer Pull JIG IT which I got many years ago.   Using this jig easily makes sure all the handles line up.