10/29/16: Page Origin
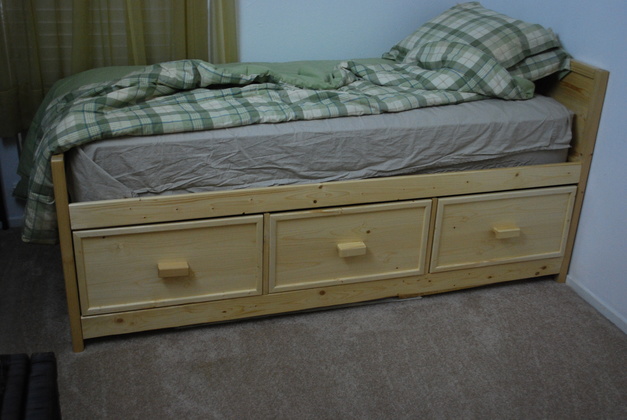
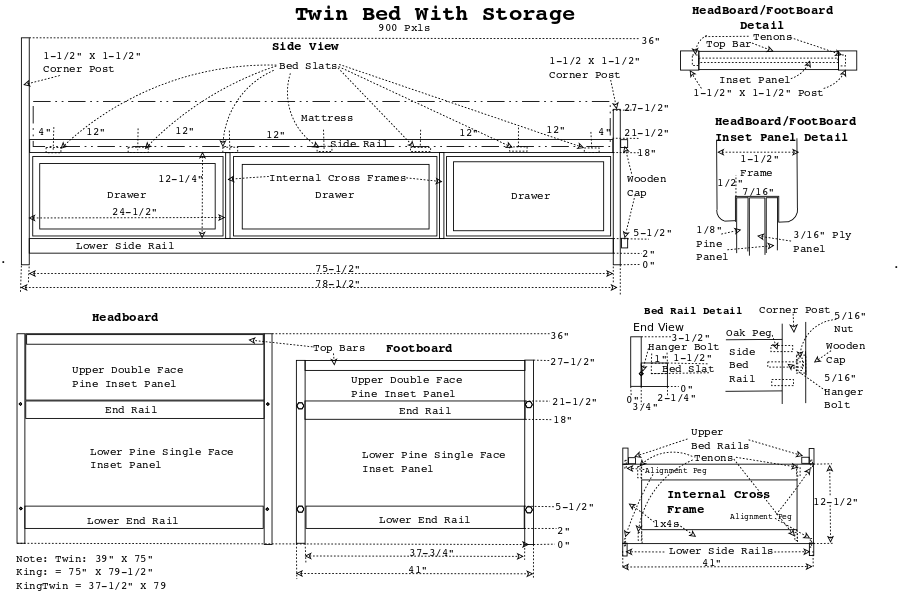
The Twin mattresses we found were 37-1/2" wide by 75" long.
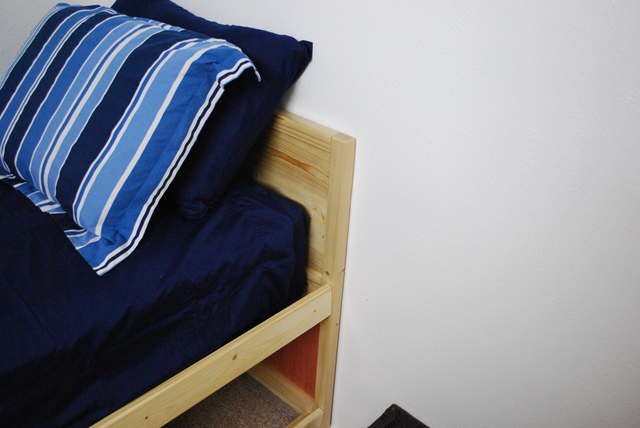
Looking at other beds, I figured a 1-1/2" by 1-1/2" square corner post would be quite suffucient to hold the bed and storage up.
A 1x4 with a 1-/1/2" X 1-1/2" square stringer glued to it would be strong enough to hold up the mattress and a sleeper.
Two 1x4 internal cross frames between the drawers with another 1x4 lower side rail will add plenty of strength to the overall frame and support the drawers.
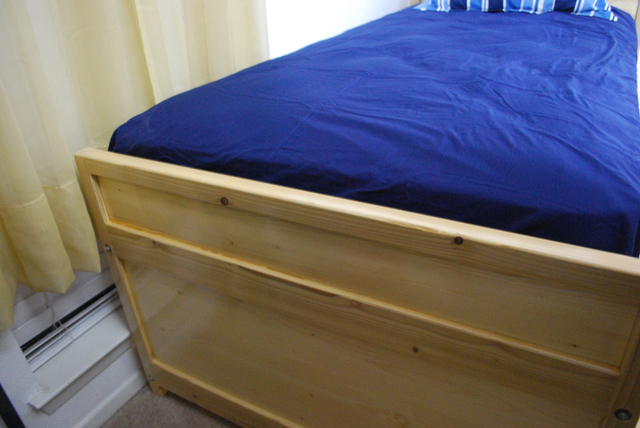
I will make inset panels, good on both sides, for the headboard and footboard upper section and single sided pine panels for the lower headboard and sideboard panels.
The inset panels will be made like the chest of drawers, that is, a 1/87quot; pine face with a 3/16" plywood core or backup plane.
The upper panels on the headboard and footboard will be double sided, a pine panel on the inside as well as the outside since both sides will be visible.
The upper panels will both be glued into a groove, the lower panels will be glued into a rabbet.
Lumber

|
The lumber (except plywood) for the frame that I bought at Lowes.
I bought
-
4-10' 2x4s (instead of 5-8's) on the bottom
-
8-1x4s
-
3-1x6s
-
1 and 1/2 sheets of 5mm plywood (1/2 sheet was actually 3/16" birch)
no slides yet, and I already had 3-5/16" by 6" long hex bolts (just need one more) and I already have 4 5/16" tee nuts.
|
|
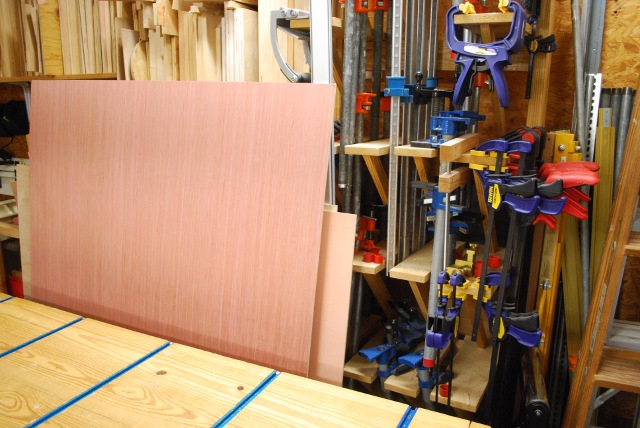
The plywood part of the frame, I cut the 5mm sheet into two pieces one sized for the panel cores.
My shop is so small I have difficulty cross cuting an 8' sheet of plywood, so I cut it outside using my pickup's tailgate as a support.
|
|
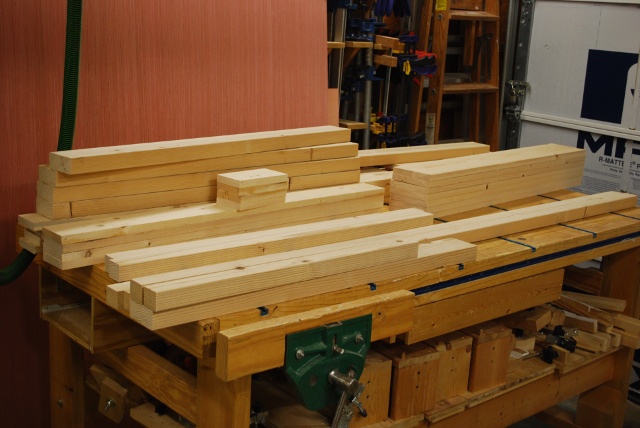
I was lucky today at Lowes, they had some really good clean (straght, small tight knots, no warp or cup) lumber in the cheap (WW) bins.
|
|
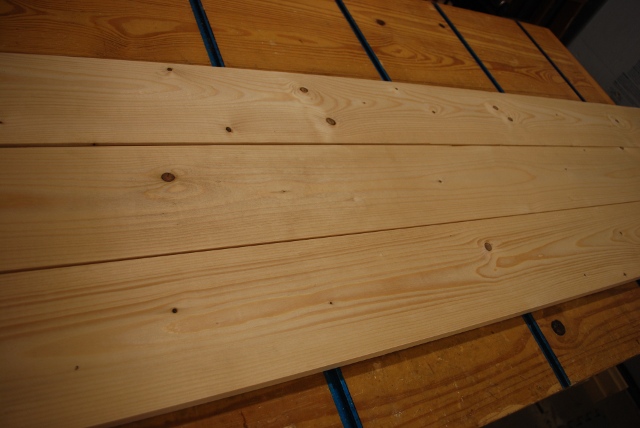
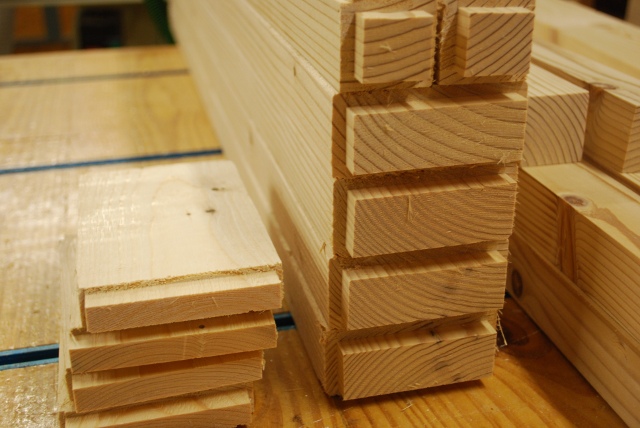
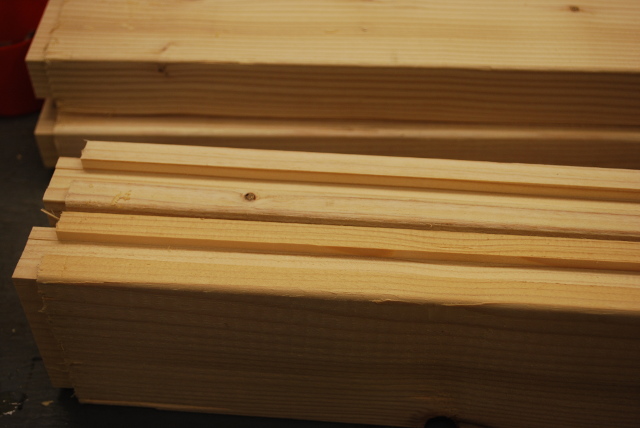
All the lumber, for the bed frame, sawed to length and 2x4s ripped.
I still need to do the resawing of the 1x6s for the pine panels.
|
Frame Assembly
|
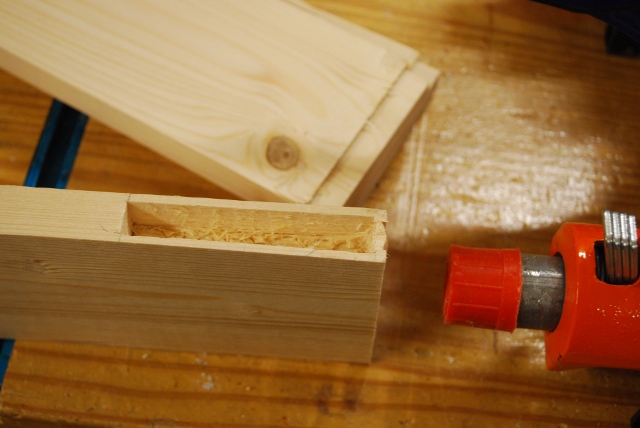
Tenons cut on ends of frame pieces.
I cut these on my router table using my tenoning jig.
Next time I'll make the tenons not so long or wide so the shoulders are wider.
Cutting a mortise near the side of a board tends to break out easily, especially when there are knots about.
|
|
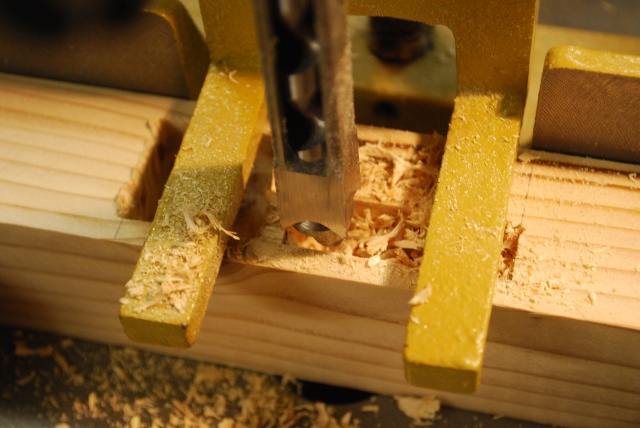
Mortises being cut with the mortiser.
|
|
Mortise in the corner post after it's cleaned out.
Thats a cross bar tenon at the top.
|
|
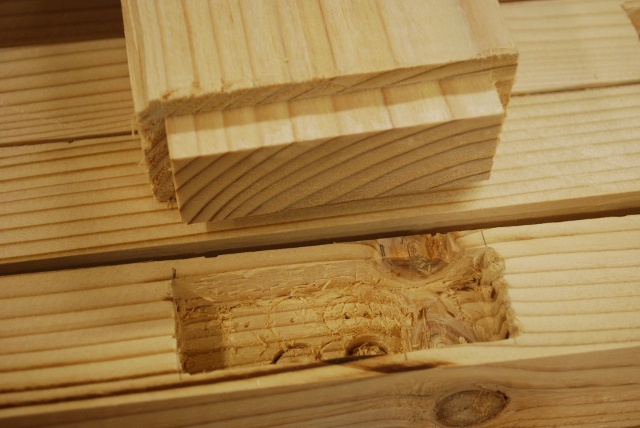
Mortise and tenon test fit.
|
|
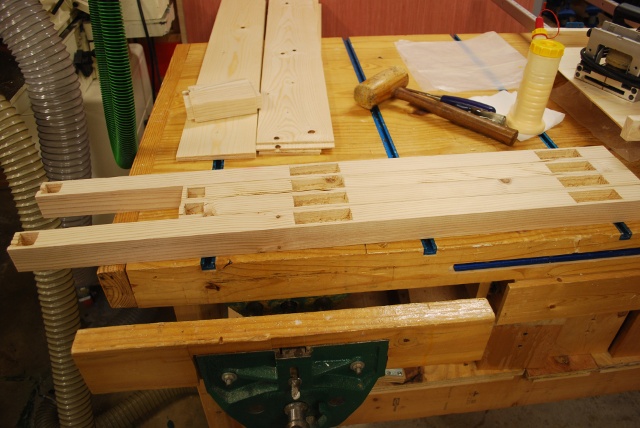
Mortises cut in all the corner posts.
|
|
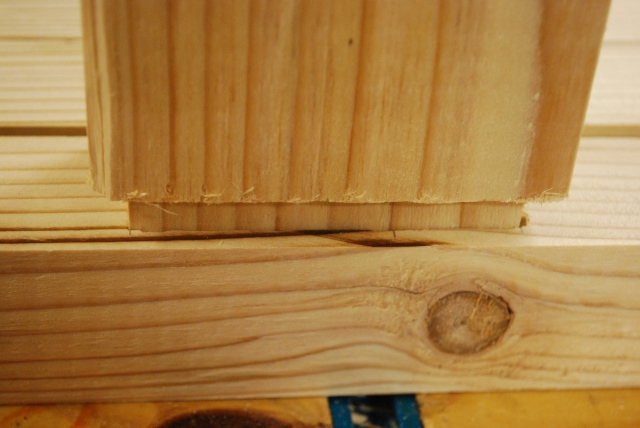
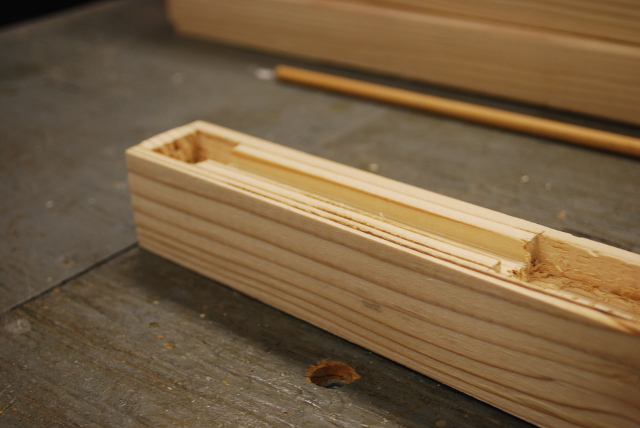
Footboard corner post slot cut between upper mortises for the upper panel.
|
|
Panel slots cut in both upper and lower end rails.
|

|
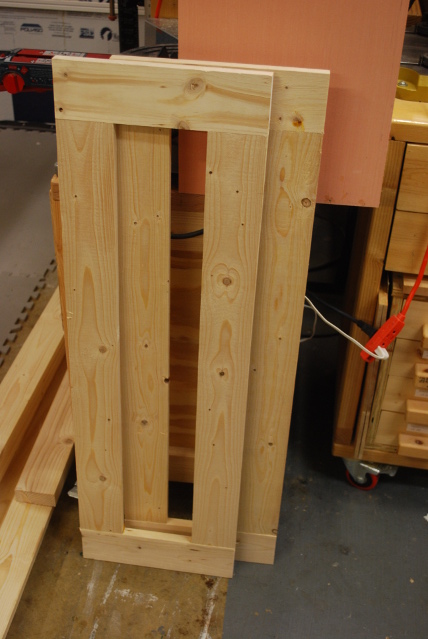
Test fitting footboard.
Not shown, the frame without panels was clamped together and I rounded the corners around the panels on both front and back.
|
|
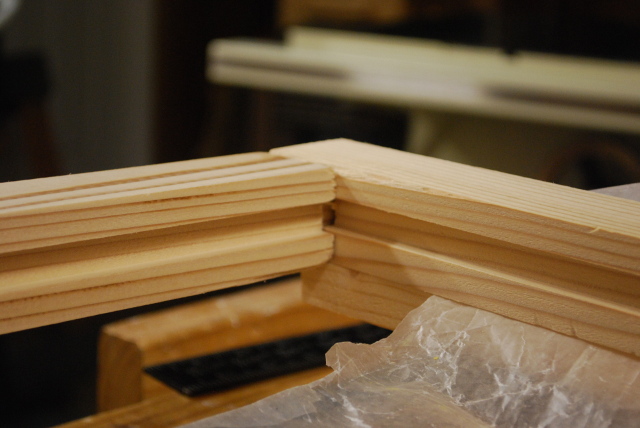
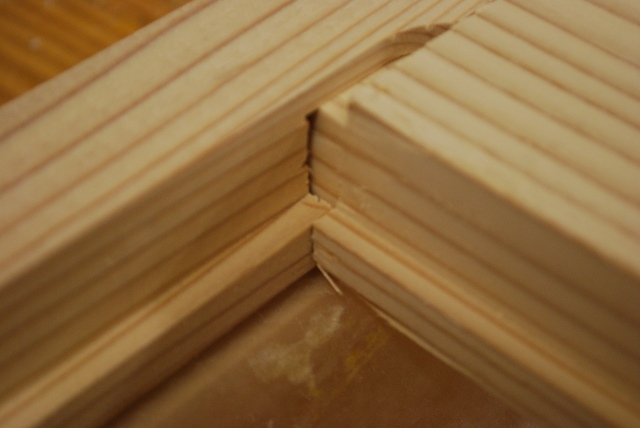
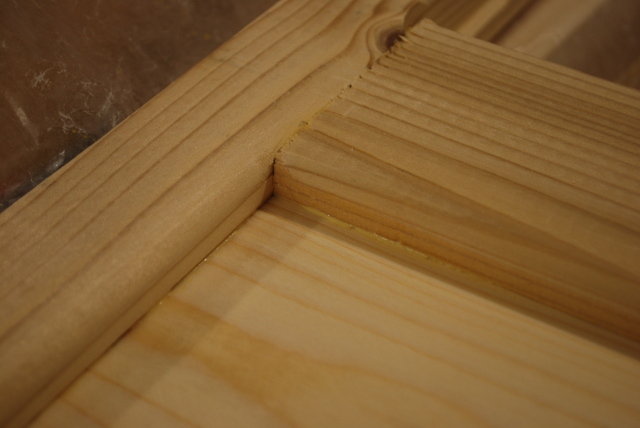
Footboard, look at the upper panel groove corner match up in the top (left) and corner post (right).
|
|
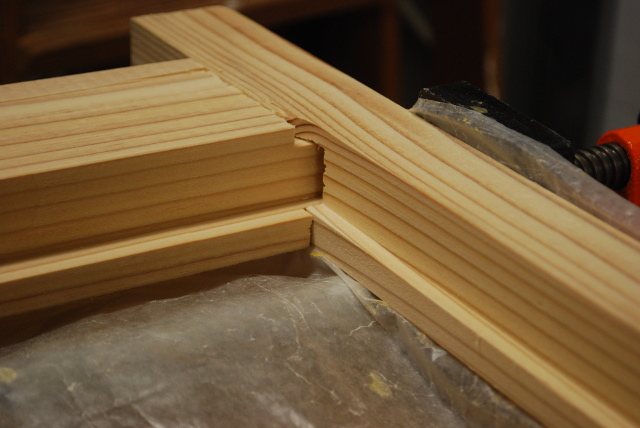
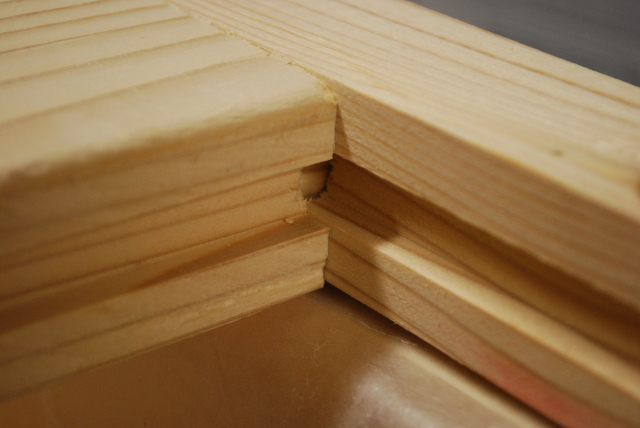
Back side of footboard, rabbet for lower panel in lower end rail (left) and corner post (right).
|
|
Back side of lower footboard panel rabbet.
Note you can see the tenon on the end of the upper end rail going into it's mortise at the corner of the bottom panel rabbet.
|
|
On the other side of the end rail you can see it's tenon going into it's mortise at the bottom of the upper panel's groove.
|
|
Upper panel is test fit into corner post and end rail groove.
|
|
Footboard frame with upper panel glued.
The lower panel will be glued into a rabbet after this glue sets.
|
|
Close look at bottom of upper panel as it fits into the slots in the corner post and end rail.
Notice, the rounded the corners all around the panels was done before I glued the panel in.
|
|
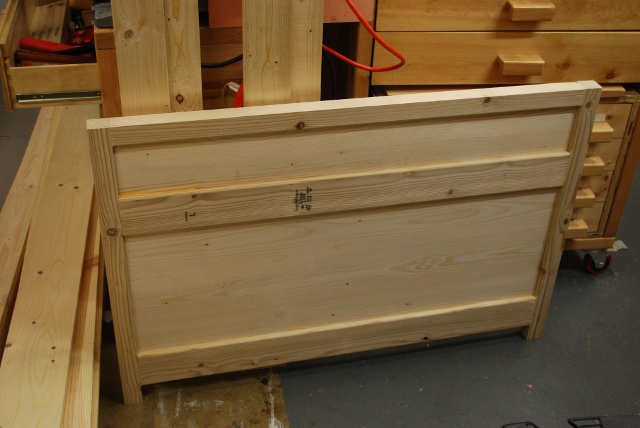
Footboard after gluing in the lower panel, ready to round off the corners and sand.
|
|
Back side of footboard.
|

|
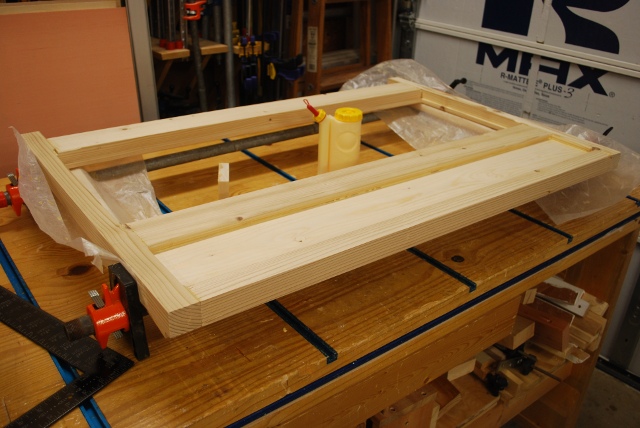
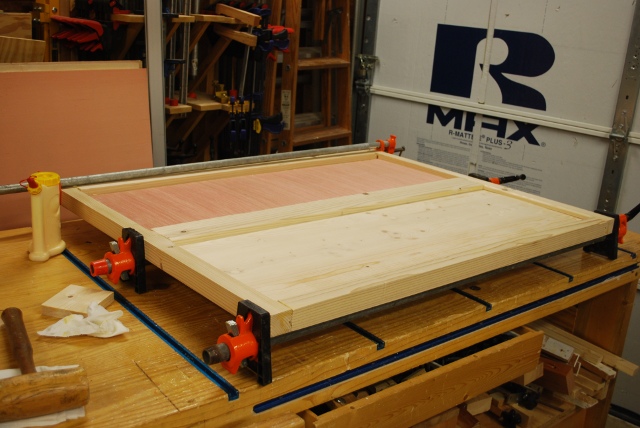
Preparing to glue up the headboard.
|
|
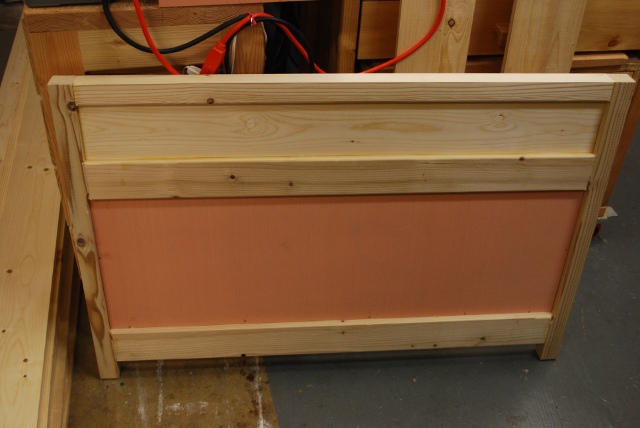
Headboard glued.
|
|
You can see the lower panel glued into it's rabbet
|
Internal Cross Frame
|
Cross frame mortise (in vertical) and tenon (in horizontal).
|

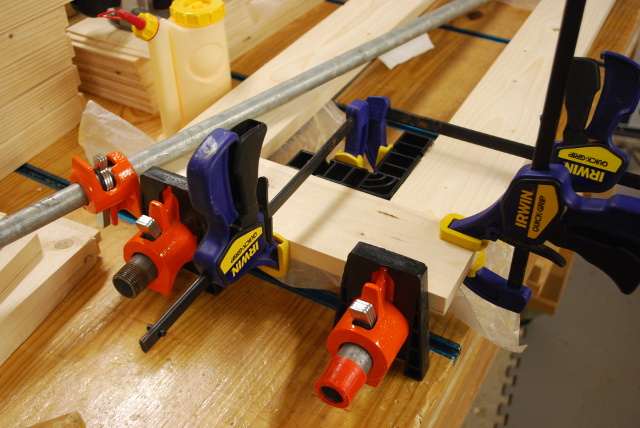
|
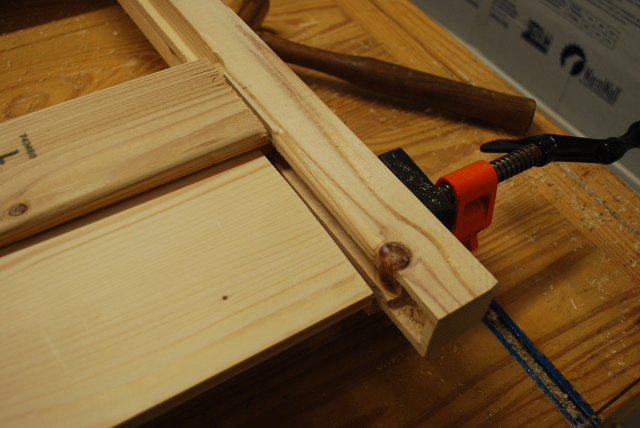
Internal cross frame being glued.
The diagonal pipe clamp is helping square it up till the glue sets.
|
|
Note the "ClampIt" holding it square, theres one in the opposite corner also.
|
|
Both internal cross frames glued, ready to sand.
|
Side Rails
|
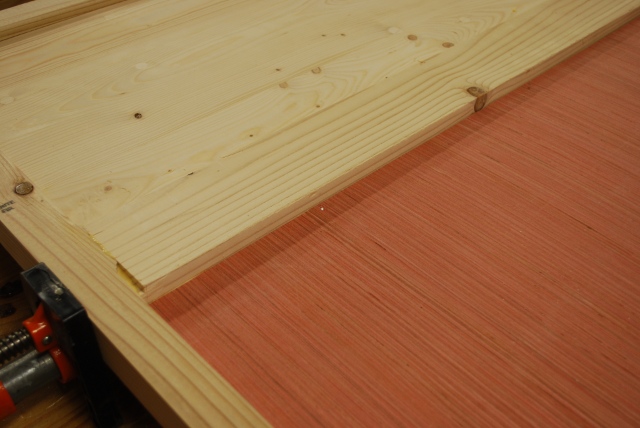
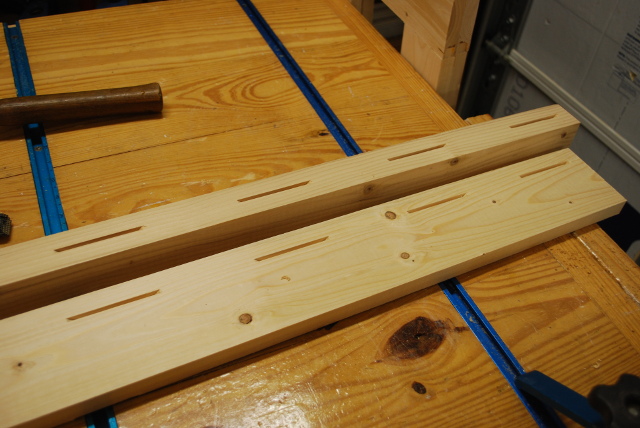
The bed rails will be a 1x4 glued to a 1-1/2 X 1-1/2 with biscuits.
Biscuits will be spaced 6" apart.
Here is a link to my page on Biscuit Gluing.
Here is a pic of bed rail biscuit slots between the two pieces.
|
|
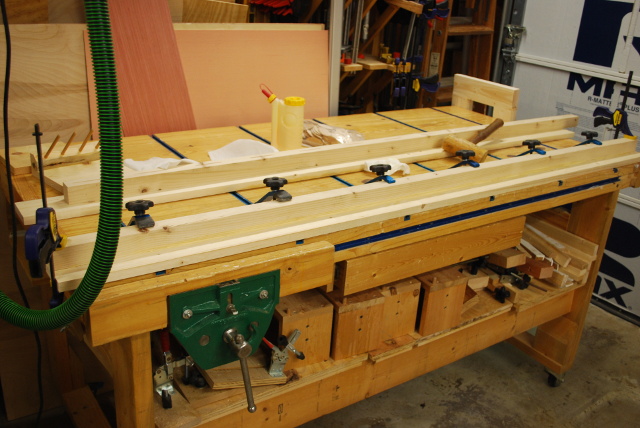
Top bed rails, being glued.
|
|
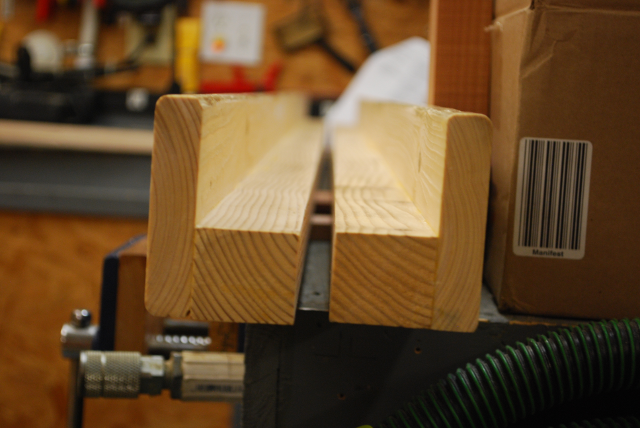
Cross section view of bed rails.
Bed slats will sit in mortises on top of the horizontal section with the mattress siting on the bed slats and the top of the horizontal piece.
Bed slats will be 1x4s spaced every 12".
|