| 
| 
| 
|
|
Mobile Loading Bench
| |||
|
|
|
|
|
|
Mobile Loading Bench
| |||
| Old Bench Stuff | Construction Info | Diagram | Press Base |
| Press Storage Rack | Drawers | Loading Shelf | Kyle's Bench |
| John's Bench | Other Mounted Devices | Loading Techniques | Loading Shelf Uses |
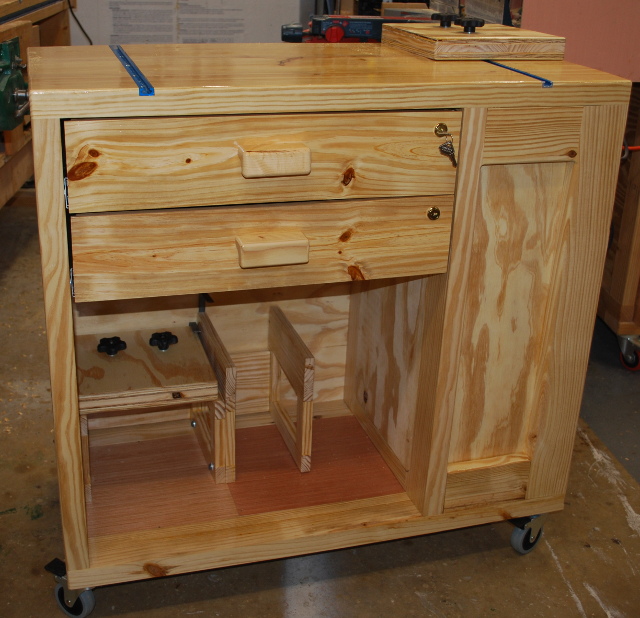
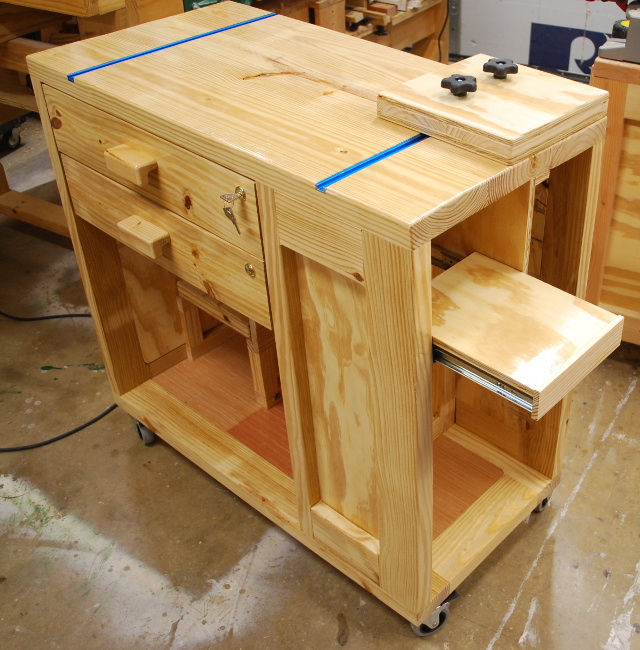
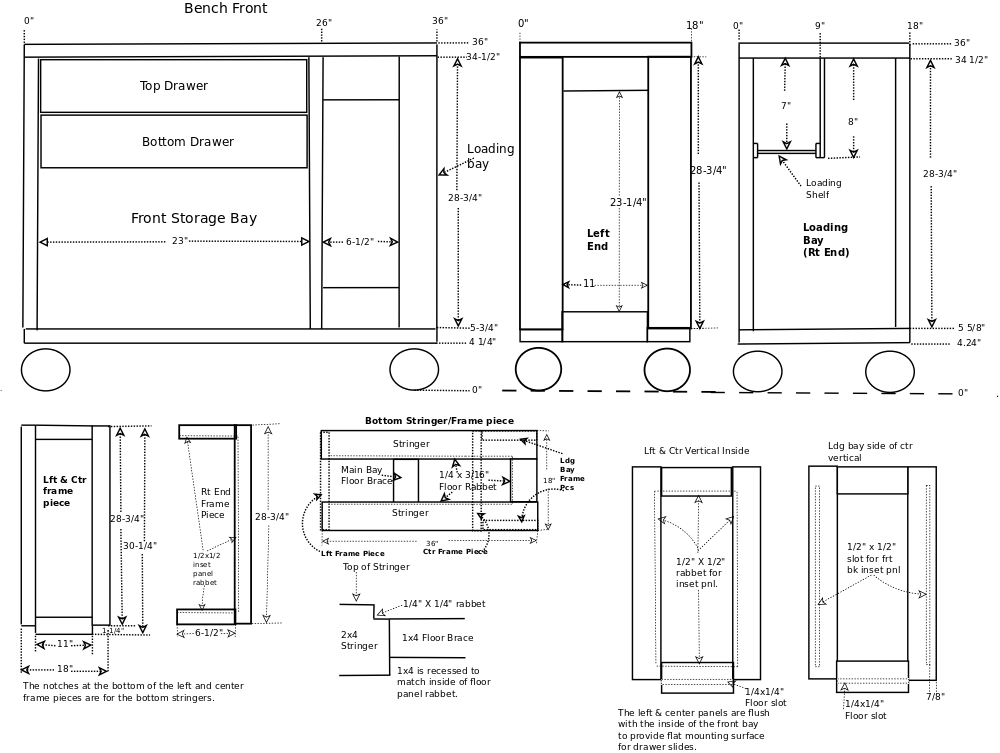
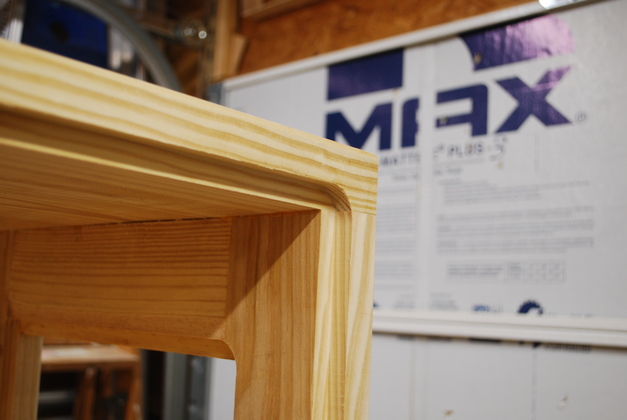
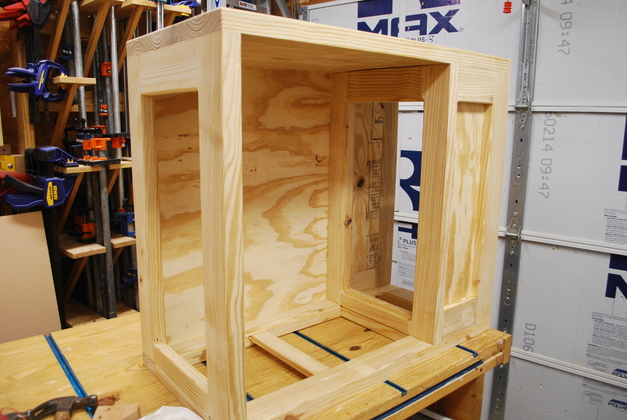
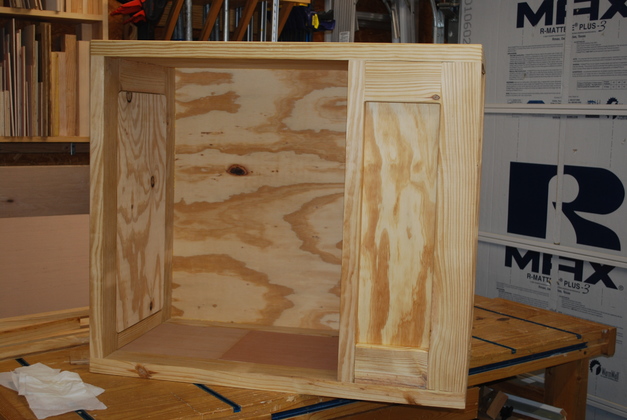
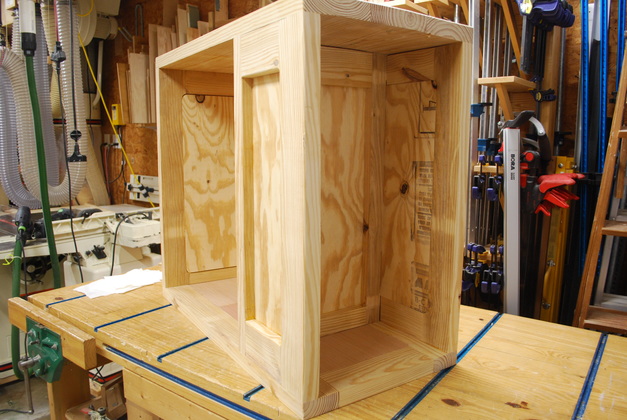
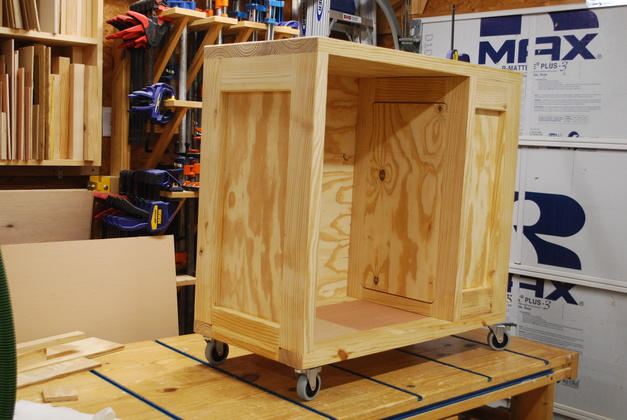
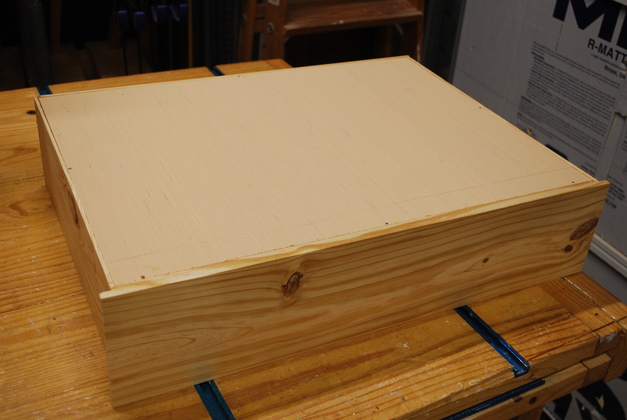
I needed a mobile (on casters) loading bench so I came up with this. I have hand loaded since 1965 so I had a clue about how sturdy a loading bench needs to be. By putting the press on one end, I get the entire weight of the bench to hold it down (keep it steady) when I resize etc. The drawers have all my parts and pieces handy which speeds loading and change overs up.
I hadn't built a loading bench in several years when Harry Beil at Southwest Ammo asked me to make another, so....
Except for the plywood, this one will be made completely from Yellow Pine 2x8s, ripped to 3-1/2", for all frame pieces and ripped to 6" wide for the top.
I did find a 10" slide for the loading shelf, so I won't build a wooden slide.
I had to order the casters and keyed alike drawer locks from CSHardware.com the Depot no longer stocks them, and I won't use my debit card at the Depot, cause I had to get a new one when they were broken into.
I guess Depot's CEO needed new golf clubs more than network security.
The only thing I get from the Depot now is the Rust-Oleum Parks 1-gal. Clear Gloss Water-Based Polyurethane for Floors, I like the screw-on lid.
I got a deal at Rockler's, I bought a Tee Track Universal Kit which contained everything for a loding bench with a couple of extra knobs and tee bolts, and cost less than the individual total.
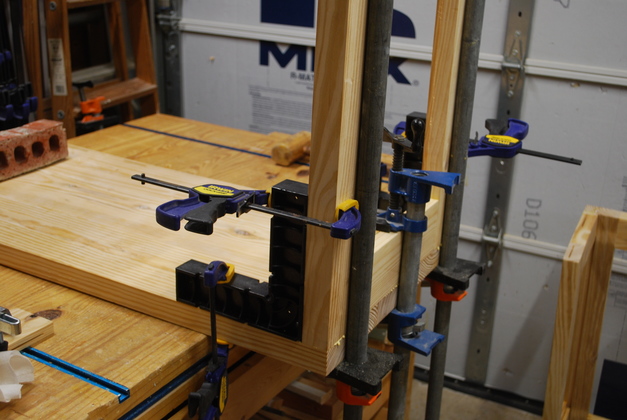
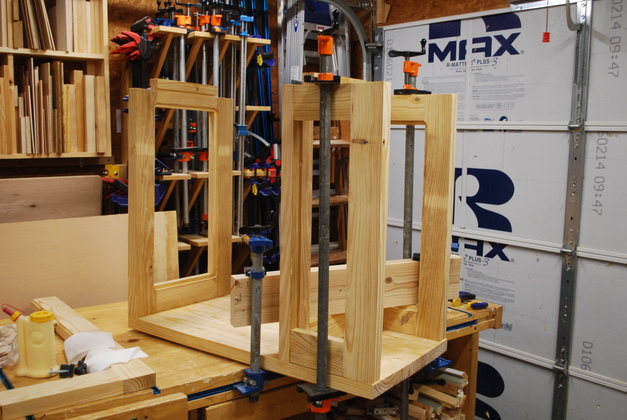
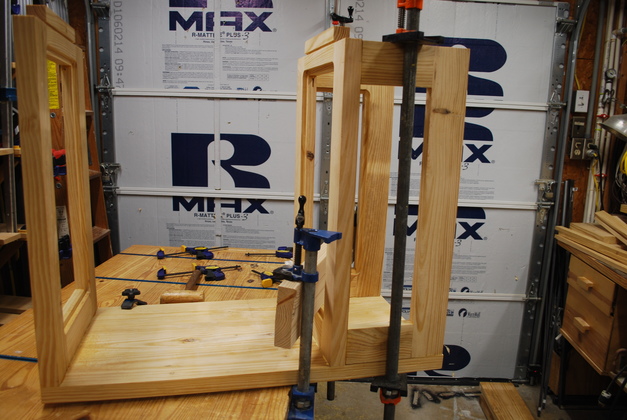
For more details and pics of construction please take a look at Kyle's Bench.
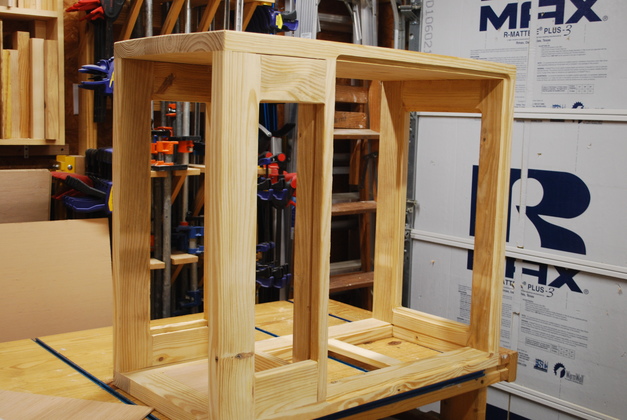
After assembling the frame, I realized this is the strongest (and heaviest) loading bench I have built, due to yellow pine being the strongest and heaviest pine, BTW these were grown in the USA (SYP). And the plywood was supplied by Georgia Pacific.
|
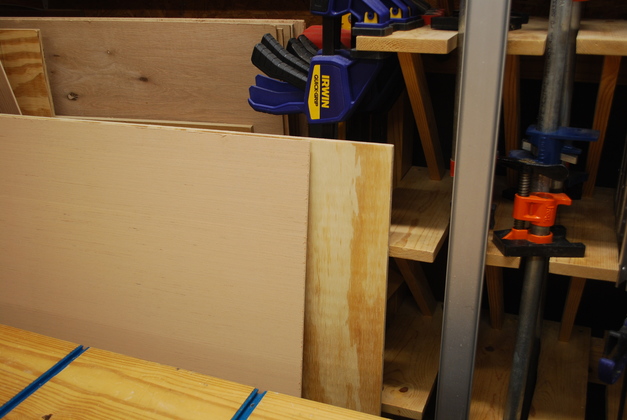
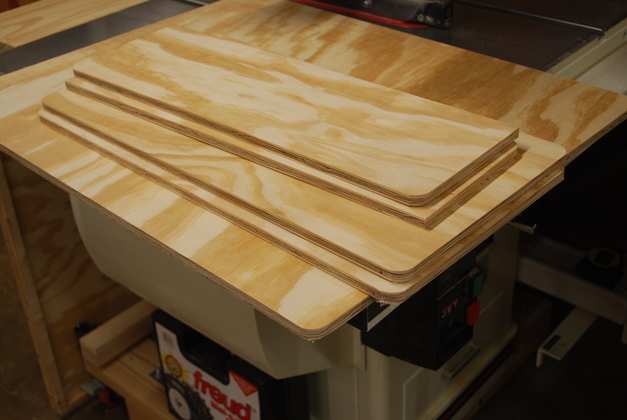
Half sheets of 3/16" and 1/2" plywood. |
|
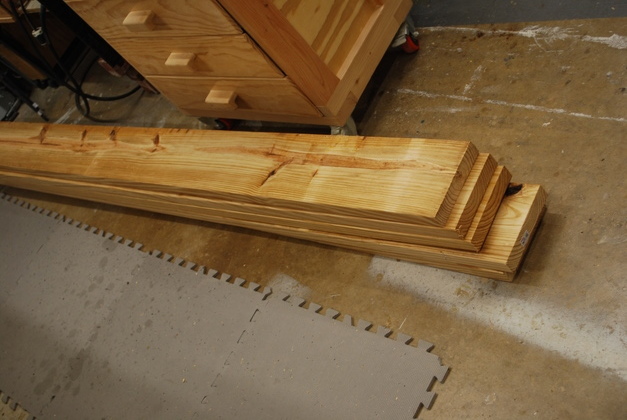
2x8s ready to be cut to length then ripped. |
|
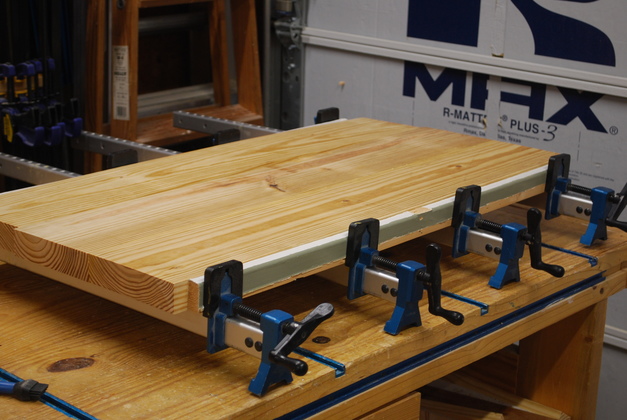
Three 2x6x36" being edge joined into the top. The 2x6s were ripped from 2x8s. |
|
Top after gluing and sanding. |
|
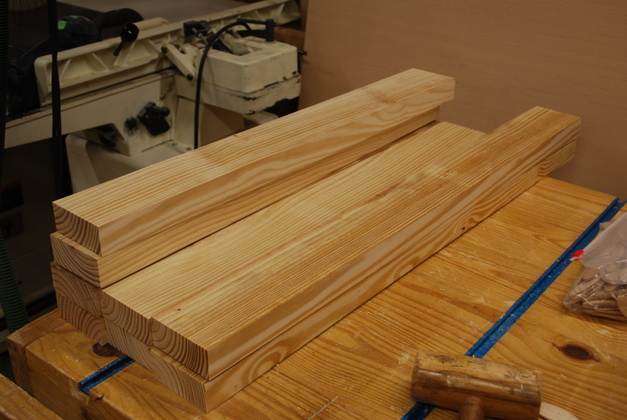
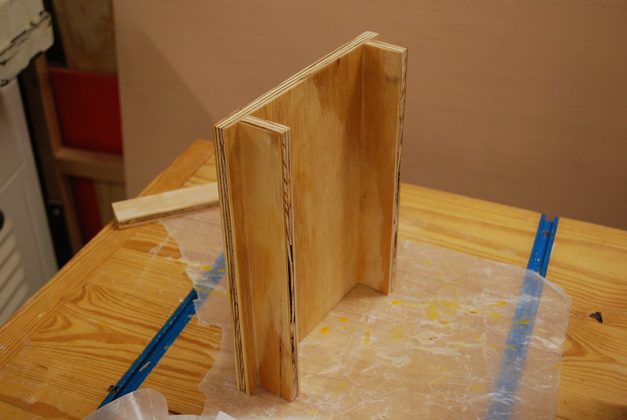
All vertical pieces of the frame and stringer horizontals cut to length from 2x8s and ripped to width. Not shown are the short horizontal braces. |
|
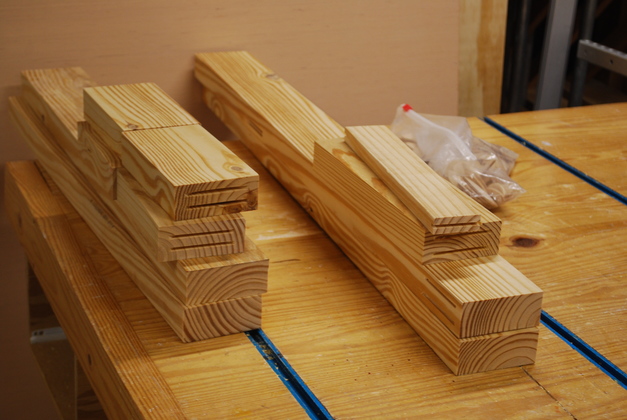
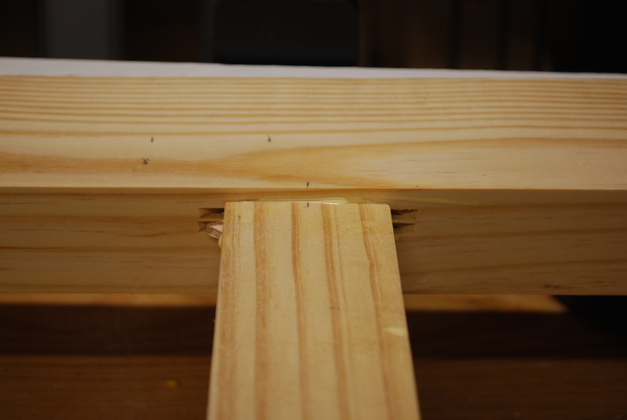
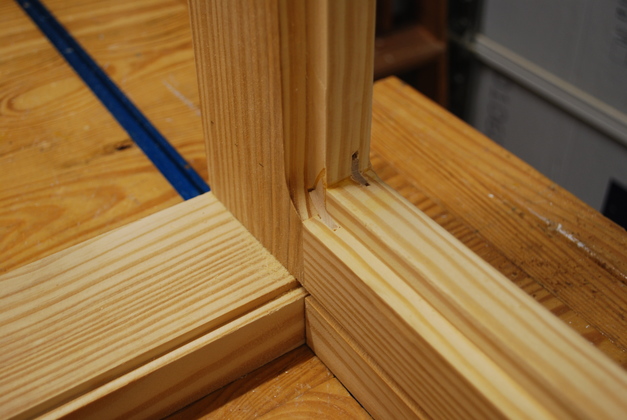
Loading bay frame pieces (on left) slotted for #20 biscuits, note the double slots in 2x material. The thin piece on top of the right stack (stringer pieces) is the storage bay floor support. |
|
One of the two verticals being glued. Note the clampit in the corner holding everything square. |
|
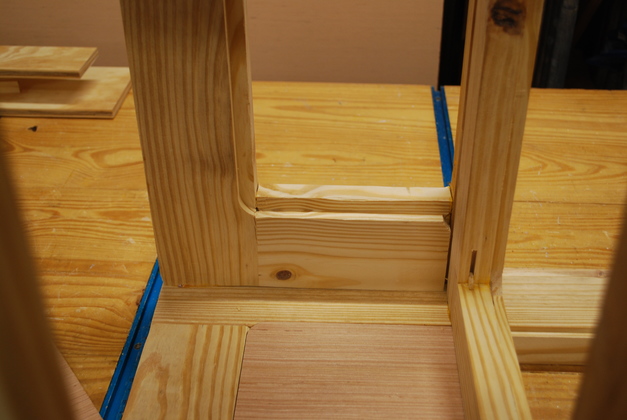
Bottom stringers being glued, again note the Clampit. You can see the floor support being glued in here also. |
|
Closer look at the storage bay floor support, note it is recessed to allow a rabbet for the floor. |
|
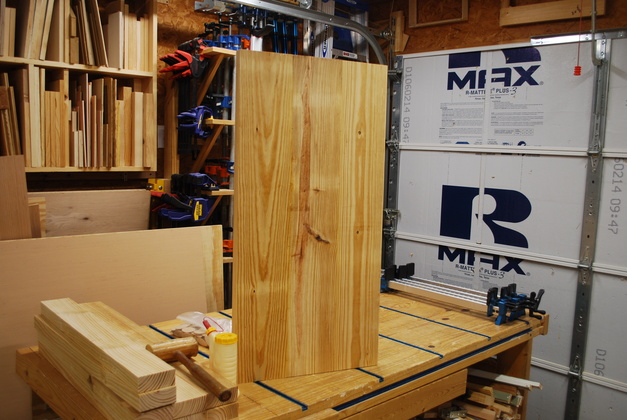
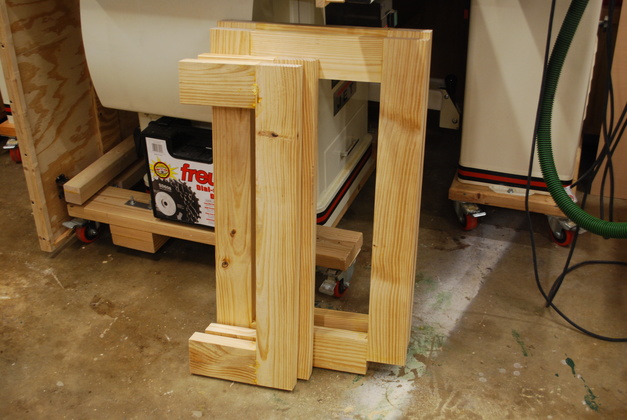
Both verticals and both loading bay front/rear frame pieces. |
|
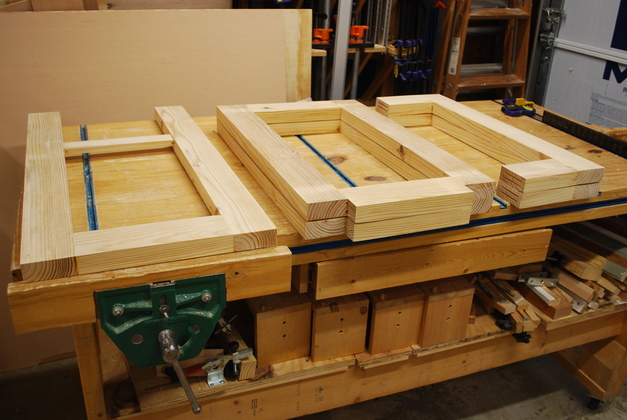
All frame pieces laid out on the bench, ready to sand. |
|
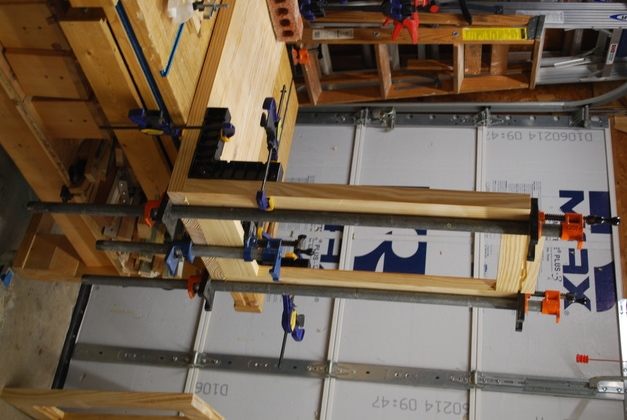
Gluing the left vertical to the underside of the top. |
|
Closer look, note the Clampits keeping it square. |
|
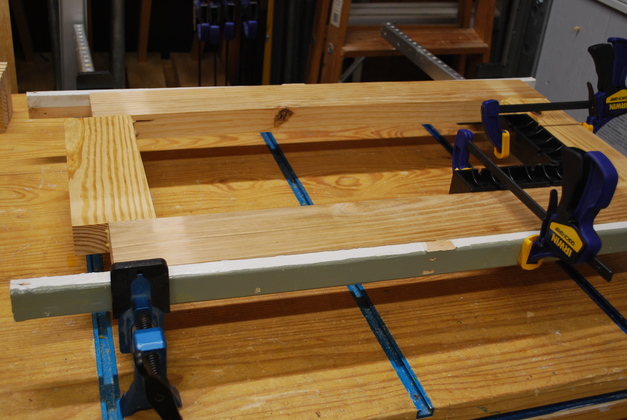
Gluing the loading bay frame to the top. |
|
From a different angle. |

|
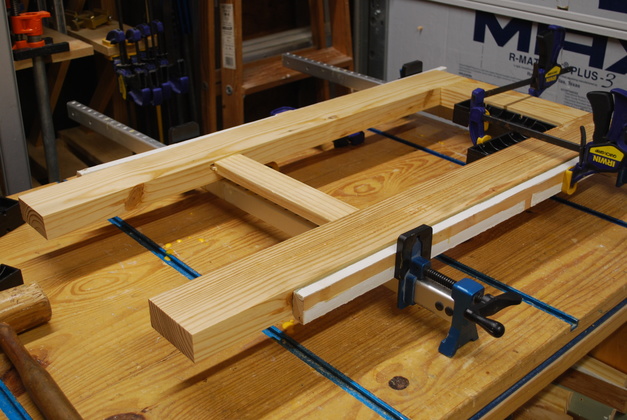
Gluing the stringers on bottom. |
|
All 2x members glued, ready to glue on the panels. |
|
Rabbet cut for back panel. |
|
Rabbet for vertical panel and you can see the slots/rabbet for the storage bay floor. |
|
Rabbet and slots for the loading bay sides. the loading bay floor is in place. |

|
Closer look at loading bay slot and rabbet, you can see how they line up. |
|
1/2" plywood panels cut, ready to glue. |
|
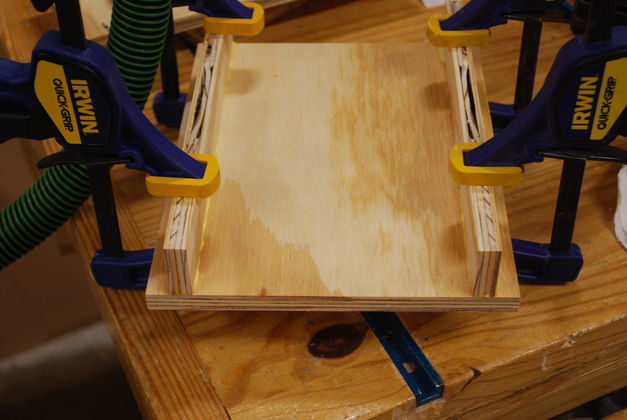
Main back panel and loading bay side panels glued in. |
|
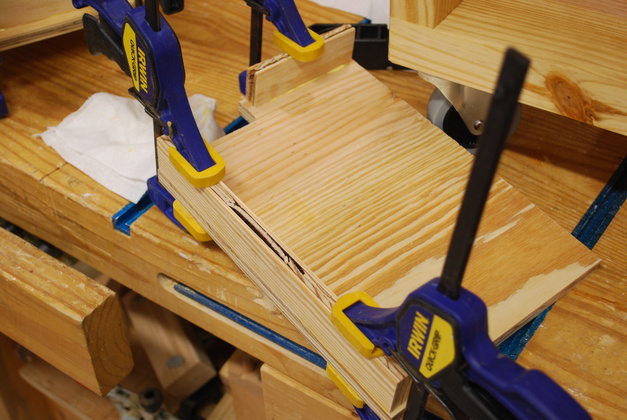
Side panels glued in. You can see the storage bay floor panels are also glued in. |
|
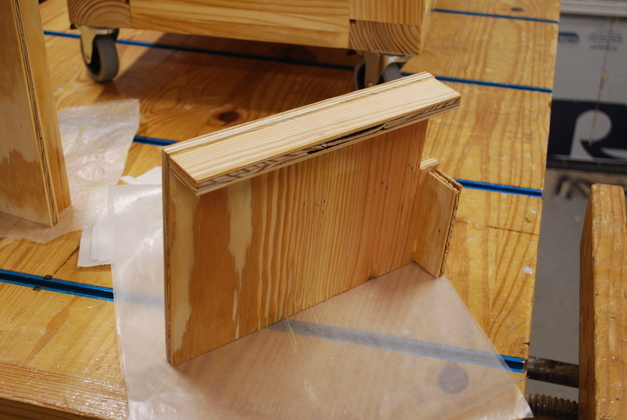
Loading bay with all panels and floor glued. |
|
Bottom painted and casters attached. |
|
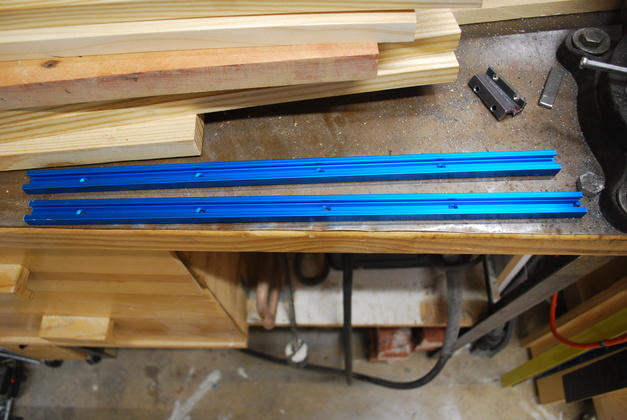
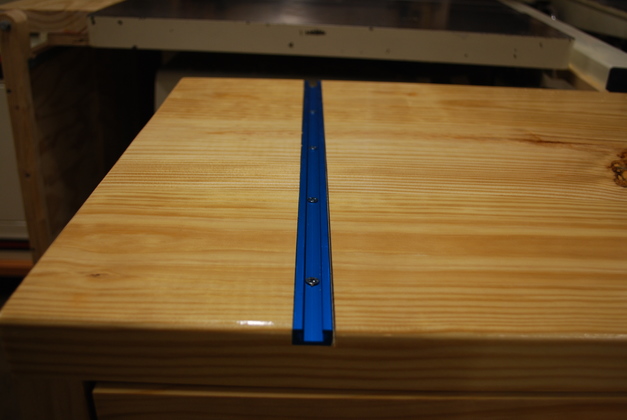
Tee tracks cut to length. I bought a Universal Tee Track Kit from Rockler which had everything needed for the bench, but the tee track was one 48" long piece so I had to saw the two 18" sections. I didn't have to drill more mounting holes, these were on 4" centers already. |
|
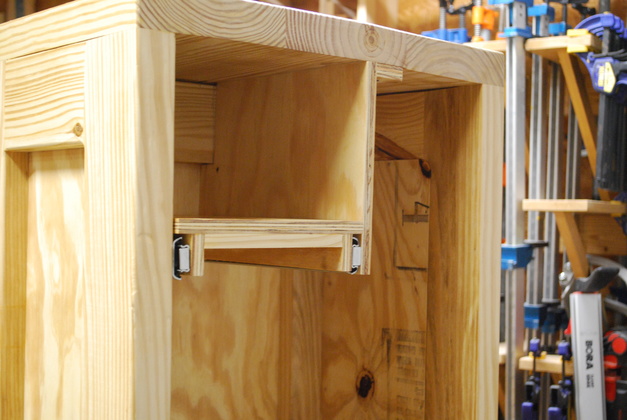
The shelf has been cut out of 1/2" plywood and here I'm gluing the under sides to it. These will have the slides attached to them. |
|
This is the loading shelf side partition brace that will have one cabinet slide attached to it. Here I'm gluing the top and back brace to it, they will be screwed to the underside of the bench top and center vertical. |
|
The side partition after gluing the top and back brace. |
|
Loading shelf painted. |
|
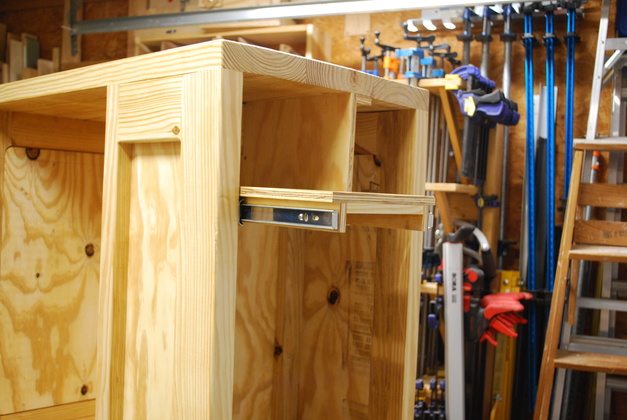
Loading shelf installed. |
|
Extended. |
|
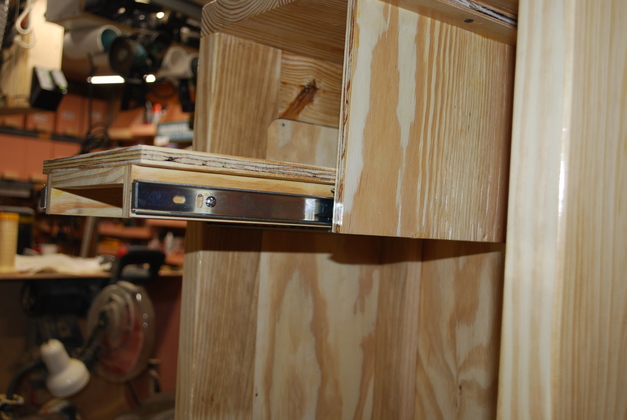
From the right side. |
For more info and pics please take a look at my Drawer & Handle page.
|
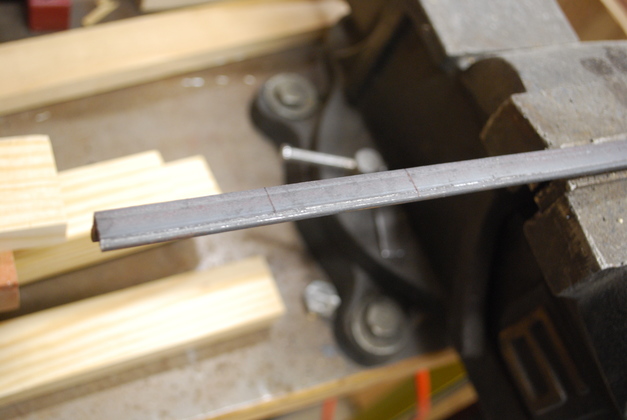
1/2x1/2" angle marked for cutting as drawer lock striker. See the two lines, each striker will be 2" long. |
|
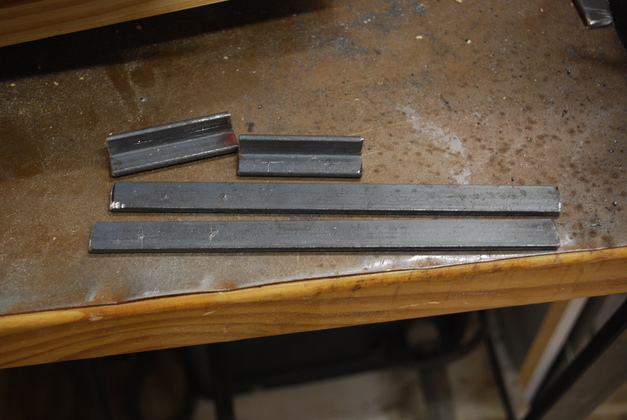
After cutting, the flat bars are for the press base clips in the storage rack. |
|
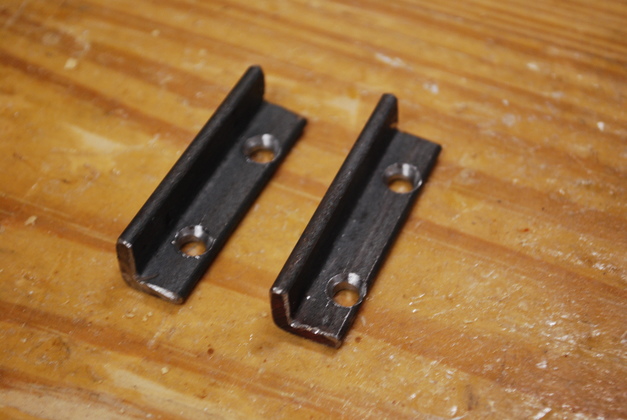
Striker bars drilled and chamfered. |
|
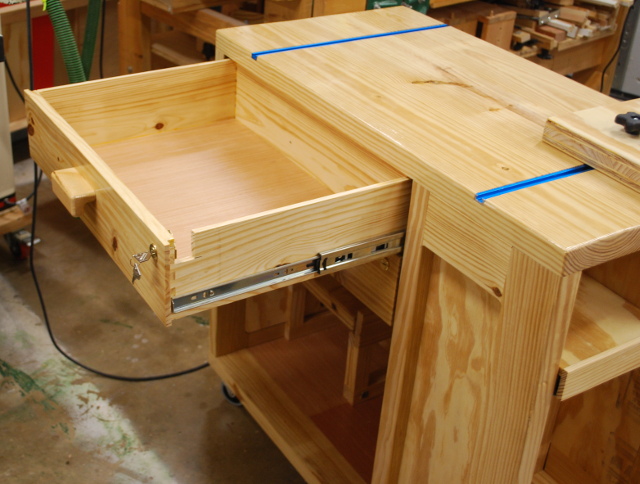
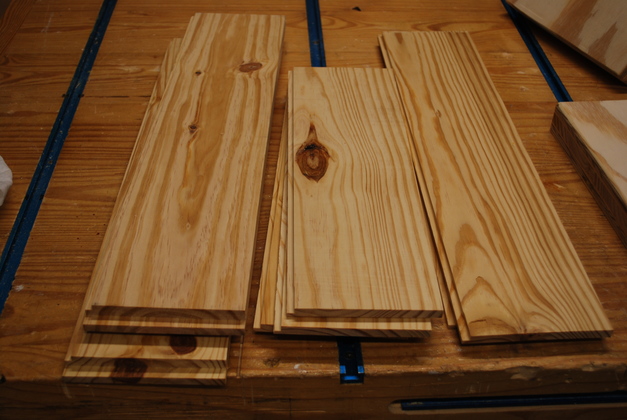
Drawer front, sides, and back. These started out as 2x8s, they have been cut to length, ripped to 5" wide, resawed and planed. The fronts are 3/4" thick, the sides and backs are 3/8" thick. Also you can see the rabbets on the sides of the front (left side of pic) and the rabbets along the bottom edges for the drawer bottoms. |

|
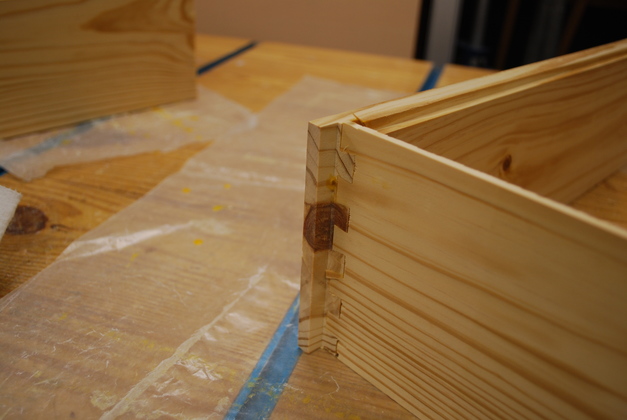
Drawer frame in the glue after dovetailing. Note the ClampIt holding the frame square till the glue sets. I usually glue drawer frames with the drawer upside down, since I use ballbearing slides the bottom of the drawer must be alligned with the front edge and square for the drawer to slide easily. |
|
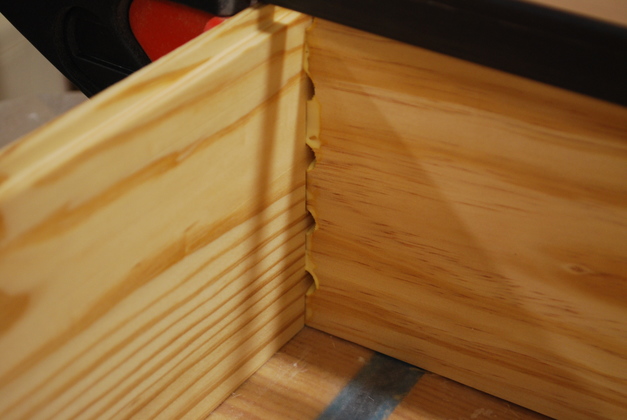
Dovetails in corner. You can also get a better look at the bottom rabbets top left in pic. |
|
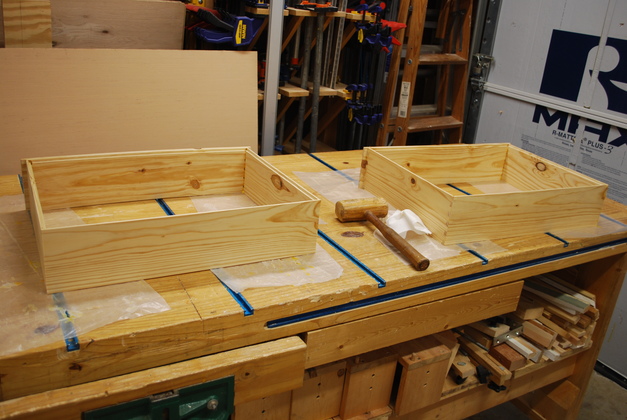
Drawer frames completely glued. |

|
Look at dovetails into drawer front and slide clearance rabbet. |
|
Different perspective on the drawer slide clearance rabbet. |
|
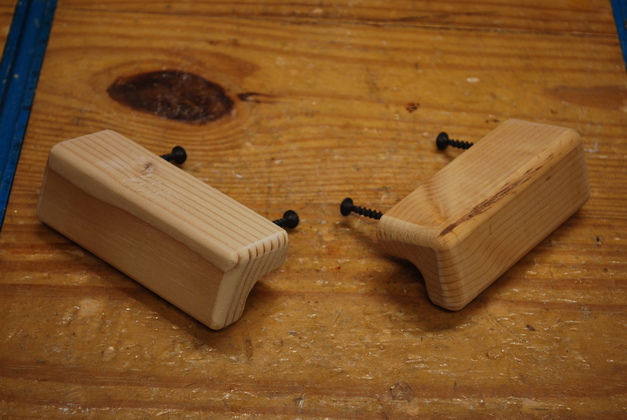
Drawer handles being painted. |
|
Drawer bottom glued in. |
|
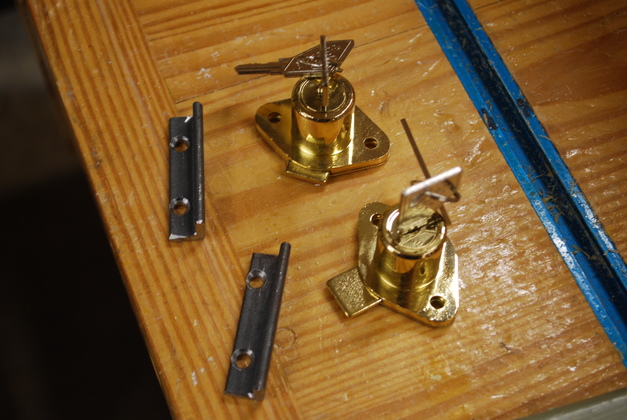
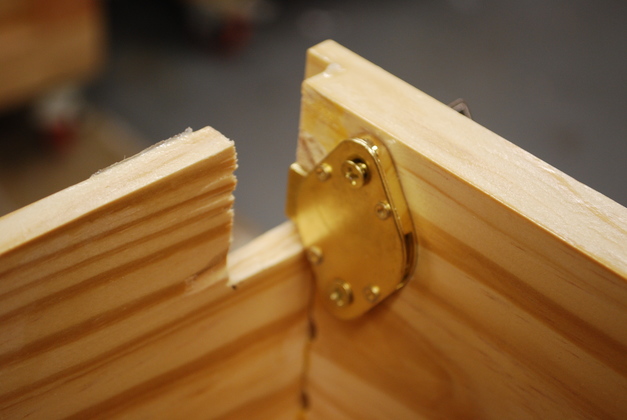
Drawer locks and strikers. |
|
Drawers being painted. |
|
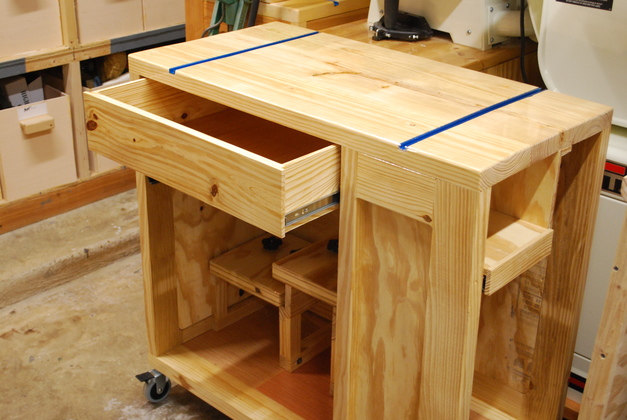
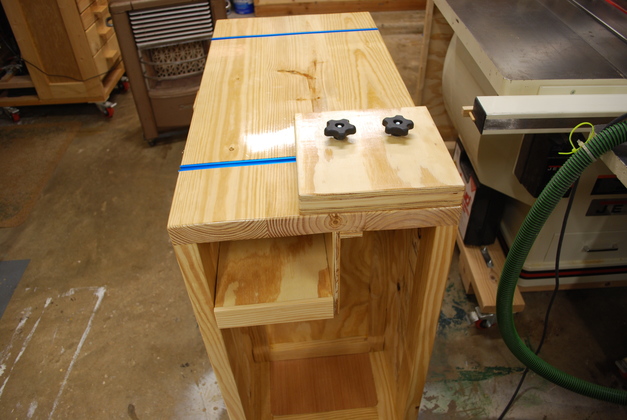
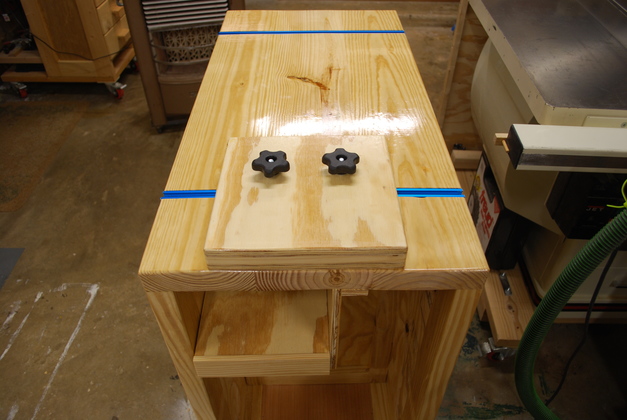
Top drawer installed into bench. Also note the tee tracks have been installed. |
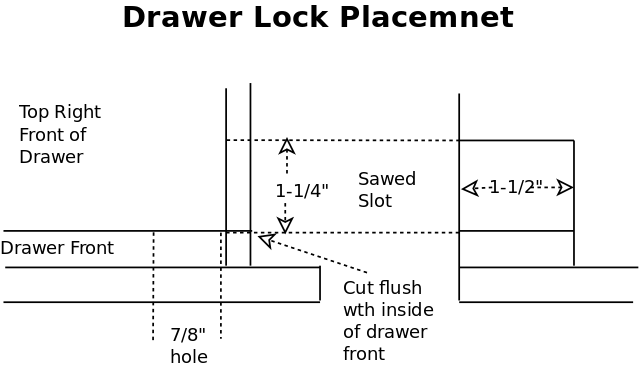
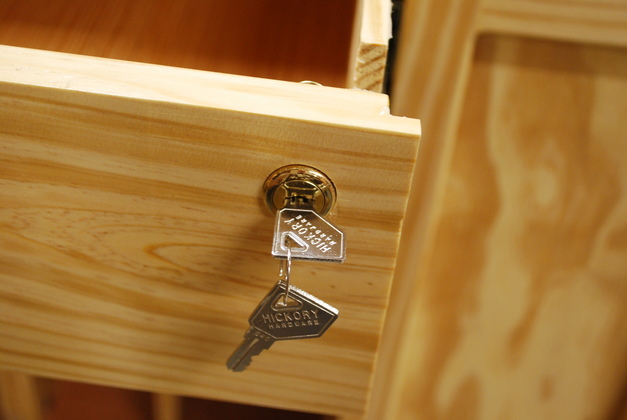
For First Watch Keyed Alike Drawer Locks FW1355.
|
Drawer lock installed. |
|
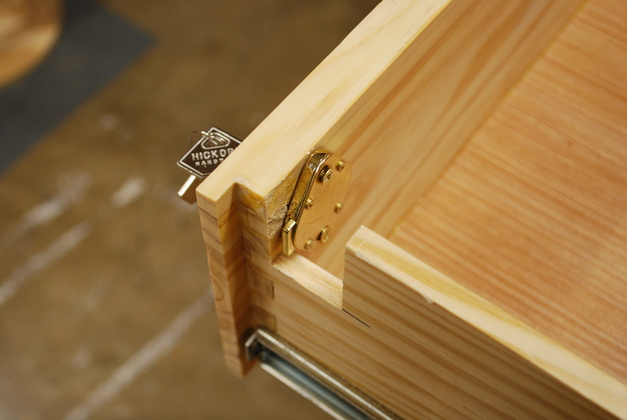
Showing lock access slot. |
|
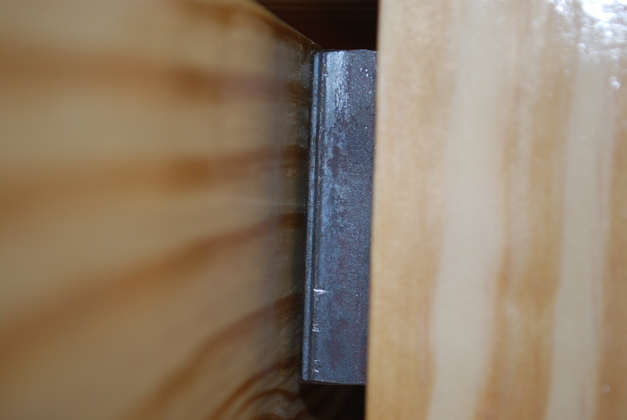
Lock striker screwed to bench frame. |
|
Back side of lock and slot. |
|
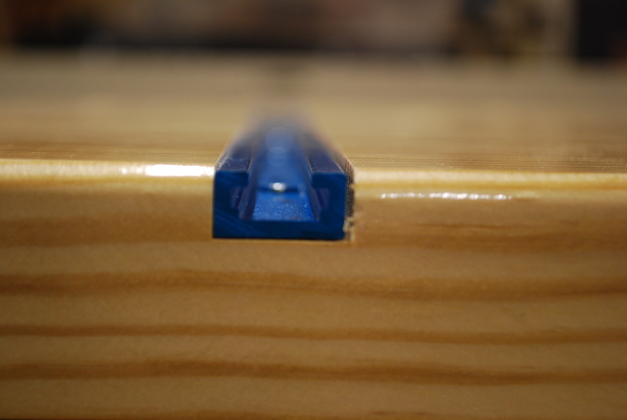
End of one of the tee tracks. |
|
Tee track top. |
|
Holder for RCBS Universal Primer Tool (UPTH) in it's storage place to the right of the loading shelf. |
|
UPTH on loading shelf where its used. |
|
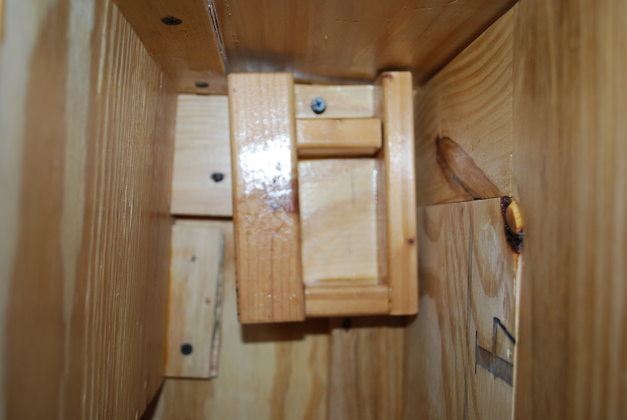
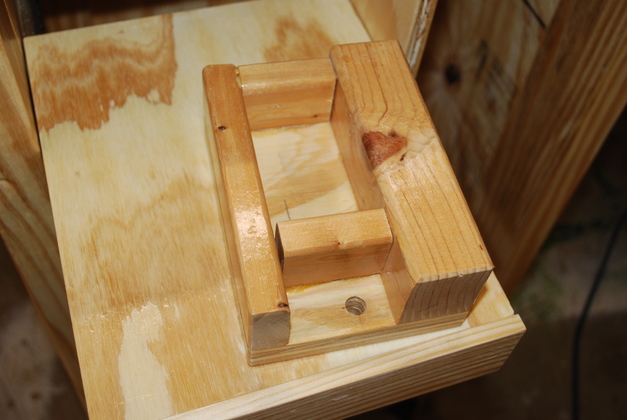
End of the bench with press base to the right. |
|
Presses mounted on movable bases means you can adjust their position easily. |

|
|