07/11/11: Origin.
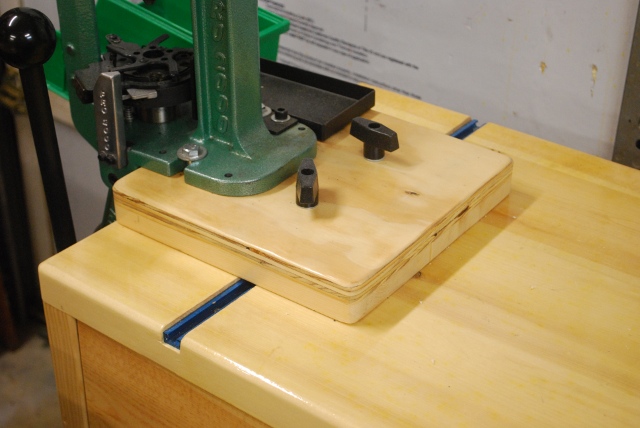
This quick change press base requires a tee track 6" from the edge of a bench.
Please see How to install a Tee Track.
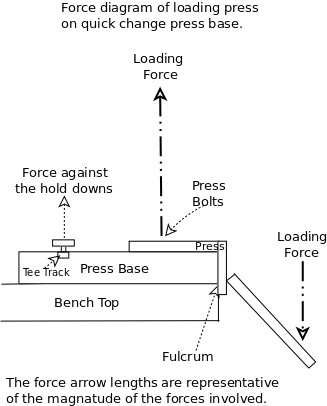
The leverage required to hold down the press base (Tee Bolts) when resizing cases is 1/2 of that required to hold the press to the base due to the distance from the fulcrum of the hold-down bolt and the tee bolt.
I originally used a work bench in my shop to load on, my limited space required me to be able to remove/replace the press when I did other things on the bench.
I developed the press base as a quick way to remove/replace a press to make my bench more effecient.
At first the press base was bolted down with wing nuts, but I found I would like to move the press around a little (mostly from side to side) depending on what I was loading, at the same time I started thinking about building a mobile loading bench.
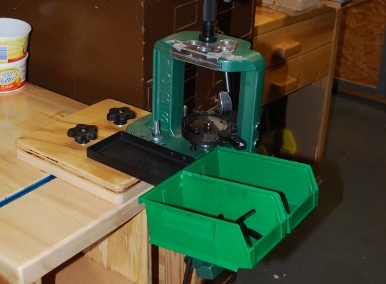
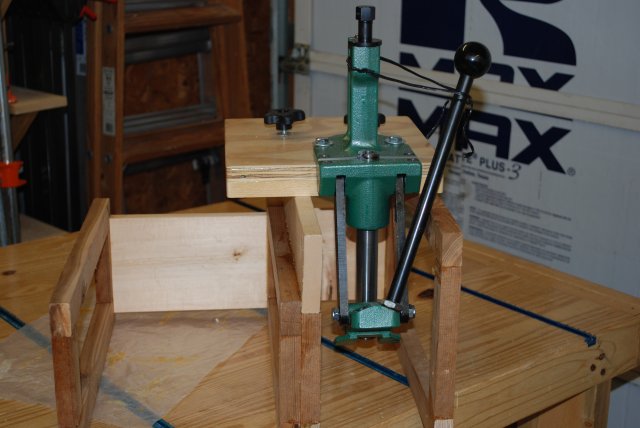
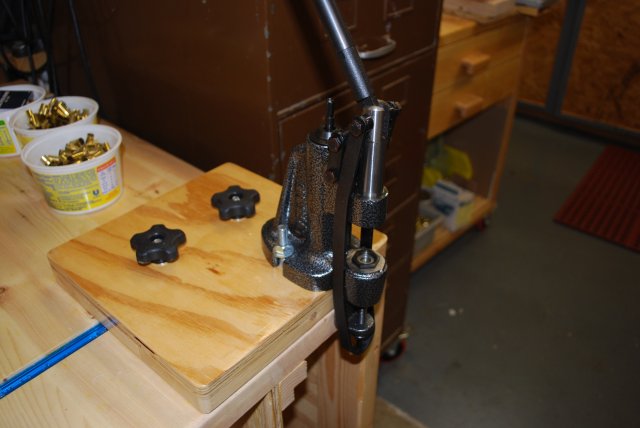
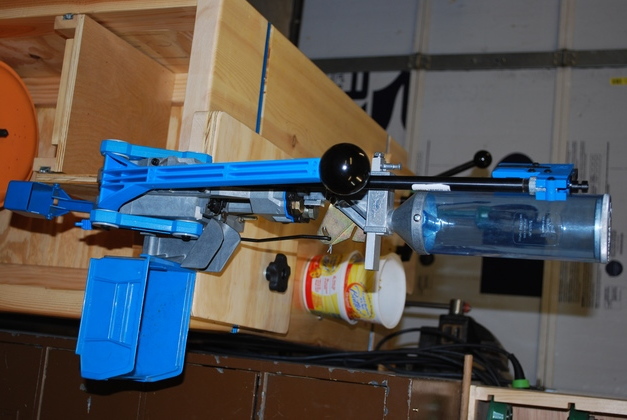
My loading presses are each attached to a 10" square by 1 1/2" thick base that has two tee bolts and knobs for attaching to a tee track on a bench.
The tee tracks on my benches have twice the number of attachment screws as provided for by their manufacturer.
Here is more info on mounting tee tracks.
The center of the Tee Tracks are 6" from the edge of the bench which is also what the press base requires.
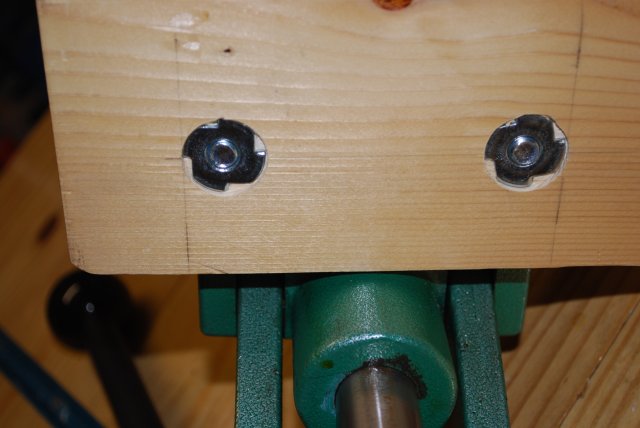
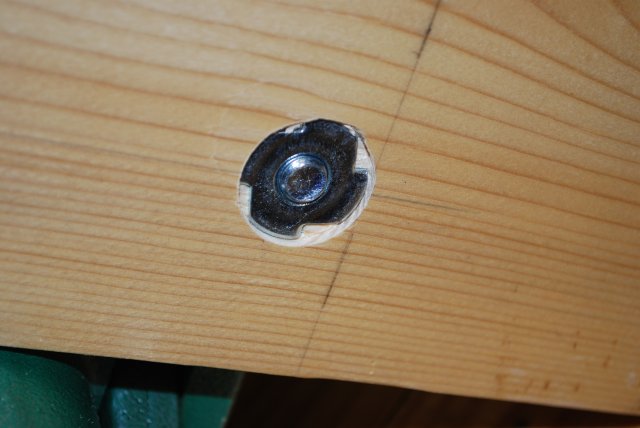
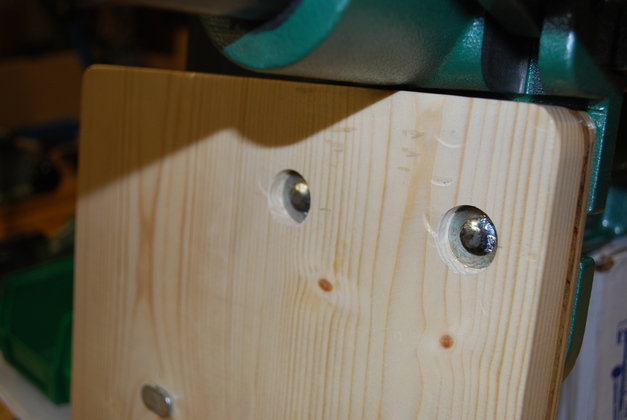
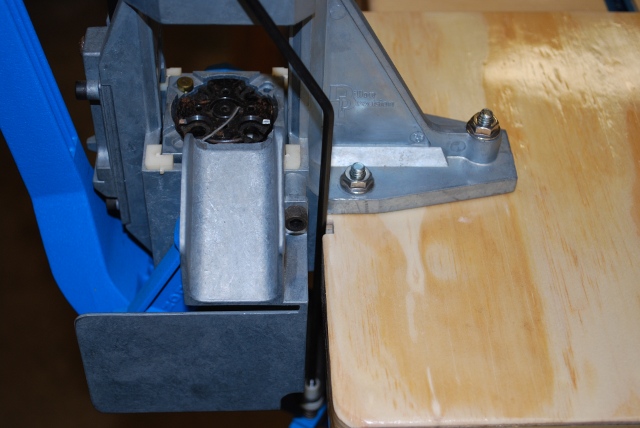
The press is generally attached to the base with 3/8" carriage bolts with the heads counterbored into tbe bottom of the base.
Carriage bolts are available at Lowes, Tee Bolts and Knobs I get from Rockler or WoodCraft.
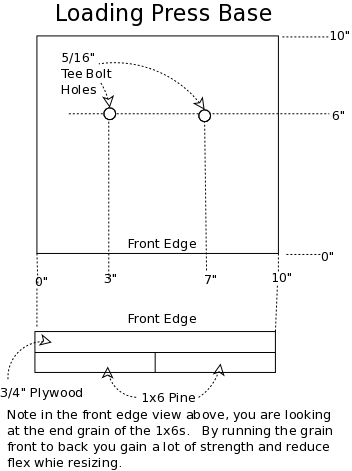
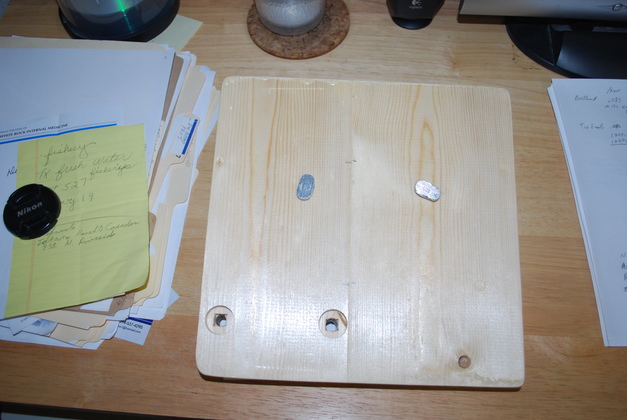
The two 5/16" tee bolts with knobs are in a line 6" from the front of the base and 4" apart.
The base is made of two layers of wood, the top is a 3/4" plywood and the lower layer is made of 1X pine edge laminated together and laminated to the top so the base becomes one, very rigid, solid piece of wood.
Additional note, the bottom layer grain should be oriented from front to back with the press mounted on the front, this is only important when you mark and drill since the base is square.
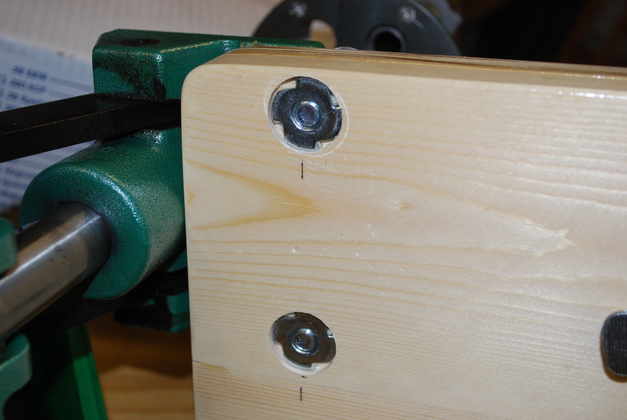
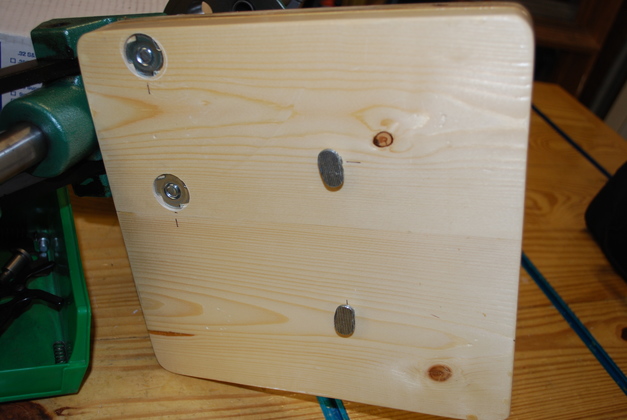
The press is attached to the front edge and offset to the right of center so there is at least 4" of clearance between the press frame and the left side of the base.
This allows a space on top of the base for a container of bullets during loading or a container of cases during depriming.
The bottom should be smooth and flat so it will slide, which means you must counter sink the mounting bolts on the bottom of the base.
Carriage bolts, with heads under the base in a counter bore, work best.
I have used tee nuts on a few but bolt length is critical, hence carriage bolts are easier.
Notice the RCBS presses are mounted to the right side of the base to allow a little more workspace on the left.
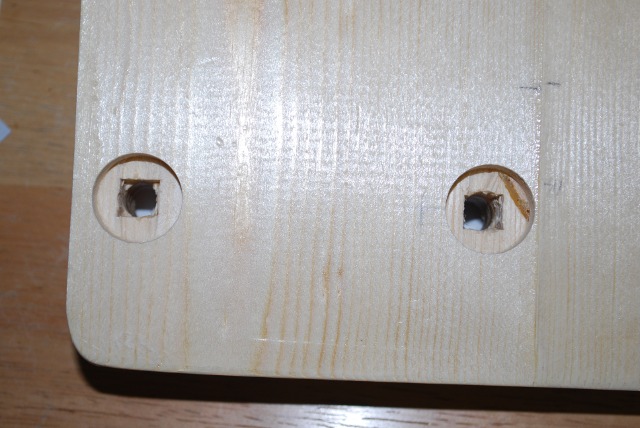
To mount a press mark the press mounting hole position on the top (with the press on the right side of the base), then drill a small pilot hole all the way through.
Next drill a counterbore from the bottom for the head of a carriage bolt (or tee nut).
Drill the clearance hole for the mounting bolts themselves (usually 3/8") all the way through the base.
You don't have to mortise the carriage bolt shoulders because the pine bottom layer is soft, just put the carrige bolt through from the bottom, put on a washer and nut then tighten till the carriage bolt head is down against the bottom of the base.
Take the nut and washer off, put the press in position, replace the washers and nuts then tighten.
See pics at bottom.
Forces:
When you think of the force placed on the press attachment, consider a fulcrum and lever (from the Physics text book).
Since the press and base are a static object, the fulcrum is at the front edge of the bench where the press handle pivots.
Note that the bolts through the press frame are about 1-3/4" from the fulcrum but the hold down tee bolts are 6" from the fulcrum giving them much more leverage (less force required to hold down).
As long as the press base doesn't bend/change shape (a static object in space from the Statics textbook) there is a little over 3:1 advantage.
Hence the hold down tee bolts must resist less than one third of the force the actual press bolts do.
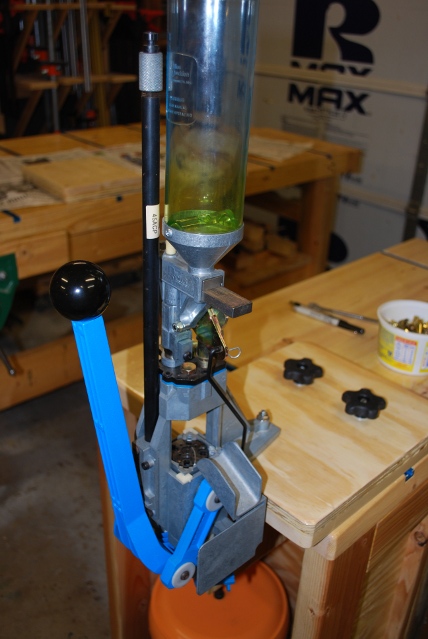
In addition to my Rock Chucker and Turret press, I have mounted quite a few presses and other equipment on press bases for the loading bench.
|
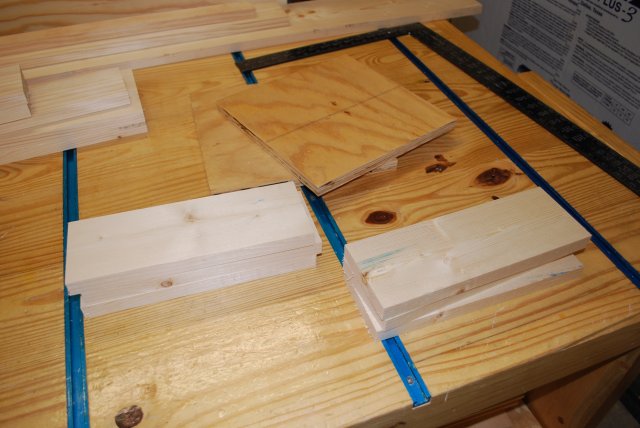
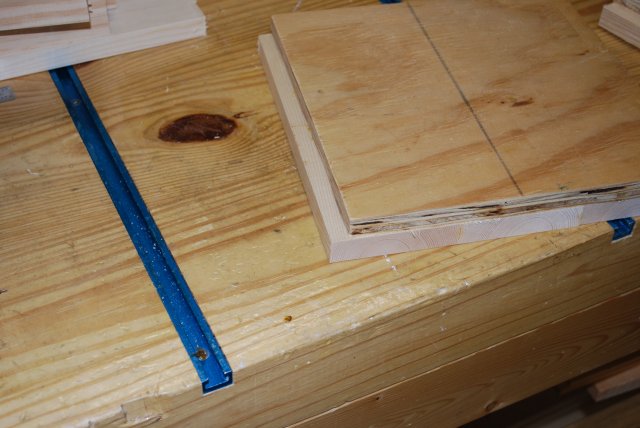
Cut out base parts.
Note: in this old version of the base I used 1x4s instead of 1x6s, but I still run the pine grain front to back.
The plywood tops and the 1x4 bottom layers are cut out.
Note: the bottom layer can be 1x4 or 1x6 pine.
|
|
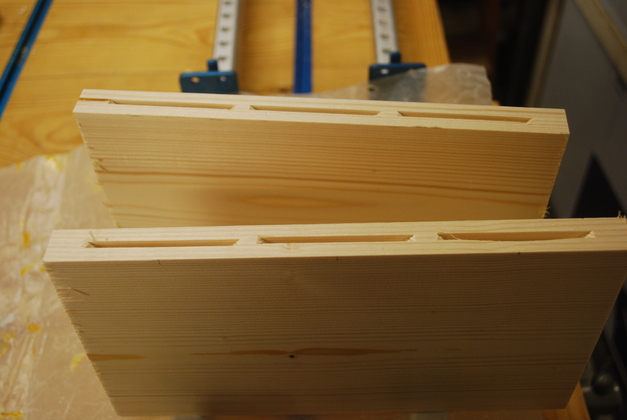
1x6 bottom layer boards slotted for edge joining.
|

|
Two 1x6 edge joined for bottom base layer.
|
|
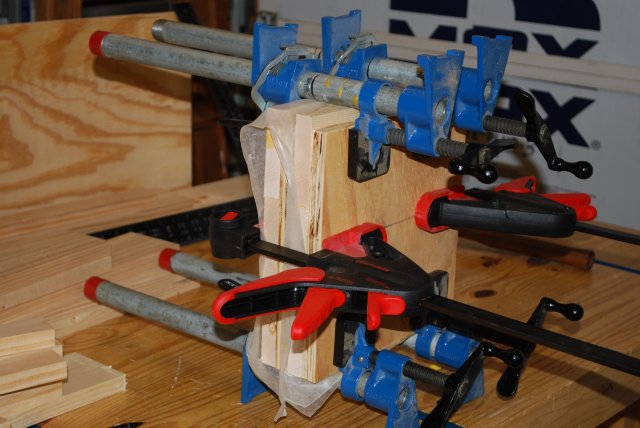
Top and bottom base layers being laminated.
Here I'm laminating the top and bottom layers of two bases so the wax paper keeps any glue seepage from laminating the two bases together.
FWI: the blue clamps each put 500# pressure while the red clamps are about 250# each, total 2500#.
|
|
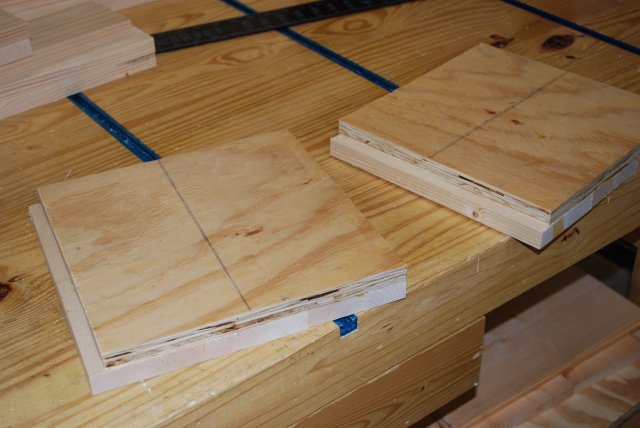
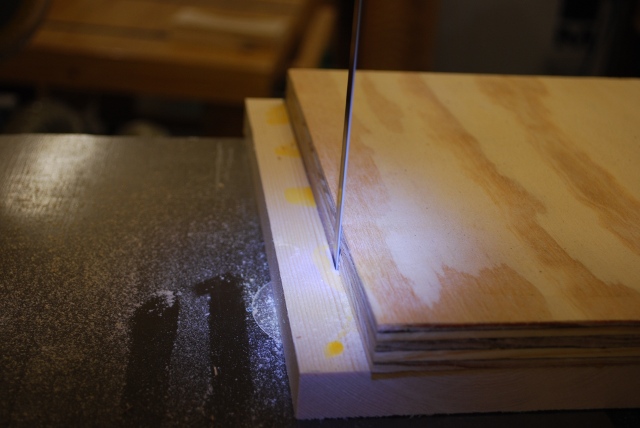
Underlap of bottom under top, which must be trimmed.
Since 3-2x4s or 2-1x6s are both a little more than 10", the under lap must be trimmed, it's easier to do after its glued.
|
|
Bottom underlap close up.
|
|
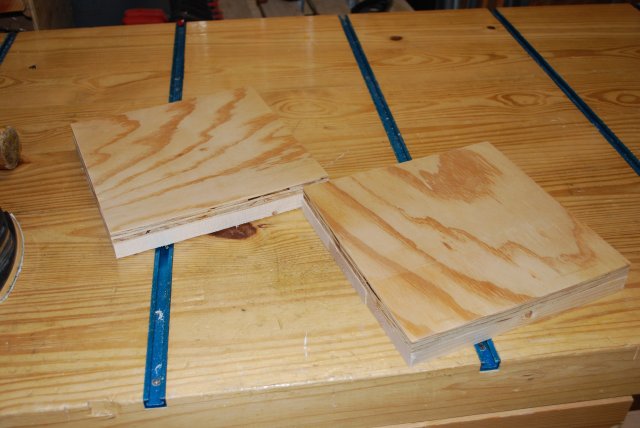
Trimming the base on the bandsaw.
|
|
Bases trimmed, ready to sand.
|
|
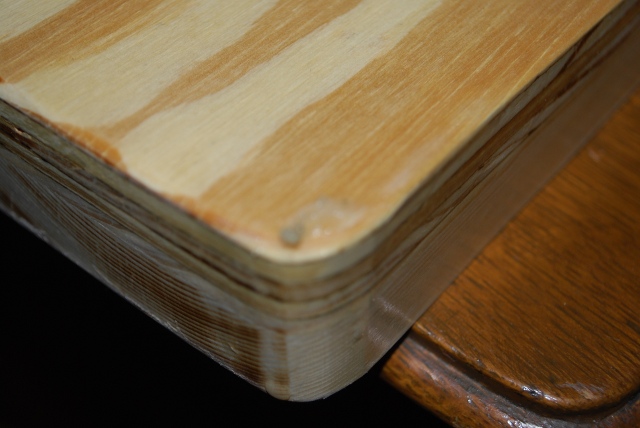
Press base corner rounding.
|
|
Press Base with RCBS Turret Press on storage rack under construction.
Note the press is offset to right side of base and hex head 3/8-16 bolts and washers mounting the press.
|
|
Countersunk tee nuts holding Rockchucker on.
Note these are pics of the first bases I built and the grain is running wrong, I later decided that the base would be more rigid if the bottom layer grain ran vertically instead of horizontally.
I just use a forstner bit for the counterbore the size of the carriage bolt head or tee nut.
If you use the tee nut, the bolt must NOT PROTRUDE BELOW THE BOTTOM SURFACE of the base so they don't scratch or drag on the loading bench surface.
It the hex bolt is too long use more washers on top, a 2" hex bolt works well here.
|
|
Close up of the countersunk 3/8-16 tee nut, they are available at Lowes or Home Depot.
The bolt should not protrude beyond the bottom of the base so they don't scratch the bench top.
|
|
RCBS Pro 2000 Counterbores, note I used carriage bolts here.
|
|
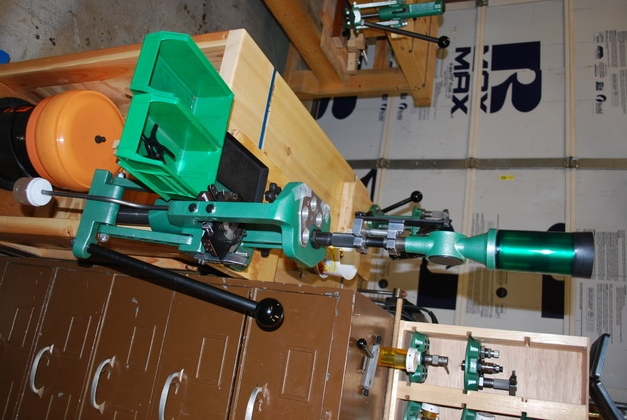
Entire RCBS Pro 2000 base, its the standard 10" X 10".
This press is very heavy.
Also note the bottom of the tee bolts that hold it in the tee track.
|
|
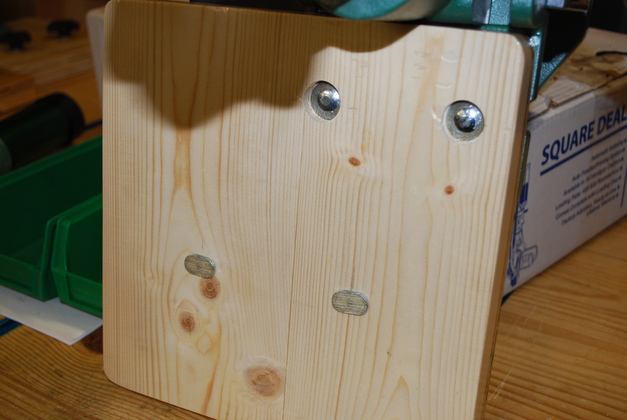
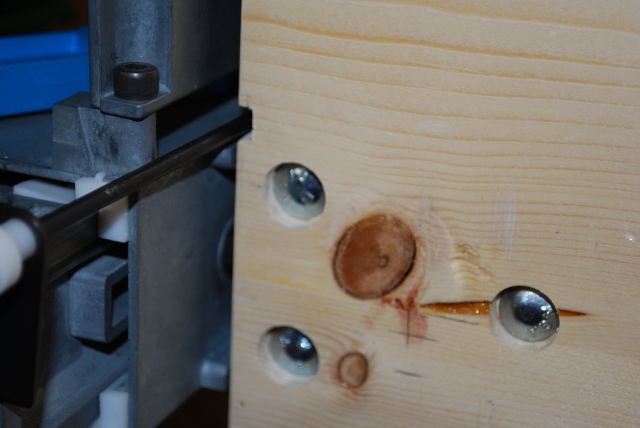
Dillon Square Deal B counterbores, I used 1/4-20 carriage bolts.
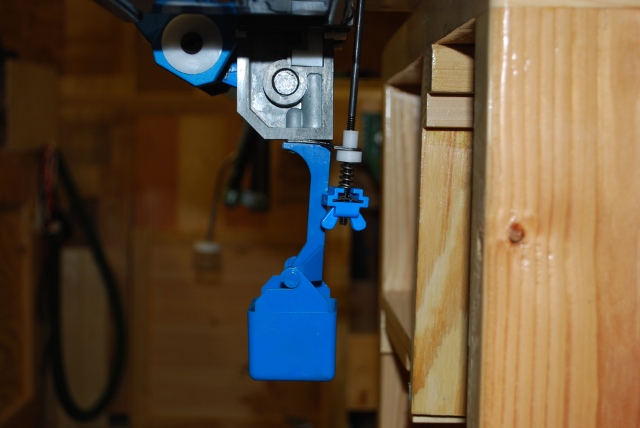
Note the notch to clear the powder measure activator rod.
|
|
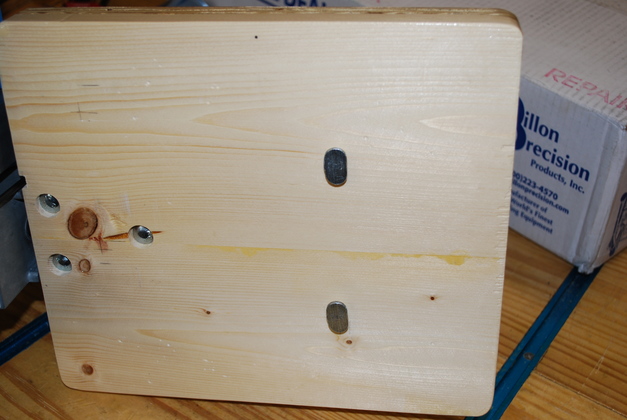
The Dillon Square Deal B's entire base.
This view is sideways, it is 11 1/2" long and 10" wide.
|
|
Here is a new pressbase with the tee bolts in and the bores and counterbores for a turret press with carriage bolts.
|
|
Close up of the counterbores for carriage bolts showing squared shoulders.
I just took a 3/8" chisel and cut across the grain above and below each 3/8" bore.
|
|
RCBS Turret press counterbores for 3/8" tee nuts.
|
|
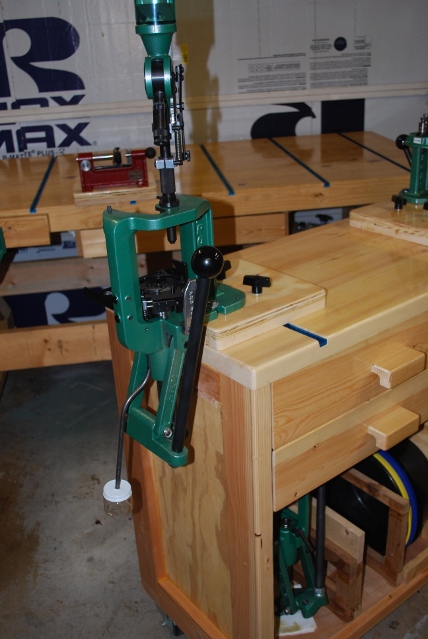
RCBS Turret press entire base, it is the standard 10" x 10".
This one has been remade, so the bottom layer grain runs front to back.
|

|
Turret press being used to load .45 ACP.
Note the hex head mounting bolts.
|
|
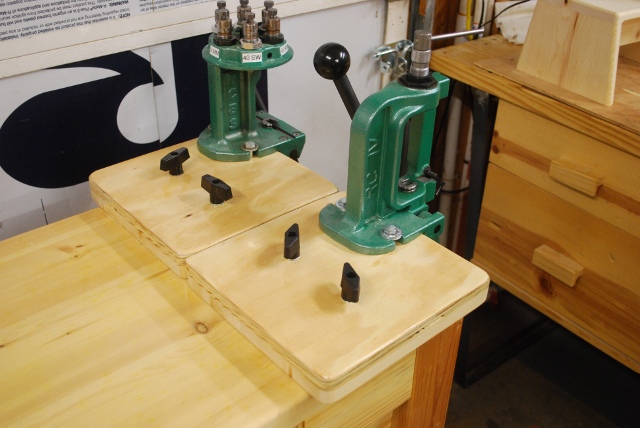
Turret press and Rock Chucker both on their press bases, used at the same time.
|
Other Devices I have mounted on Press Bases
So far I have mounted 9 devices on press bases used on my loading bench
|
A Lyman bullet sizer/lubricator mounted on a press base, on the bench.
|
|
A dillon Square Deal B on the bench.
I did two of these.
Note the press base extending beyond the front of the bench's loading area.
|
|
This Square Deal B's primer catcher box extends back under the bench so I had to extend the base to easily slide sideways on and off.
The actuator rod lines up with the edge of the press base so you can see how much I had to extend it to clear the bench front.
The other primer box.
|
|
A closer look at the Dillon Square Deal B's mounting.
I had to cut a notch to clear the powder measure actuator rod.
|
|
The other Square Deal B.
|
|
The other Square Deal's primer box, I used the same base for both.
The powder measure activation rod alligns with the front of the base so you can see how much this one clears.
Compare the first primer box.
|
|
An RCBS Pro 2000 mounted on a standard 10" X 10" base.
|

|
Another look at the Pro 2000.
|
|
The Pro2K on the left end, where I use it.
The Pro2K doesn't need the loading shelf, so it can easily be used on either end.
This lets me use the turret with it's deprimer/resizer dies on the right (loading shelf) end and this guy on the left end.
Even with the Pro2K, I still resize/deprime during case prep, it gives me a lot better look at the brass for damage/wear.
Using the Pro2K is the only time I lock the casters since I push to seat primers.
|

|
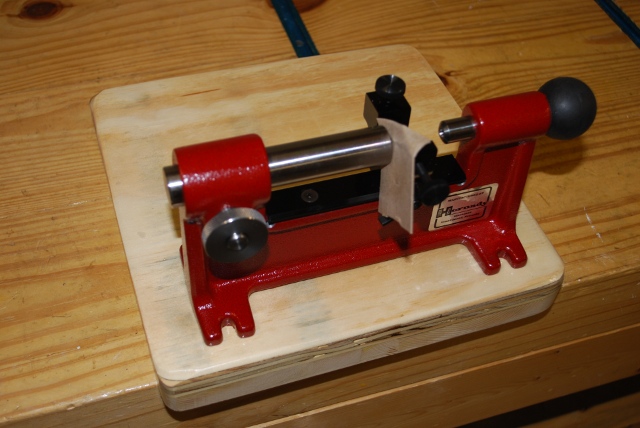
RCBS Trim Pro on a base.
I didn't take a pic but I also mounted a Rock Chucker Supereme and a Uniflow stand on one wide base.
|
|
Hornady concentricity guage ready to be mounted on a base.
|