|
|

|
|
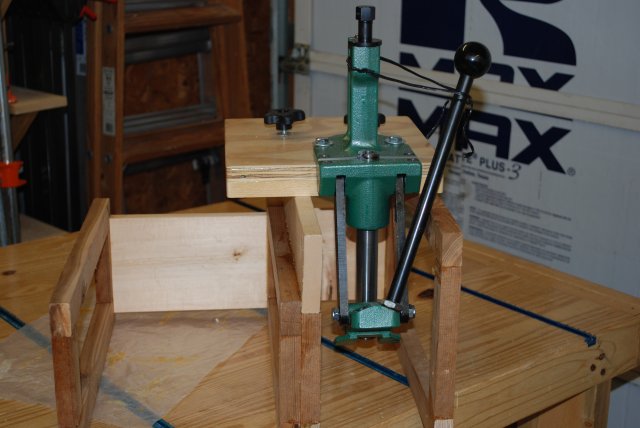
The press rack, in my loading bench, with a Rock Chucker and a Turret press stored
|
07/11/11: Page Origin.
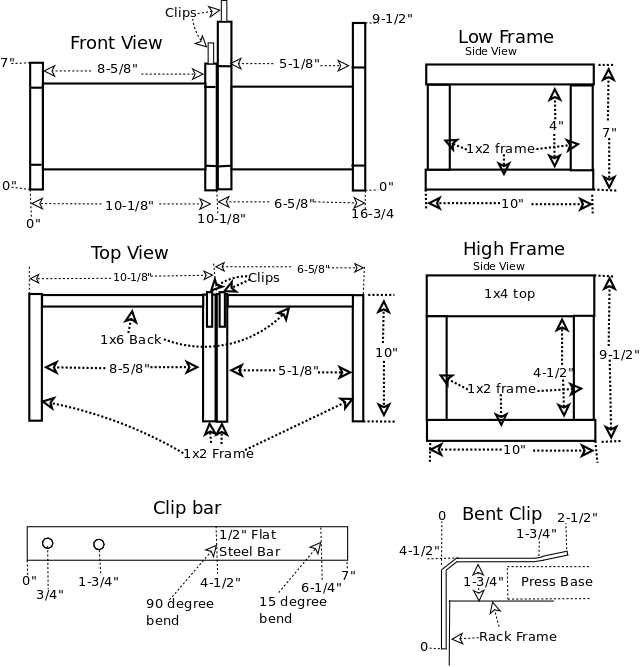
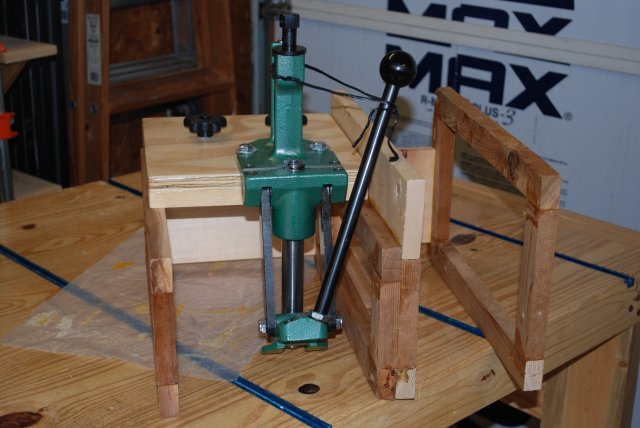
My loading presses are all mounted on a 10 X 10 X 1-1/2" base.
The 10 X 10" press base is mounted on the loading bench using tee bolts and knobs.
When presses are not in use I store them, still attached to their base, on a rack in the front storage bay of my loading bench.
This press rack allows storage of two presses in an overlapped mode since I had more vertical space than horizontal.
The racks are made as two separate racks but glued or screwed together to form a single unit.
One rack is low and the other is high allowing overlapped storage and saving space.
Since the press bases are front heavy, due to the weight of the press, they tend to topple forward so I added two metal "clips" to hold their back end down.
The frames are made from 1x2" (1x2 and 1x4" on the higher rack) with a 1x6" holding the two sides of each rack together.
I recently made a change in the way I build these: previously the two high frame pieces were different, so I canged them to be the same.
Originally the high frame side next to the low frame had a 1x4 on top and the other side had a 1x2, now they both have a 1x4 top.
It makes the construction a little simpler.
Please see the
New Frame Pics.

|
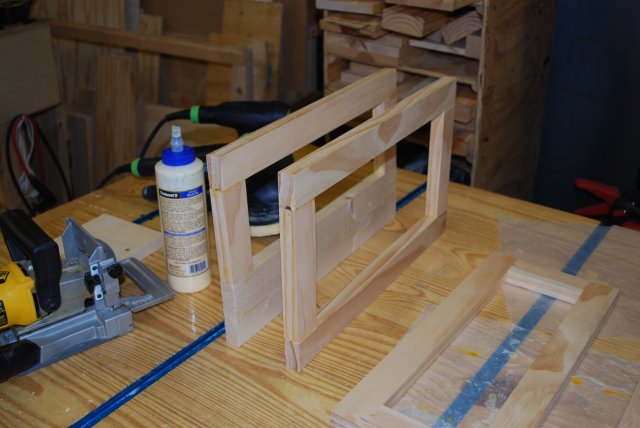
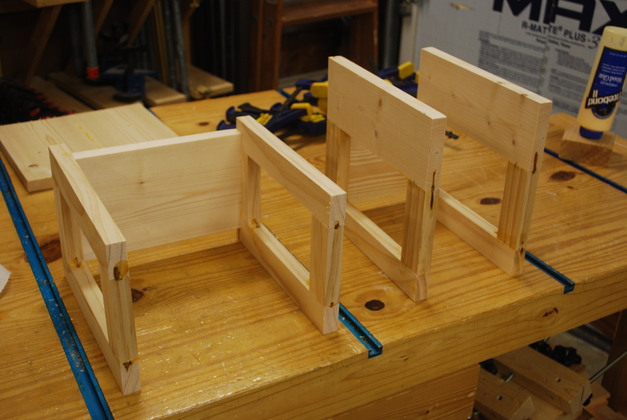
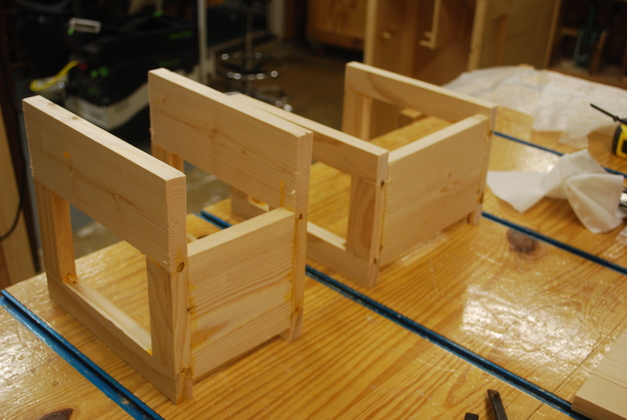
Parts are cut out for a 2 press rack.
|
|
Frames are being glued.
|
|
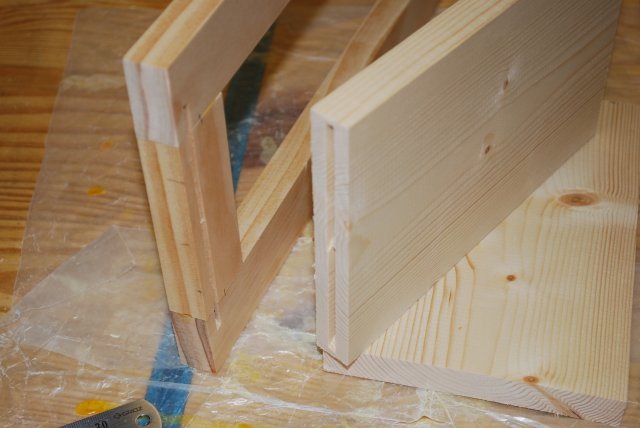
Slots are cut to join a side frame to the back.
|
|
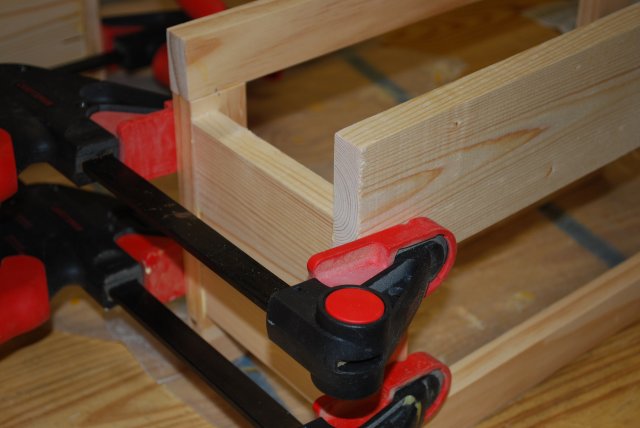
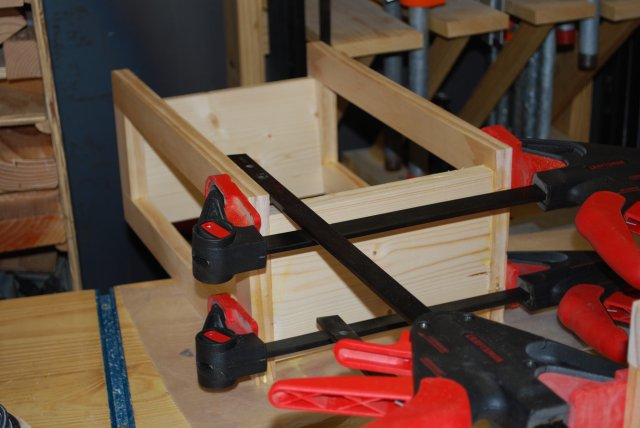
A back is clamped to the HI side frame as the glue dries.
|
|
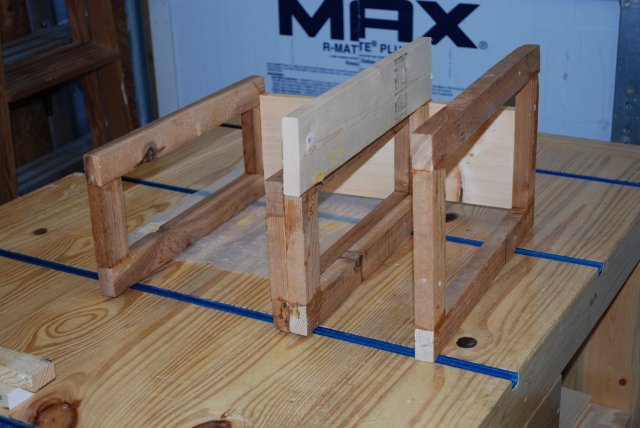
Lo Frame
|
|
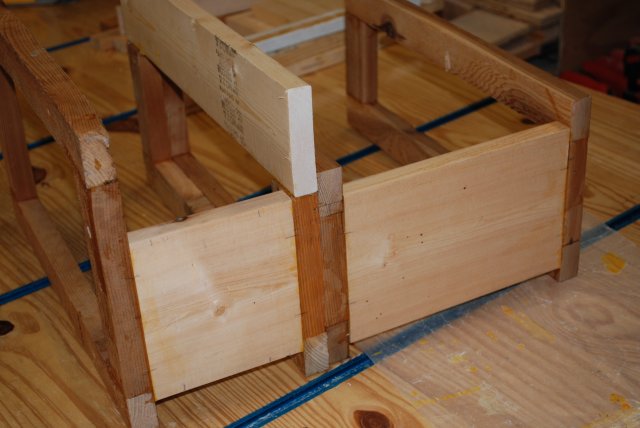
Press rack front.
|
|
Press rack back.
|
|
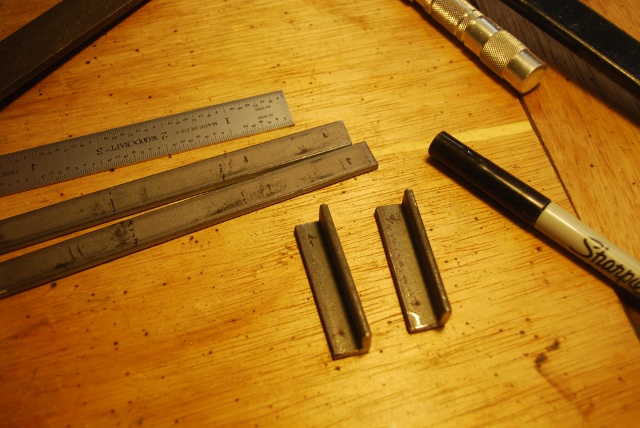
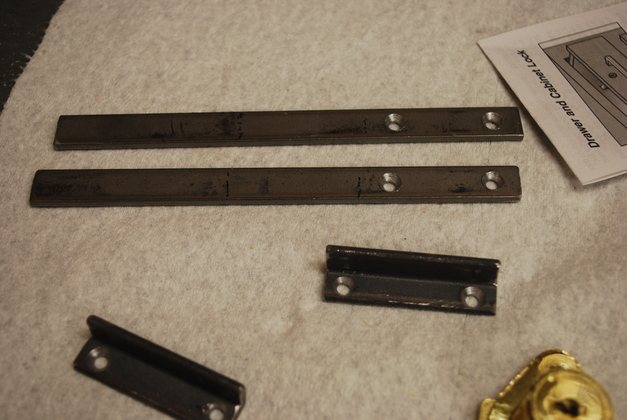
Flat bars cut to length and marked for holes and bends.
Note: The two 1/2x1/2" pieces of angle iron are strikers for the bench's drawer locks.
|
|
Bars drilled and counter sunk, ready for bending.
|
|
2 base clips ready to install at the rear of the loading press rack, next time I make one of these I'll get better pics of the clips and how I make them.
|

|
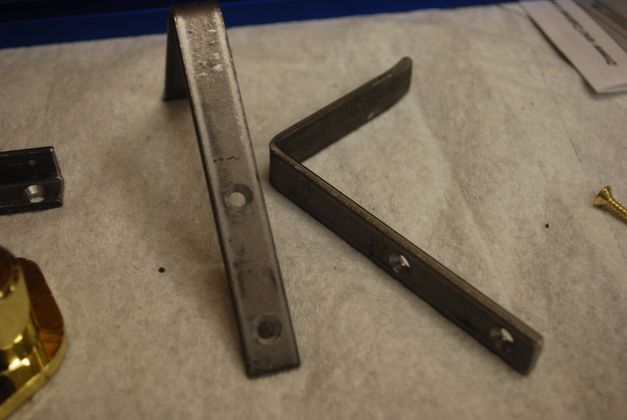
Back view of press base clips.
They are made from 1/2" flat strap, from Home Depot or Lowes, with a couple of holes drilled and two bends.
I leave about 1-5/8" space for the press base to slide in.
|
|
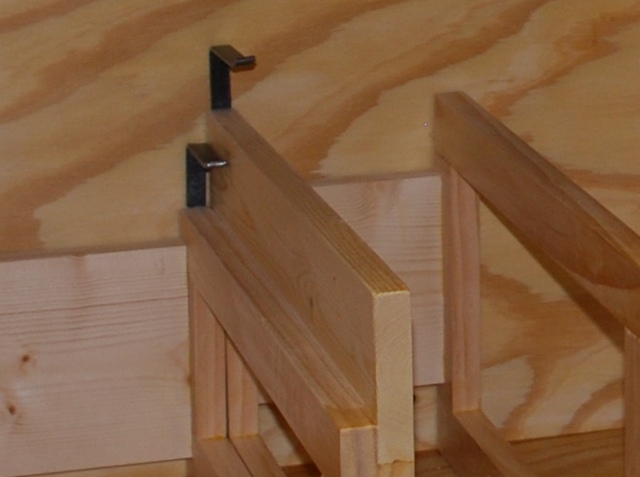
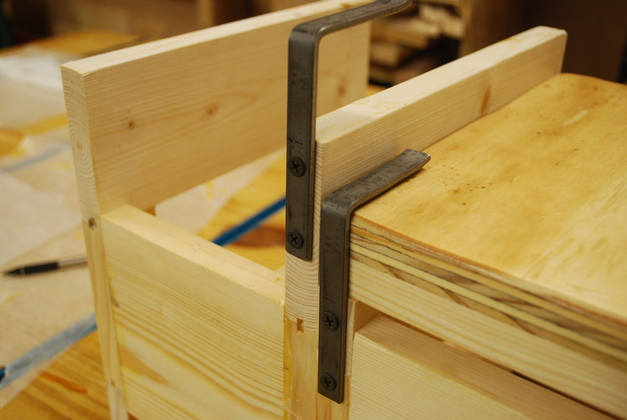
Here the clips are installed at the back of the rack.
The press base tends to be front heavy (due to the weight of the press), so these keep them from toppling forward.
|
|
Turret press on rack in high position.
|
|
Turret press on rack in low position.
|
|
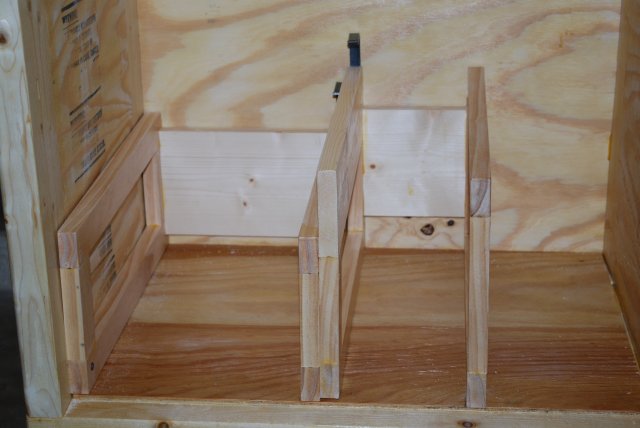
Press rack in storage bay, notice the base clips at the rear.
|
|
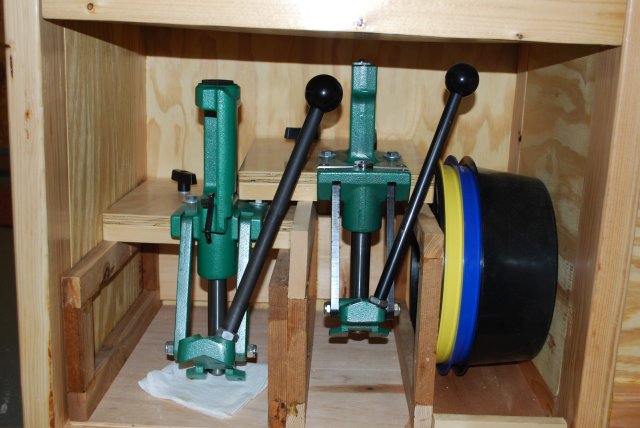
Rack in storage bay with presses.
Since the Rock Chucker is taller than the turret, it usually goes on the low side.
|
New Frame
|
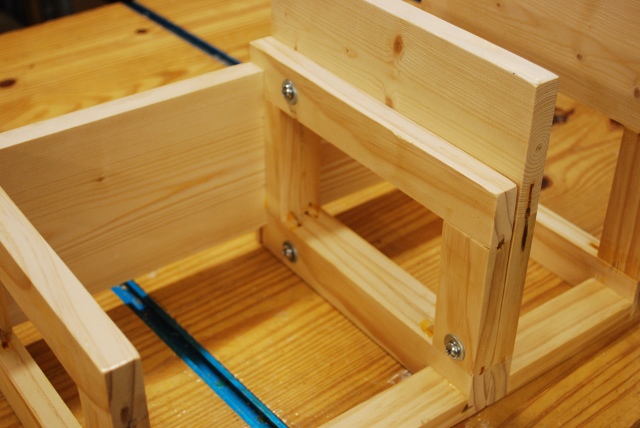
I made a few design changes in the frame construction, this is one of the new frames, built in two pieces, each glued.
|
|
Back view of a new frame.
You can note the high side has both frame sides identical (1x4 on top).
|
|
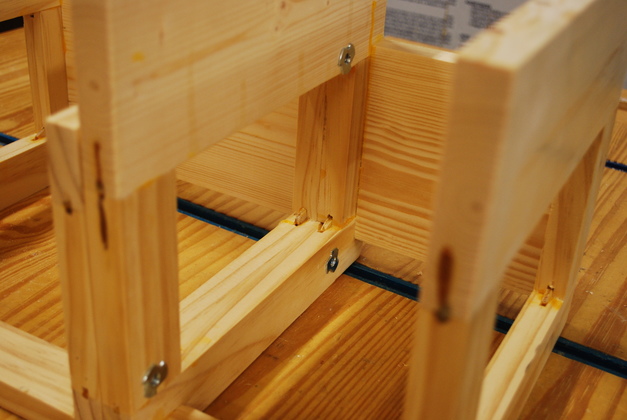
The two frames (high and low) are bolted together in case you ever want to use one seperately.
Here you can see the heads of the round head 1/4-20s holding the high and low together.
|
|
The 1/4-20 Tee nuts on the other end of the bolts.
|
|
Base clips mounted with a base on the low side.
|
|
Close up of clip mounting screws.
|