| 
| |
|
Router Box
| ||
|
|
| |
|
Router Box
| ||
| Back to the Router Page | Construction Info | Router Table | Dust Collection |
I am making the router dust box from 3/16" plywood with mitered corners. The mitered corners give larger gluing area even though it is not all side grain. Here is a page on other boxes I have made with mitered plywood.
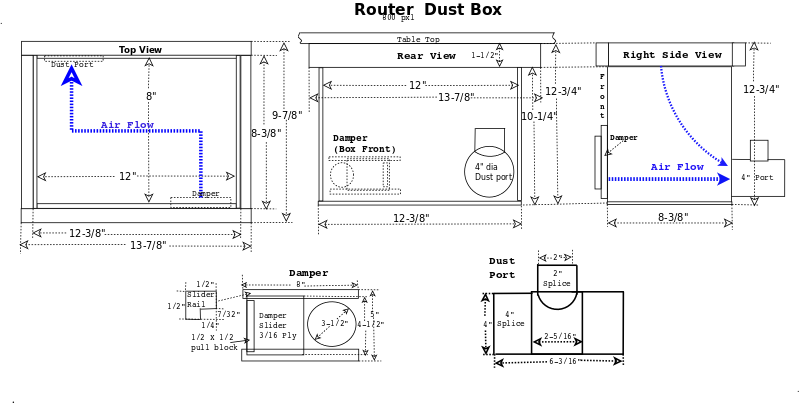
I am using a 4" dust colection port with a 2" split off for the port behind the bit and the remainder coming through the lower dust box. The 4" dust port is in back of the dust box, the front damper will allow me to balance the air flow through the box and the fence's dust port. The input air comes from the lower damper and a smaller amount around the router bit. The air coming around the router bit flows down across the motor helping to cool it and keep it from being caked with dust. The larger amount of air coming diagonally across the bottom of the box creates a sweeping action which sweeps out the dust from the bottom of the box and keeps it out of the router motor. Please see the Air Flow diagram below.
|
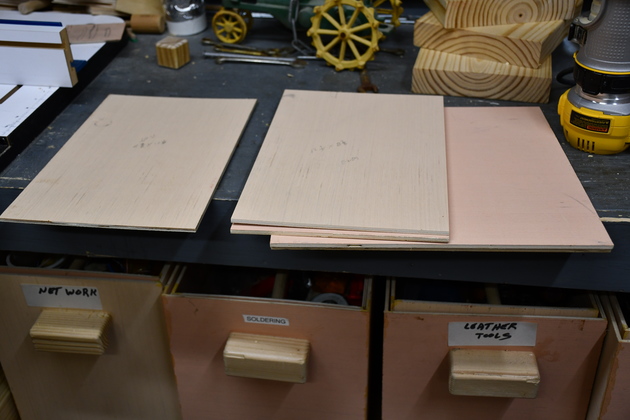
3/16" plywood cut to dimensions for the dust box. |
|
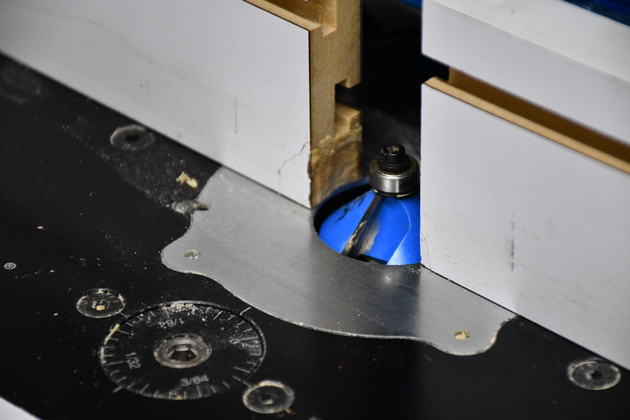
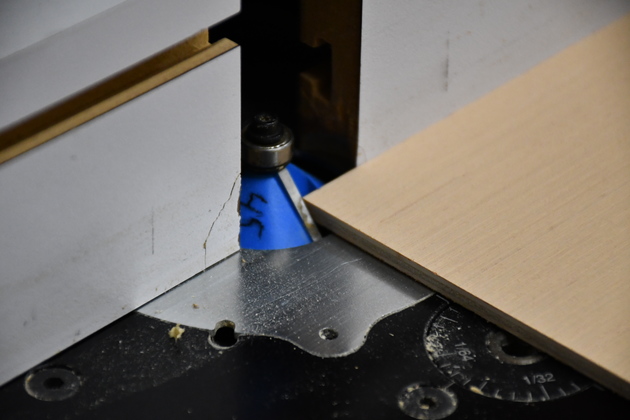
Existing router table with 45° chamfer bit. Take a look at how, and why, I use mitered edges on plywood. And here. |
|
Note I have it set so to take off the corner but leave a straigt edge, in other words don't thange the horizontal dimension. |

|
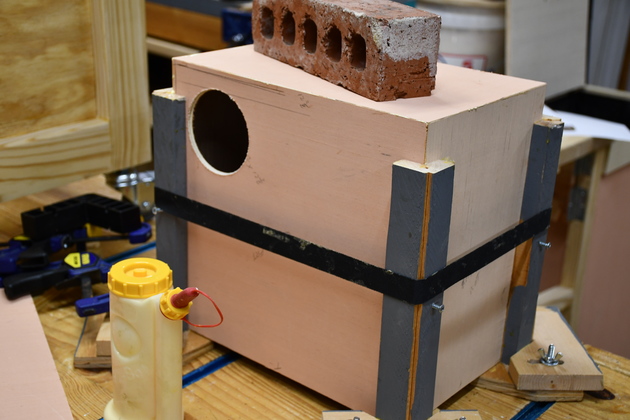
All the sides and bottom are in the clamping cauls, note the brick on top and strap around the sides. Also note I have cut the dust port (4" hole in back side). Not seen is the air gate on the front. |
|
The front side where you can see the (3-1/2") air gate hole. |

|
After the box is glued, you can just see the clear packing tape on the inside of the 4" dust port hole. |

|
From the outside, you can see the clear packing tape on the inside. |
|
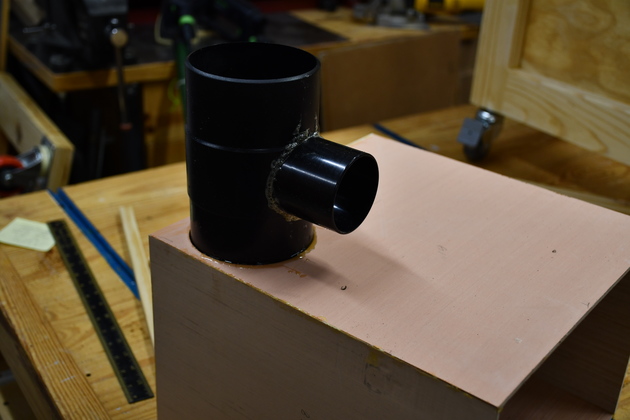
This is why I taped the inside, the dust port is being glued to the plywood with polyurethand glued. Also note the 4" splicer with a 2-1/2" splicer glued to it. |
|
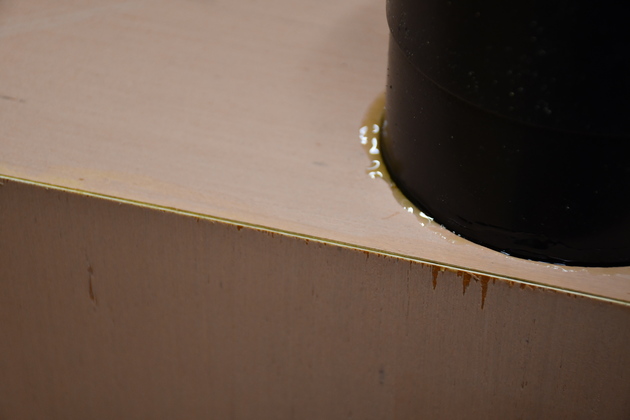
You can just see the polyurethane glue around the edge. This foams up while it cures, which means it will expand into the cracks making this air tight. I used polyurethane glue when I glued the 2-1/2" dust splice to the 4" dust splice. |

|
These are the two glues I use for all my projects, both Titebond. Previously I used Gorilla Glue until I found the TiteBond Polyurethane glue which has a better cap (keeps better in the bottle). |
|
|
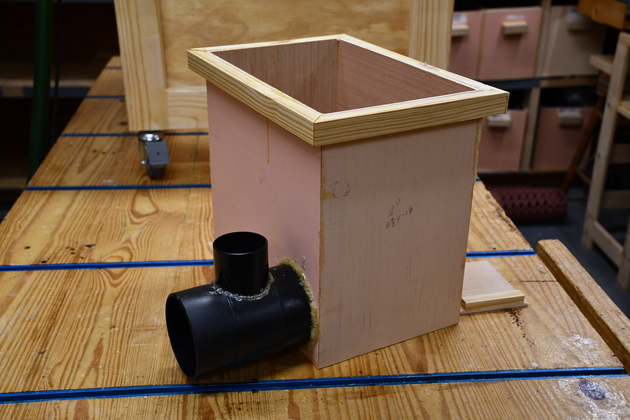
Dust box with the home-made 4" dust splitter port on the back. The top 2" tap is for the dust port in the router fence while the remainder of the air will sweep through the bottom of the dust box. Note you can see the damper slider laying on the bench just to the right of the dust box. |
|
|
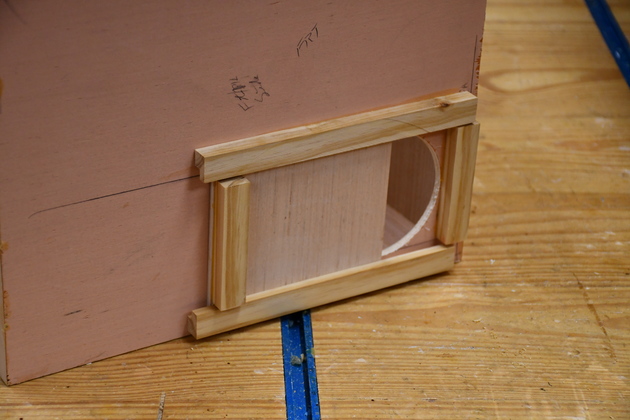
Dust box with 3-1/2" air gate on the front. I don't have to worry about fingers getting injured so there is no grill here. Please see the router table dust collection area and below for effectivenis. |
|
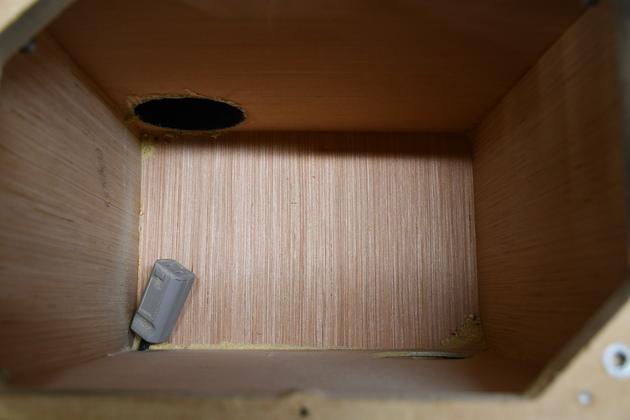
This is the inside of the router box after several projects. Note the diagonal sweeping action prevents most dust from accumulating, except a tiny bit in the back left and front right corners. My previous router dust box only had an outlet dust port with input air coming around the router bit, consequently, dust built up abot 2" deep in the bottom, but it didn't cover the router motor. |
|
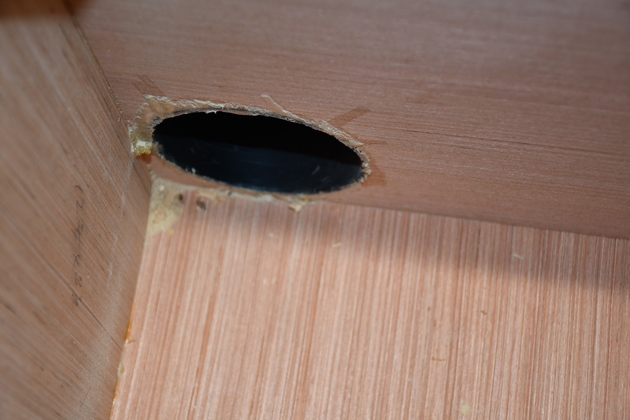
The tiny dust accumulation in the left back corner next to the 4" dust port. |
|
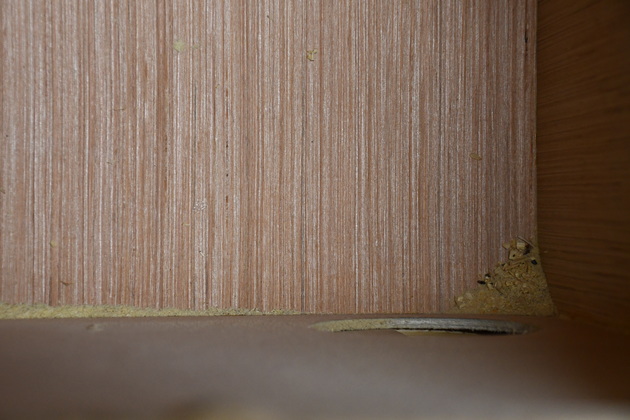
And the dust small pile in the right front corner next to the air gate. The air enters here and sweeps to the left, there is probably a small vortex in this corner. The idea of creating a cross draft to clean the box works great. |
|
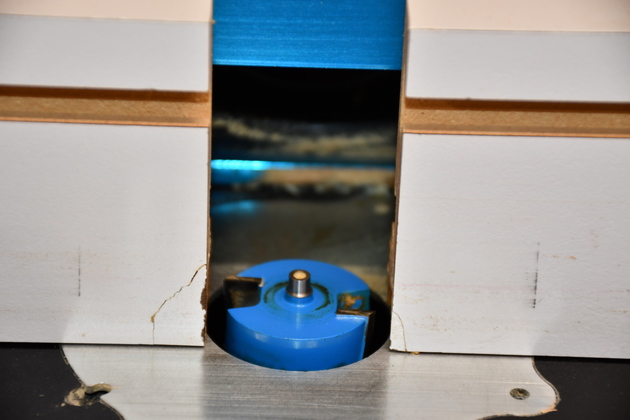
And of course, no accumulation in the top dust port. All in all, I'd say the dust collection is a huge success especially compared to the 2" collection I had going before. |

|
|