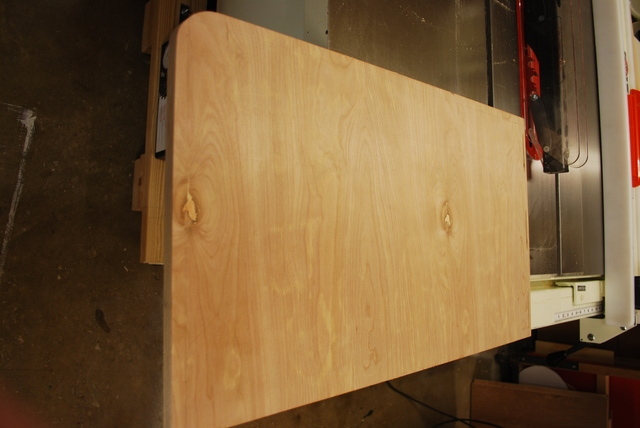
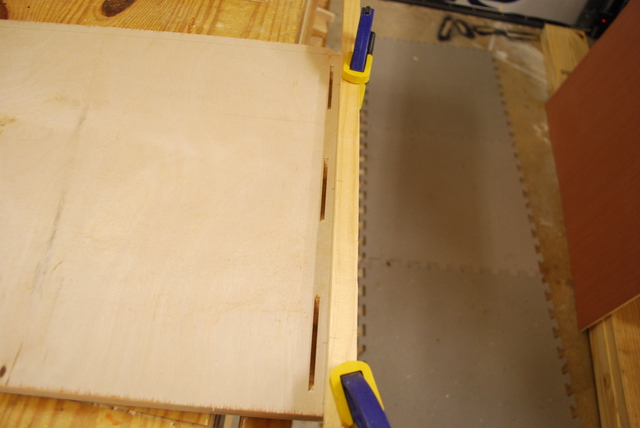
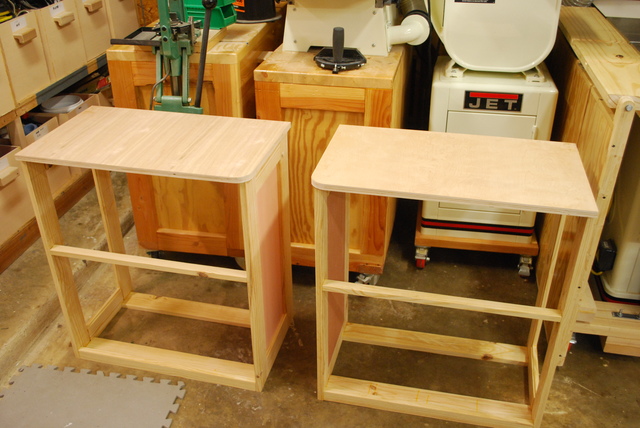
3/4" plywood top cut out for left side nightstand. Note the curved corner that will go next to the bed.
| Main Nightstand PageInfo | Top | Drawers | Front |
The tops will be made from 3/4" thick birch plywood covered with Formica and edge banded with melamine strips. Since the nightstands will be in the corners of the bedroom at the head of the bed and attached to the wall, the corner next to the bed will be rounded.
|
|
3/4" plywood top cut out for left side nightstand. Note the curved corner that will go next to the bed. |
|
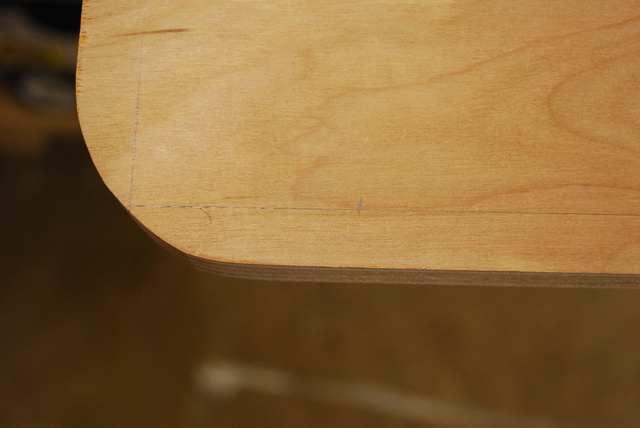
This is a 1-1/2" radius corner. |
|
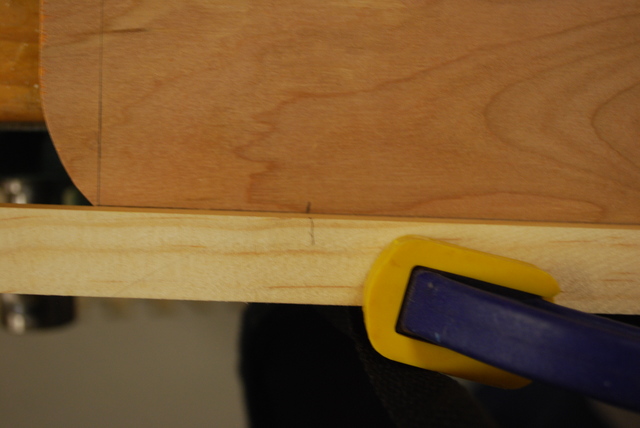
Cutting biscuit slots for mounting to the frame in the underside of the top. I clamped a bar with marks for each biscuit position to the underside of the top. |
|
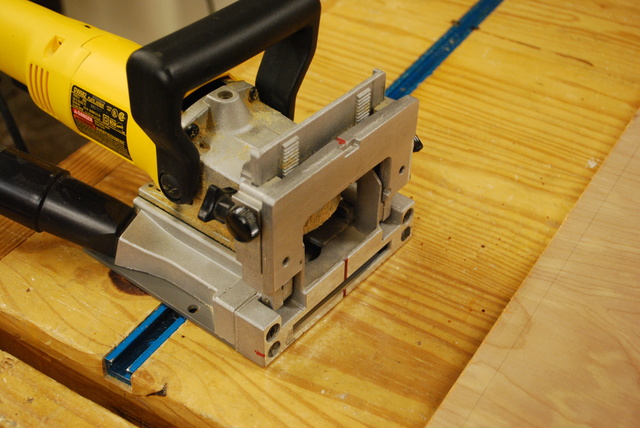
I use my DeWalt slot cutter for these, its a little more flexible than the Porter Cable which I only use for tyep FF biscuit slots. Here I have the table flipped up so I can slot a flat surface. |
|
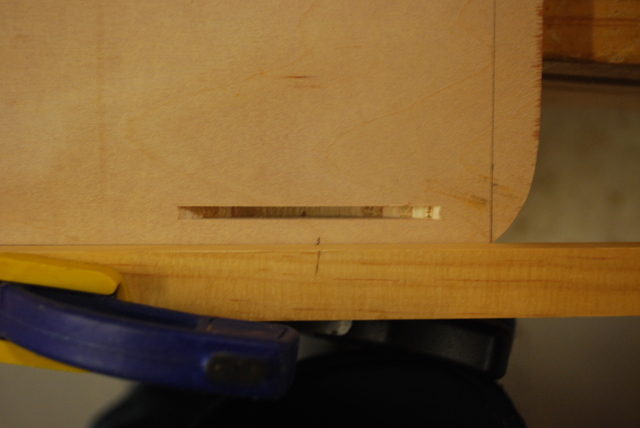
Bar clamped on the bed edge of the top, ready to cut a slot at the little mark. |

|
Actual slot cutting, the DeWalt is held against the bar aligning its mark with the one on the top of the bar. |
|
You can see the DeWalt's alignment mark aligned with the mark on the bar. |
|
Looking down at the bar clamped to the top, you can see one of the slots and it's mark. |
|
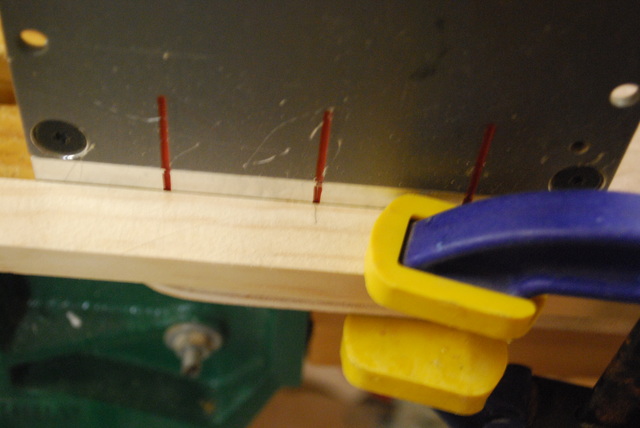
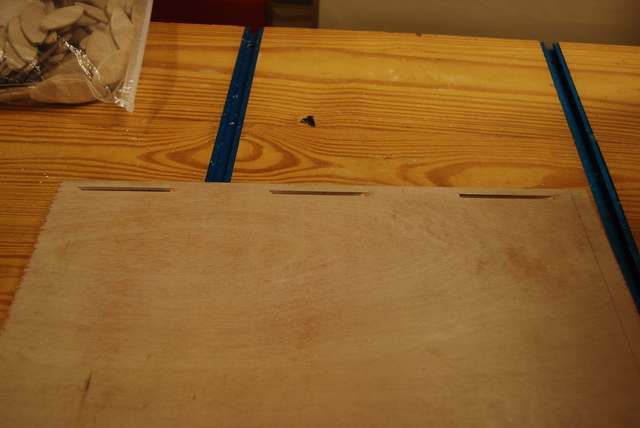
Slots for mounting to the frame in the underside edge of the top. |
|
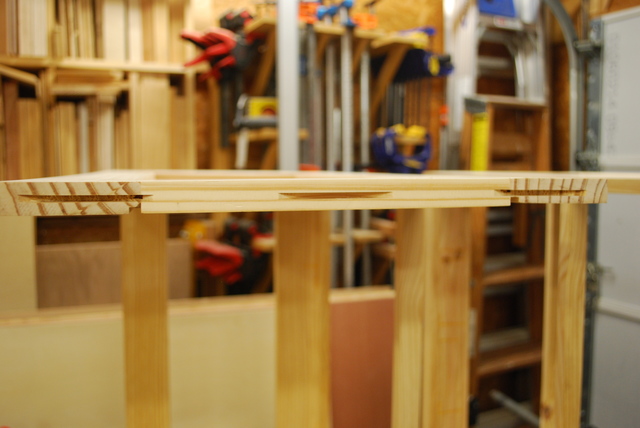
Slots cut in the top of the frame. |
|
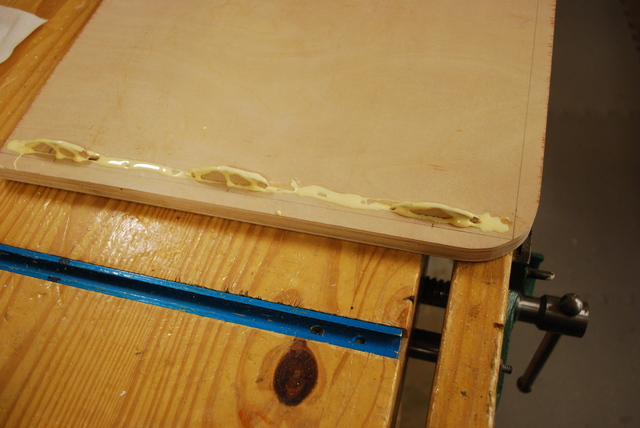
Glue in the slots, on top of the biscuits, and along the edge where the frame will end up. |
|
Both tops glued. |
|
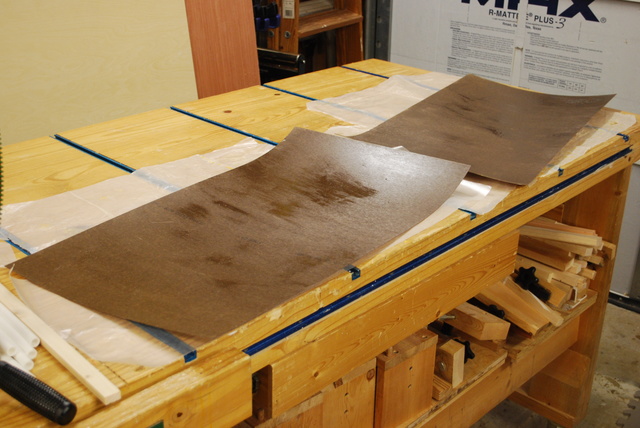
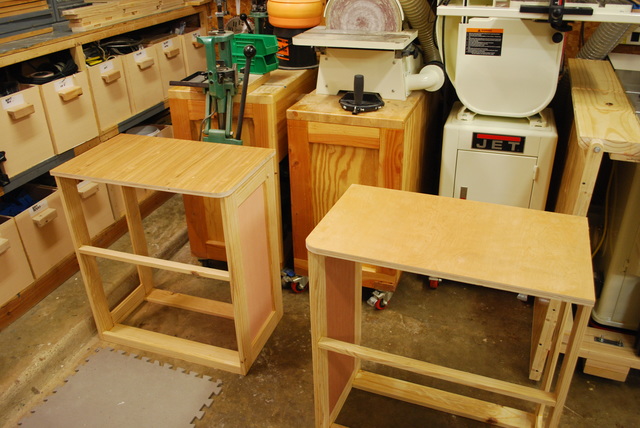
Tops of nightstands with contact cement applied, notice they have a slight sheen. |
|
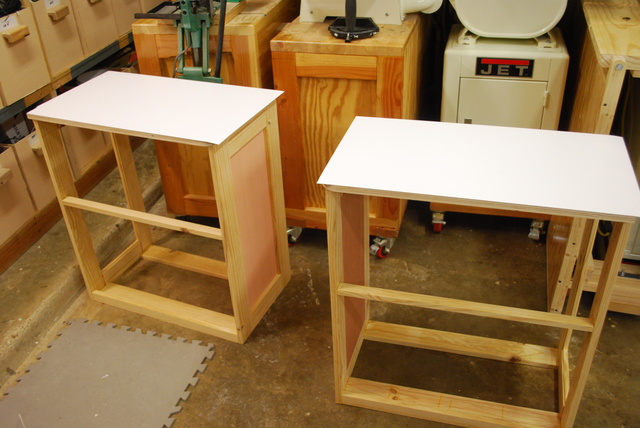
Formica contact cemented to the tops. You'll notice the Formica overlaps all the edges of the wood. I'll apply a melamine edge band then trim off the excess Formica. |
|
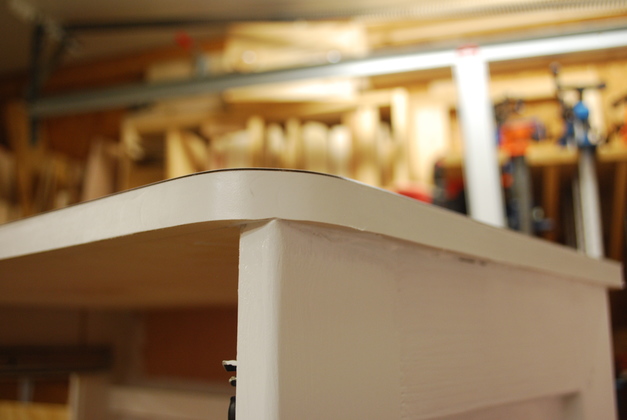
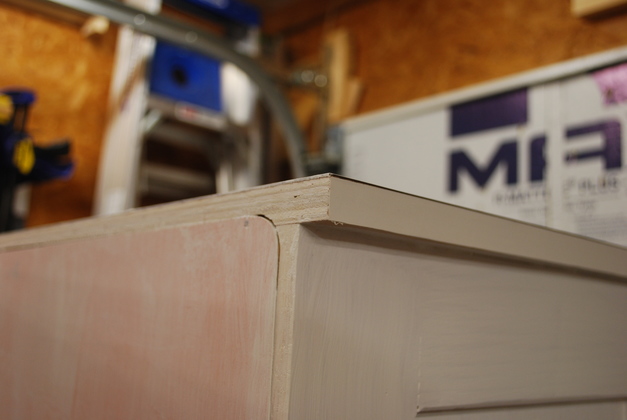
At the back edge, you can see the plywood layers on the back and how they're covered up by the edge banding on the side. |