|
|
|
| Susan's Little Cabinet | ||
|
|
|
|
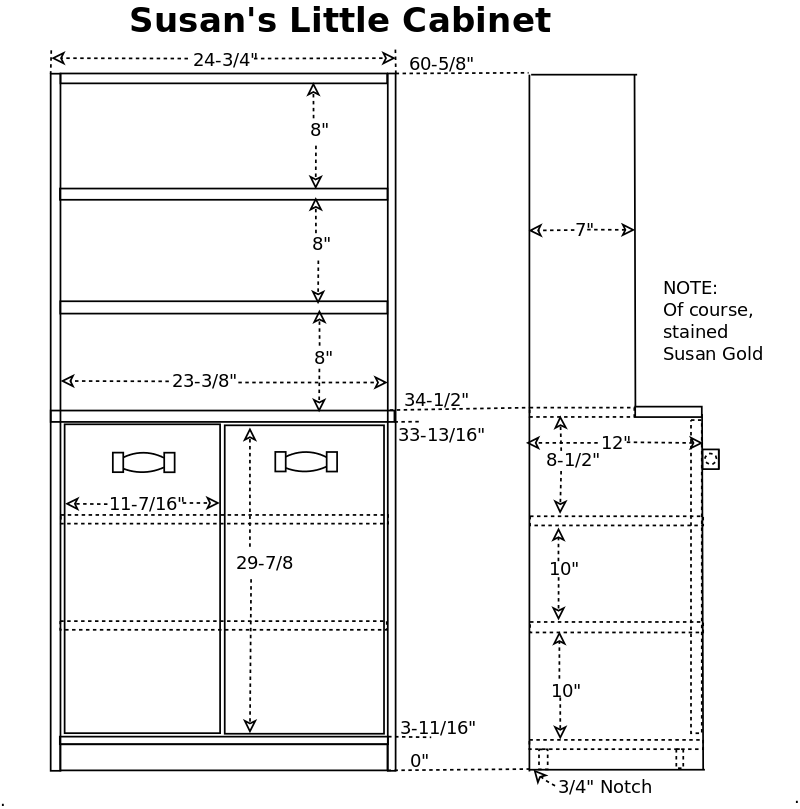
| Susan's Little Cabinet | ||
| Construction Info | Back to Susan's Projects | Door Pulls | Diagram |
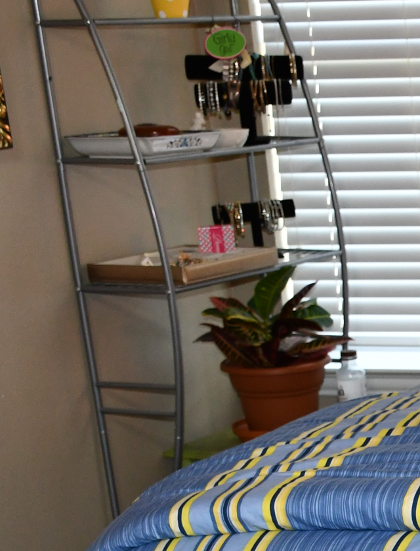
When I was installing Susan's headboard for her storage queen bed, we started talking about a small metal framed shelf in the corner of her bed room. She said it was a little flimsey and I asked if she would like one made of wood and she said yes.
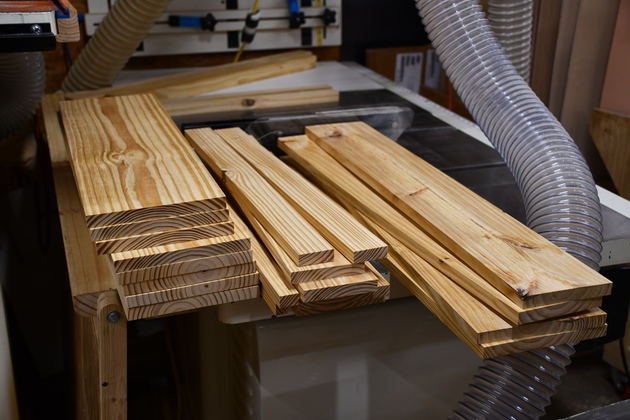
The cabinet will be made from 2x8 SYP, cut to length, resawn, and finally run through a thicknes planer to 11/16" thick.
|
Only pic I have of the original small metal shelf. |
|
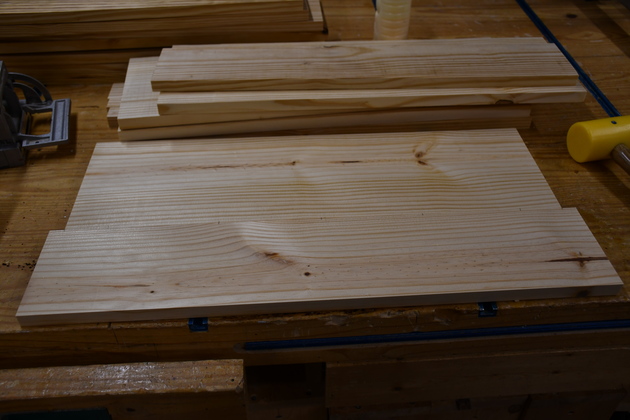
All the shelves, doors, and bottom trim. Please see my 1x from 2x page. |
|
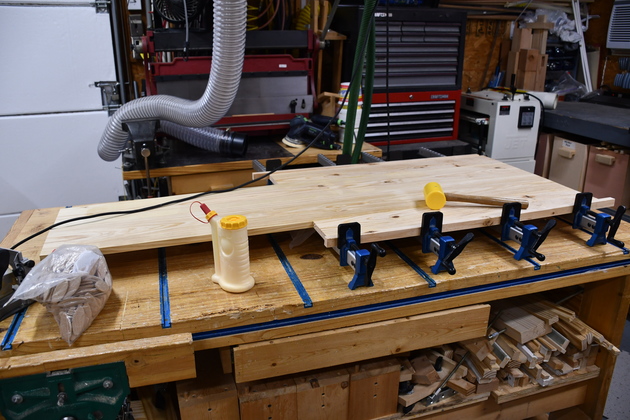
The two cabinet sides being edge joined. |
|
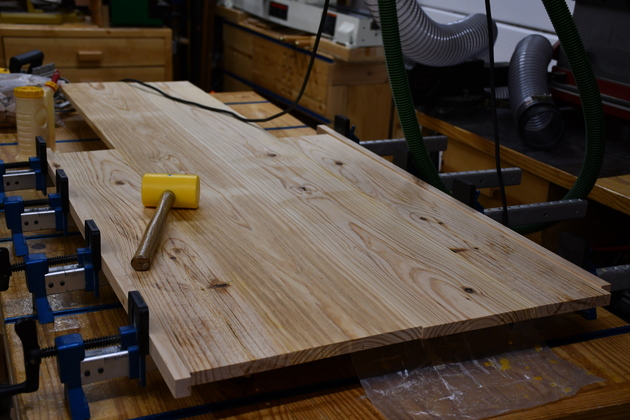
Bottom look at sides being glued. Both sides clamped back to back. |
|
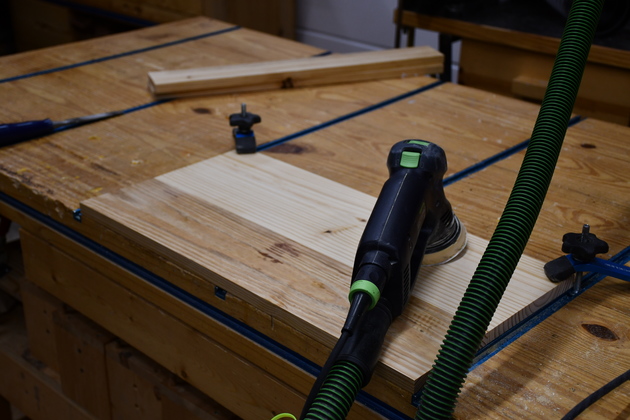
Shelves being sanded, the one in front is the desktop shelf (bottom of the open shelves top of the closed shelves). |
|
Sanding one of the bottom shleves. |
|
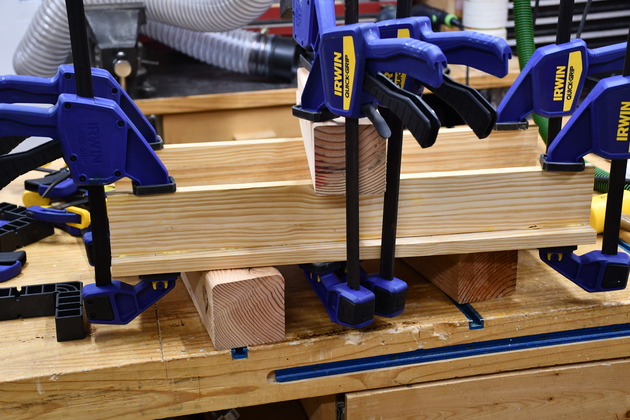
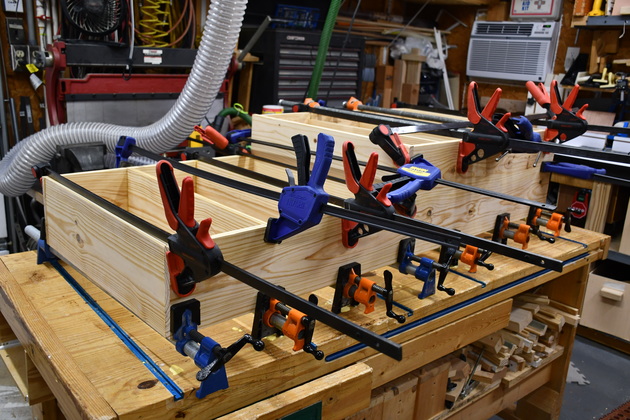
Bottom shelf being glued to the bottom trim pieces. Note the 4x4s, they provide plenty of space for on end of the clamps under the side panel. |
|
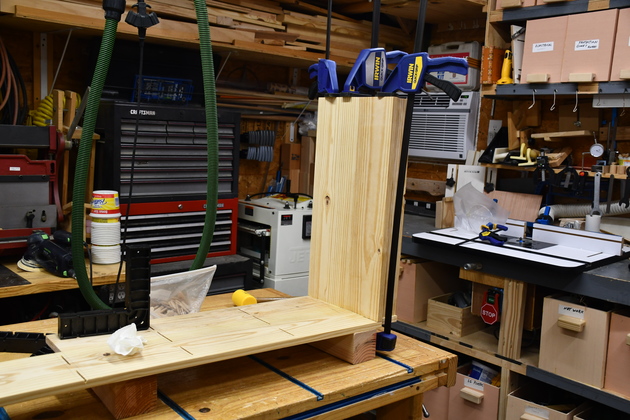
Bottom shelf being glued to the right side panel. |
|
First narrow shelf ebing glued to the right side. |
|
Closer look. When I glue these shelves I use this ClampIt to keep them square with the side panel. |
|
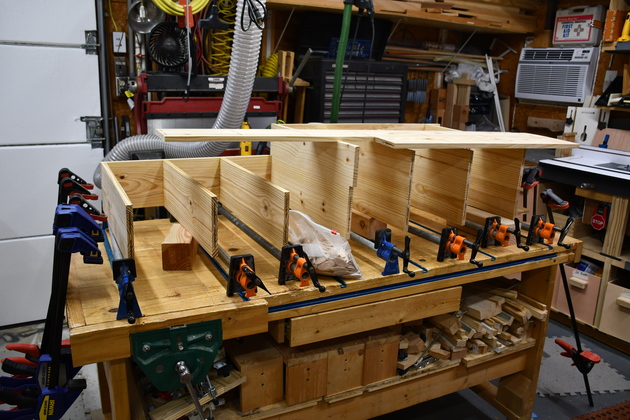
Top two shelves being glued to the right side. |
|
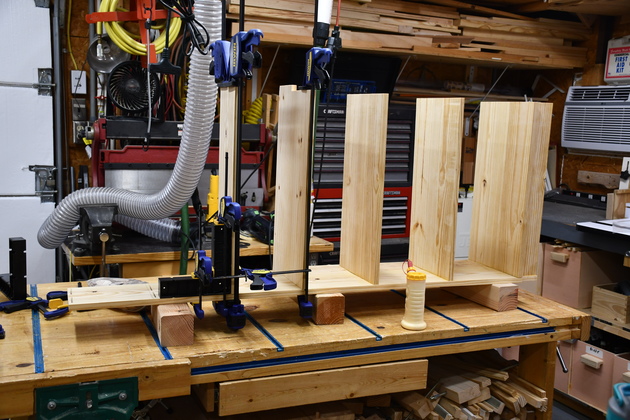
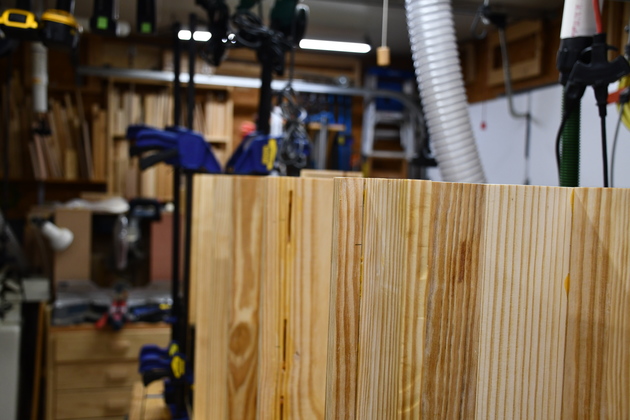
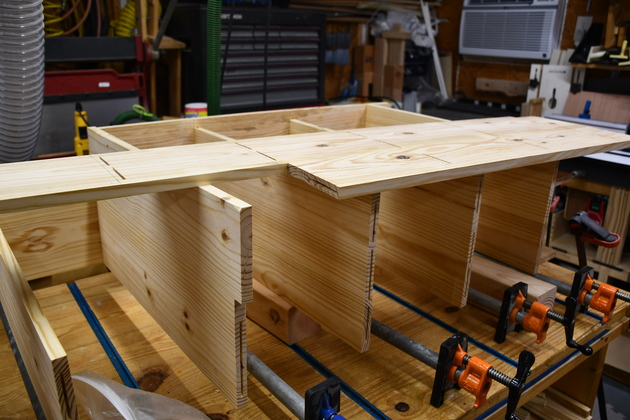
Sighting along the ends of the glued shelves where the left panel will be glued. |
|
Partial cabinet laying on it's back with left side panel laying on top. Here I'm checking that everything lines up. Note the pipe clamps on the workbench ready to glue the left side on. |
|
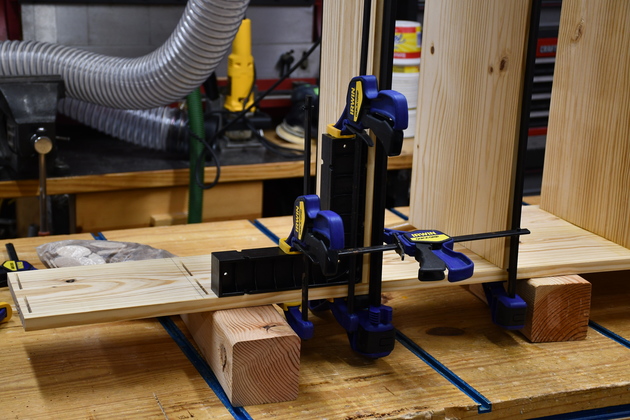
Closer look at left side glue on preparations. |
|
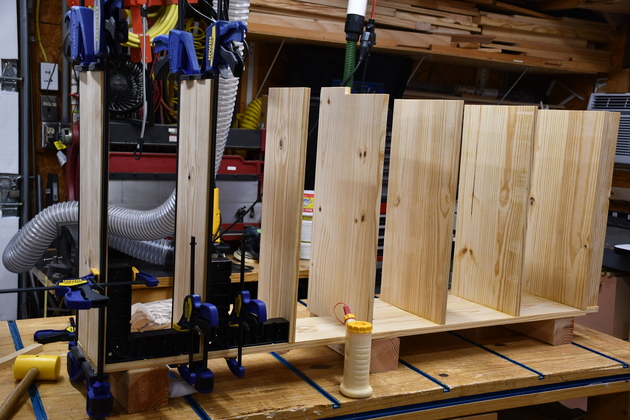
Left side being glue to the shelves. |
|
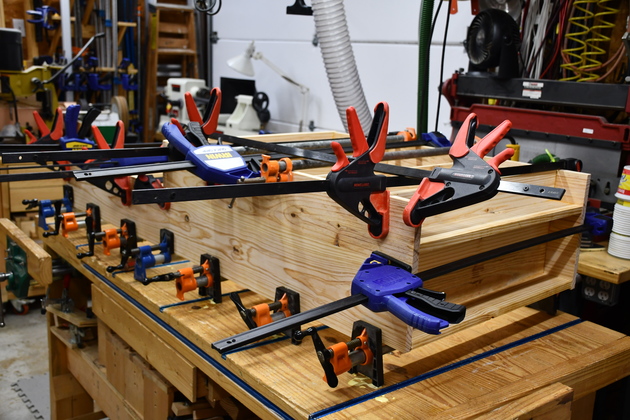
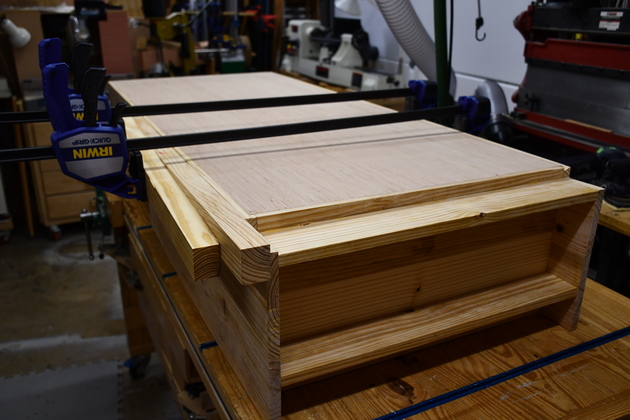
Looking at the top of the cabinet as it is being glued. |
|
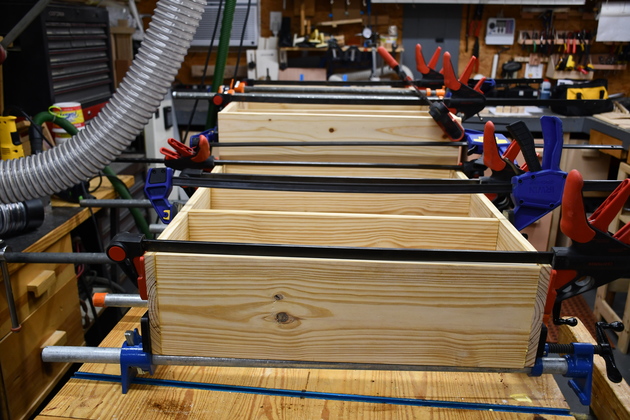
It took most of my 3' and 4' clamps. |
|
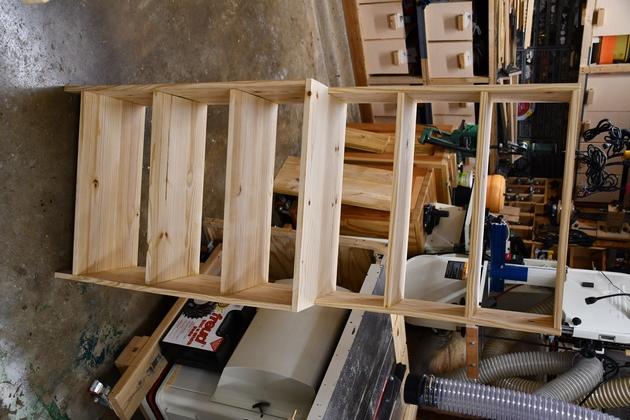
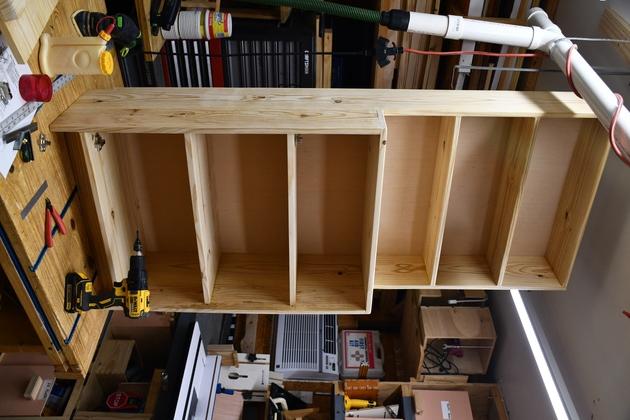
Cabinet glued, ready for back. |
|
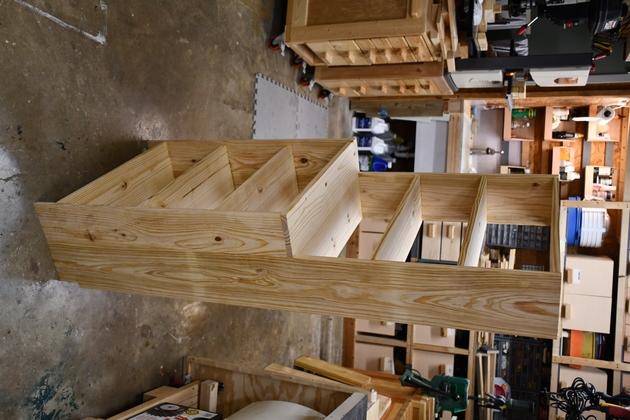
Quarter front perspective, gives a better idea of the shape. |
|
Backs being glued in. |
|
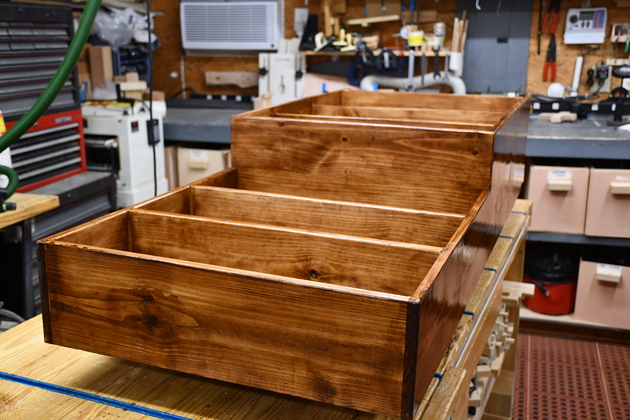
Cabinet with backs glued. |
|
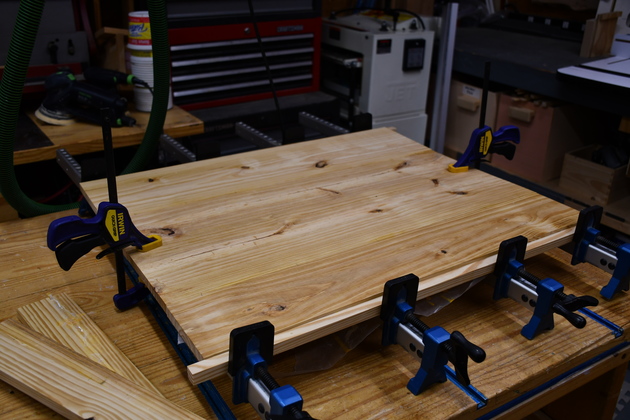
The doors being edge joined. |
|
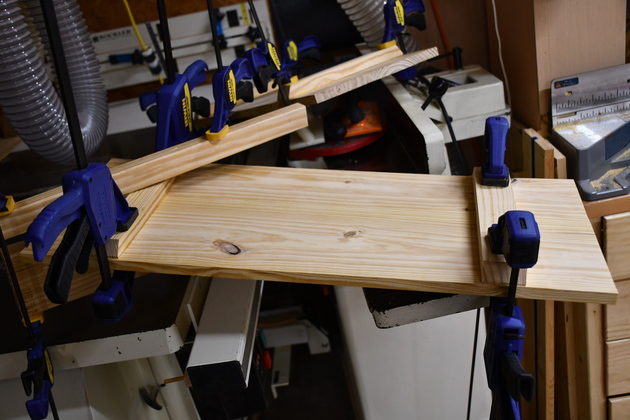
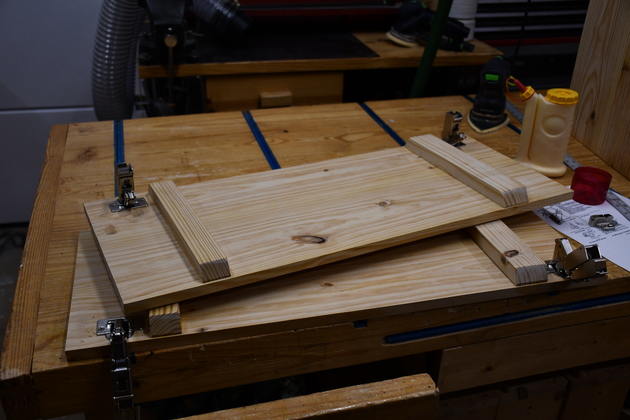
Cross bar support being glued to back of door. |
|
Hinges being mounted on doors. |
|
Inset doors mounted. |
|
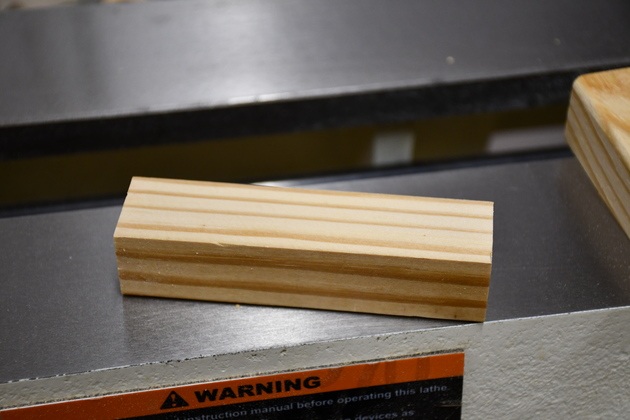
1 x 1 x 4 ripped from SYP, ready to turn on lathe. This will be the rounded part of the door handle. For more info on this handle please see my decorative handle page. |
|
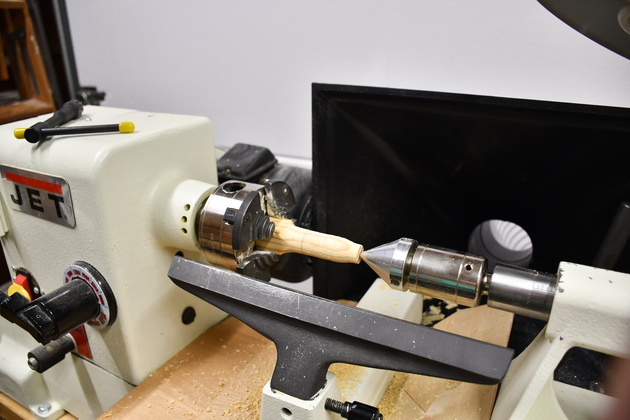
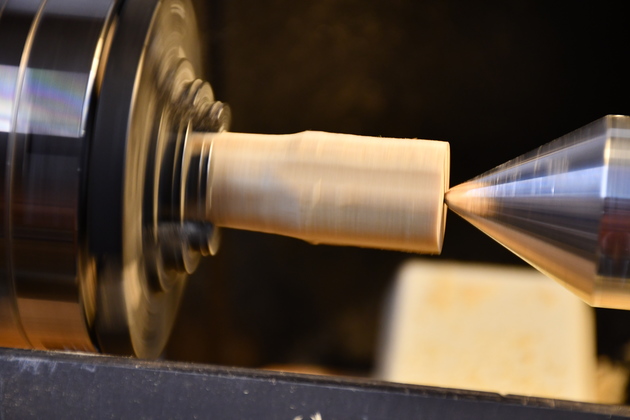
And here it is on the lathe having one end turned. |
|
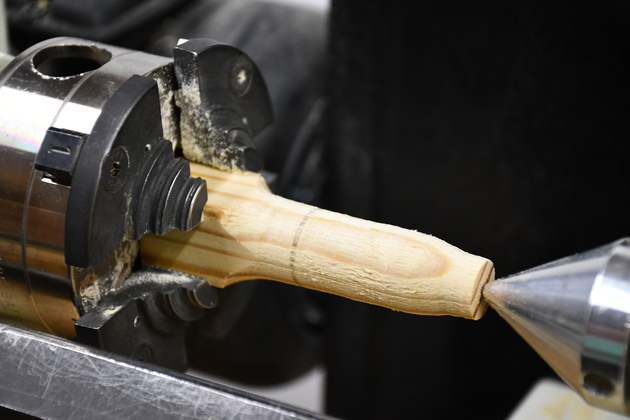
Closer look at turning handle. The pencil line is the center of the handle. |
|
Turning the other end. Iv'e rounded off the corners using a roughing gouge. |
|
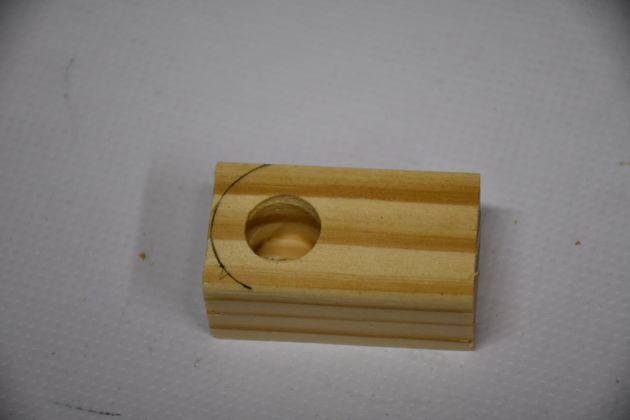
handle end piece with the hole drilled for the round. I'll saw and sand off the round end, at the mark then round off the edges. The end piece is 3/4" thick, 1" wide, and 1-1/2" high. The hole is 1/2" in diameter, 1/2" deep, 1/2" from the top edge. |
|
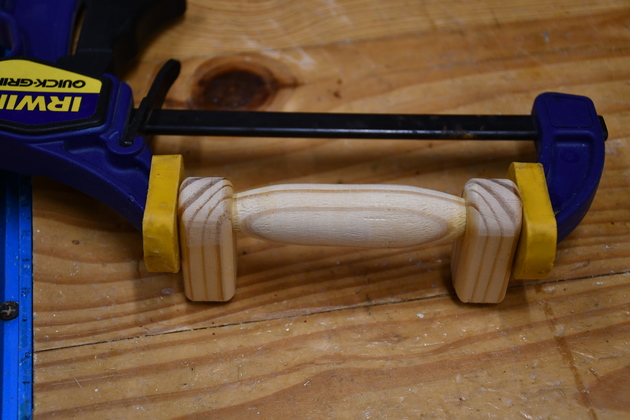
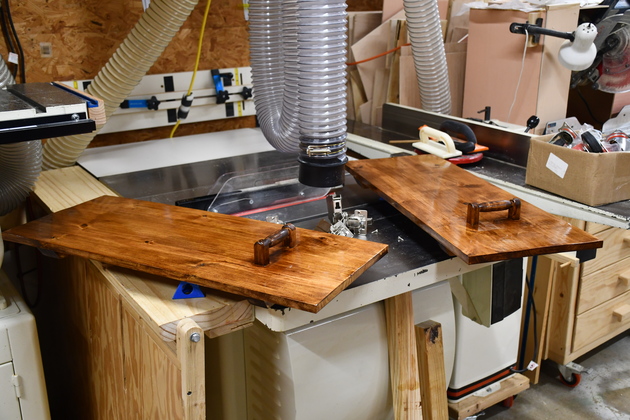
Complete handle being glued |
|
Staining the back, note the top of the desk isn't stained yet. |
|
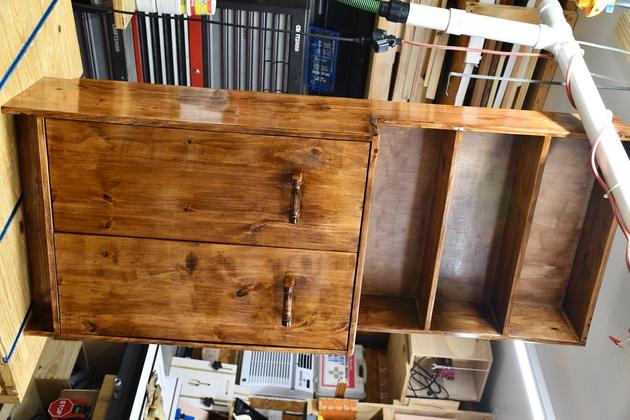
Painting the doors. |
|
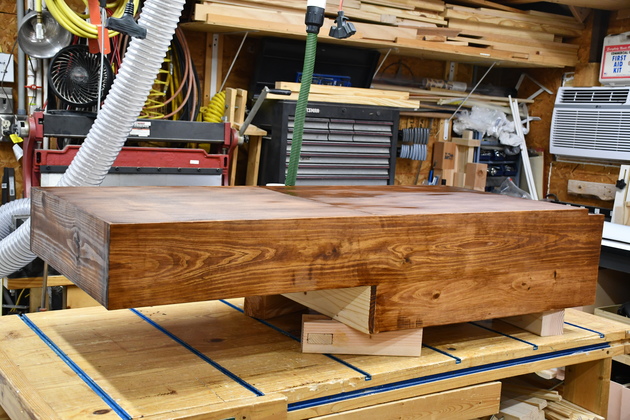
Painting the main cabinet. This protective coat is polyurethane. |
|
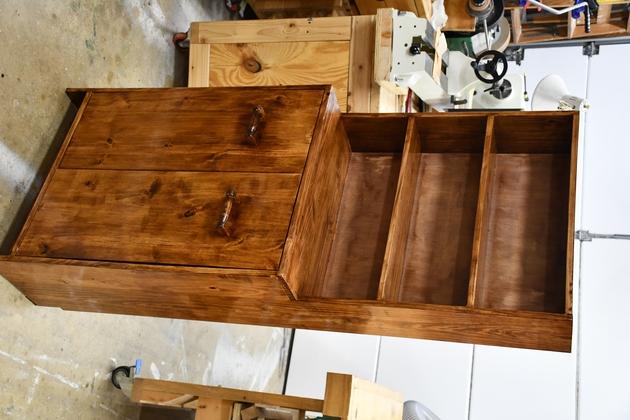
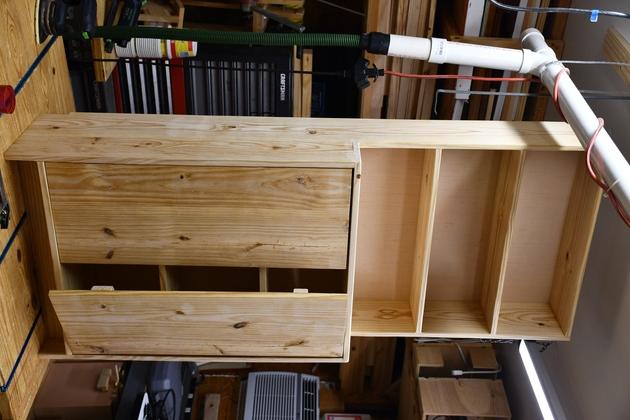
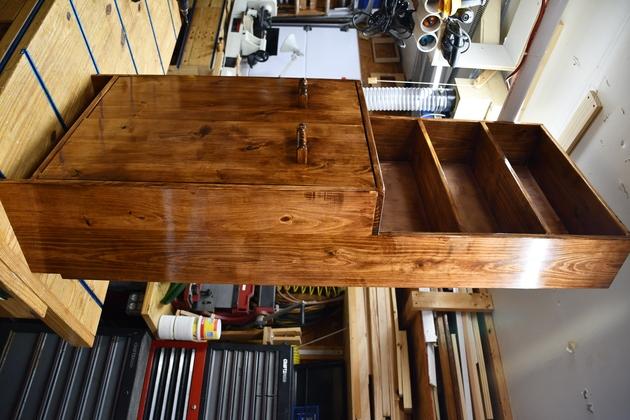
All finished on the workbench. |
|
Different view of finished cabinet. |
|
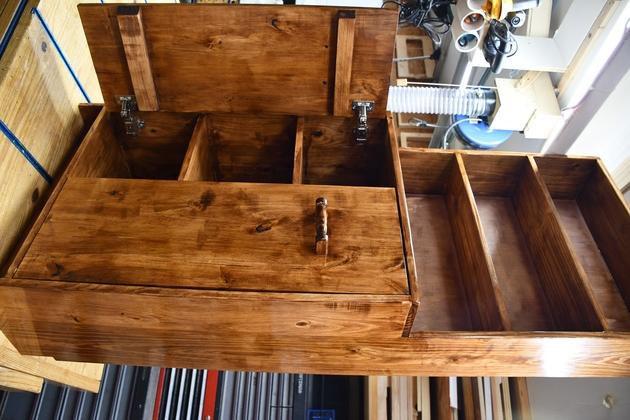
Closer look with left door open. |
|
|
Sitting on the floor. |
|
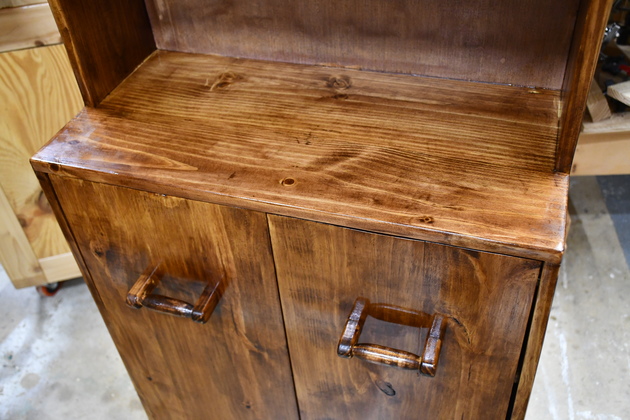
Closer look at the "desktop". |
|
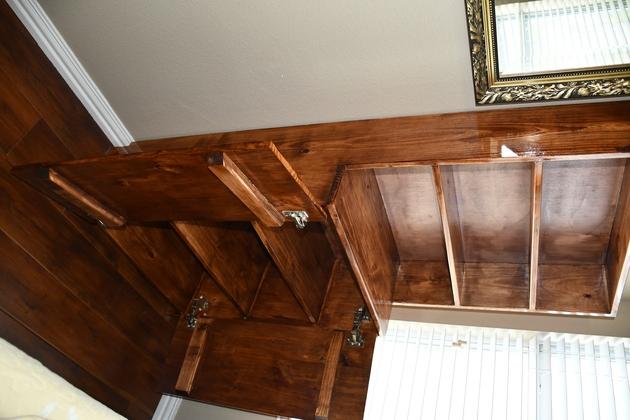
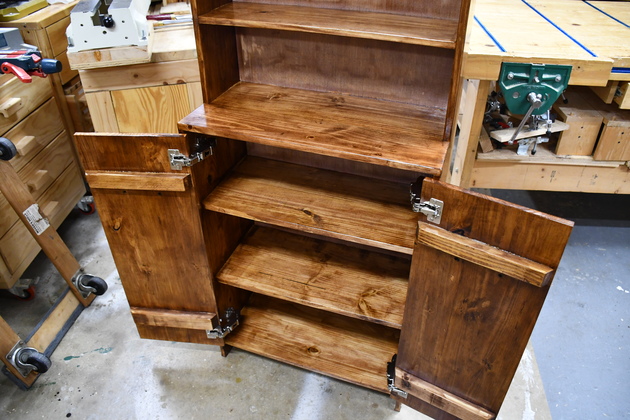
I really like these 170° opening doors. Her install spot needs this. |
|
|
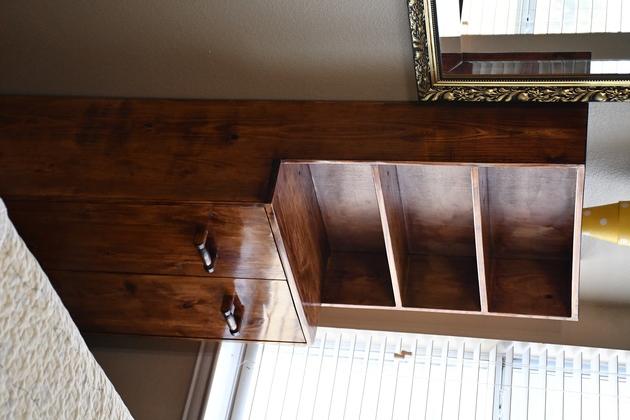
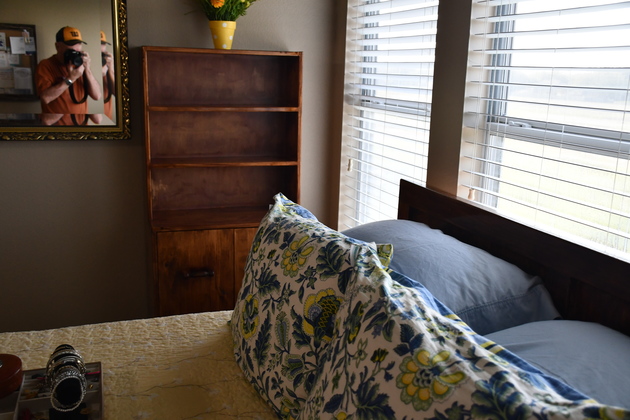
In Susan's bedroom. |
|
A little wider look, I should have closed the blinds so you could see the headboard. |
|
|
The wider opeing door (170°) make it easier to access beside her bed. Note how the cabinet fits flush against the wall, I cut a notch in the lower back to accomodat the baseboard. |

|
|