| 
| 
|
|
Cindy & Susan's Bathroom Cabinet
| ||
|
|
|
|
|
Cindy & Susan's Bathroom Cabinet
| ||
| Tilt Out Bins Construction | CnS Cabinet Construction | Diagram | Frame |
| Doors | Bins | Finished | Another Cabinet with Bins |
| Handles |
After seeing the South cabinet and towel bar with tilt bins, the girls both wanted one to add a little storage in their bath rooms. They had enough room for a 30" cabinet so I am building them.
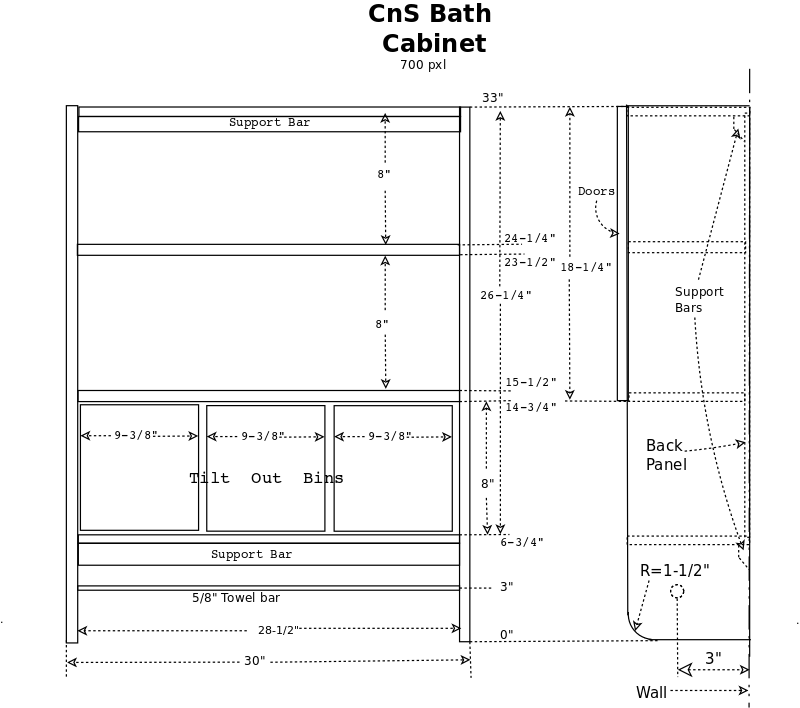
The tilt-out bin diagram shows the dimensions of the tilt-out bins and their housing (upper and lower shelf) correctly with H = 8" and W = 9-3/8".
I use the same handles for both door pulls and bins. These are the same as I have made before, please see my handle page.
| ||
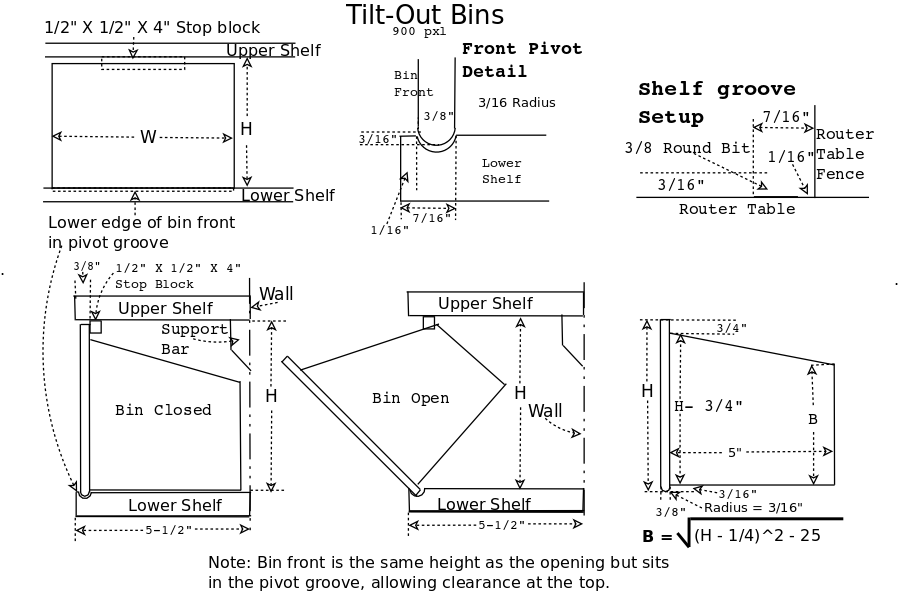
H = 8", W = 9-3/8", B = 5-7/8"
| | |
|
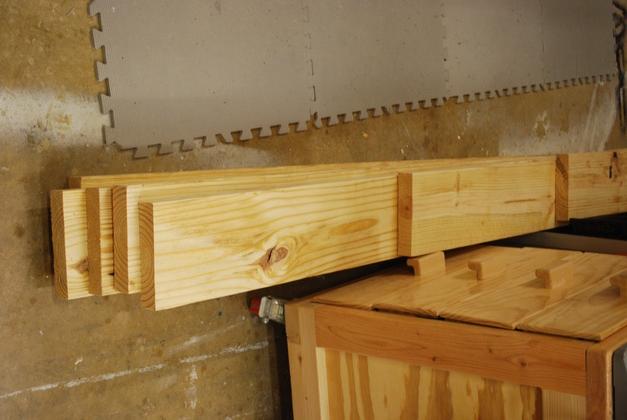
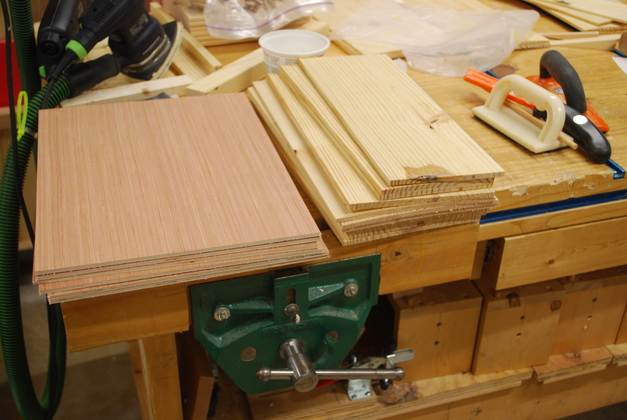
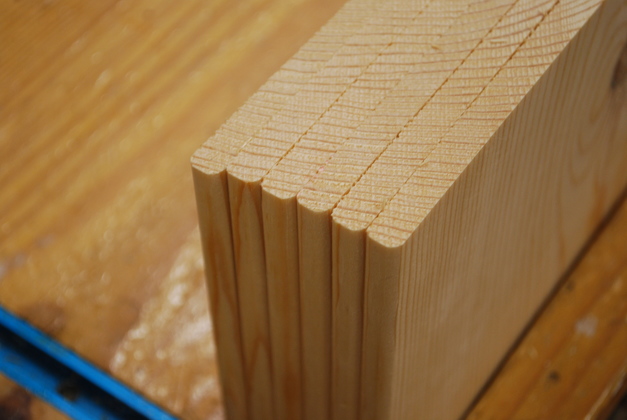
2x8s from Lowes. |
|
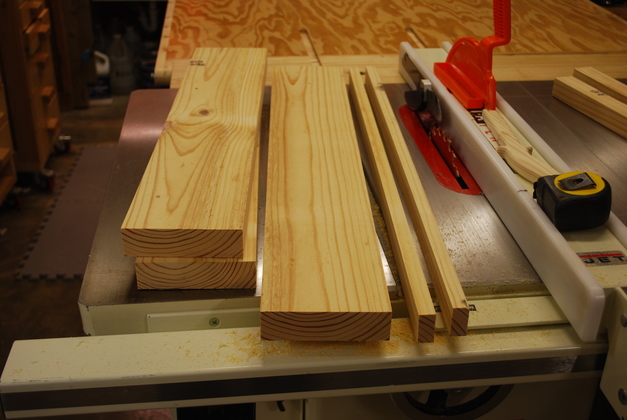
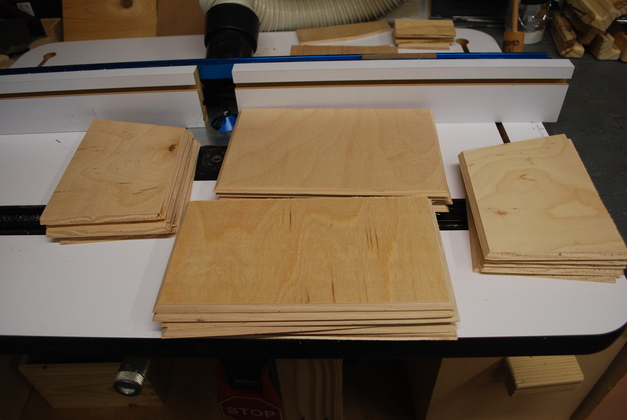
Cut to length and ripped for: shelves, sides, and support bars. The support bars (1x2s) are ripped from the edge of the shelves/sides. |

|
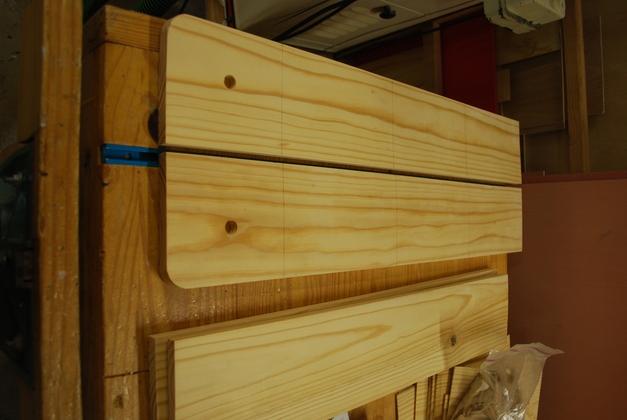
2xs8s ripped to 2x6s now marked for resawing into sides and shelves. |
|
Resawing 2x6 into, almost, 1x6 for sides and shelves. |
|
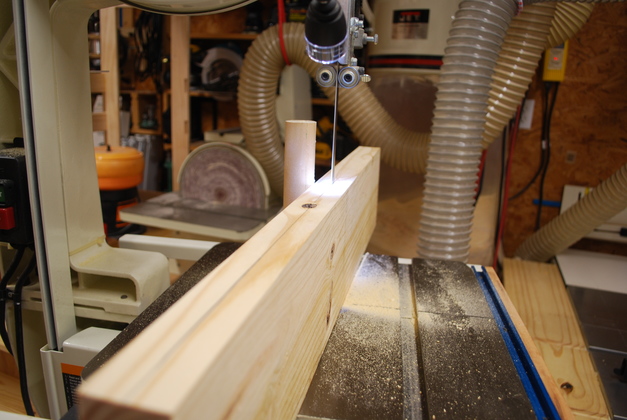
Sides, front lower corner rounded, and blind holes drilled for towel bar. You can faintly see the marks for the shelf positions on the sides. |
|
The bottom shelf has been grooved for the bottom of the tilt-out bins. |
|
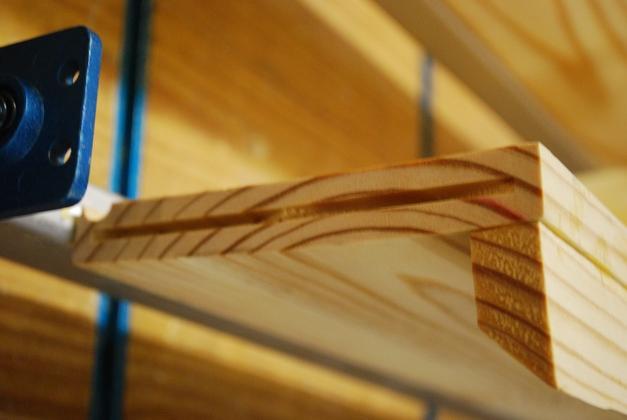
Closer look at the tilt-out bin groove. This is the tilt-out bins pivot point, its 3/8" wide, 3/16" deep, and has a 1/16" lip on the outer edge. A pic of the lower edge of a bin that fits into this groove. |
|
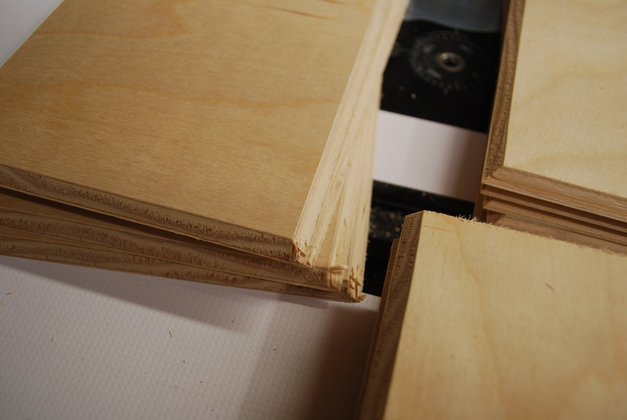
Biscuit slots cut in side. |
|
And biscuit slots in the ends of the shelves. |
|
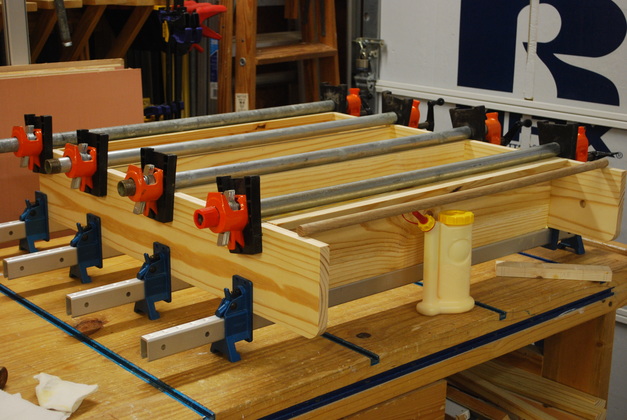
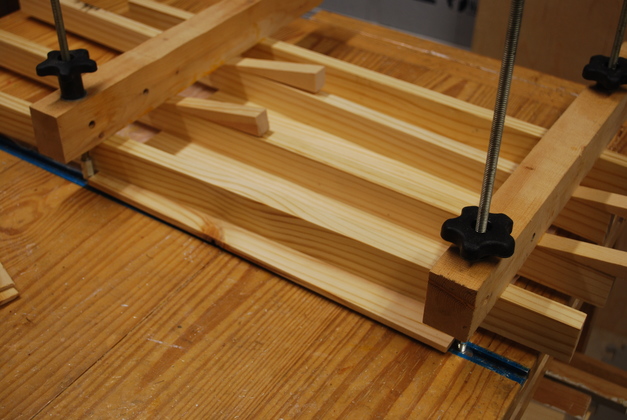
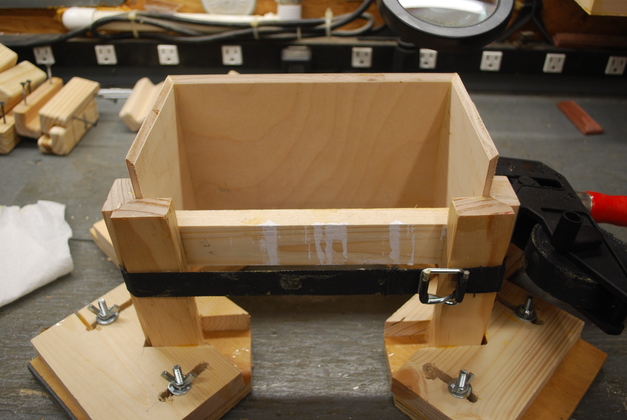
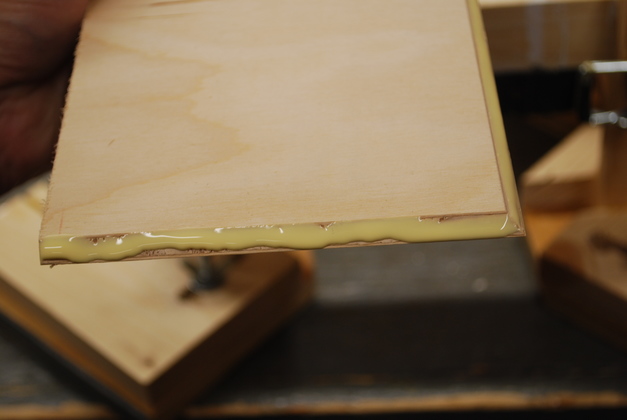
One side of the frame (far) side being glued. I find its easier to glue one side at a time, the other side has it's biscuits to keep everything aligned. The towel bar (laying on top of the frame above the glue-bot) will be glued in on both ends when the other side of the frame is glued. |
|
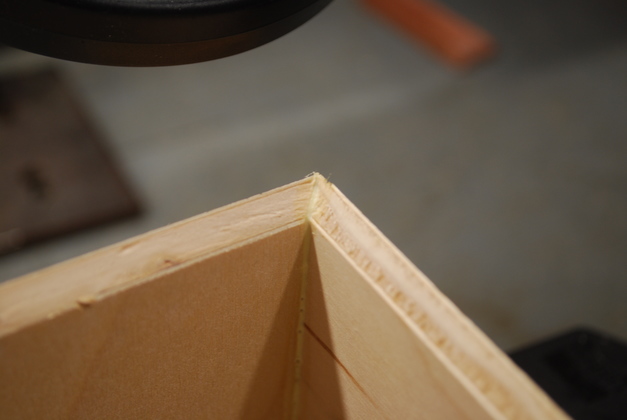
Frame glued with back. You can see the stop blocks glued to the under side of the second shelf up. |
|
Frame back being painted with clear gloss poly. |
|
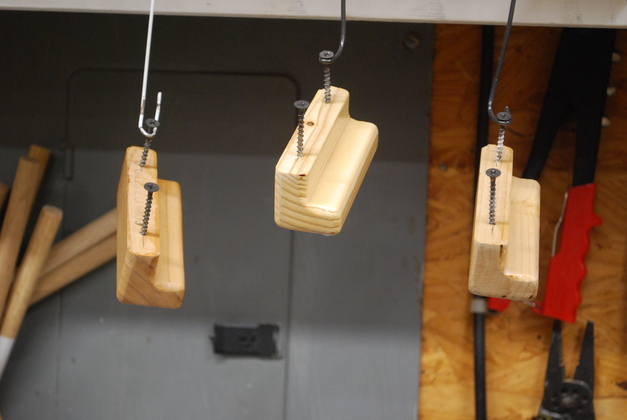
Handles with paint drying. For info on how I make handles please see my handle page. |
The cabinet doors will be made with 1x2 pine frames and a flat inset pine faced inset panel. The inset panel with have a 1/4" thick pine face with a 3/16" plywood back, laminated together. These doors are made just like the drawer fronts in our chest of drawers.
|
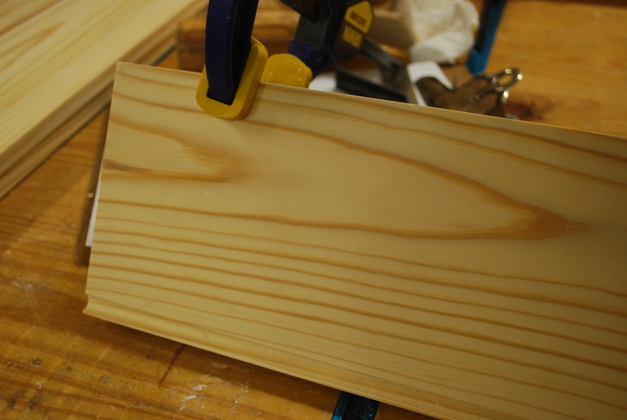
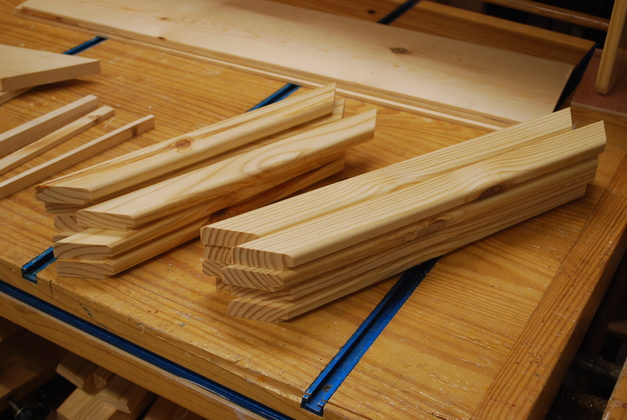
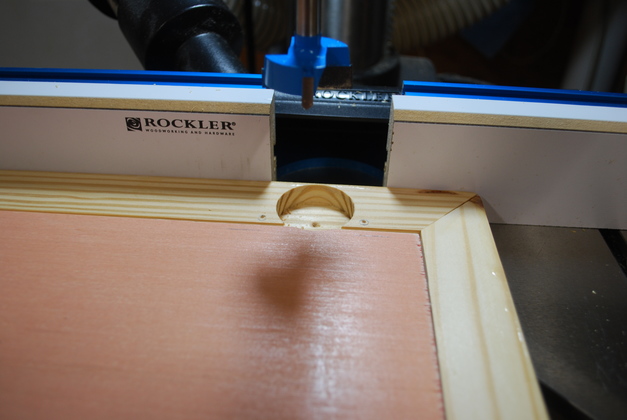
1x2 frame pieces mitered and rabbeted.
|
|
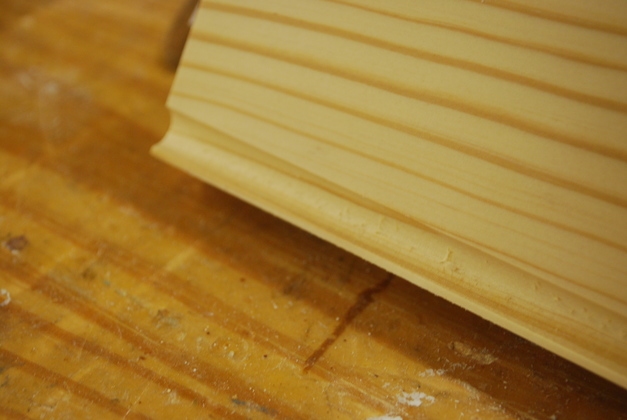
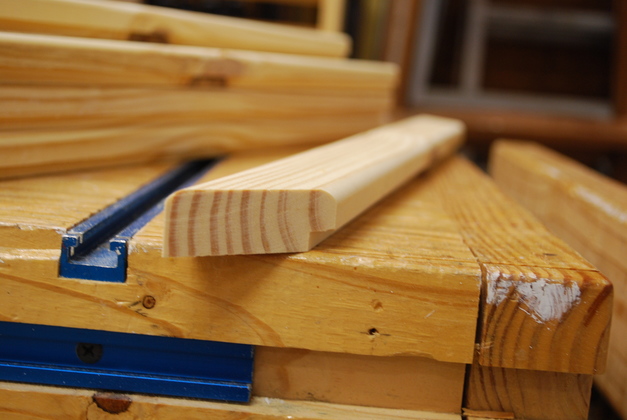
Closer look, you can see the rabbet for the inset panel and the rounded corners. Next I'll drill dowel holes using my Miter Slot Dowelling Jig. |
|
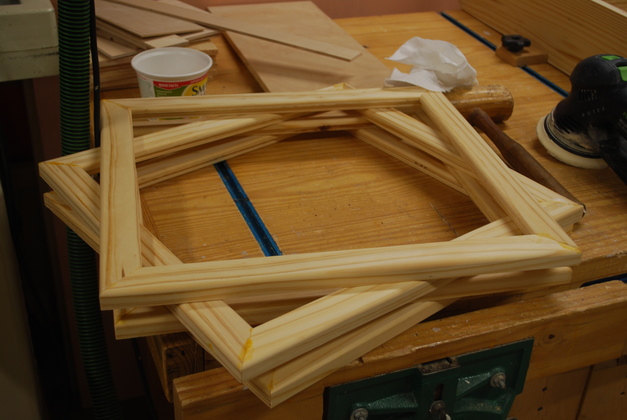
Glued door frames after gluing. Need sanding. |
|
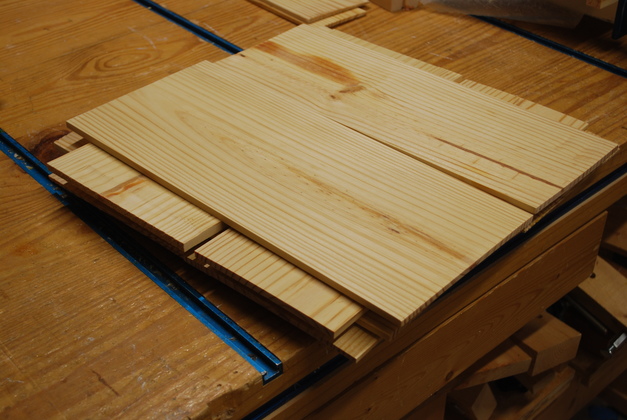
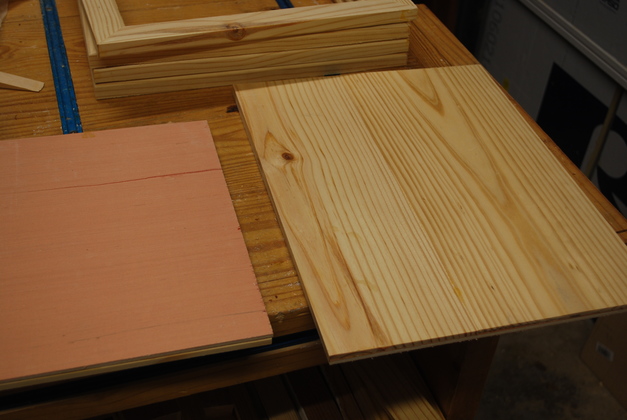
Plywood backs and resawn pine panel segments. |
|
Pairs of pine segments, ready to be edge joined, for inset panels. |
|
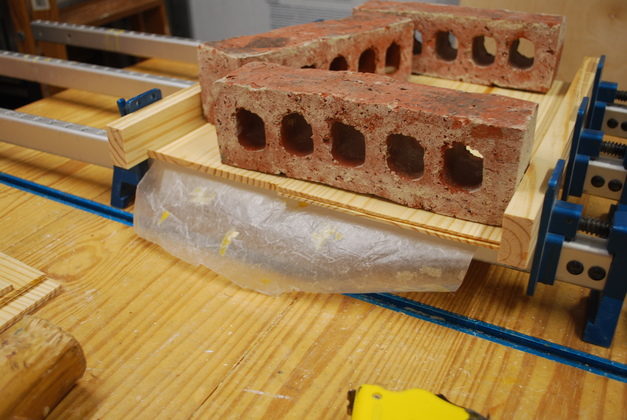
Edge joining pine segments for inset panels.
The bricks keep the panels flat while under pressure.
|
|
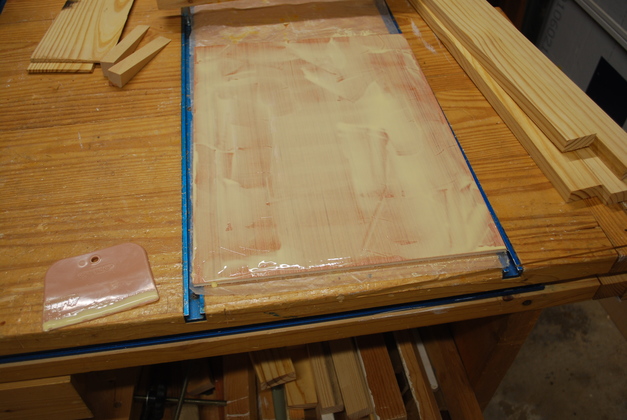
Glue spread on a plywood back ready to be laminated to it's pine panel. In the lower left of the pic you can see the Bondo spreader I used to spread the glue. The glue will wash off the spreader or, if it dries, peel off. |
|
Laminating a pine panel to it's plywood back for an inset panel. |
|
Front and back of two laminated panels. |

|
Edges of two laminated inset panels with pine down and up. |
|
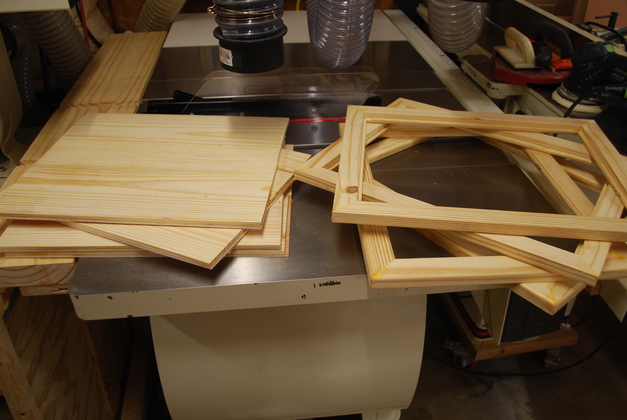
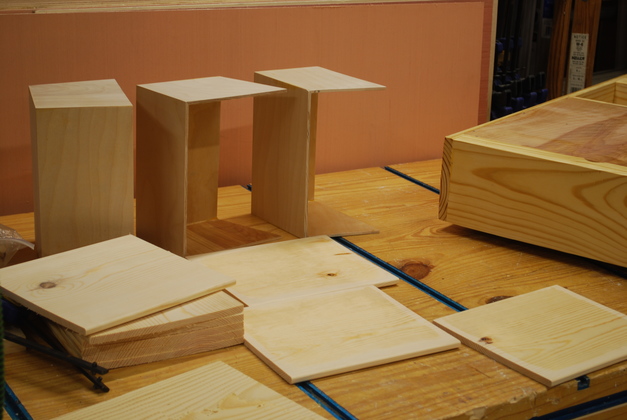
Door frames and laminated panels. |
|
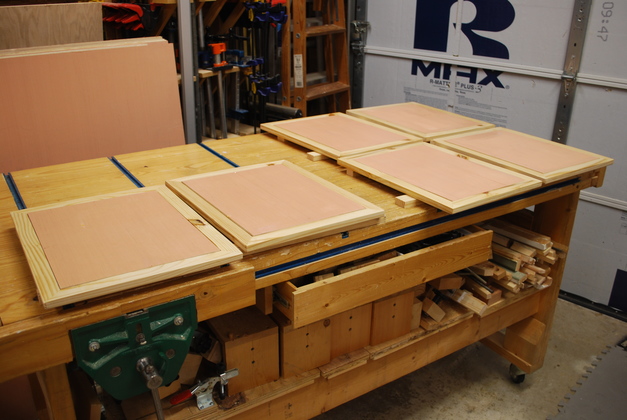
Doors with inset panels glued in, ready to paint. |
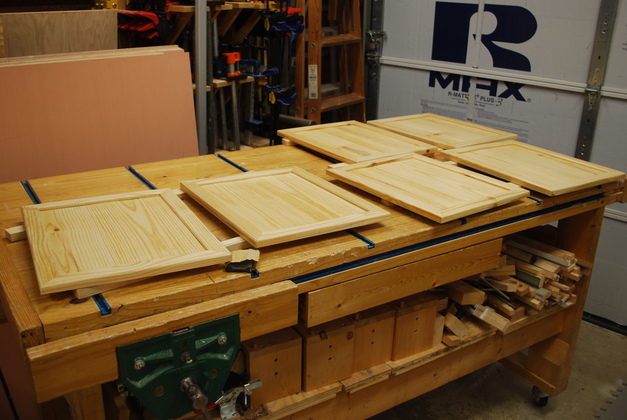
|
Painting the front side. |
|
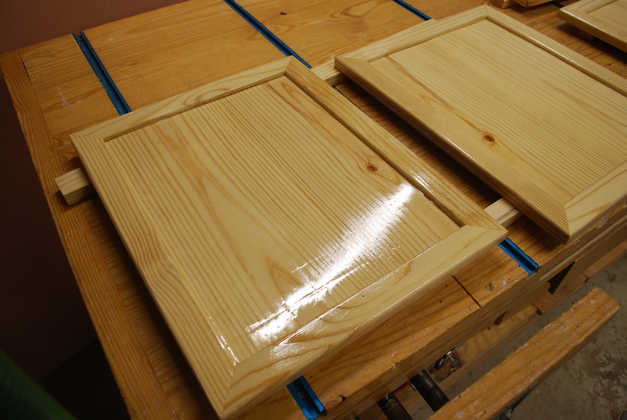
After 4 coats of clear poly (water based) you can see the shine. |
|
Drilling the pocket holes. |

|
Mounting the hinges. |
|
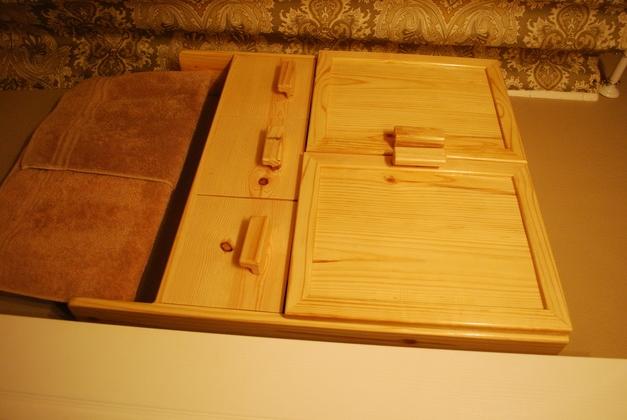
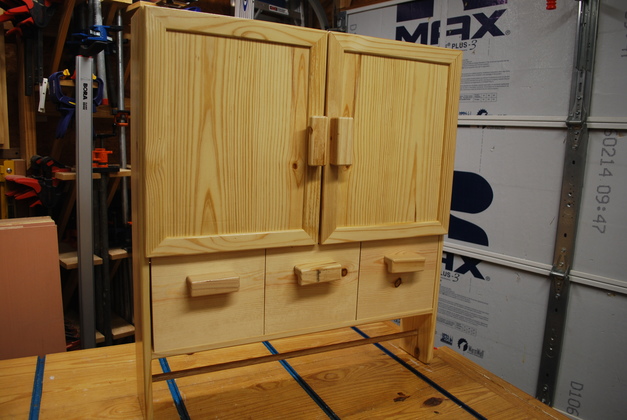
Doors mounted, cabinet finished. |
|
|
Painted handles drying.
|
|
Bin sides, backs, and both sides, cut out. Here is my tilt out bins page. |
|
Edges have been mitered. |
|
Gluing bin sides and back (shown upside down) using the short cauls. The 1x2 in front, is not glued, holds the sides at the correct spacing for the final bin. For more on how I use cauls to make boxes see my storage and plywood mitering page. |
|
Bin side and back bottom joint showing the mitered edges. This is where the bottom gets glued. |
|
Glue on the mitered edges of the bottom. You are looking at the side and back edges of a bottom. |
|
Bin box: bottom, sides and back glued together. For details please take a look at the Tilt Bin Diagram. |

|
Bin fronts, bottom edge rounded, and inside painted. These were resawed from a 1x10, they are 3/8" thick, 9-3/8" wide and 8" high. |
|
Rounded bottoms on a stack of bin fronts. Both sides of the bottom edge were rounded off using a 3/16" router bit. |
|
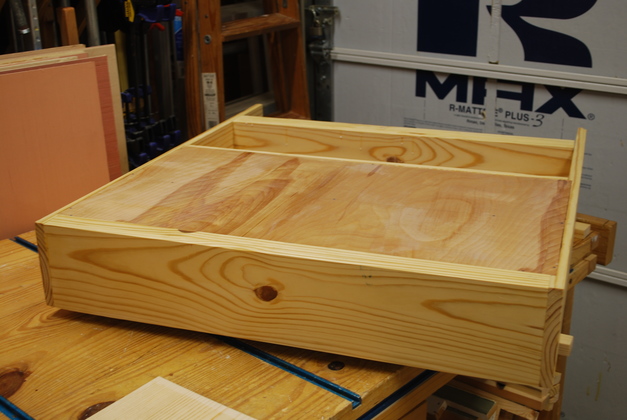
Bin box and front, inside painted, ready to glue fronts to bin box. |
|
Bin box sitting on shim for gluing front panel to box. I'll put glue on the edge of the bin box, set the bin box so it is flush with the edge of the shim, then put the panel on the table and clamp them together. |
|
You can see the box is a little over 1/8" above the bench top. |
|
Fronts glued to boxes. |
|
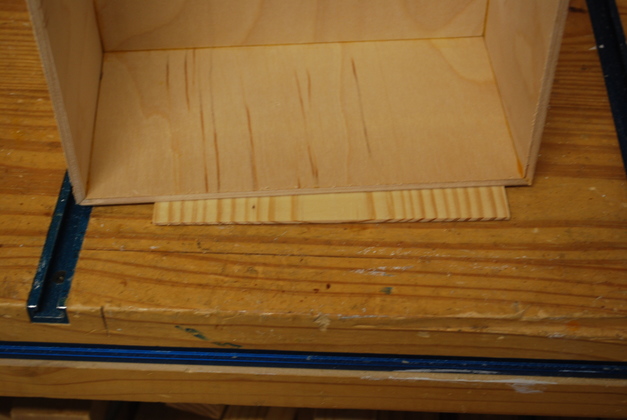
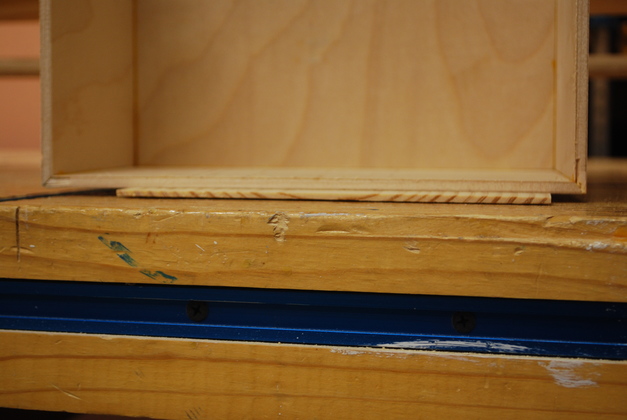
You can see how the front sticks down below the bottom, this is the pivot point and will fit into the groove at the front of the shelf. Pic of the pivot groove. |
|
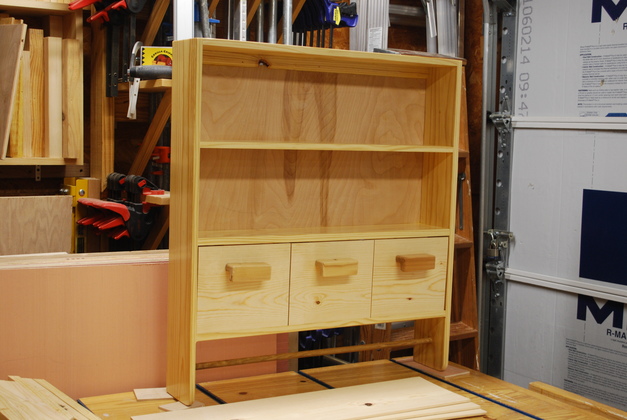
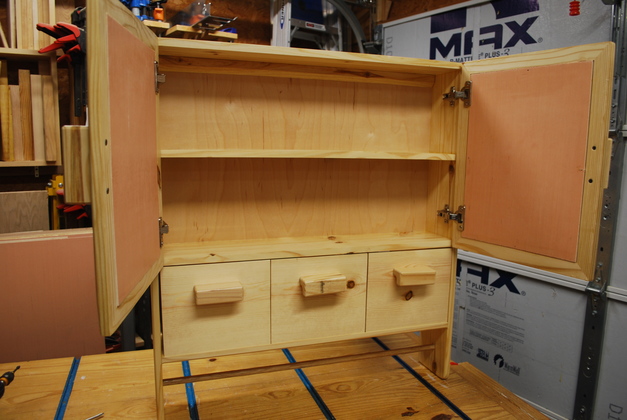
Finished bins in cabinet, no doors yet. |
|
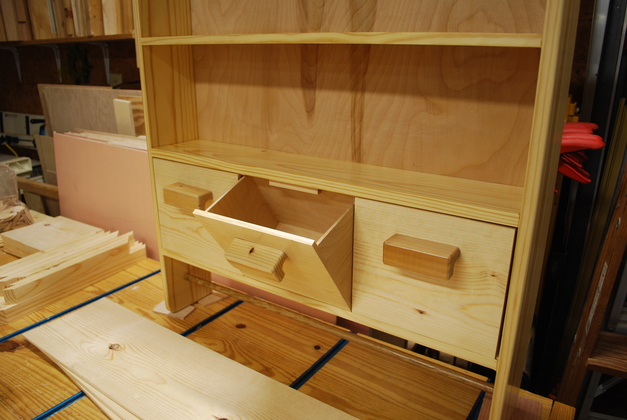
Center bin tilted open. |
|
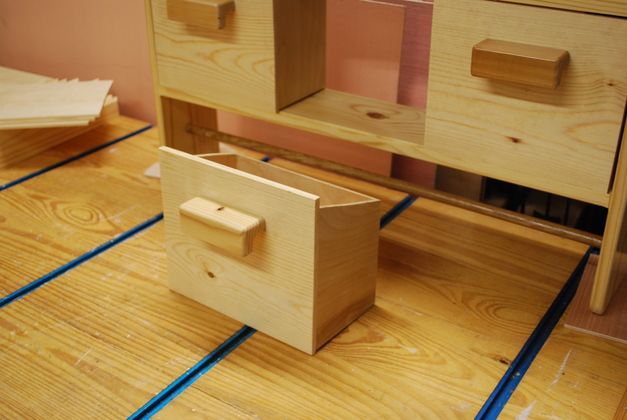
One bin removed from cabinet, this is very handy storage. |
|
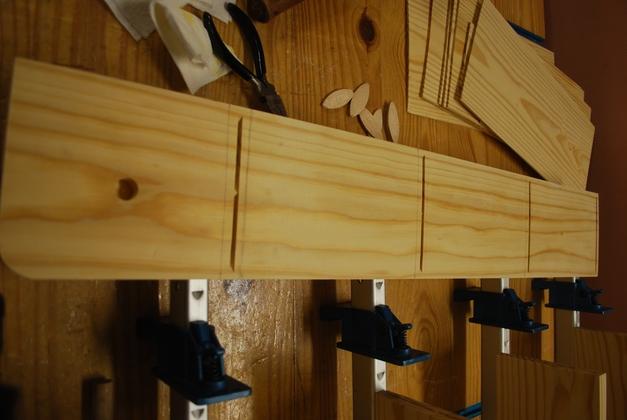
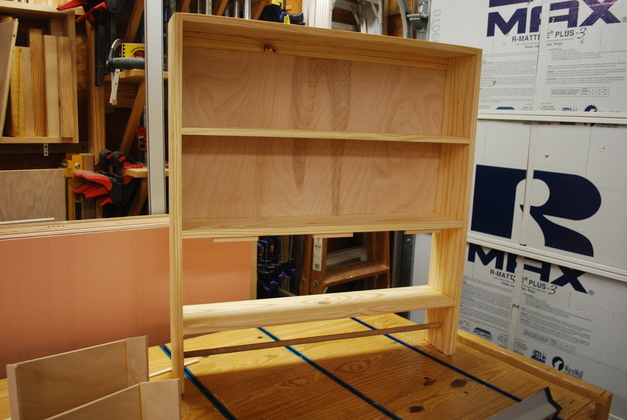
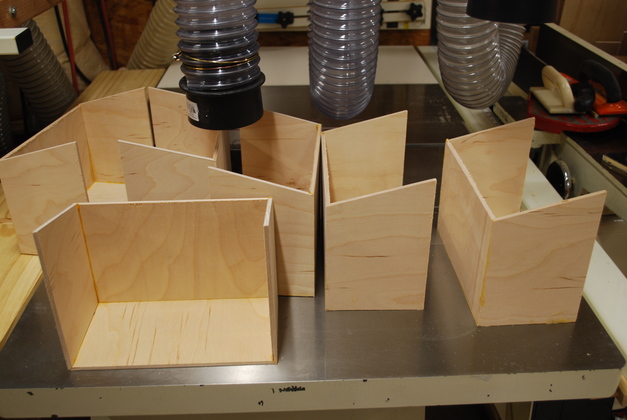
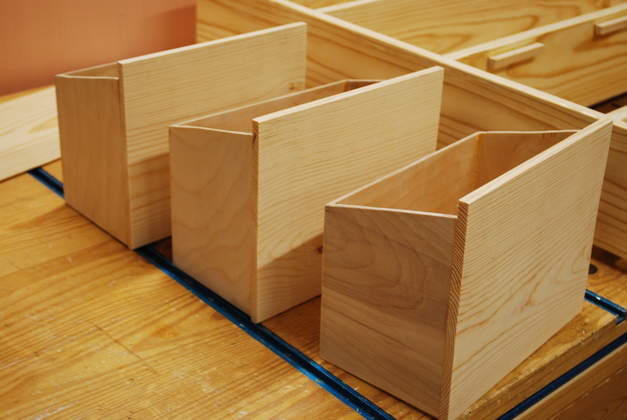
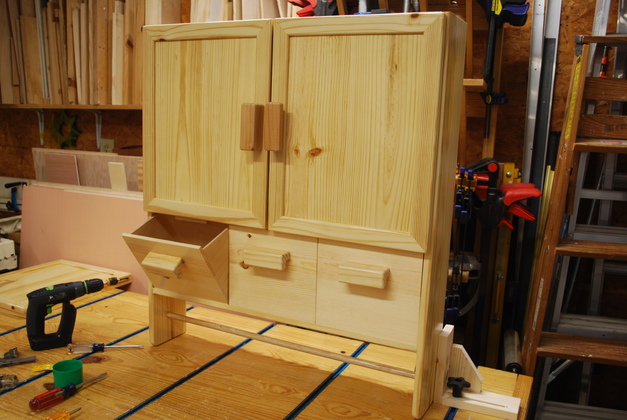
All frames complete, bins on top, but no doors yet. |
|
|
Cabinet finished. |
|
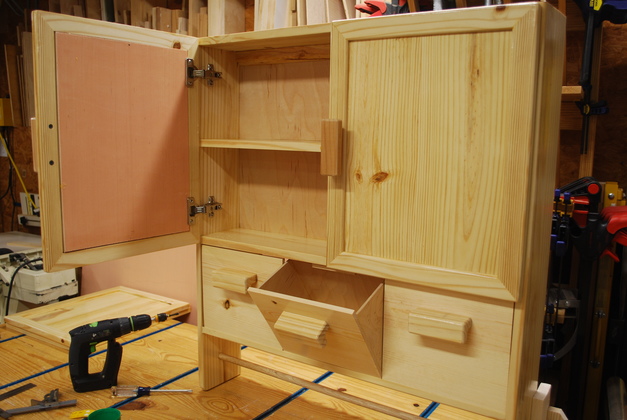
Inside look. |
|
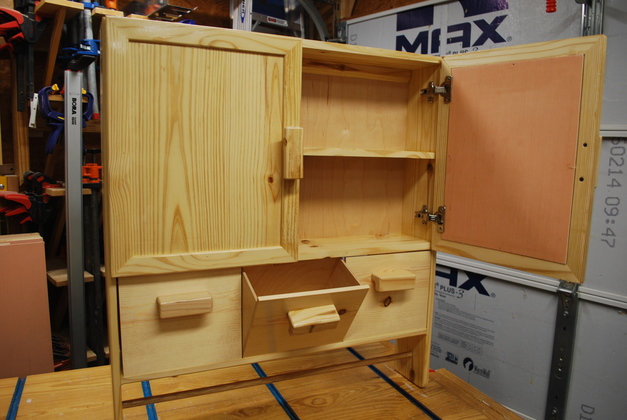
One door open one bin tilted. |
|
Another bin tilted, doors shut. |
|
|
|
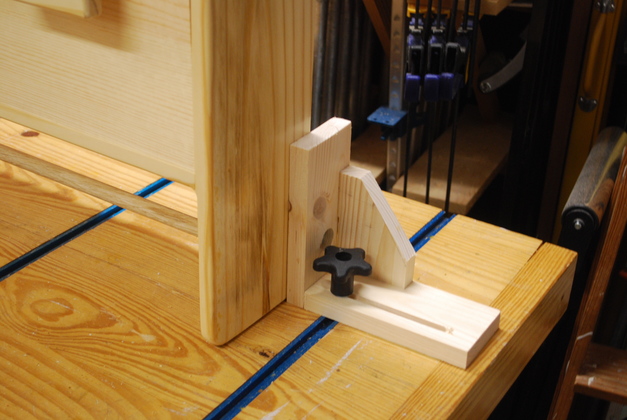
I use these square tee track clamps for a lot of different things, this is keeping the cabinet from falling when the doors are open. |
|
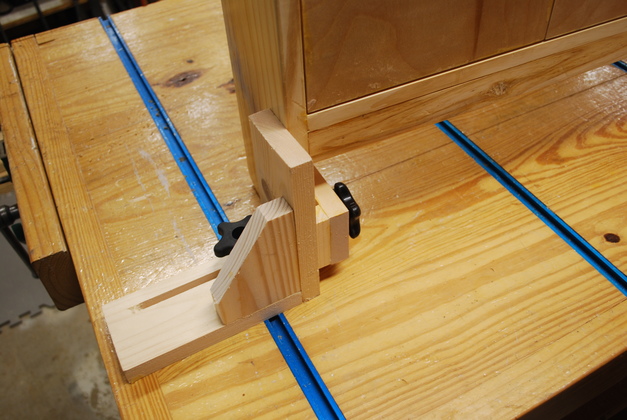
A look from the back of the square clamp. |
|
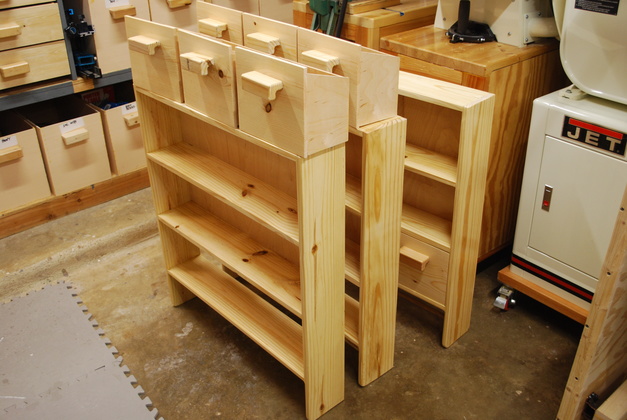
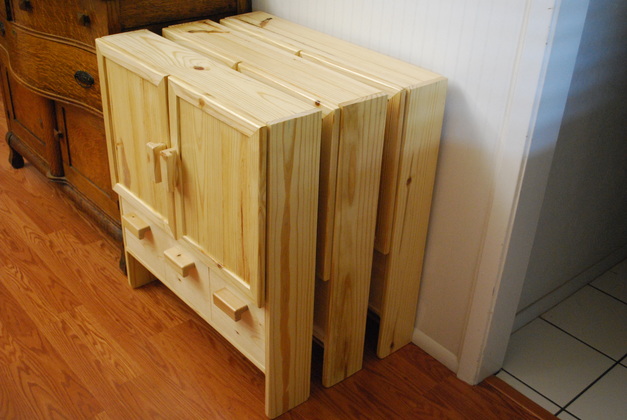
All 3 CnS cabinets ready to install. |
|
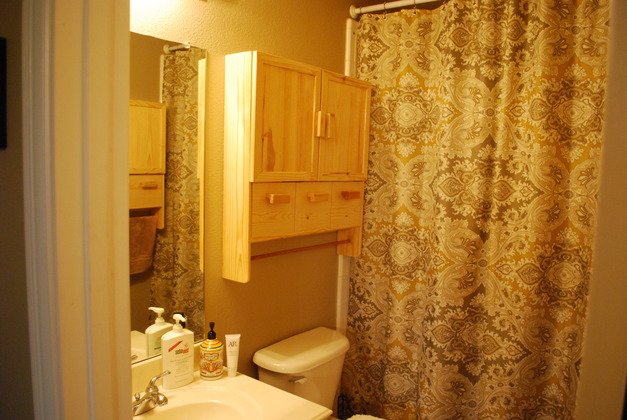
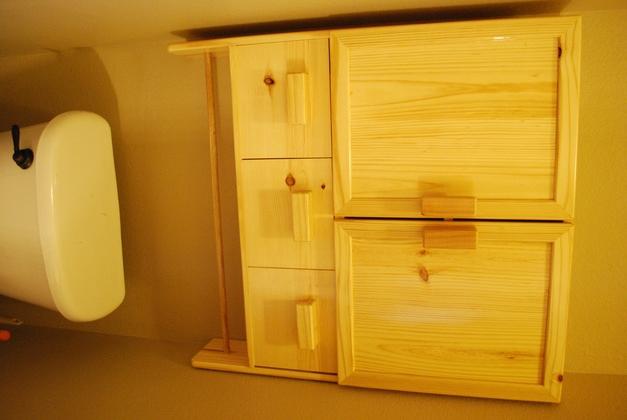
Installed in Cindys bathroom. |
|
|
North cab in Susan's bath. |
|
|
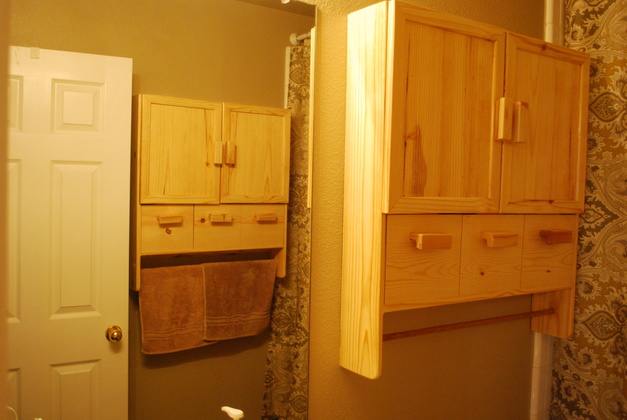
In this pic of the North wall in Susan's bath you can see the South cab in the mirror. |
|
|
The South cab in Susan's bath. |