3x3 Home Dieplate and Shellplate rack
|
07/20/13: Split from main page.
If anybody has a comment or question, please contact me at  .
.
I like to build tools and jigs to help in whatever I'm doing, so when I got an RCBS Pro 2000, I needed some where to store the dieplates and shellplates for different calibers.
The Pro 2000 has both a shellplate to hold the cases as they progress around the 5 positions, and a dieplate to hold the dies.
Changing dieplate and/or shellplate allows another caliber to be loaded.
As with single stage and turret presses, there is not a one to one correspondence between shellplates and die plates.
The rails sticking out the sides of the Pro 2000 die plates are only 1/4" long and 3/8" high, which means close tolerances on the slots and verticals.
I cut the die plate rail slots 7/16" high and 5/16" deep, then placed the verticals 3-5/8" apart allowing 1/16".
If I ever build one of these again, I'll add 1/16" to the width of each die plate column.
I clamped pieces together, checked clearances then drilled pilot holes and coutersinks for each screw and installed the screws before I removed the clamps.
I built a prototype of this with a different scheme for holding the shell plates, but I didn't like it.
You might also want to see the turret storage rack page.
Some time ago I started making things like this and built a slot jig to cut slots on a router table.
Here is my jig for cuting slots.
You don't have to resaw the two center verticals to 1", you can use 2x4s but you have to add 1" to the length of the horizontals and overall width on both racks.
Currently the width of both racks is 14-3/8" and the width between the outside verticals is 12-7/8".
A standard 2x4 is 1-1/2" thick and 3-1/2" wide.
If you don't resaw the center verticals leaving them 1-1/2" thick the width between the outside verticals becomes 13-7/8" and the overall width is 15-3/8".
This rack is primarily for RCBS and Lee dies, if you want to use Hornady (they're taller), add 3/4 inch to the slot spacing and 3/4 inch to the overall height for each additional taller slot.

|
Lumber for 2 Southwest Ammo Racks and one Home Rack cut out.
The 2x4s for the center verticals are on the right.
|
|
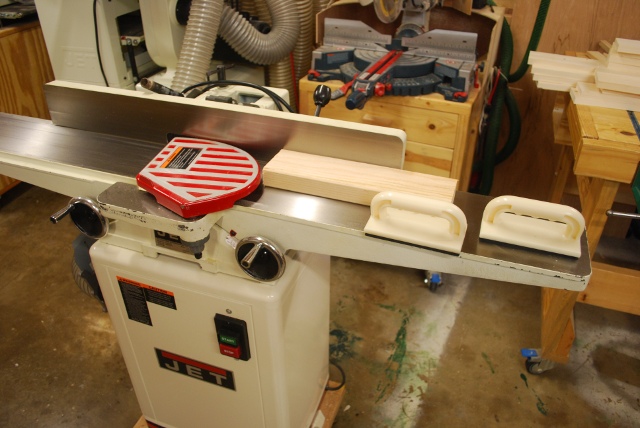
Machining one side of a center vertical with a jointer.
|
|
Center vertical with one side (right side) machined to remove rounded corners and make it very straight and flat.
The verticals need to be really flat since the spacing tolerance is close because the lips on the die plates are only 1/4".
Next I'll resaw it to 1-1/32" then run the sawed surface across the jointer to get it flat, and leaving the vertical exactly 1" thick.
|

|
Center vertical marked for resawing.
I marked it 1-1/32" (1/32" wider than 1") so I could take one cut off with the jointer.
|
|
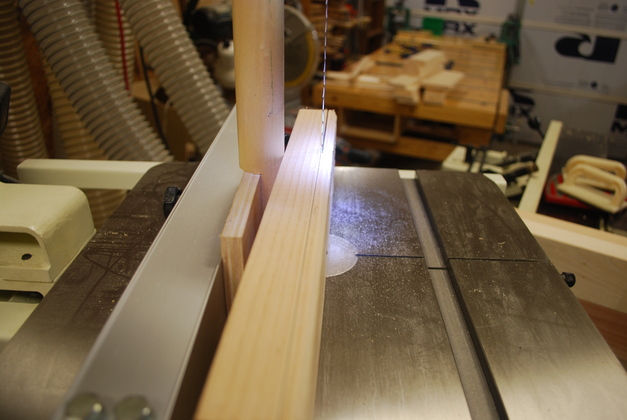
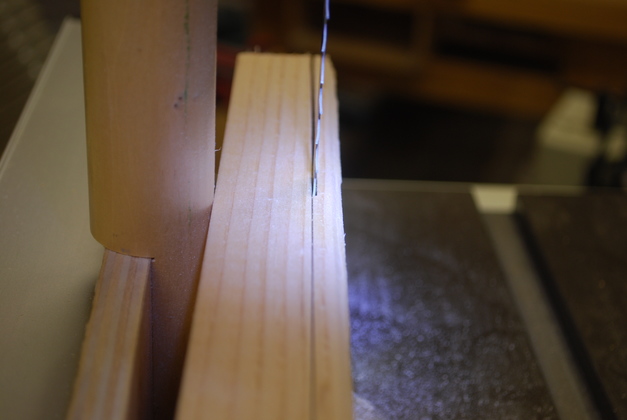
Resawing a center vertical.
|
|
Closer look at resaw operation, note I'm just taking the line with the side of my blade (blade is .025" wide).
|
|
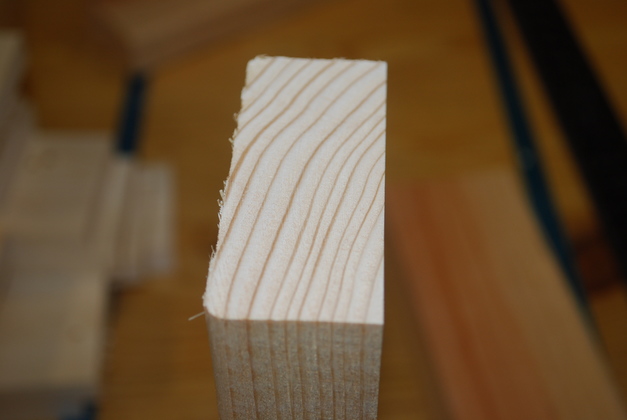
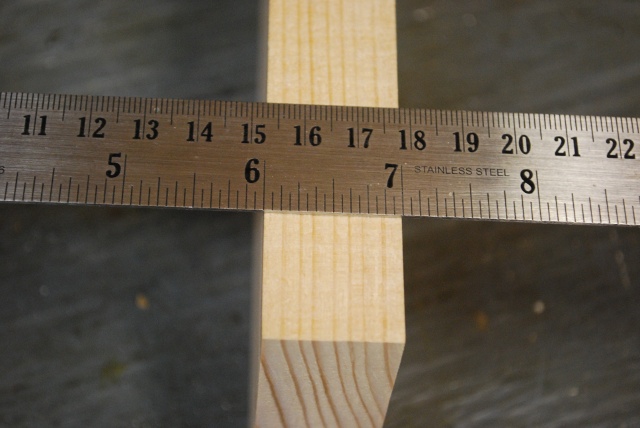
After machining (on jointer) the center vertical ends up exactly 1" wide.
All dimensions must be accurate since we have a close tolerance for the die plate guide slots separation.
|
The frame building is the same as it is for the larger die and shell plate rack.
Back to Die Plate Rack Main Page for slot cutting
The Small Home Rack (holds 6 Die Plates)
|
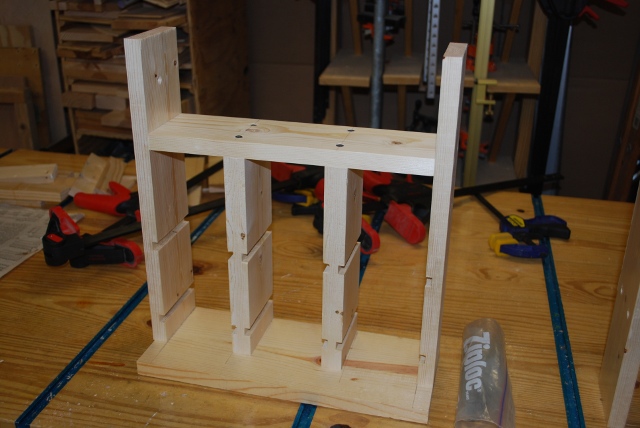
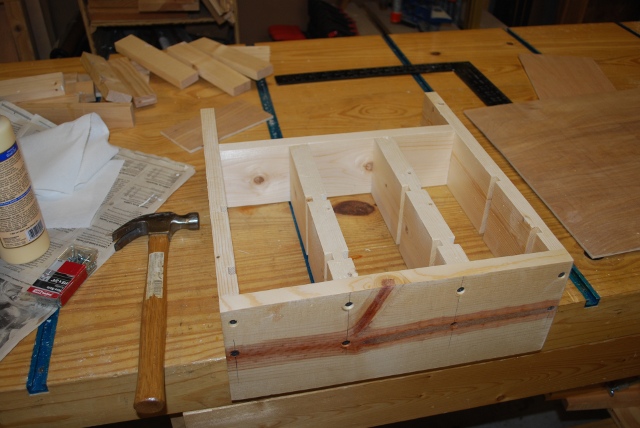
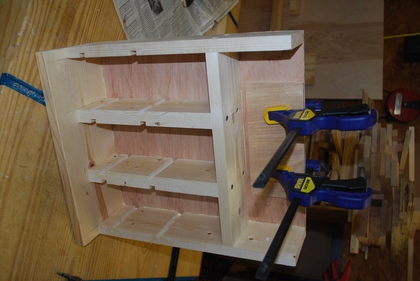
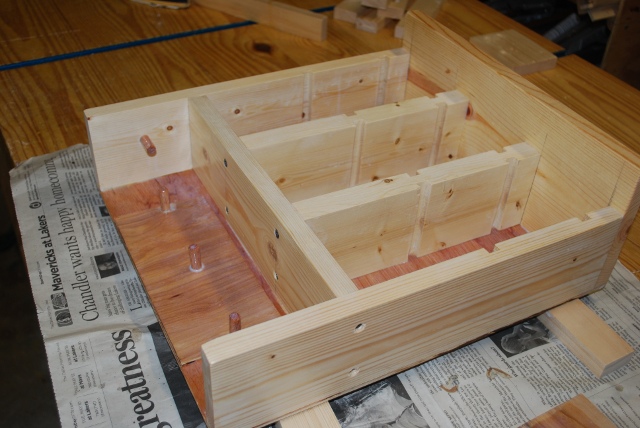
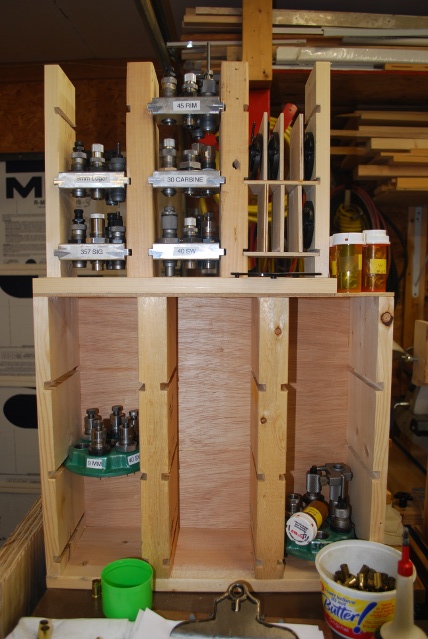
Home rack frame screwed together.
Much of the above preparation pics are for this rack too.
This rack has a 1x6" base, its free standing.
I painted and sanded the inside of the slots before screwing the frame together, it makes sure I get a good coat of paint in, whats going to be, a hard to paint area.
|
|
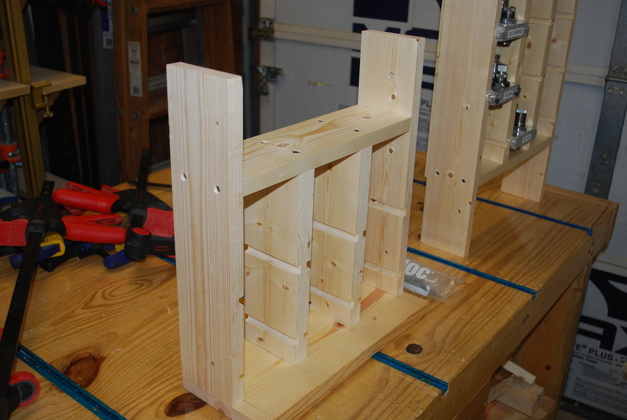
A different angle, you can see the Southwest Ammo rack beyond the Home Rack.
|
|
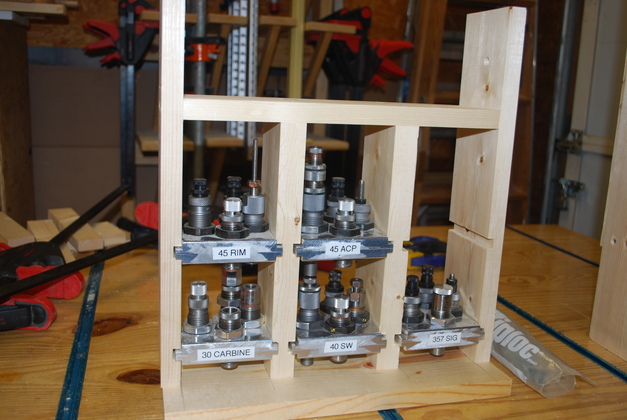
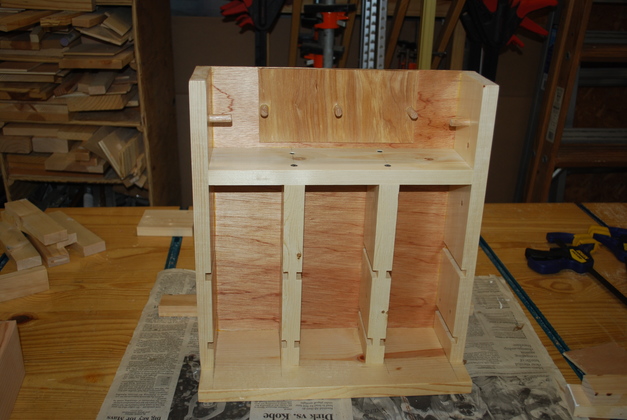
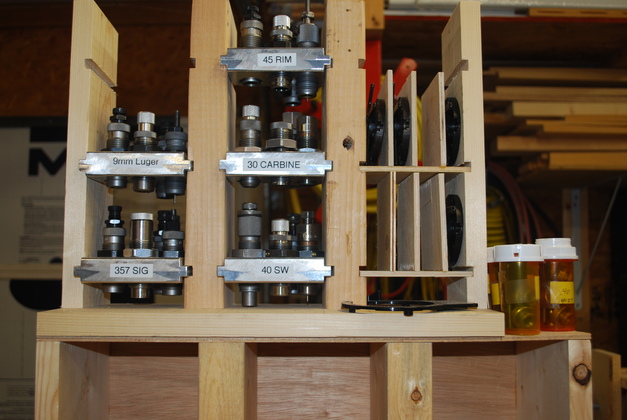
Test fit of die plates in Home Rack.
You'll note I made the top die plate spaces a little taller than the drawing, the .45 ACP and .45 Rim both have Hornady dies in the plates.
The open spot is for my 9mm die plate, if I ever get more die plates I'll make a larger rack.
|
|
Back side sanded and ready to glue.
|
|
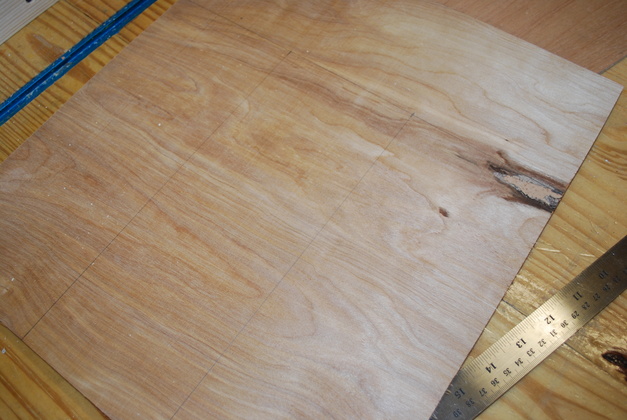
Lines on back panel for small nails to hold back down while glue sets.
|
|
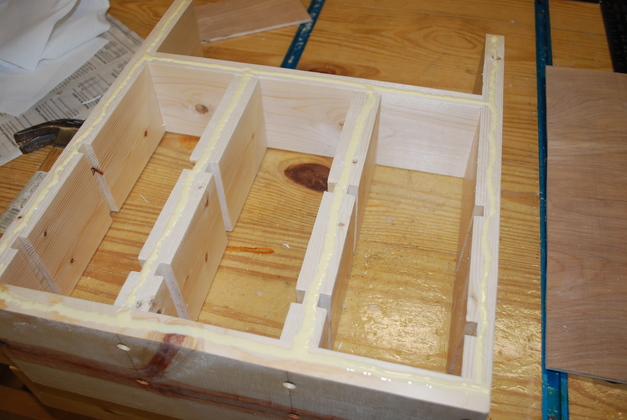
Glue beads applied and ready to nail on back panel.
|
|
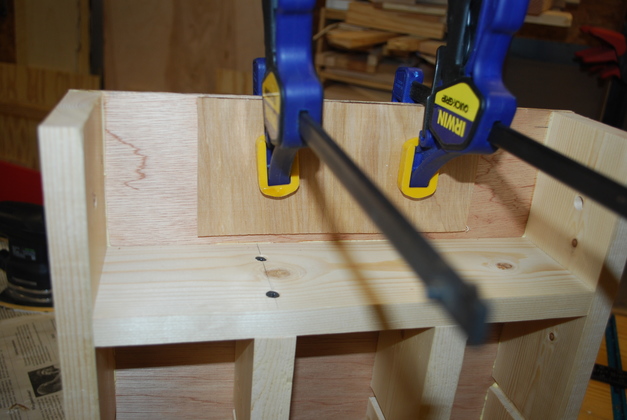
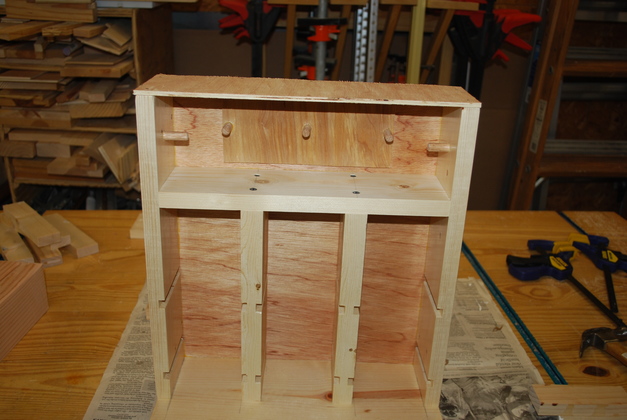
Back panel glue/nailed on, now gluing peg reinforcer (doubled) panel.
Note the base piece is a 1x6 so there is a lip at the bottom making for a little more stability for this free standing rack.
|
|
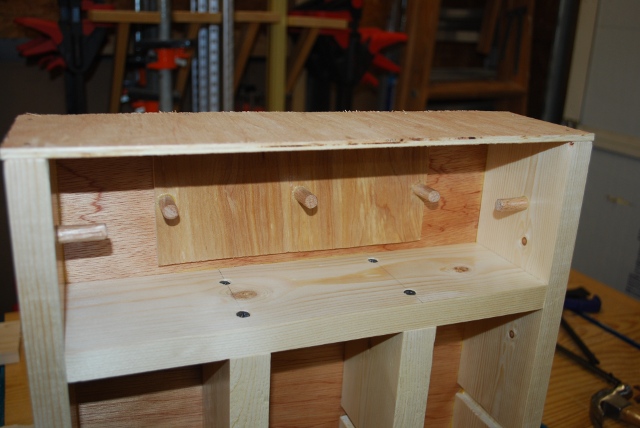
Close up of peg reinforcer panel being glued on.
I felt I needed a little thicker wood to glue the pegs into so I added another 3/16".
There will be 3 pegs glued into 3/8" drilled holes in this panel and one more on each side.
If you look closely, you can see the peg hole in the right side just under the bar clamp's bar.
|

|
Peg holes drilled.
They are in the center of a 4" vertical space and 3" inches apart.
|
|
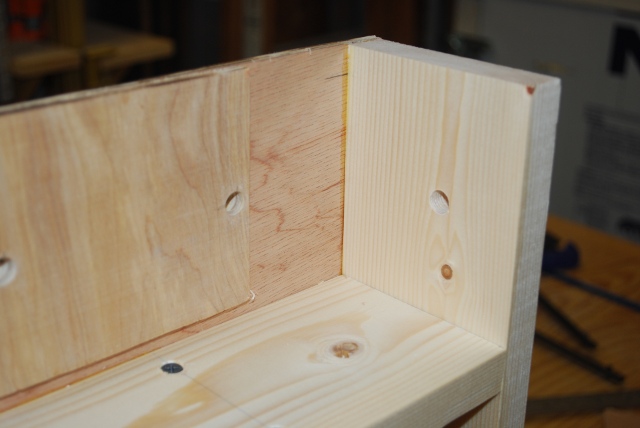
Corner view of side and back peg holes.
The peg holes in the side frame are "blind", that is they're about 1/2" deep and don't go all the way through the side.
|
|
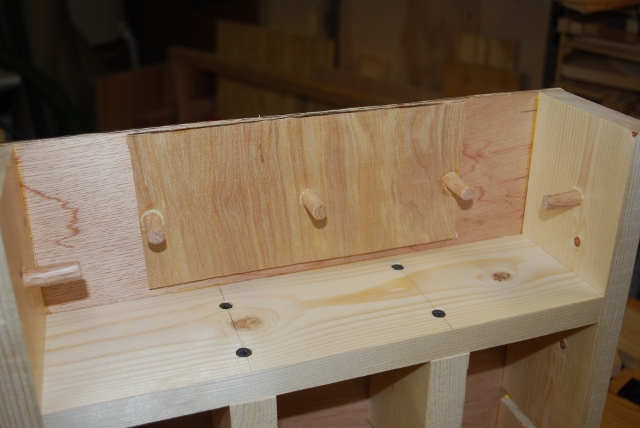
Pegs glued in.
I'm going to put a top on, but not until I paint the inside of this area.
|
|
Painted.
Its really interesting how the polyeurethane brings out the grain in the paneling, look at this pic and the one above.
|

|
Underside of top panel painted.
Again, look at the difference in grain in the glue spots I haven't painted yet.
|
|
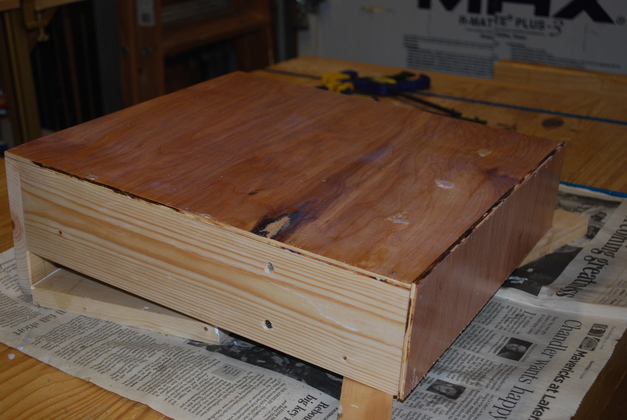
After paint dried.
|

|
Painted shellplate area.
|
|
With top glued on, remember, the underside of the top is already painted.
|
|
View better shows shellplate storage pegs.
|
|
Back and top painted.
|
|
|
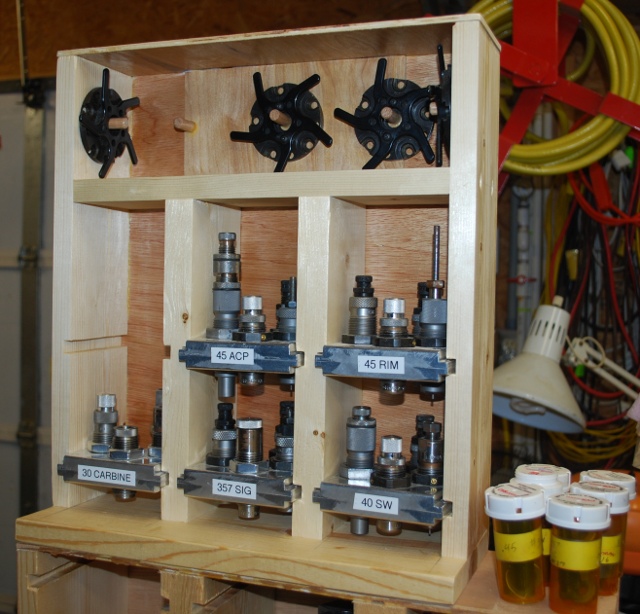
The finished rack.
Note the .45ACP die plate has a Hornady seater die which is about an inch taller than RCBS and Lee dies.
I made the top die plate storage row of this rack taller than the lower row to accomodate some Hornady dies.
The dies stick out the top and the bottom of the die plate so the die lengths set the clearance required for plate storage.
BTW: the RCBS die plates have a casting lip on the front I had to file off so I could get the labels flat.
|
|
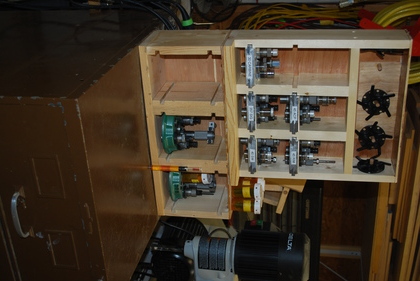
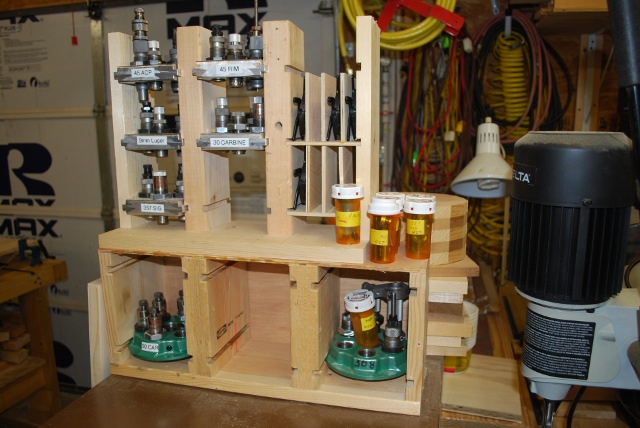
Closer view showing die/shell plate rack on top of cut down turret rack.
Note the .45 ACP and .45 RIM have some Hornady (tall) dies.
The turret in the center belongs to Grandson Kyle for his 9mm, the turret on the right is for .308 Win.
The Rx bottles on the right hold shellholders and seater plugs for use with other presses.
|
The Prototype Rack
|
This is so experimental, I haven't even put a top or a back on it yet.
The Rx bottles on the right hold plugs for the seater dies and shell holders still used with the turret.
|
|
Pic as it sits on top of the old turret rack, now empty, cause the dies are all on die plates now.
I'll cut the turret rack down, I only need three now instead of 8.
Notice one turret with all sizer dies, I still use the turret for sizing and occassionaly pulling a bullet.
|

|
The original insert made to hold the shell plates.
This just slides into a normal die plate slot.
|
|
The prototype on top of the cut down turret rack.
|