| 
| 
| 
|
|
| |||
|
|
|
|
|
|
| |||
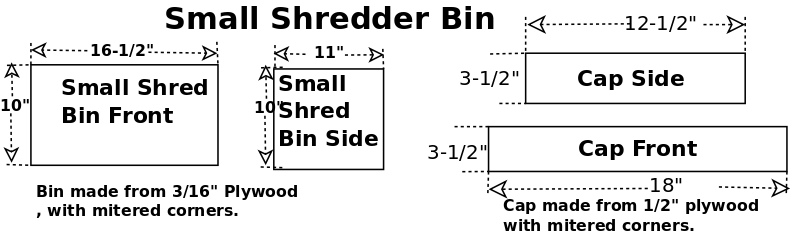
| Diagram | Trash Bin | Shredder | Trash Bin Cap |
| Mini Trash Bin | Finished |
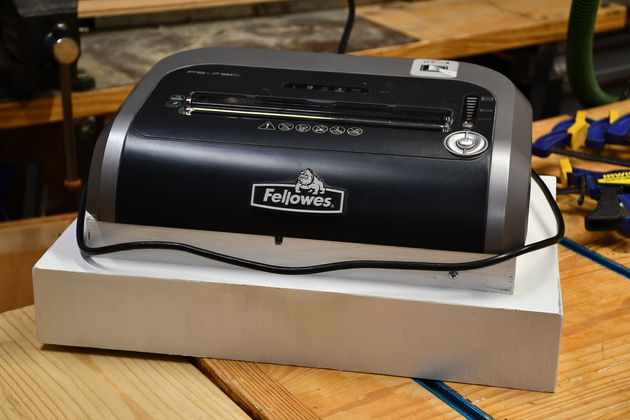
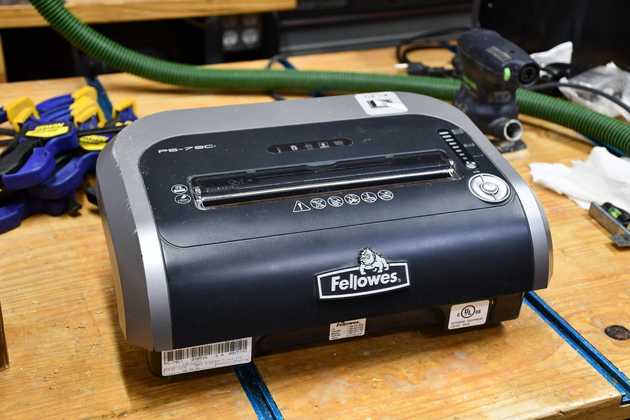
The shredder is a Fellowes PS-79C which we have used for several years. It works great, it'll shread 5 or 6 pages at once, credit cards, even CDs. We use the shredder almost monthly when odds and ends need shredding, but annually (usually in February) I shred all the documents from two years ago. The shredder has a built-in shred bin which fills 6 or 8 times when I do the annual document shred. We use plastic shredder sacks in the bin to collect the shreds, but the bin has a few edges and screws that make it difficult to remove the plastic sack without tearing. The built-in bin also makes the shredder difficult to store in our tiny house. It occurred to me, on the annual shreds, wouldn't it be great to be able to shred directly into one of our 39 gal trash bins.
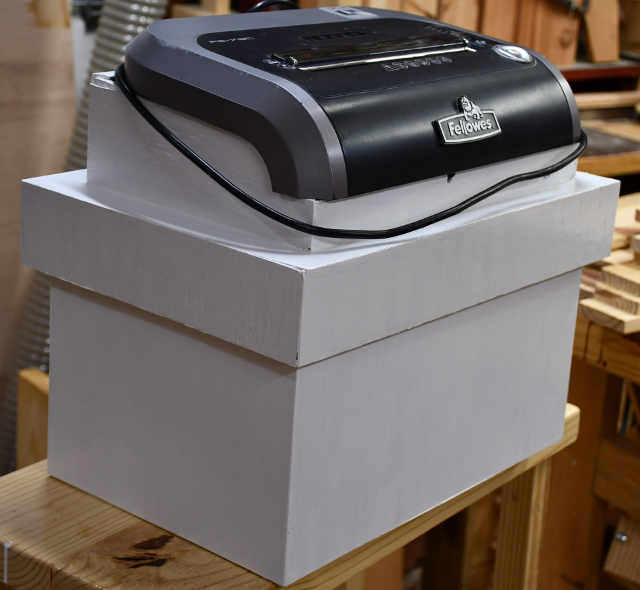
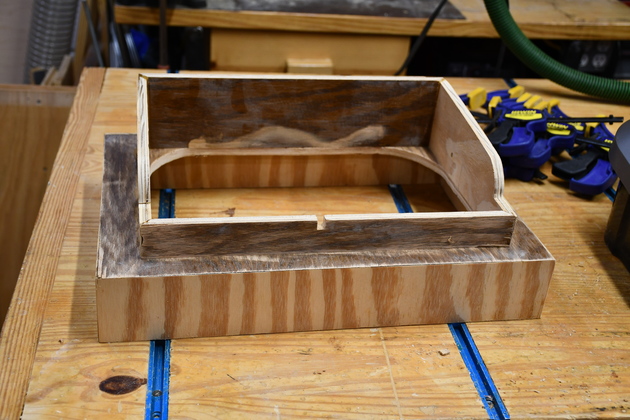
I removed every thing below the shredder proper, and built another trash bin cap which had a hole for the shredder instead of a door.
I'm building a wrap around on top of the cap to match the shredder's dimensions.
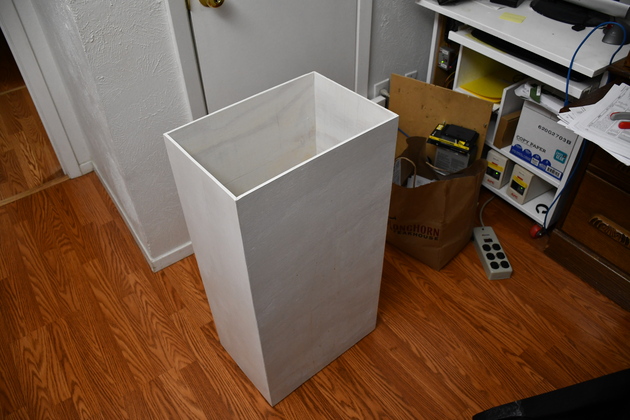
I'll also build a mini-trash bin which would be adequate for the infrequent shred sessions
The mini-trash bin will hold about .9 ft³
There is a safety switch, that deactivates the shredder if the bin is not closed, which I'll have to disable or add a defeat.
Of course, it is always best to keep all the safety features, you don't want this thing running when its not in it's proper position.
The safety switch is recessed in a slot in the front of the shredder's lower front edge and is normally operated by a plastic fin on the bin's edge that depresses the switch when the bin is closed.
I decided to make it simple so I measured and drove a 1" screw into the wraparound so it pushed the safety switch.
Shredder

|
The only pic I had of the shredder before I disassembled it. It used to be stored under the roll top, it restricted the legroom. |
|
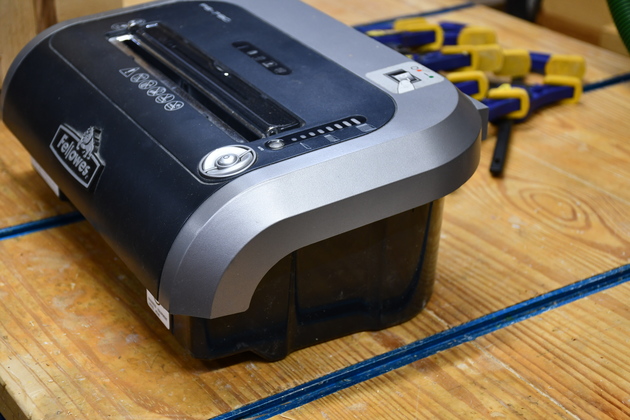
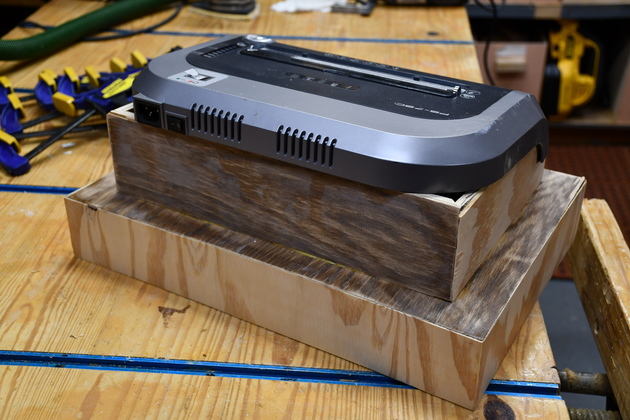
The shredder after removing wheels and bin. |
|
Note the curved side. |
Cap
|
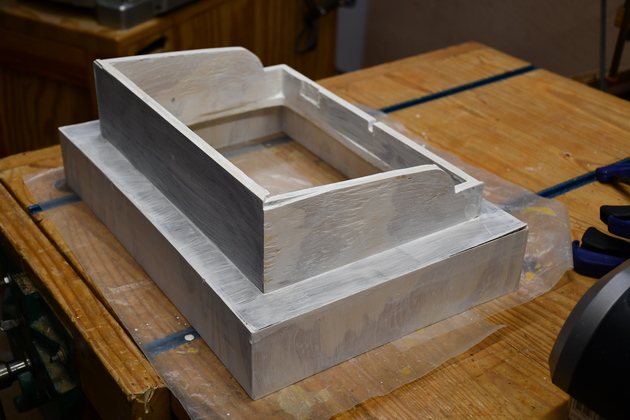
The shredder's trash bin cap, with wrap around, glued ready to paint. All the corners are mitered except where the shredder's wrap around meets the cap proper and the bottom edge of the cap. I used the same clamping cauls to make the cap as the mini trash bin. I'm going to paint this so I made it out of scrap 1/2" oak plywood. |
|
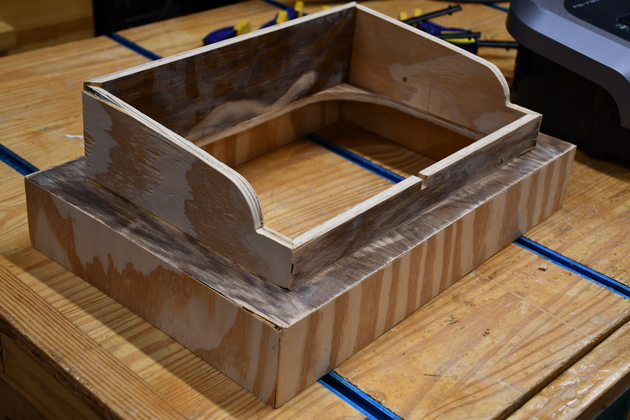
Perspective view showing the shape of the shredder's wrap around. The wrap around is glued and screwed to the cap. |
|
Shredder, trial fit, on the wrap around, note how the curves fit. I used a coutour guage to recreate that. |
|
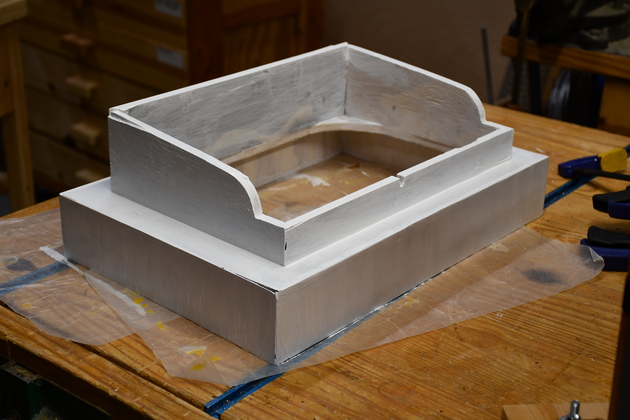
Front view of shredder on the bin cap. I don't plan to attach the shredder to the wrap around, gravity should handle that. I'll just pick up the cap. |
|
From behind, note I didn't try to wrap aound the rear corner. I may put some fillets in the two back corners. |
|
Primed. |
|
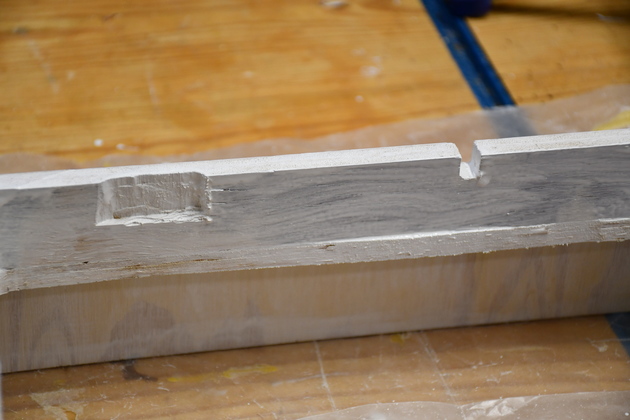
Front edge of wrap around, note the notch in the center clears an alignment blade and the recess to the left clears a voltage switch. |
|
First coat of paint on the outside. |
Mini Trash Bin
|
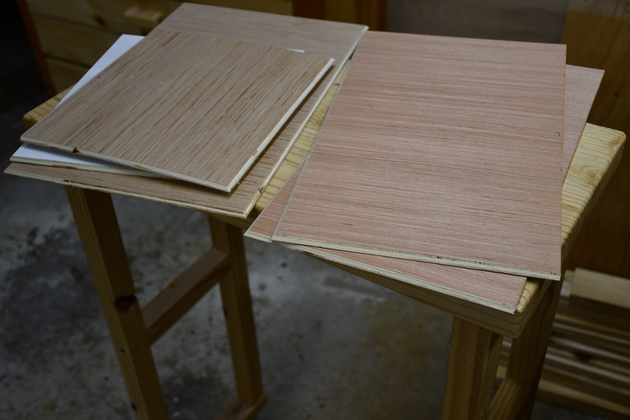
All 6 pieces (3/16" plywood) of the shredder bin cut out and the edges mitered. I make this like I have made all my other bins. I cut these on the table saw so I'm confident they're relatively square. |
|
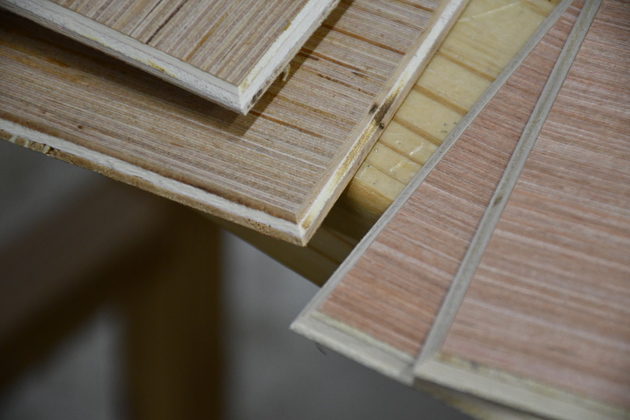
Closer look at the mitered edges. More info on how I miter the edges. These were mitered on my router table using a 45° chamfer bit. |
|
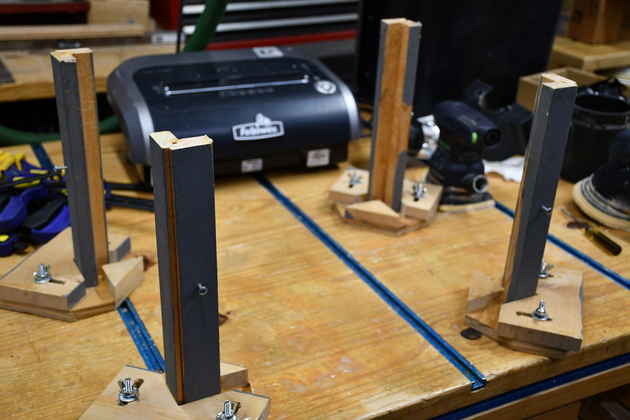
Clamping Cauls set up. I call these clamping cauls, although the "clamp" just makes sure the sides don't fall down while I'm applying glue. I use these to make all the edge mitered boxes (about 75 to date), I have 3 different sizes, I even make the trash bins with the 24" clamping cauls. |
|
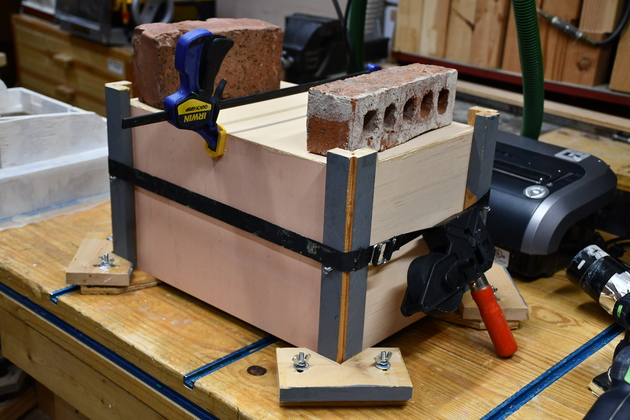
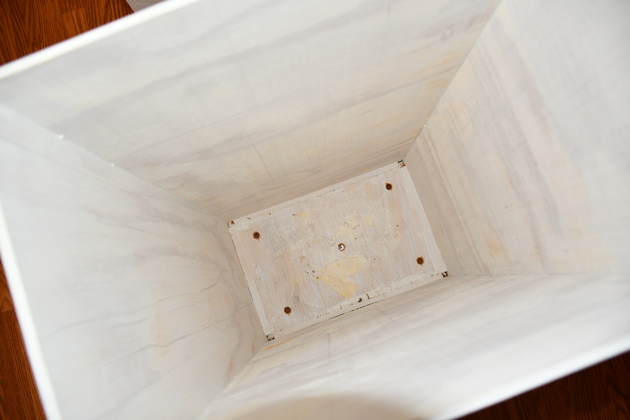
Shredder bin in glue. Note the strap clamp around the cauls and a little extra weight on the bottom (top). I always glue these upside down, so I can glue the bottom (keeps the box square) at the same time as the sides. |
|
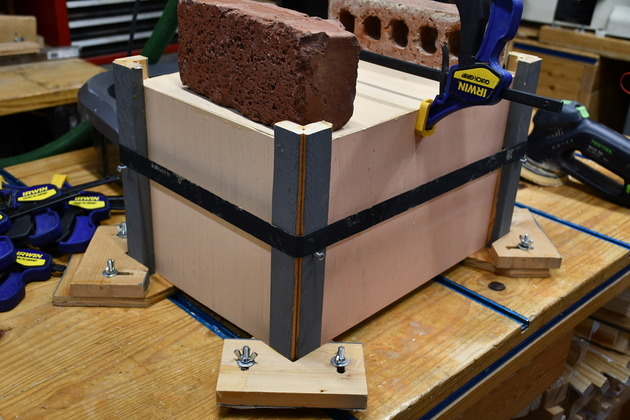
I don't have to worry about squaring the box, the bottom does that. The extra clamp keeps the sides from bulging. |
Finished
|
|
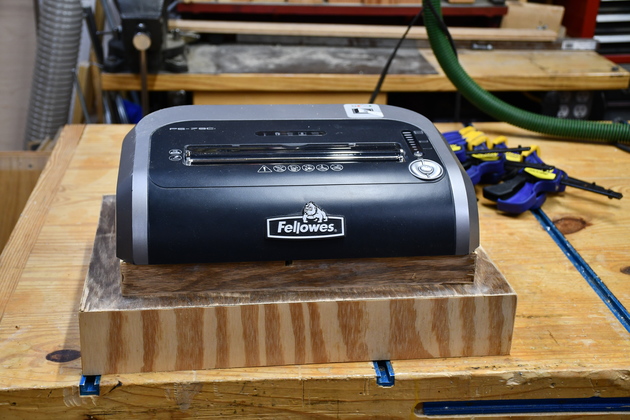
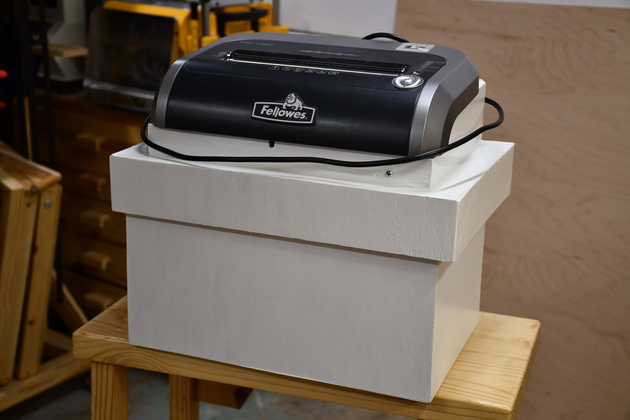
Shredder on the trash bin cap. |
|
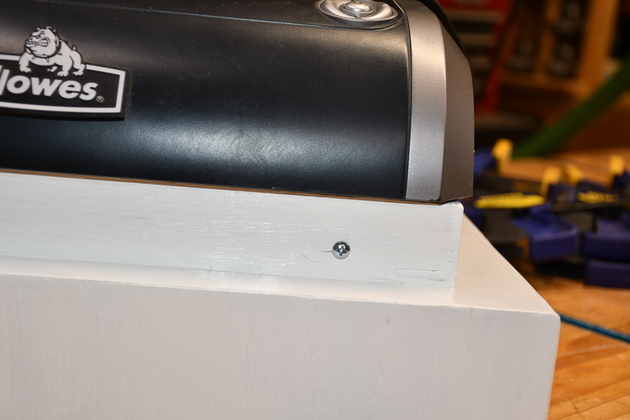
The screw I added to press the safety switch. You can still pick up the shredder proper from the cap, I blunted the screw a little so it wouldn't scratch the plastic. |
|
Shredder on it's mini-bin. |
AnnualShred
After new years, I shred two year old bills/statements etc.
In January, I go through all our files removing the two rear old stuff, and stapling the past year's bills/statments into groups.
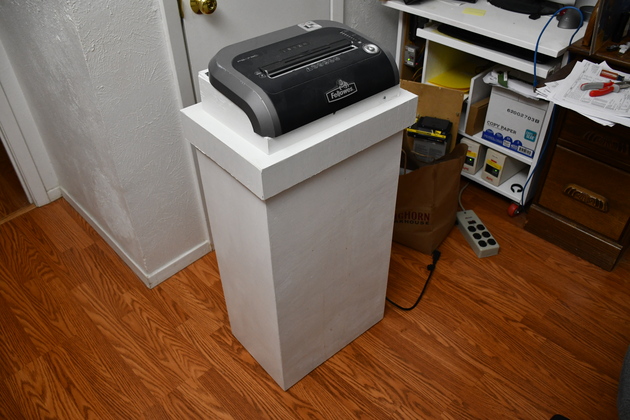
We have had the Fellowes shredder for several years, but having to change the bag in the small base container was a pain during the annual shred.
So last year (2020) I decided to mount the shredder on a wooden base that would sit on top of one of our trash bin bottoms for 39 gal. trash sacks.
|
Bottom of kitchen trash bin in the office. |
|
Looking down into the bottom of the trash bin, note the air holes for easy bag removal. |
|
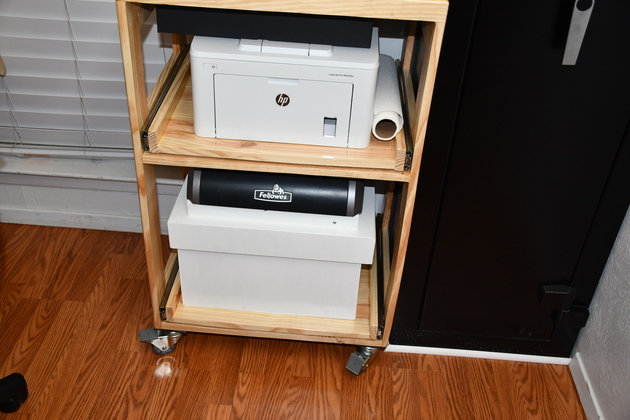
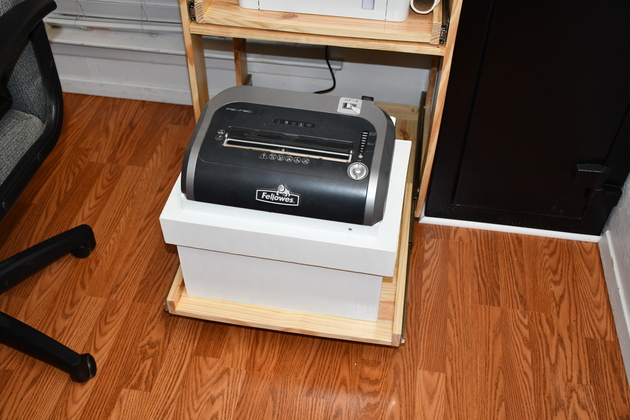
The shredder in it's normal place on the bottom of the office roll-around. |
|
Shredder slider pulled out. |
|
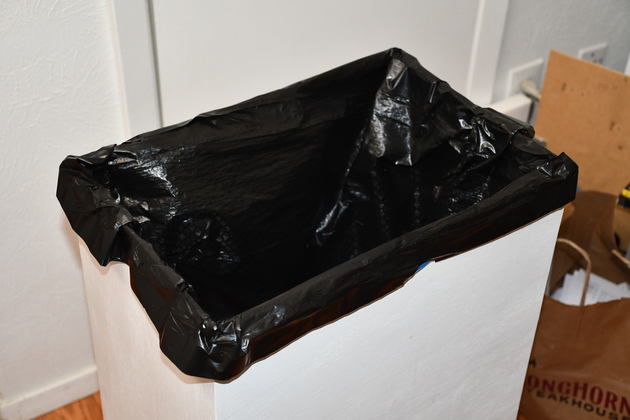
39 gal. trash sack in the trash bin, ready for the shredder. |
|
|
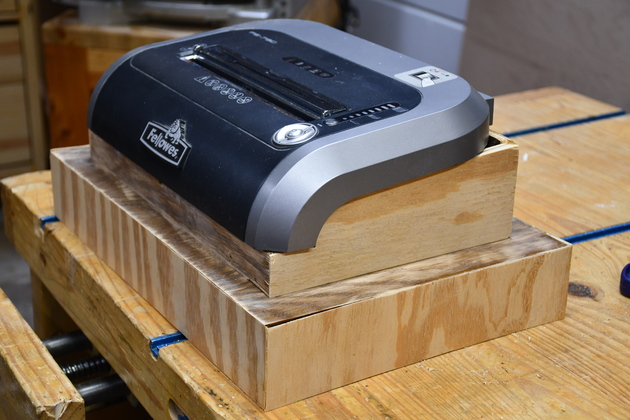
Shredder sitting on top of the trash bin, ready for the annual shred. |
|
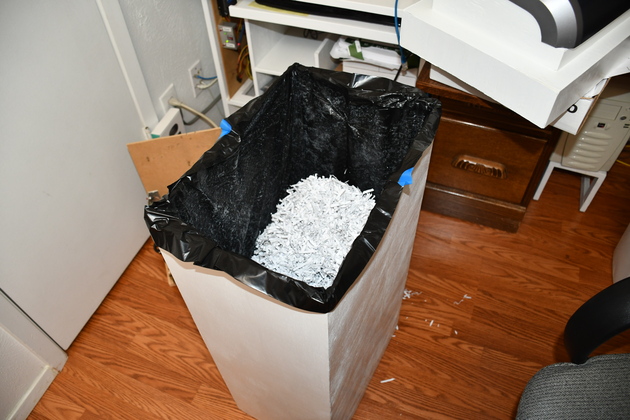
I'm almost through with the annual shred, so I stopped and took a look at the trash bin's contents. I ended up using 1-1/2 39 gal. bags for the entire shred. |

|
|