12/21/16: Page Origin.
I have been having a little trouble stepping up on the 24" tall shop stools I have owned since the middle 60's, so I decided I needed to make some step stools.
Kyle had also said he needs a stool to use with his loading bench, so this should solve both requirements.
I got some ideas from familyhandyman.com and another from diypete.com, the rest of the ideas I found laying around in my shop.
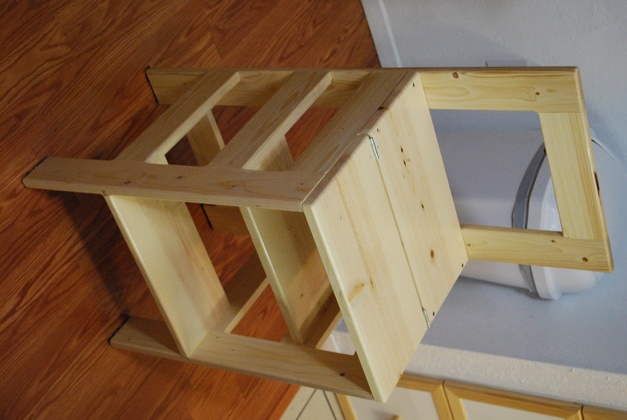
Assemble the two front side frame pieces then the back frame and steps.
Assemble the frame sides to the back along with the steps.
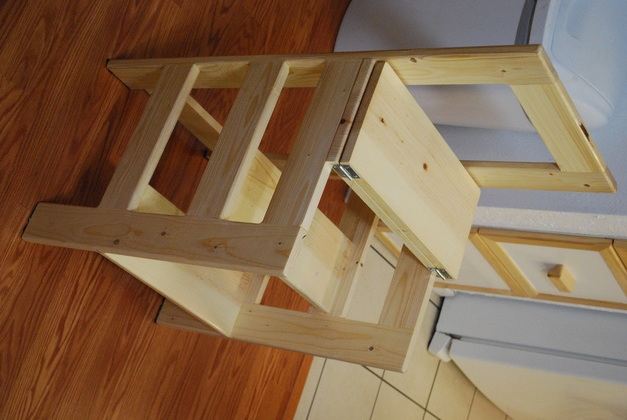
Next make the two seat halves and attach the back half to the top of the frame, then attach the front seat half with the hinges.
BTW: you could make a padded block for the backrest (16" X 3").
After making one of these for the shop, Betty saw it and wanted one for the house, so I made one for our house and also our daughter and granddaughters.
They all use them often and say they are really handy.
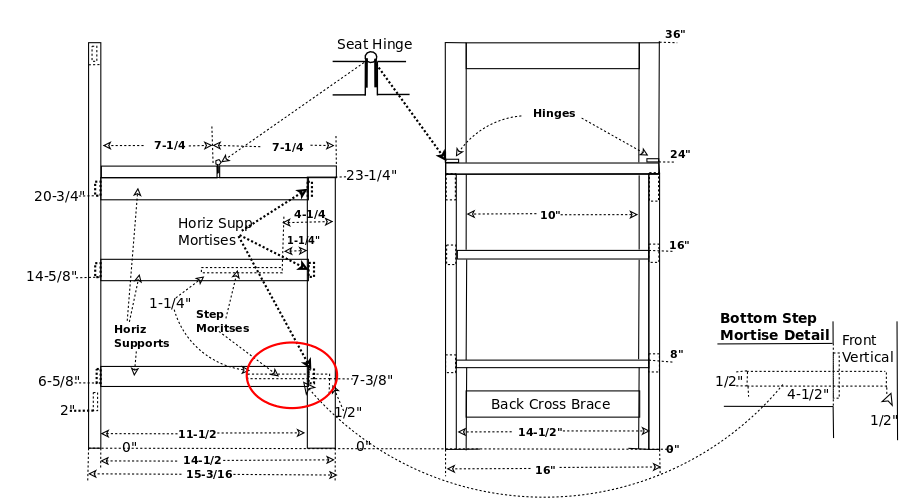
I like mortise and tenon construction, and this stool should be strong and light.
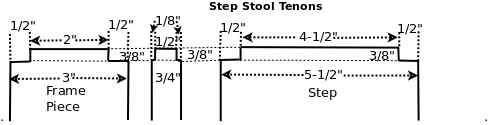
Tenons:
All tenons should be 3/8" high and 1/2" wide with 1/2" end shoulders and 1/8" side shoulders.
In 3" horizontals should be 2" long.
In 5-1/2" steps (1x6) should be 4-1/2" long.
The vertical pieces, back cross pieces, and seat supports are 1 x 3, ripped from 1 x 4 or two from a 1 x 8.
The seat is made from 2 pieces of 1x8 (7-1/4") hinged in the center.
If your 1 x 8 is actually 7-1/2" wide, you'll have to rip them narrower or make your horizontals longer.
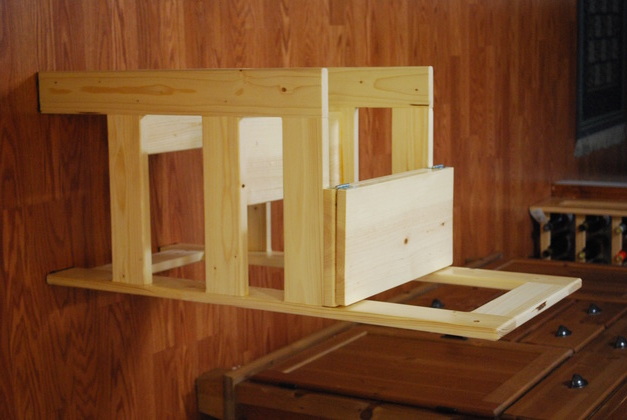
In any event, the seat front piece, when down, should be flush with the front verticals, and should still fold back flat on top of the rear half of the seat.
The step supports are 3".
Two 1-1/2" wide butt hinges, 2 - 1 x 6 x 16" long steps, along with glue and clear poly, complete the parts list.
The prototype had the 1-1/2" thick seat with leg grooves but the girls didn't like it so I'm building some with flat seats.
The prototype was a little heavier than the stool described here both because of the seat, the overlap of the frame joints, and the frame had two extra verticals.
Since building the prototype I find myself using this quite frequently both as a stool to sit on (while loading) and a step ladder to reach high things in the shop.
In fact, on the recently completed extension to the 4" vacuum plenum, I did all the ceiling work using this stool.
|
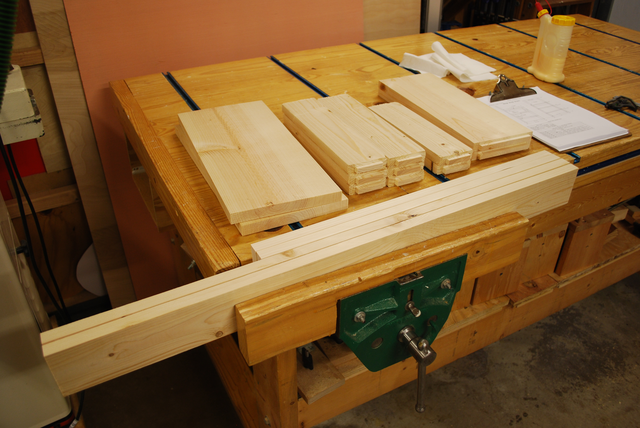
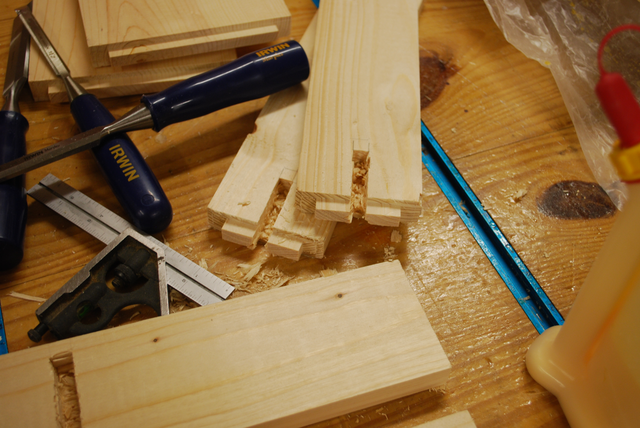
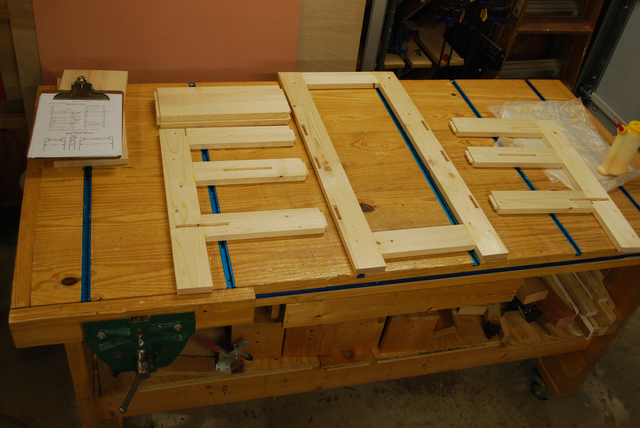
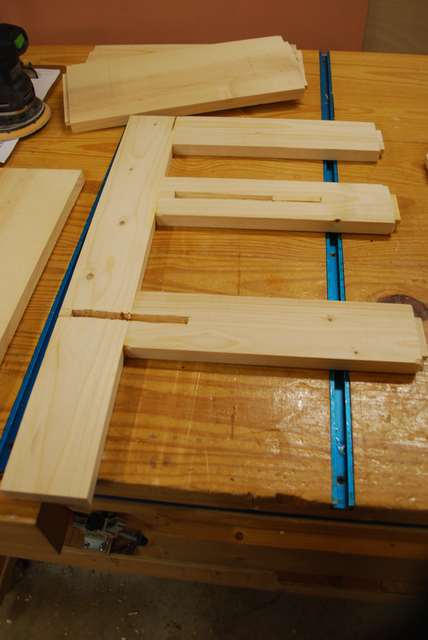
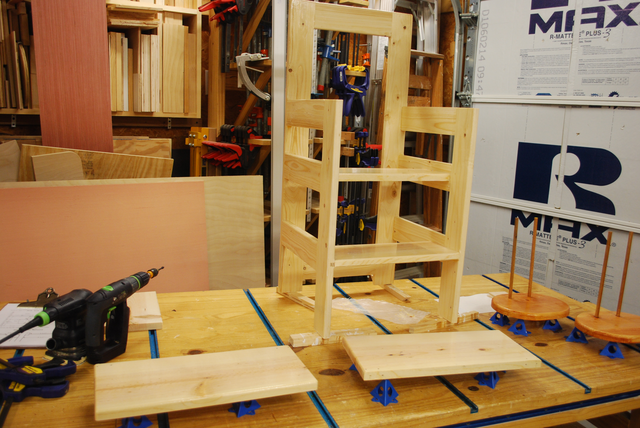
Lumber cut for new type 2 stool.
Foreground: front and back verticals.
Background: Seat halves, support horizontals, back braces, and steps.
|
|
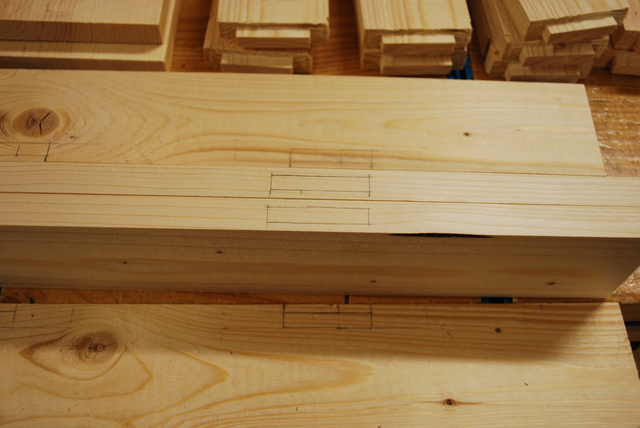
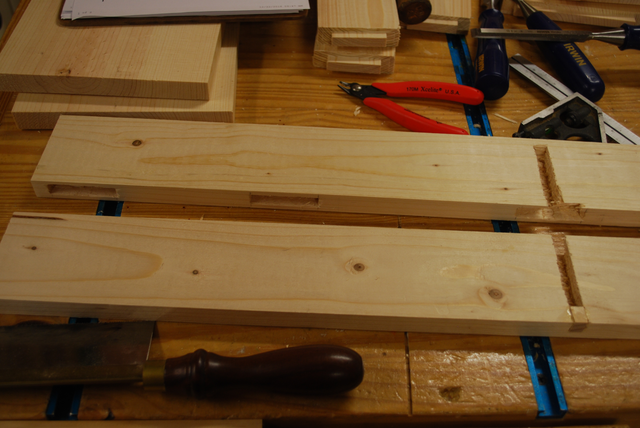
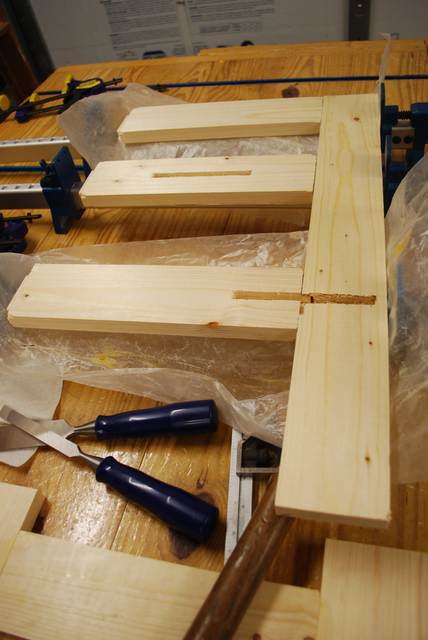
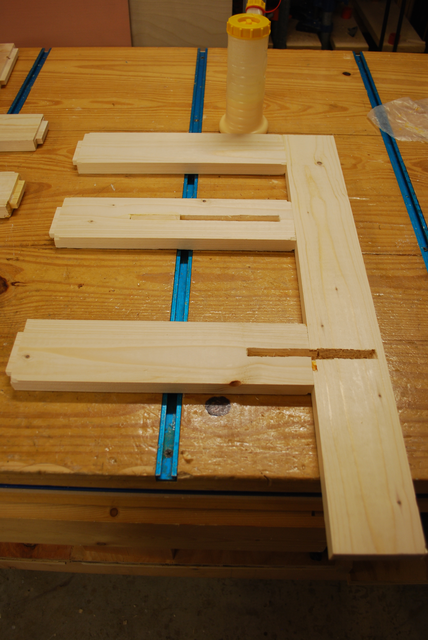
Mortises marked on verticals.
You can see the tenons cut on the horizontals at top.
|
|
Back verticals and cross braces being glued.
|
|
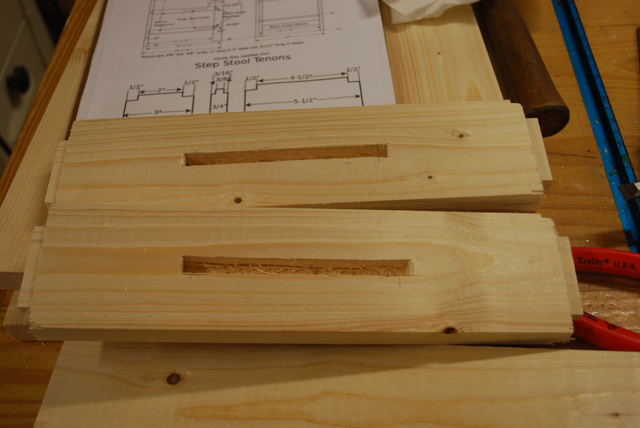
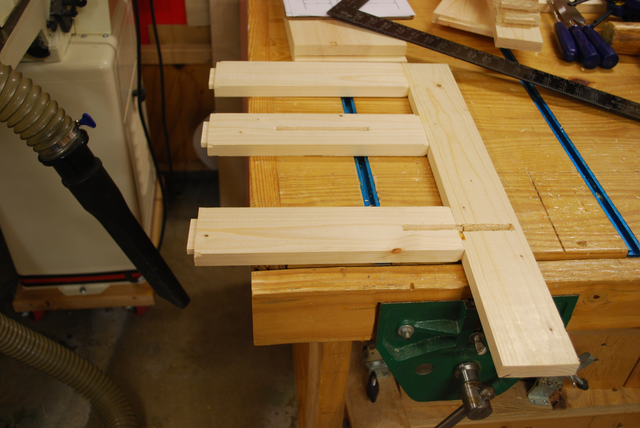
Front verticals with mortises cut, note the front step mortises on the right.
|
|
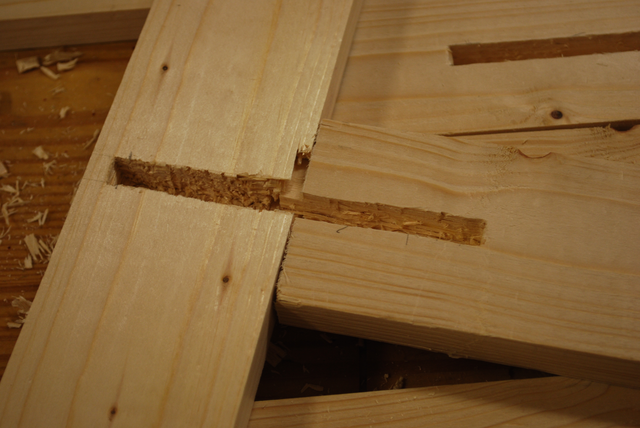
Mortises cut in end of bottom step supports for bottom step.
|
|
Mortises cut in center of middle step support.
|
|
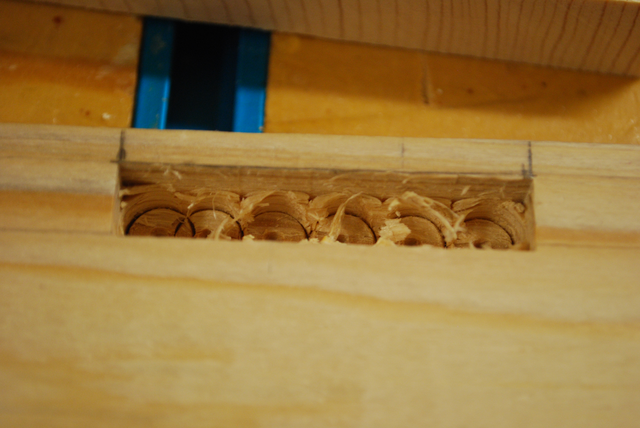
One of the mortises drilled into the edge of the back vertical with mortiser, but not yet cleaned out.
|
|
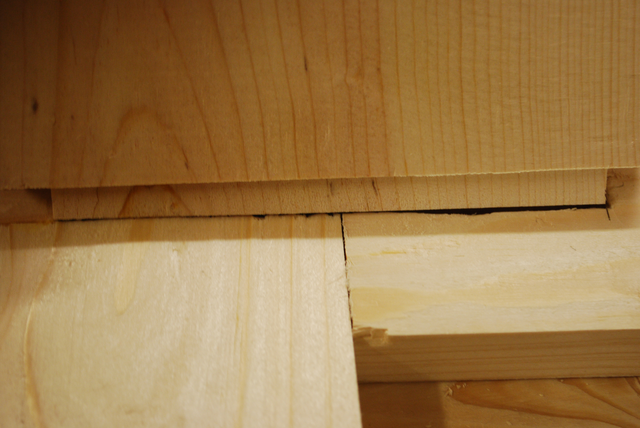
Front vertical and bottom step support showing front step mortise.
|
|
Test fit of bottom step into it's mortises in front vert and bottom support.
|
|
Test fit of right side (front vert and step supports) laying on clamps.
|
|
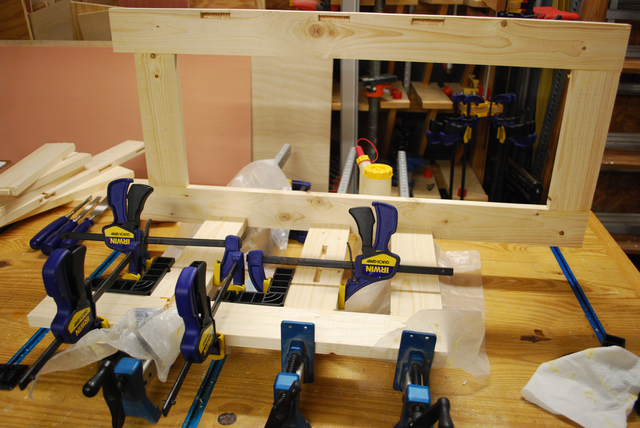
Right side being glued.
Note the mini-ClampIts making sure everything is square.
The back isn't glued its there to make sure the tenons fit after glue sets.
|
|
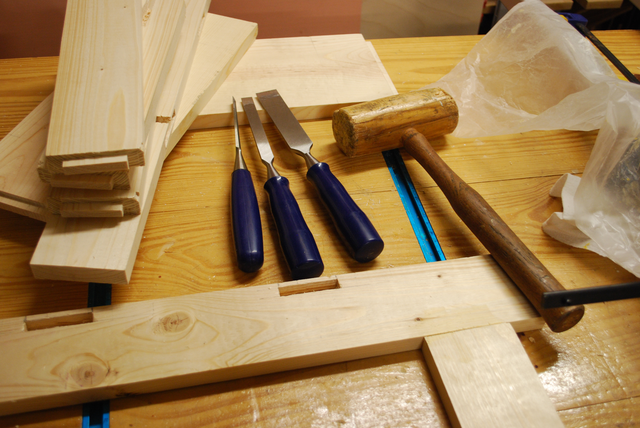
Chisels and mallet I used to clean out the mortises.
|
|
Right side after gluing.
|
|
Left and right side with back, all glued.
|
|
Right here I realized I had mis-measured where the mortise in the middle support should be placed, so I moved it over.
You can see the plug to the left of the center mortise.
|
|
Ditto for the left side.
|
|
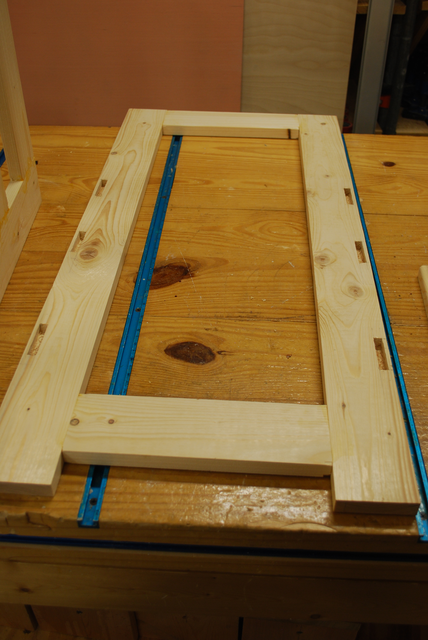
Back frame glued, you can see the mortises for the sides.
|
|
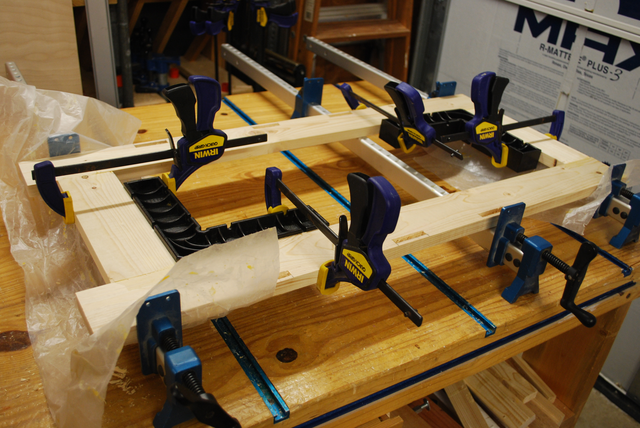
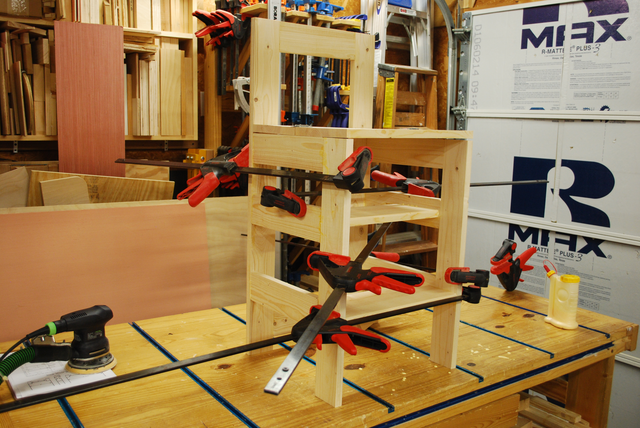
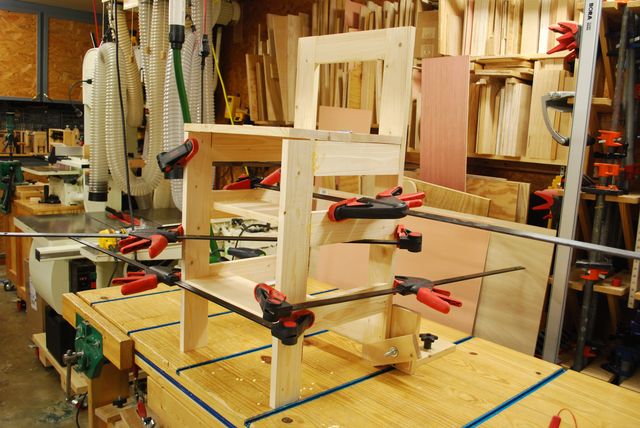
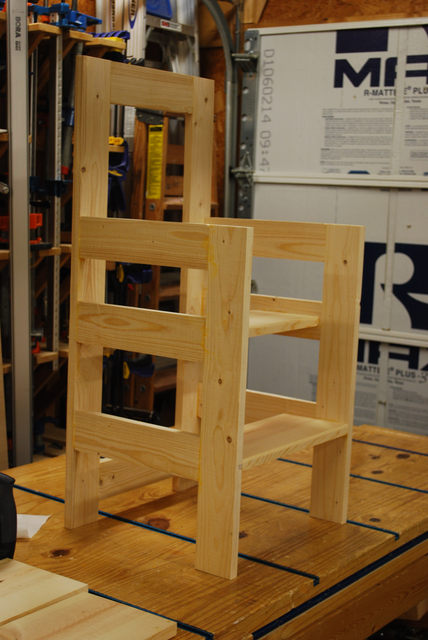
Total frame in the glue.
|
|
The seat isn't attached, it needs a little more work, and then only the back half will be attached.
The frame needs sanding, and corners rounded.
|
|
First coat of poly.
|
|
Seat painted.
|
|
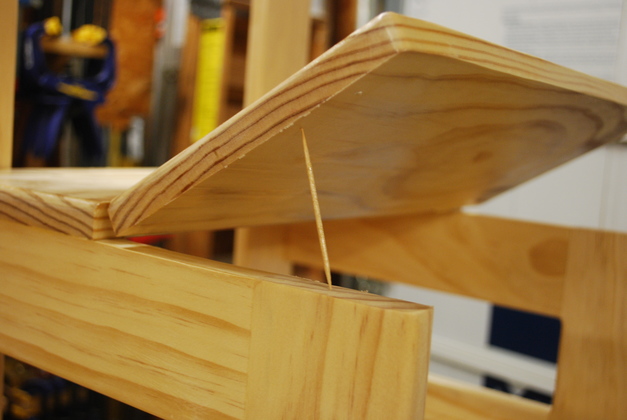
Every so often I catch myself using a tooth pick for something it wasn't designed for, but it works.
|
Kyle's Step Stool
Kyle wanted a step stool and to learn a little wood working so he did it.
|
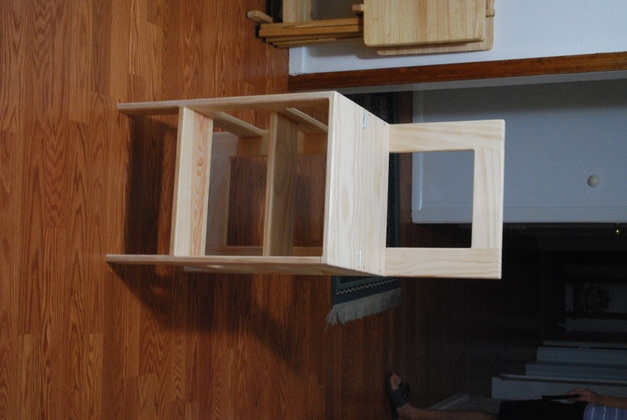
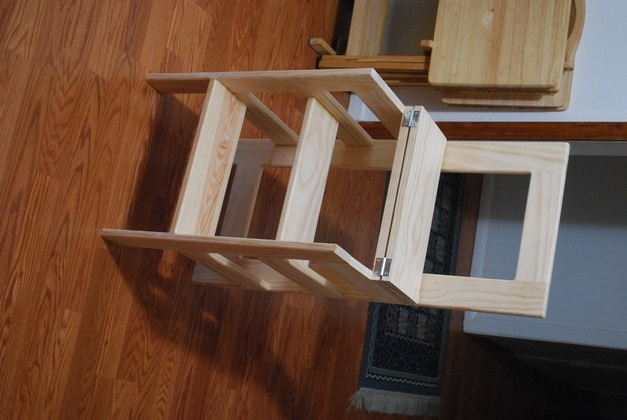
Kyle's handiwork.
Seat down.
|
|
With seat up (step stool mode).
|
|
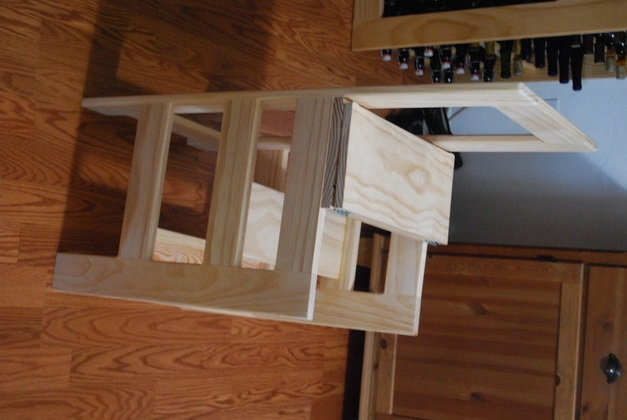
From the other side.
|

|
Othe side with seat down (chair mode).
|