12/24/20: Page Origin
Click For Larger Pic
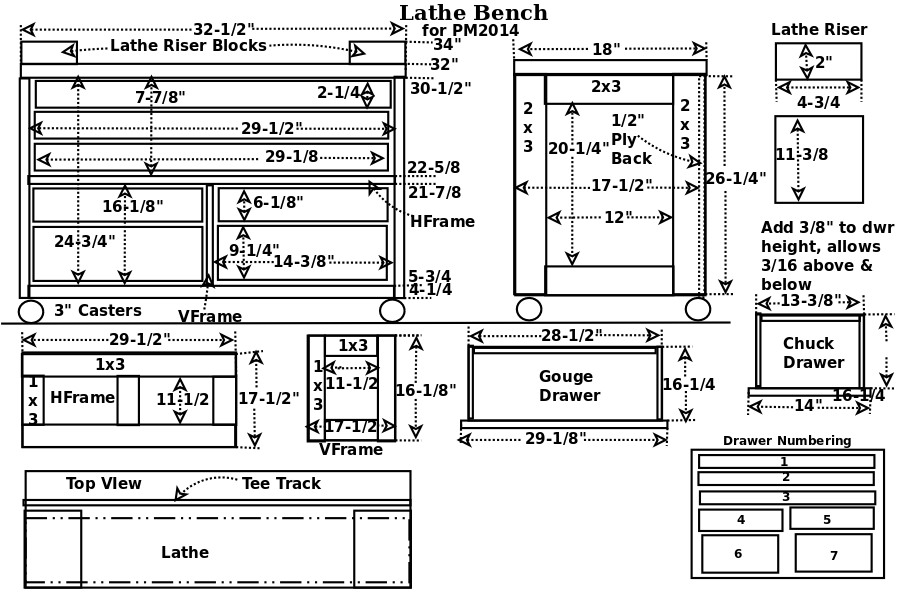
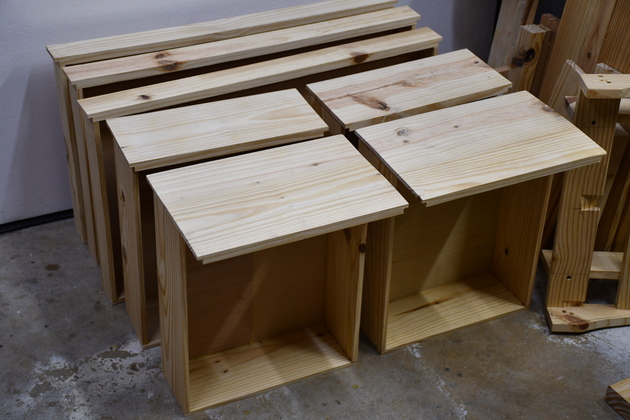
In general, I add 3/8" spacing to the height of drawers, this yields 3/16" at the top and bottom drawer opening and 3/8" between drawers.
The bottom chuck drawer will probably hold the bed extension and may need to he raised slightly, there should be room.
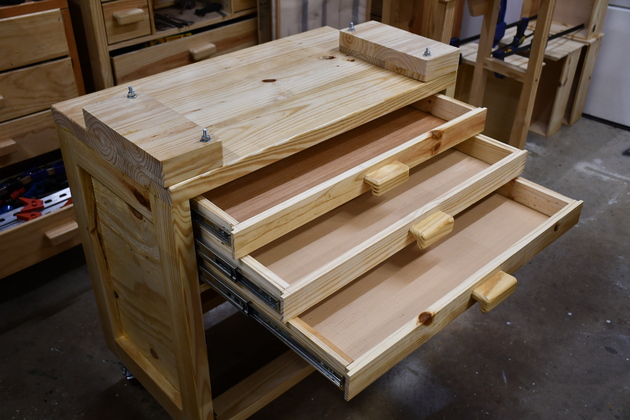
There are 3 different sized drawers in this bench, the shallow wide drawers (1-3) are for gouges, the intermediate drawers (4,5) are for small chucks, keys etc, and the larger drawers, at the bottom (6,7) are for large chucks, and the bed extension.
|
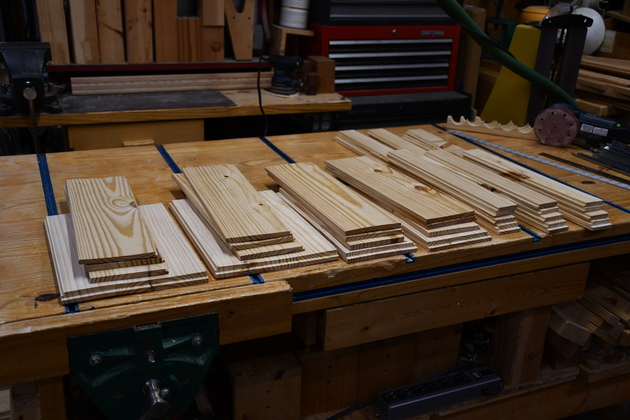
Drawer sets laid out on the workbench.
For more info (and pics) on how I make multiple 3/8" from one 2x board, please check out my resawing page.
|
|
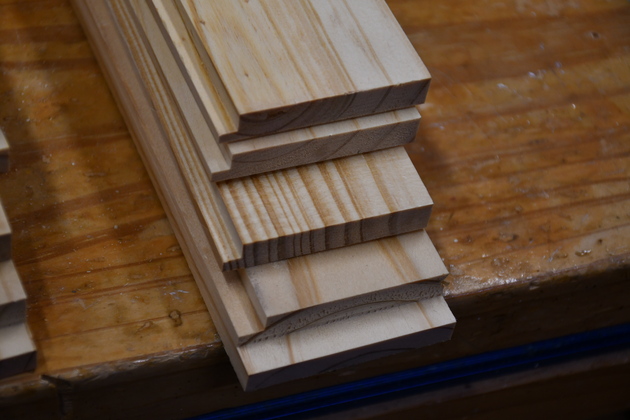
Drawer set for one of the gouge drawers.
Note the 3/8" sides are on top, then the back, and finally the 11/6" front (on bottom).
You can see the rabbet for the bottom along the left edge and on the drawer front (bottom) an extra rabbet on the end to hide the slides when the drawer is closed.
|
|
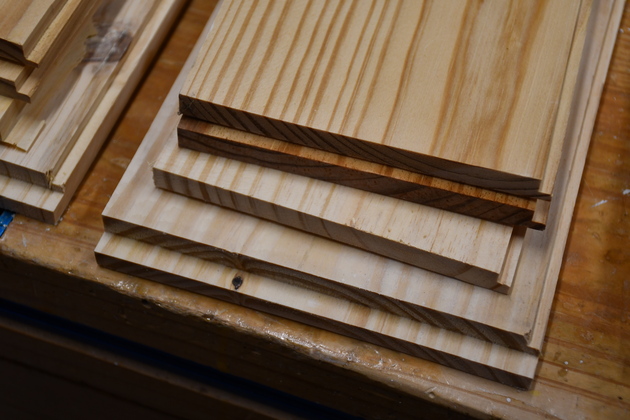
Same for the middle drawers.
|
|
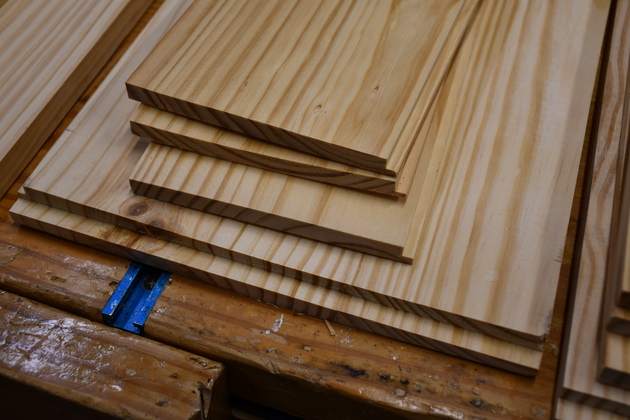
And the bottom drawers.
|
|
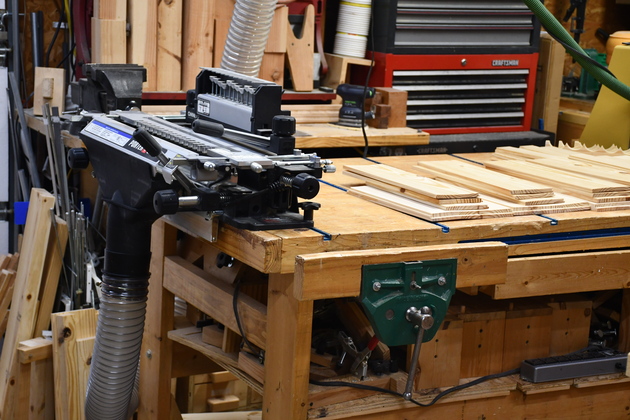
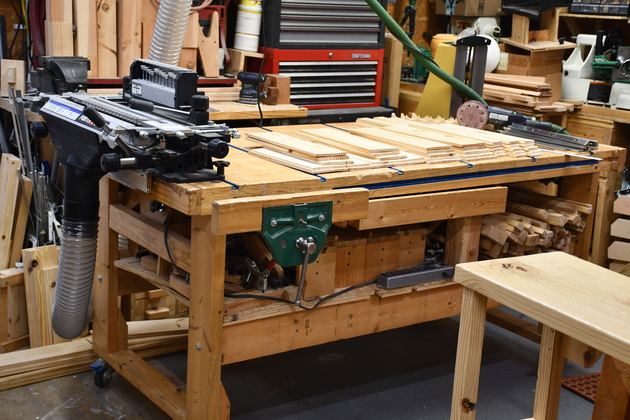
I've moved the sander / dovetail storage bench near the end of the workbench, and moved the dovetail jig to the end of the workbench.
You can see the Rev-A-Shelf is still in it's raised position.
This pic was taken just before I added the lift handles to the dovetail storage.
|
|
Dovetail jig mounted on the workbench with drawer sets laid out behind it.
The dovetail jig has two tee bolts and knobs that hold it to the end tee track on the workbench.
|
|
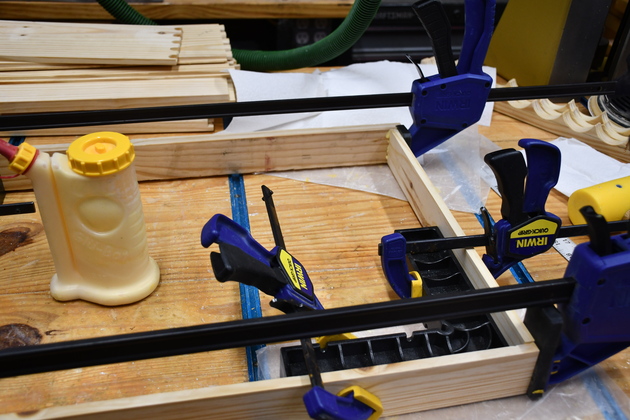
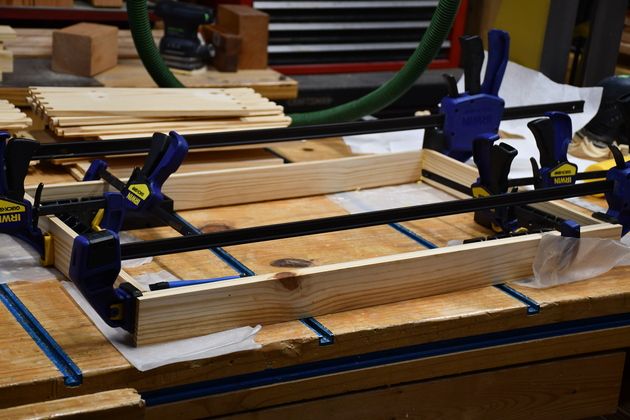
One of the gouge drawer frames in the glue clamps.
|
|
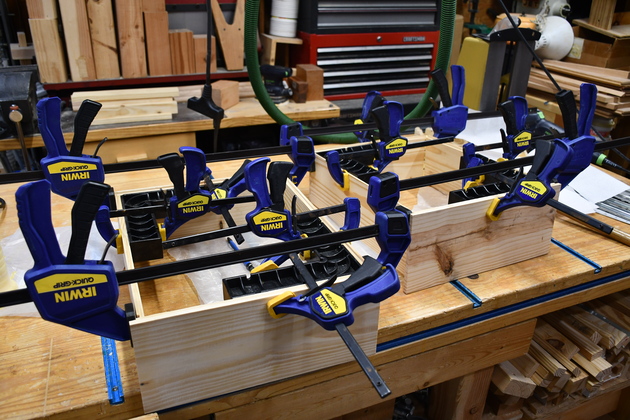
Two chuck drawers in the glue clamps.
|
|
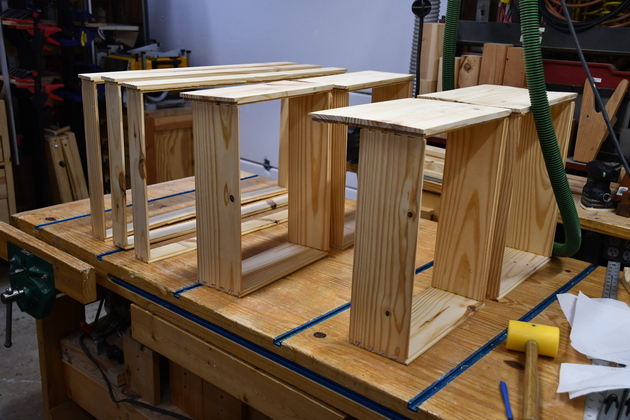
Glued gouge and chuck drawer frames.
|
|
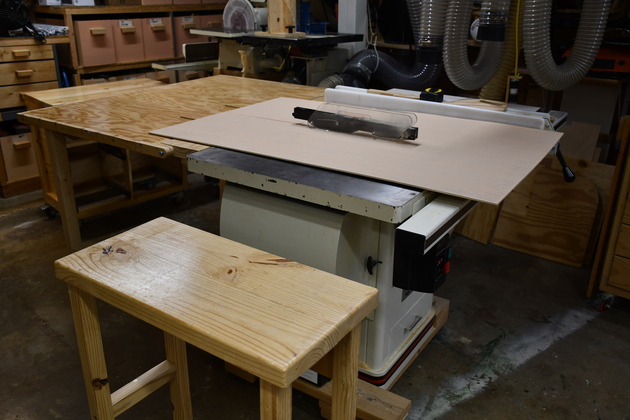
Cutting out bottoms for drawers on the table saw.
This first pass cuts the plywood into 16" wide slabs.
|

|
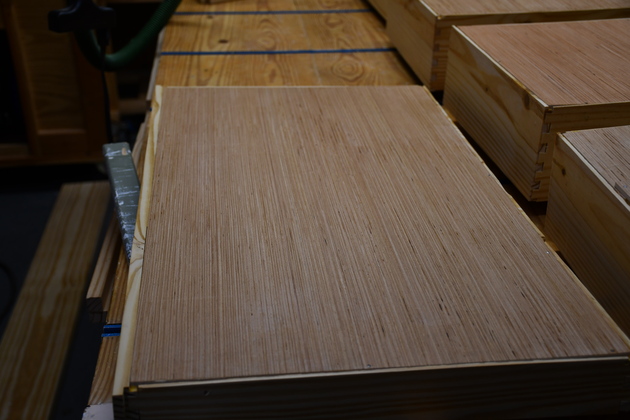
Final bottom cut out.
I'm cutting the 16" slab into 28" long piece for the gouge drawer bottom.
The remaining piece, on this end, will make a bottom for one of the chuck drawers.
|
|
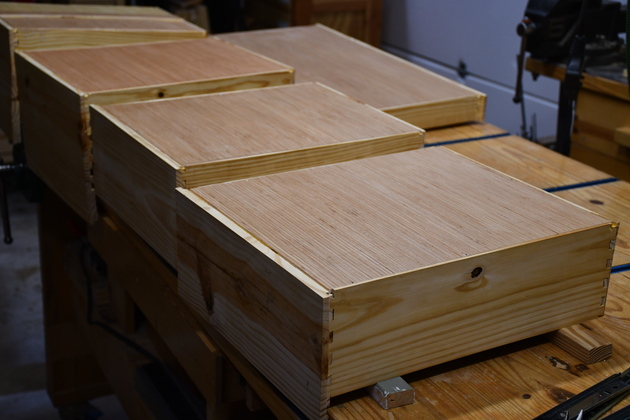
All 7 drawers with bottoms glued, ready to sand and paint.
|
|
Drawer outsides being painted with clear polyurethane.
|
|
Gouge drawer outsides being painted with clear polyurethane.
|
|
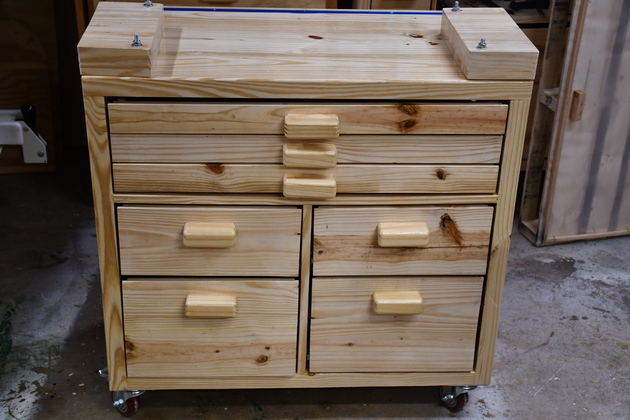
Gouge drawers installed.
|
|
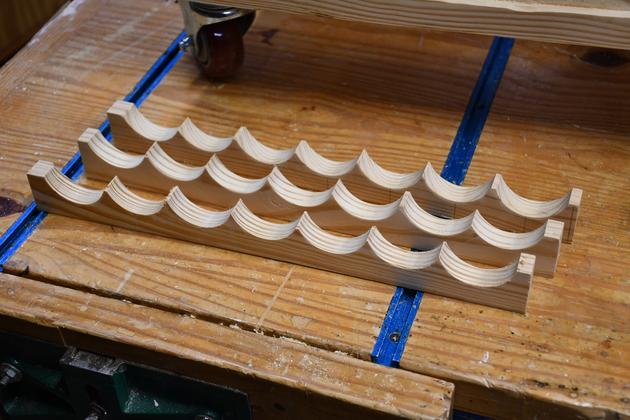
Gouge drawer separators.
I drew a center line down one side of a 15-3/4" long 1x2, then a tick mark 1-7/16 from one end then another every 2-1/8" down the center line.
I centered a 2" hole saw's lower edge on each tick mark's lower edge and sawed.
You will need to clamp the piece being sawed, please see my Hole Saw Jig page.
These dimensions seem to work OK for the drawer depth and all the gouges I have.
These gouge drawers are just deep enough for the large gouges, If the gouge is laying flat, These separators help keep the gouges flat.

Click For Larger Pic
|
|
All drawers installed.
|