Drilling a mortise, especially a large one, creates lots of wood chips, some very large.
I kept having to vacuum between mortises in order to align the next hole correctly, so I came up with this idea.
I first thought of a floor sweep but it needed a back and the hose came out in front of me when I used the mortiser.
Then I came up with this idea.
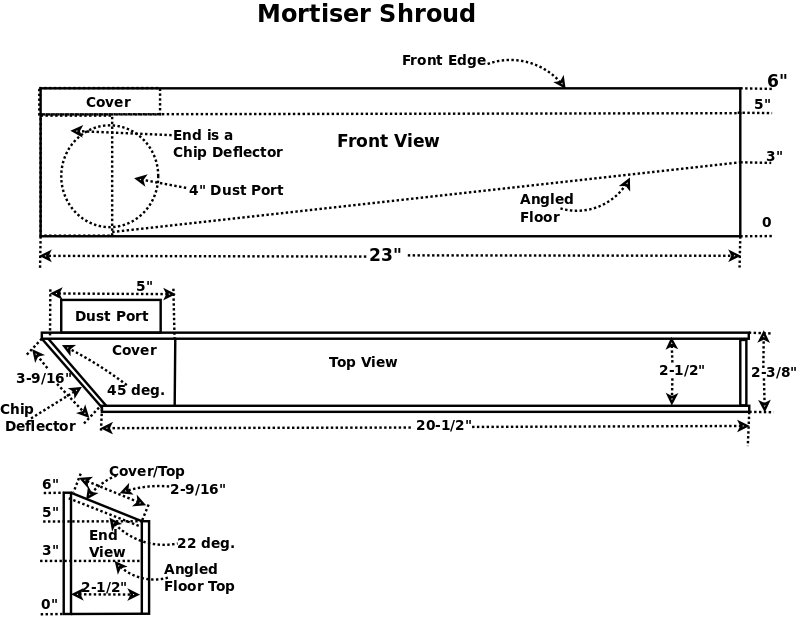
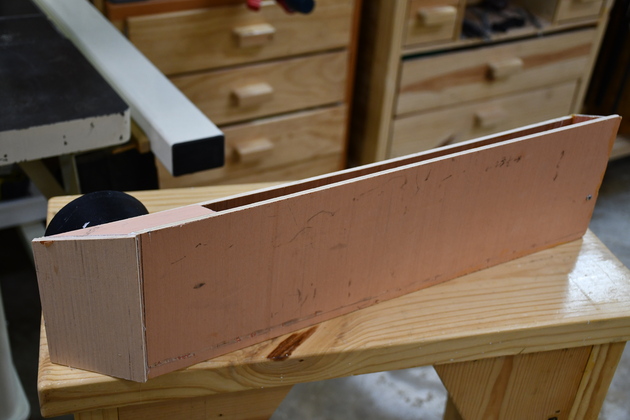
I use 3/16" plywood with glued butt joints to form the shroud.
My mortiser bench is 18" wide plus a 5" allowance for the 4" nipple, the shroud is 23" wide.
The shroud is 6" high in the front and 5" high in the back (against the bench).
Its also 2-1/2" (ID) thick.
I put the 4" hose nipple (and hose) in the back, away from where I stand to operate the mortiser.
Although I used glued butt joints, this would be a great place for mitered plywood joints.
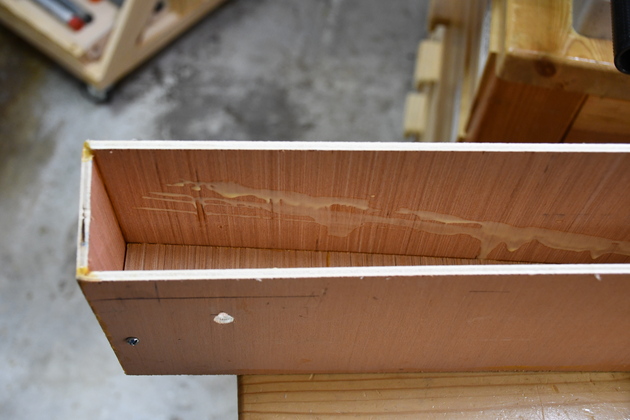
In 2021, after using this on several projects and after the Dust Collector blower upgrade, I realized that a lot of chips were collecting in the bottom right end of the shroud and some even on the floor to the right of the mortiser.
I made an angled floor for the shroud which helped some, but didn't completely solve the promlem.
The chips were being sucked into the shroud OK, then accelerating toward the dust port.
Problem was a lot of the chips had enough inertia when they reached the dust port (thanks to Newton's 1st law) they couldn't turn with the air flow into the dust port, instead they hit the end of the dust shroud and bounced back to the far end where they stayed.
I need an angled deflector in front of the dust port to deflect chips into the air stream going through the dust hose.
An example may be seen here.
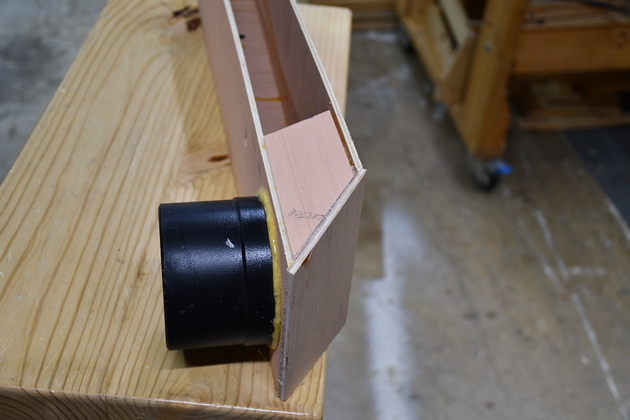
So I cut the end of the shroud at 45° and made a new end for it.
Newton's 1st Law from Britannica.com
"If a body is at rest or moving at a constant speed in a straight line, it will remain at rest or keep moving in a straight line at constant speed unless it is acted upon by a force".
Click for parger pic
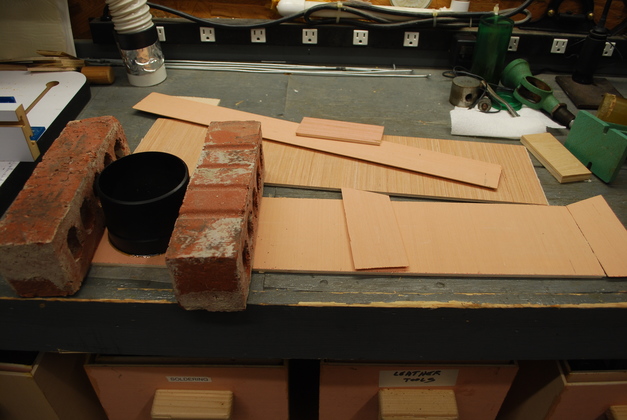
Parts
|
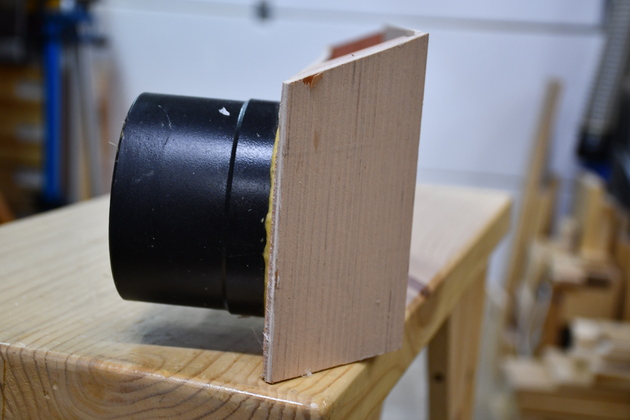
Pieces cut out and mitered, gluing in a 4" nipple.
Its difficult to see but there is waxed paper under the nipple.
|
|
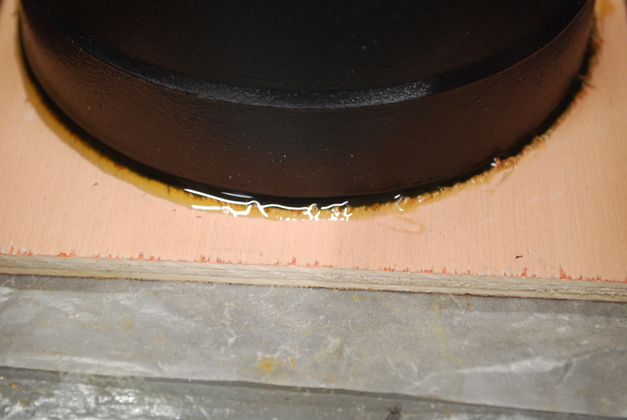
Closer look at gluing a 4" nipple into wood.
I use Gorilla (polyurethane glue) Glue, it foams up sealing any mismatches.
Here the Gorilla Glue has just been applied.
|
Installed
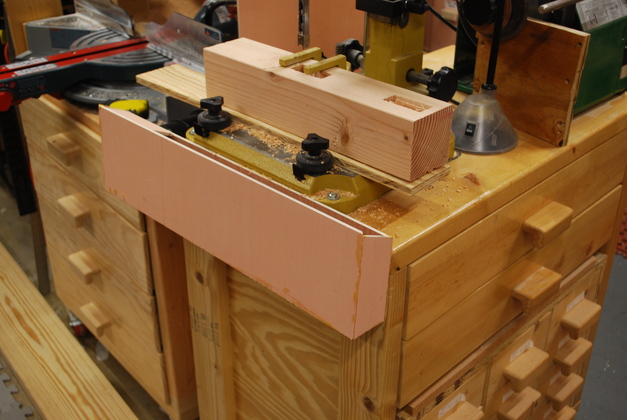
|
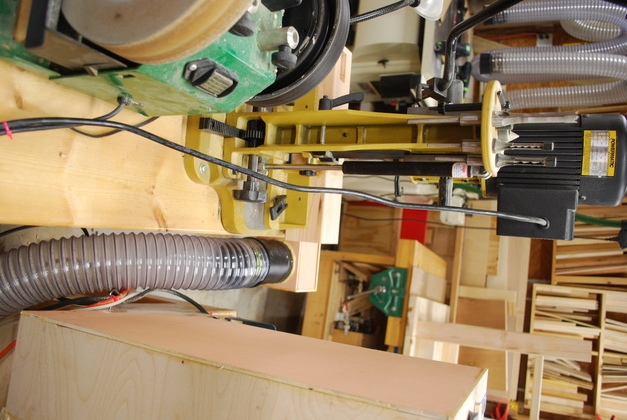
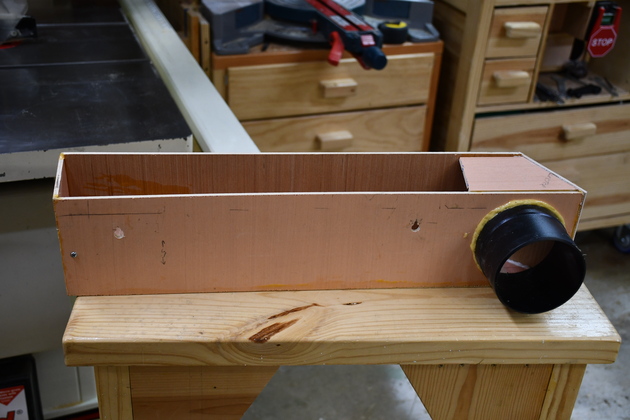
Mortiser shroud installed on the bench.
|
|
Here you can see the 4" dust hose connected.
Note the top cover on the shroud, it helps keep air flow in the right direction and adds strength to support the weight of the 4" hose hanging on the nipple.
|
|
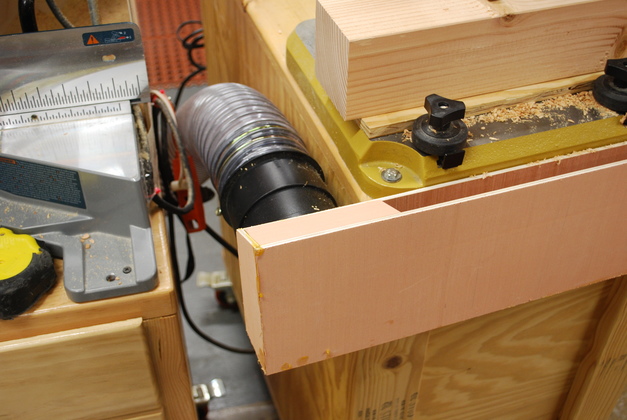
How it looks in action.
Most of the chips get vacuumed up, very few on the bench of floor.
|
|
Closer look in action, there are some chips on the shroud's floor, that have bounced back from the end of the shroud.
Notice the shroud floor is almost clean toward the dust port at the far end and littered with chips on the near side.
|
|
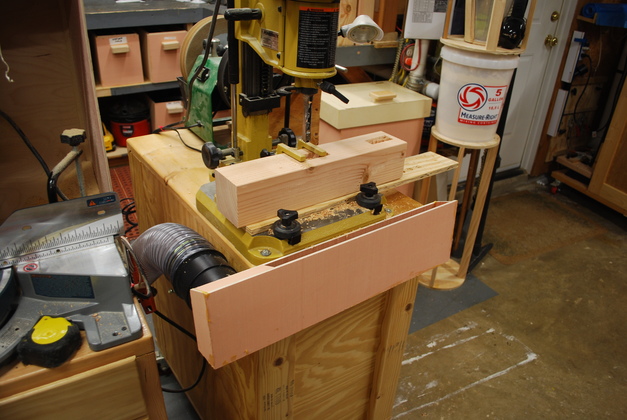
From the rear you can see how the 4" hose runs back away from the work area.
|
|
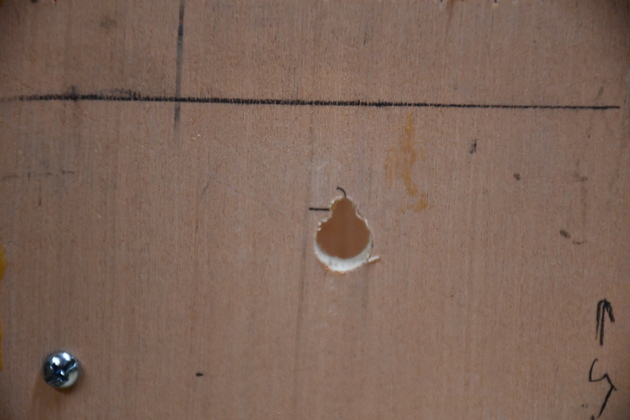
One of the holes for hanging the shroud on the bench.
|
|
One of the screws that the shroud hangs on.
The shroud lifts off when you are through.
|
Sloping Floor
|
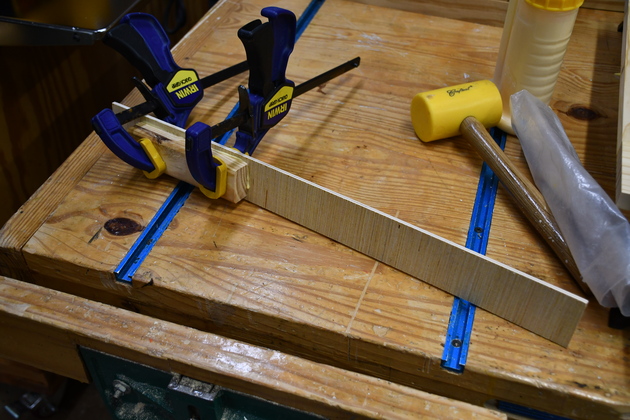
Two pieces of the sloping floor being glued together.
I made this from scrap, so I had to glue two pieces gogether using a 1x2 block as a base.
|
|
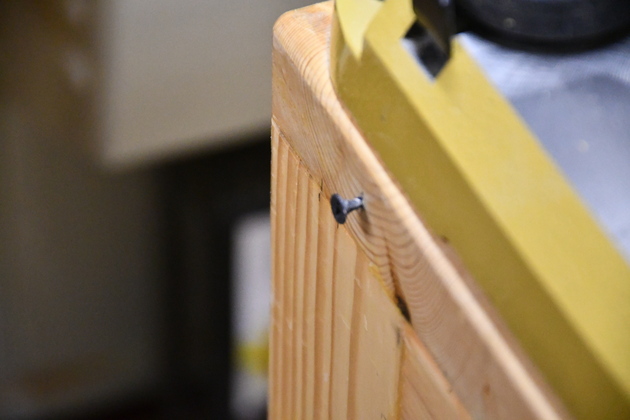
Sloping floor, high end, you can see the two screws I used to attach the two pieces of the sloping floor to the 1x2 block.
Note the screw near the left end of the back of the shroud, it supports the sloping floor while the glue sets.
|

|
Attempt to see the sloping floor's angle.
|
Deflector
|
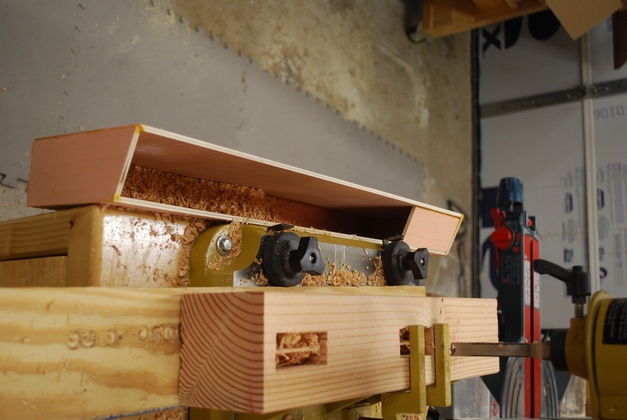
Bandsawed a 45° at the left end, in front of the dust port.
Your looking at the front of the shroud (side that faces me).
|
|
A look from the dust port end.
Now you can see the angled cover.
|
|
Back of the shroud.
Note the screw near the left end, the sloping floor, high end, sits on it.
|

|
|