| 
| 
|
|
|
|
|
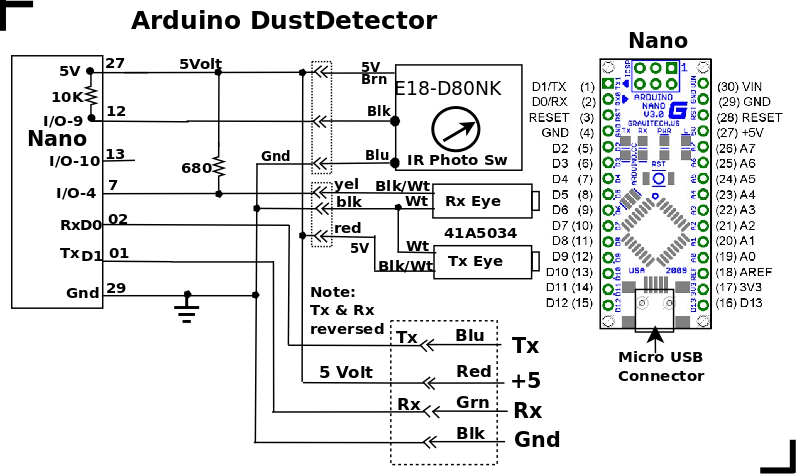
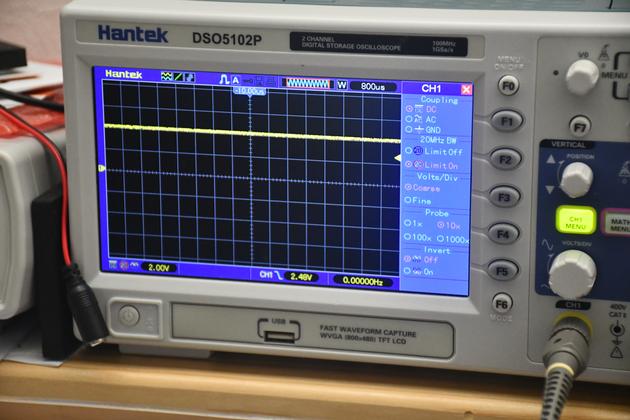
After trying twice before and having unhappy results, here we go again.
I've noticed most of the folks on the web have begun using garage door
safety beam detectors.

I bought a Werhoo 41A5034 Safety Sensor Kit from Amazon.
After a little testing, I discovered they run on 5 volts which works well
with Arduino pulsein() function.
When the beam is not blocked the scope sees a period of 5760 Us (168 Hz) negative pulse output, and
when the beam is blocked a 4Volt DC level.
The pulsein() function sees the pulse train and returns the width of the pulse
in Us.  If there is no pulse train, pulsein() returns zero.

Initially I decided to leave the E18-D80NK in place and have a redundant system.
07/20/24: Page Origin
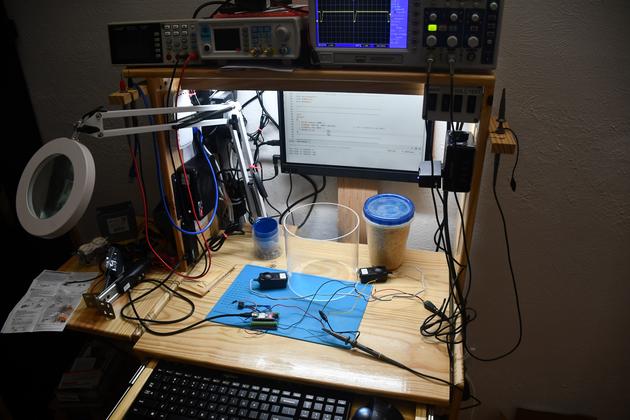
| My electronics testbench with the Safety Beam detector breadboarded. You can see the monitor at the back of the hutch, the computer is a Beelink mini pc attached to the left vertical of the hutch, the keyboard is on the pullout at the bottom. |
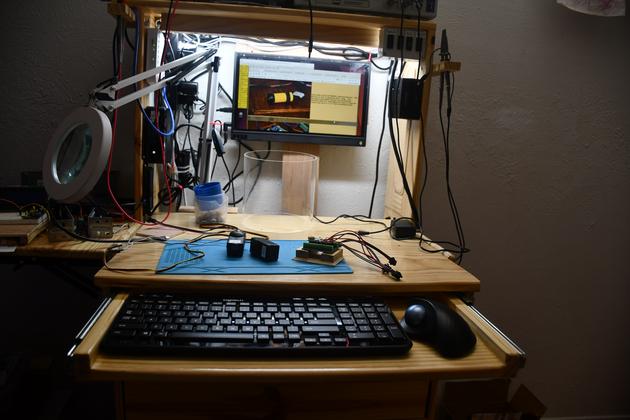
| Little different angle on the test bench, showin the monitor under the hutch top. Since there the cabinet below is full of drawers, the work top slides out then the keyboard slides out from the work top. |
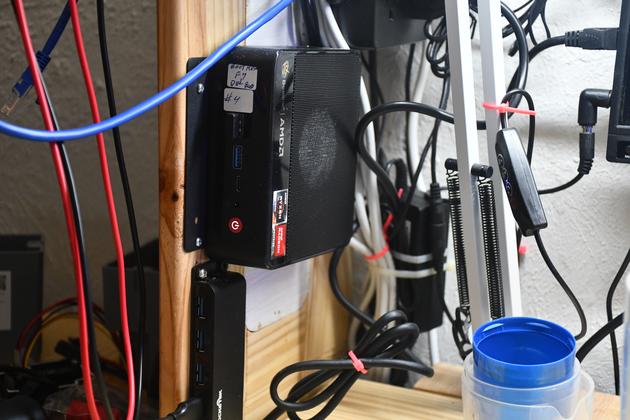
| The BeeLink mini-pc, attached to the left side of the hutch. It runs Ubuntu 22.04. |
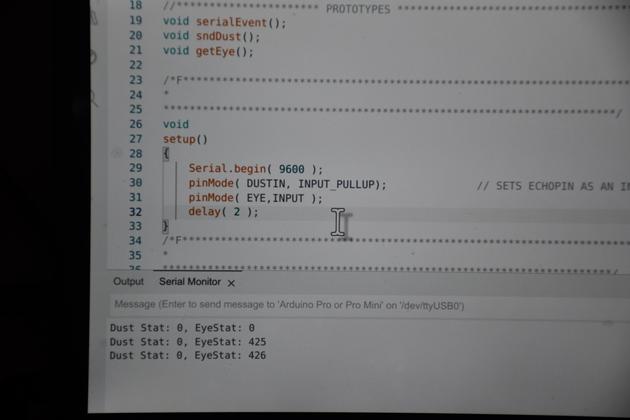
| Adruino IDE on the monitor, showing the sketch's setup() code. |
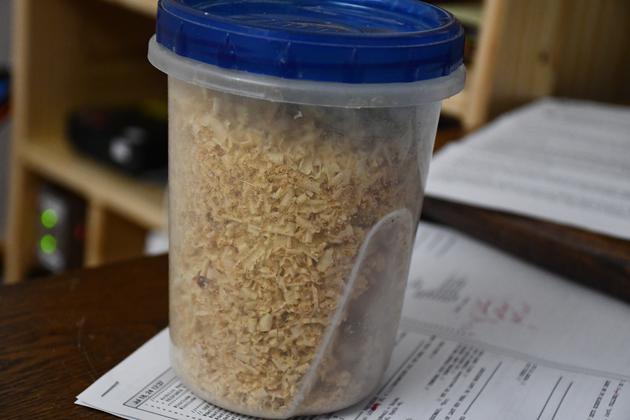
| The container of sawdust used to block the beam. |
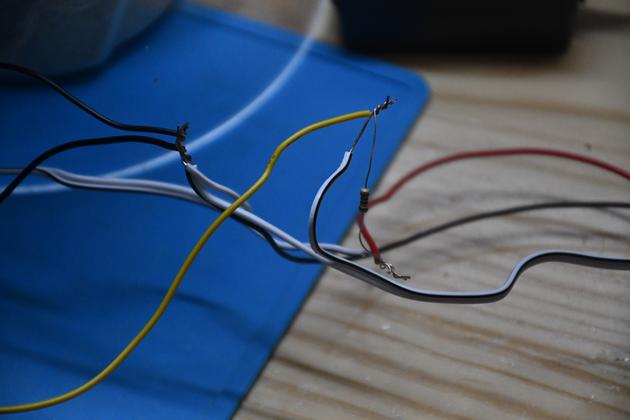
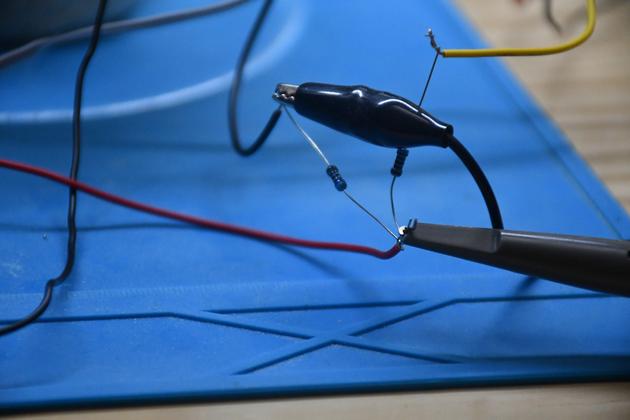
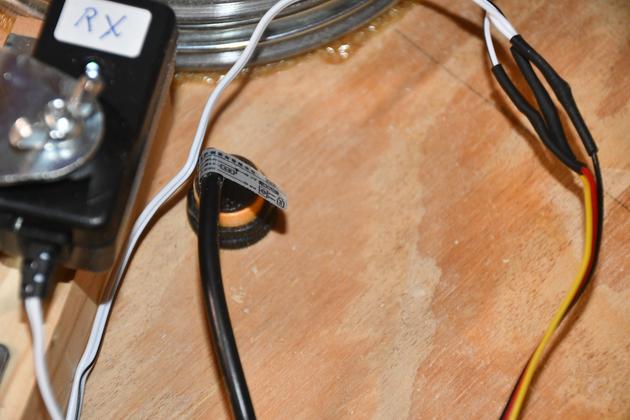
| Here is the 680 ohm pull resistor for the receiver. |

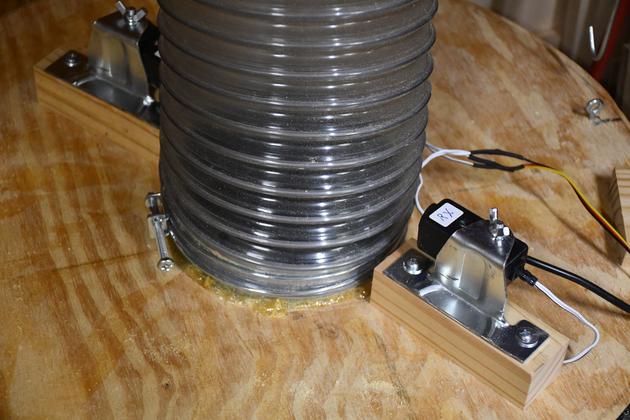
| The transmitter on the left and receiver on the right looking through a clear 6" diameter pipe similar to the flex tube below the cyclone to the dust bin. |
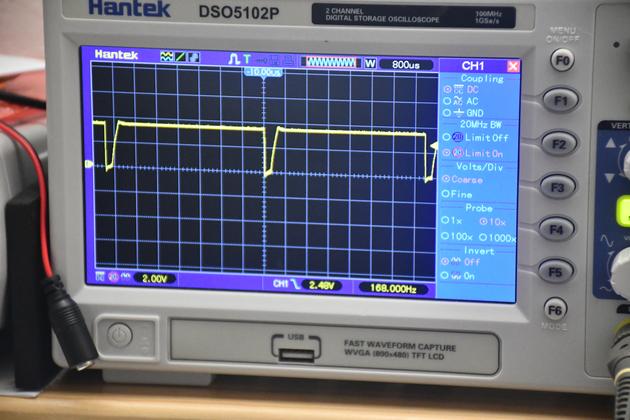
| The scope showing the Sensor's output with nothing blocking the beam. |
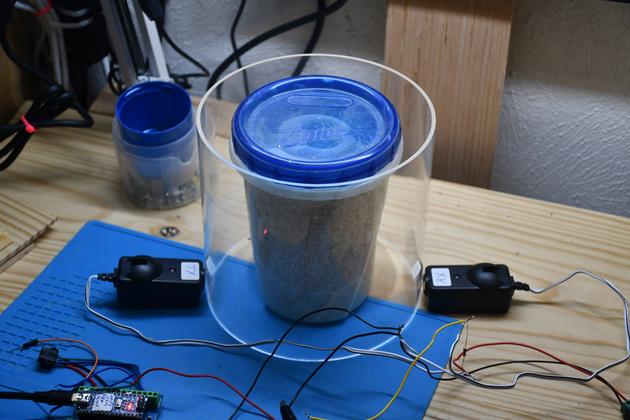
| The beam blocked by sawdust. |
| The scope with the beam blocked by a clear container of sawdust showing a 4 V DC level. |
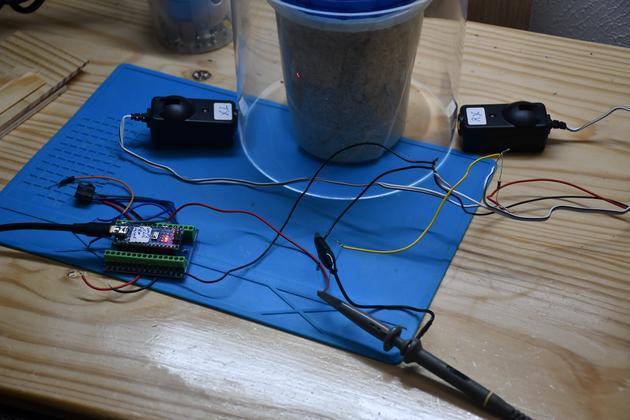
| A little better look at the lashup, note the Nano lower left.. |
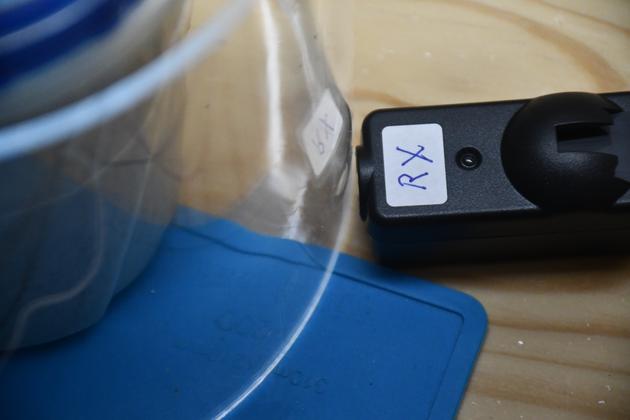
| A close look at the receiver with the beam blocked, no LED. |
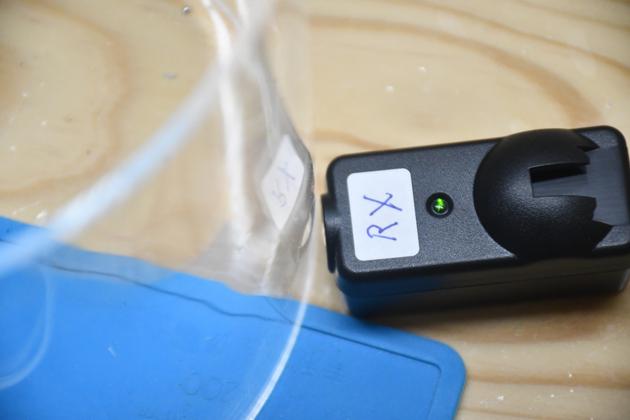
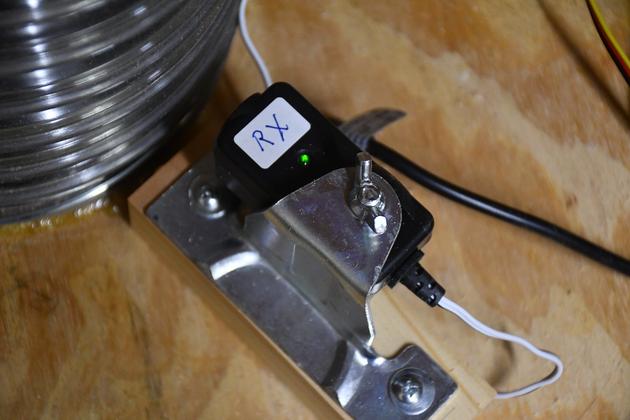
| The receiver's LED, green with no blockage. |
|
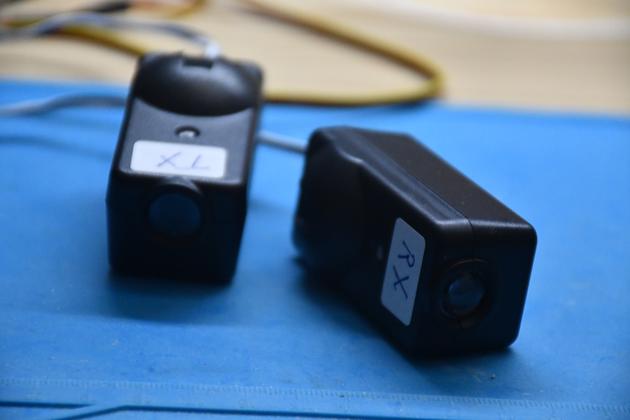
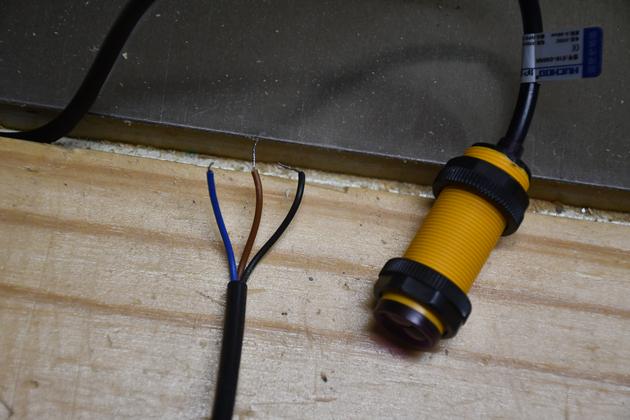
| The Werhoo 41A5034 pair from Amazon. |
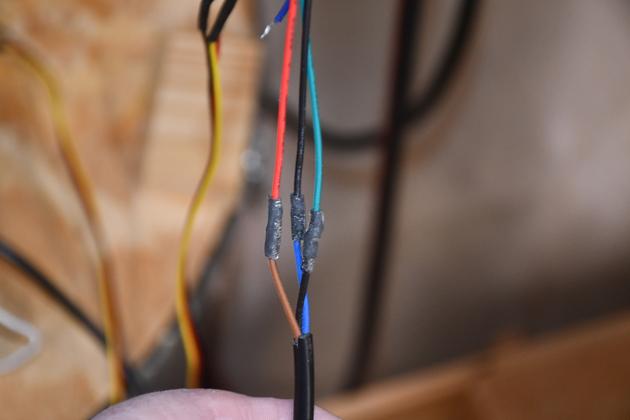
| Originally, I tried the beams on 9 volts, here is the 50/50 step down for the receiver output to the Nano. |
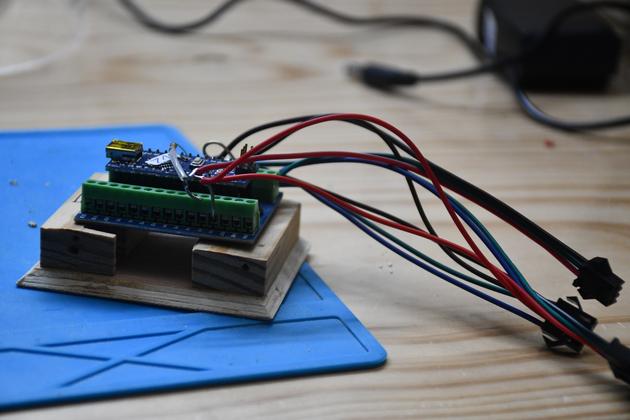
| The Dust Detector Nano, wired up and ready to go. |
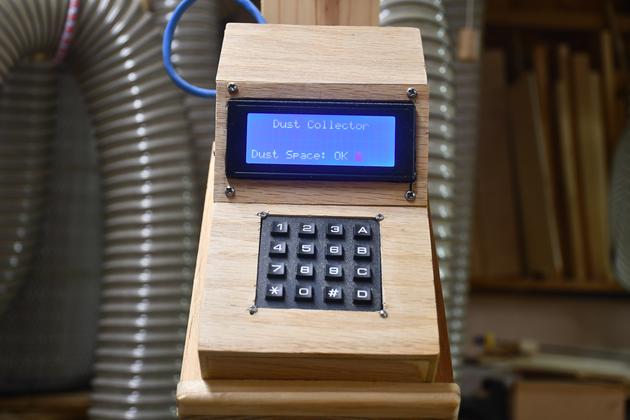
| The termanal indicating Dust Bin Not FUll. |
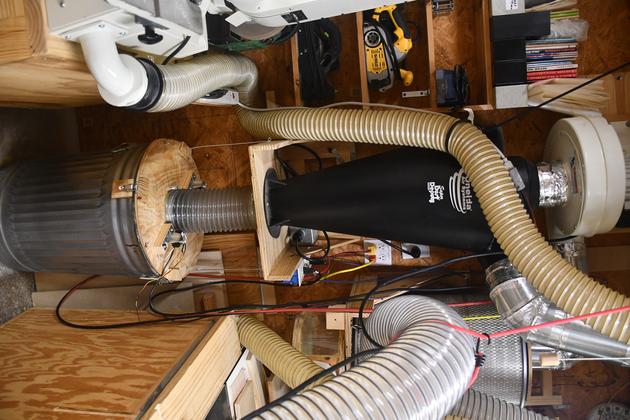
| Top-down: the blower, cyclone, and dust bin. |
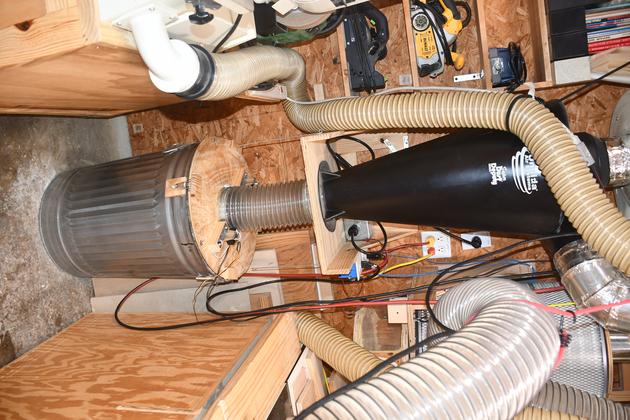
| Closer pic showing cyclone and dust bin. |
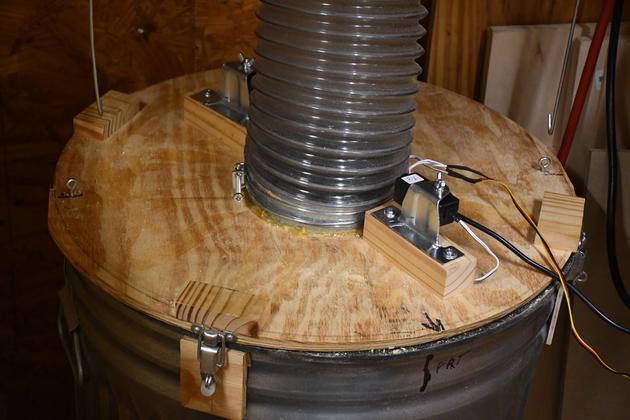
| Dust bin cover, the rx Eye (sensor) in front, the IR sensor is just behind the Eye. |
|
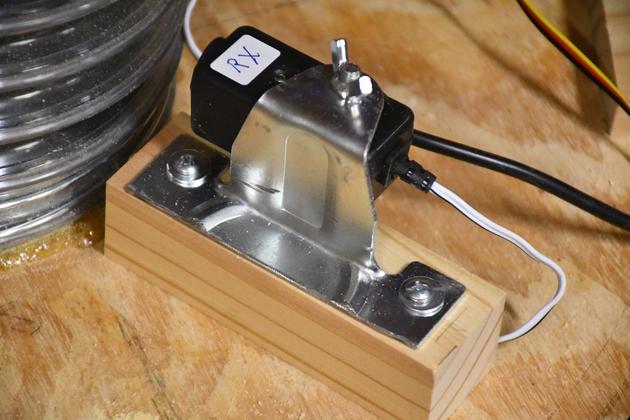
| Closer look at the top of the Eye (rx sensor), you can see the green LED is on, meaning no dust in the tube. |
| The Dd2 IR device, behind the Eye (RX sensor). |
|
| Both Eye Beam devices, on opposite sides of the 6" flex |
| Kind of a side view of the Eye. Note both devices mounted on a 1-1/2 " block, to make sure it is above the metal colar inside the 6" flex. |
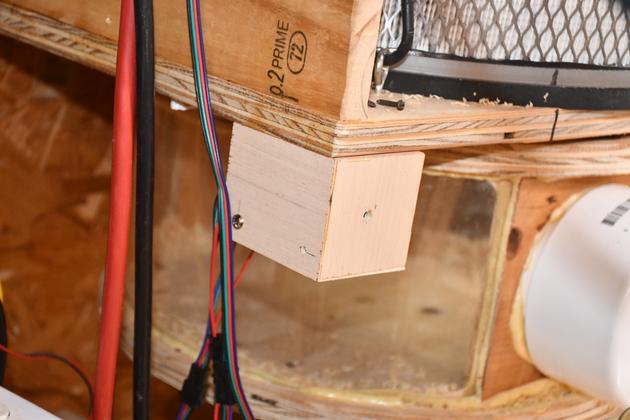
| The Nano's hiding place, under the filter and clean-out box's shelf. |
| DD-2 detector device. |
|

|

|