|
|
|
|
Farmhouse Table Benches
| ||
|
|
|
|
|
Farmhouse Table Benches
| ||
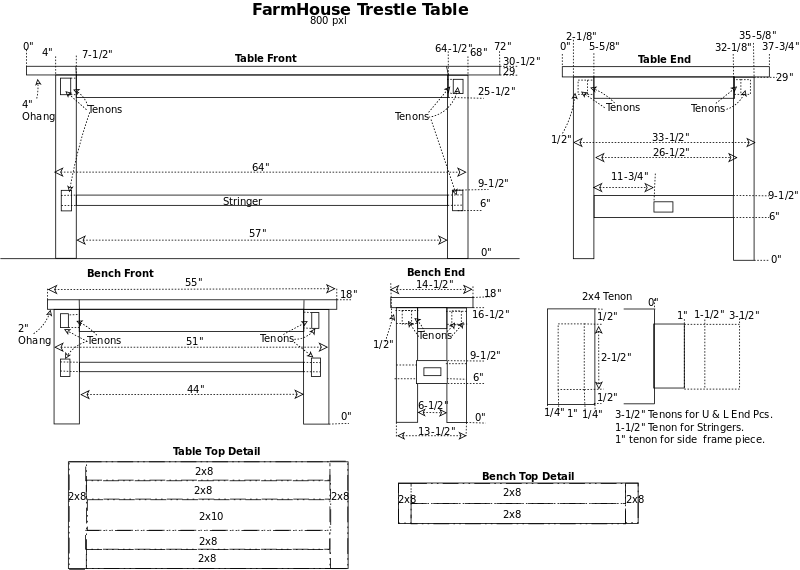
| Farmhouse Table | Top | Frame |
| Mortise & Tenon Page |
Kelesy found a table like this on Ana-White.com and really liked it for their home. But it didn't have any bench plans with it so I came up with this plan to match the table. Sorry, the Ana-White link is broken, apparently they moved their page.
|
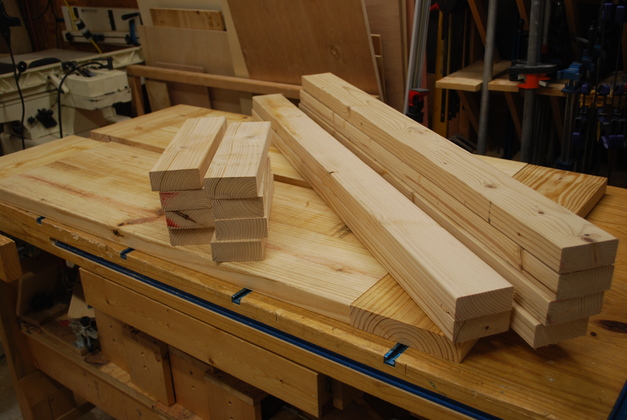
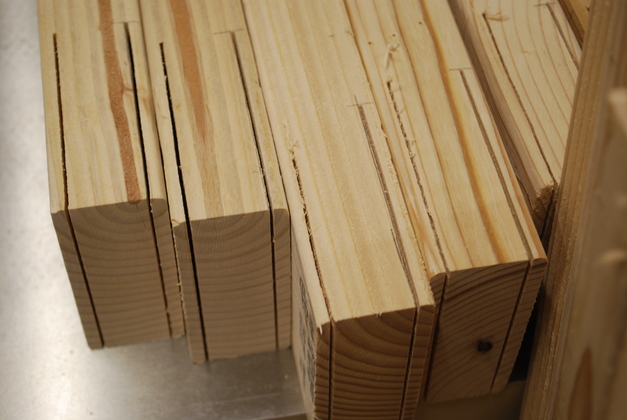
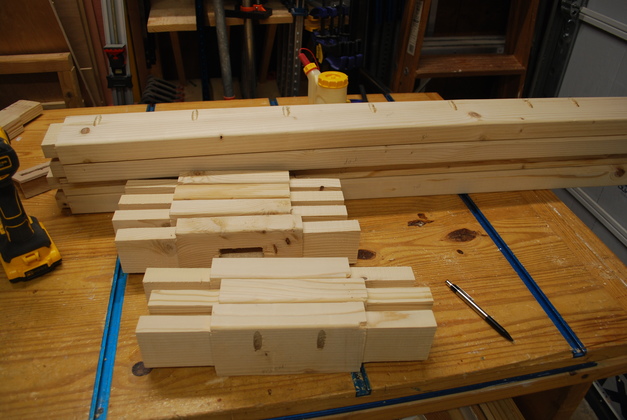
Lumber cut to length. On bottom are the top centers and ends, on the left the cross pieces, two in the center are the stringers, and on the right are the side pieces. Not shown are the legs. |
|
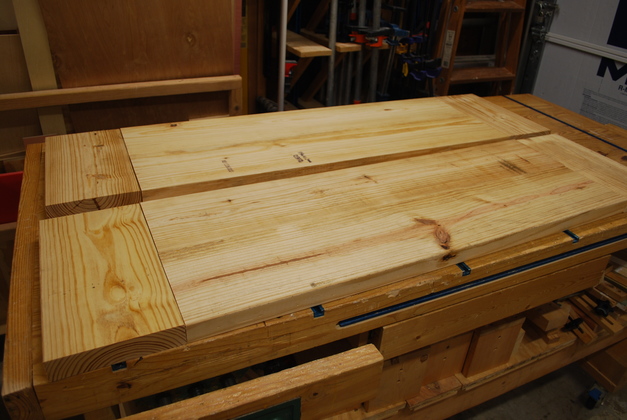
Both bench tops cut to length and laid out. |
|
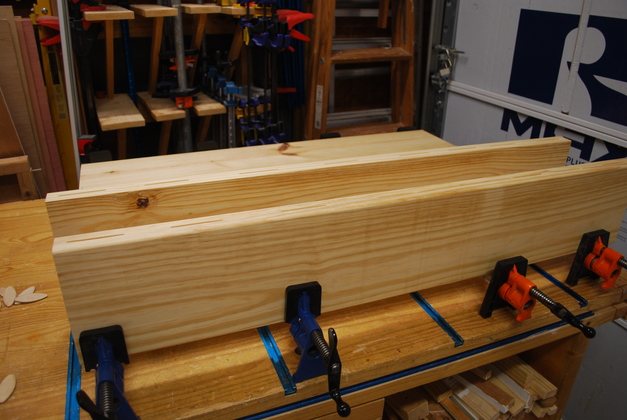
Top center pieces slotted and edges rounded, ready to glue. Theres a #20 biscuit every 6". |
|
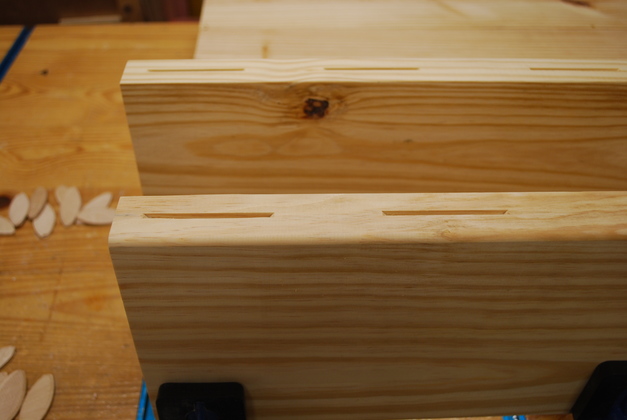
Closer look at biscuit slots and edges rounded in a top center piece. Please see the Rounding Note later on. |
|
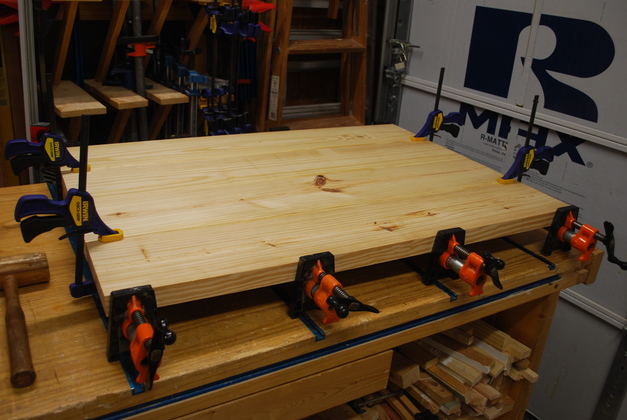
Both top centers glued, in the clamps. |
|
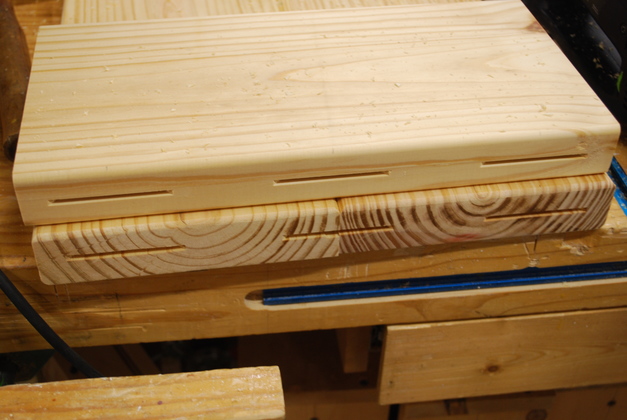
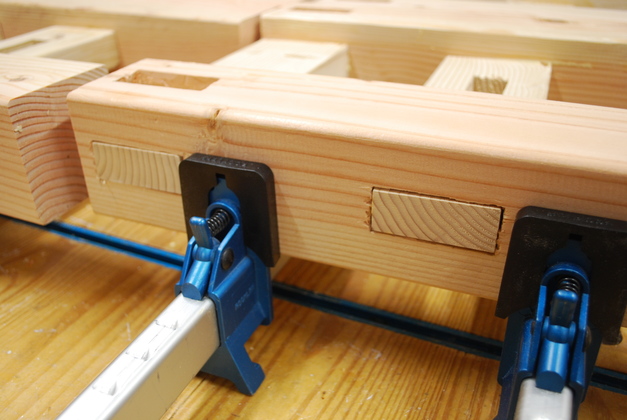
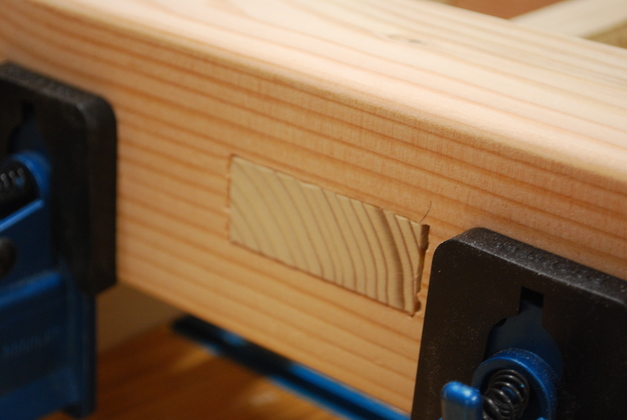
Biscuit slots on top end and top center. |
|
Closer look at biscuit slots on top's center and end.
|
|
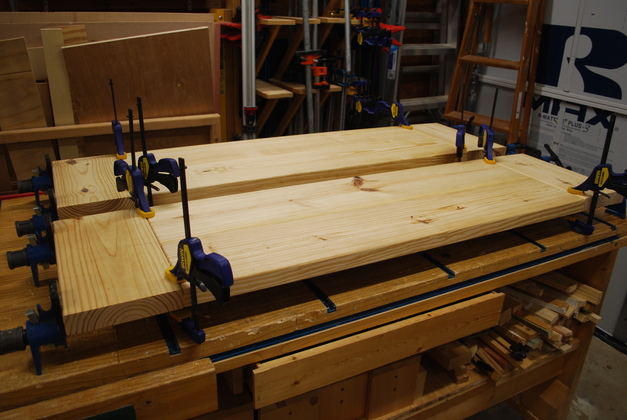
Top ends being glued to center section. The 6" Irwin clamps keep the top flat to the bar clamps. |
|
Bench leg cut to length. |

|
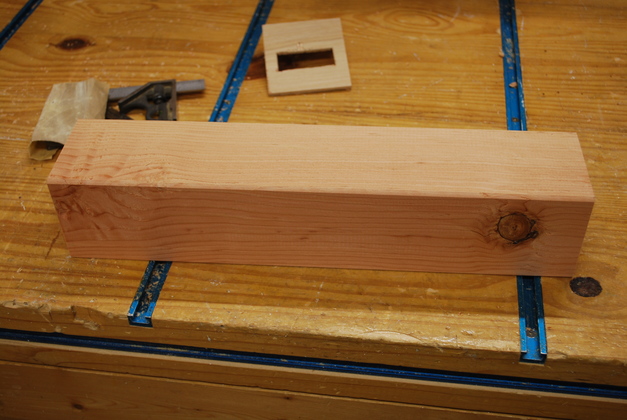
Marking leg for side mortise with guide. On through tenons you must clean out from both sides so I mark both sides with this guide (or pattern). |
|
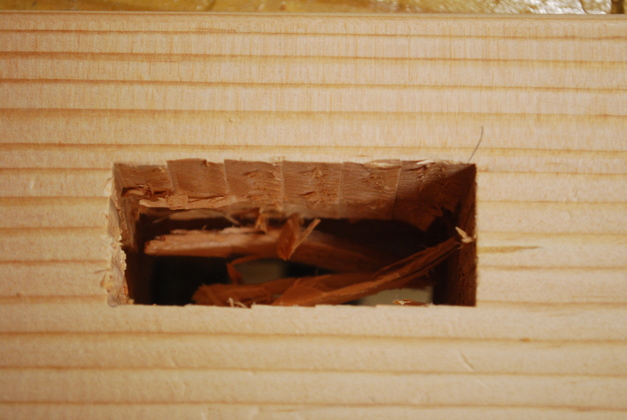
Close up of a mortise drilled but not yet cleaned out. When you clean out these mortises, you have to work from both sides so you don't bust out chips around the far side of the mortise, like tear out when you saw. |
|
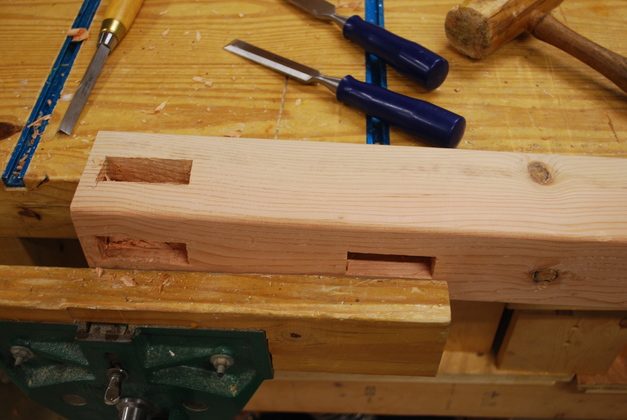
Mortises cleaned out. |
|
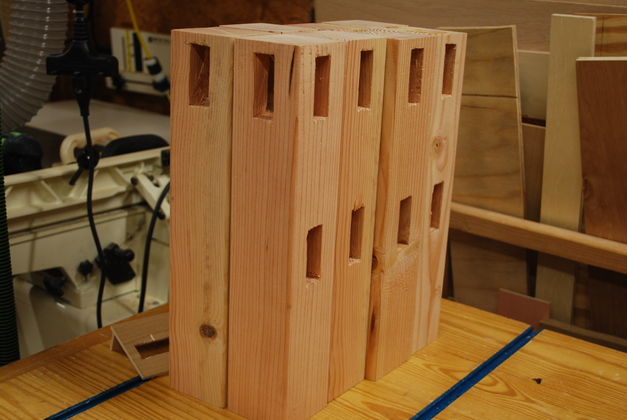
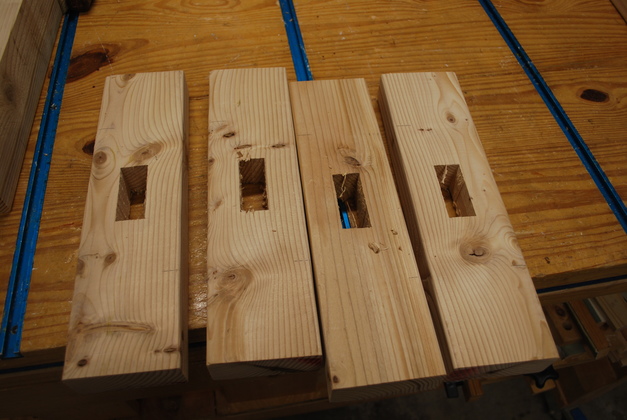
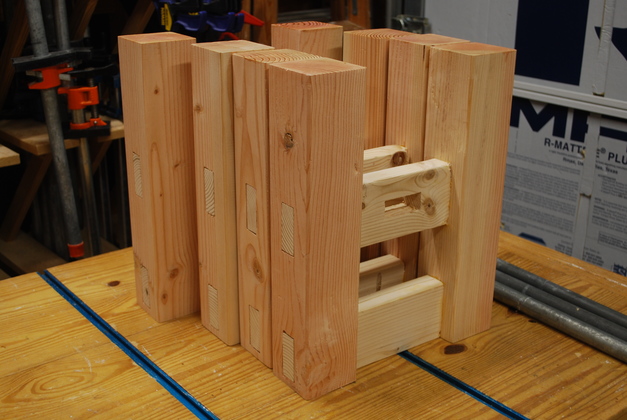
Legs cut to length and mortises cut. |
|
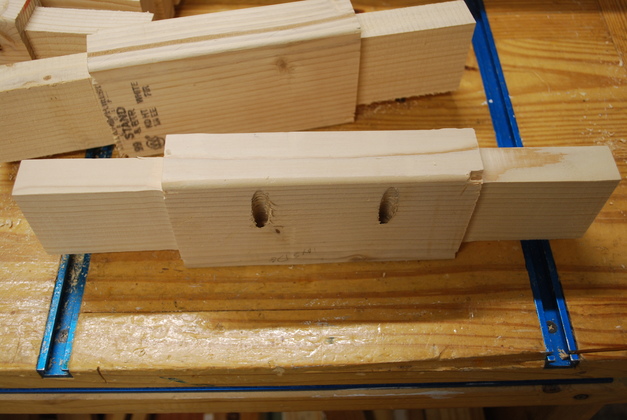
Lower cross pieces with mortises drilled, but tenons not cut yet. |
|
Frame cross pieces with 3-1/2" tenon long side sawed. Next, I'll saw the short side then the shoulders on the table saw. |
|
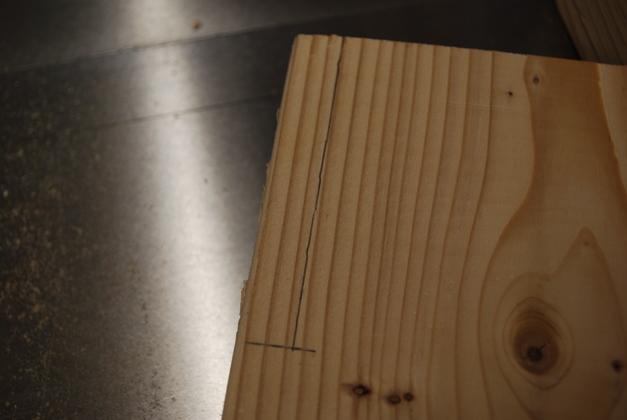
Short side mark before sawing. |
|
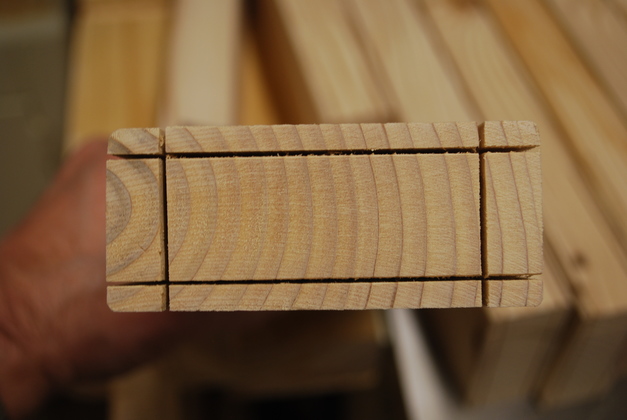
End of tenon after long bandsaw cuts, before table saw shoulder cuts. |

|
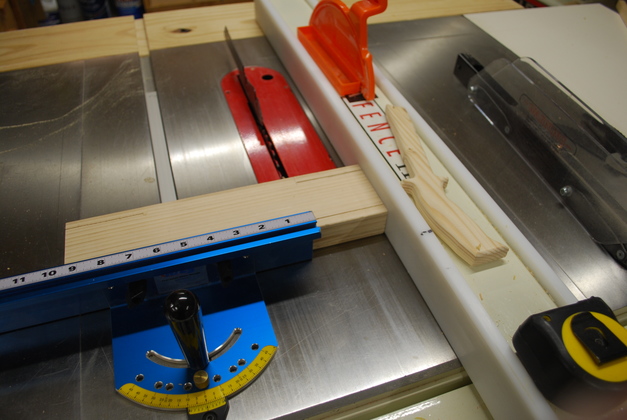
Table saw set for shoulder cut. |
|
Cutting tenon shoulders. Using the table saw like this should make all the tenon shoulders the same. |
|
Tenons cut. Also top side pieces pocket holes drilled. |
|
Closeup of a top end piece with tenons and pocket holes. |
|
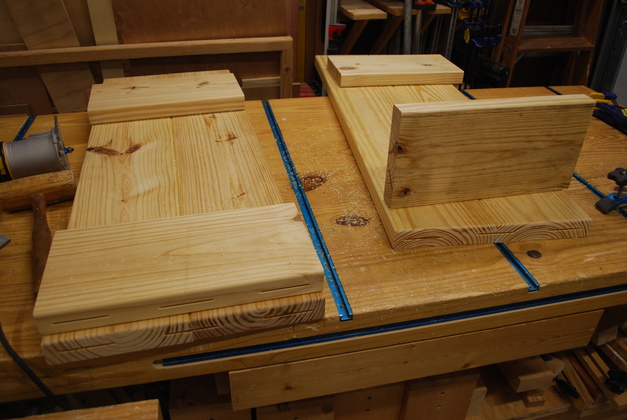
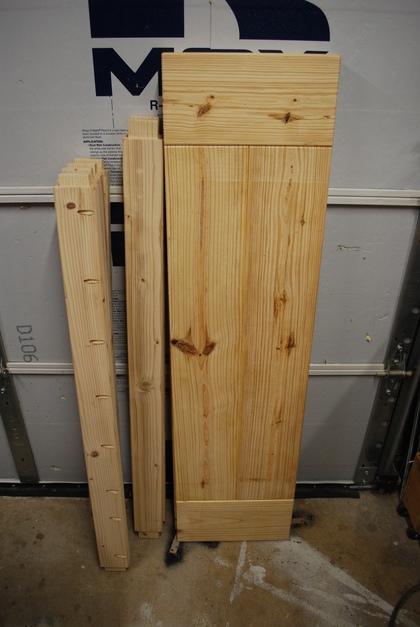
Side pieces, stringers, and Tops ready to assemble. |
|
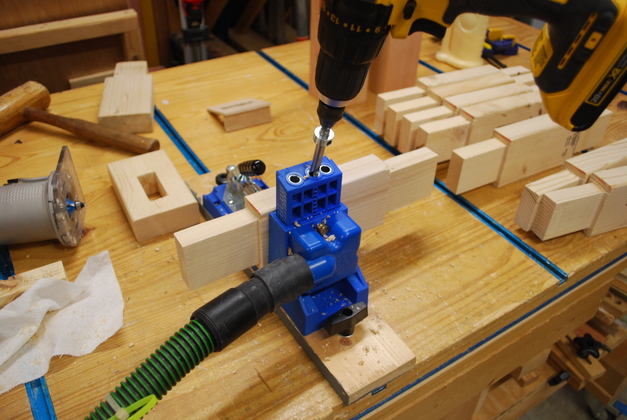
Drilling pocket holes in a top end piece. In the background you can see my target mortise and tenon, then I clean up mortises and tenons they must fit these targets. |

|
Legsets in the glue. |
|
I tried to get the ends of the tenons just a tiny bit proud so they would sand flat. |
|
Closer look at a tenon end in it's mortise. |
|
Glued legsets. Here I'm painting the bottom end of the legs to seal them. |
|
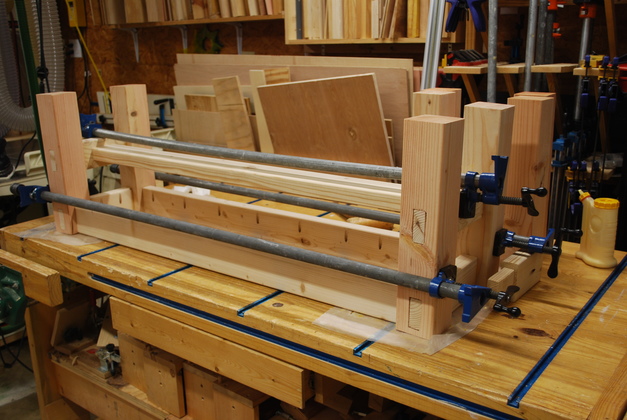
Both bench frames in the glue clamps. |
|
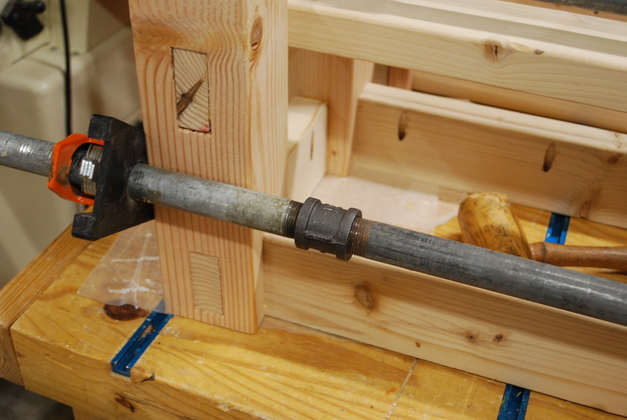
These bench frames are 51" long so I needed at least 5' pipe clamps. I didn't have enough 5' pipe clamps so I had to extend a couple of 4' clamps. Notice I used a 3/4NPT union, it works great. |

|
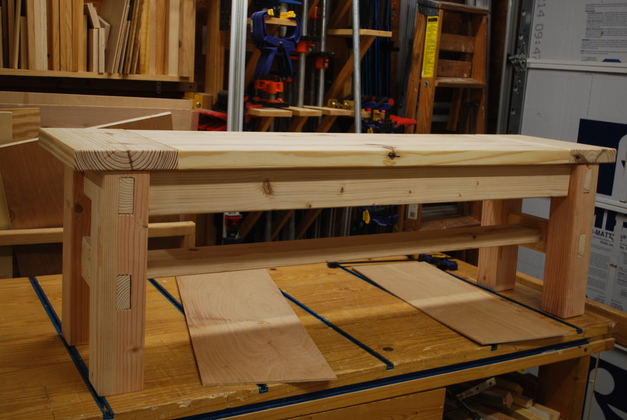
Complete, glued bench frame, ready for it's top. You don't see many frames with through mortise and tenons, just like in olden times. |
|
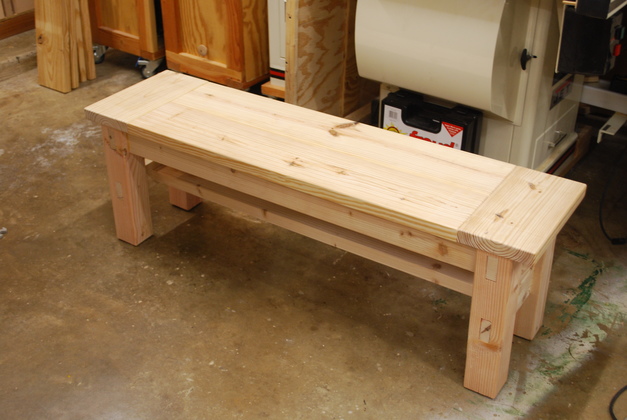
Completed bench with top screwed to frame. |
|
|
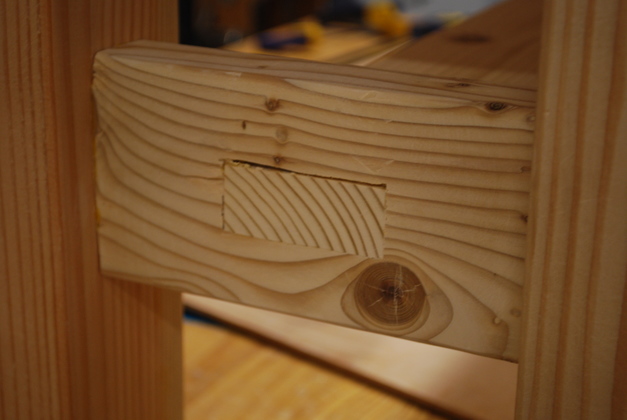
Close up of tenon end in through moritse. |
|
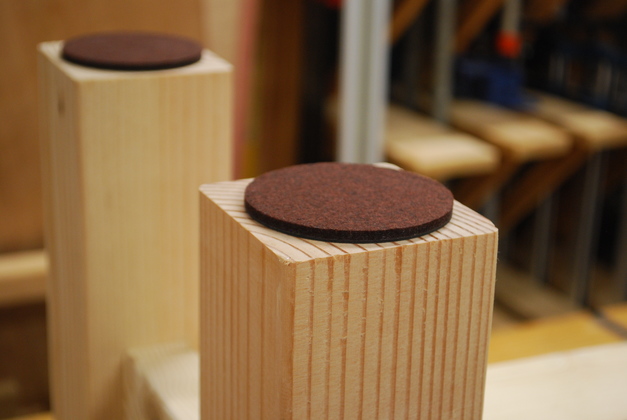
Large fruniture pads on bottoms of bench legs. I have also done this on the table. |
|
|
As you would normally see one on the floor. |
|
|
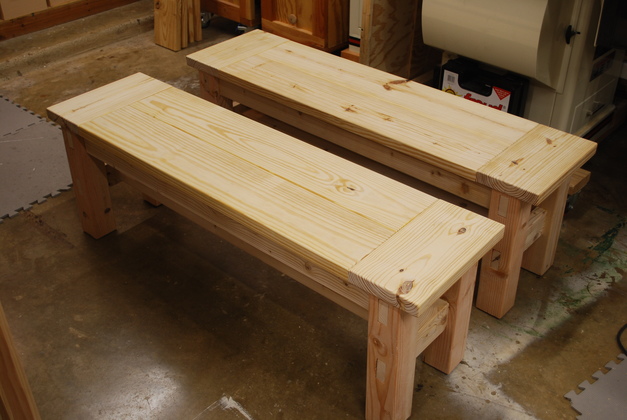
The pair of benches on the floor. |

|
|