03/03/16: Page Origin.
We soon felt the GREEN tile in both baths was ugly and now I'm preparing to do something about it.
The wallpaper and borders make the bath rooms look smaller.
The builder didn't want to open the fir downs above the tubs, a missed opportunity for storage.
In such a tiny house the extra storage would be wonderful!
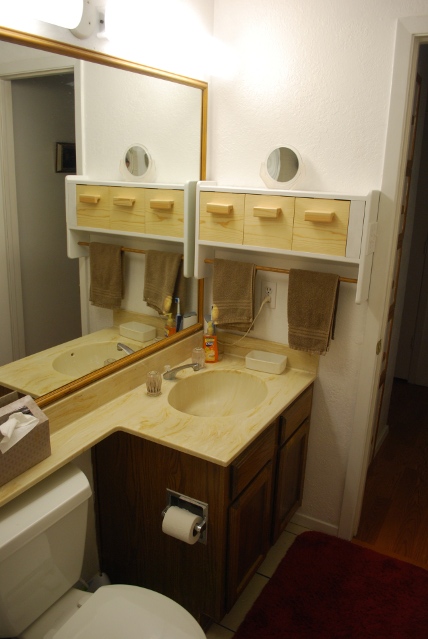
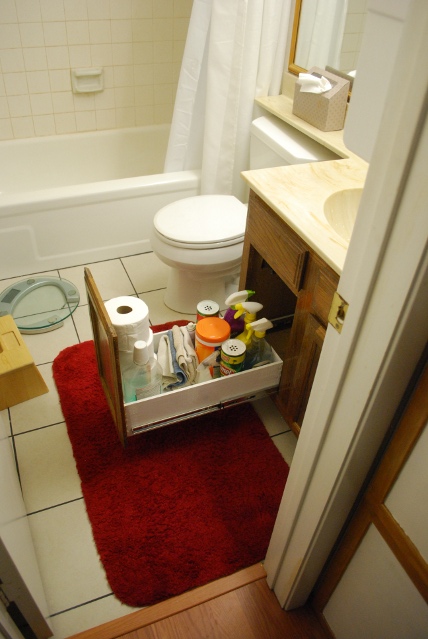
The vanity under-cabinet storage is difficult to access (typical).
Walls, texture, and paint were treated the same in both bath rooms.
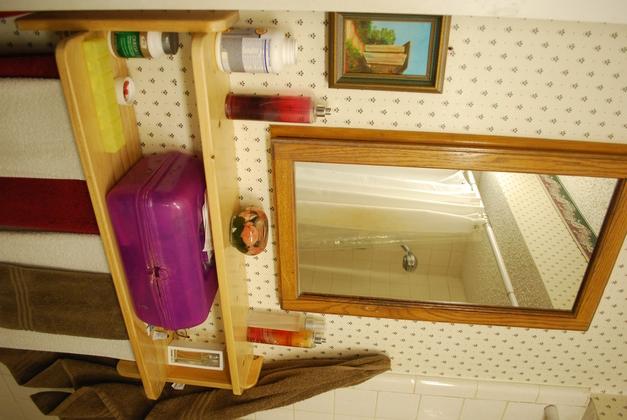
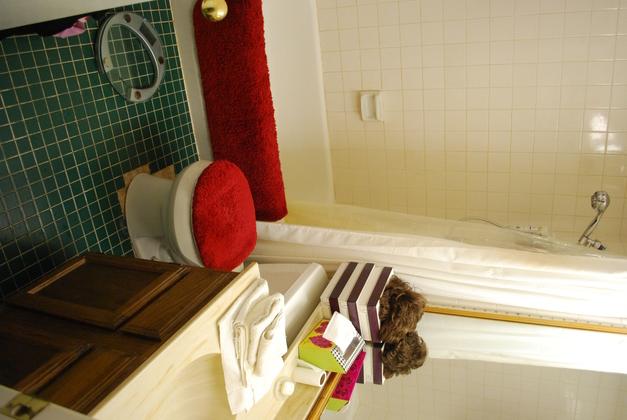
The back bath has two different cabinets (South and North) with different size tilt out bins and cabinets doors on the South cabinet.
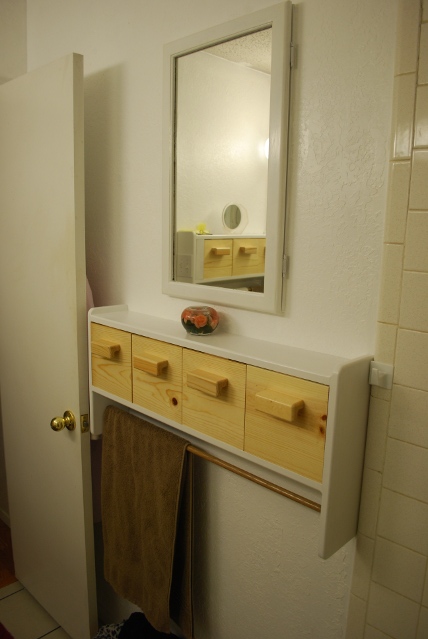
In the front bath the towel bars with tilt-out-bins are all identical (8" high X 8" wide) so they may be easily rearranged.
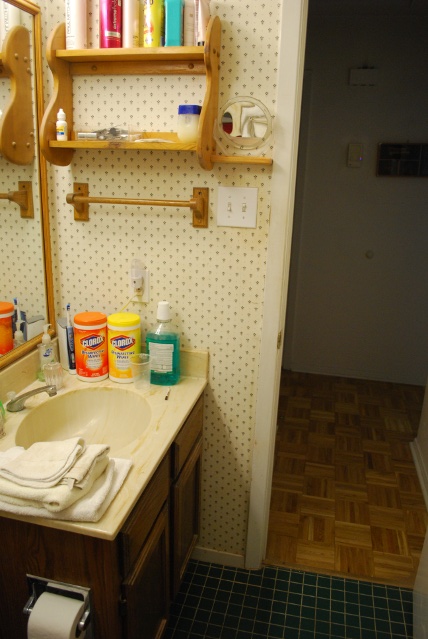
The vanity under-cabinet storage is typically difficult to access, it's low and you have to get down on hands an knees to see whats in the back, so sliders are called for.
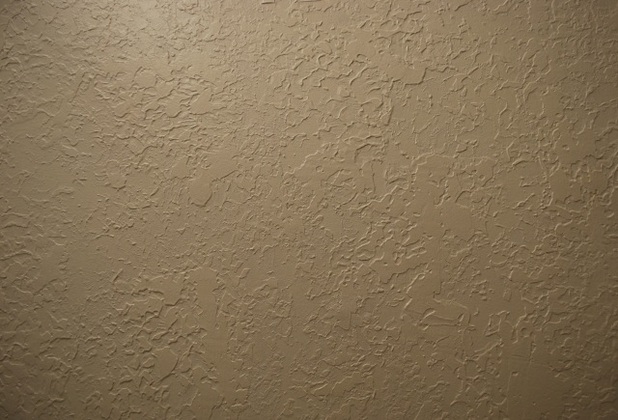
The background of these pages is a pic of our Santa Fe Knockdown texture.
|
| West towel bar installed.
Looks neater, less cluttered.
Before the new tub, note the old bull nose c-tile on the right by the new towel bar.
| 
|
|
|
New East towel bar.
Everything is here but just neater
|
|
|
|
Ding Dong the GREEN is Gone!
Clean, less clutter.
|
|
|
|
The sliders now house most of the larger junk required in a bathroom.
|
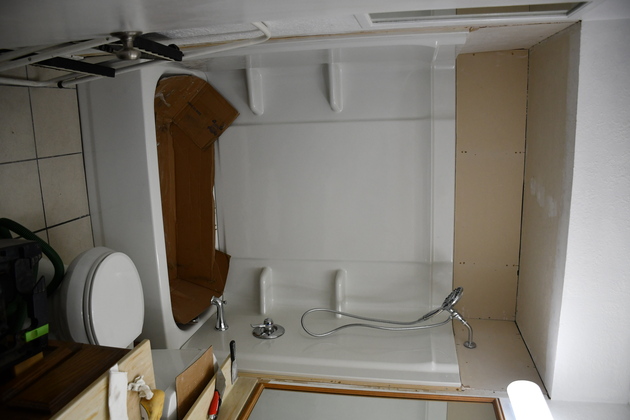
Tub Replacement
|
I didn't get any pics of the deplorable shape our front tub was in, or even when it was removed.
This is after the tile was removed and the tub replaced.
I put the cardboard in the tub to protect it from my feet when I was in the tub, working on the walls..
|
|
Here you can see where I had scraped the popcorn off the bottom of the fir down above the tub.
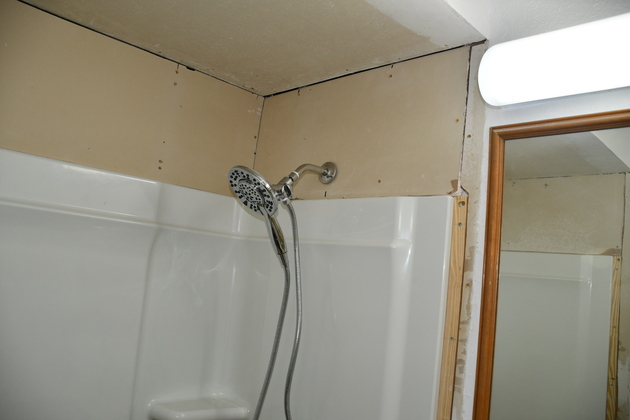
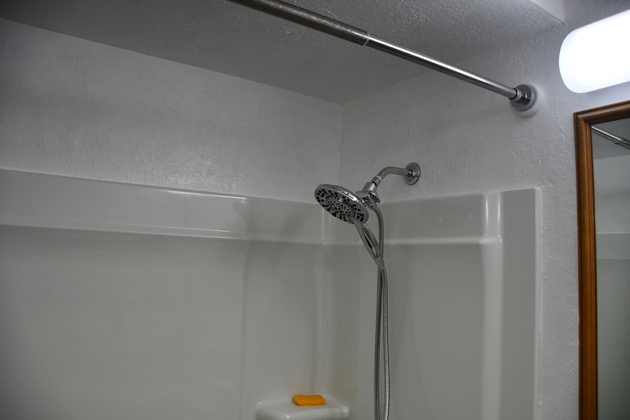
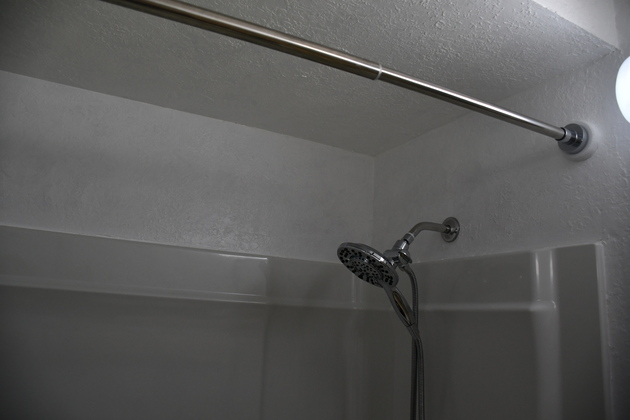
The upper edge of the new surround and the new shower head.
The shower head is a Delta Faucet Linden 17 Series.
|

|
The old c-tile had gone all the way to the fir down, here you can see the new sheetrock that replaced to old c-tile.
Upper left end of the tub alcove.
|
|
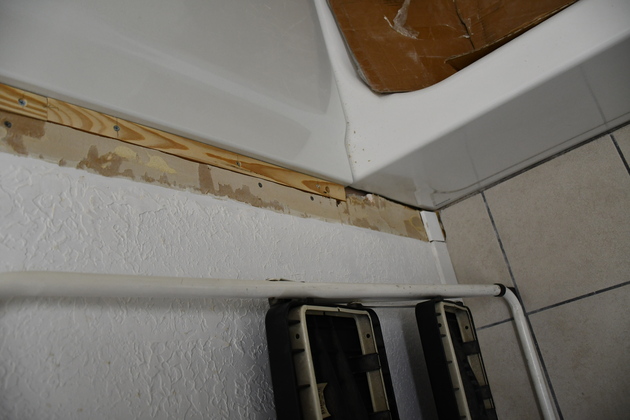
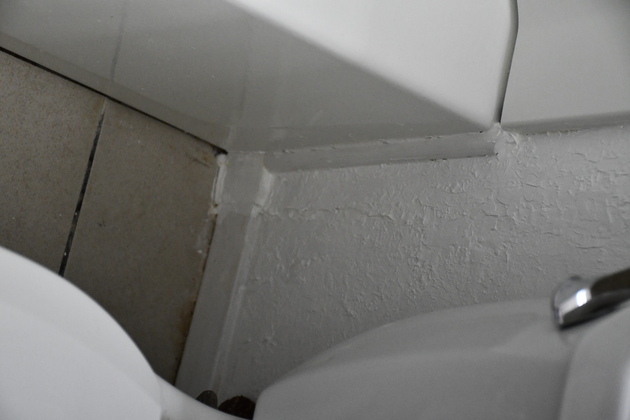
You can see the pine strip I cut to fill in where the c-tile bull nose had been.
You can also see the short piece of base board I had to glue in.
|
Finished
|
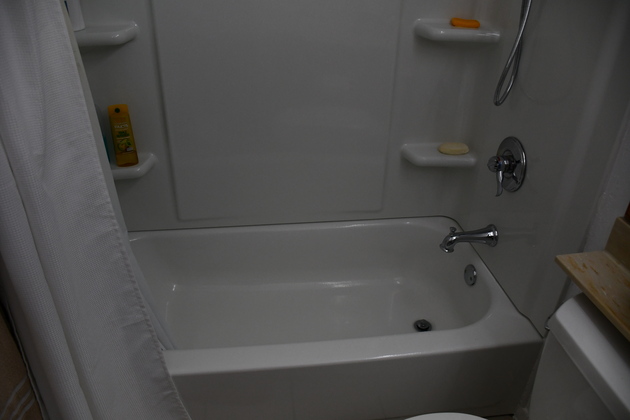
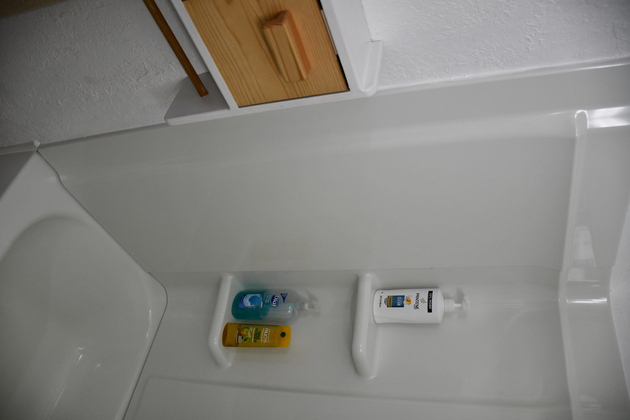
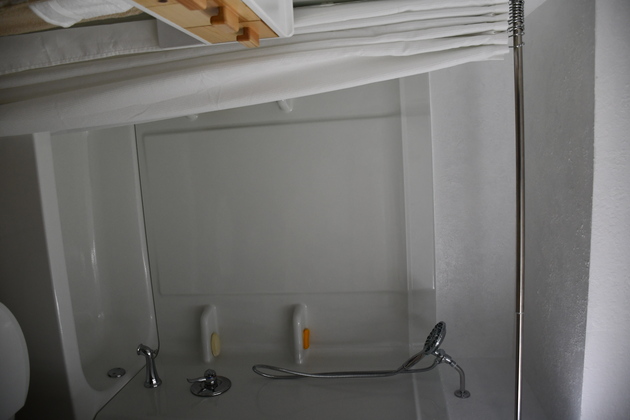
The tub after Betty's first shower, she has all her required items on the shelves of the surround.
Also the new valve and fawcet.
|
|
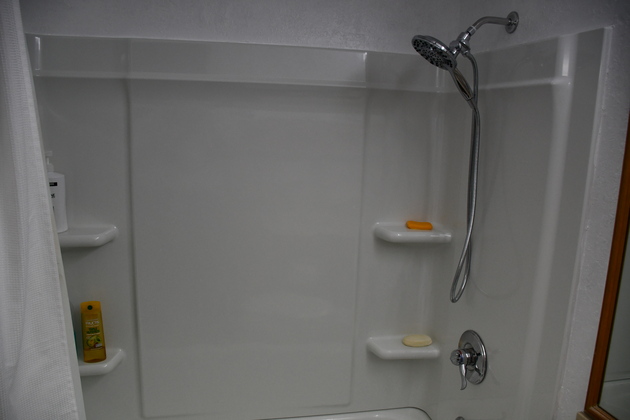
Showing the new shower head, valve, and the top of the surround..
|
|
A look at the top of the surround with it's new knock down texture.
|
|
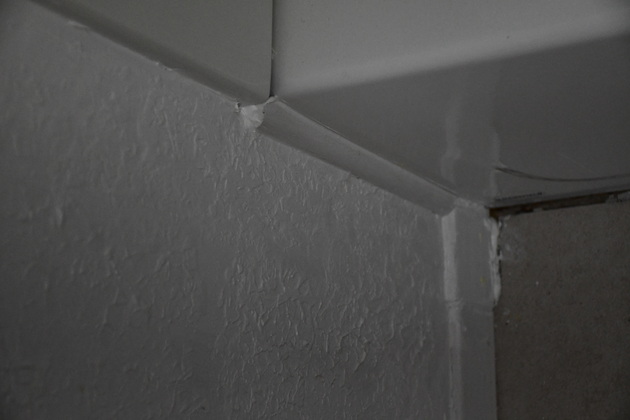
Quick look at the quarter round moulding at the right side of the tub and it's little piece of floor mould glued in.
|
|
Same on the left end.
You can also see where I textured over the pine strip where the old bull nose was removed.
|

|
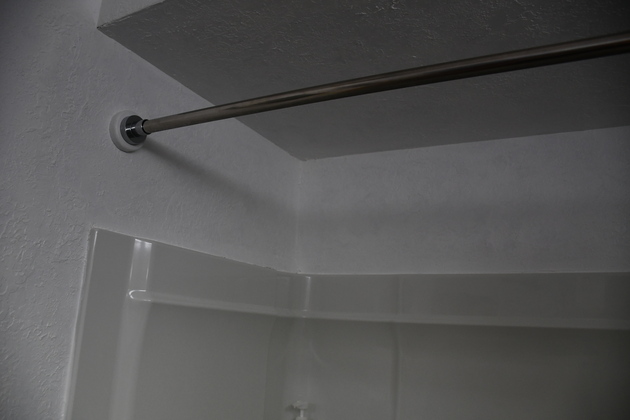
I made these little wooden pads to spread the pressure from the shower rod across a little larger area of the sheet rock.
|
|
Left end of the tub and surround.
|
|
Left upper end, new sheet rock and texture.
|
|
Upper right end.
|
|
Whole tub.
|
Finished
|
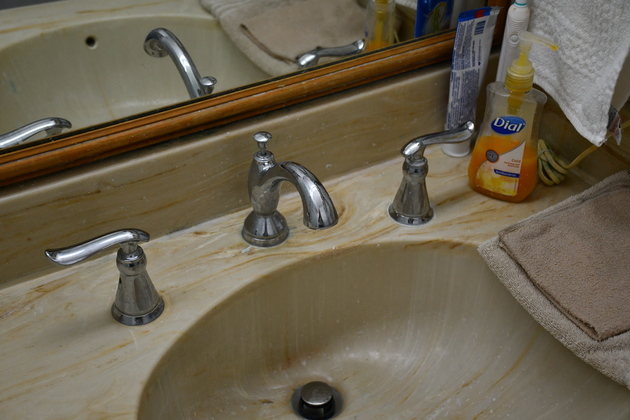
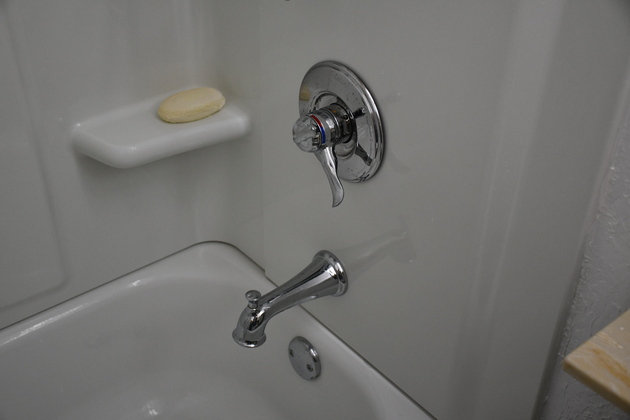
New faucet to match the new tub/shower hardware.
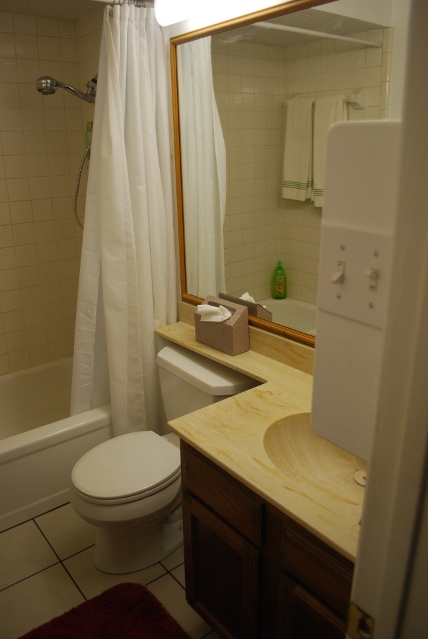
BTW: I'm not very excited about the poured vanity top in this bathroom, it just might be up for replacement soon.
My only question is what to replace the top with?
|
|
Closer look at the tub/shower faucet handles.
|
|
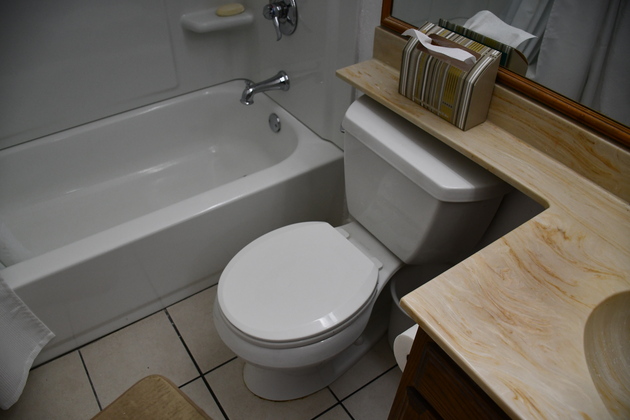
New Kohler toilet.
|
|
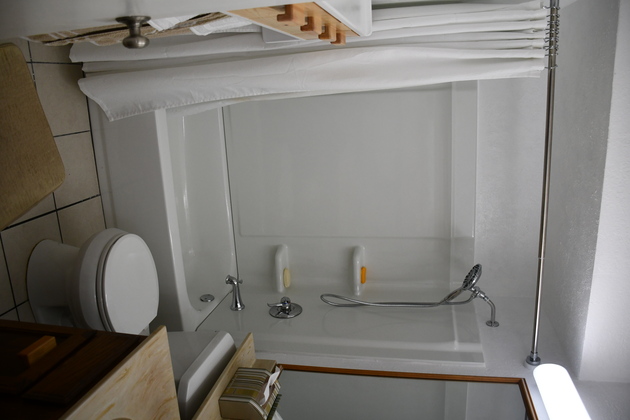
Whole bath room.
Well, most of it anyway (North end).
|
Texture
|
I took several pics of the texture before I got it to show up.
It is painted Ultra White, even though it doesn't look like it!
|
