| 
| 
|
Wine Shelf
|
Wall mounted shelf to hold wine/mead related items with wineglass storage below.
|
07/22/14: Finished.
07/16/14: Page origin.
Betty has been after me to make a small shelf to hold the wine wing and another for a decorative wine cooler above the phone.
So I came up with the Wine Shelf, a small, wall mounted shelf, to hold wine related items with wine glass slides below.
The Shelf
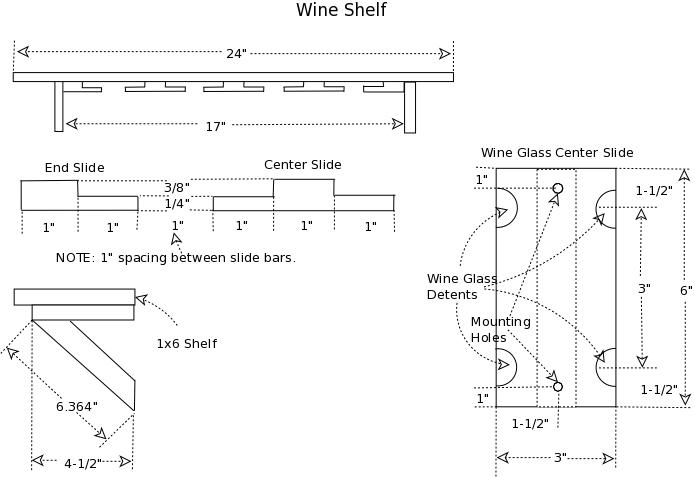
The wine shelf will be 24" wide with two diagonal supports and 4 rows of wine glass slides, each with two glasses, underneath.
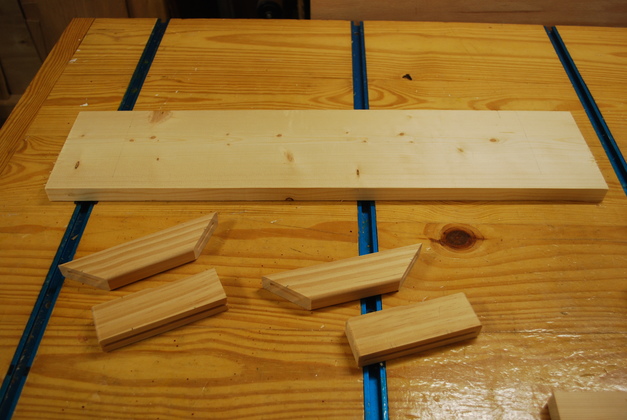
I cut a 1x6x24" as the main shelf, then I cut 2 pieces of 1x2 4-1/2" long as the horizontal under support and another 6.364" (a little less than 6-3/8") long as the diagonal, beveled 45° at each end.
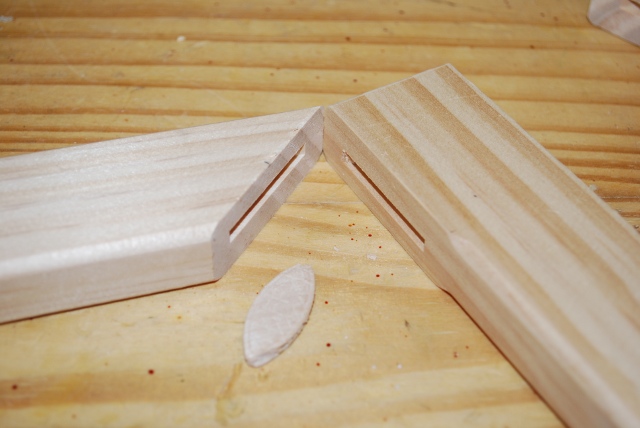
I slotted at the 45° for a type FF biscuit and glued them together.
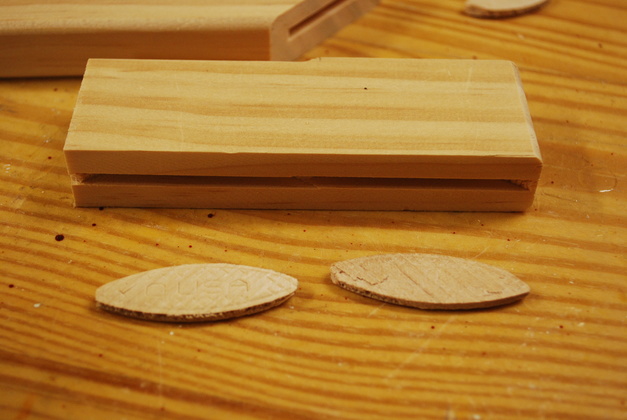
I cut two slots for #0 biscuits in the horizontal under support to attach to the bottom of the shelf then I slotted the shelf bottom to match.
Wine Glass Slides
I cut 5 pieces of 1x4 5-1/2" long, then resawed each of them to 5/8 (plus 1/32)" (the extra 1/32 is to allow one pass across the jointer).
Three of the pieces (center slides) I cut to 3" wide, the other two (end slides) I cut to 2" wide.
I cut 1" wide X 3/8" high rabbets on both sides of the center slides, and on one side of the end slide.
Since the slides are 5/8" thick, the 3/8" rabbet leaves a 1/4" thick flange to hold the wine glass bottom.
Next clamp slide pieces together, in pairs, and drill pilot holes 1-1/2" from each end (3" apart in the center) in the crack between the two slides.
Drill 1" holes for the detents (dents to keep the wine glasses from slipping out too easily) following the pilot holes.
Drill a clearance hole for a mounting screw then counter bore to hide the head of the screw.
Next round the top corners (where the wine glass will be sliding), sand and paint.
Mount the painted slides on the painted shelf using a 1" spacer (see hig pic).
If you slides are a little too wide for the space between the shelf supports, shave a little off the end pieces (side next to the shelf support) to give yourself a little more room.
|
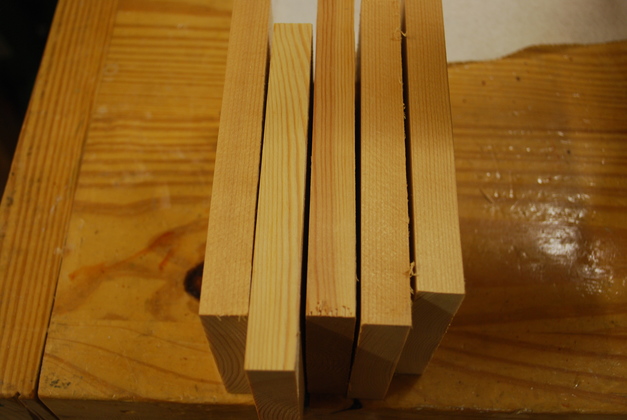
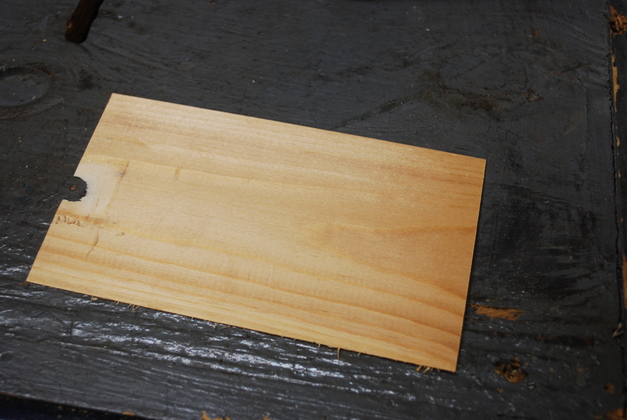
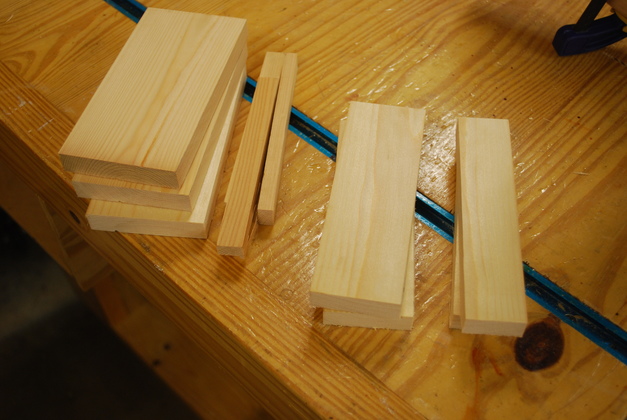
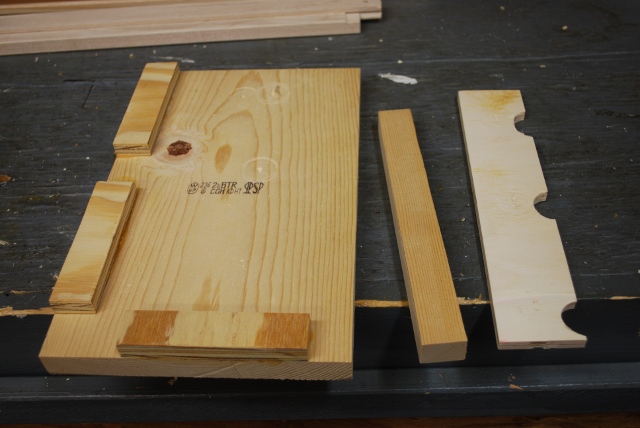
Here are a shelf and it's diagonal support pieces sawed out.
|
|
Here is the ends of a diagonal and the horizontal, with Type "FF" biscuit, slots, and the corners rounded.
|
|
Top side of a horizontal, with two #0 biscuits, and slots for attachment to the shelf.
If you want ot see how I actually apply glue to biscuits please take a look at my biscuit gluing page.
|
|
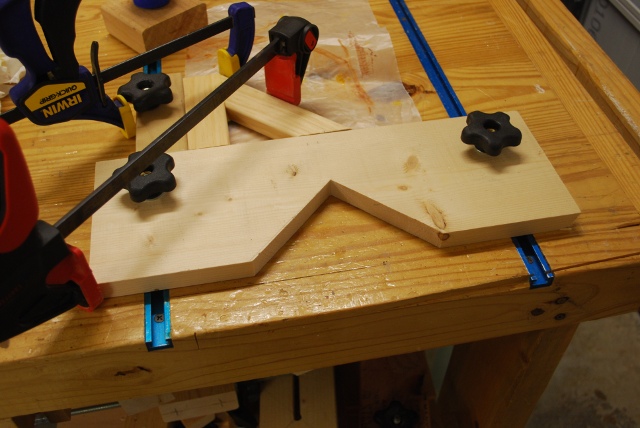
A diagonal being glued to it's horizontal.
The notched tool I'm using as part of the squaring form, is used to hold diagonals while I'm cutting the biscuit slot in their ends.
|

|
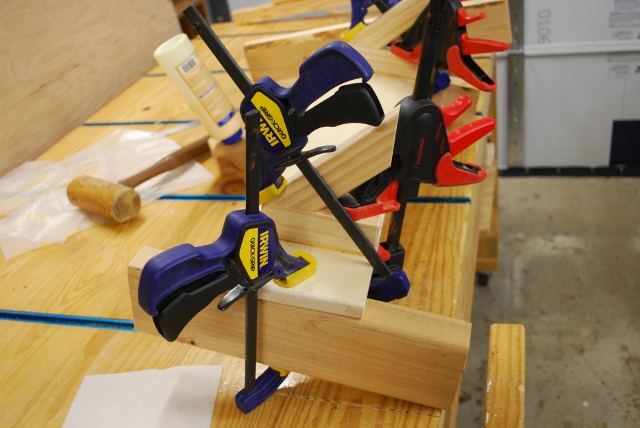
A diagonal support being glued onto one end of a shelf.
I glued the horizontal to the diagonal first.
|
|
Heres a look from the end showing both diagonals being glued.
|
|
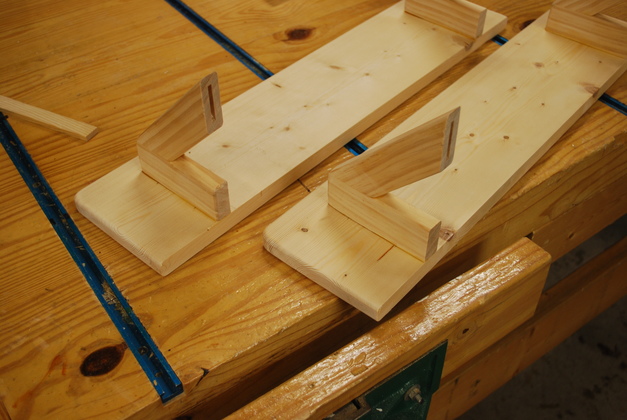
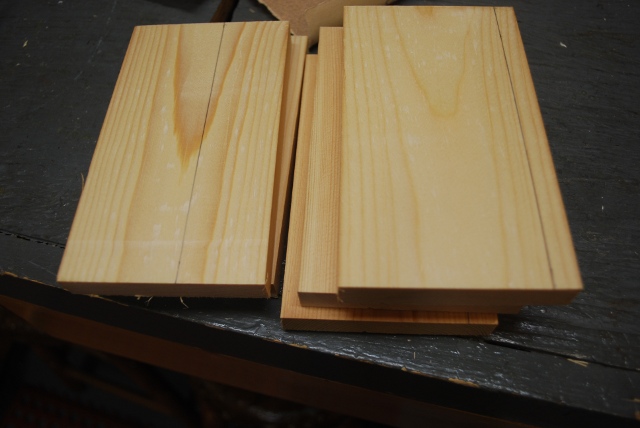
The two shelves after gluing the diagonal supports on.
|
|
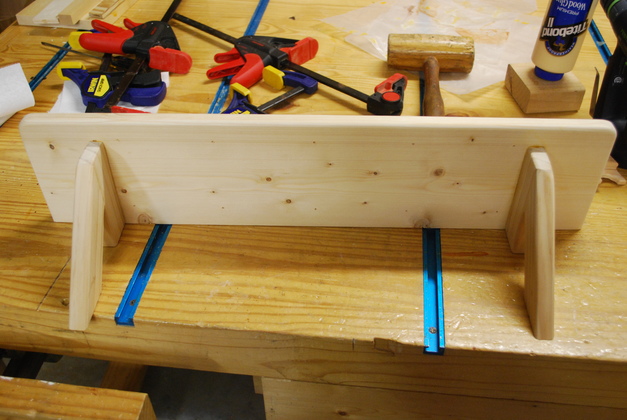
A look from underneath the shelf, the wineglass slides haven't been installed yet.
|
|
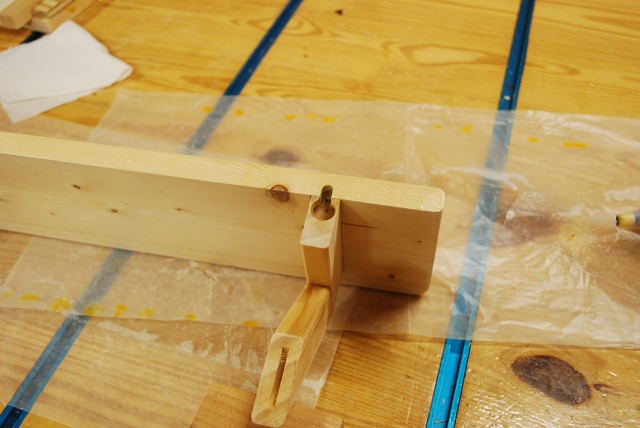
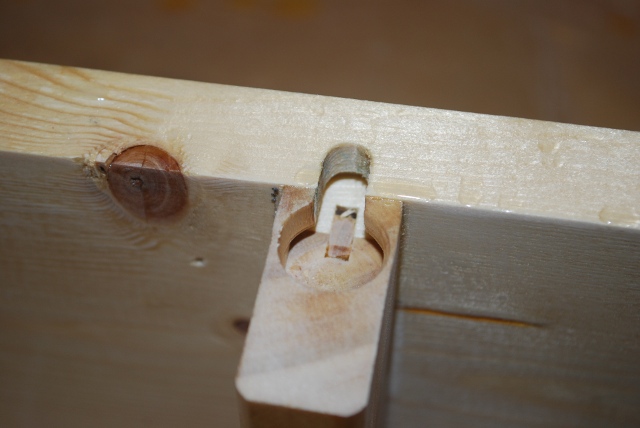
Keyhole mounting slot cut in back of shelf and support.
|
|
Close up of a keyhole slot.
You leave the mounting screw sticking out of the wall 1/2", slide the screw into round part of the keyhole then bring the shelf down until the screw shank hits the top of the keyhole.
Note you can see the end of a biscuit in the bottom of the keyhole.
This keyhole is actually a little large for this shelf, I have a smaller bit which I should have used on this project.
Keyholes work well for picture frames or anyghing that you want flush with the wall.
I previously used them on spice racks in the kitchen.
|
|
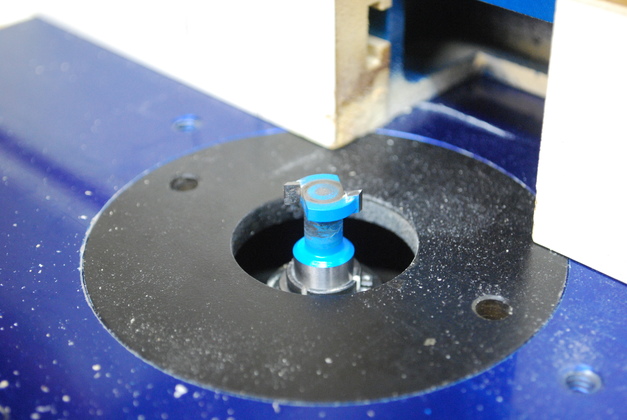
The keyhole bit I use to cut these mounting holes.
You have to use a straight bit to cut the basic slot then this keyhole bit to cut the flare.
There is also a smaller bit that doesn't require a separate cut for the slot.
|
|
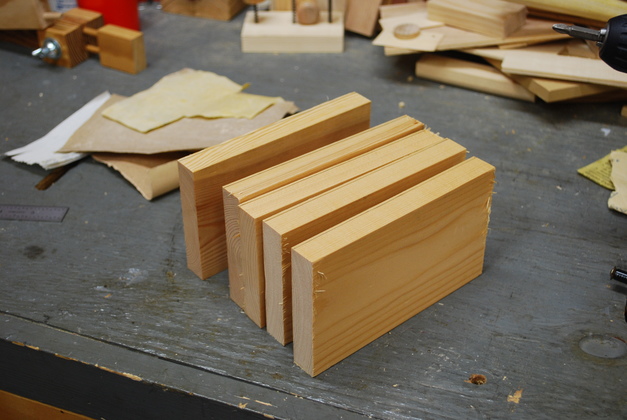
5-1/2" long pieces of 1x4 cut out for the wineglass slides.
|
|
A 1x4 is 3/4" thick and the wineglass slides should be 5/8" thick, so I mark them for resawing.
You can see the line parallel with the left edge here.
I actually mark 1/32" extra since I'll have to run them across the jointer aftet I bandsaw them (I keep the jointer set to take off 1/32").
|
|
I am sometine amazed at what you can do with a bandsaw.
Here is one of the pieces I resawed off to cut a 3/4" thick 1x4 down to 5/8" thick.
|
|
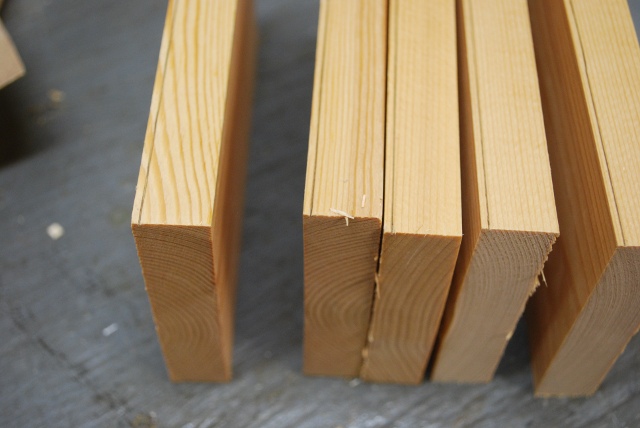
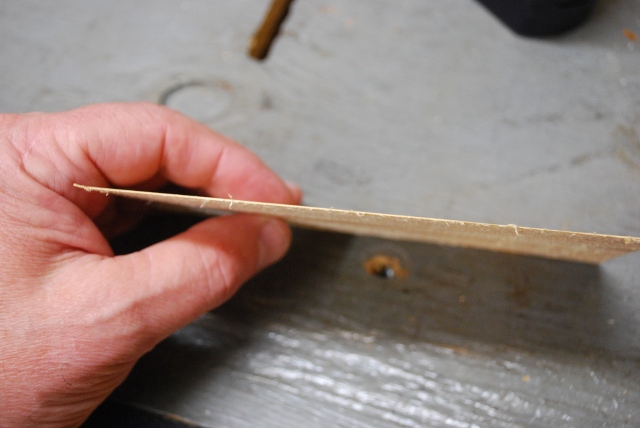
A look edge wise.
Remember, I cut 3/4" down to 5/8" plus 1/32" extra for the jointer and this is whats left.
|
|
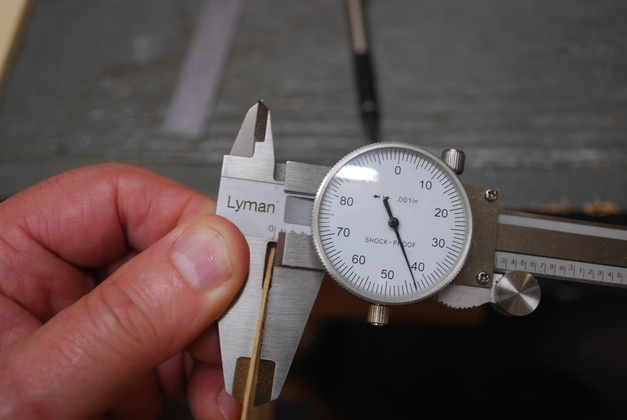
Just a little under .043" thick (a little thicker than 1/32").
|

|
You can see the bandsaw marks on a wineglass slide, before running across the jointer.
|
|
And after jointing.
Here I have marked the width, remember a 1x4 is actually 3-1/2" wide.
A wine shelf needs 3 center slides 3" wide and two end slides 2" wide.
|
|
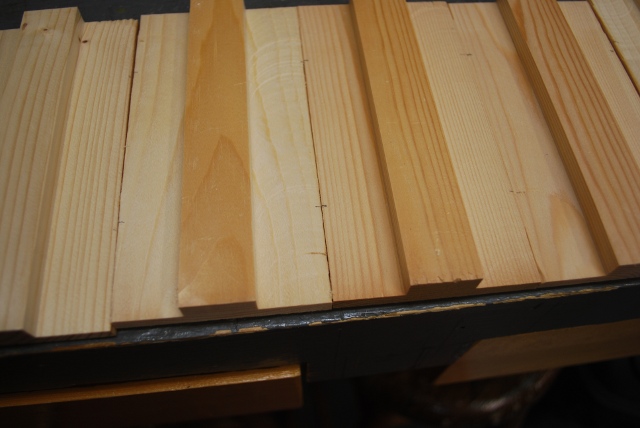
Support pieces sawed to the correct width.
Since the slides are only 5-1/2" I cut them length wise on my miter saw, so I don't have to run them across the jointer.
|
|
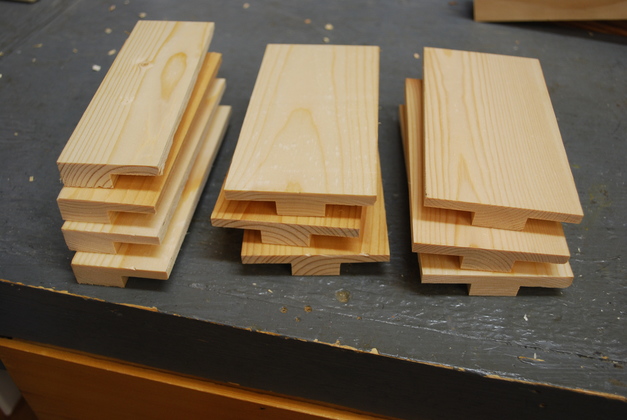
Here they with 1" by 3/8" rabbets cut.
This is for two wine shelves, six centers and 4 ends.
|
|
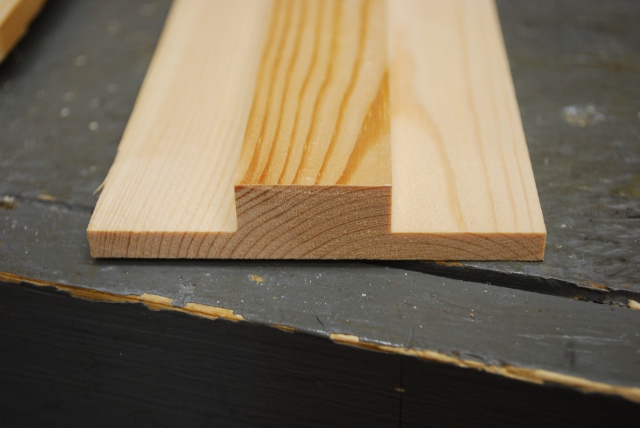
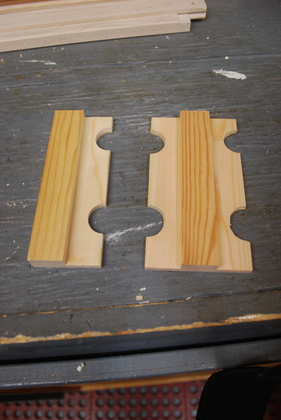
One of the center pieces, right side up.
Two 1" rabbets on each side and a 1" section in the middle for mounting and spacing between glasses.
|

|
Here is an end piece and one of the center pieces laid out as they will be when installed under a wine shelf.
I still have to drill the glass detents (hole to keep a wine glass from moving).
|
|
You can see the pencil marks where I will drill pilot holes.
|
|
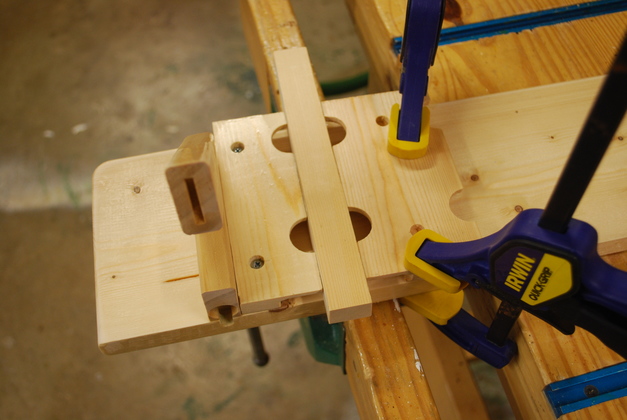
I made a jig to hold two slides while I drill the wine glass detent hole.
I glued the 1/2" plywood strips at the bottom and side and made sure they were exactly 90° from each other (square in other words).
The narrow strip (center) is a 1" wide spacer for mounting the wineglass slide pieces when I install them.
The piece of wood on the right is exactly 3/8" thick and used to support the slide while I'm drilling the detent hole.
|
|
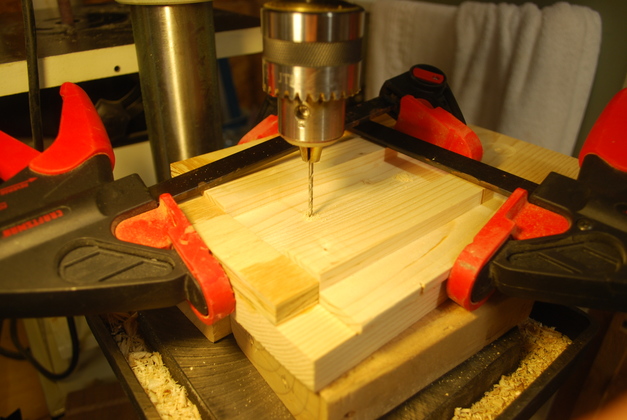
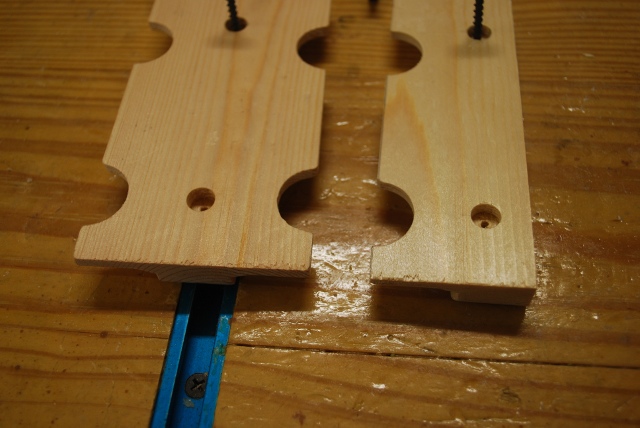
Here I'm drilling pilot holes in the crack between two slides.
Note how I have to clamp the two pieces together against both bottom and side support.
|
|
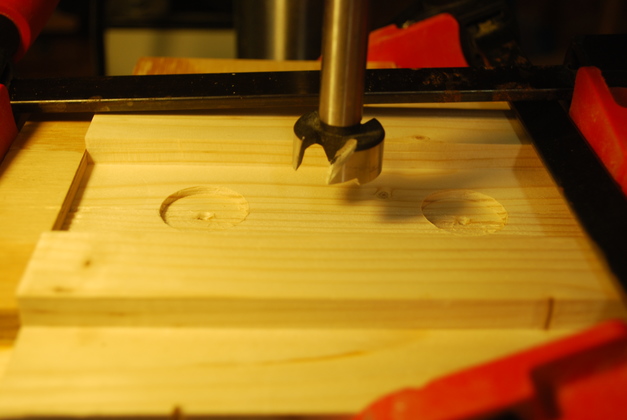
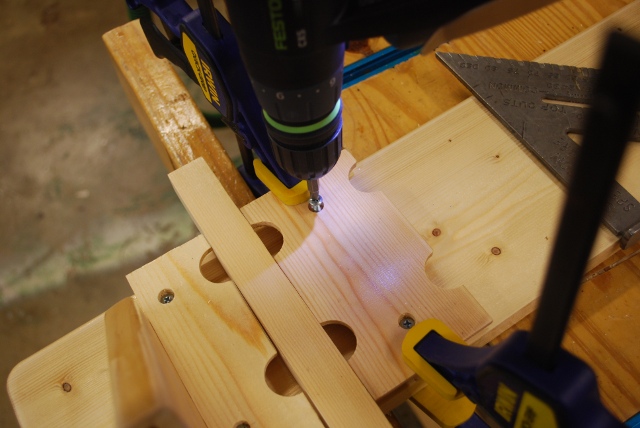
Now I'm boring the 1" detent holes (using the pilot holes as guides) half way through from the top side, then I'll drill the rest of the way from the bottom side (again using the pilot holes as guides) to prevent tear out.
|

|
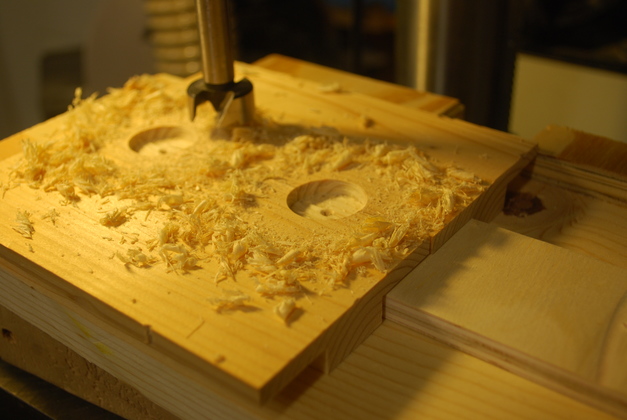
You can see the support piece sticking out from under the two pieces being drilled.
|

|
Ready to bore from the bottom side.
You can see the two pilot holes, using them makes sure the two bores come together exactly.
|
|
Finished drilling from the bottom side, because of the way a forsner bit cuts at the edge, a thin disk of wood is left in the hole, you can see it here.
|
|
One end and a center wineglass slide with detents bored.
|
|
Counter bored mounting holes in wineglass slides.
|
|
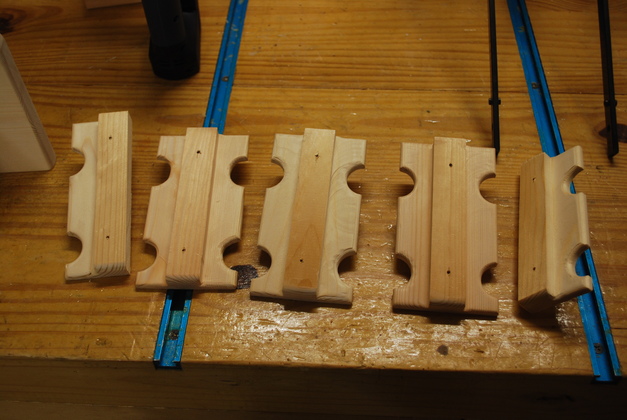
A complete set of wineglass slides for one shelf ready to paint.
|
|
Here I've screwed the end slide against the diagonal support and flush with the back edge of the shelf.
I'm using the 1" spacer to align one of the center slides.
|
|
I clamp the slide in position then drill a pilot hole through the counterbored mounting hole and finally run in the mounting screw.
|
|
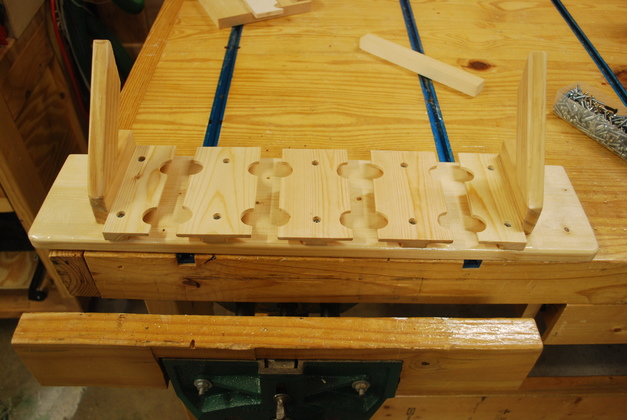
All the slides attached under the shelf.
Notice the glass detents, enough for 8 glasses.
|

|
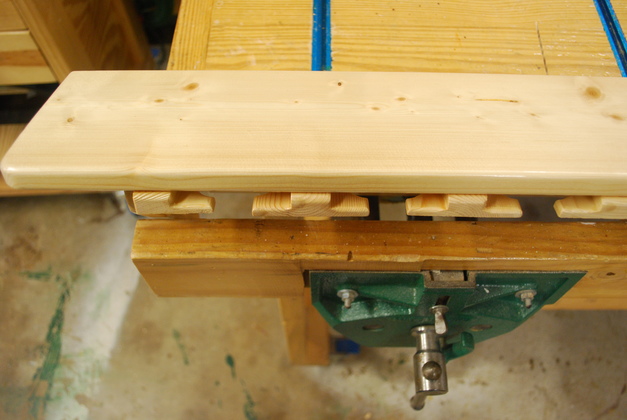
Front view of shelf with wineglass slides.
Note how they stick out slightly, that makes them easier to slide the glass into.
|
|
Closer look at glass slides protruding under the front edge of the shelf.
|
|
|
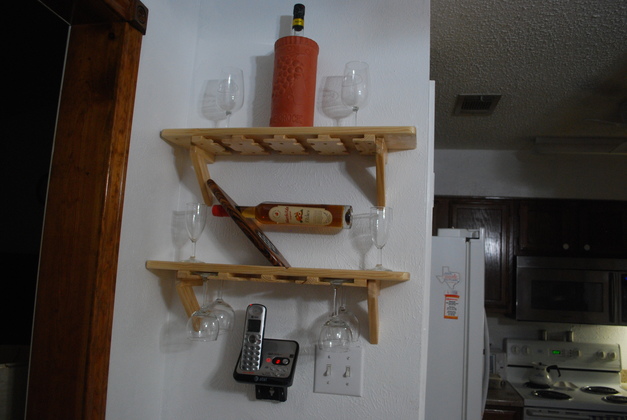
Both shelves mounted above phone.
|
|
|
Closer look at both shleves and wine bottles, wing, and glasses.
|
|
|
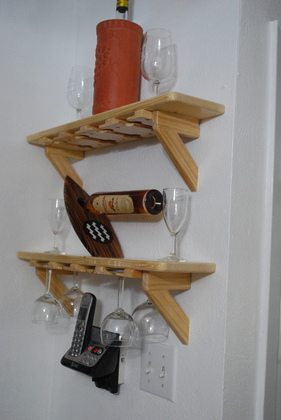
Quarter view of final shelves.
|