| |
|
| 
|
|
Tile Saw
|
We decided it was time to redo our bathrooms.
We had lived with dark green tile (even a dark green tile vanity top) and wallpaper with borders in both baths since we got the house.
So we definitly wanted to get rid of the dark green tile.
The bath rooms are very small so I was dubious about getting someone to lay such a small amount of tile so I decided to do it my self.
I had already acquired the tools to remove the old tile but I would need a way to saw the new tile or a tile saw.
Table Tile Saw
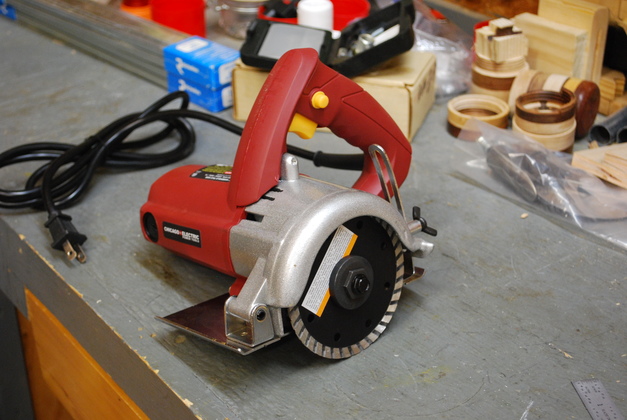
I looked around and decided, for this small project, it was expensive to get a table tile saw like I would need, and found a dry tile cutting circular saw (4") at Harbor Freight for $40 plus a 4" wet/dry diamond blade for $17.
Inspired by my plywood ripper, I thought I would mount it, upside down, in a small table with a fence mounted in tee tracks on each end.
Toilet Paper Holder
In our tiny house the bathrooms are also tiny.
The toilet paper holders are mounted low on the side of the vanity and stick outabout 4-1/2" inside, just above the floor of the vanity, right where you need to put things.
So I started thinking about a new holder and a new place to put them.
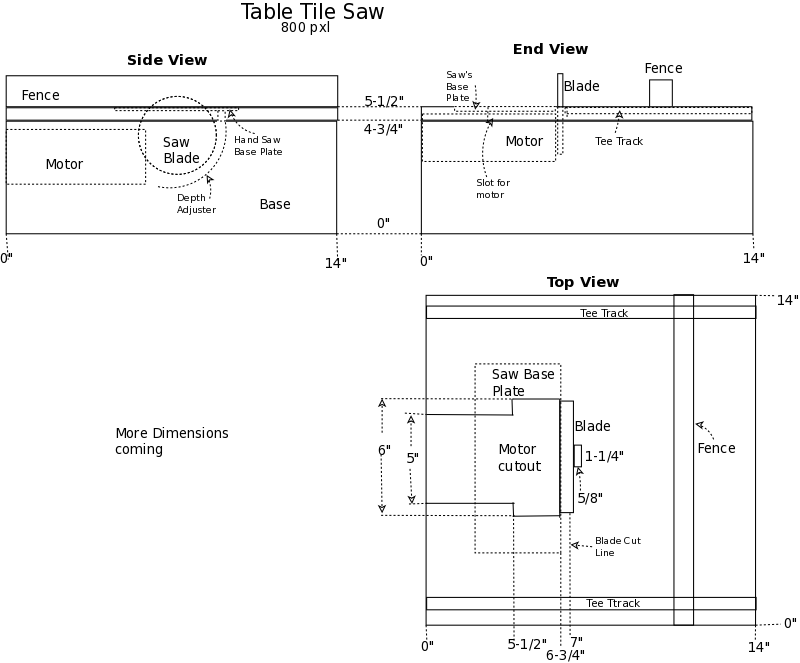
Tile Saw Diagram
click for larger pic
|
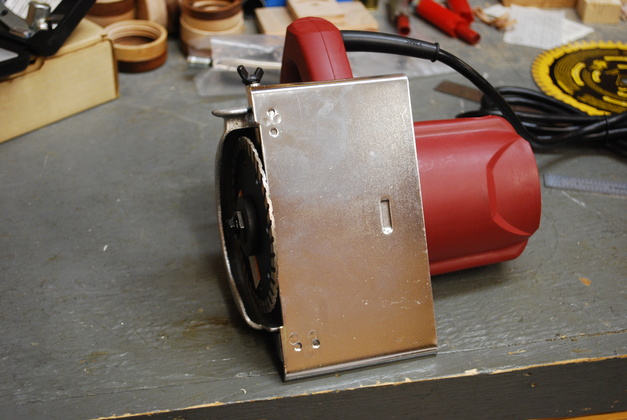
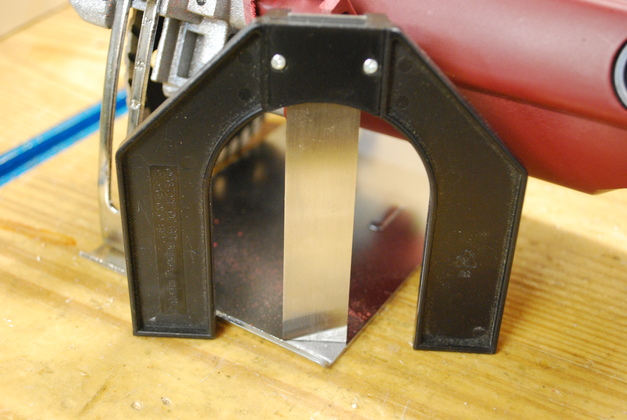
Harbor Freight Hand Tile Saw with 4" diamond dry cut blade.
|
|
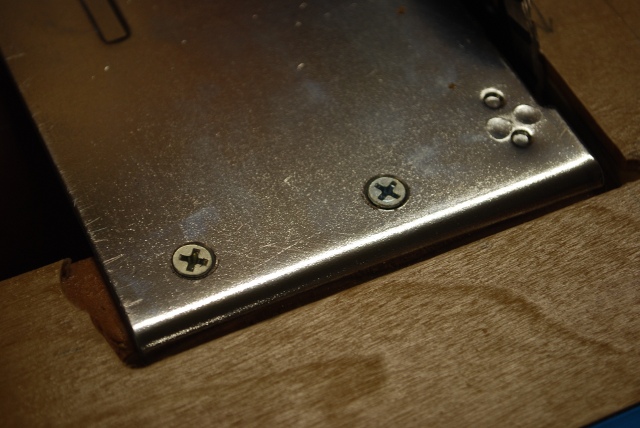
Base plate of saw.
|
|
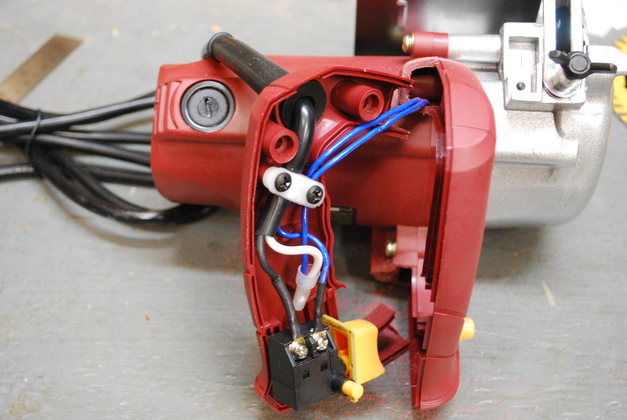
I carefully sawed the handle half way to see where the wiring was.
|

|
Cut motor wires from switch and cord, then finished the sawing handle.
|
|
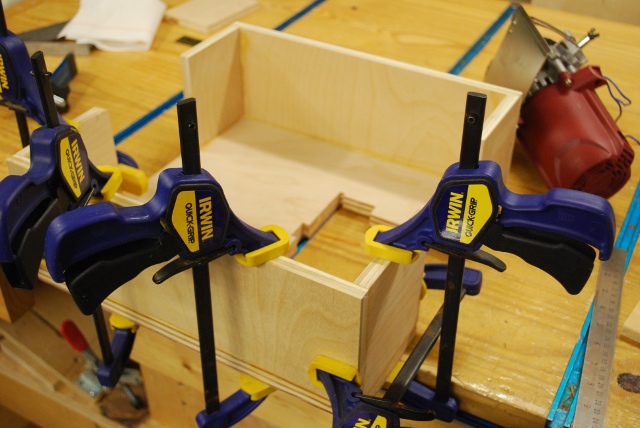
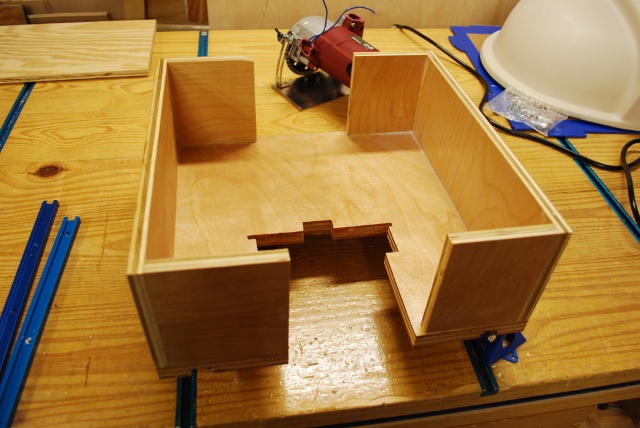
Tile Saw Base being glued.
The sides are 1/2" birch plywood, the top is 3/4" birch plywood.
|
|
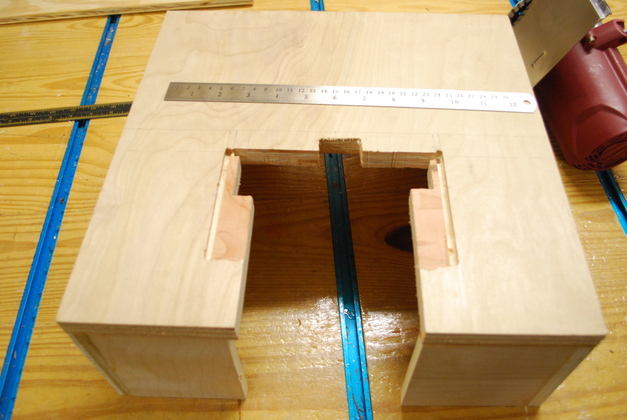
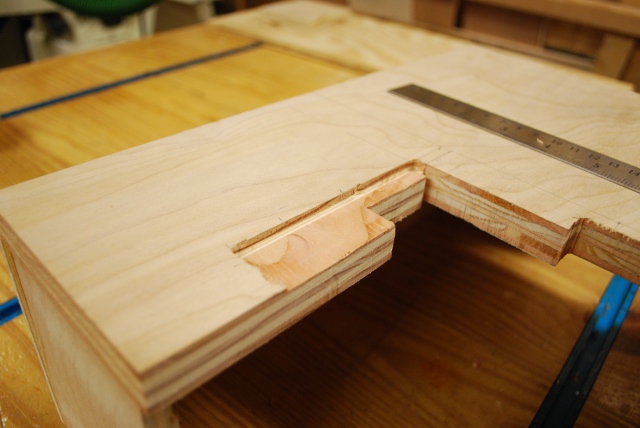
Top after gluing, you can see the motor cut out and rabbeted areas for the saw's base plate.
|
|
Base plate rabbets.
|
|
I determined the rabbet depth for the saw's base plate.
Lay the plate on a flat surface, straddle the base plate's corner with a router depth gauge, set it against the top of the base plate.
I do the exact same thing with thin plywood rabbets, like drawer bottoms.
|

|
Then use the depth gauge to set the router bit height.
Voilla, your rabbet will be exactly the correct depth.
|
|
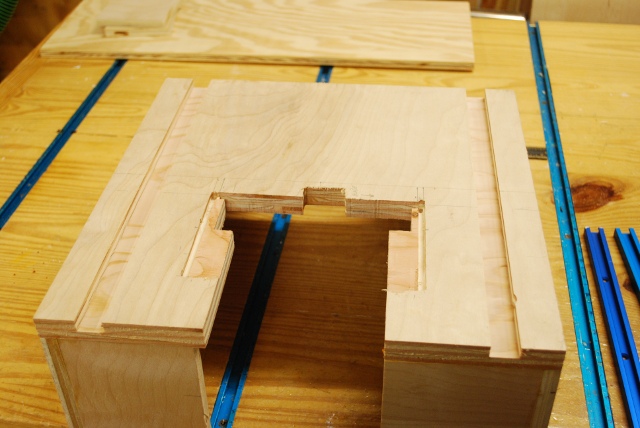
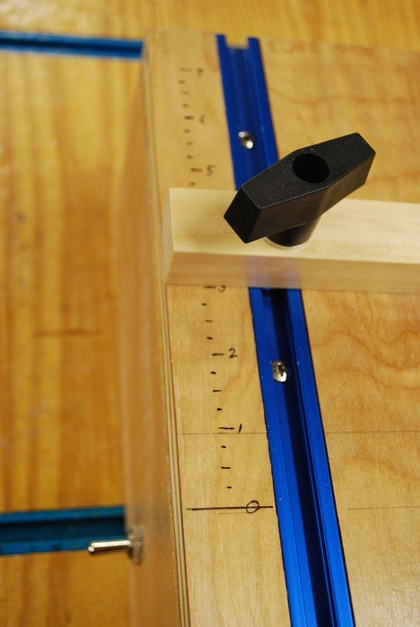
Now the tee track mortises are cut.
The tee track is exactly 3/4" wide so I have to make two passes with a 3/4" router bit (adding about 1/32" to the second pass) to get the tee track to fit easily.
|
|
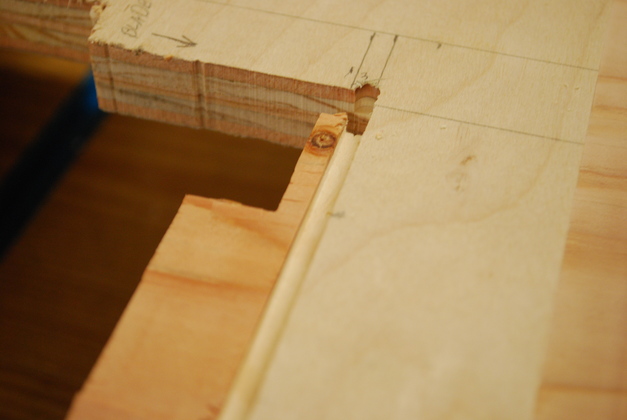
Right side of saw base plate rabbets.
The saw's base plate has a lip turned up at the front and back, so I need a rabbet along the front and back edge of the base plate, 3/16" wide and 3/16" deep to accomodate the lip.
|
|
Under side of saw base being painted with clear polyeurethane.
|
|
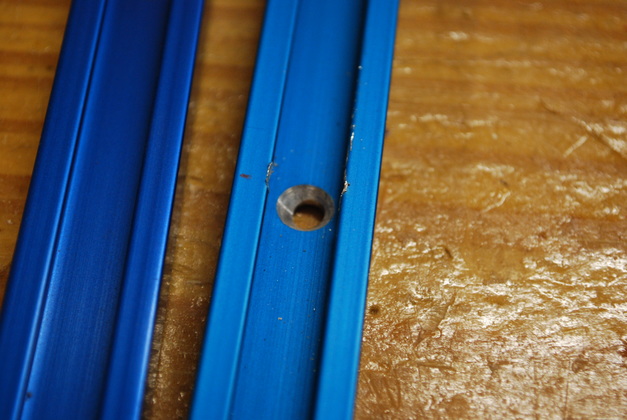
The two pieces of tee track I had were cut-off from another project and didn't have enough holes so I drilled and countersunk a couple of extras.
|
|
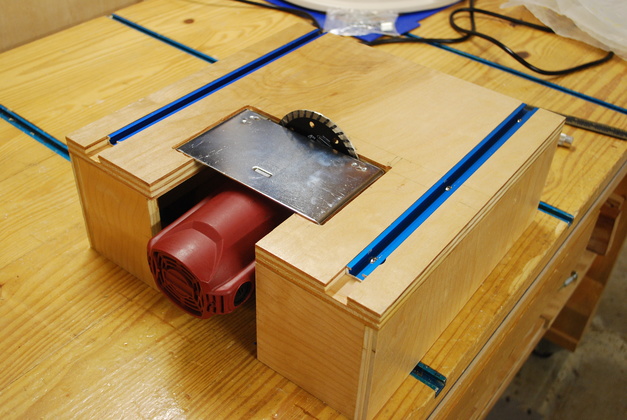
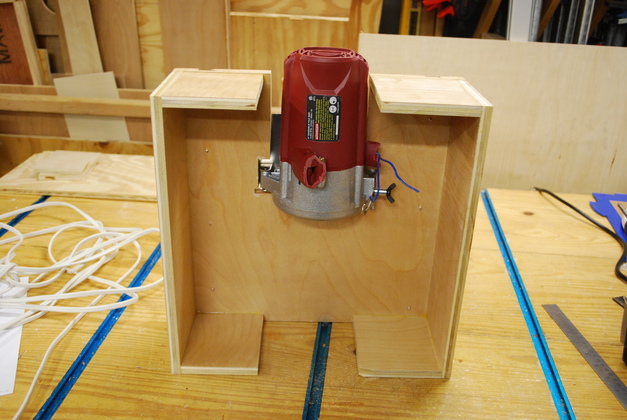
Mounting the saw into the base.
|
|
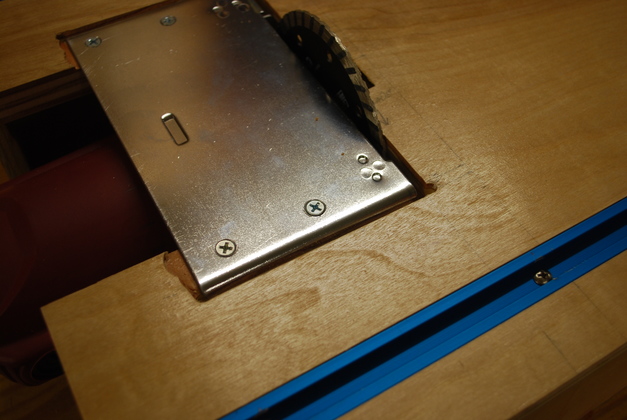
Screws drilled and countersunk.
|
|
Close up of mounting screws counter sunk into saw's base plate.
|
|
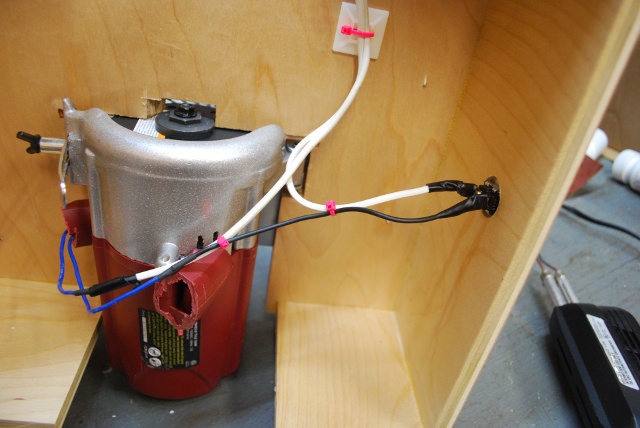
Underside of saw base, ready for electricity.
|
|
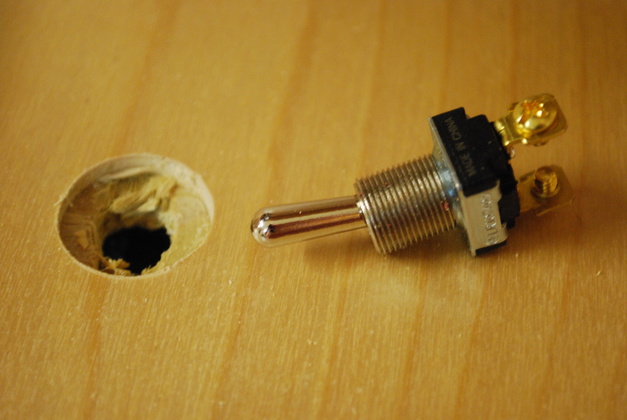
Since the base sides were 1/2" birch plywood and the switch only has a 1/2" shank, I had to counterbore the hole so I could thread the nut on the outside.
|
|
Switch mounted, and wiring soldered.
I put a 16ga power line on it thats at lease as big as the motor had.
|
|
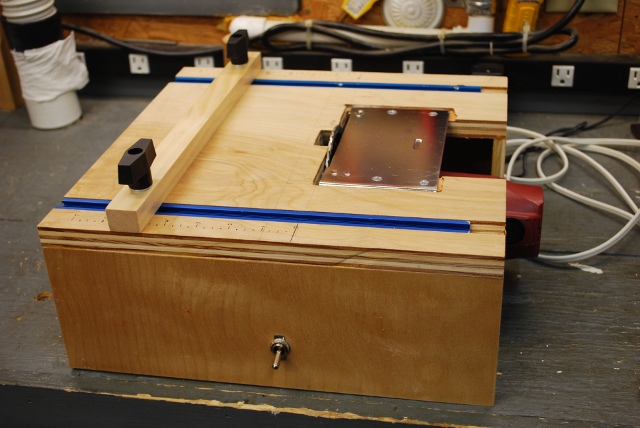
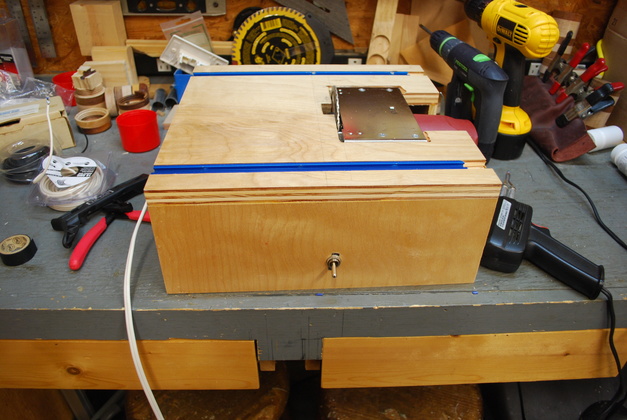
Now all I need is the fence and some tile.
|
|
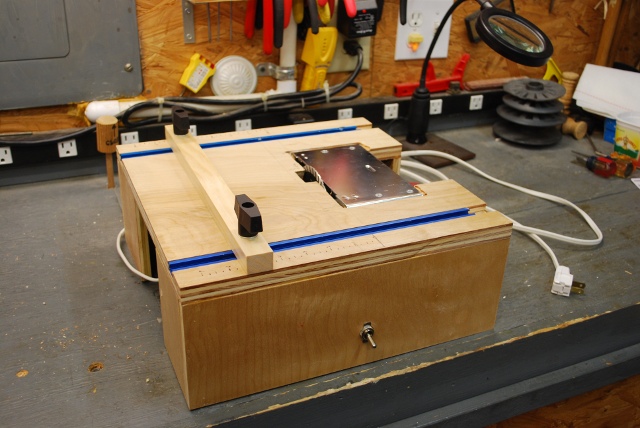
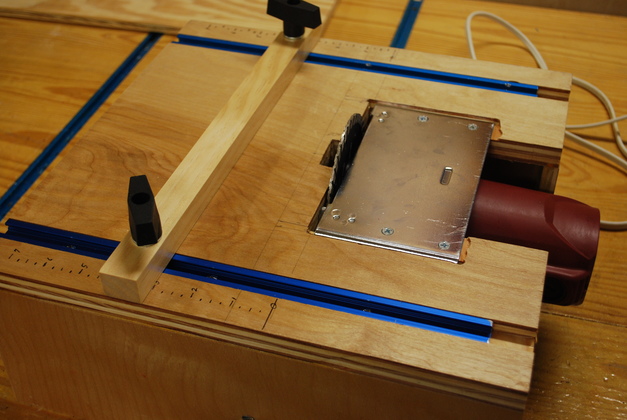
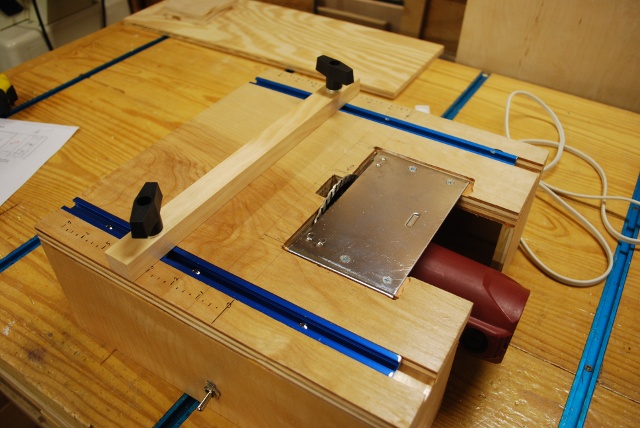
With fence.
|
|
I made little marks along each edge to keep the fence straight.
|
|
With the blade a little lower.
The blade will go down completely flush with the base.
|