08/13/16: New Pics
05/12/16: Page Origin
I am beginning to really like mitered corners for picture frames, drawer fronts, doors, and even boxes or Bins etc.
Lots of folks seem to have problems making the miter cuts accurately, the resultane lengths must also be exact and you have to have a total of 90° cut on the two ends being joined.
Normally that means two 45° cuts but a 46 mated to a 44 works too.
Now I always cut the pieces to their exact length, then cut the miters on each end.
When cutting a miter on the end of a piece, you have to make sure the edge of the saw's teeth cut precisely on the corner of the piece.
A miter saw works really well for this but its a little tedious to line up each cut, at least you can pull the saw out then put the edge of a tooth exactly on the corner of the wood.
The table saw and miter guage cuts the same but since you push the wood to the blade you have to hang over the top of the saw to line up the blade's tooth with the corner of the wood.
I tried a miter sled on the table saw and voilla, its easier than using a miter saw, at least to line up each cut.
I'll show you how I do it.
Construction
|
One of the handles laminating.
Its made from 3 pieces of 1/2" birch plywood.
|
|
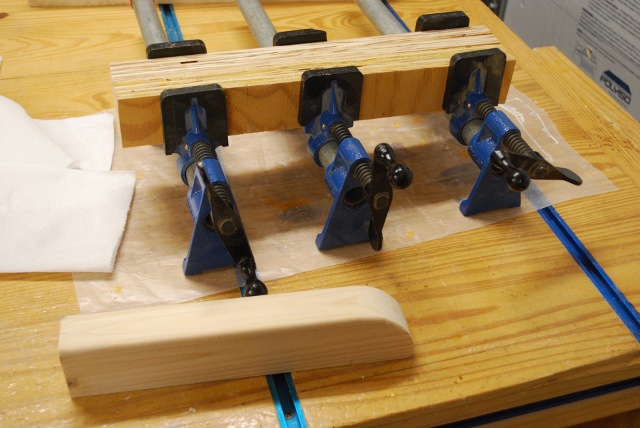
The miter guides being laminated, from two pieces of 3/4" plywood 2" by 14-1/2".
|
|
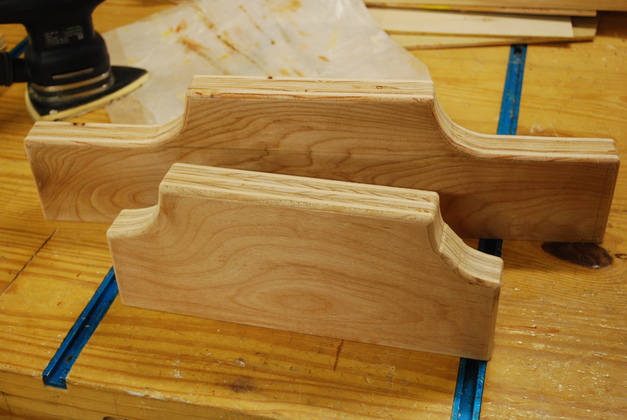
Handles after sawing out corner curves, rounding edges, sanding, and painting.
|
|
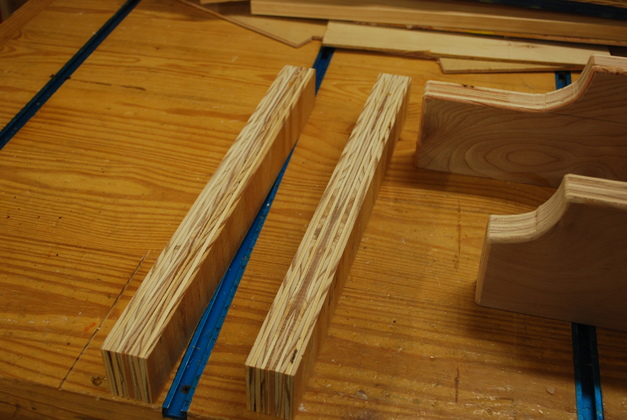
Miter guides after gluing and sanding.
|

|
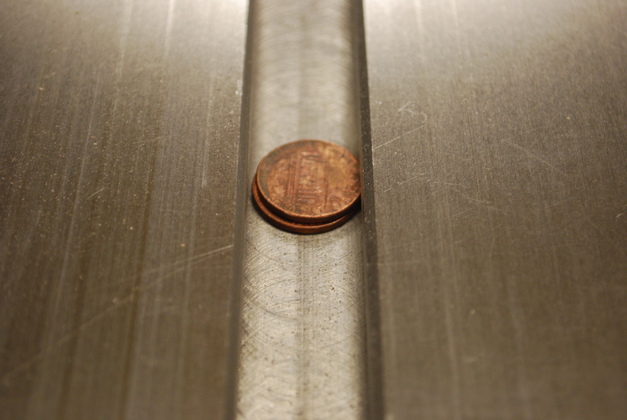
Oak runners ripped from a piece of oak flooring with pennies in the slot to hold the top of the runner just above the table top.
|
|
I got this idea from WoodWorking for Mere Mortals web site, but I'm a cheap skate, I only use two pennies per end or 8 cents total.
WWMM makes a neat miter sled but I wanted a few things different for mine, at least for easier linup.
|
|
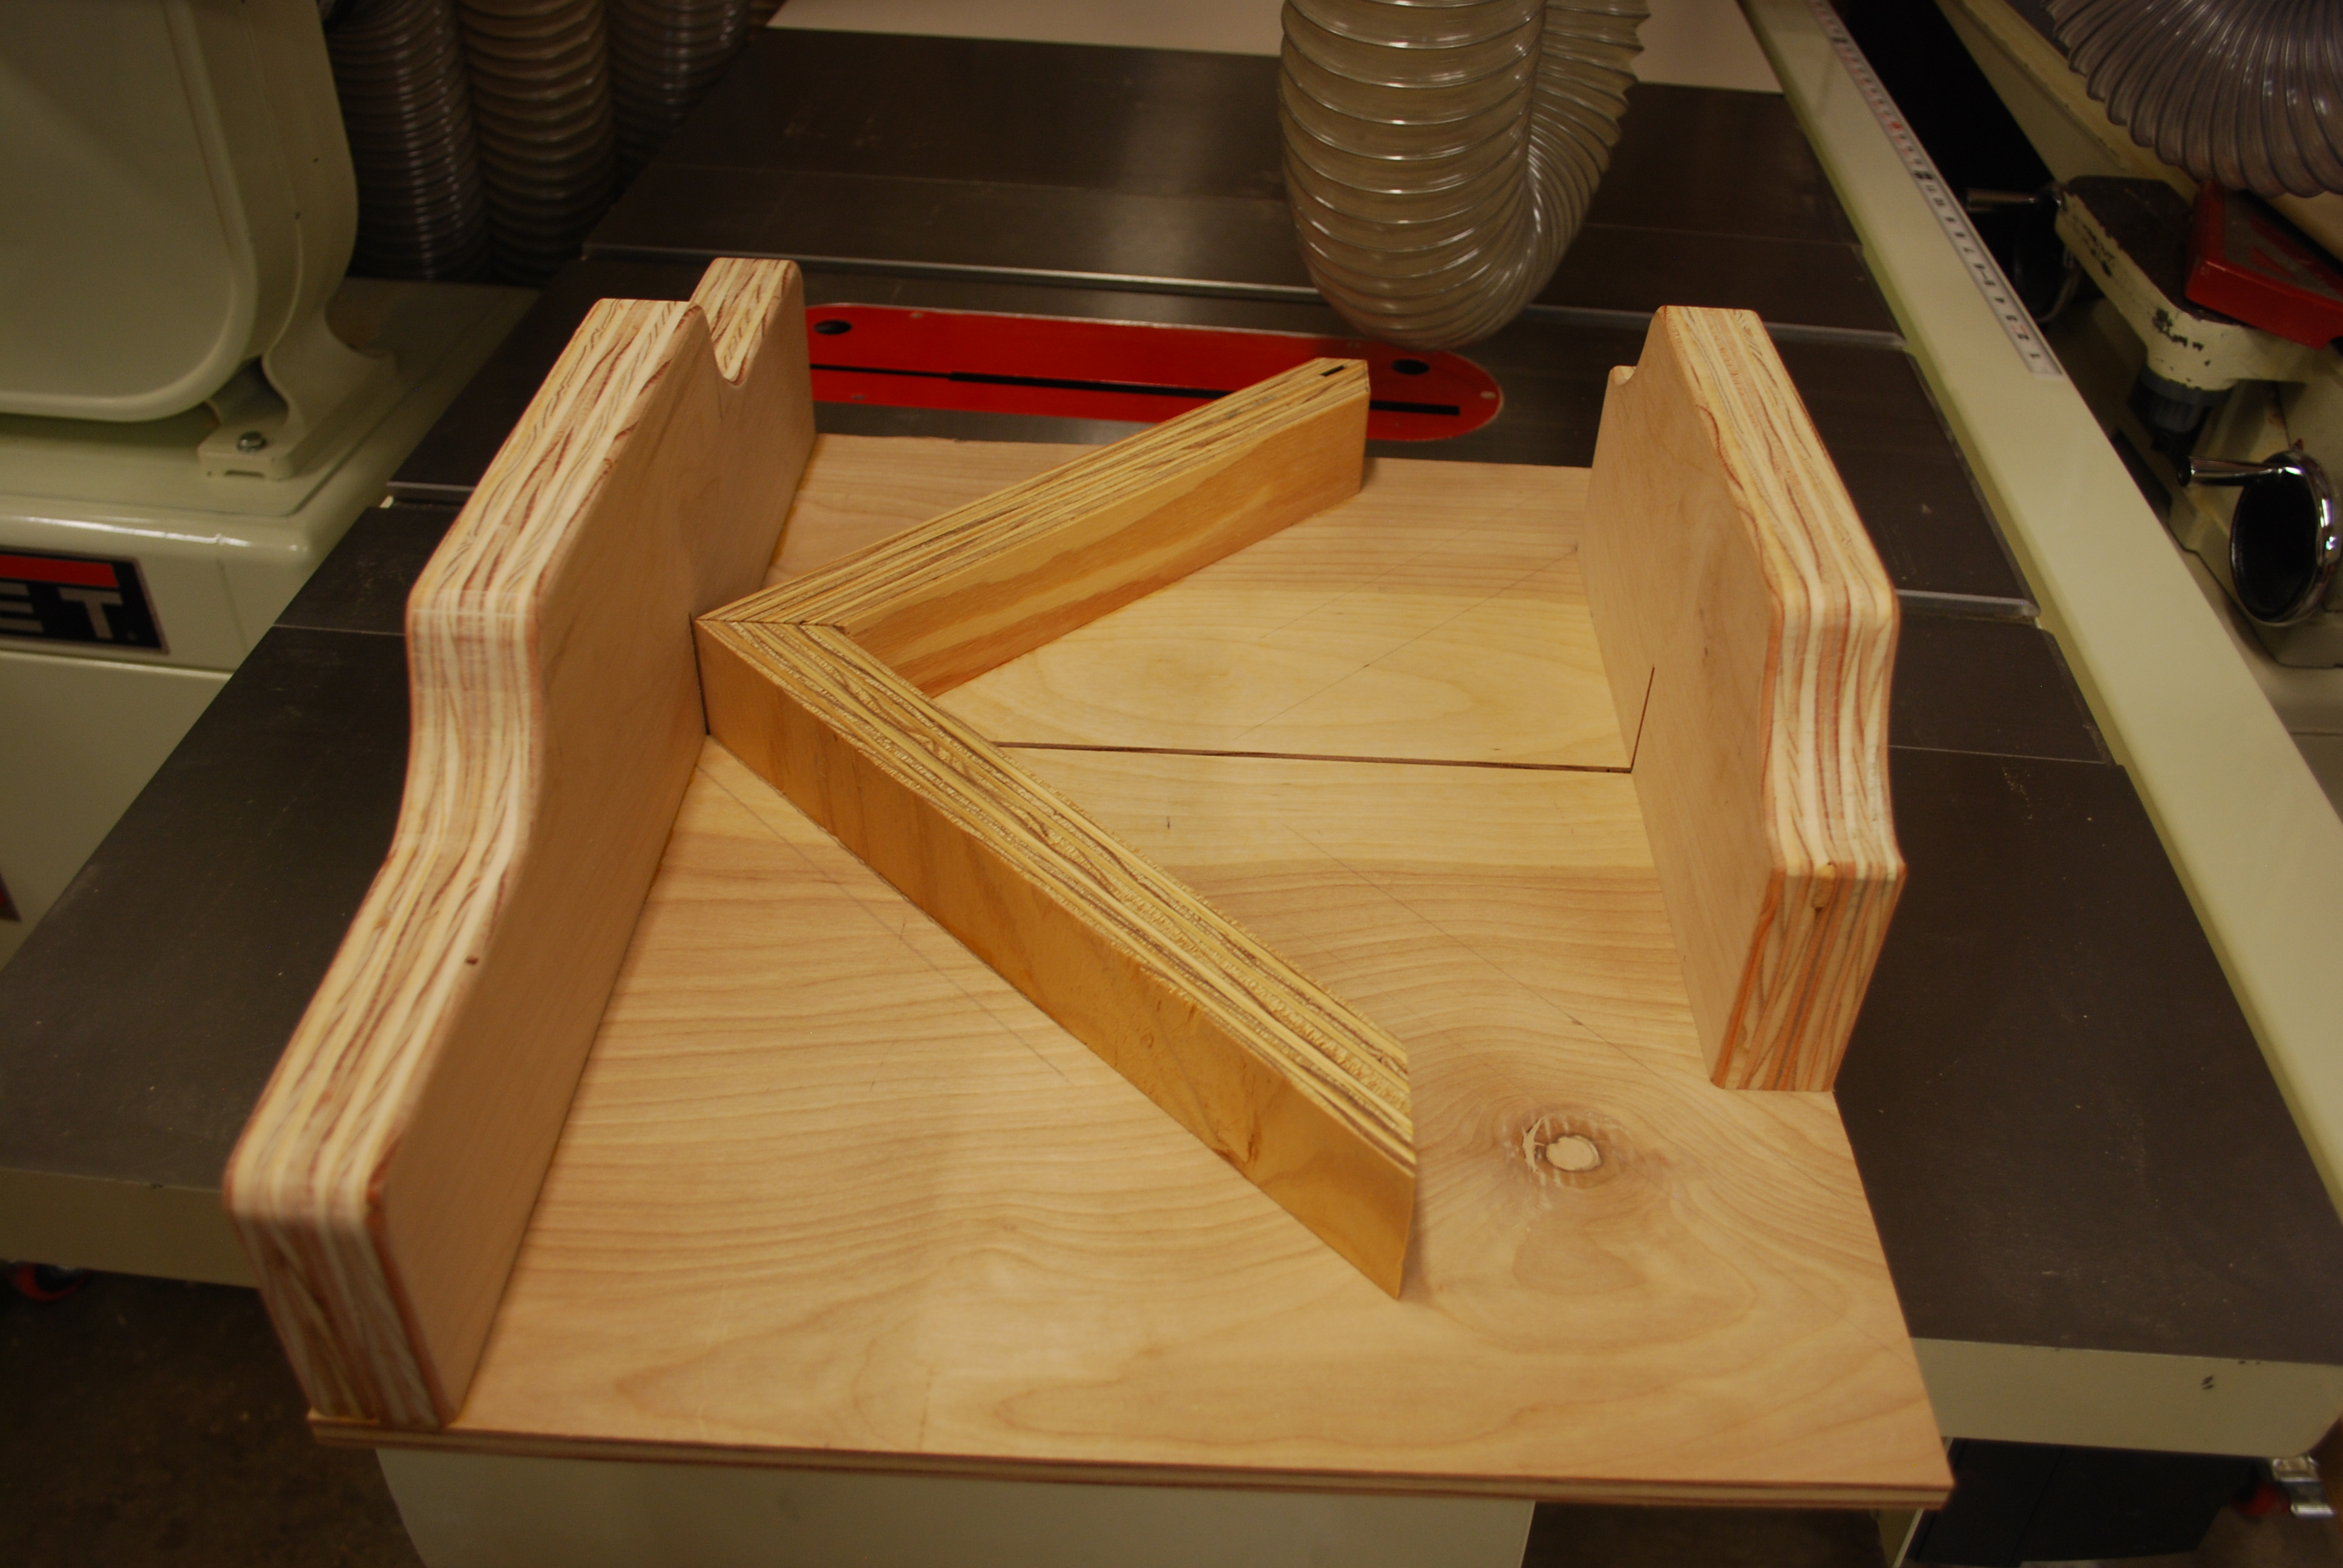
The 1/2" oak plywood base, 20 x 18" having the oak 3/8 x 3/4" runners glued on.
The runners were made from oak flooring.
The runners are sitting on two pennies at each end so they contact the sled base, the fence makes sure the sled is square with the saw blade.
Note the base is square with the fence.
|
|
Runners glued on and painted with clear poly.
I also applied a little beeswax (from Walker Honey Farm) to sides and bottom of the runners.
|
|
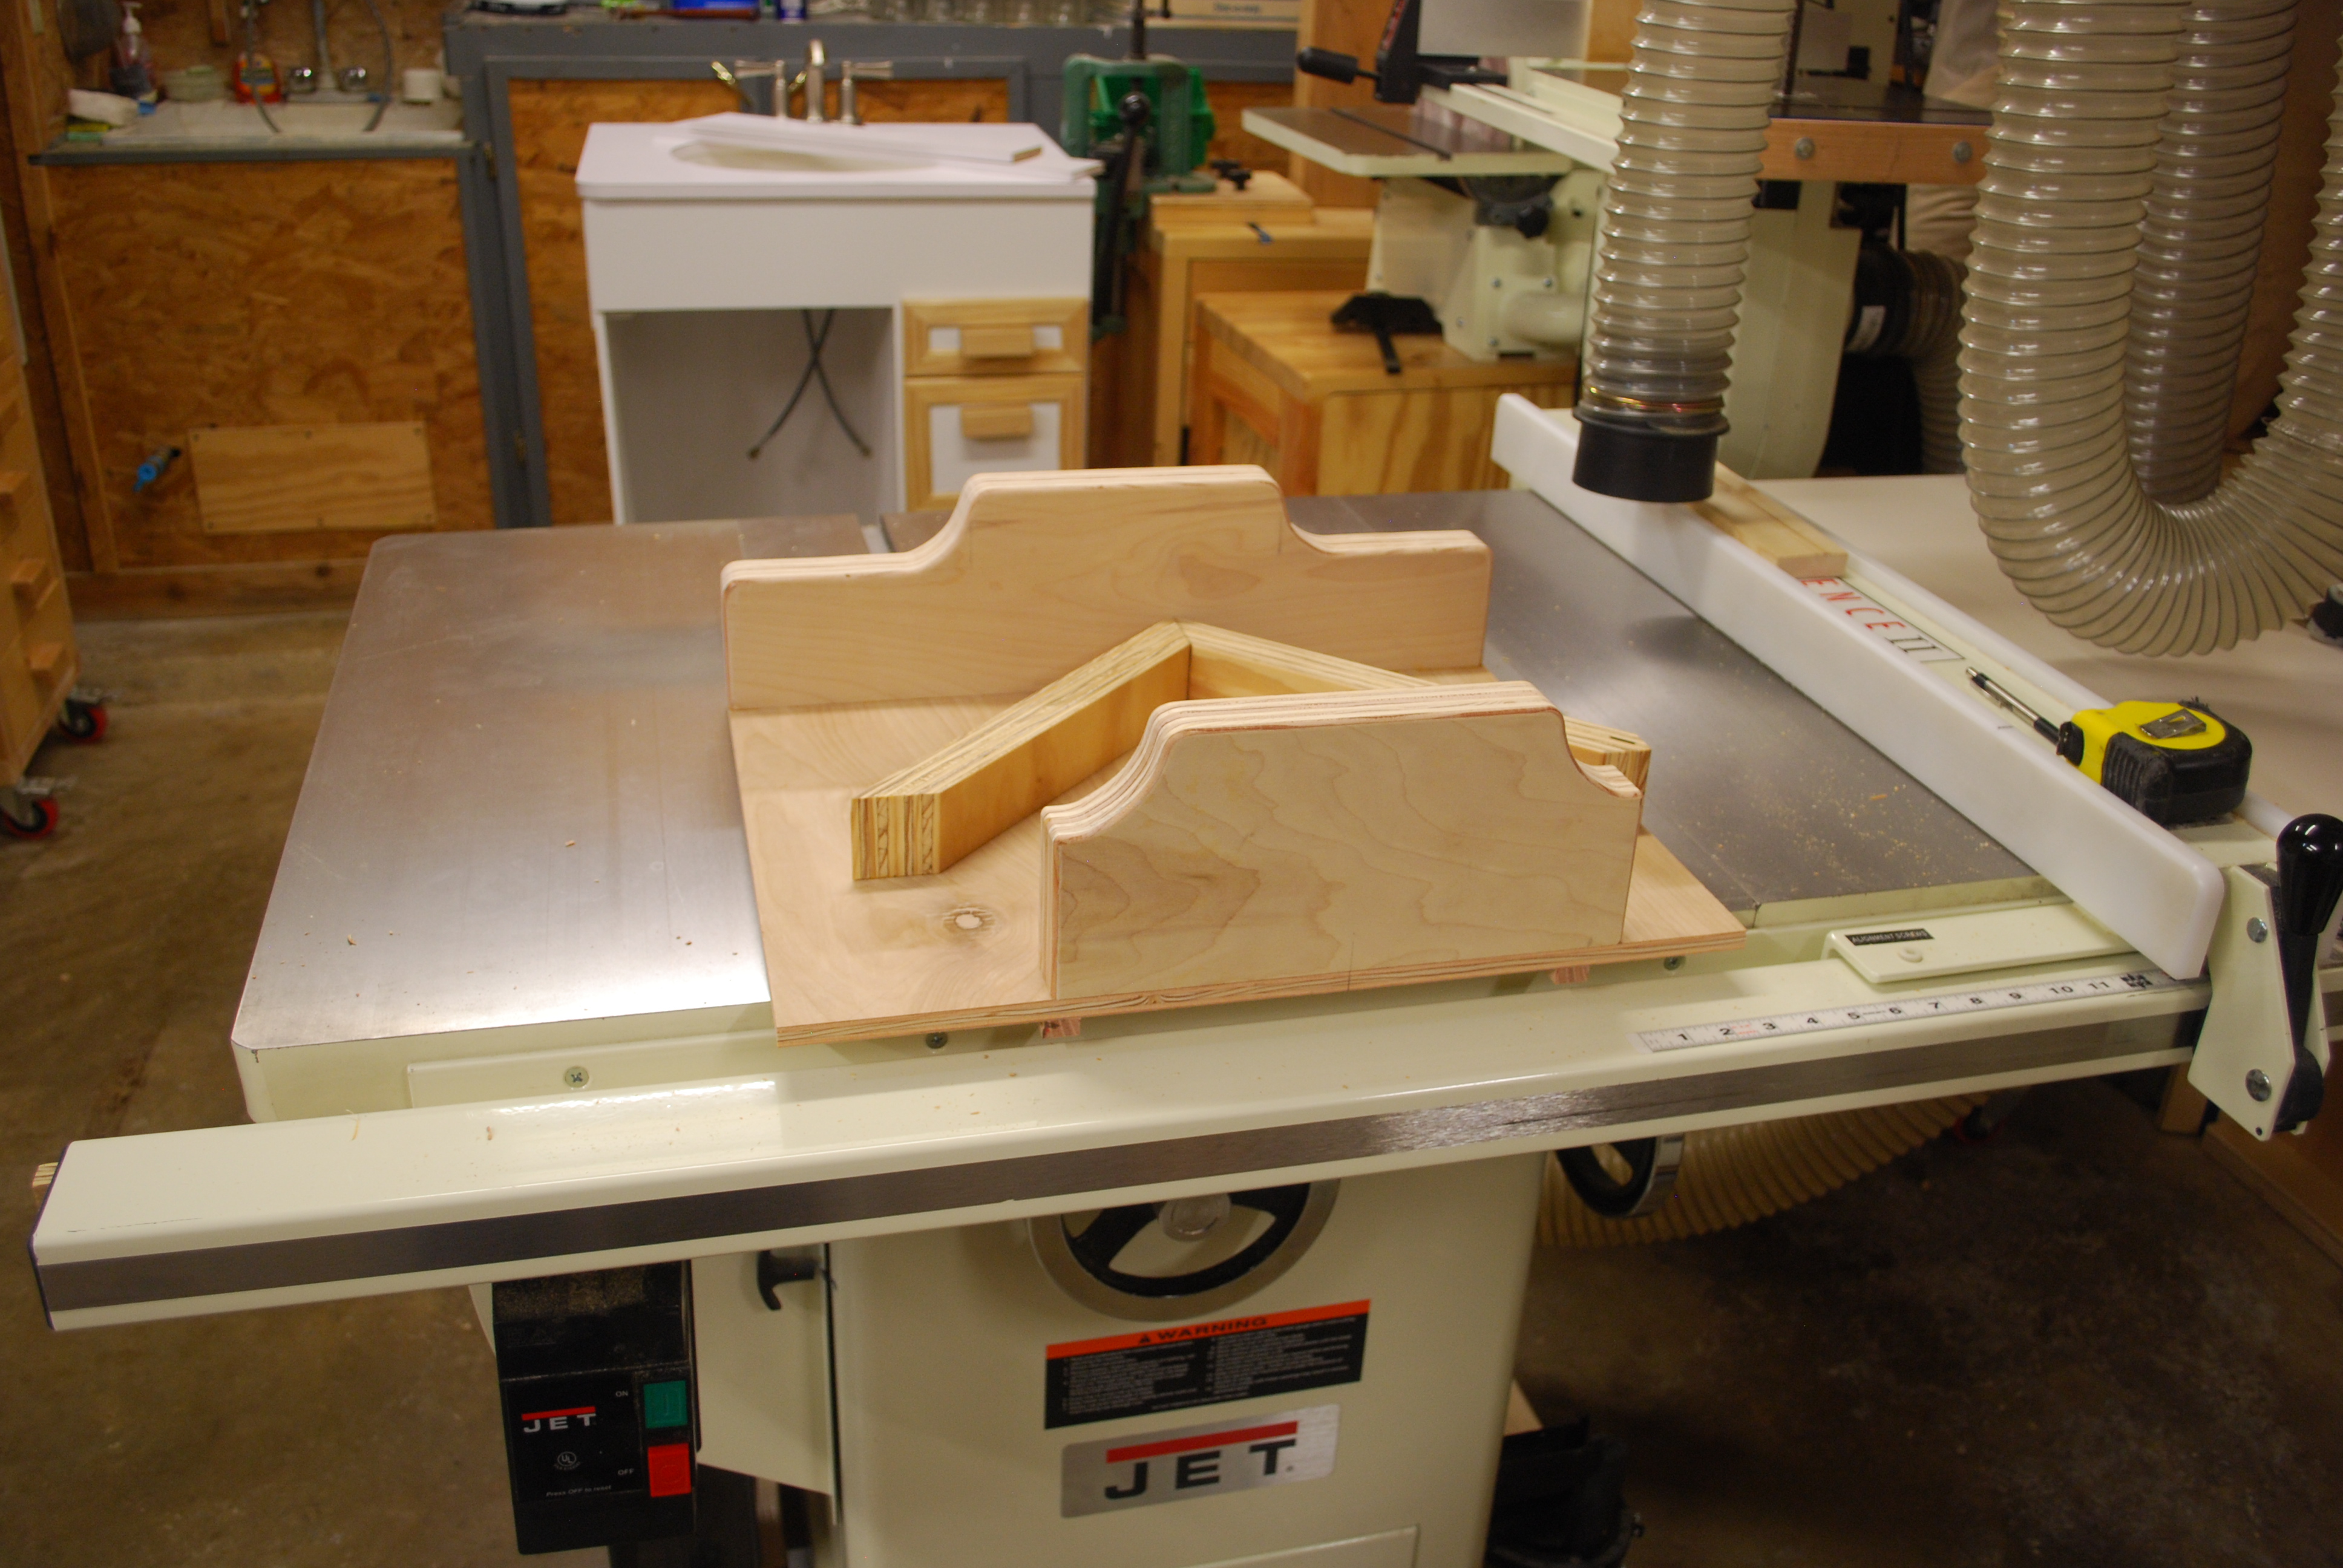
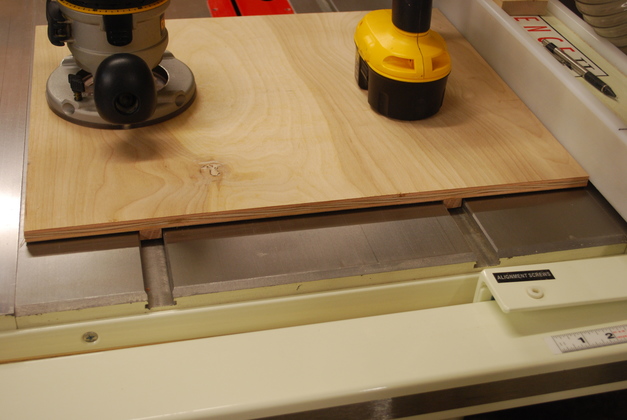
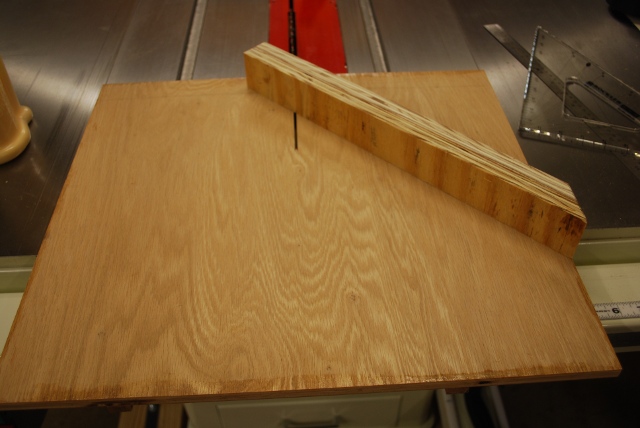
Assembly of the sled.
I put the base runners into the saw's miter slots then cut into the base, aligned the big acrylic guage (on the right) with the saw blade and marked a 45° from the top center handle to the right edge, and glued the miter guide to the base.
Note the top of the base is not painted since I've got a lot gluing to do on top.
|

|
After the glue dried, I sawed off the top end of the right miter guide.
|
|
Now I use the right guide to saw off the end of the left guide.
|
|
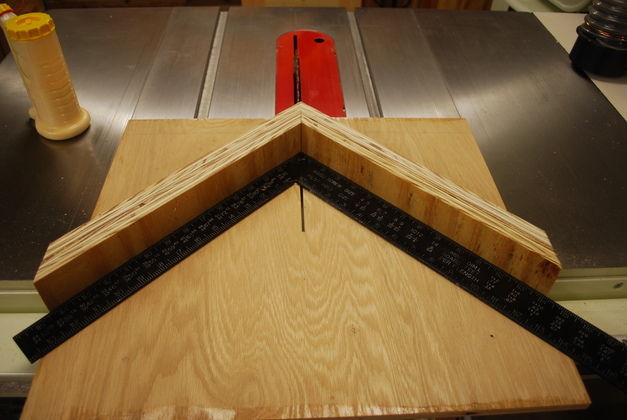
Using the framing square, I glue down the left miter guide.
|
|
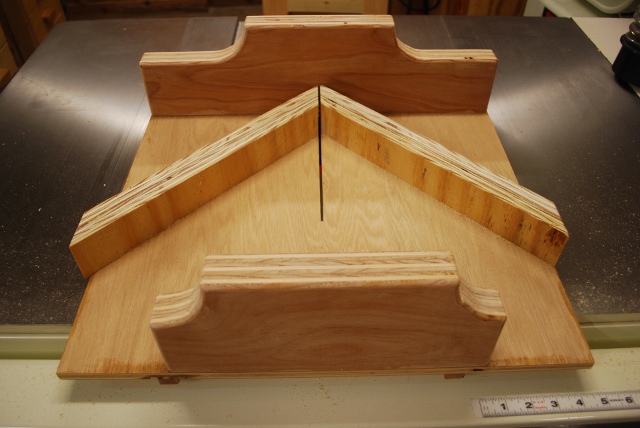
Finished, sawed slot between miter guieds.
|
New Thin Kerf Blade
I decided to start using thin kerf blades on my table saw which meant I had to "fix" my miter sled.
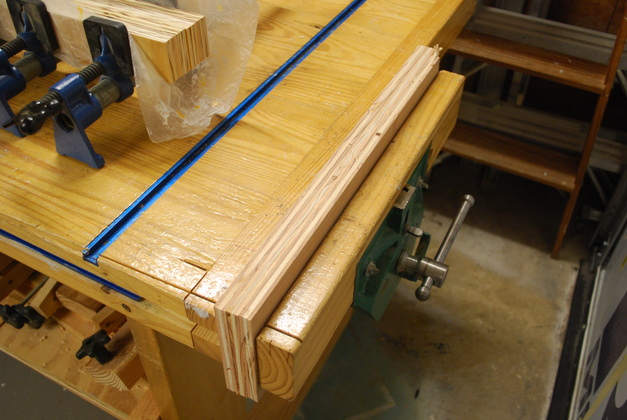
I used a couple of pieces of oak flooring, cut off the tongue and groove, then ran them across the jointer.
I use the miter sled to cut a 45° angle on one end of each then positioned them so they meet in the center of the kerf and glue them in place checking overall squareness.
|
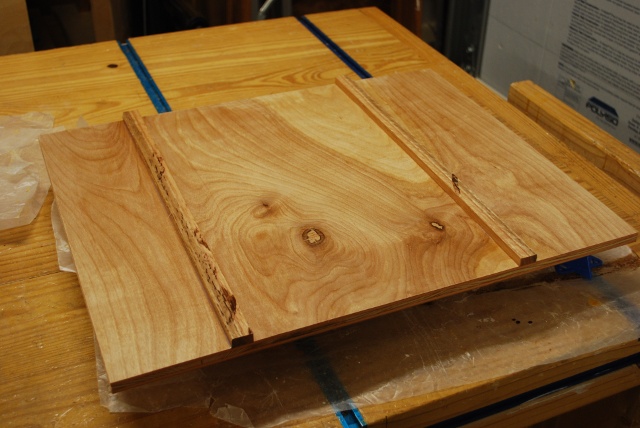
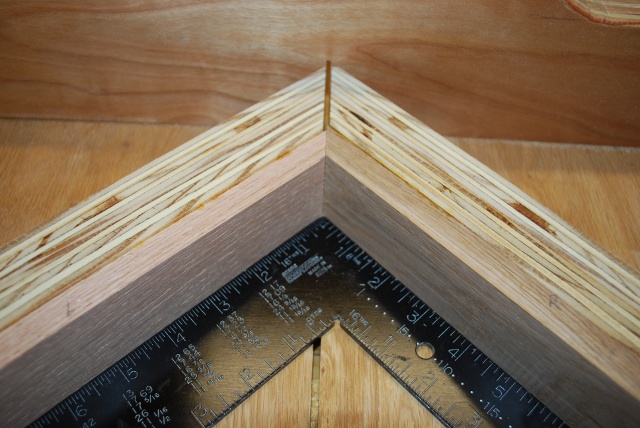
Miter sled with new oak faces glued to the front of the miter guides before I sawed the new kerf.
I used the framing square to be sure every thing was still square with the new faces.
|

|
The original miter guides were not quite dead center, so I made the left face thinner than the right, then aligned the new crack in the center of the kerf.
|
|
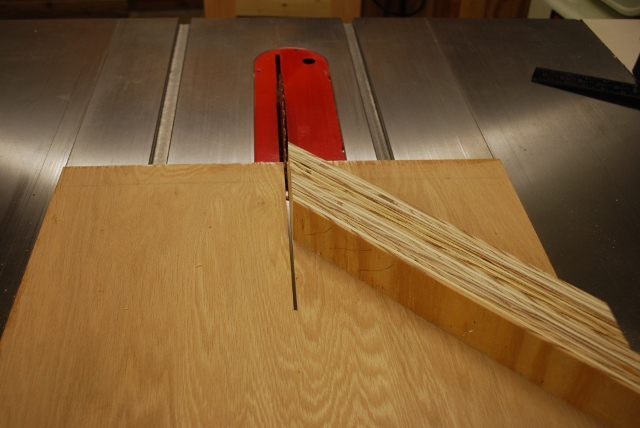
Making the new kerf cut.
|
Usage
|
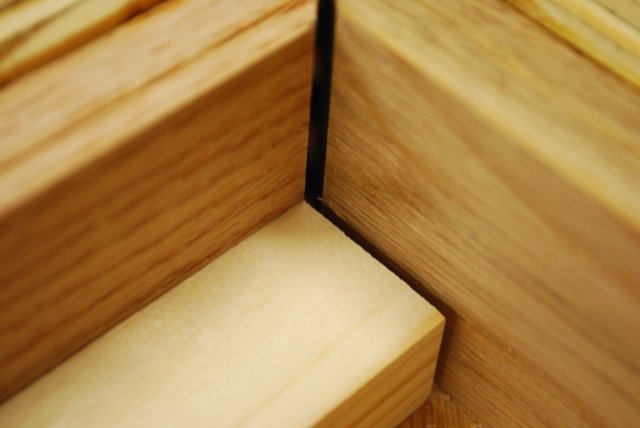
Alignment with new oak faces.
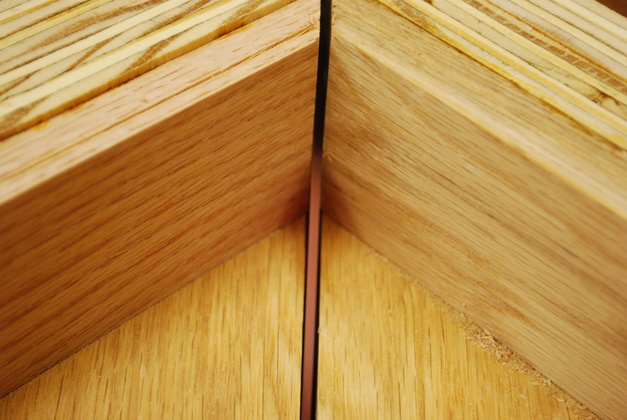
Push the piece against the right face and line up it's top corner with the right edge of the kerf cut.
Note the piece does NOT touch the left face.
|
|
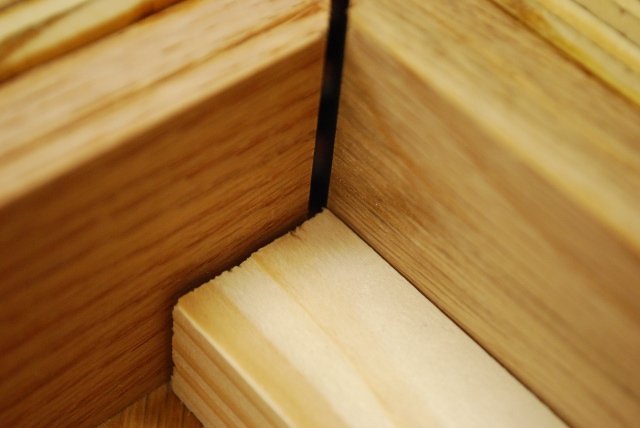
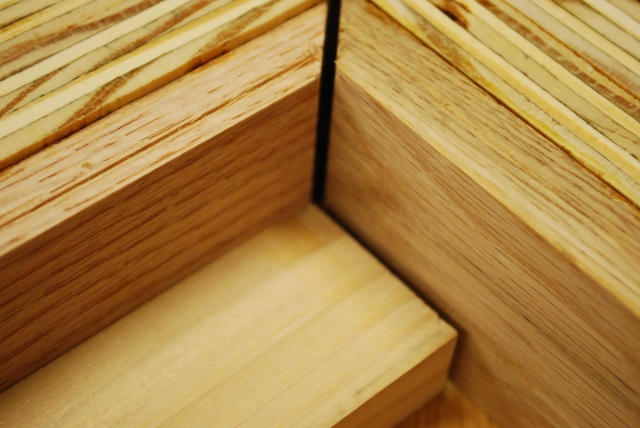
Push the piece against the left face and line up it's top corner with the left edge of the kerf cut.
Note the piece does NOT touch the right face.
|

|
Cutting, note the edge of the cut (kerf) is exactly on the upper corner of the piece being mitered.
|

|
Opposite end cut, the edge of the cut (kerf) is right on the top corner of the piece being mitered.
|
|
Aligning a larger frame piece.
Note it does NOT touch the right face.
|
|

|
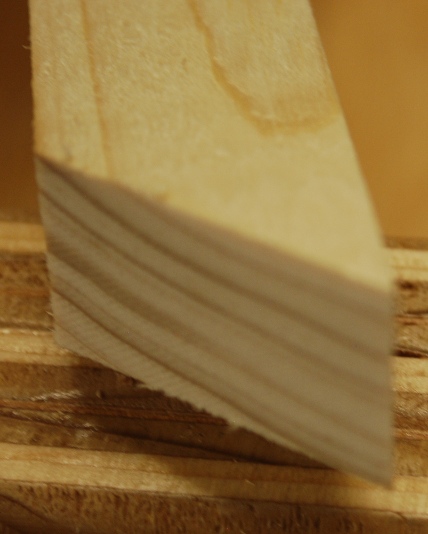
Note mitered ends are sharp pointed and the overall length should be the same.
|